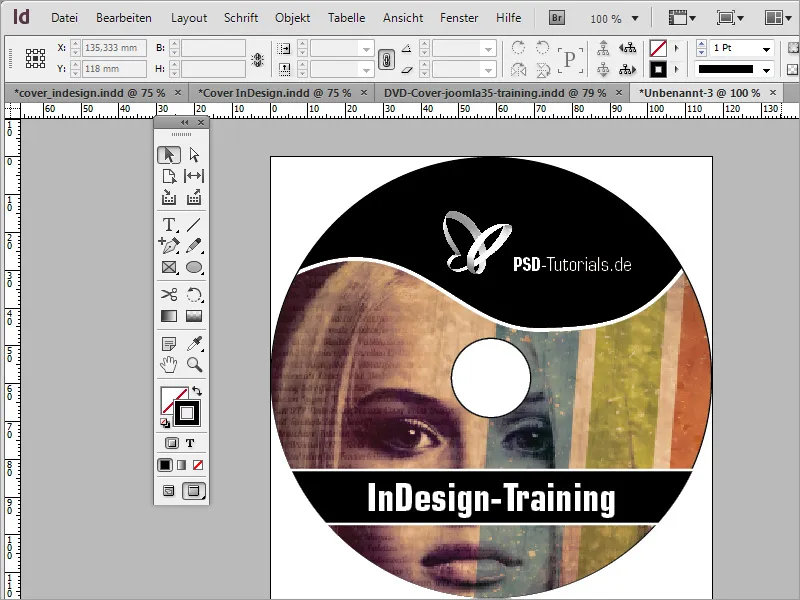
Why was the label created in Adobe Photoshop? Well, because it works and because it is already available as a template in our case. Of course, you can also create such a label in Adobe InDesign. To do this, you need a new document in 117x117 mm format.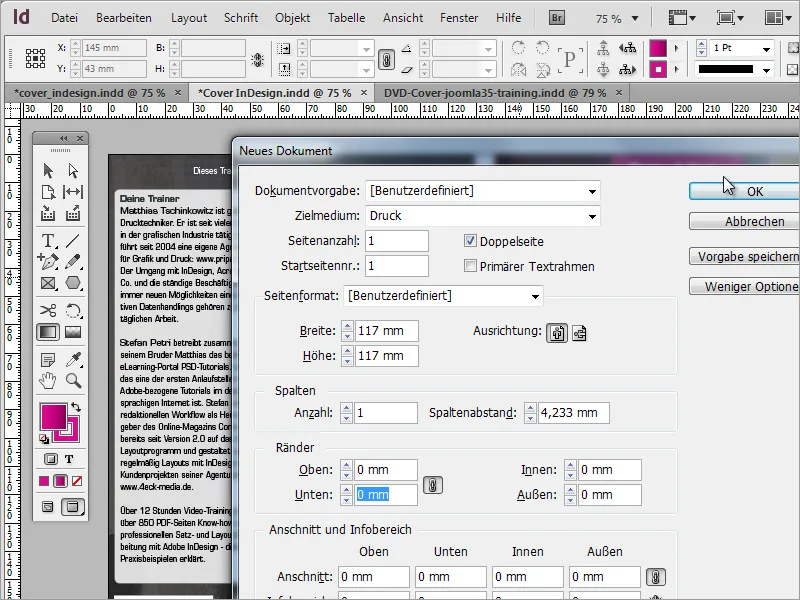
Now you can import the template from Adobe Photoshop into the document. It only serves as a template and will be redesigned in InDesign.
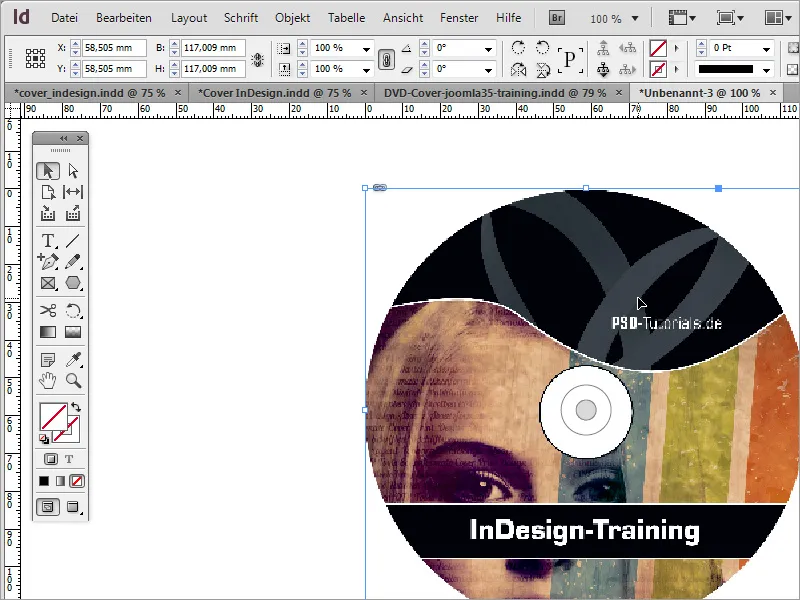
The first thing you need is a circle, which you draw using the ellipse tool and the Shift key. Thanks to the magnetic guides, you can draw this circle up to the document boundary. It snaps into place on the sides.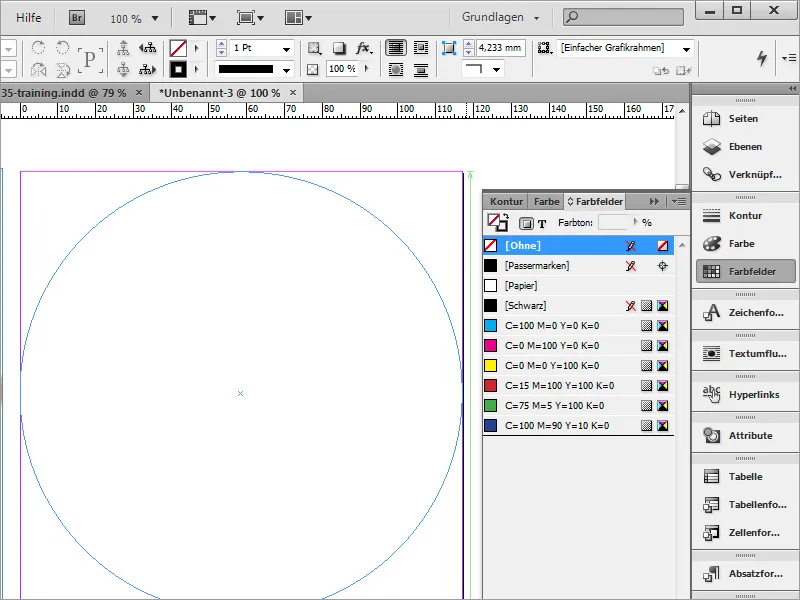
Once the circle has been created and colored with black, you can simply duplicate it. Press Ctrl+C to copy and Ctrl+Shift+Alt+V to paste the copied object in the same place. You can give the copy a different color and set the outline to the value 0.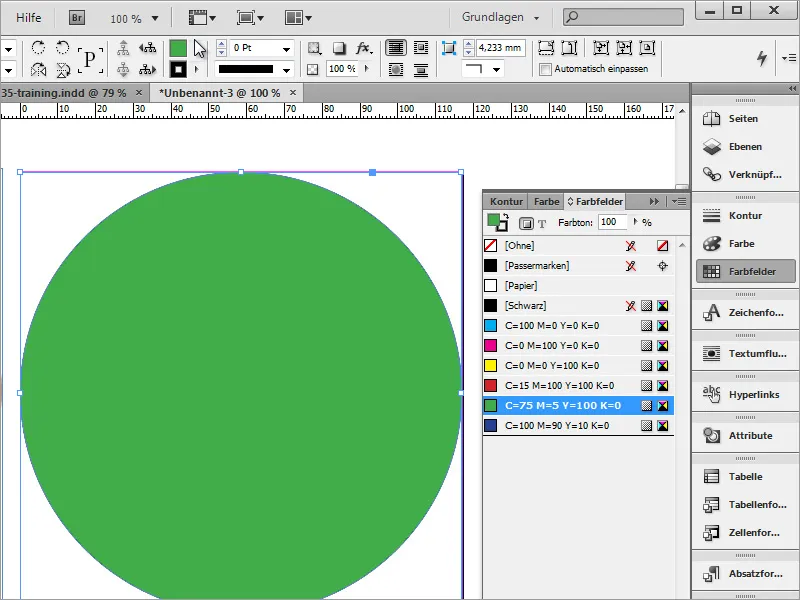
You can then use Ctrl+D to paste the image into the object and move the image section.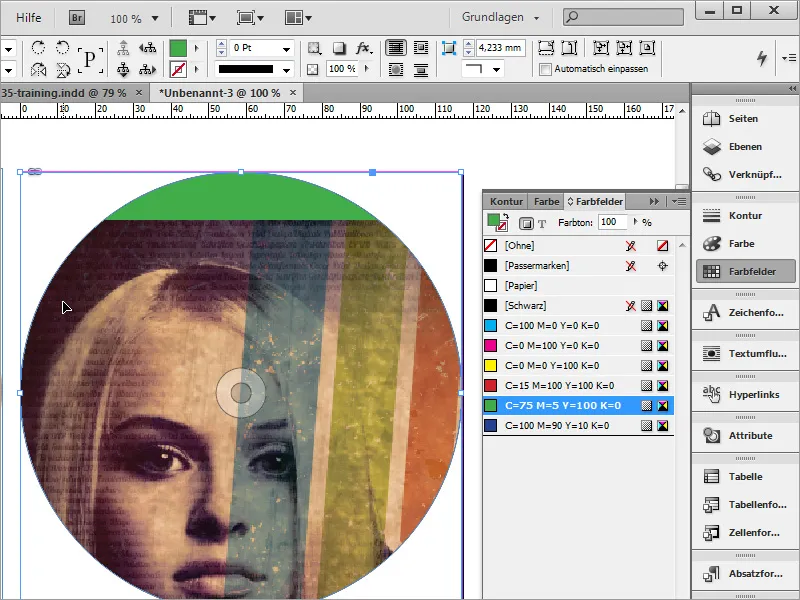
You will then need additional anchor points for the circle shape. You can add these with the add anchor point tool, which is located next to the pen tool.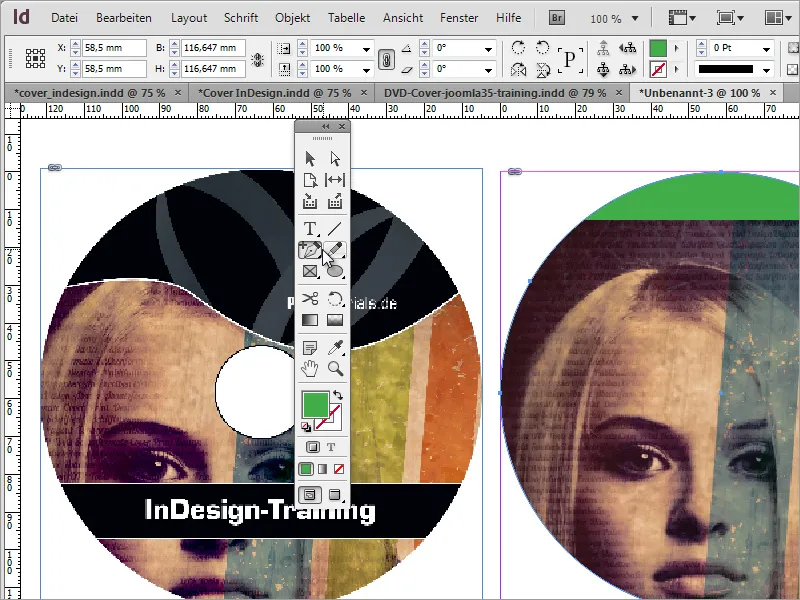
You can grab these points with the direct selection tool, activate and move them by holding down the Shift key and change their handles.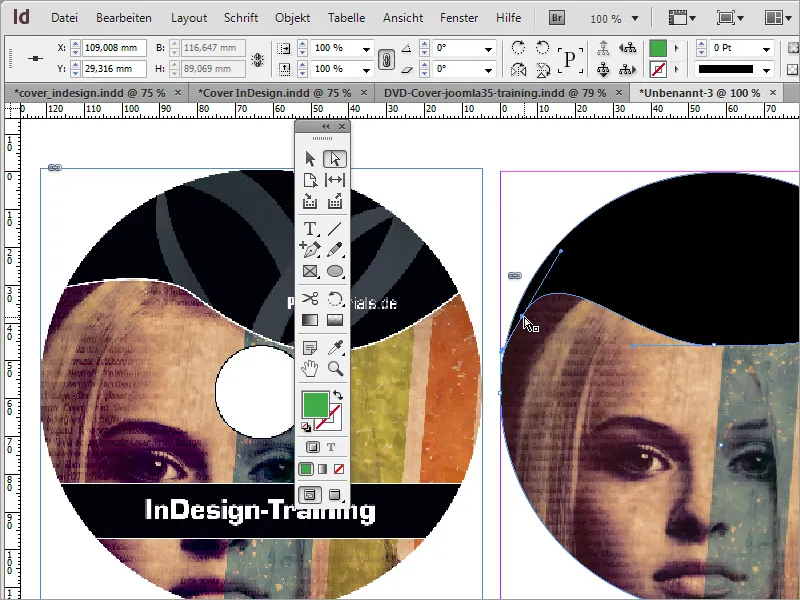
After changing the points, you can cut out the object with Ctrl+X. Then select the circle shape and activate the context menu. Select the Paste into selection entry.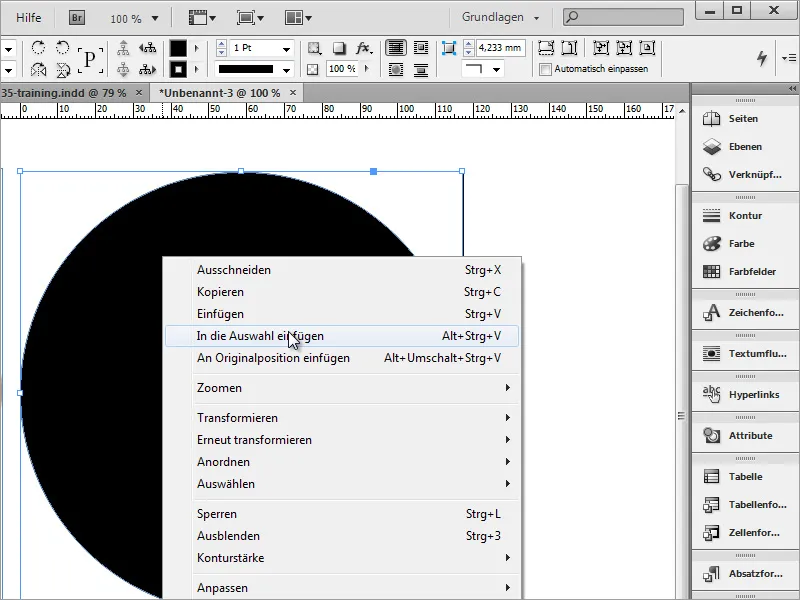
Once this option has been selected, the image object is inserted into the circle shape. The advantage is that the protruding circle segments from the curve editing are limited by the circle shape and are no longer visible.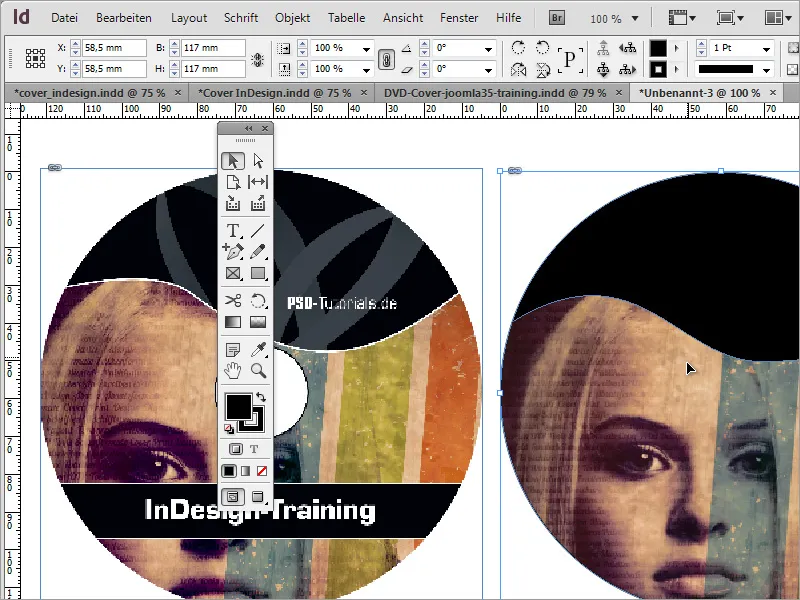
Now you can assign the object an outline of 3 points in white and deactivate the background color green.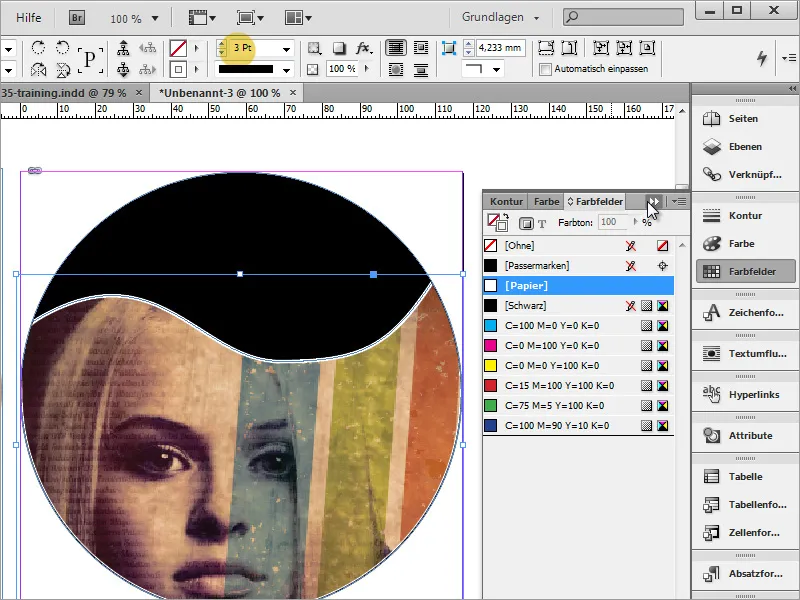
Now only a few elements are missing, such as the DVD title. Here too, a rectangular shape is first drawn with the text tool. The text can then be entered and formatted directly.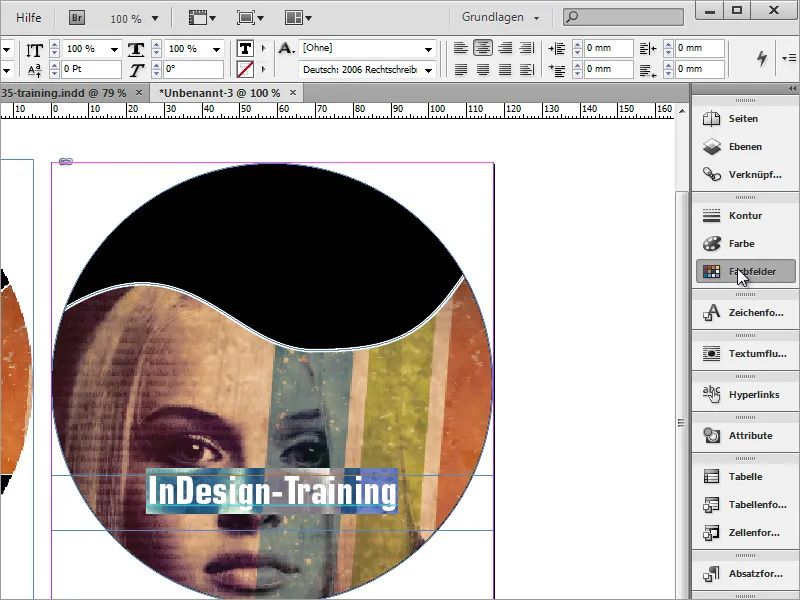
Now give this text box a black fill color and a white outline. To do this, select the text box and set a black color for the fill color in the color fields palette. For the outline setting, select a white color and set the outline thickness to 2 points using the option field at the top.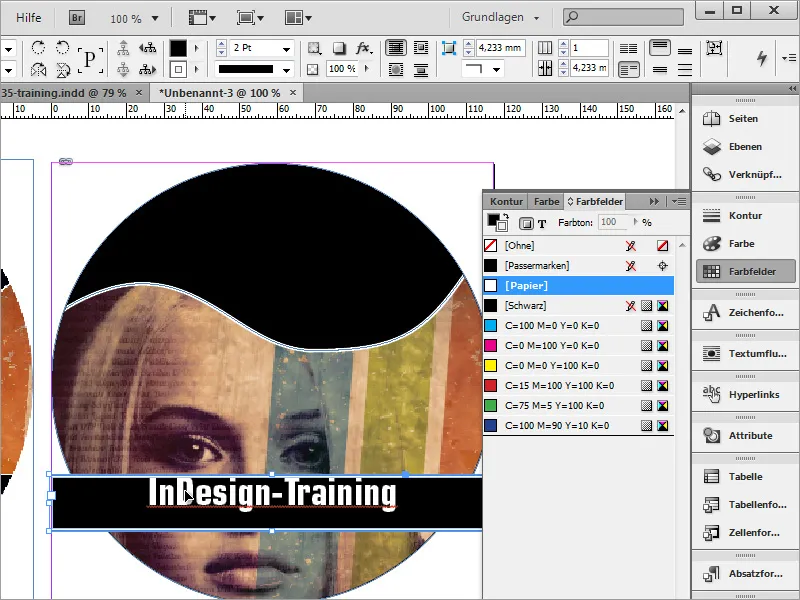
Then add the middle circle. To do this, first draw a horizontal guide and a vertical guide from the ruler into the document, just like in Adobe Photoshop. These also snap to the center point.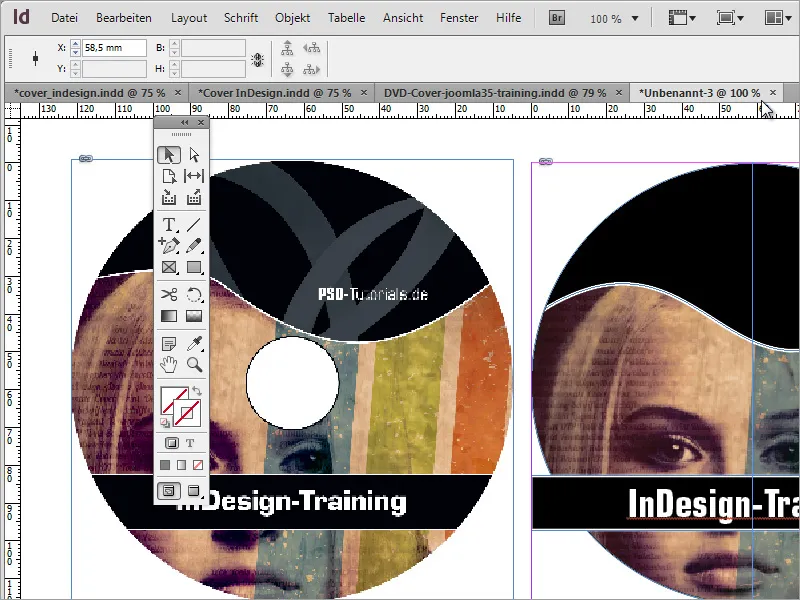
By holding down the Alt+Shift key, you can draw a circle into the document using the ellipse tool.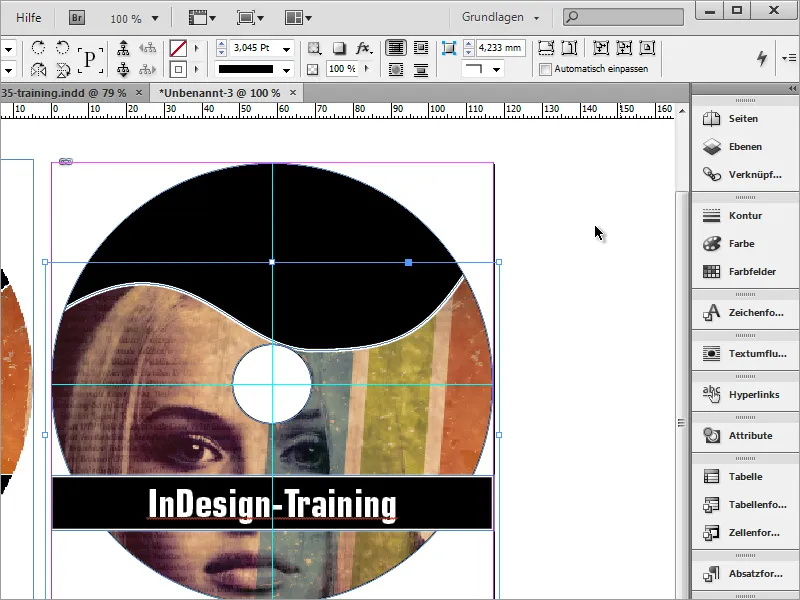
The curve of the image object must be set a little higher. To do this, simply double-click on the object to be changed so that it is activated. Now you can scale it a little or readjust the node points.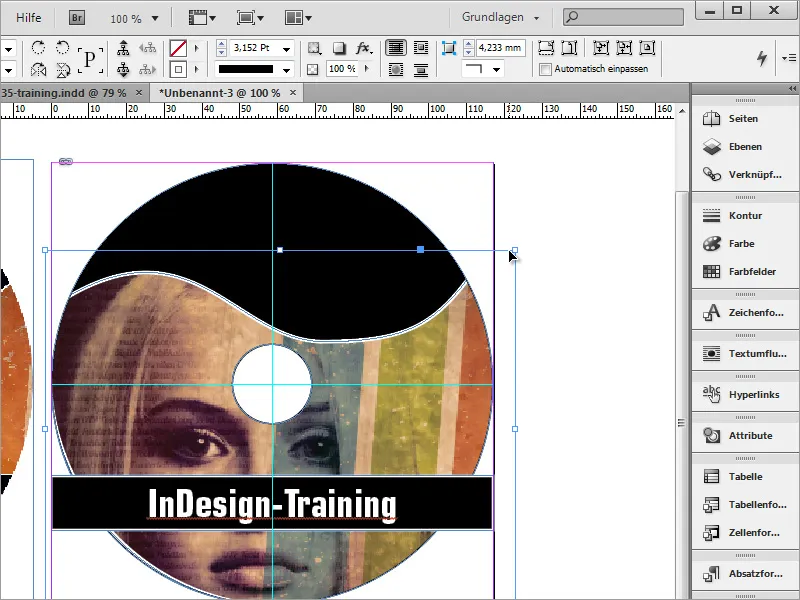
The author's name is still missing, which you can also insert using a text box.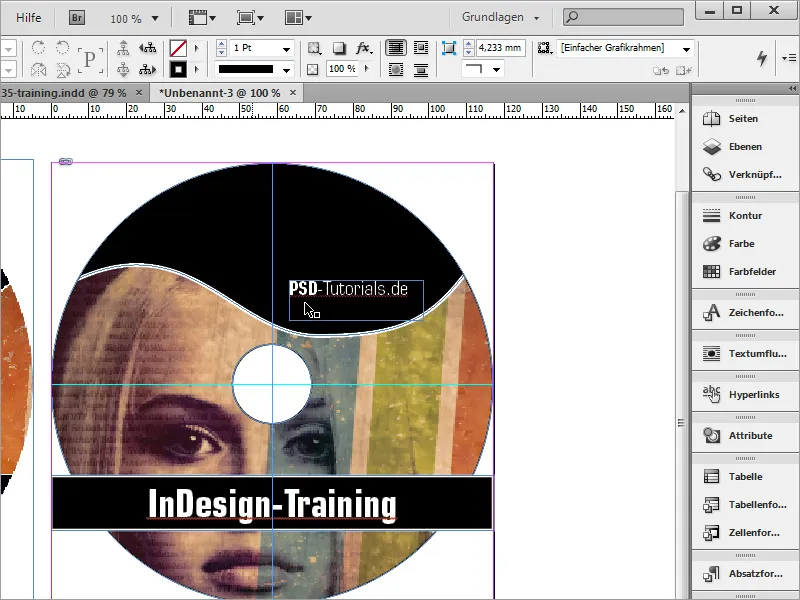
Press Ctrl+D to place the logo. Adjust it as desired and align the font and logo.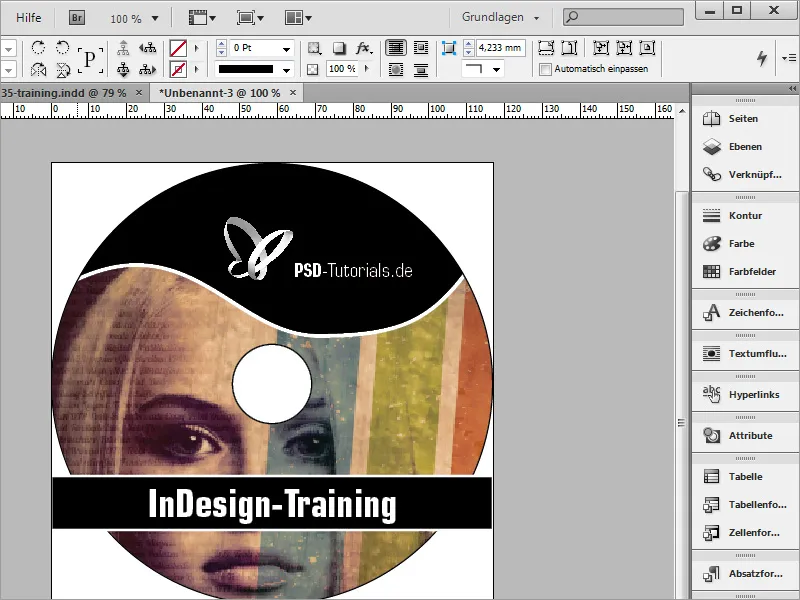
The bar of the DVD title still disturbs the view a little, even if it is not necessarily printed. However, you can help yourself by first drawing a rectangle in the document size.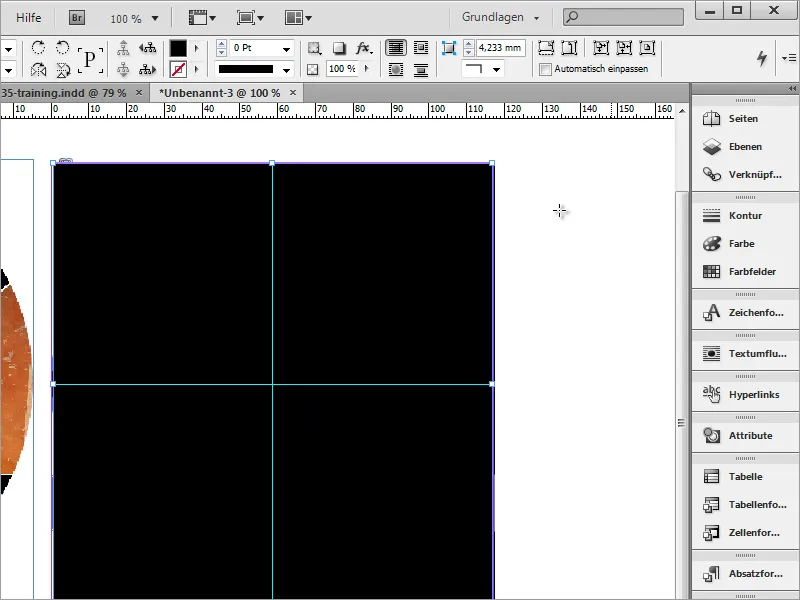
Within this rectangle, draw another suitable circle. Now select both objects. Then navigate to the menu item Window>Objects and Layout and select the Pathfinder.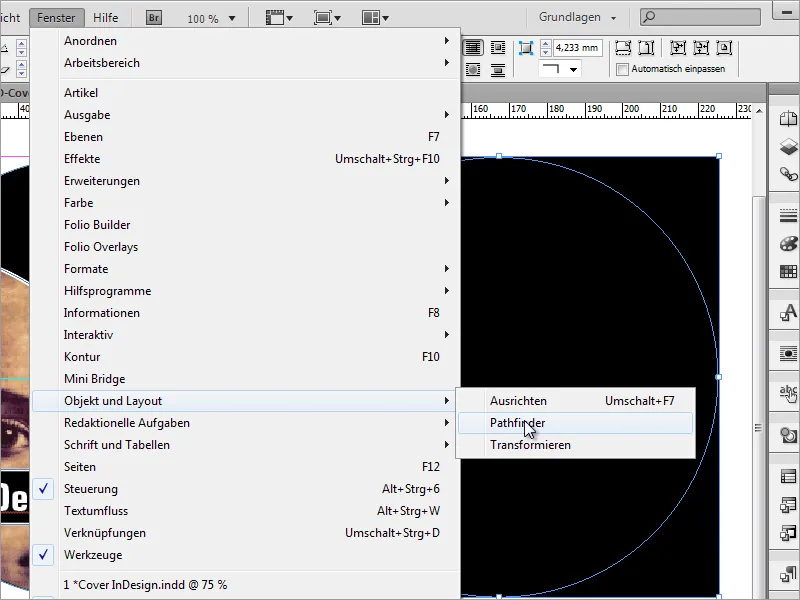
In this window, select the subtract option. The circle then cuts a hole out of the rectangle.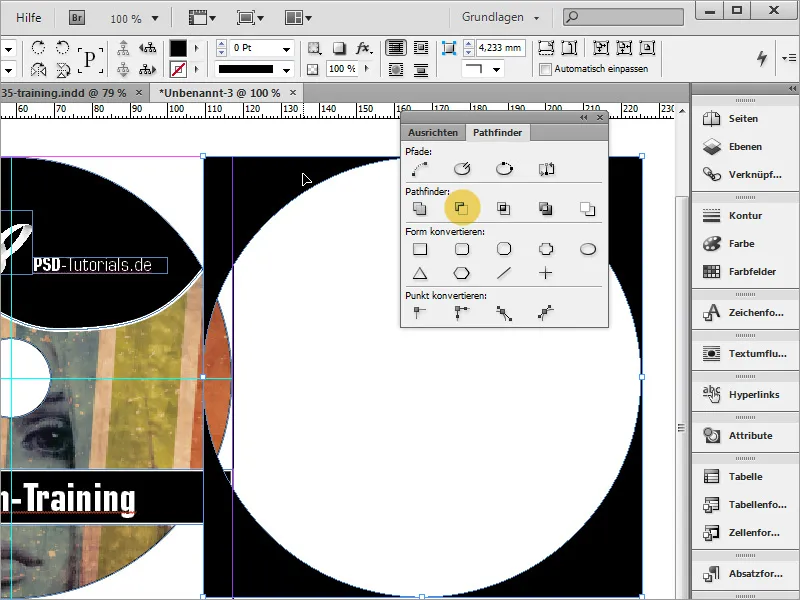
Now you can drag the area onto the document and color it white.