The customization of your website can be significantly influenced by the use of image content. With the Images Box in Elementor, you have the opportunity to present images along with headings and description texts in a creative way. Let's walk through the important steps together to effectively utilize this function.
Main Insights
- The Images-Box allows the insertion of images, headings, and texts.
- You can upload images from the media library or externally.
- HTML elements help in text formatting.
- Differences in image design such as typographic properties and hover effects are important.
Step-by-Step Guide
1. Inserting the Images-Box
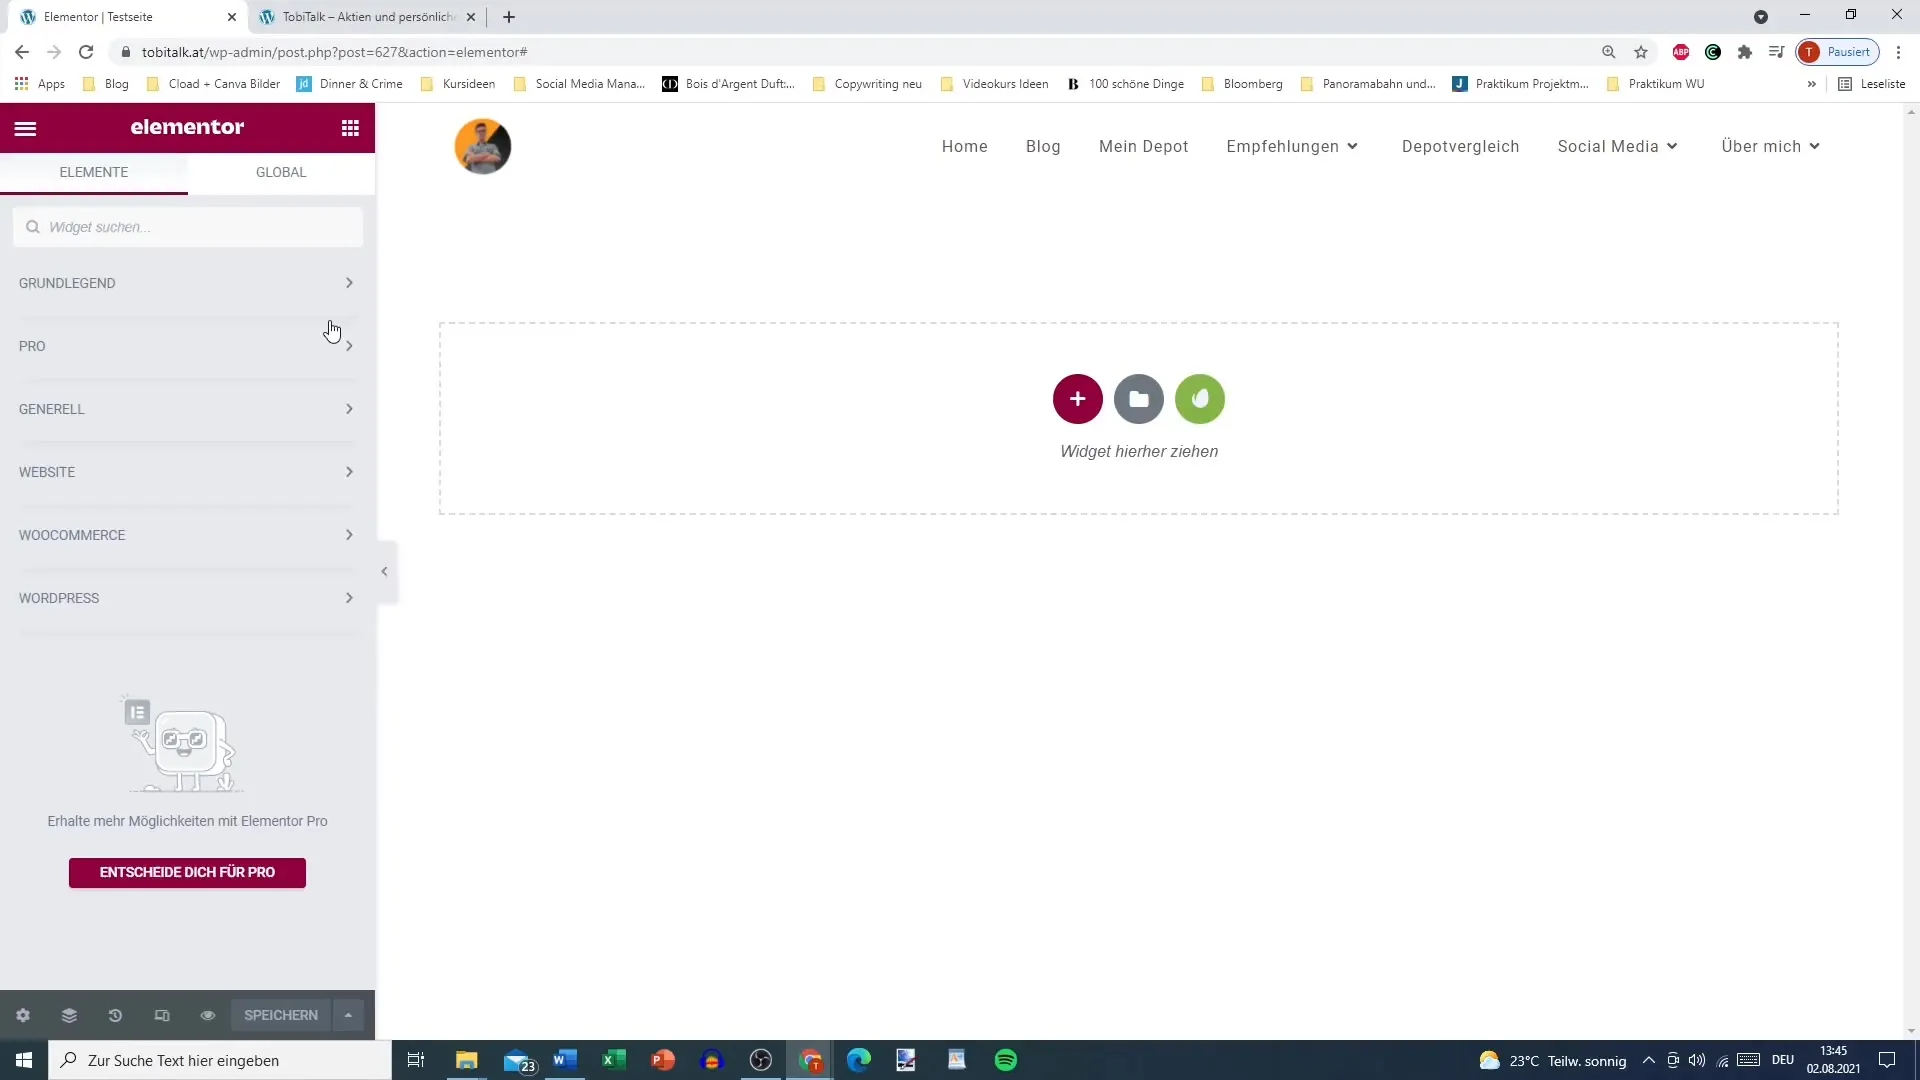
First, you need to add the Images-Box in your Elementor editor. You can drag the element directly from the selection in the new tab and place it at the desired text location on your website. This will prepare a basic layout for you with space for an image, a heading, and a description text.
2. Selecting an Image
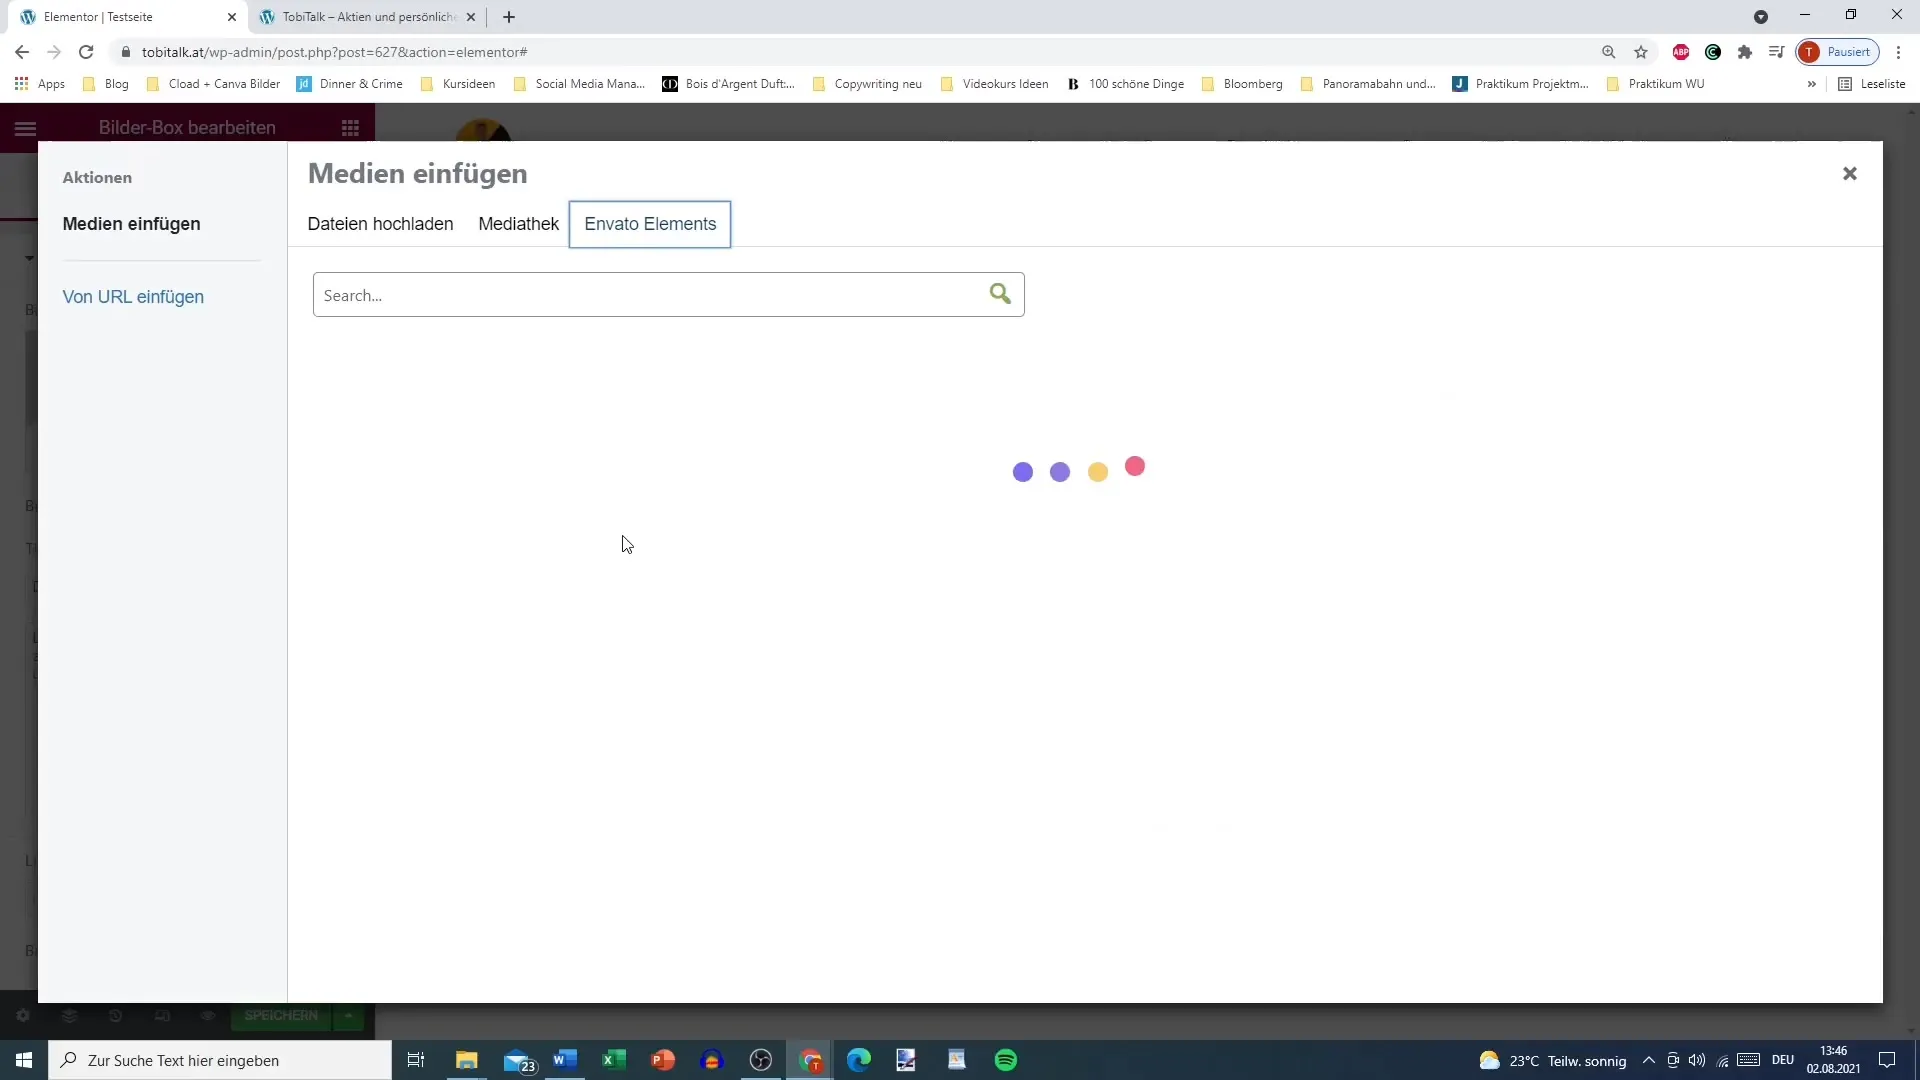
Now you select an image. Go to your media library or upload a new image. Make sure the image has suitable quality and optimal dimensions. Preferably, it should not exceed 200 MB to avoid affecting your website's loading speed.
3. Setting Image Size
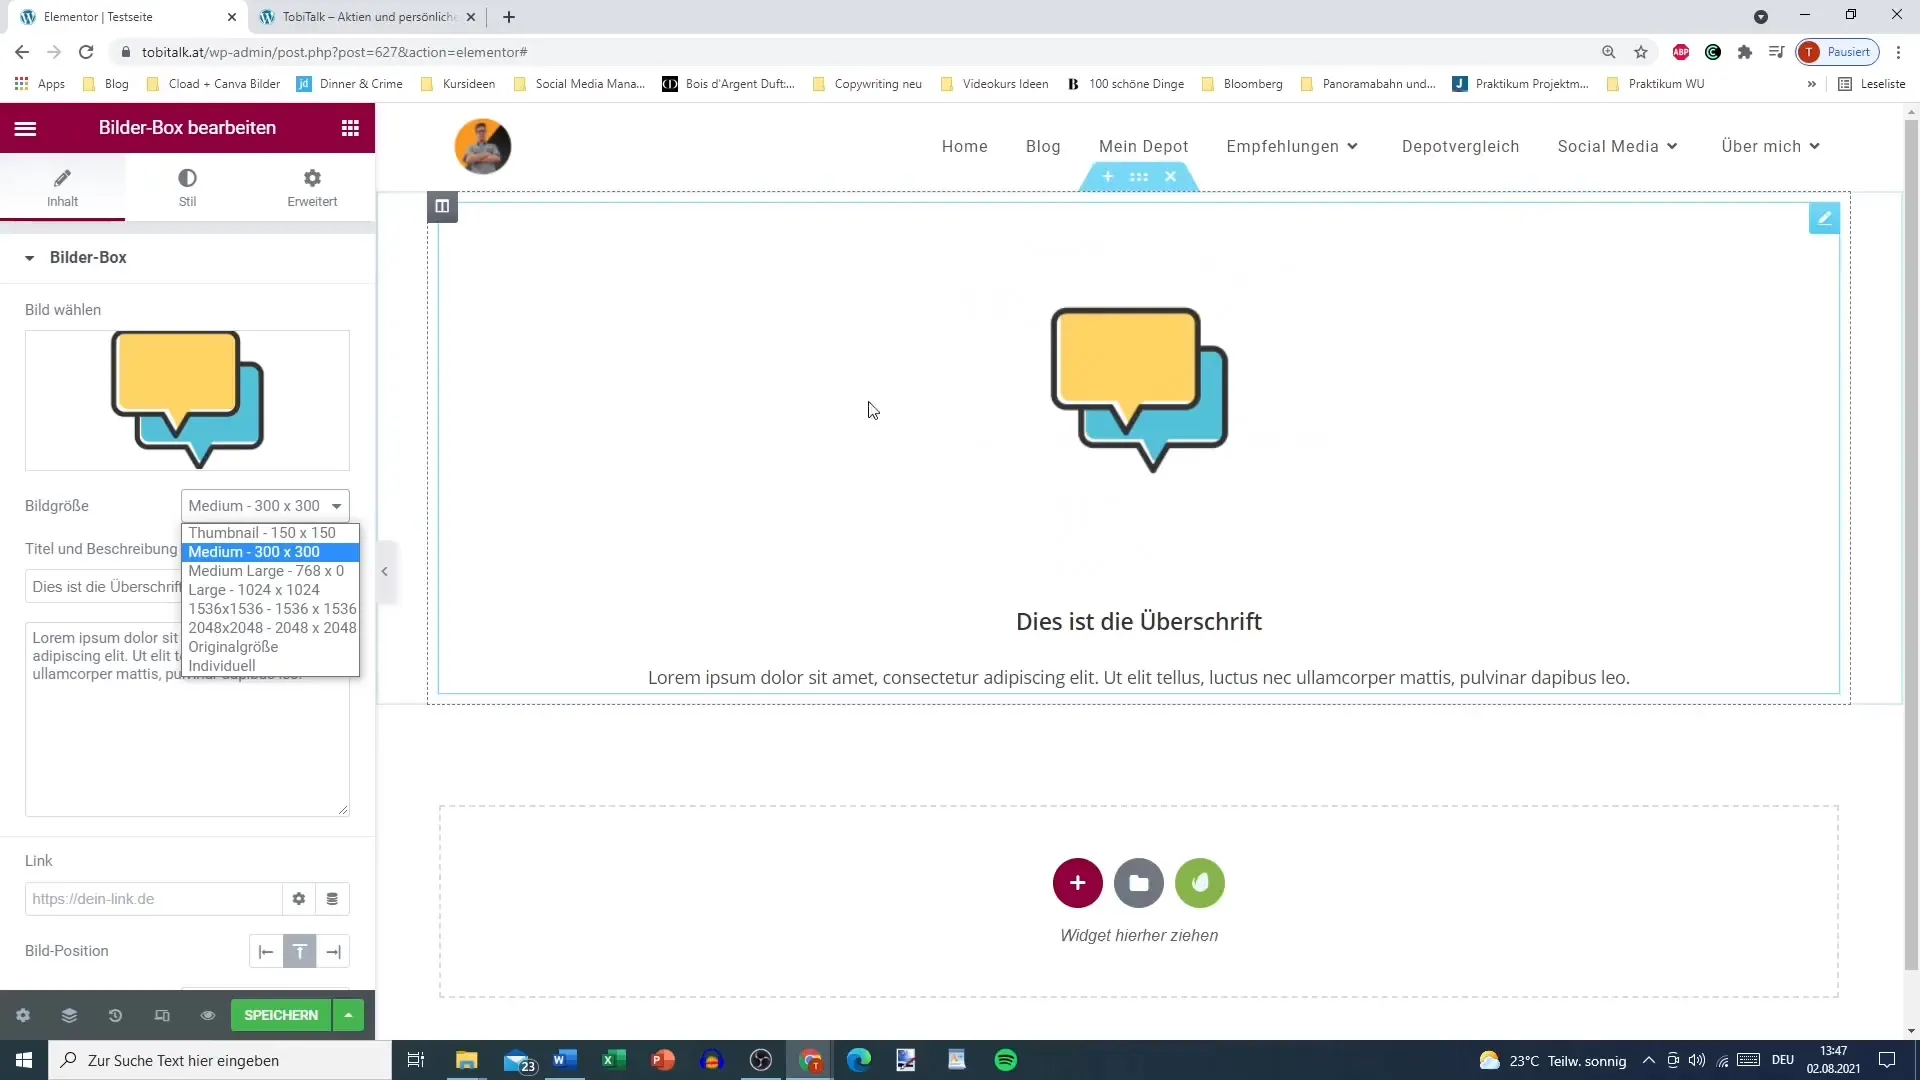
To adjust the image display, you can choose from different size options: Thumbnail, Medium, Large, or Original Size. Ensure that the selected image matches the overall design of your page. Inappropriate image formats causing large gaps can detract from the visual impression.
4. Formatting the Title
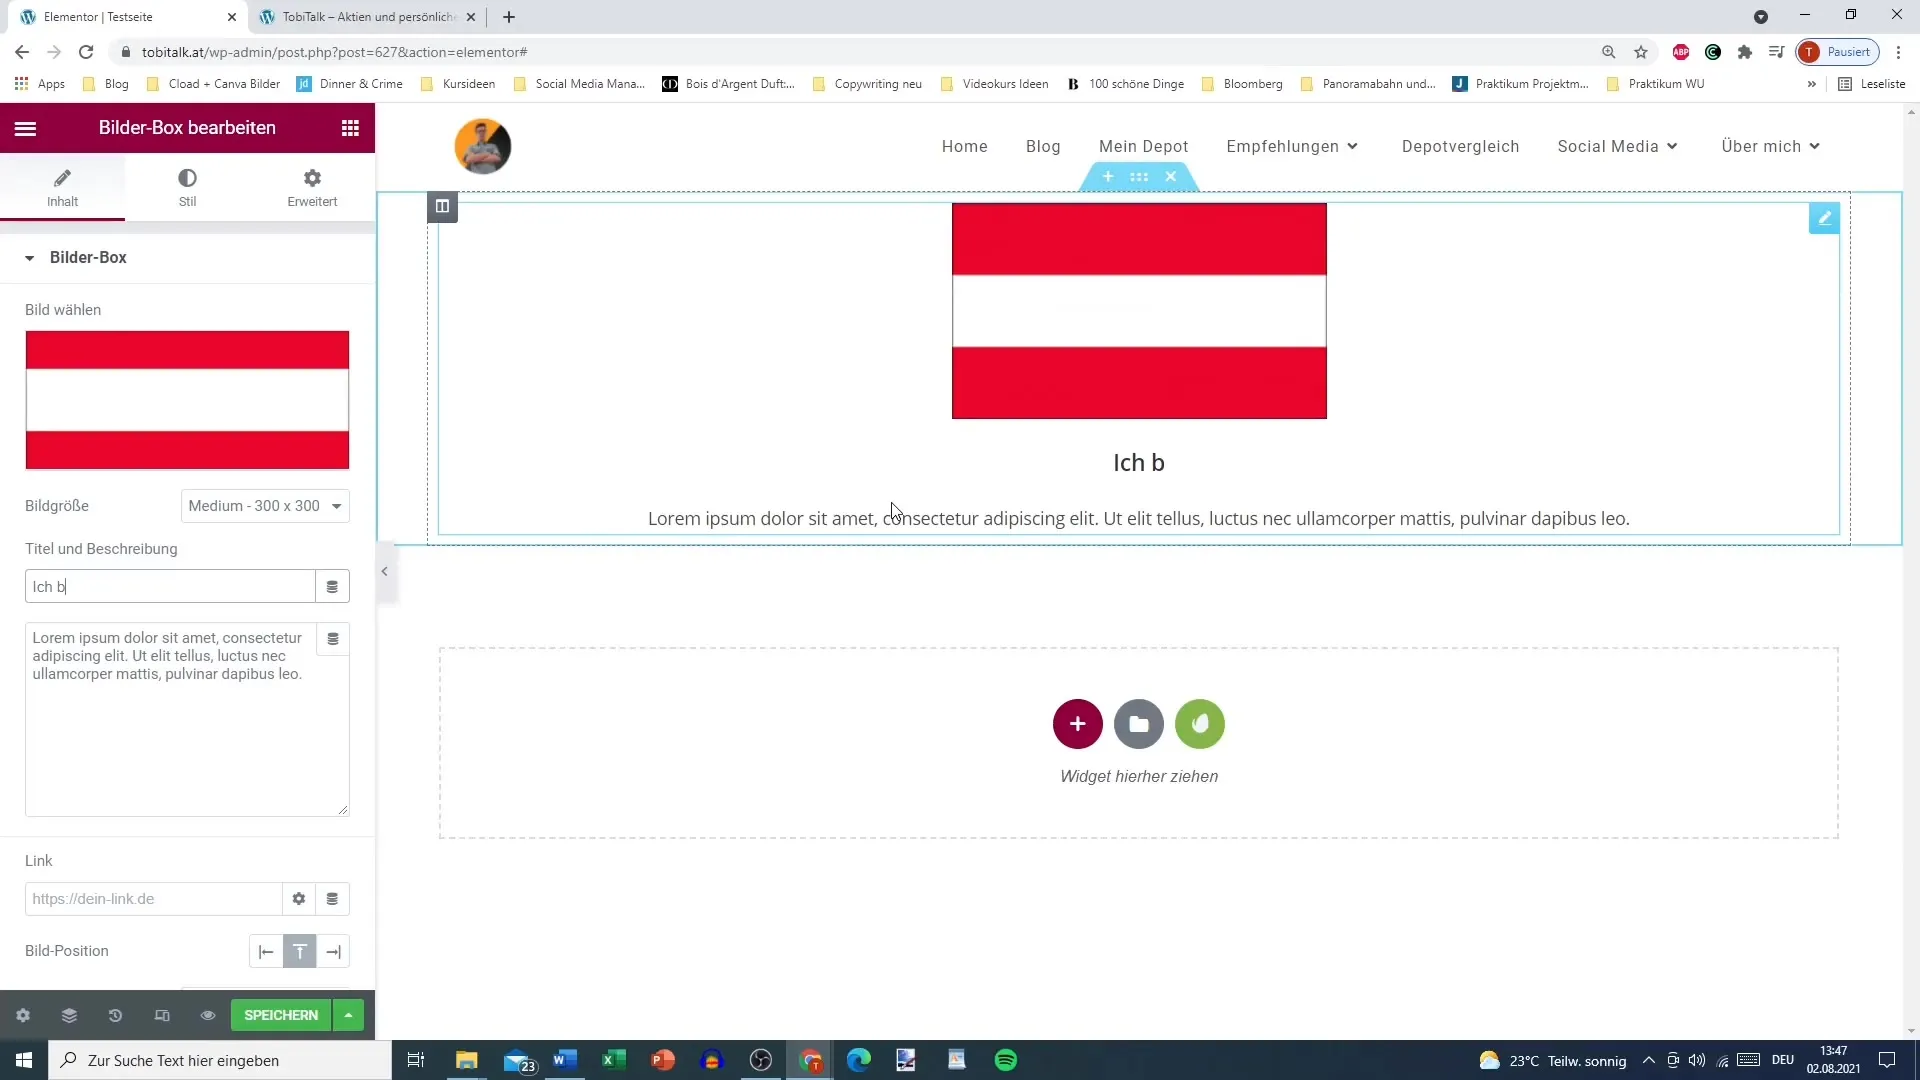
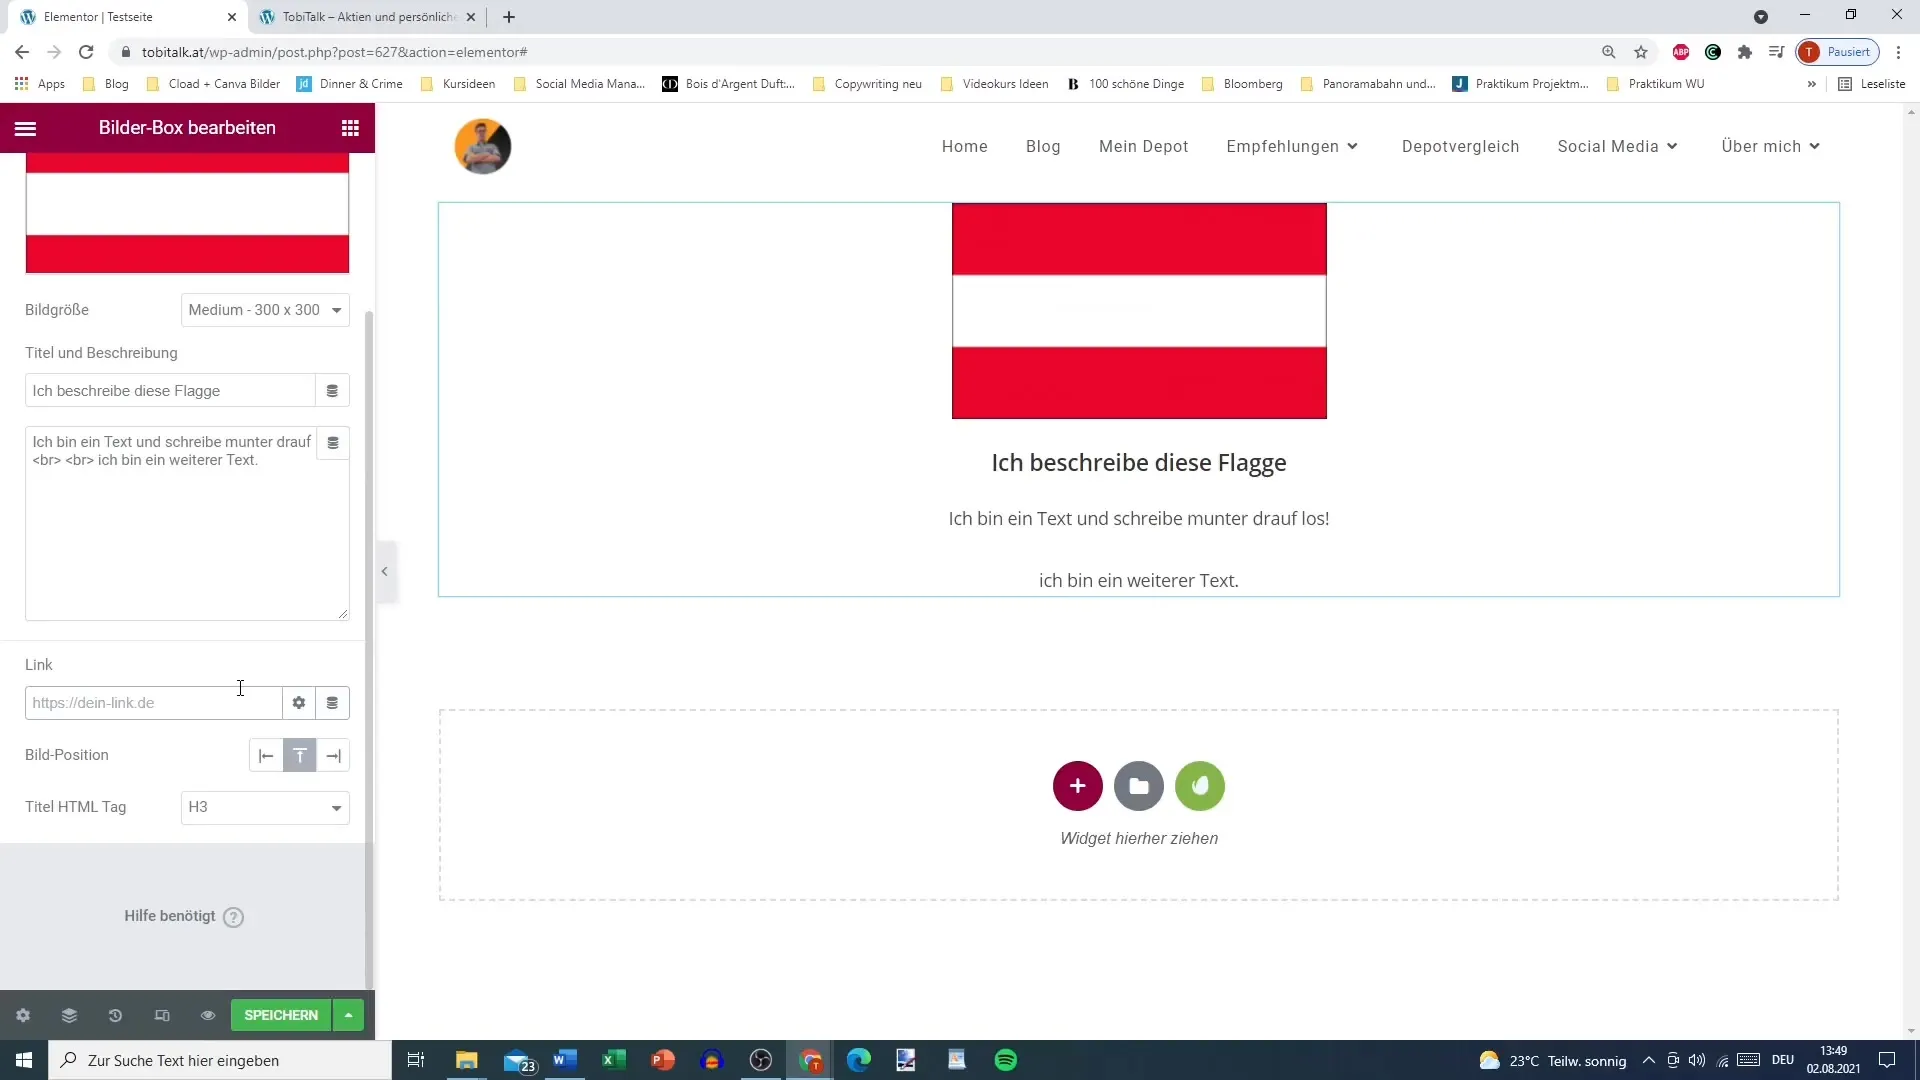
Go to the title section of the Images-Box. Here you can enter the title of your image collection, e.g. "Austria Flag". Choose a concise heading that catches the eye immediately.
5. Adding a Description Text
If desired, you can also add a description below the title. This is optional but a good way to provide more information to your visitors. If the description is lengthy, you should use HTML tags to create paragraphs.
6. Text Formatting with HTML
To create a line break within the text, you need to use HTML elements. For example, the
tag is used to generate a line break. Look up HTML codes online if you want to learn more about text formatting.
7. Adding a Link
You can also add links related to the image. This can link to your general pages or specific content like your YouTube channel. Make sure to enter the link correctly so that users can access it directly.
8. Image Position and Alignment
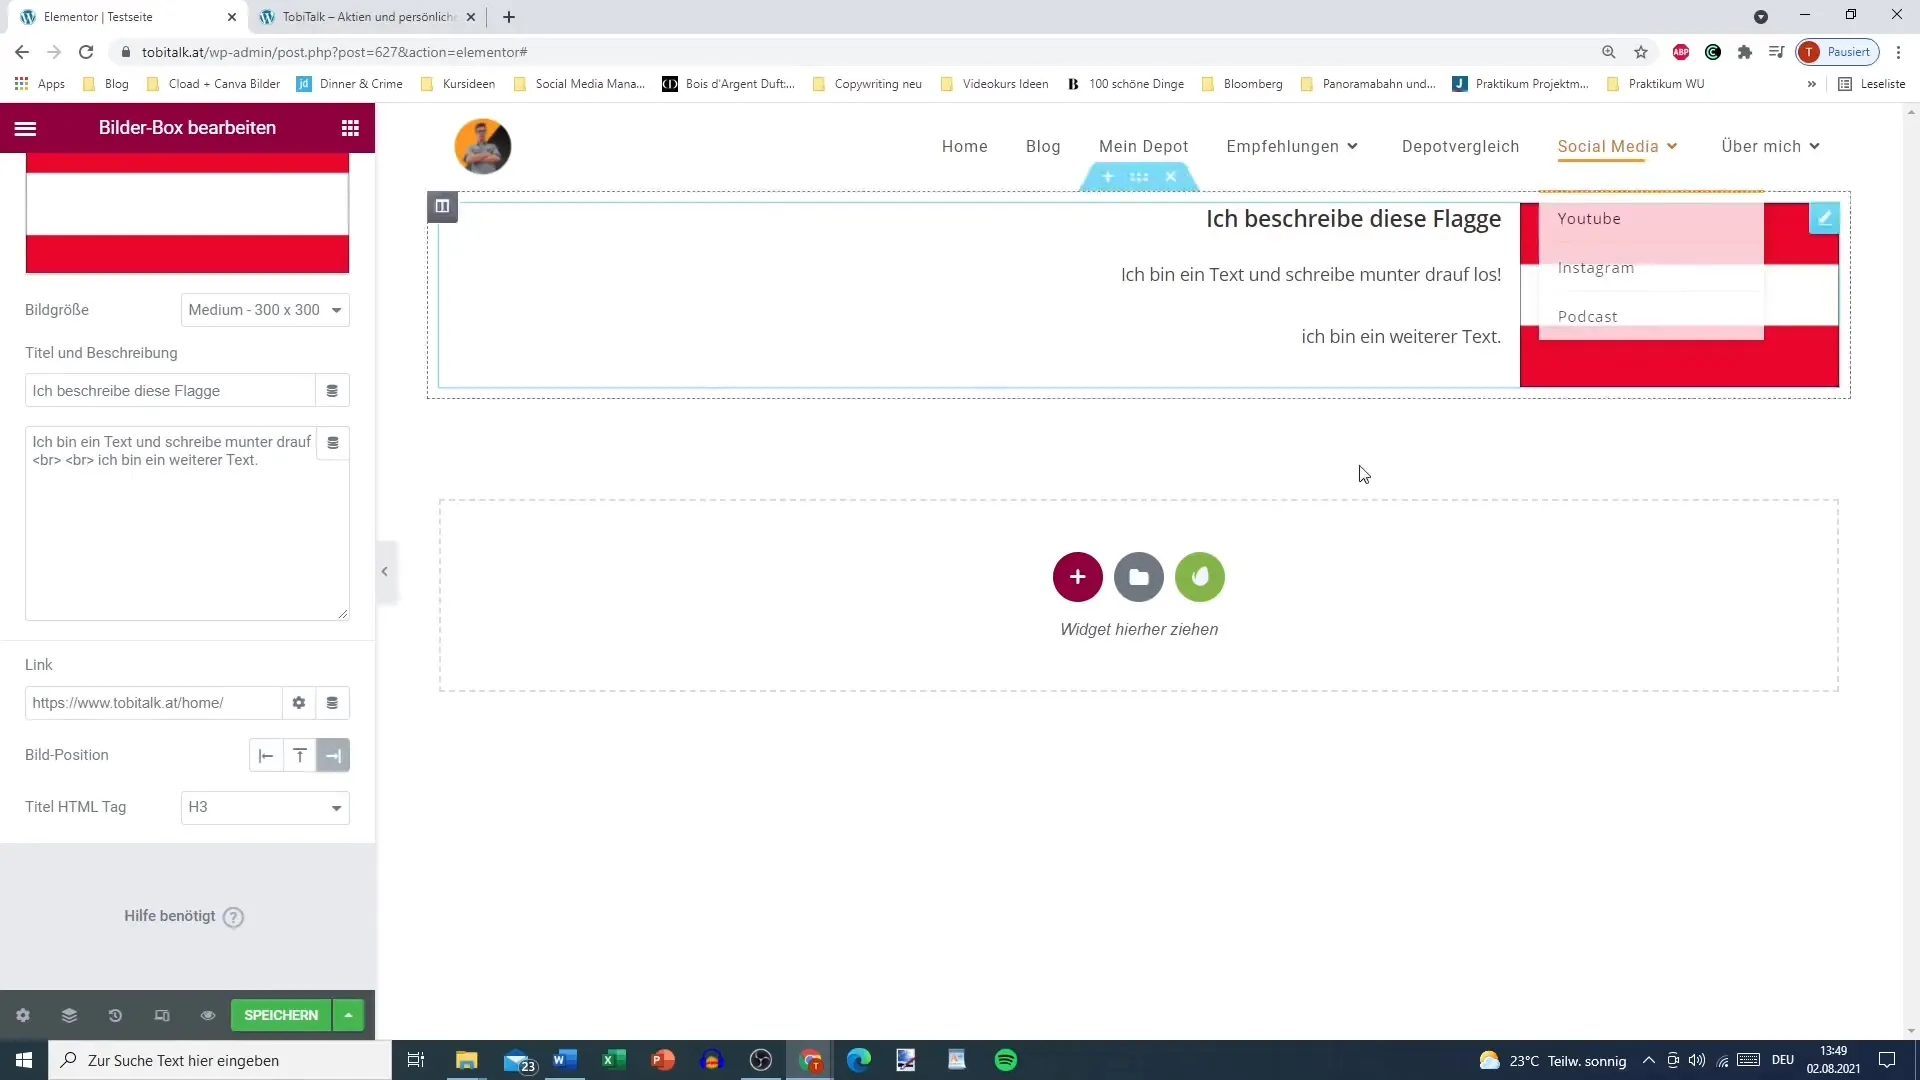
Now you can determine the placement of the image within the box: left, right, or center. Also, learn about typography for titles and descriptions so that the text looks inviting to your visitors.
9. Customizing Style
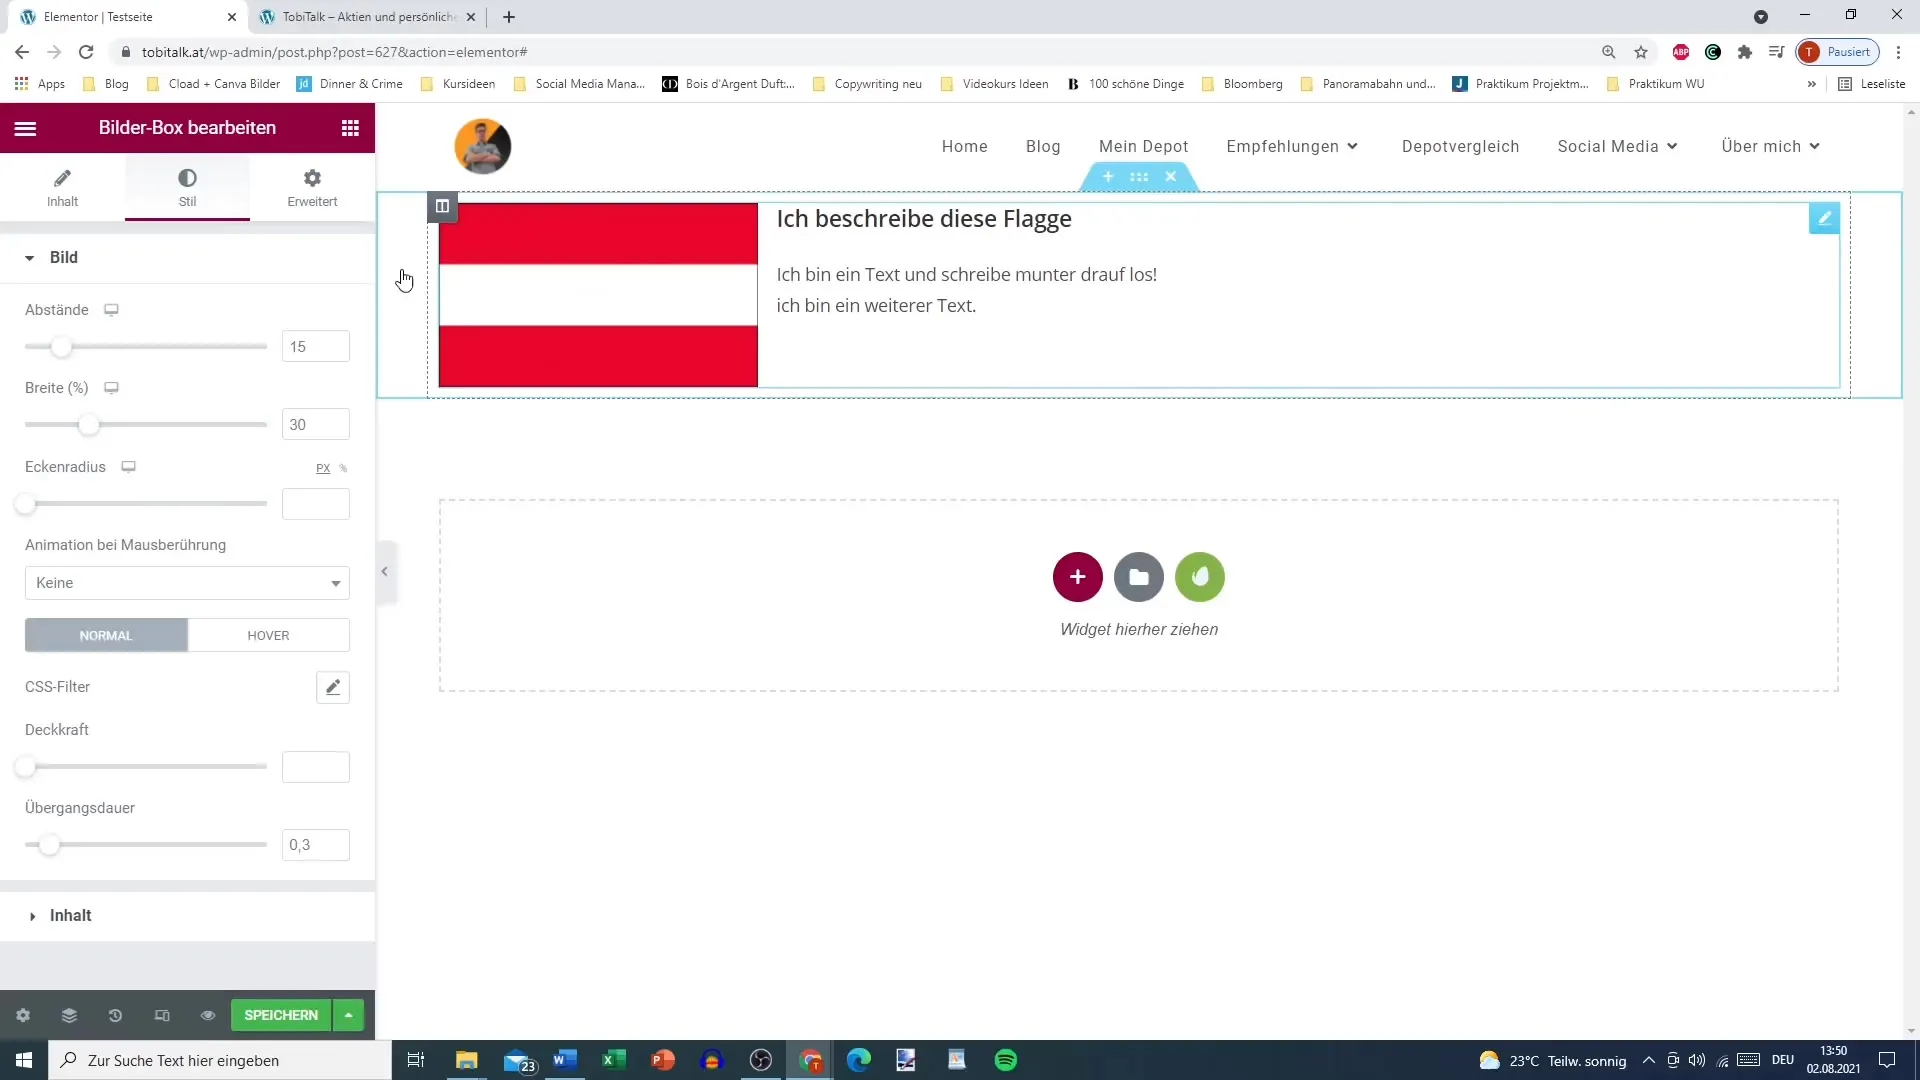
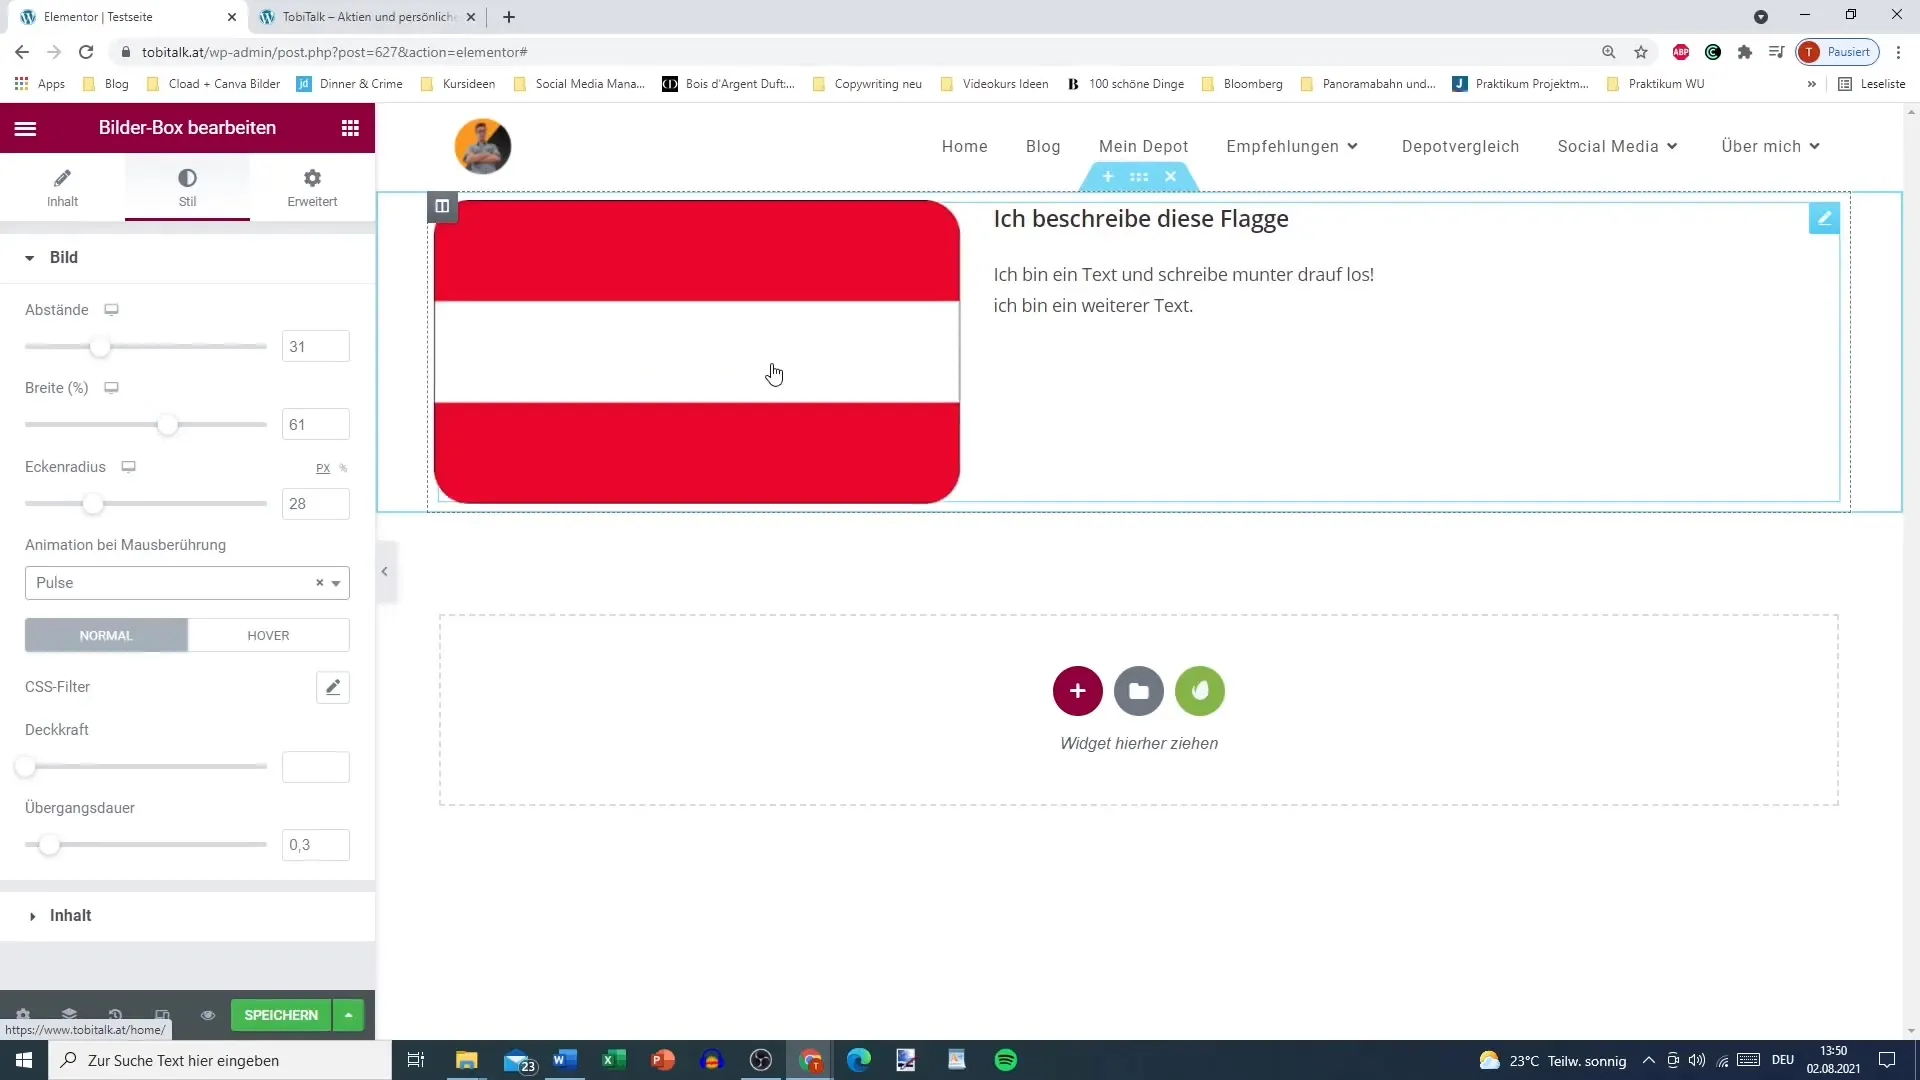
In the style options area, you can adjust the image and text backgrounds, margins, and corner radius settings. Note that adjusting the corner radius can round the image and give it a more elegant look.
10. Configuring Hover Effects
Define how the images should react when the user hovers over them. You have the option to add animations, such as slightly enlarging the image or changing the opacity. Such effects contribute to the user experience of your website and make it more dynamic.
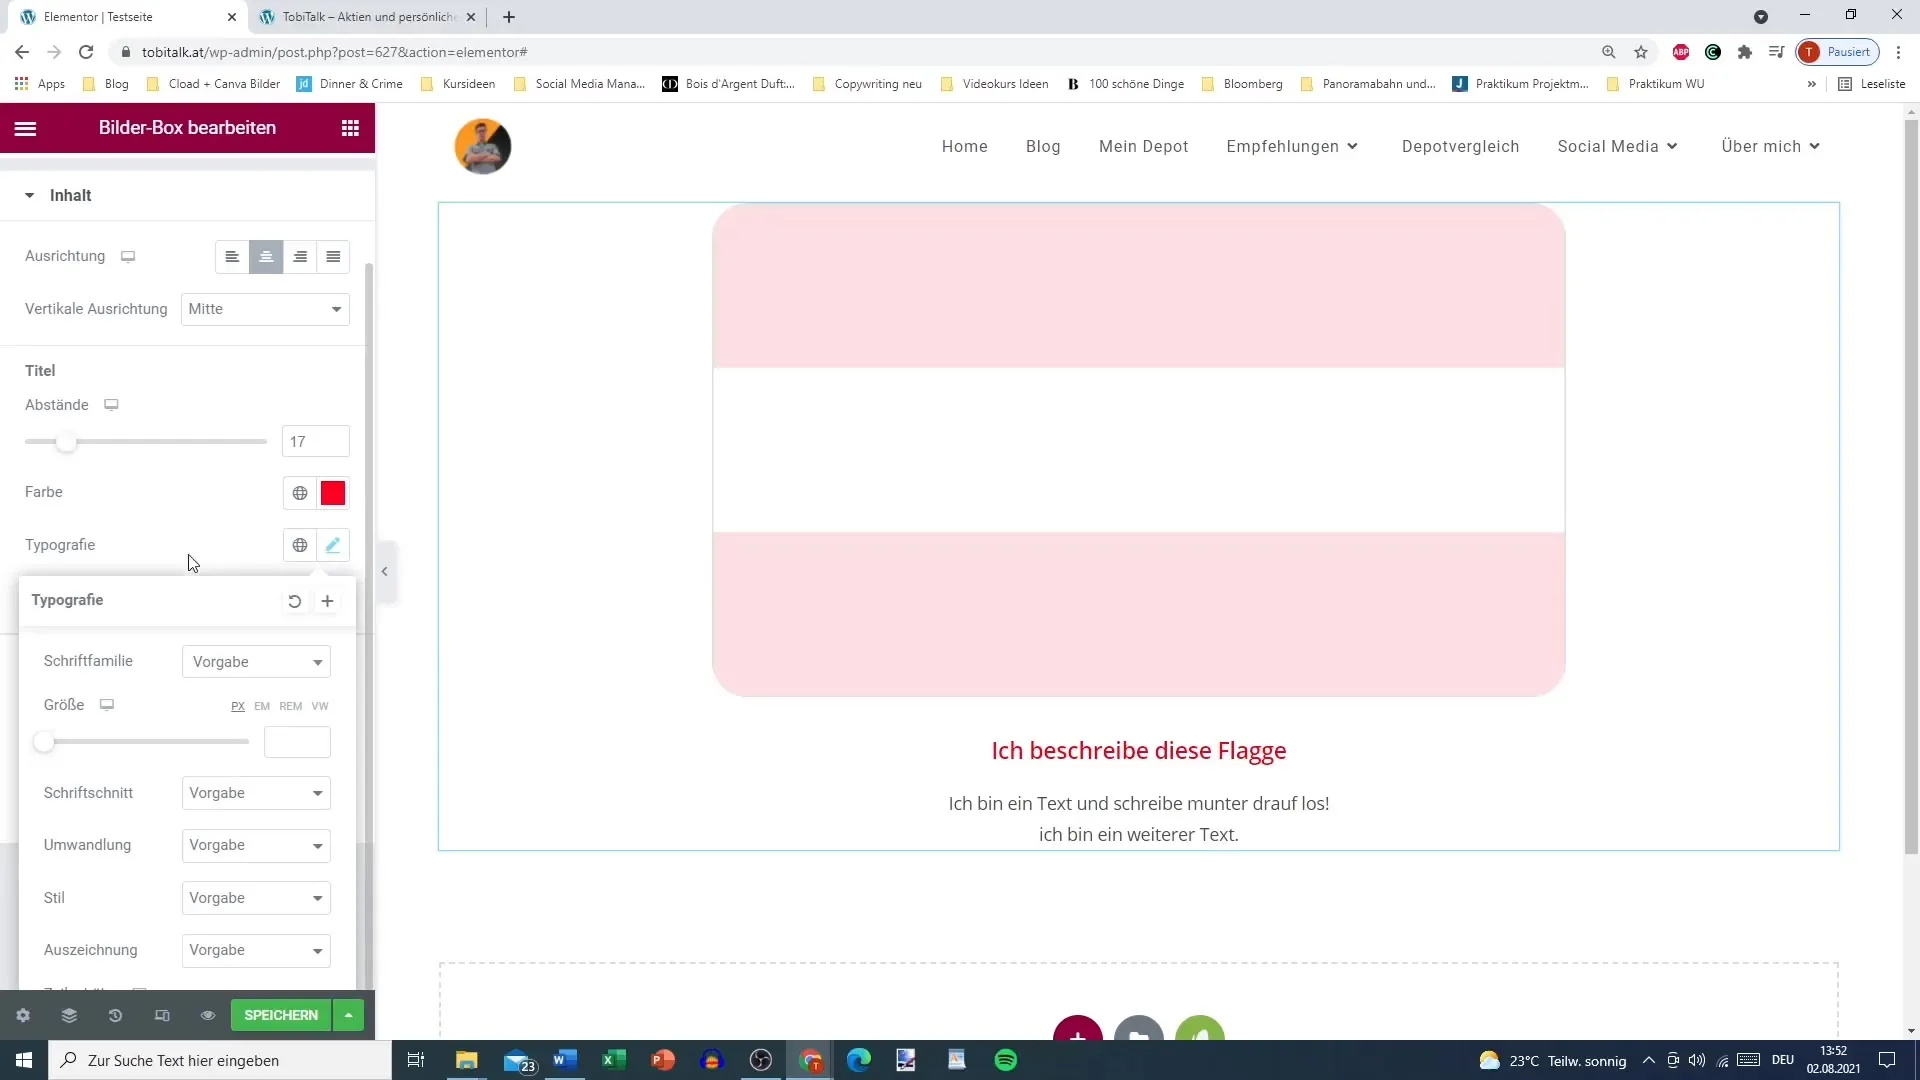
11. Setting typography for title and description
Finally, you can configure the typography for the title and description. Experiment with different fonts and colors to improve your website design. This will make the text more reader-friendly and visually appealing.
Summary
The Image Box in Elementor offers versatile options for displaying image content. You can work creatively and at the same time improve user experience. By using suitable formatting, hover effects, and appealing links, you make your images even more interesting.
Frequently Asked Questions
How do I add an Image Box in Elementor?Drag the Image Box from the selection into the desired area of your Elementor Editor.
How do I choose an image for the Image Box?Select an image from your media library or upload a new image that does not exceed the maximum size of 200 MB.
Can I use HTML for text formatting?Yes, to create paragraphs, you can use HTML tags like.
How do I add a link to the Image Box?Enter the URL of the page or your channel in the link field.
How can I customize the design of the Image Box?Use the style options in Elementor to change margins, sizes, colors, and fonts.
