Elementor is a powerful Page Builder for WordPress that allows you to create attractive websites without programming knowledge. One of the most useful elements in Elementor is the Icon List. With this feature, you can visually present information in an appealing way, whether it be for to-do lists, social media links, or other content. In this guide, I will show you step by step how to create and customize an attractive Icon List.
Key Insights
- With the Icon List, you can easily add visual elements.
- Each entry can be individually provided with text, icons, and links.
- The style and layout of the list are flexible and customizable.
Step-by-Step Guide
Step 1: Open Elementor and Add Icon List
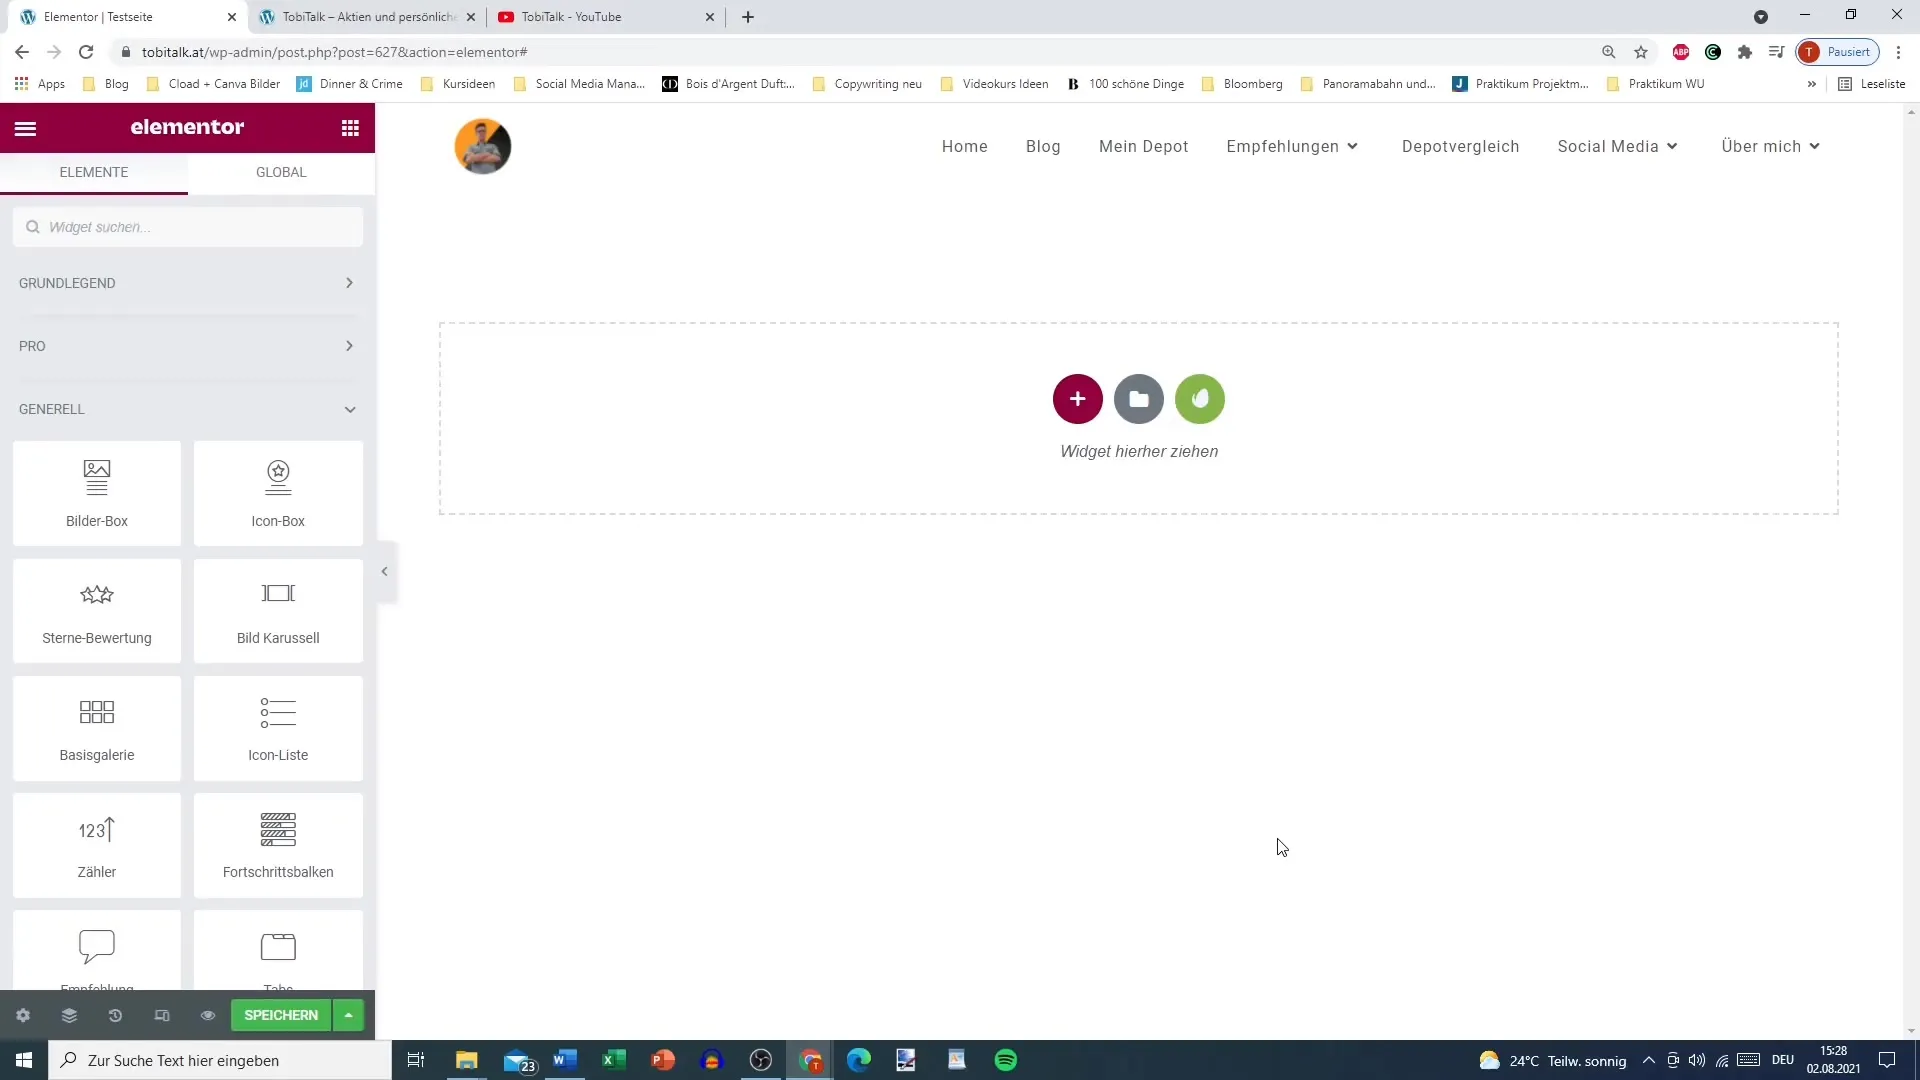
First, open the Elementor editor on the website you are working on. Look for the "Icon List" option in the Elementor widget area. Drag this widget into the desired section of your page.
Step 2: Customize Elements of the Icon List
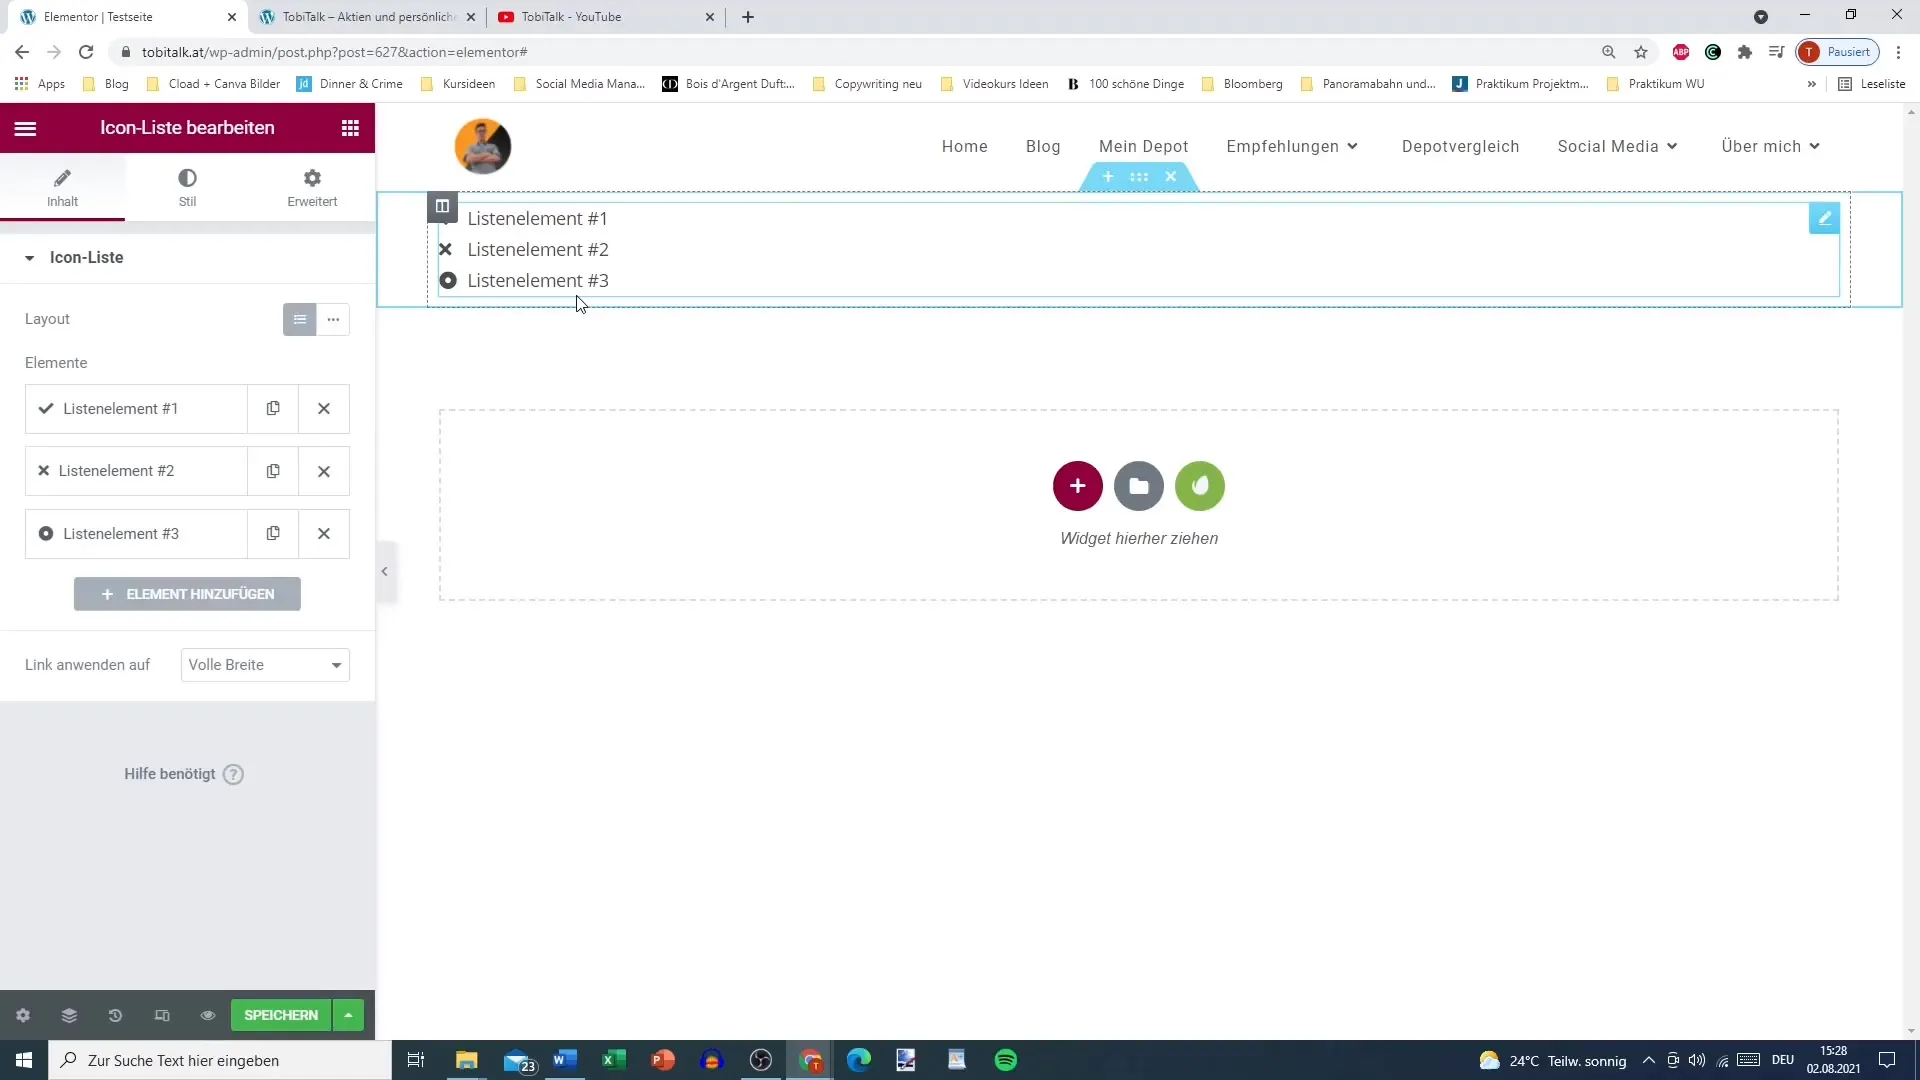
Once the widget is placed, you will see some list items by default. You can change the number of icons and text lines using the corresponding options in the left menu. Click on "List Item 1" to edit the text. Here, you can enter "YouTube," for example.
Step 3: Choose Icons
To select a suitable icon for each list entry, click on the icon area. A window will open where you can choose from an extensive library. Search for "YouTube" and add the desired icon.
Step 4: Add Links
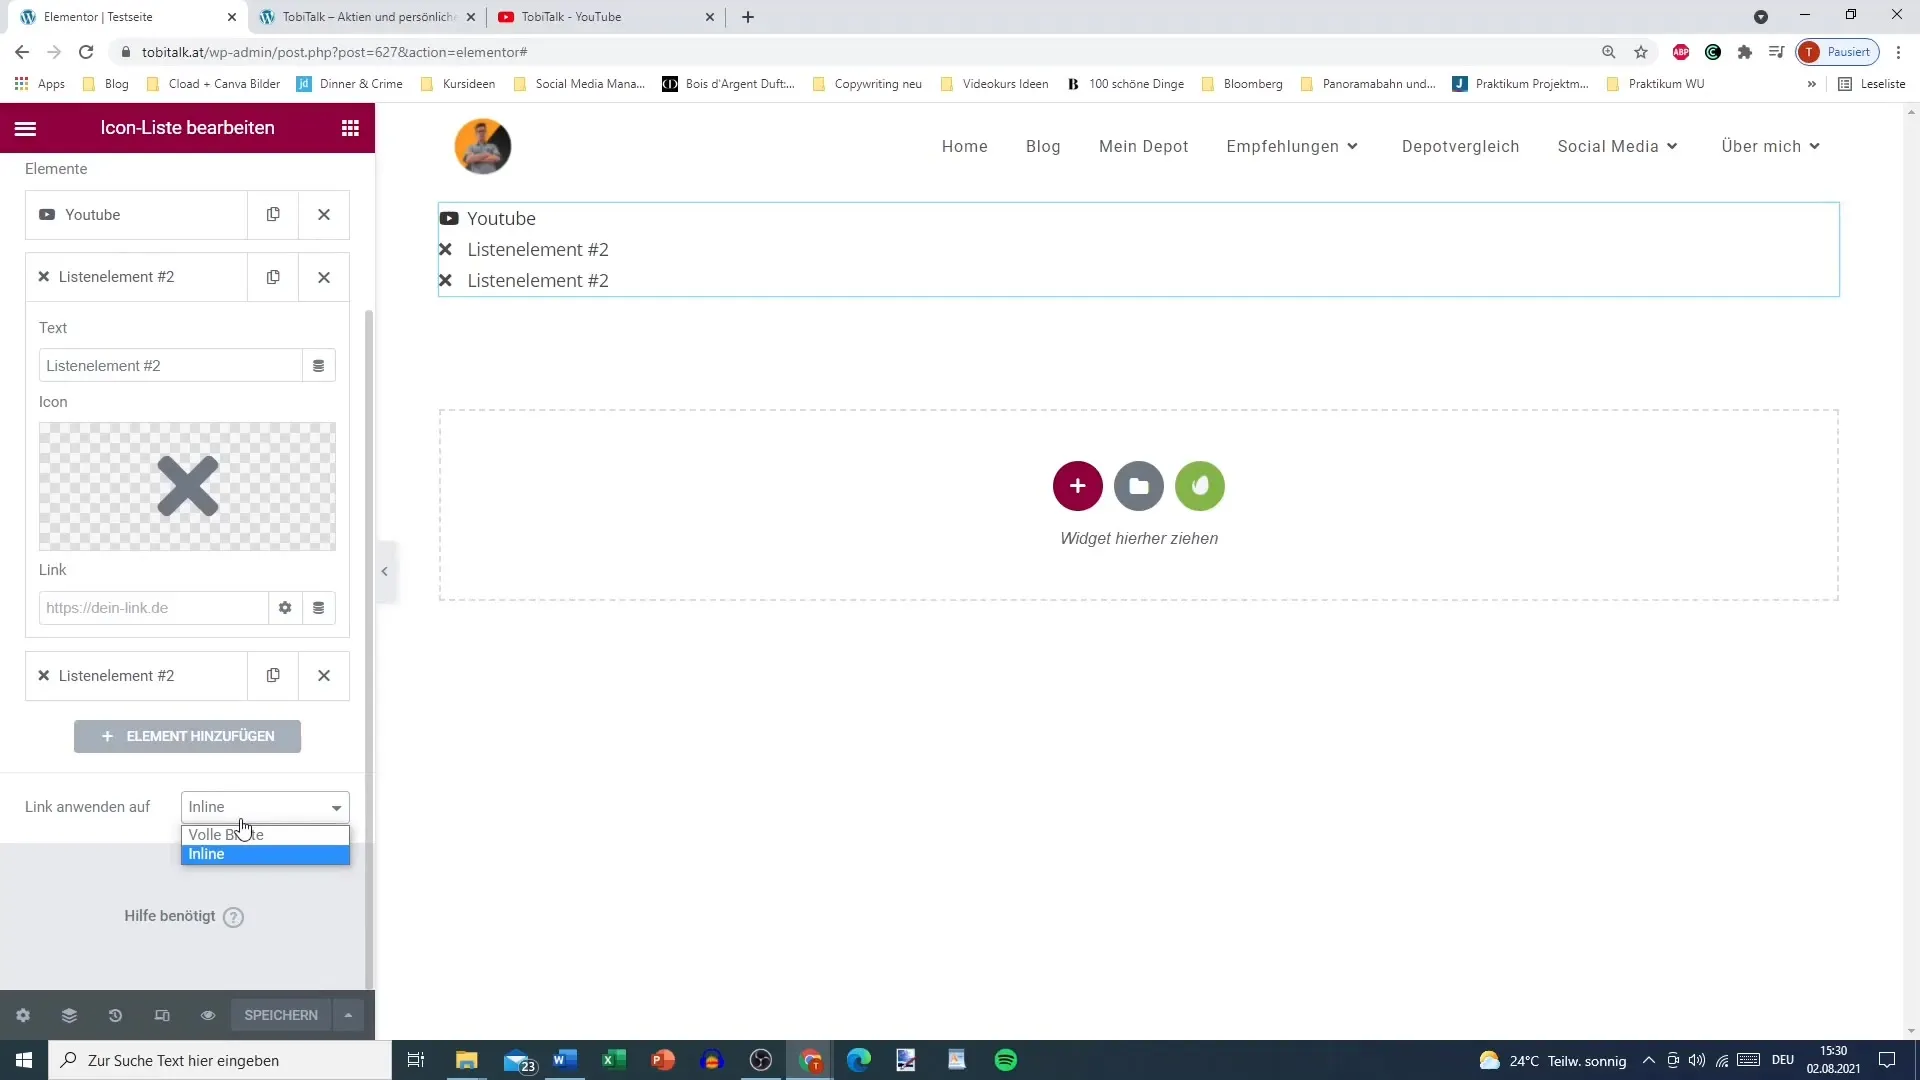
You can also assign a link to each list item. Click on the "Link" field next to the text and insert the corresponding URL, such as the link to your YouTube channel.

Step 5: Customize Layout
You can now configure the layout options. Choose between "Inline" or "Full Width." Decide how you want to visualize your Icon List to match the overall style of your website.
Step 6: Customize Style
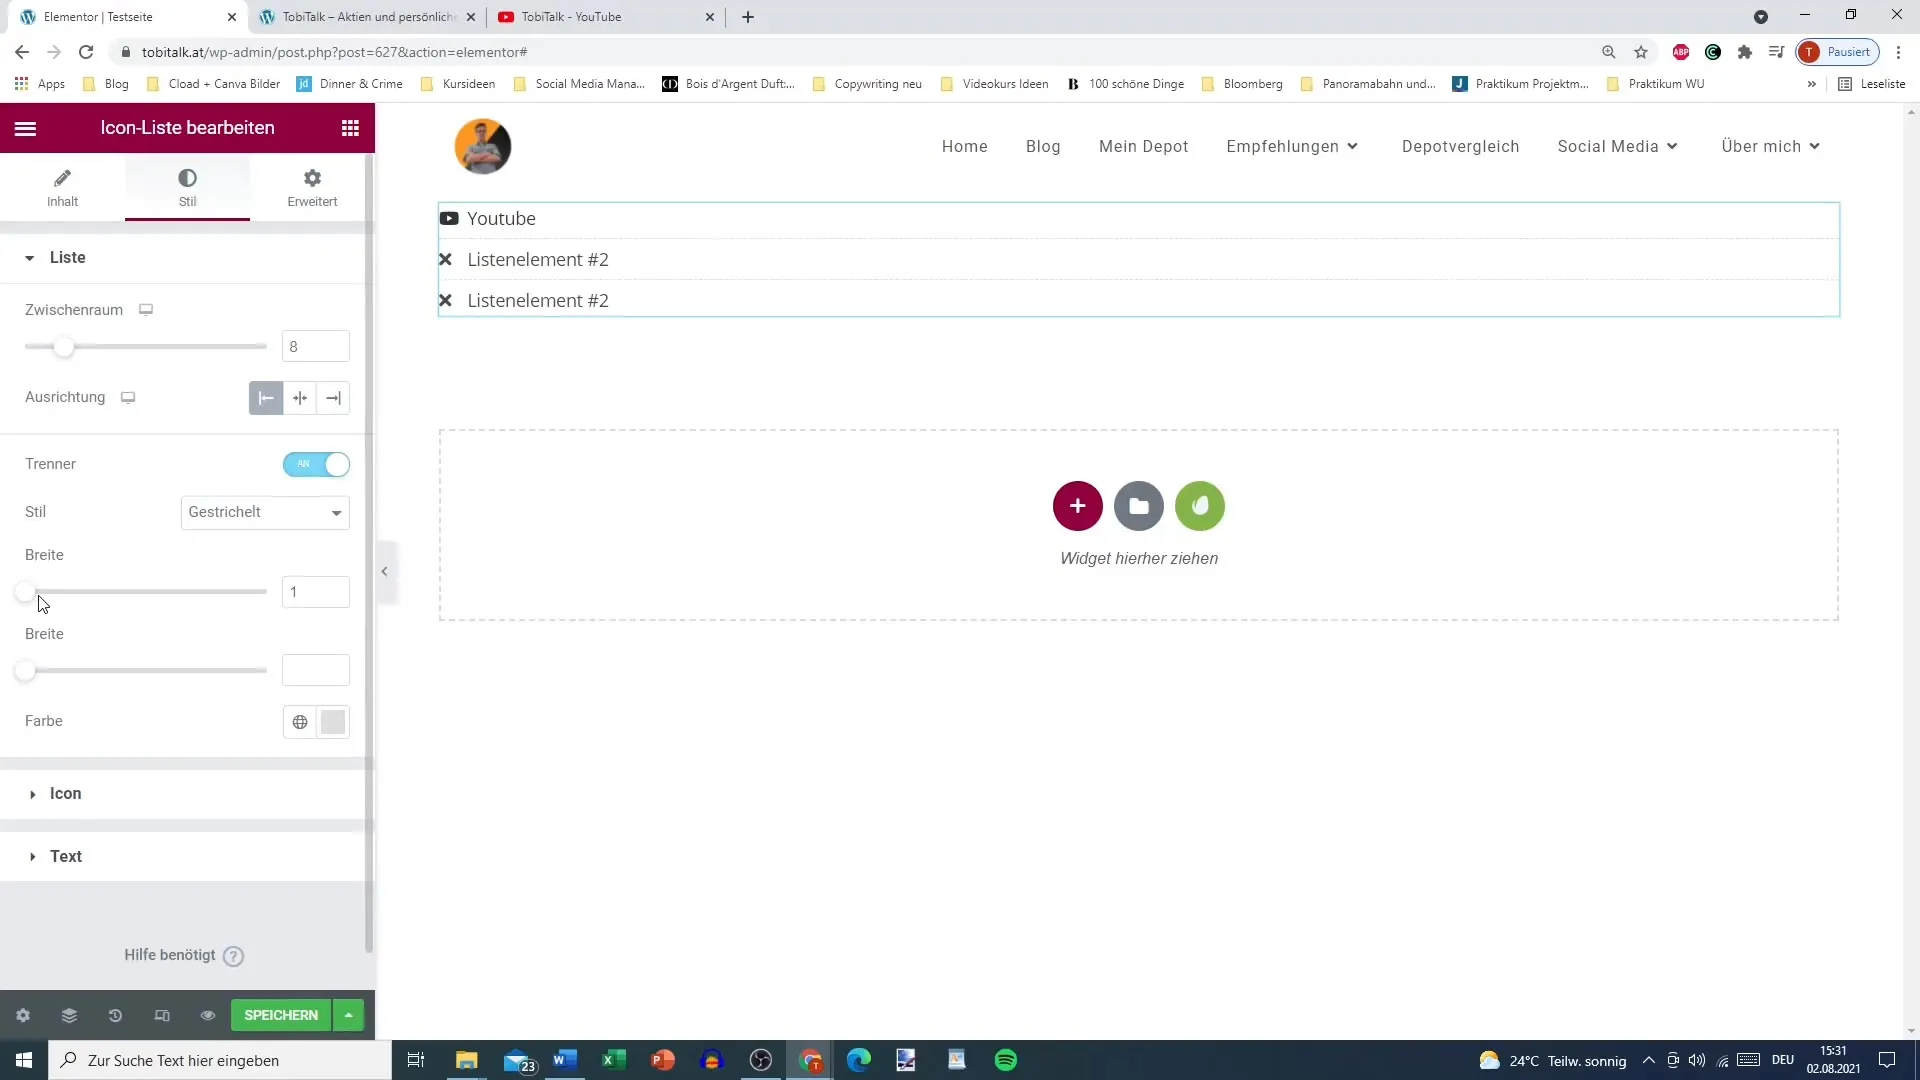
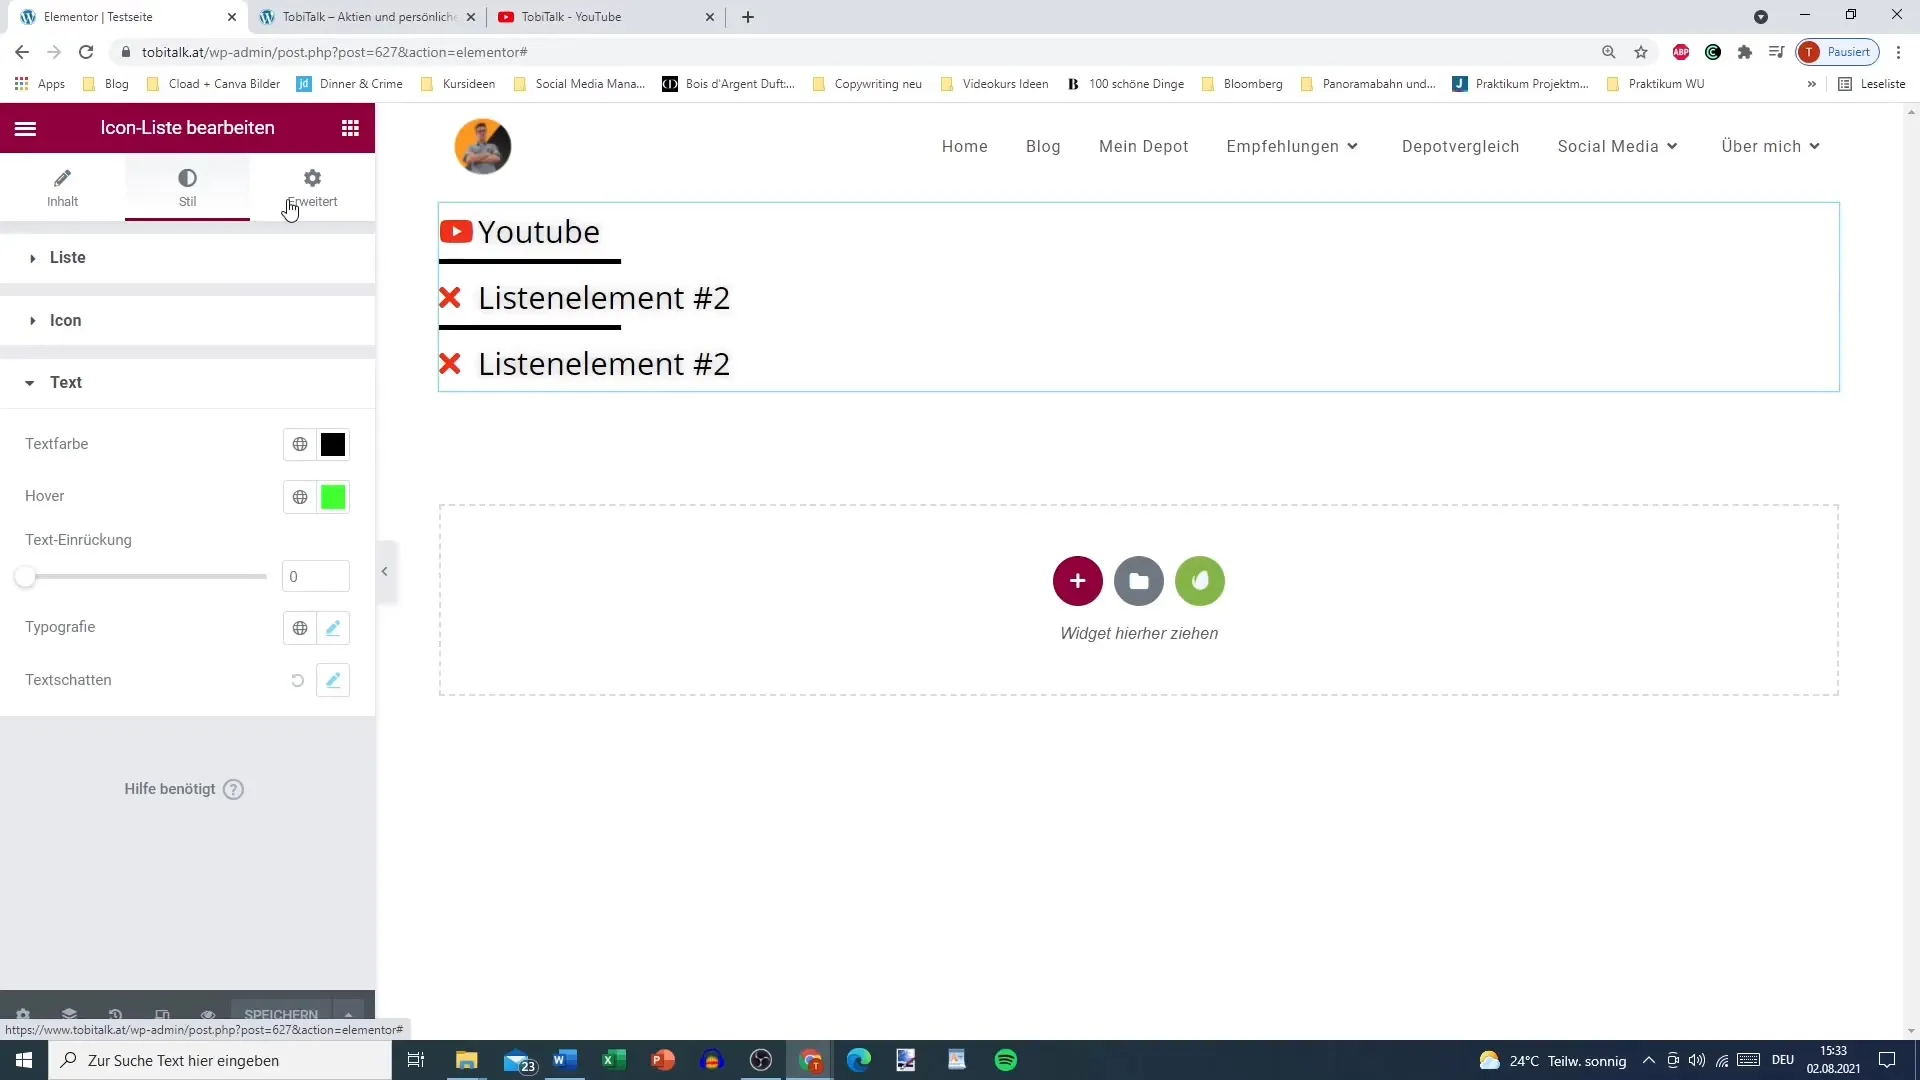
Go to the Style tab to change the appearance of your Icon List. Here, you can set the spacing between individual lines, adjust the alignment, and activate any separator elements. For example, choose a dashed line as a separator for an elegant look.
Step 7: Customize Colors
You can change the colors of your icons and text. For example, select a green color when hovering over the element with the mouse. This creates an interactive shadow effect that catches the attention of your visitors.
Step 8: Set Font Sizes and Typography
To ensure that the font size visually complements the icons, adjust the text size under the "Text" tab. Set the size to, for example, 25 and choose an appropriate font color for a harmonious visual effect.
Step 9: Preview and Save
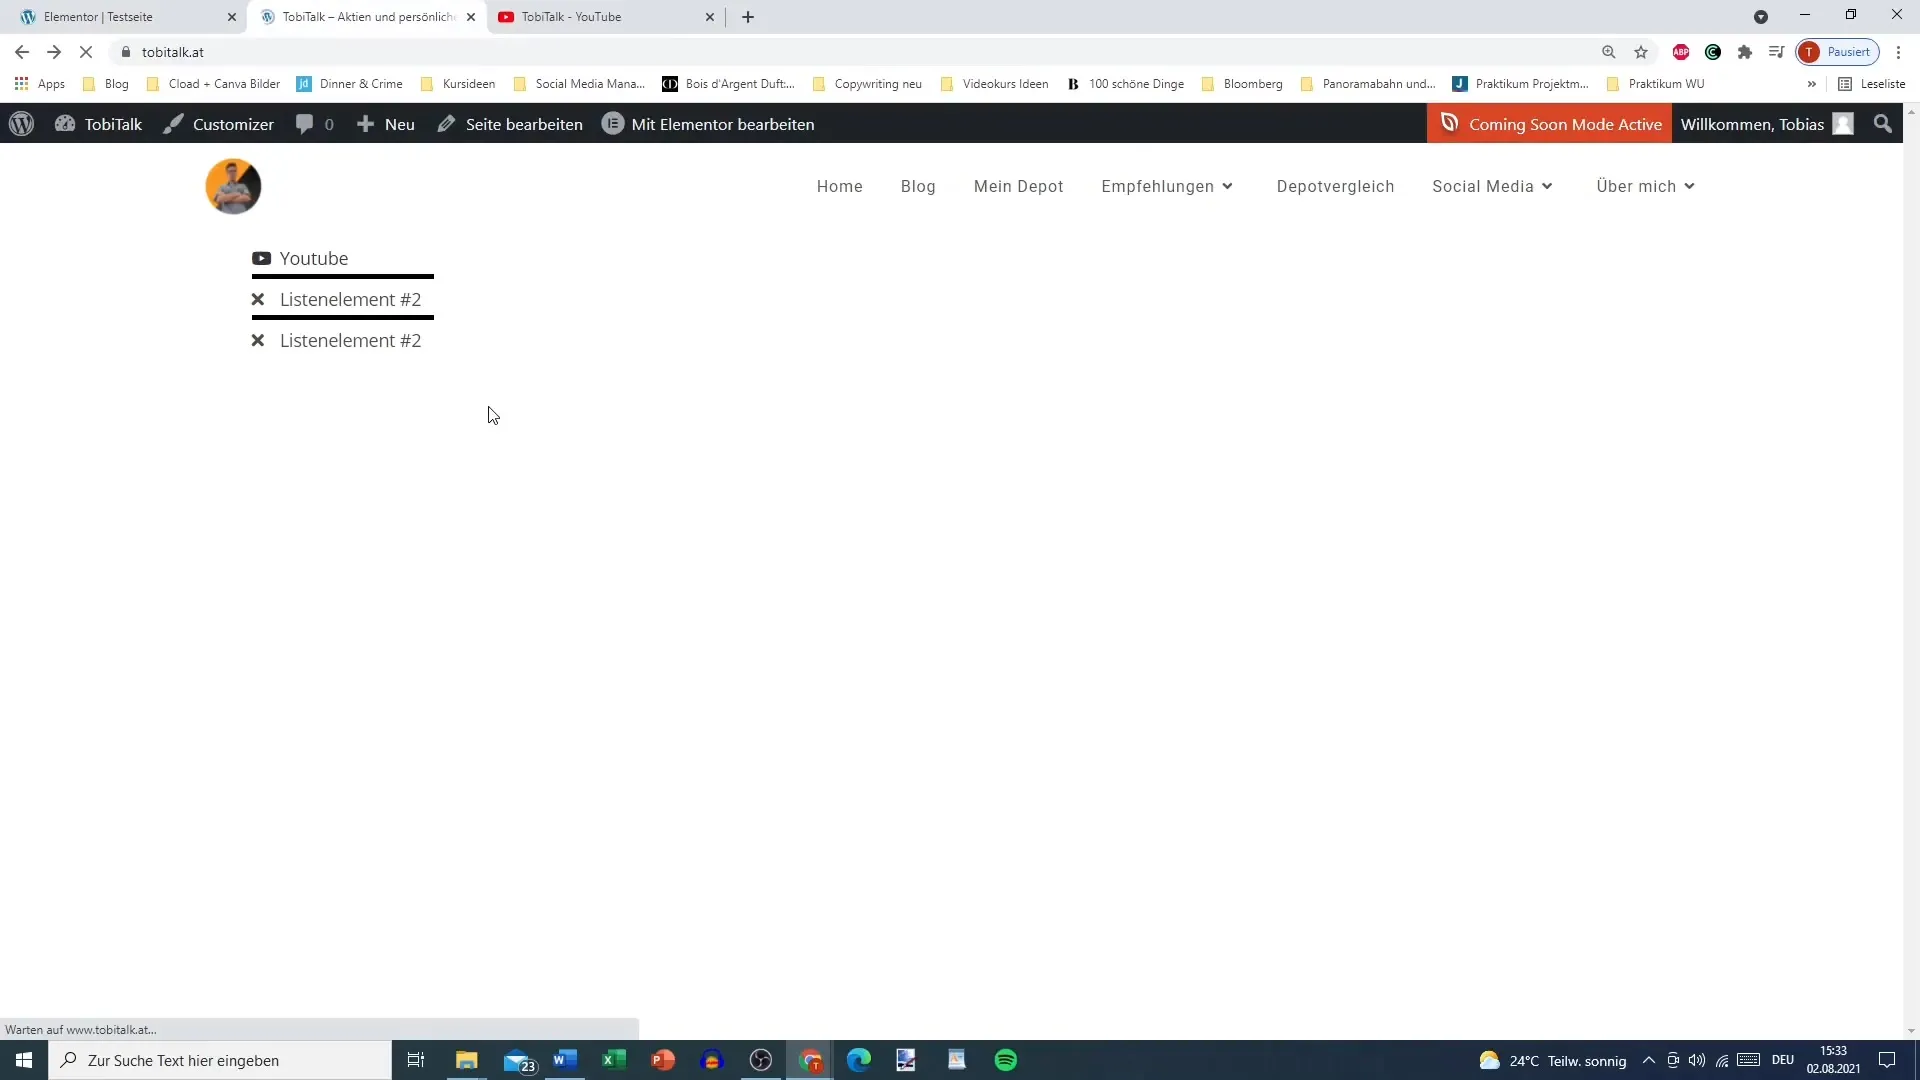
Once you are satisfied with your Icon List, click "Save" to apply the changes. Preview to see how the list looks on the frontend.
Step 10: Test Functionality
Test the links on your published page to ensure that everything works as expected. Also, check if the hover effects are displayed correctly to ensure interactivity.
Summary
In this guide, you have learned how to create an appealing and functional icon list step by step with Elementor for WordPress. You just need to make a few simple adjustments to customize the list to your style and enhance the user experience.
Frequently Asked Questions
How do I add a new list item to the icon list?You can simply click on the "+" symbol in the icon list widget to add a new element.
Can I change the icons after adding them?Yes, you can customize each icon at any time by clicking on the respective list item.
How can I change the colors of the icons?In the style section of the Elementor editor, you can adjust the colors of the icons and text.
Can I add links to social media?Yes, each list entry can be provided with a link, ideal for social media.
Is there a preview function in Elementor?Yes, you can preview your changes before saving them.


