3D texts bring depth and dynamism to your designs and can be used in versatile ways. There are different approaches to create this effect – from the classic old-fashioned method to the clever, time-saving variant. In this tutorial, I'll show you both ways to create 3D text in Photoshop. You will learn how to manually create a traditional look and how to effortlessly achieve impressive results with modern tools and techniques. Let's get started and bring your texts into the third dimension!
Step 1:
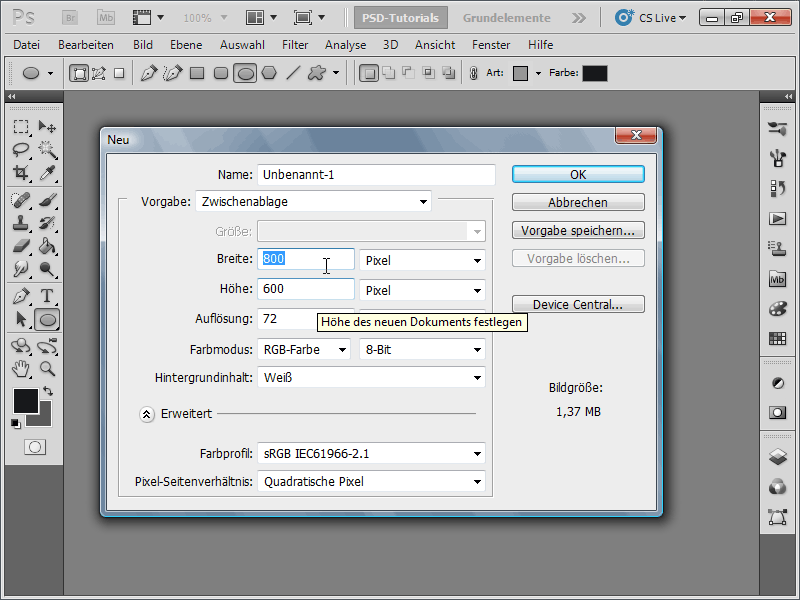
First, I create a new document; the size doesn't matter at all. I choose a very small size of 800x600 pixels. If you want to print this effect, the unit should be changed from pixels to cm and the resolution from 72 to 300 ppi.
Step 2:
Now, I create a letter that is quite thick. I use the font Arial Black with a size of about 580 pt in Dark Gray color.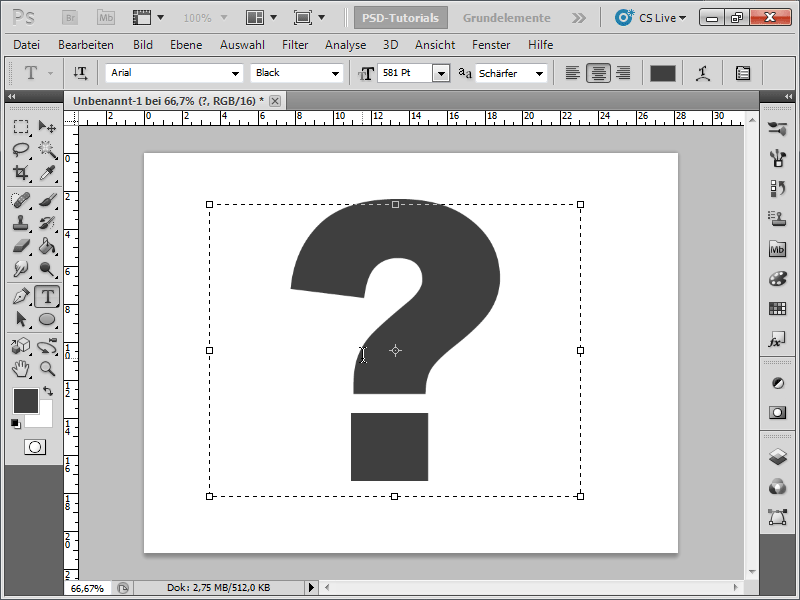
Step 3:
Next, I duplicate the layer with Ctrl+J and change the duplicate to a lighter shade of gray.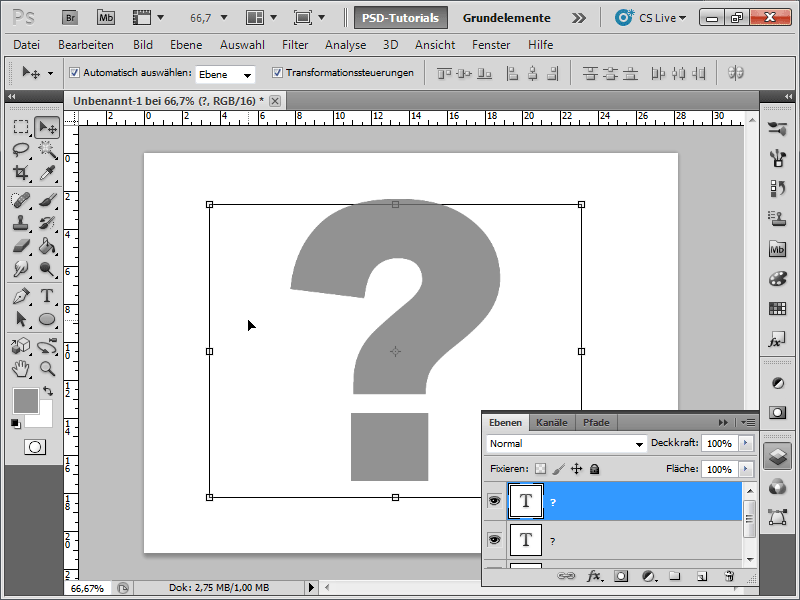
Step 4:
Then, I move the layer slightly down to the right.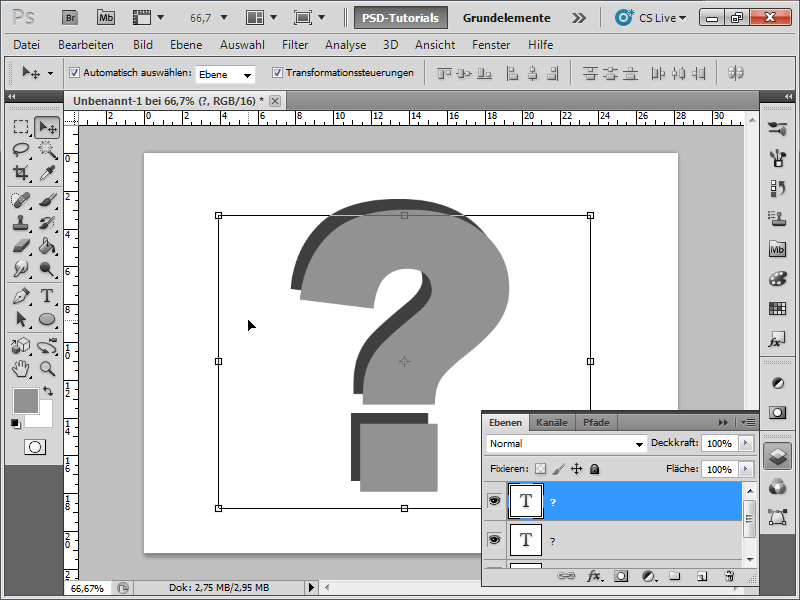
Step 5:
Now, I duplicate the dark gray text layer about 10 times and move each one pixel by pixel towards the gray text layer. This creates a sense of 3D.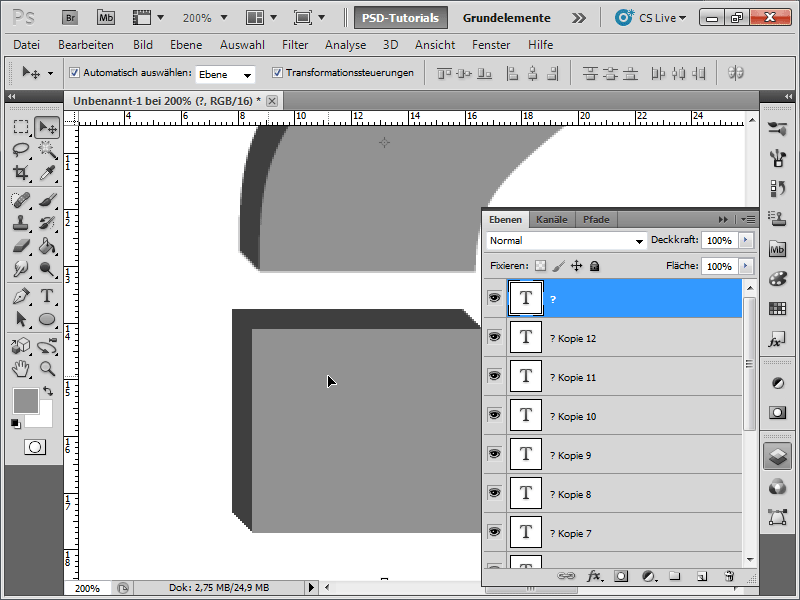
Step 6:
Next, I rasterize all the dark gray text layers by selecting them all in the Layers panel with the Shift key and pressing Ctrl+E. Then, I also rasterize the light gray text layer (right-click and then rasterize text).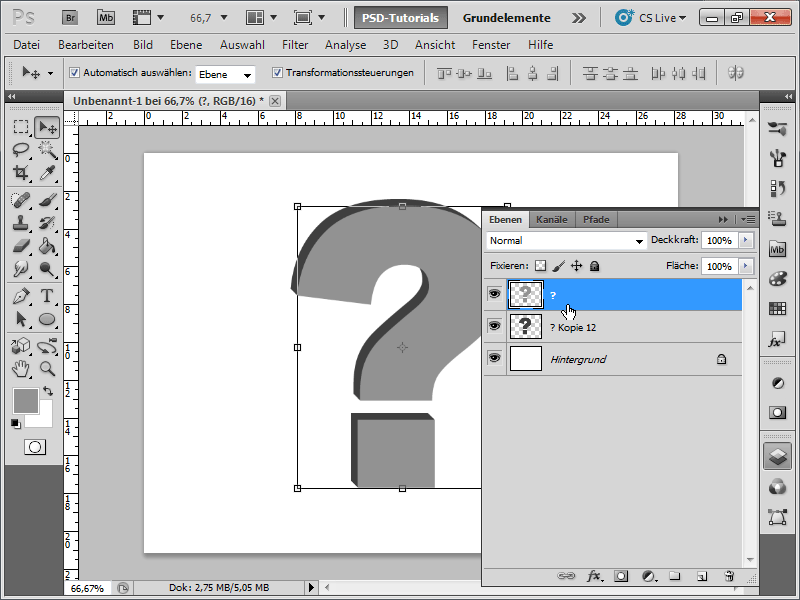
Step 7:
Now, I grab the Dodge tool and can simulate light on both layers with a very large soft brush.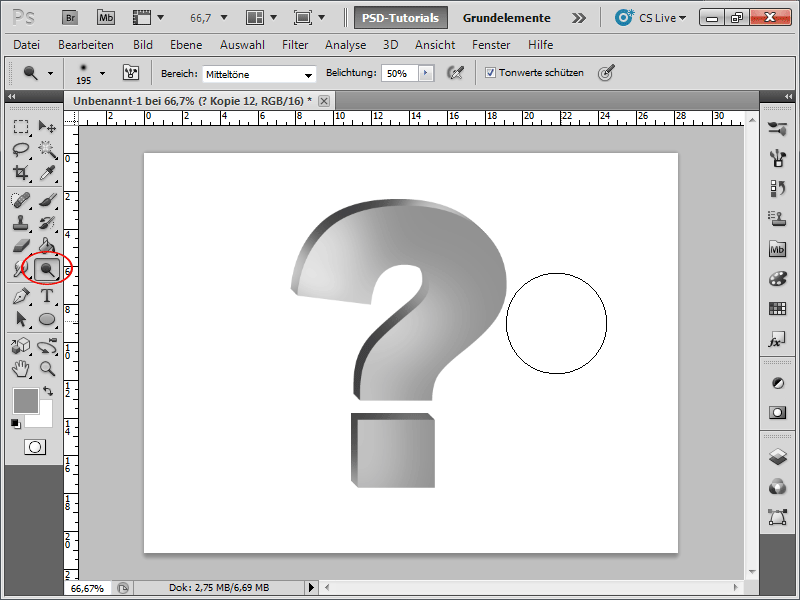
Step 8:
And for darkening, I use the Burn tool. It actually doesn't look bad, but this approach is rather cumbersome and should not be used anymore from Photoshop CS5 Extended onwards.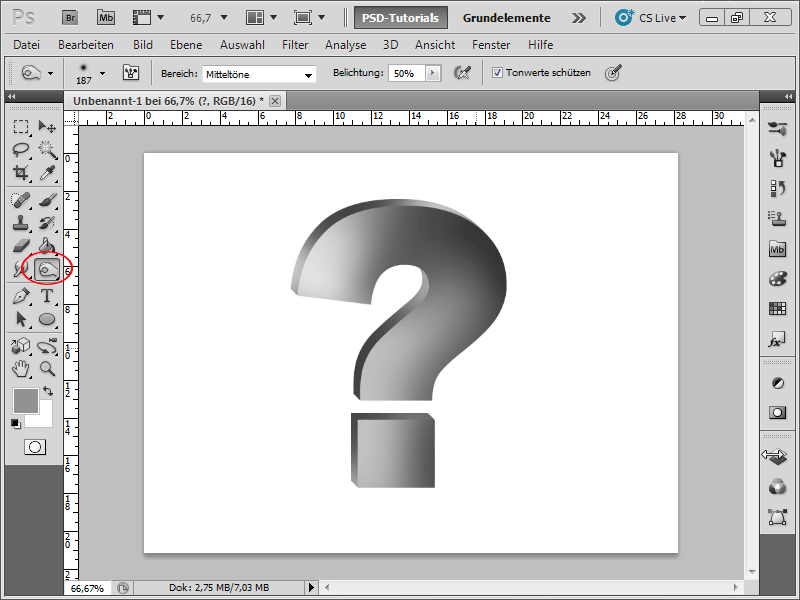
Step 9:
So, now I'll do it the way the pros do it: I use the 3D features in Photoshop. To do this, I create a text layer with a letter again. Then, I click on 3D->Repoussé->Text Layer in the menu. I confirm the message "This text layer must be rasterized..." with Yes.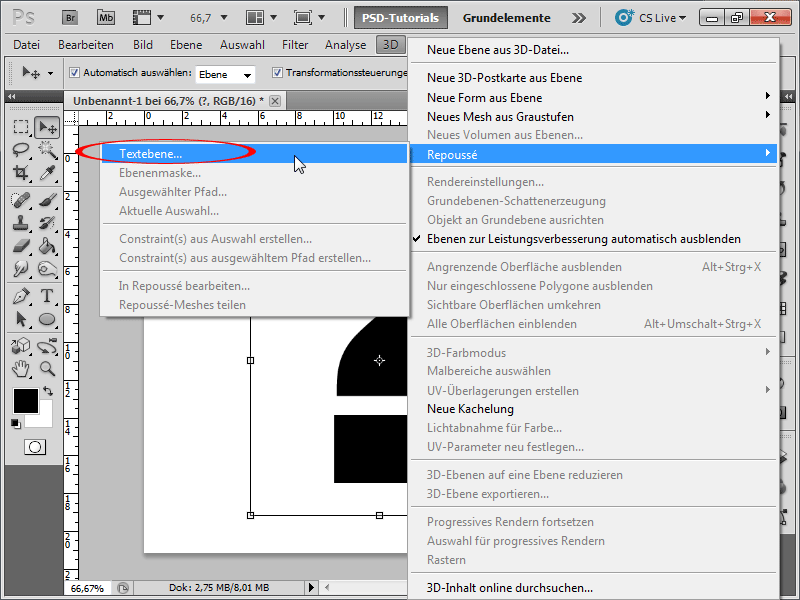
Step 10:
Now, a huge dialog with numerous settings options pops up. Don't worry, it's not that bad.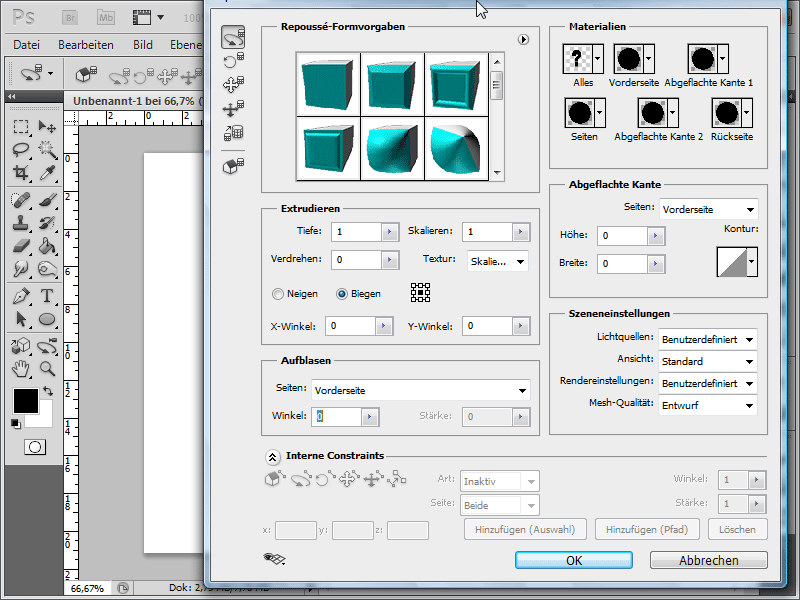
Step 11:
With the Mesh Inflate tool, I can interactively move my 3D letter.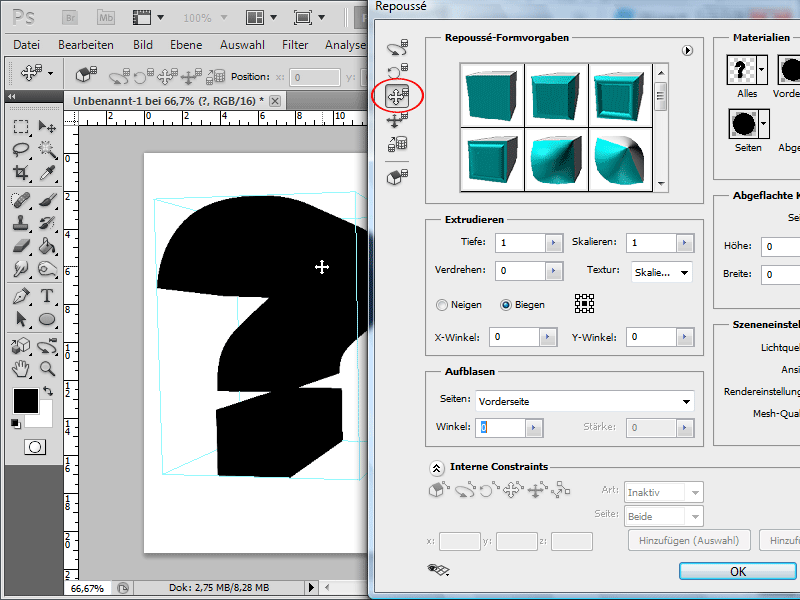
Step 12:
Under the Materials, I can assign new materials to either each side individually or all sides at once.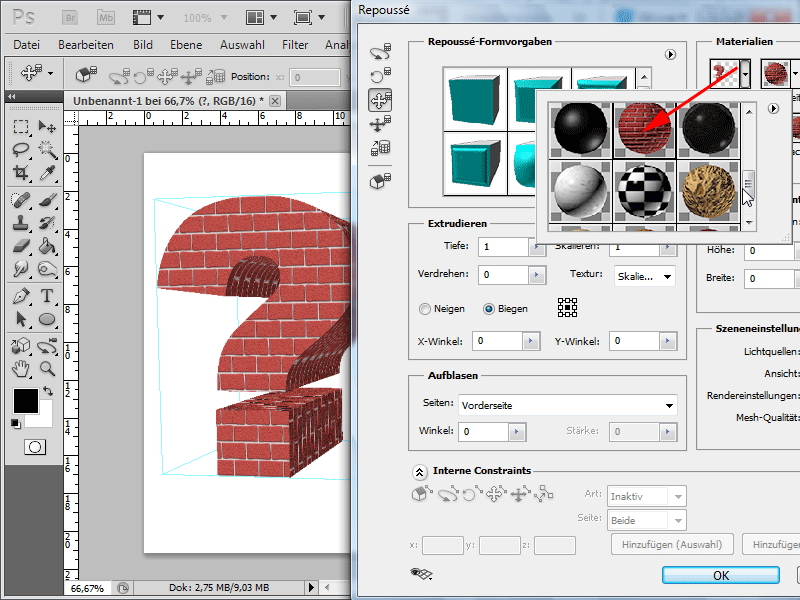
Step 13:
To ensure that I don’t have too much extrusion, it's important to slightly decrease the Depth value. I have set it to 0.25.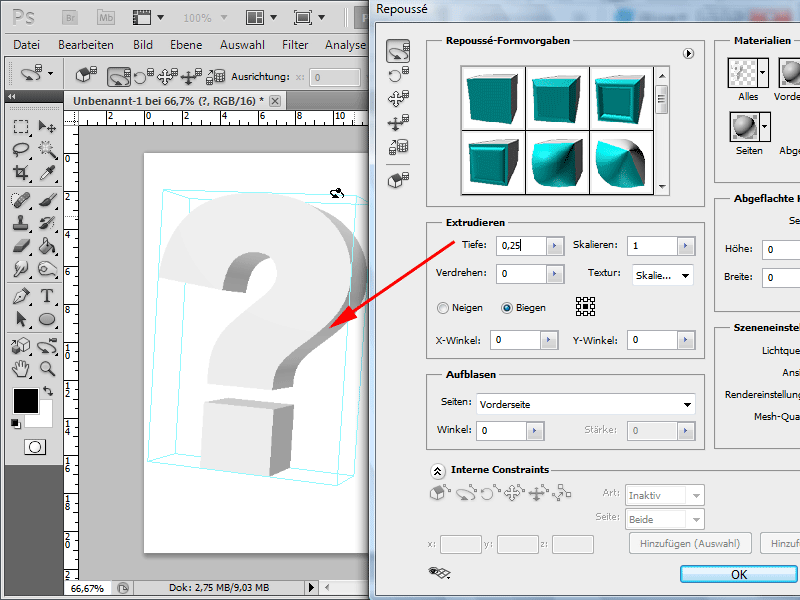
Step 14:
Important for rotation, etc., are the two bottom 3D tools.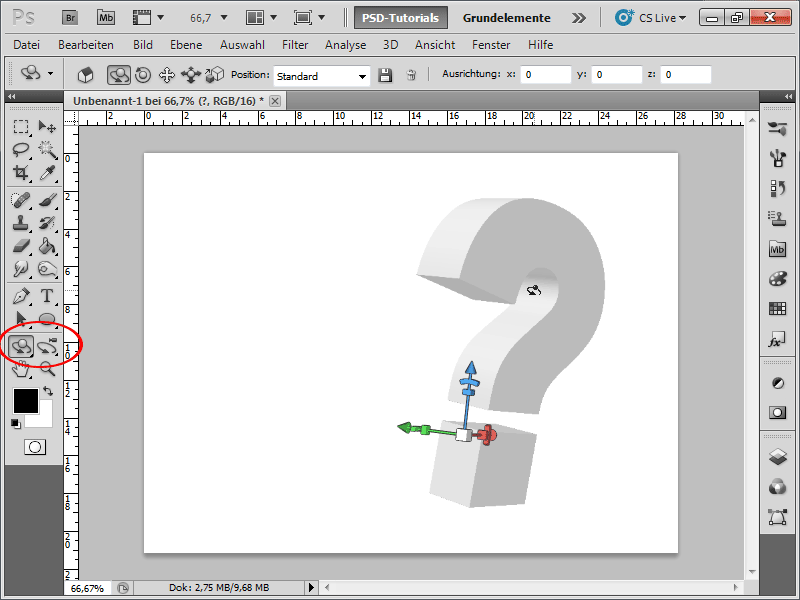
Step 15:
In order to better see the light sources, I will let them show up in the 3D control panel at the very bottom.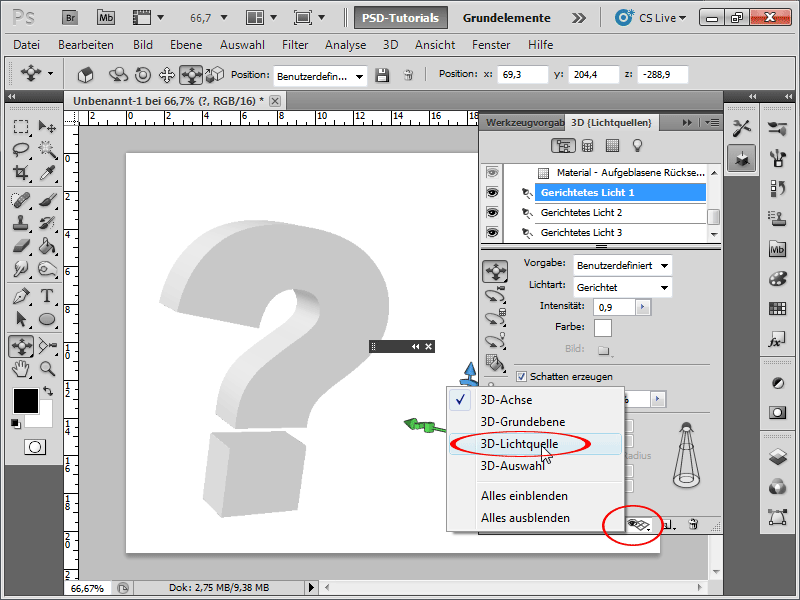
Step 16:
Now I can easily move the 3D light sources to where I want them. I can also select different light presets or adjust the color of the light in the 3D control panel.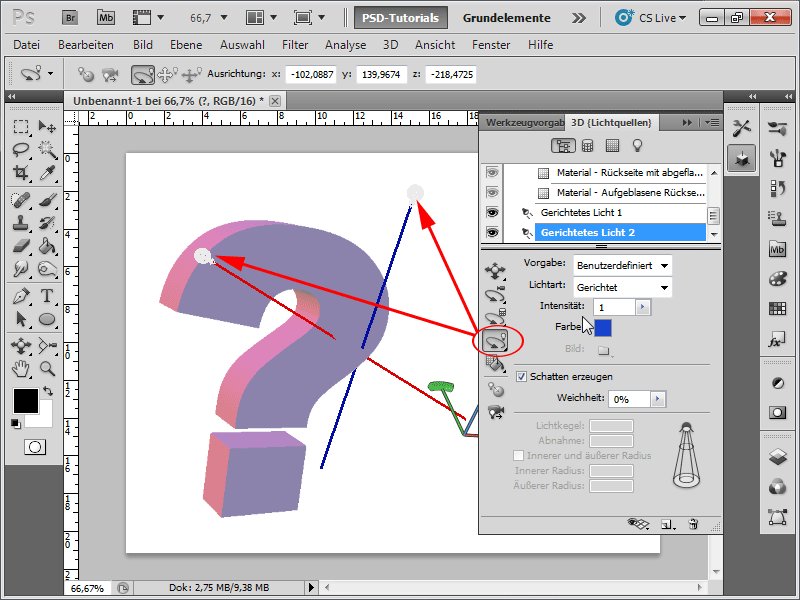
Step 17:
Because rendering the entire object can be very time-consuming, I will create a small selection and then go to Selection for progressive rendering in the 3D control panel options menu.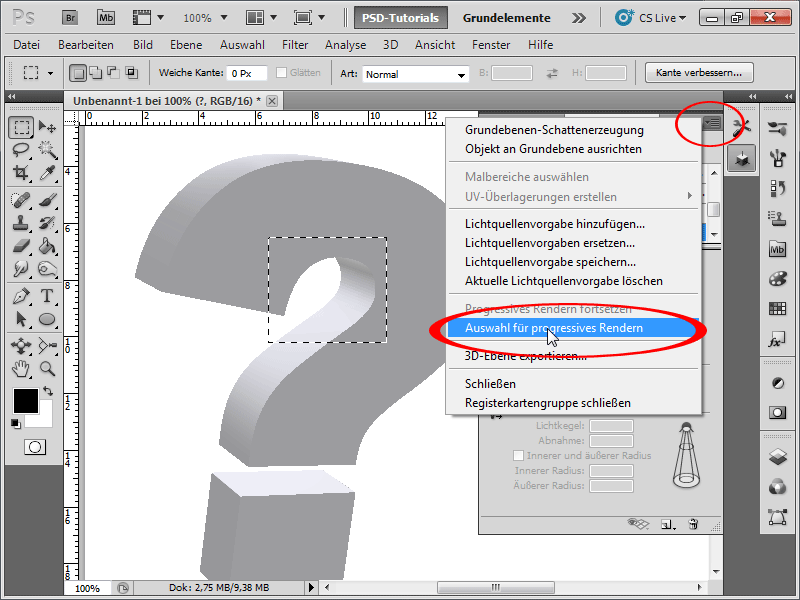
Step 18:
Even for the small area, my laptop took 1 minute to render, but the result is impressive: No stair-step effect, and the shadow looks almost perfect.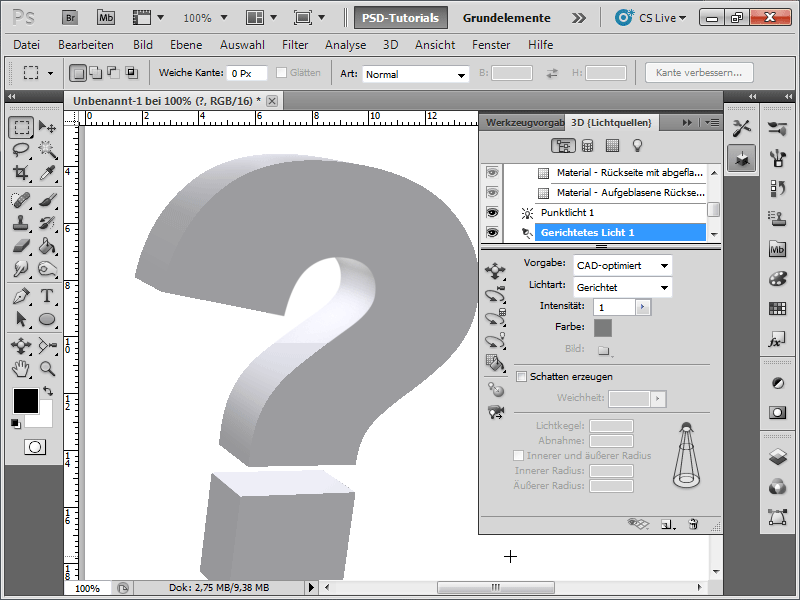
Step 19:
The genius part is that I can assign a different texture to each side, even one I created myself! To do this, I click on the corresponding material side, then on Diffuse; on the folder, and then on New Texture.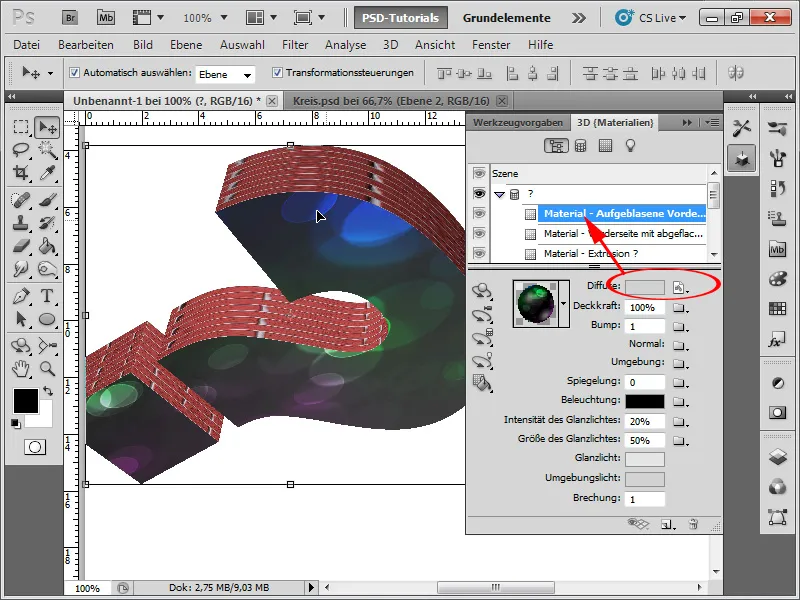
Step 20:
But the best part is that I can even assign layer styles. In my case, I added a red color overlay with the blending mode Multiply and a drop shadow.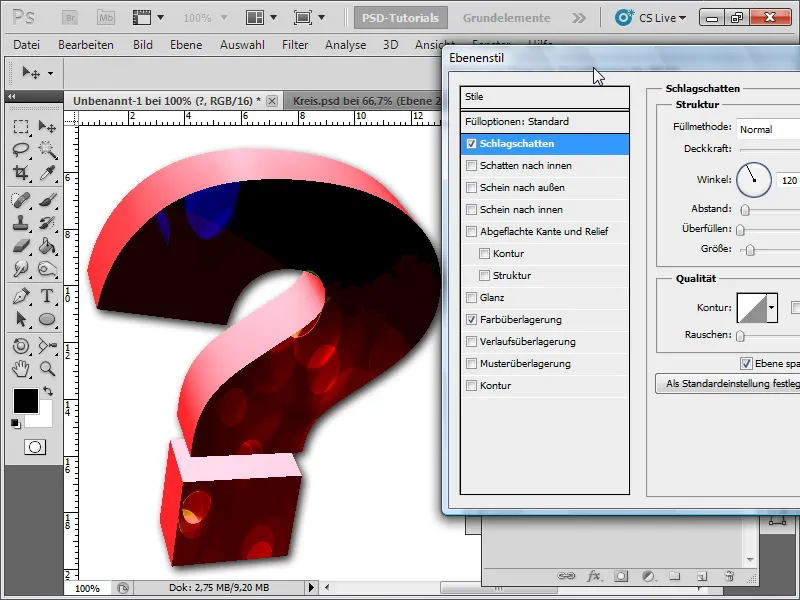
Step 21:
If I want to render my entire 3D object now, I click on Scene at the top of the 3D control panel and then on Quality; for example, Raytracing - Draft (doesn't take quite as long, and the result is already quite good).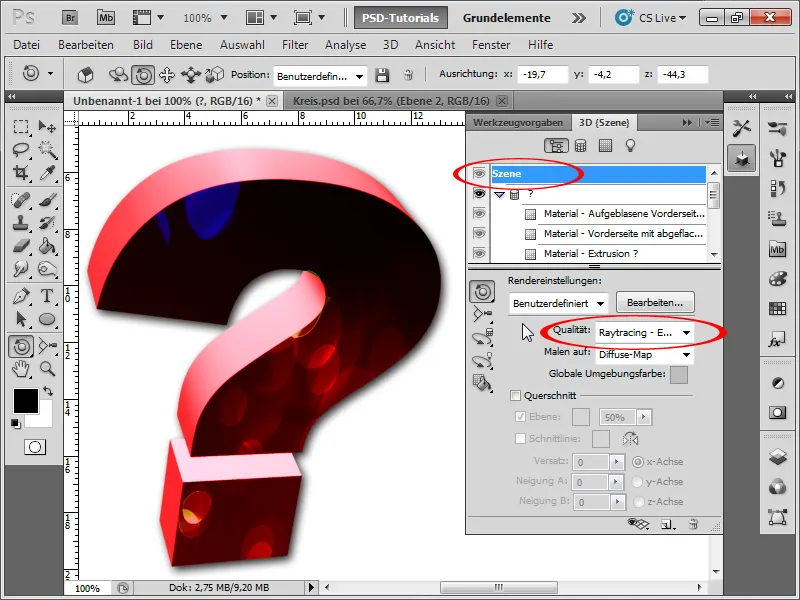
Step 22:
If I now insert a nice background and then compare both 3D objects, it becomes clear that the new way of creating 3D objects in Photoshop CS5 is far superior to the old-fashioned way.