The Menu Anchor is a helpful feature in Elementor that allows you to navigate to specific sections of your website. This enables you to provide your users with an intuitive browsing experience. In this guide, I will explain how you can efficiently use menu anchors to jump from one point of your page to another.
Main Takeaways
- Menu anchors in Elementor allow easy navigation to specific sections of the page.
- By assigning a clear ID, you can create links that lead directly to the respective anchors.
- The use of menu anchors improves navigation, especially on long pages.
Step-by-Step Guide
First, open your WordPress page with Elementor. Go to the page where you want to insert the menu anchors.
1. Insert Menu Anchor
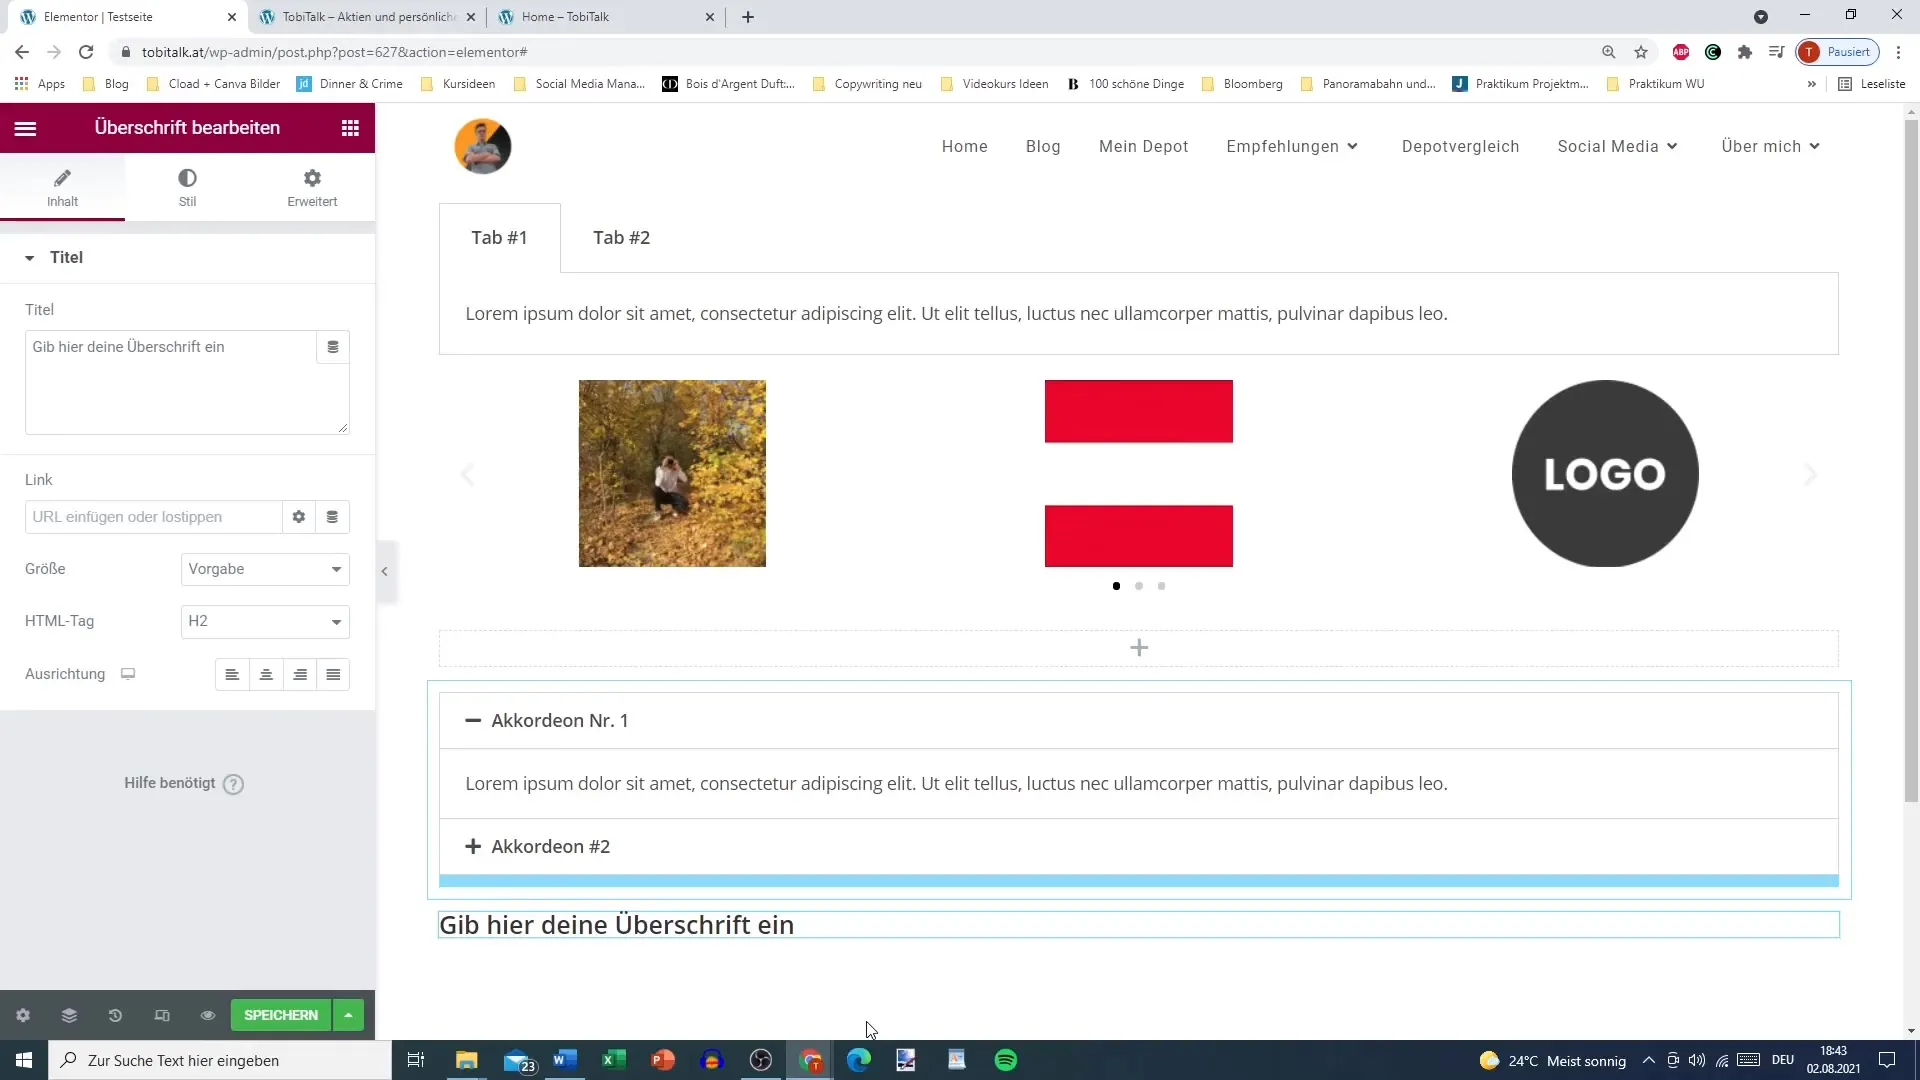
The first step is to create a new menu anchor. This is done under the "General" tab in Elementor. Look for the Anchor element and drag it to the desired area, such as at the very top of the page.
2. Set IDs
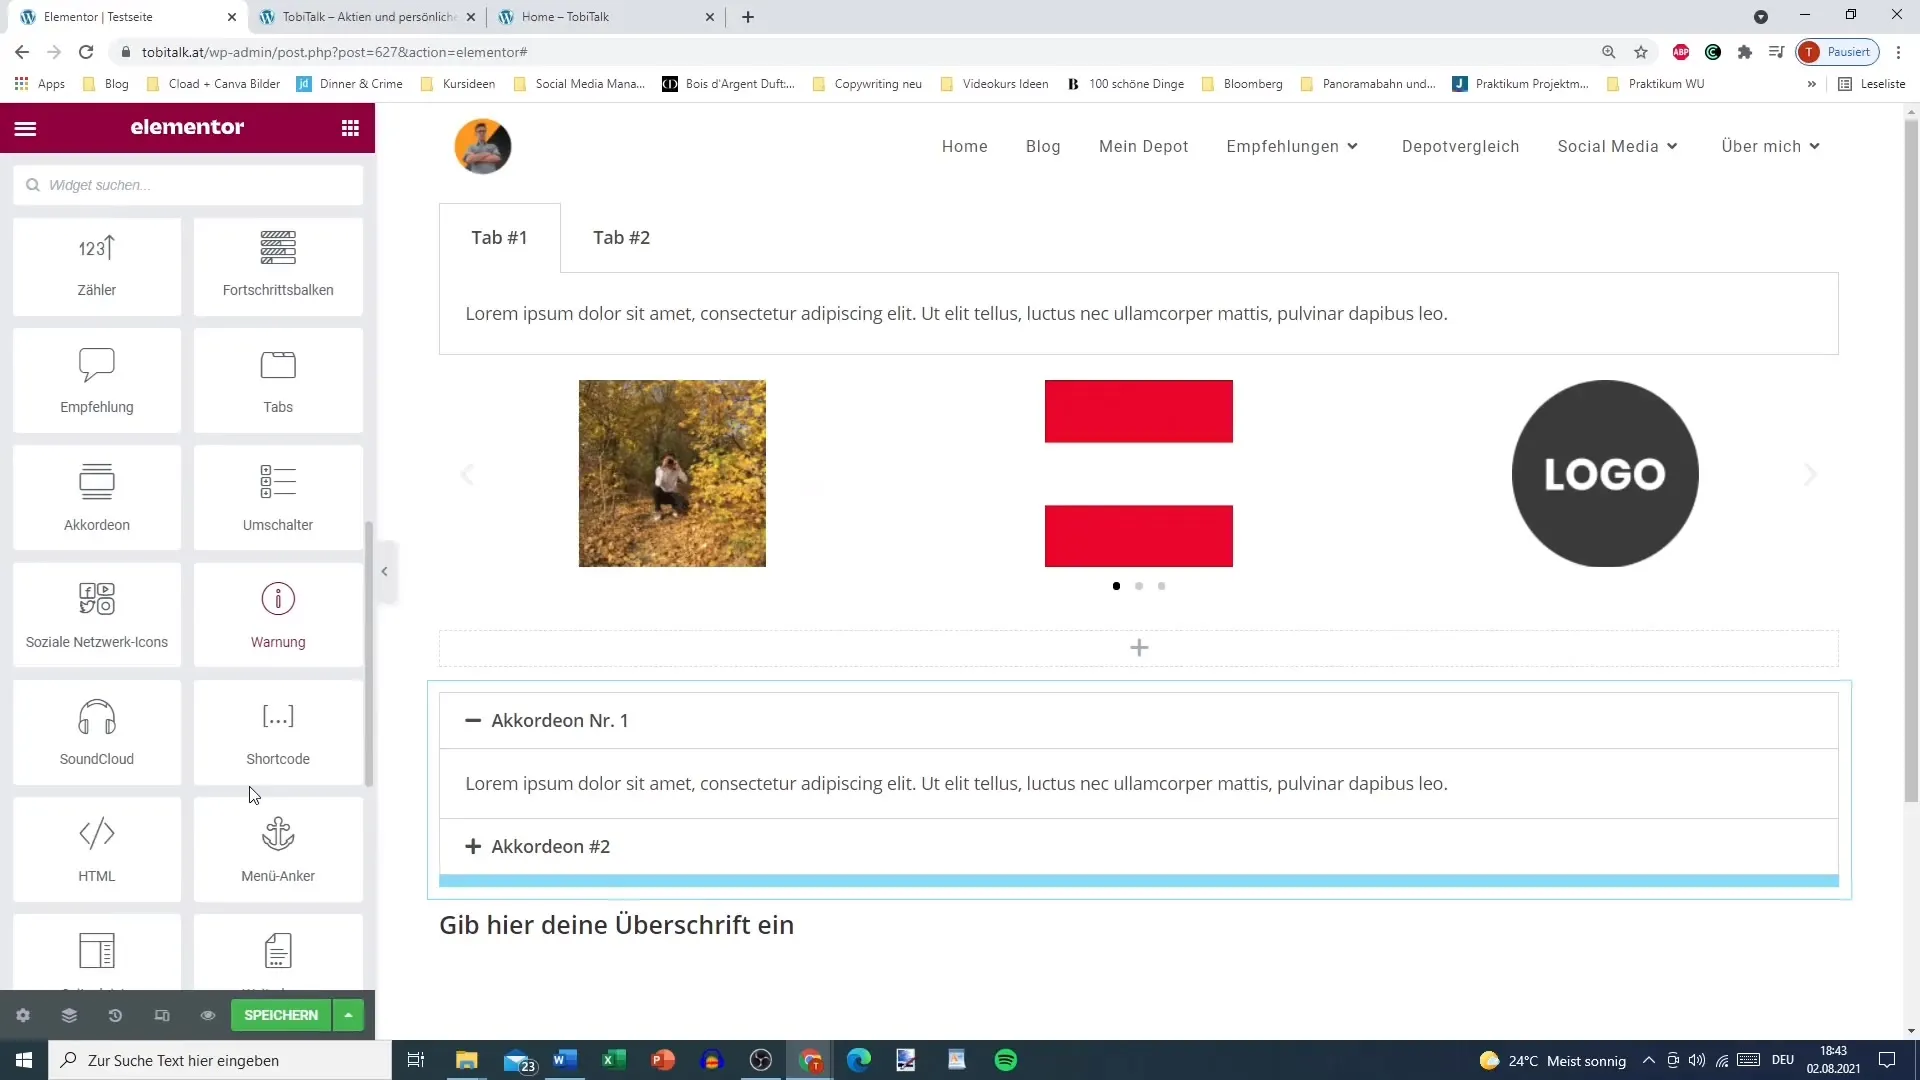
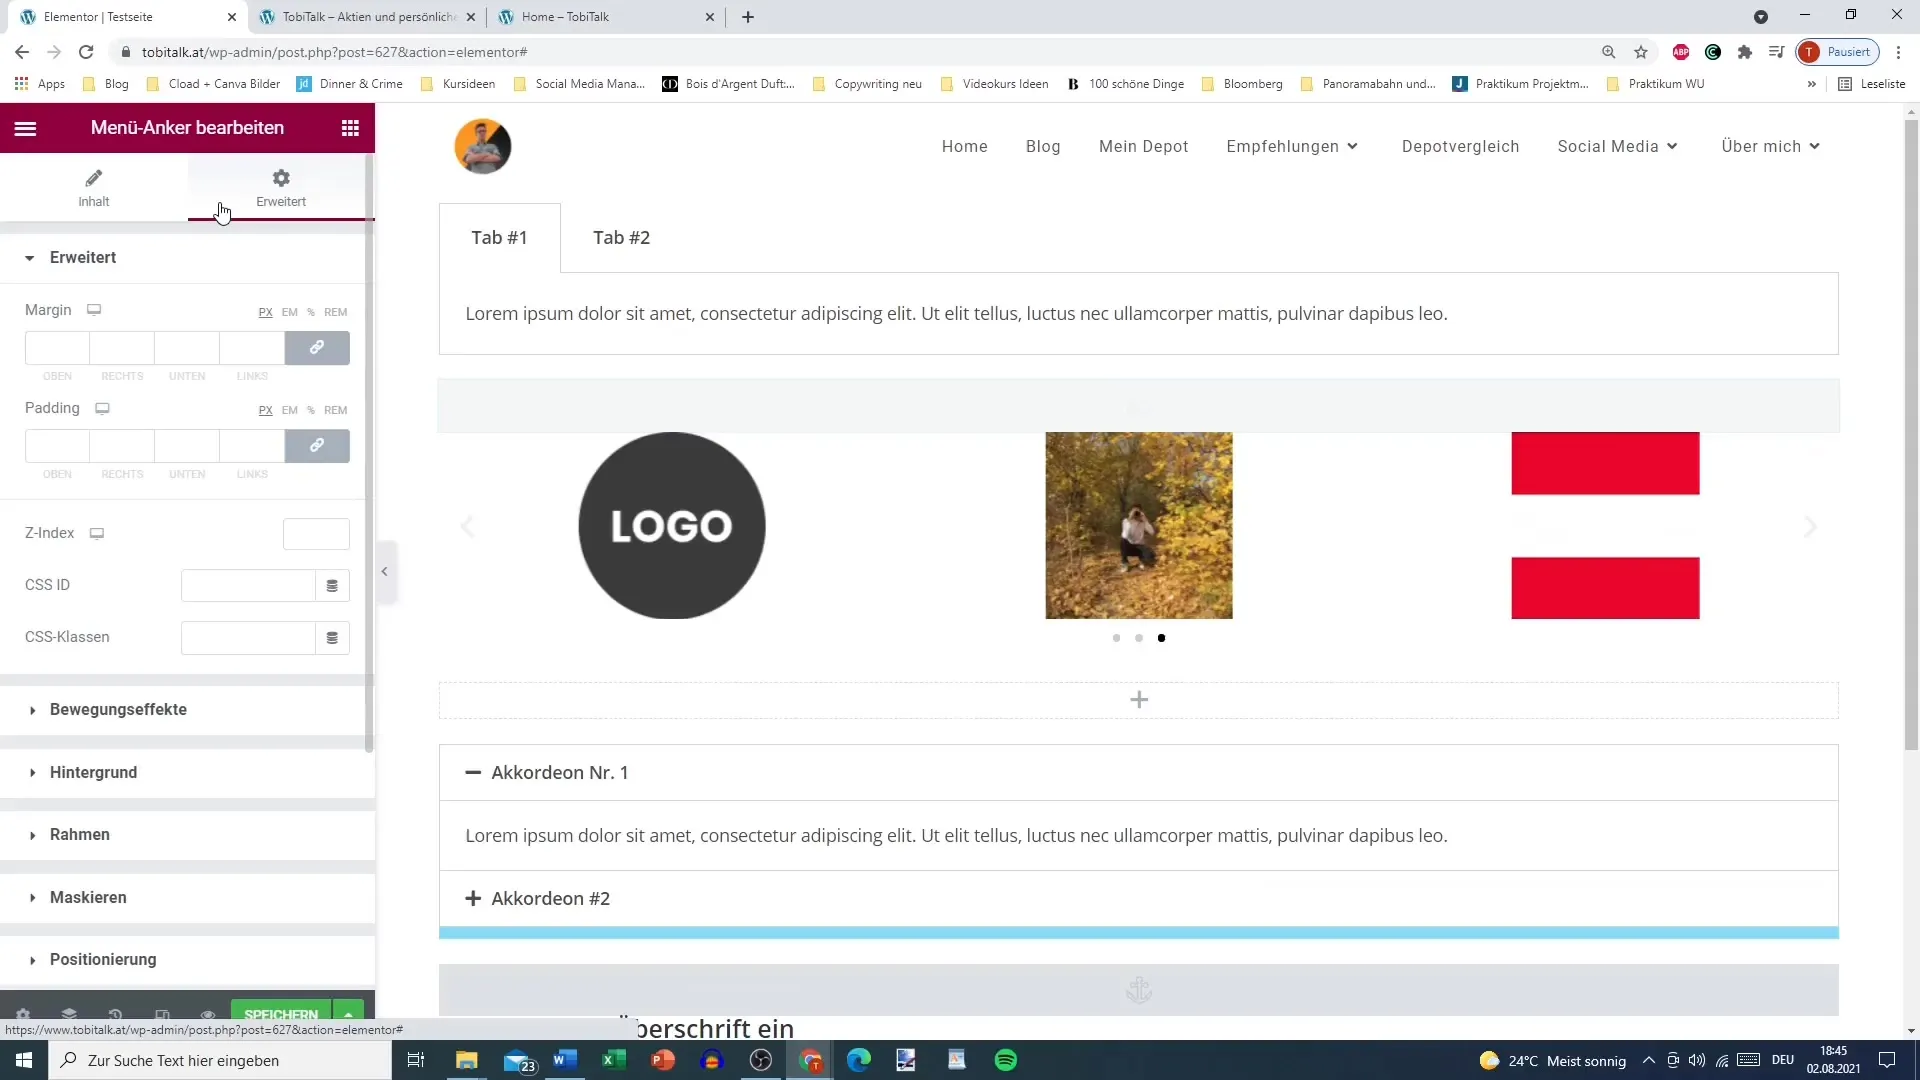
Now, give a name to an ID. This ID is crucial for linking later on. For example, you could choose the ID "testiid." Make sure not to use umlauts. Numbers and letters are allowed, so "testiid10" would be a valid option. Copy the ID to use it later.
3. Apply Anchor to Content
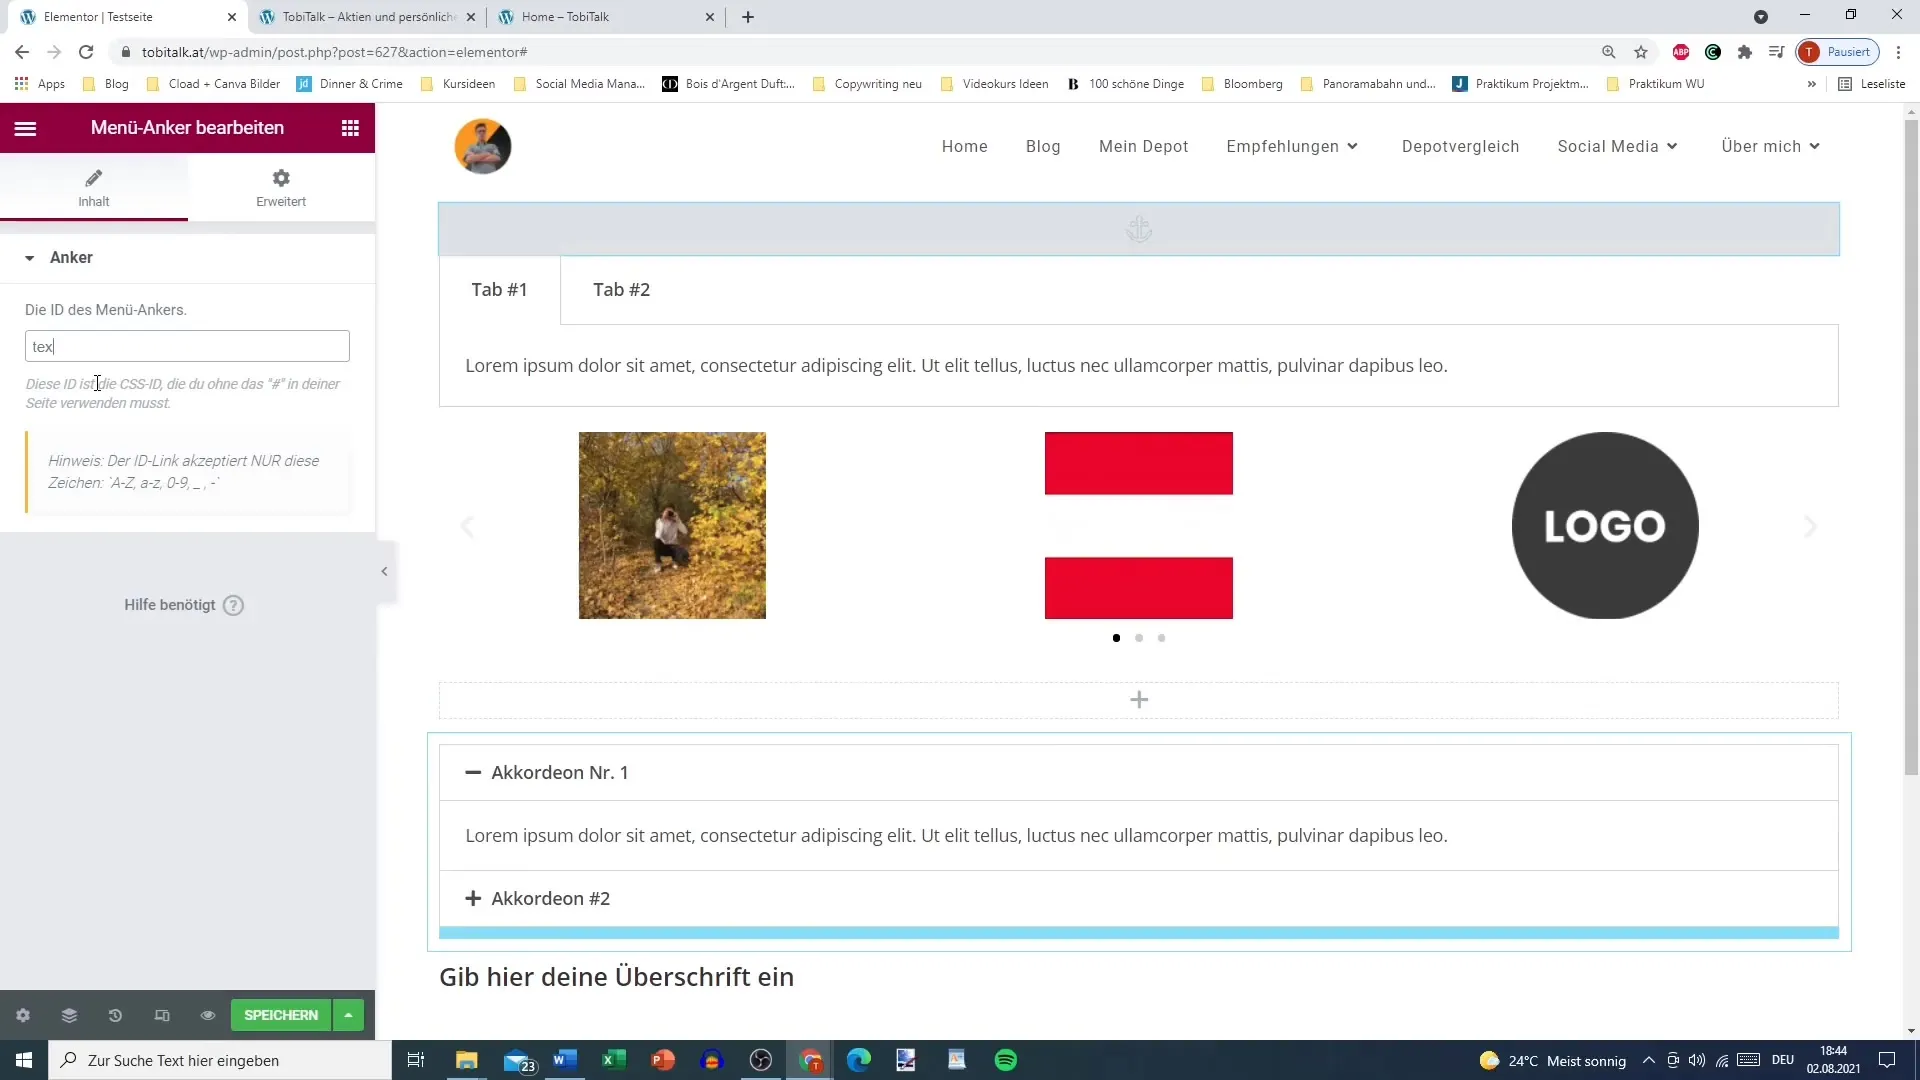
Now apply the ID. Drag the anchor to the desired location, such as onto a heading or another section. Here you can use the ID "testiid" to create the link later on.
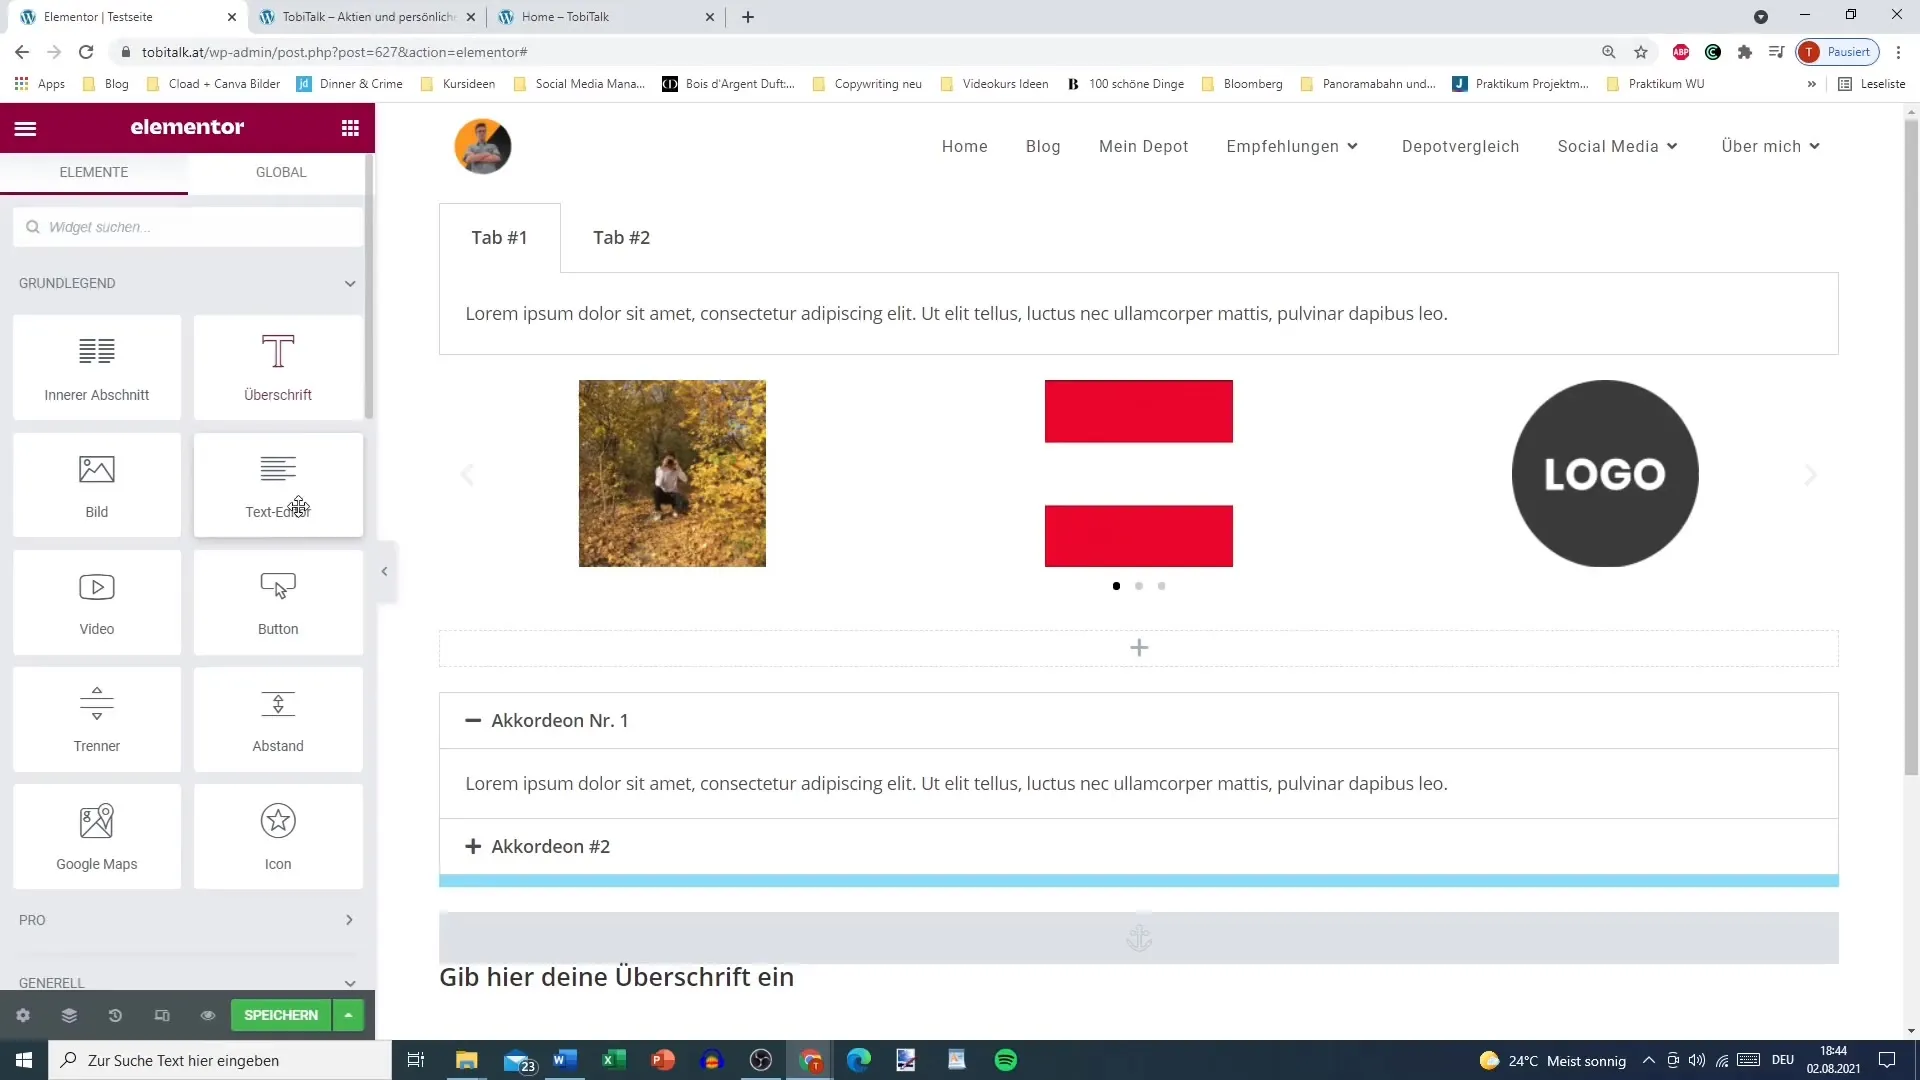
4. Insert Second Anchor
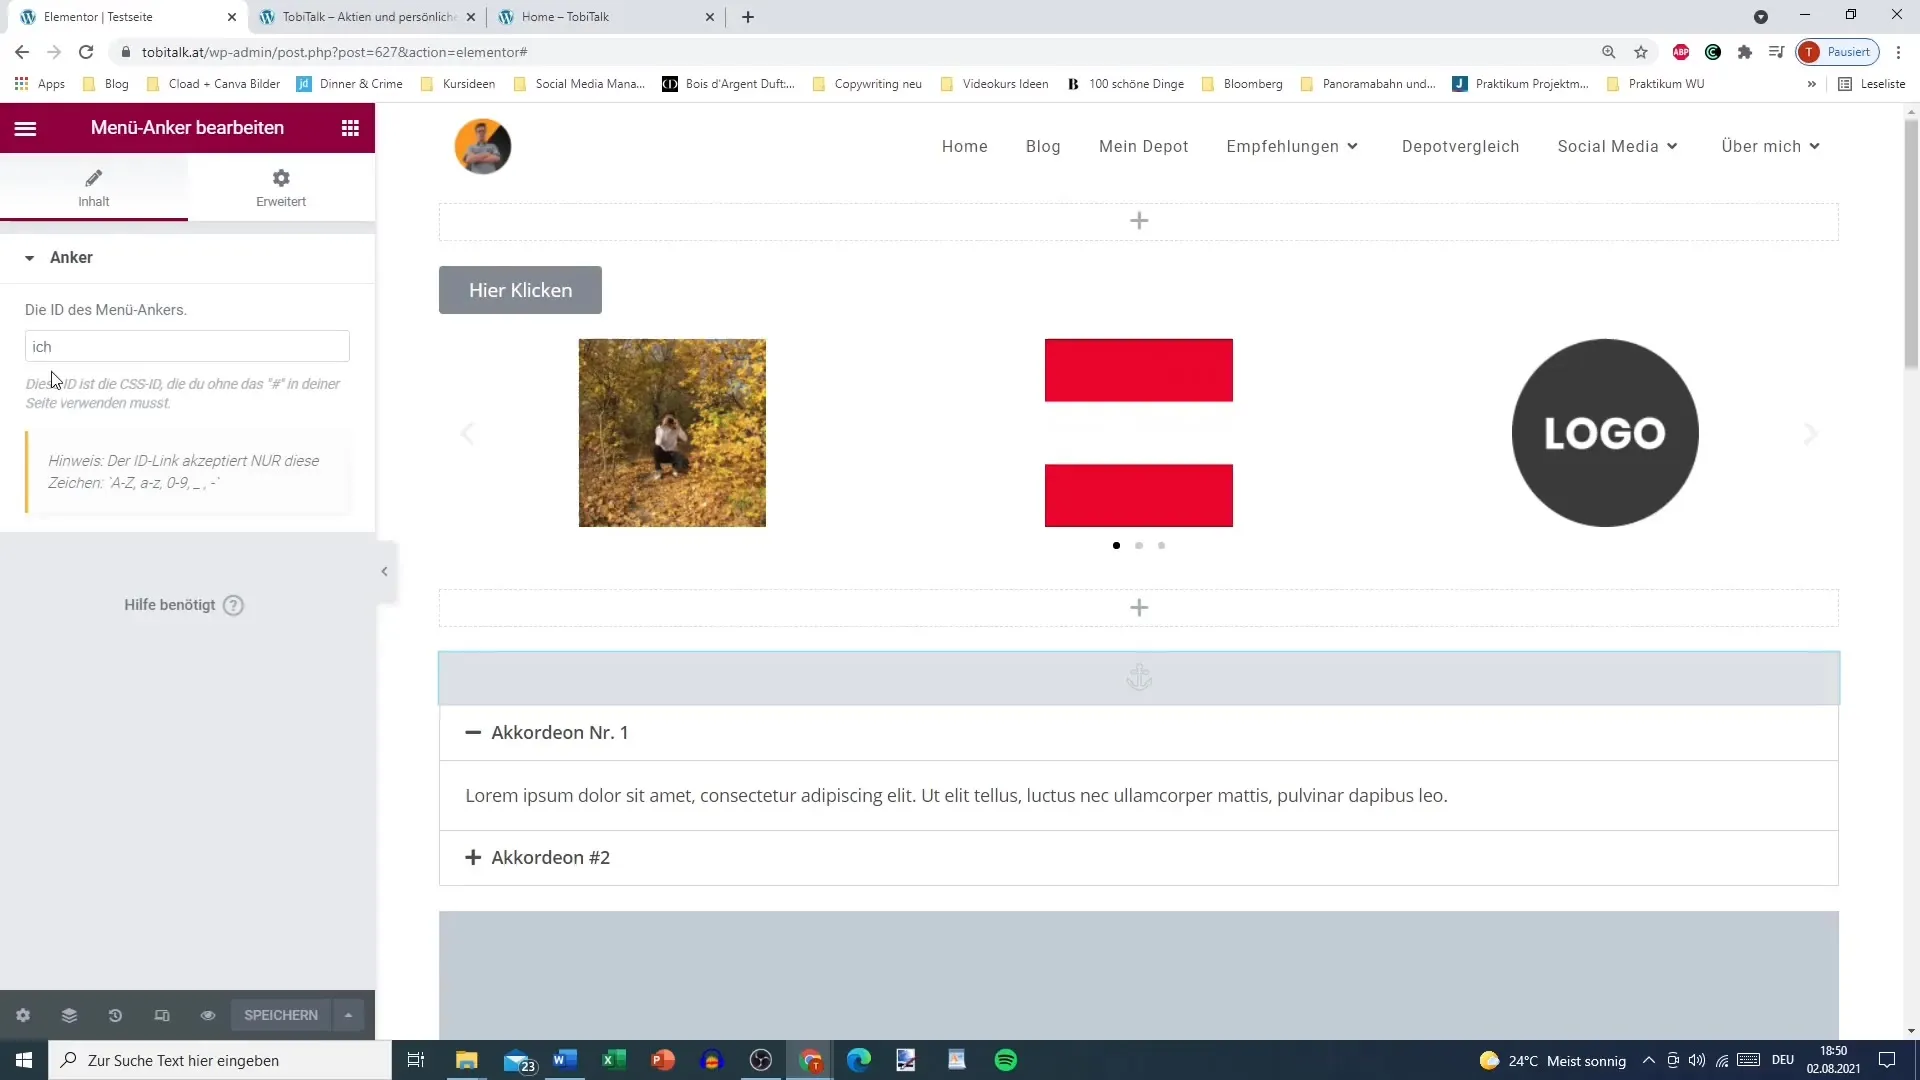
If you need multiple anchor links, you can add another anchor for a different section, such as an image collection. Name this anchor "I am" and position it accordingly.
5. Add Link to Button
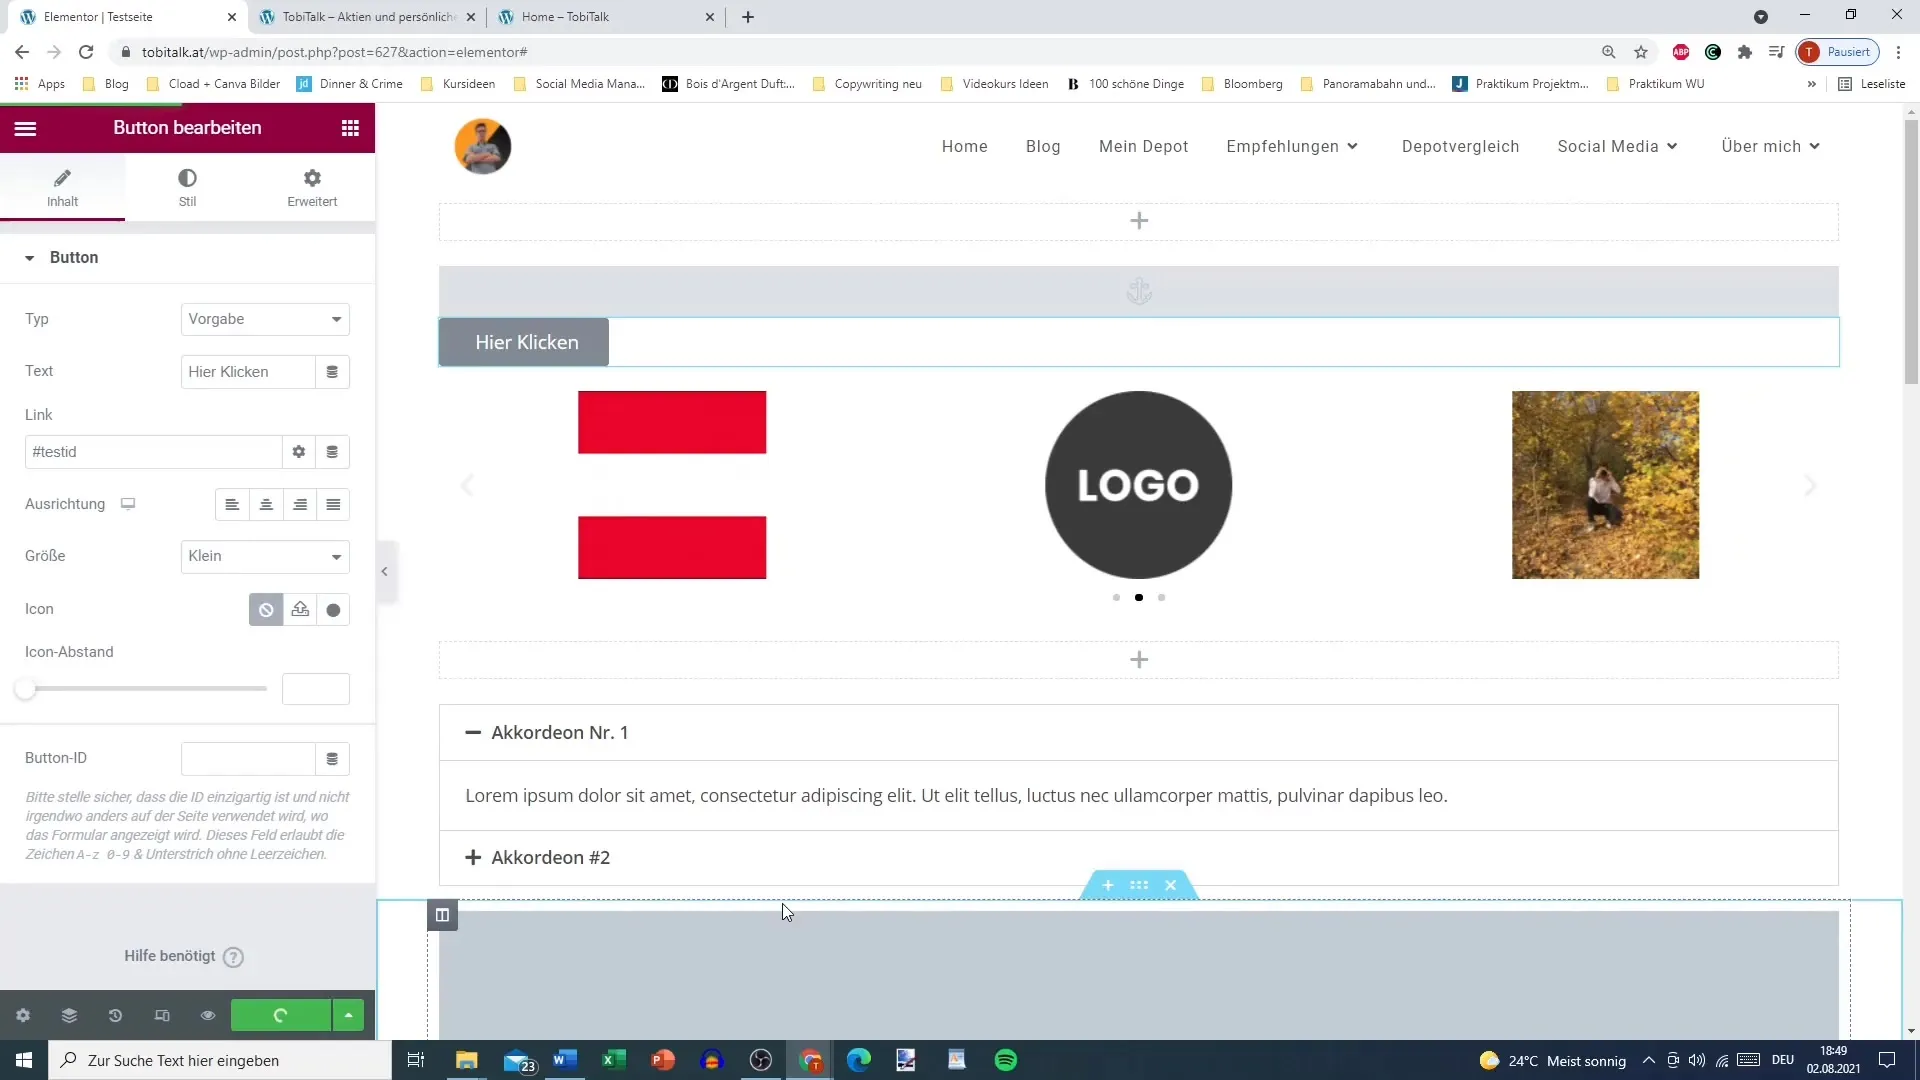
Now it's time to create a button that points to one of the anchors. Do this by editing the button and inserting the link. The link should have the format "#testiid." Save the changes once you have entered the link.
6. Save and Test Changes
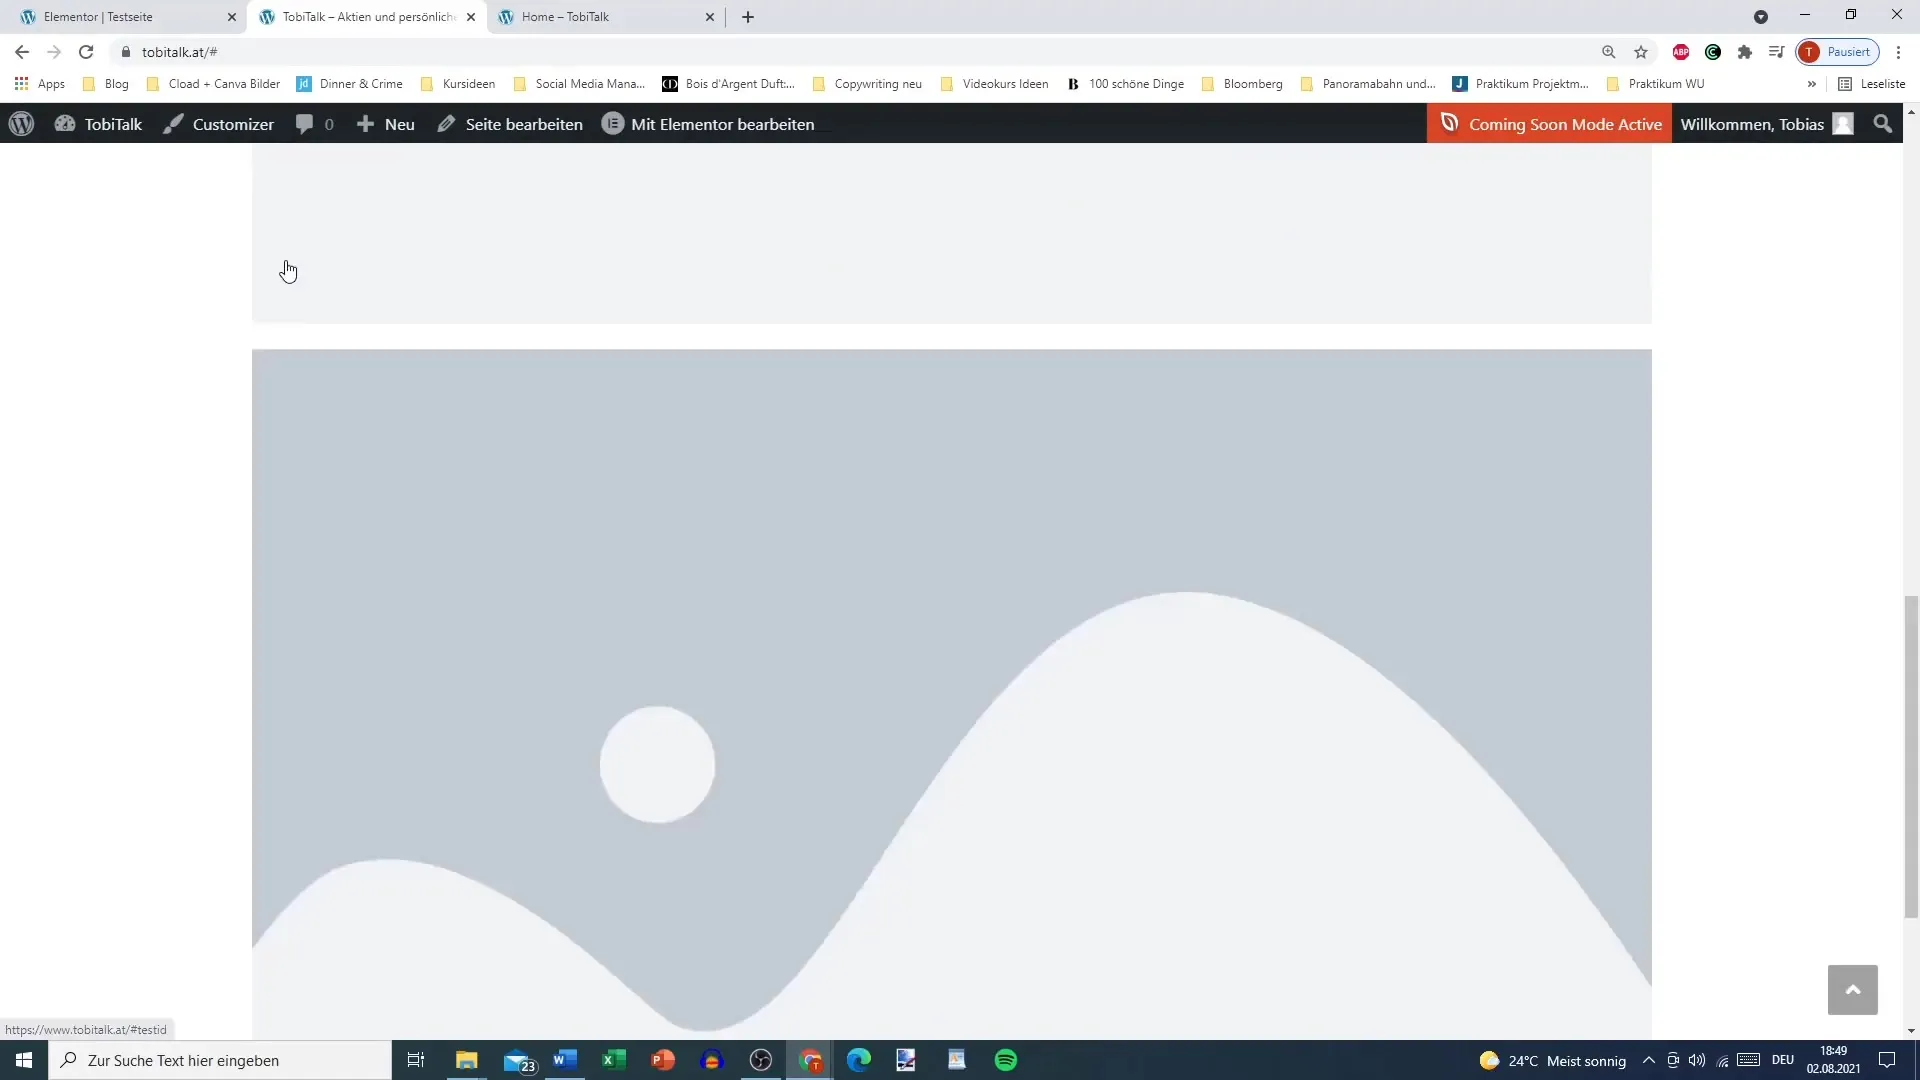
After creating the links for the buttons and anchors, save the changes. Refresh the page and test the buttons. They should now take you to the desired sections.
7. Add More Links
If you want to add more buttons with links to other anchors, repeat the process. Creating links remains the same, only the respective ID needs to be added.
8. Utilizing Menu Anchors on Long Pages
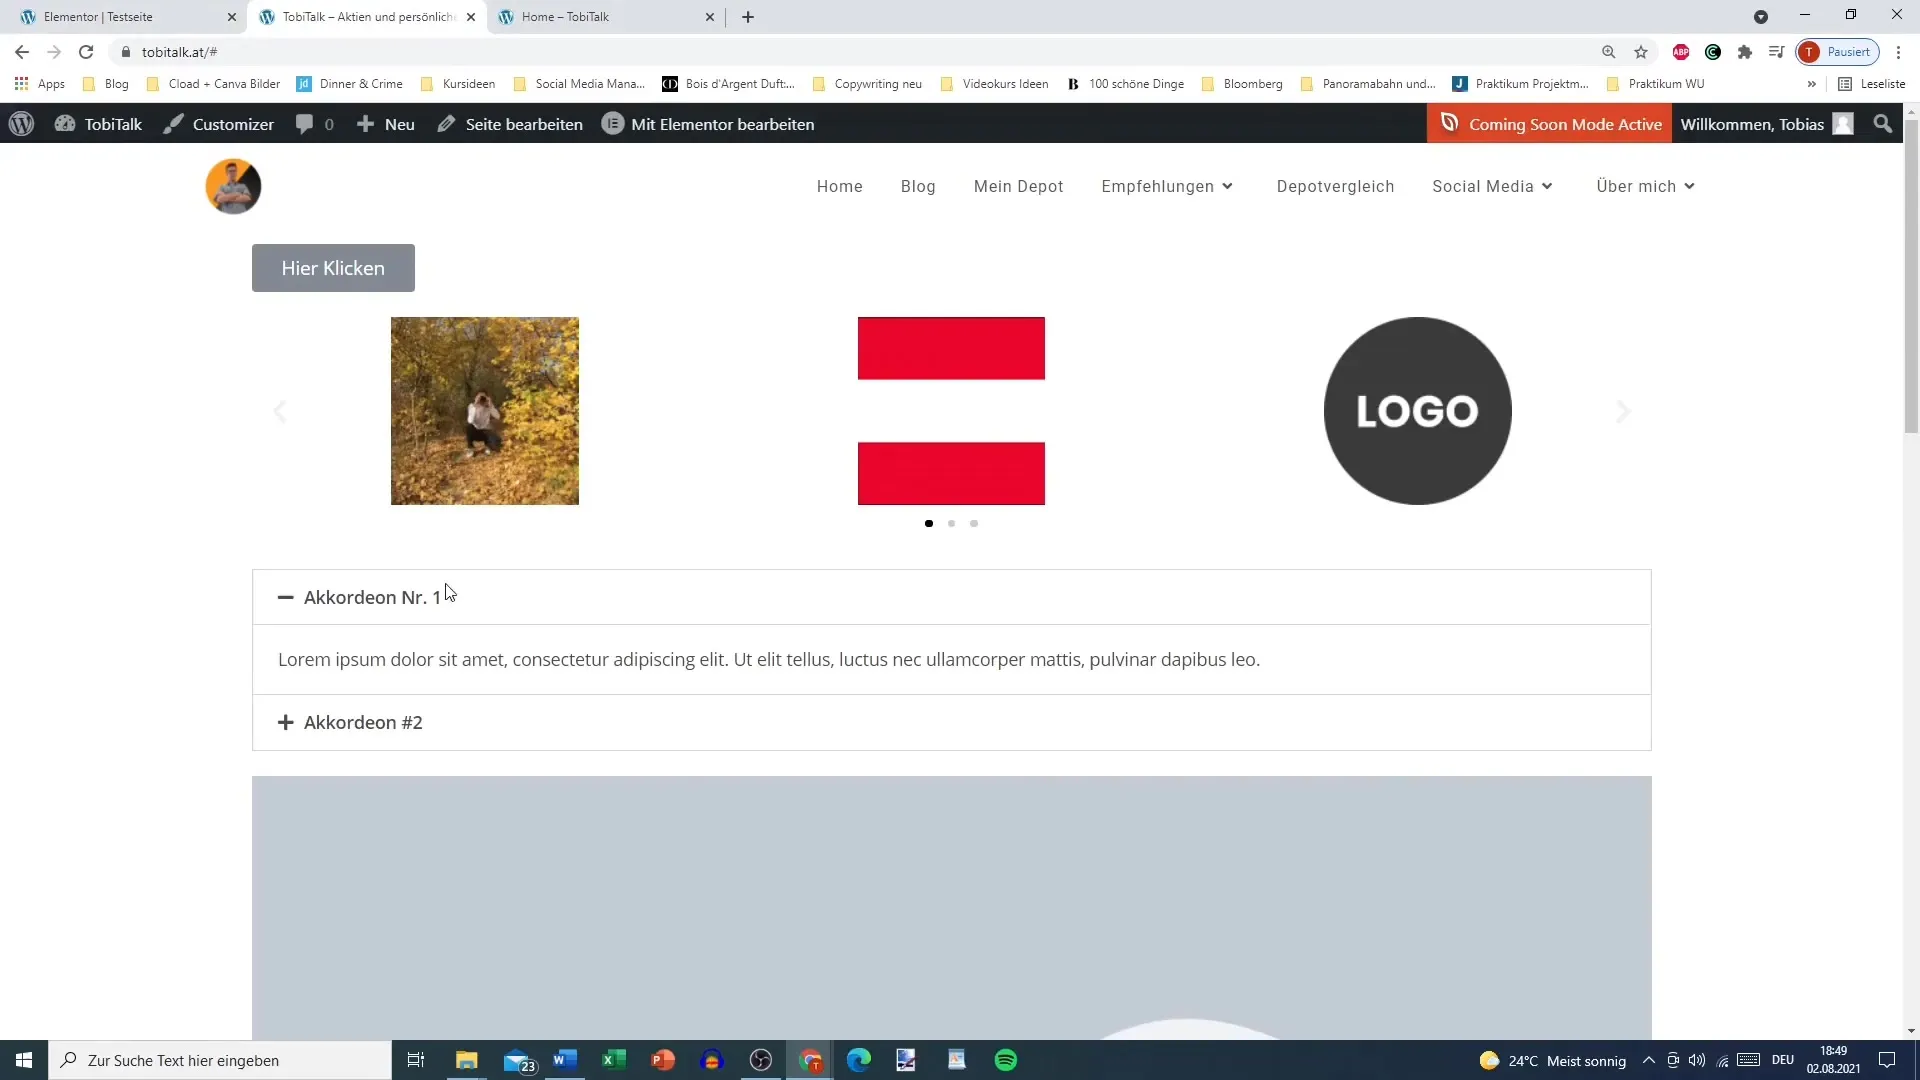
Menu anchors are particularly useful when you have long pages, such as imprint or privacy policies. Users can navigate directly to the desired points on the page, enhancing user-friendliness.
9. Design Flexibility
You can also decide whether you prefer buttons or headers to make your anchor links visible. A flexible design should reflect your personal touch.
Summary
Menu anchors provide a simple yet effective way to optimize navigation on your website. With just a few steps, you can significantly improve user guidance and offer a better experience. Remember that each ID must be unique to avoid conflicts.
Frequently Asked Questions
What is a menu anchor?A menu anchor allows you to navigate to a specific section of a webpage.
How do I create a menu anchor?First, you add an anchor in Elementor and assign a unique ID.
Are umlauts allowed in IDs?No, umlauts should be avoided. Instead, use letters and numbers.
Can I use multiple menu anchors on one page?Yes, you can insert as many menu anchors as you like on one page.
What happens if I change the ID?If you change the ID of an anchor, you also need to adjust the links that refer to it accordingly.
