Elementor Pro offers you a variety of options to customize your WordPress site. One of the most valuable features is the use of dynamic attributes. They allow you to create content that varies depending on the data of your website. With the help of these dynamic attributes, you can personalize the user experience and efficiently design your pages.
Key Insights
Dynamic attributes in Elementor Pro allow you to automatically derive content such as images, headings, and links from your WordPress data. It is important to use the Pro version to take advantage of these features. The basics include customizing images, texts, and links with dynamic content to increase the interactivity of your website and enable a more personalized approach.
Step-by-Step Guide to Using Dynamic Attributes
Step 1: Activate Elementor Pro
Before you can start working with dynamic attributes, make sure you have installed and activated the Pro version of Elementor. Without this version, dynamic content will not be available to you.
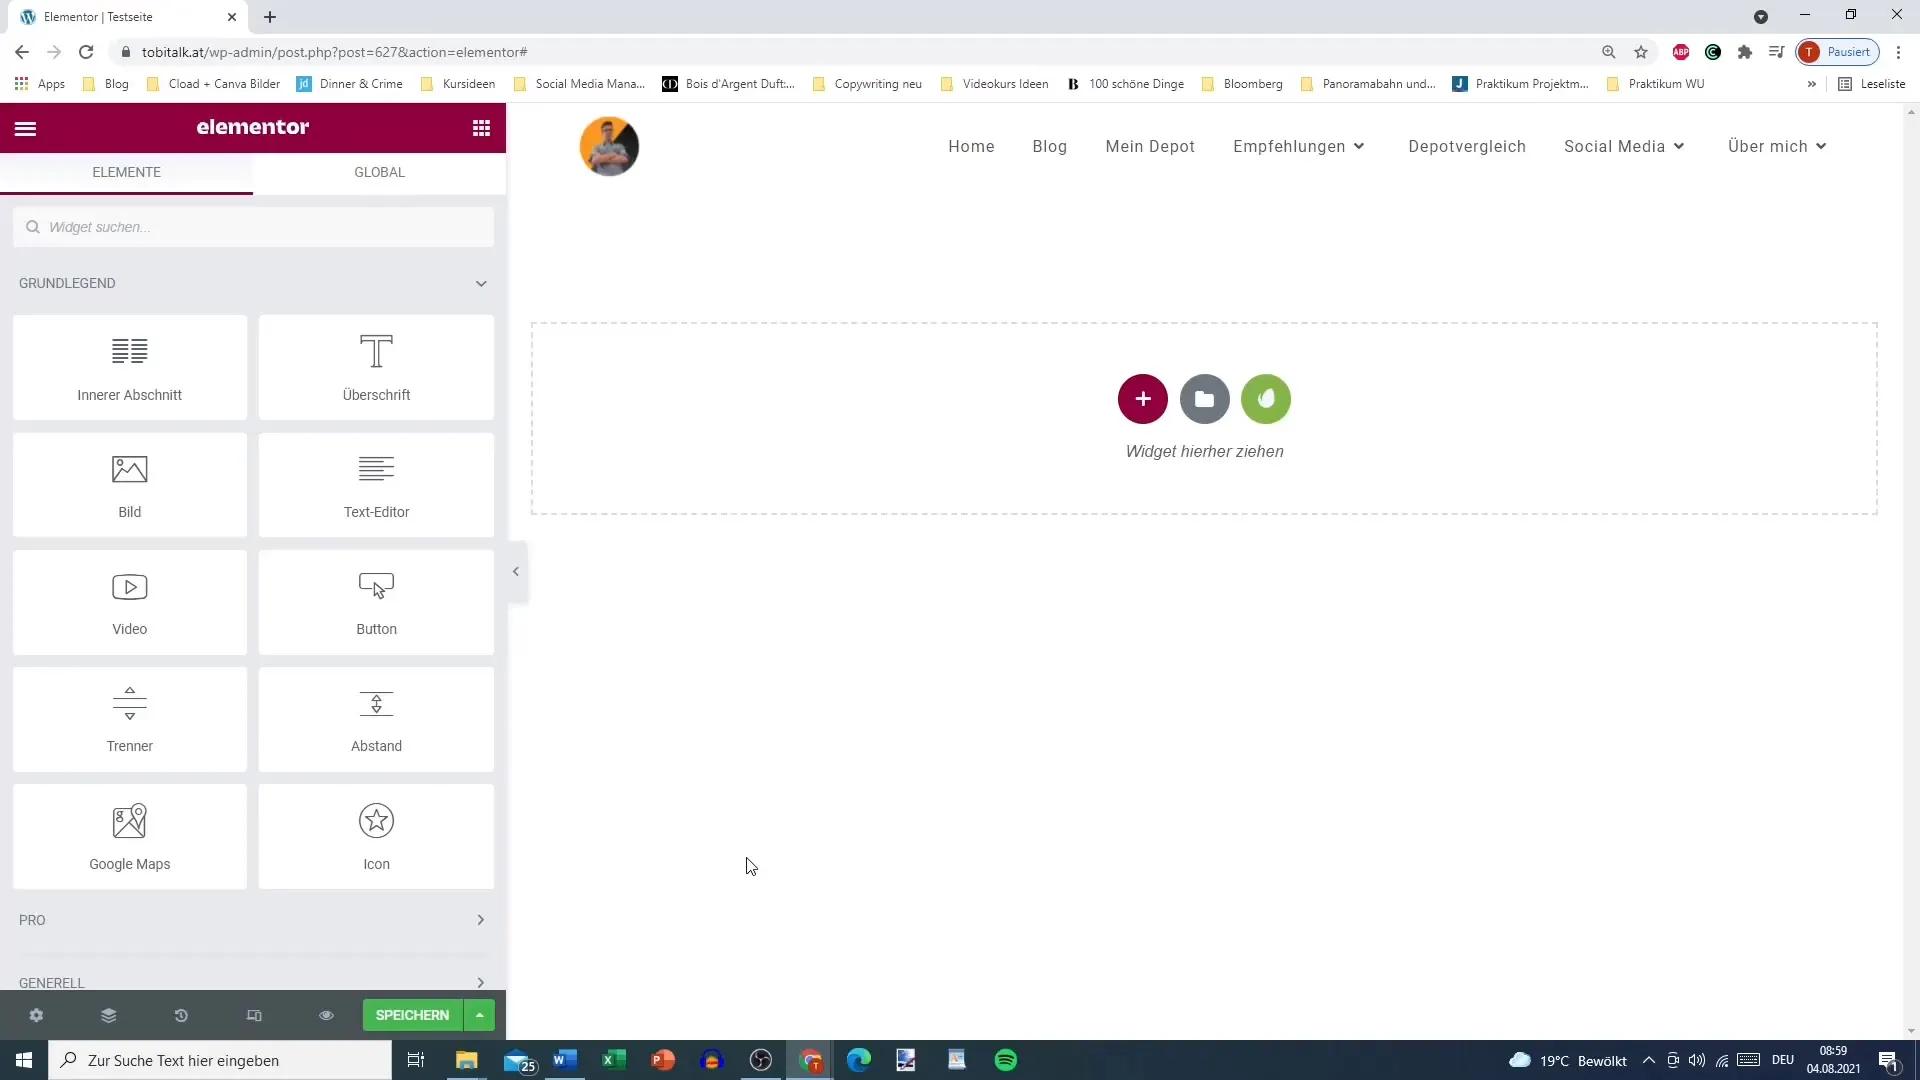
Step 2: Edit Elementor
Select a section of your page that you want to customize. In this tutorial, we will first add an image. Click on the section and choose the "Image" option. You can either select an image that has already been uploaded or use a dynamic attribute.
Step 3: Choose Dynamic Attributes for the Image
Click on the "Dynamic Attributes" button displayed on the image widget. Here, you can select which image should be used as the post feature image. This gives you the ability to dynamically load images based on each post.
Step 4: Customize Image Styles
After selecting your image, go to the "Style" tab to make adjustments. Here, you can set opacity, size, and other style features according to your preferences. Consider how the image fits into the overall layout and optimize it accordingly.
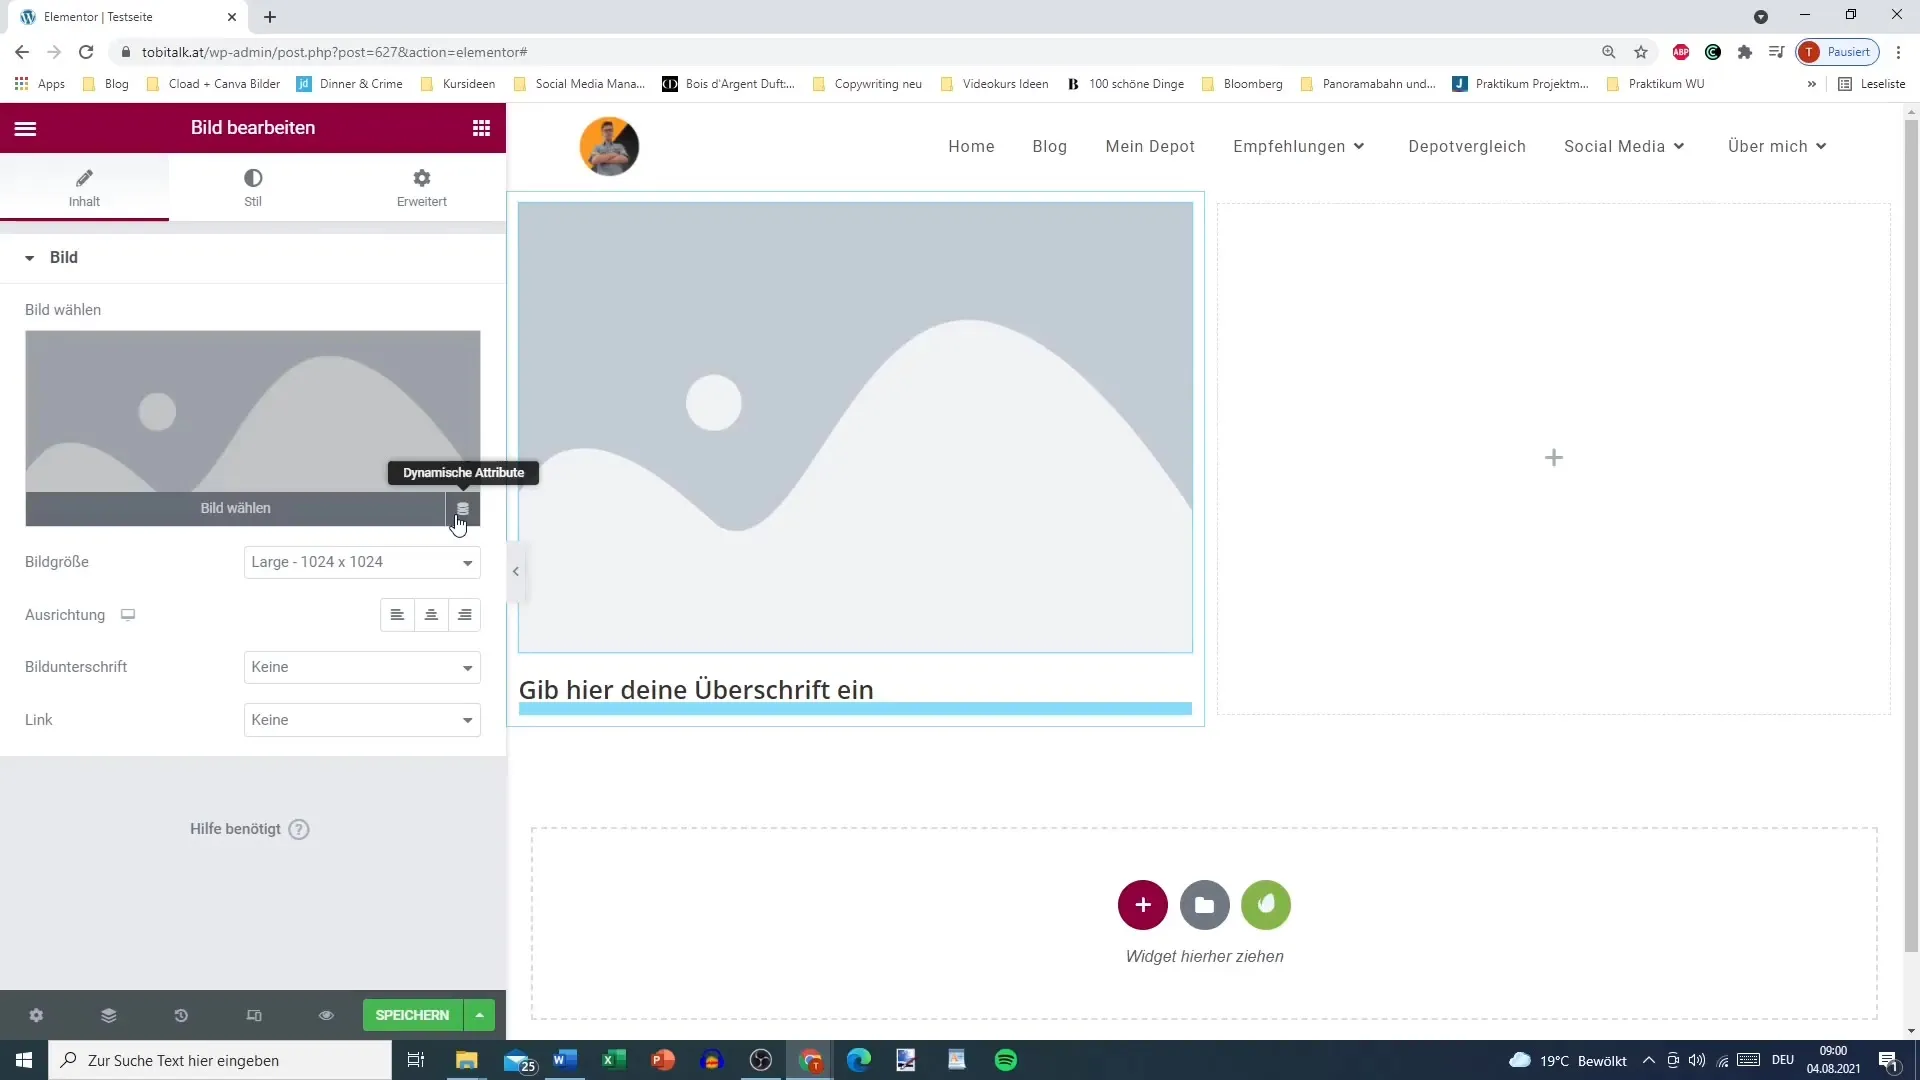
Step 5: Add a Heading
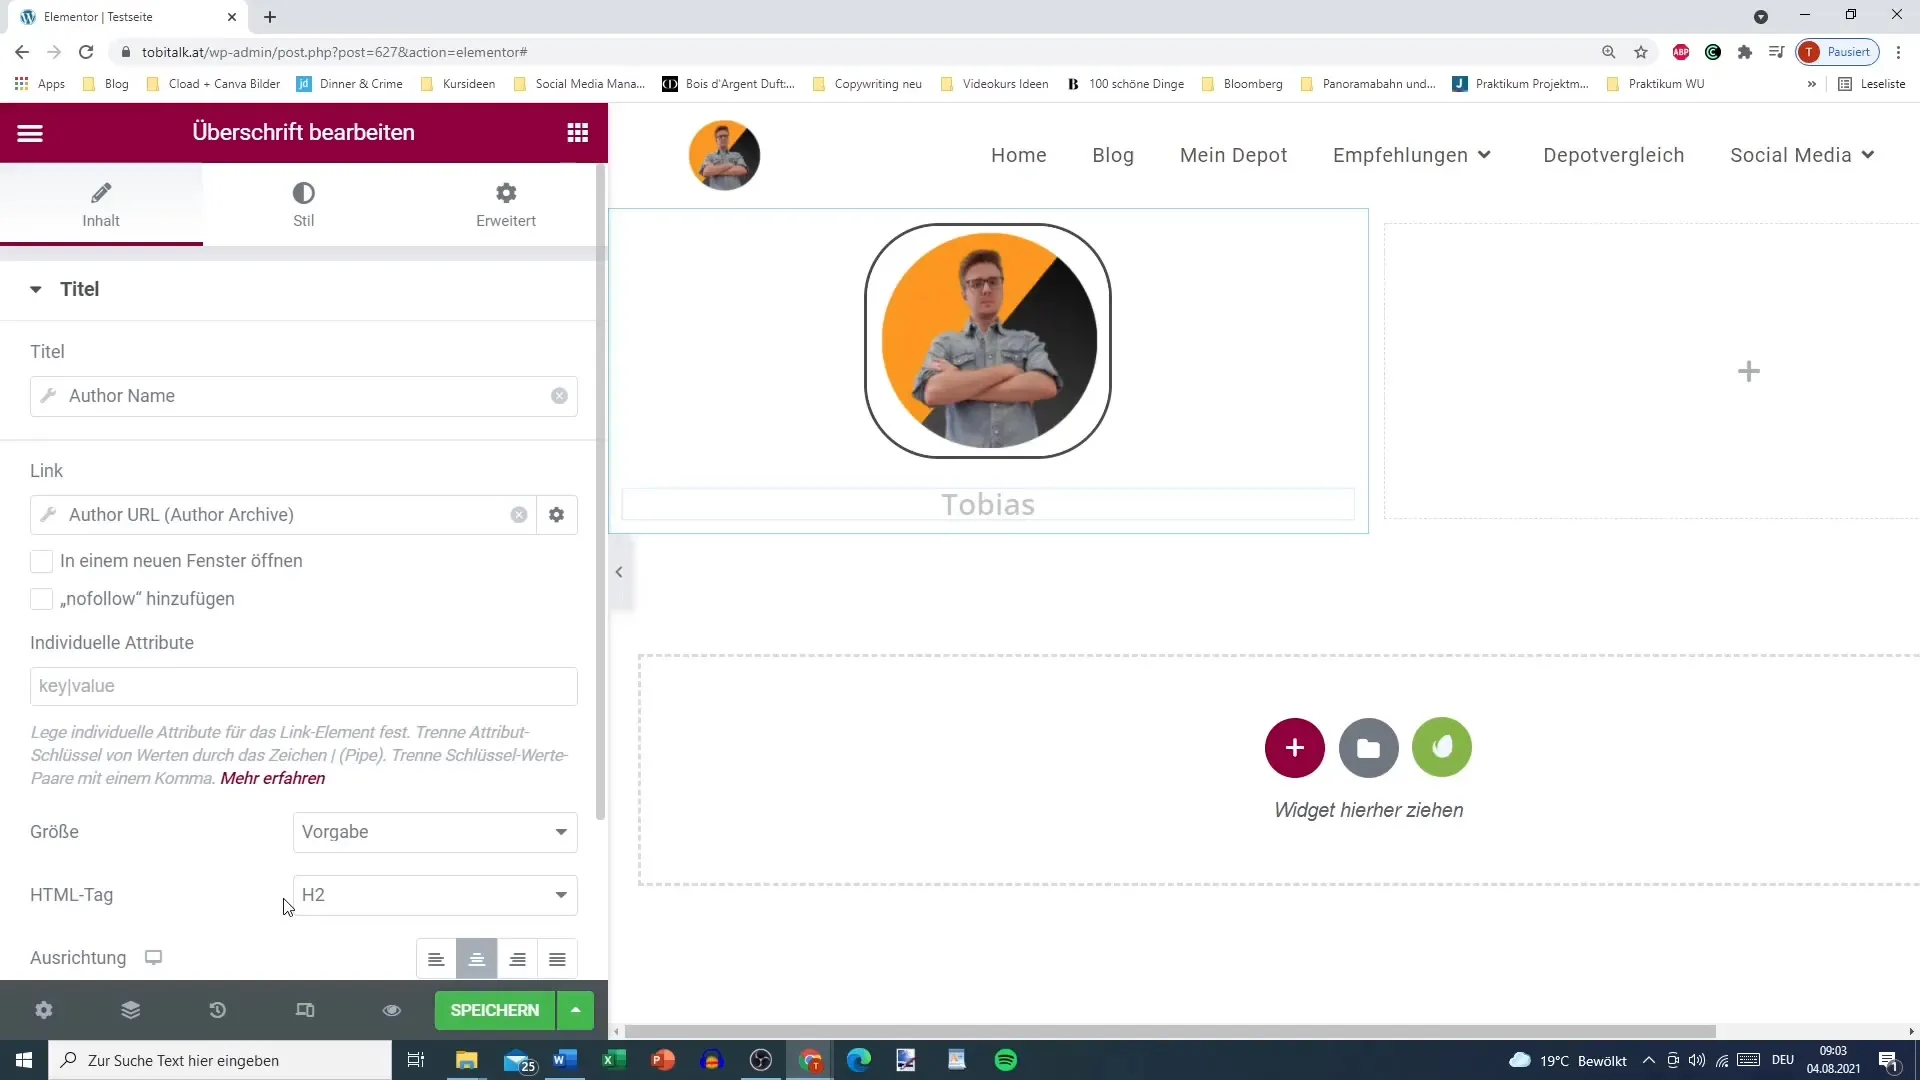
Now, you can insert a heading below your image. Click on the section for the heading and also use dynamic attributes. For example, you can automatically insert the title of the current post.
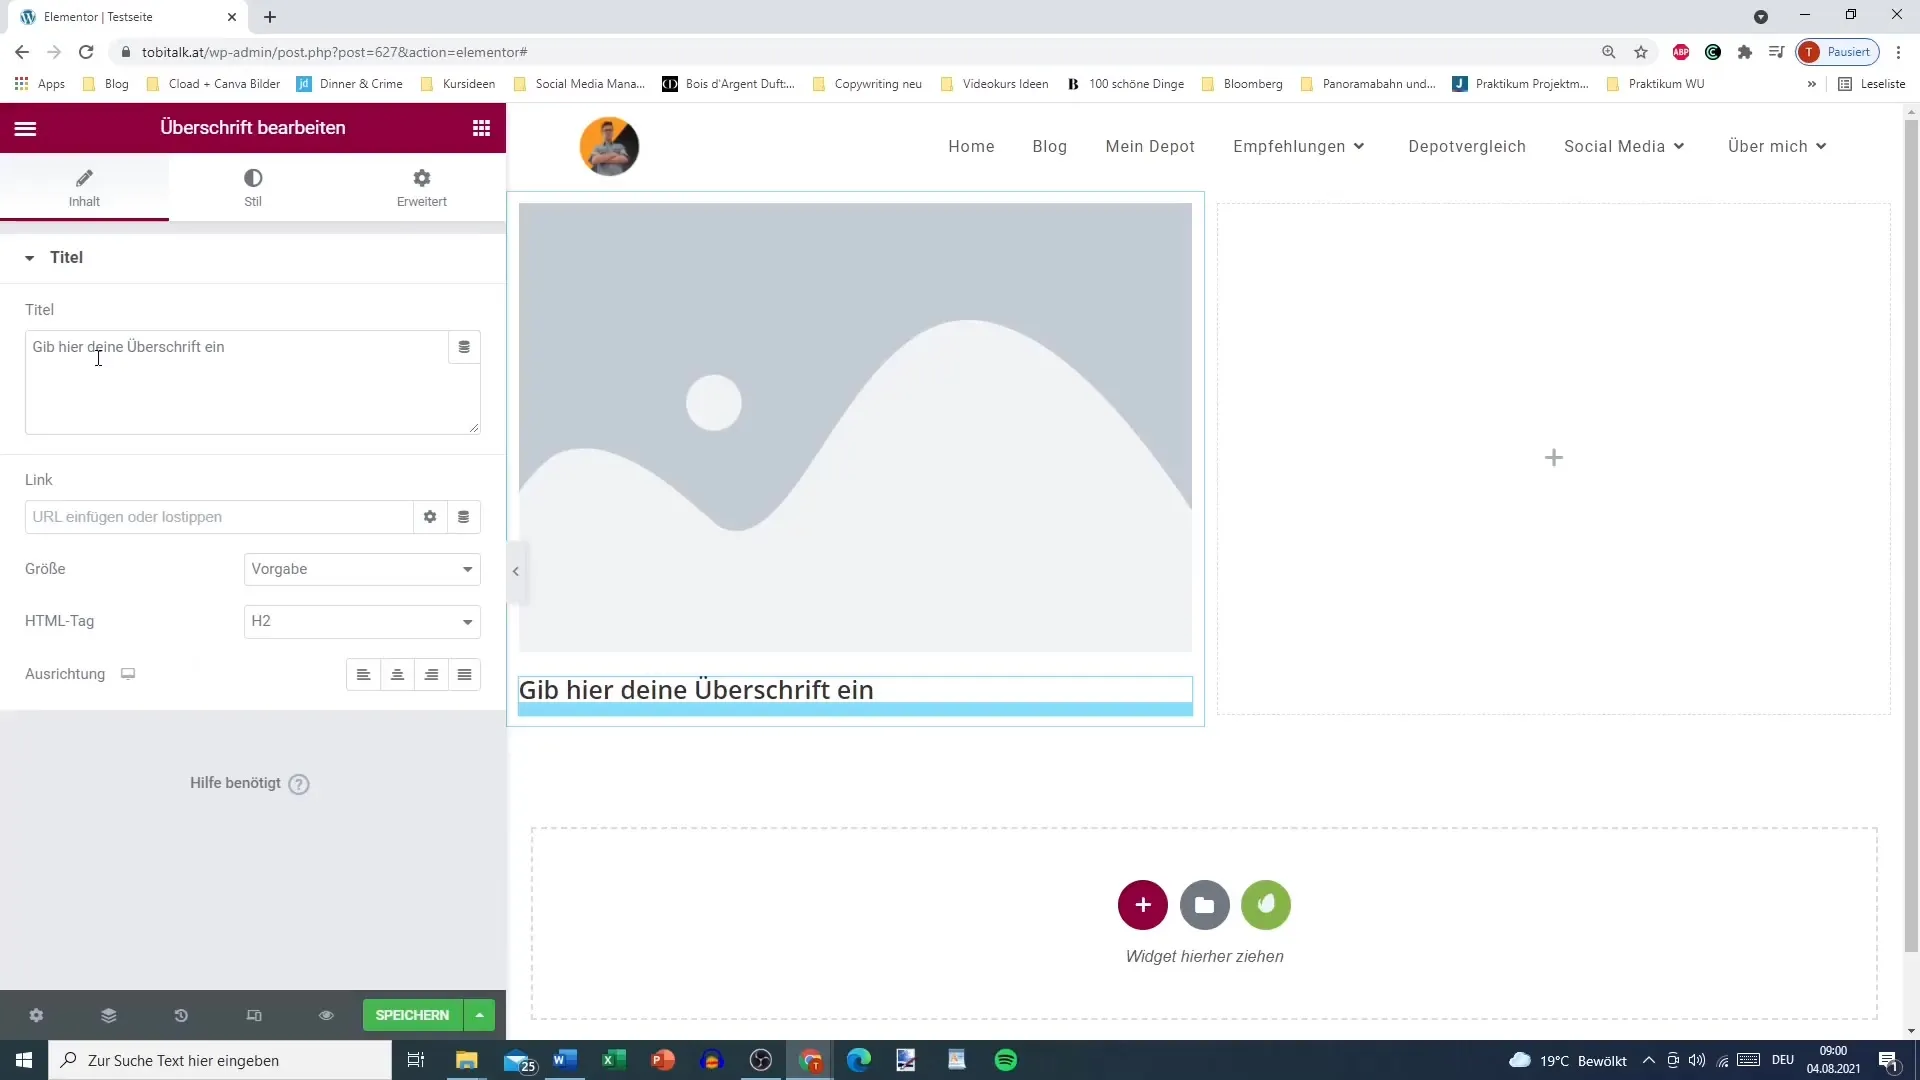
Step 6: Choose Dynamic Title Attributes
Select the dynamic attributes to add the title. Here, you can choose between various options like page title, author, and more. This ensures that the title is automatically updated when the post changes.
Step 7: Customize Texts
Use the text option to create content for your section. You can also use dynamic attributes to display the author's name or other relevant information to help you engage with readers.
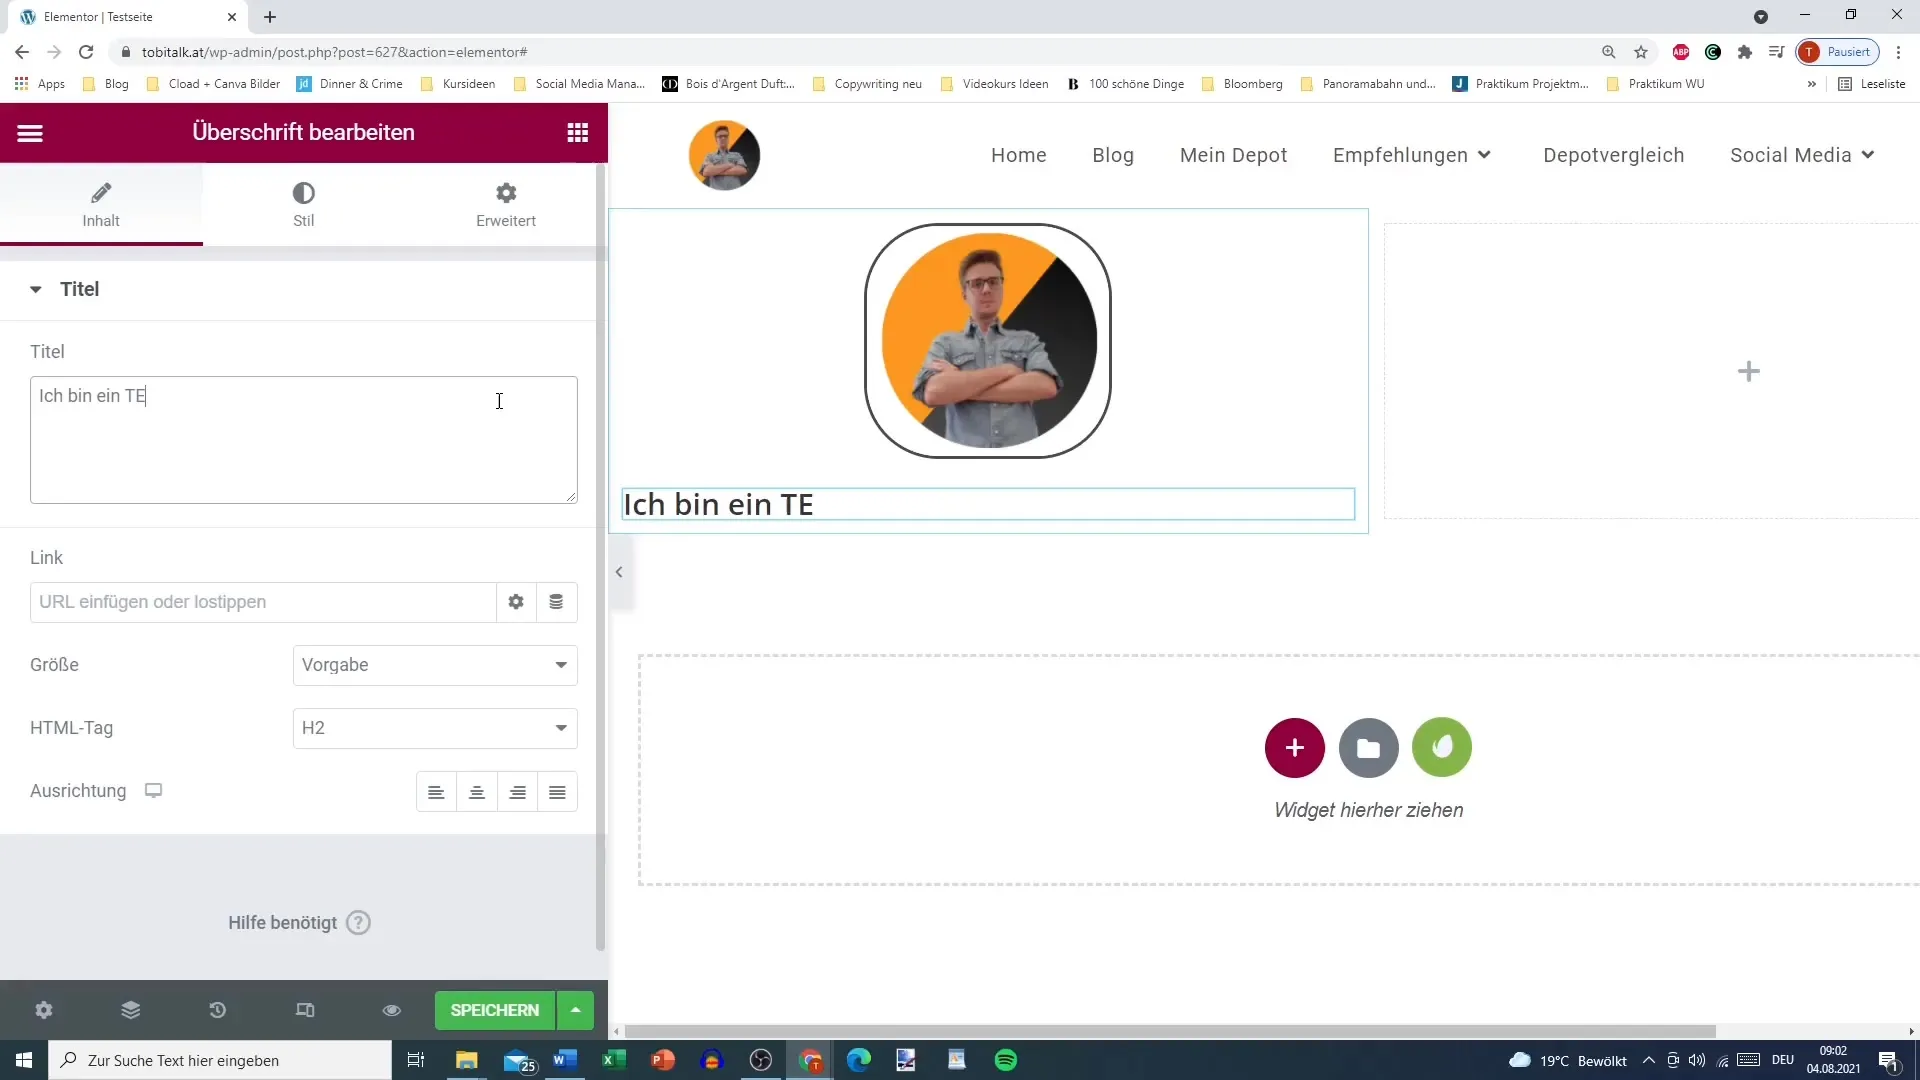
Step 8: Dynamically Style Links
It is possible to style links dynamically as well. For example, you can use the post URL for the title. This improves user navigation and ensures that readers can reach the right place with just one click.
Step 9: Insert Shortcodes or Pop-ups
Elementor allows you to place shortcodes and pop-ups directly in the text. This can be useful as needed to display special content or integrate interactive elements.
Step 10: Add Alternative Text for Unauthenticated Users
An especially important feature is the ability to display alternative text for unauthenticated users. Click on the tool next to the text field and choose an alternative that will be displayed when visitors are not logged in.
Summary
Using dynamic attributes in Elementor Pro is an excellent way to make your posts and pages interactive and appealing. With the ability to pull content automatically, your website not only becomes more engaging but also more personalized for users. By customizing images, headlines, and links, you increase the chances of promoting reader engagement and communicating important information more effectively.
Frequently Asked Questions
How do I activate Elementor Pro?You can activate Elementor Pro by downloading the plugin file after purchase and uploading it in your WordPress backend.
Can I use dynamic attributes in the free version?No, dynamic attributes are exclusively available in the Pro version of Elementor.
Are dynamic attributes available for other content types?Yes, you can use dynamic attributes for different post and page types.
How can I change images as dynamic attributes?Click on the image widget and select "Dynamic Attributes" from the menu to automatically fetch image content.


