To successfully collect information from visitors on your WordPress site, a well-designed form is essential. Elementor offers powerful features that are easy to use. This guide will show you step by step how to create an appealing and functional form with Elementor.
Key Takeaways
- You can add different input fields and options to collect specific information.
- It is important to define mandatory fields to ensure that important data is always provided.
- Customization options such as layout, button texts, and email notifications are crucial for the user experience.
- Setting up error messages is important to provide feedback to the user in case something is incorrect.
Step-by-Step Guide
To create a form in Elementor, follow these detailed steps:
1. Add Form
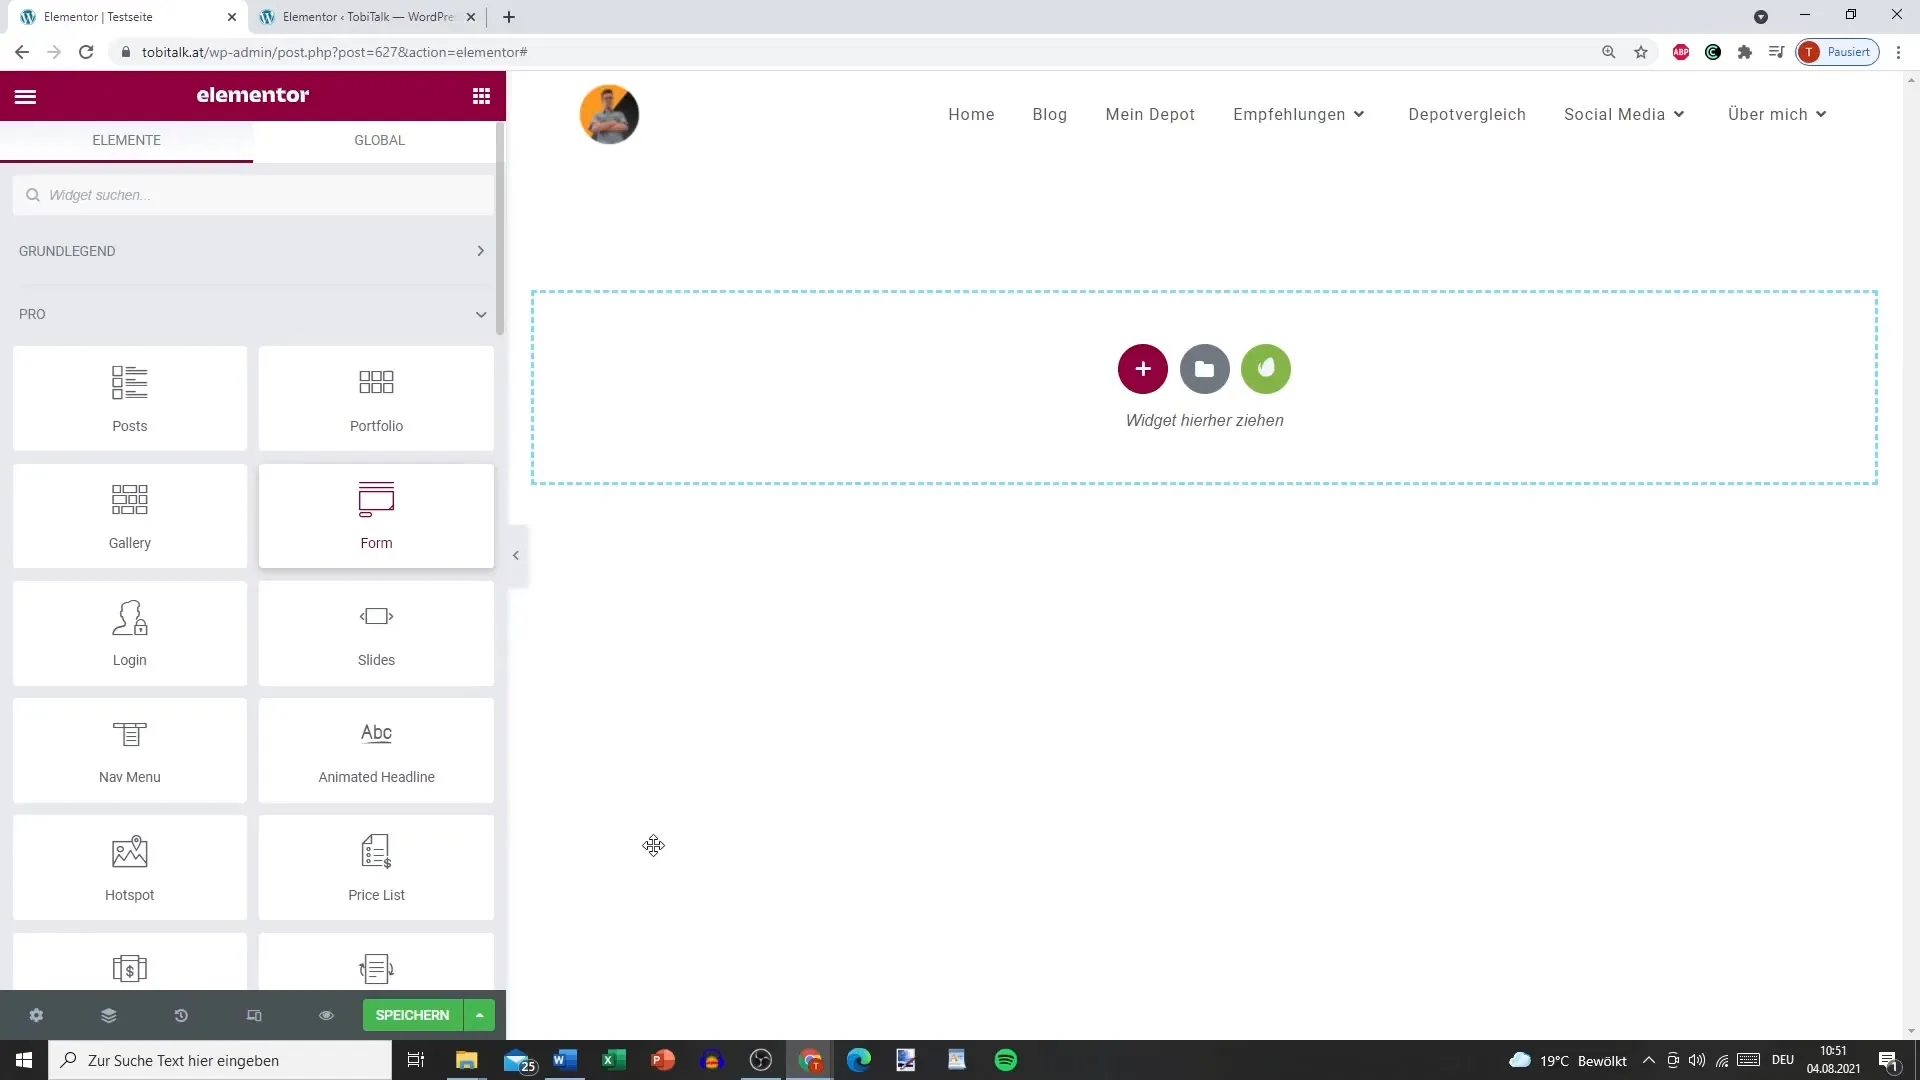
Start Elementor and add the form widget to your page. You can find the form widget in the Elementor panel. Simply drag it to the desired position on your page.
2. Configure Fields
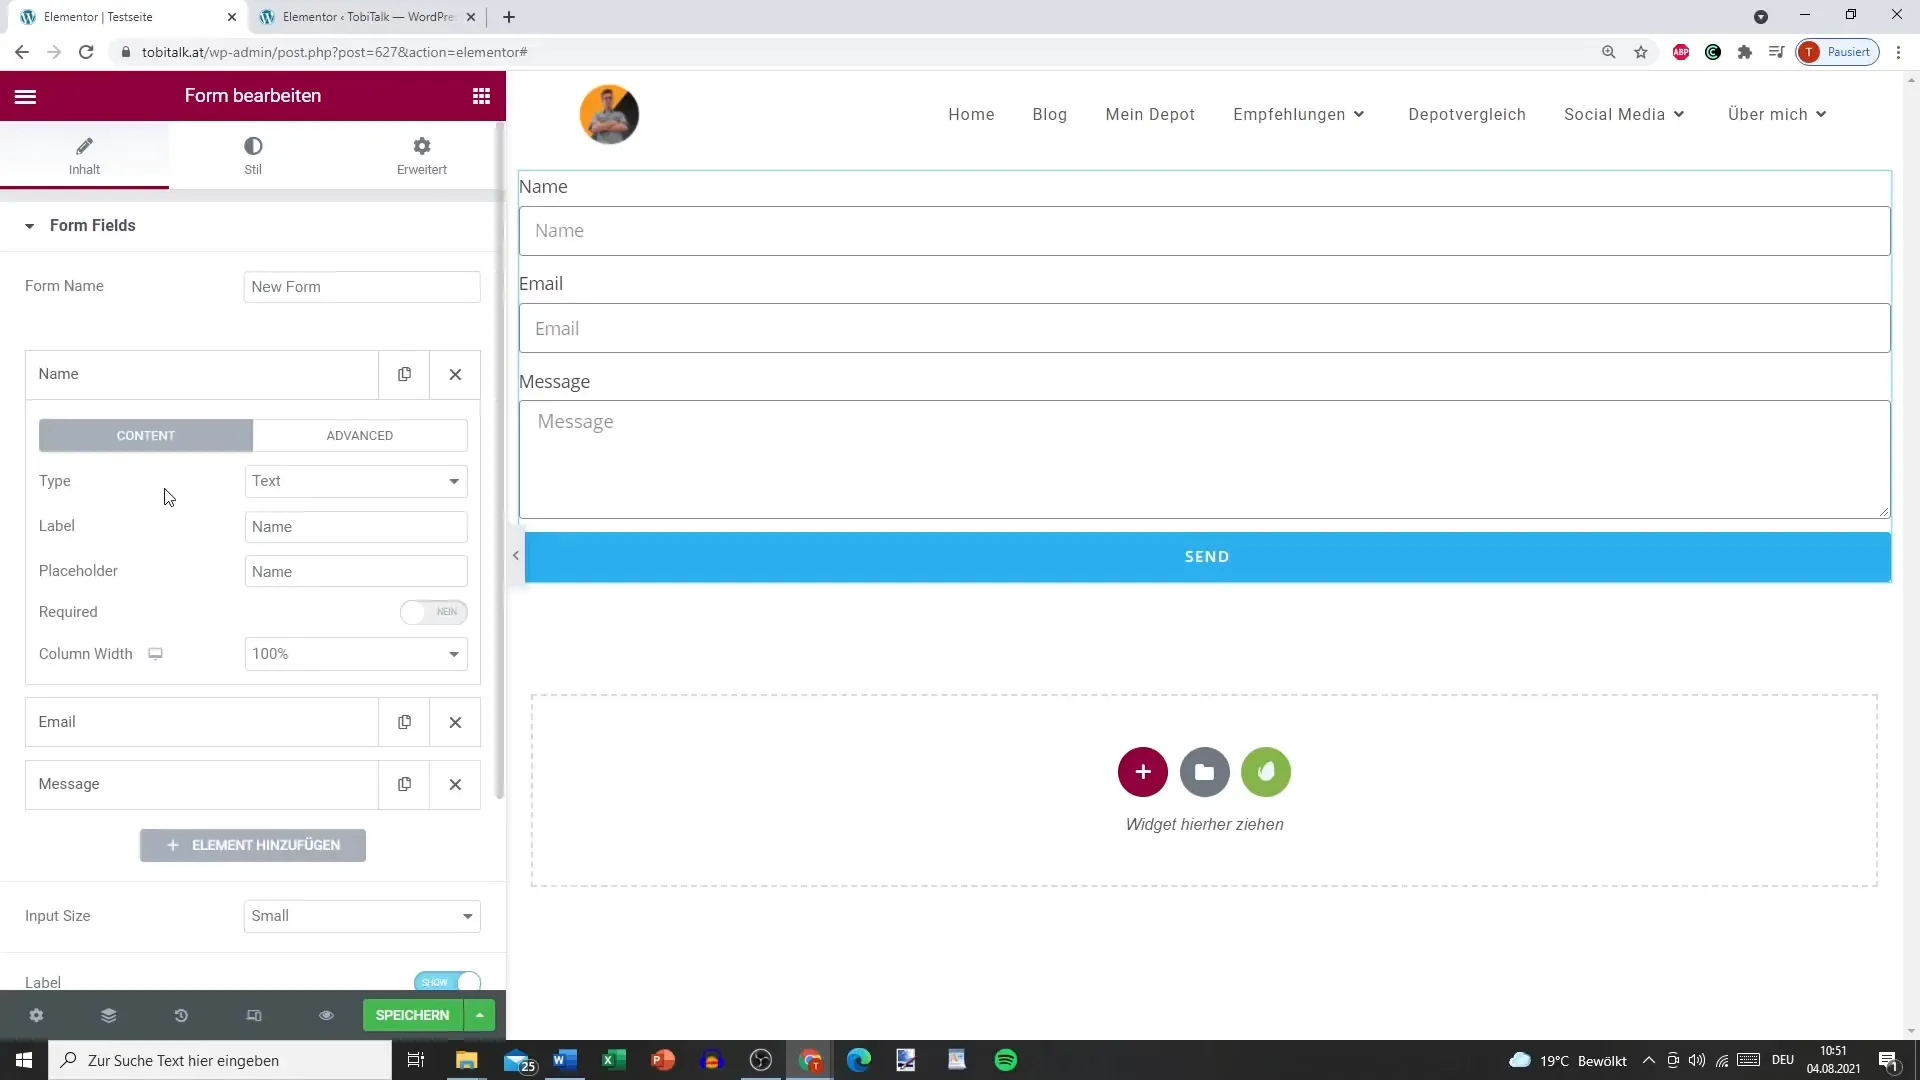
In the next step, you can configure the different fields of the form. You can start with a text field for the name. For example, name the field "Your Name". The label will appear in the form so that users know what information to enter.
3. Add Email Field
Now add an email field. Clearly name it as "Your Email Address". Make the field mandatory so users cannot ignore the email. This ensures that you need the details to process the user data.
4. Arrange Fields
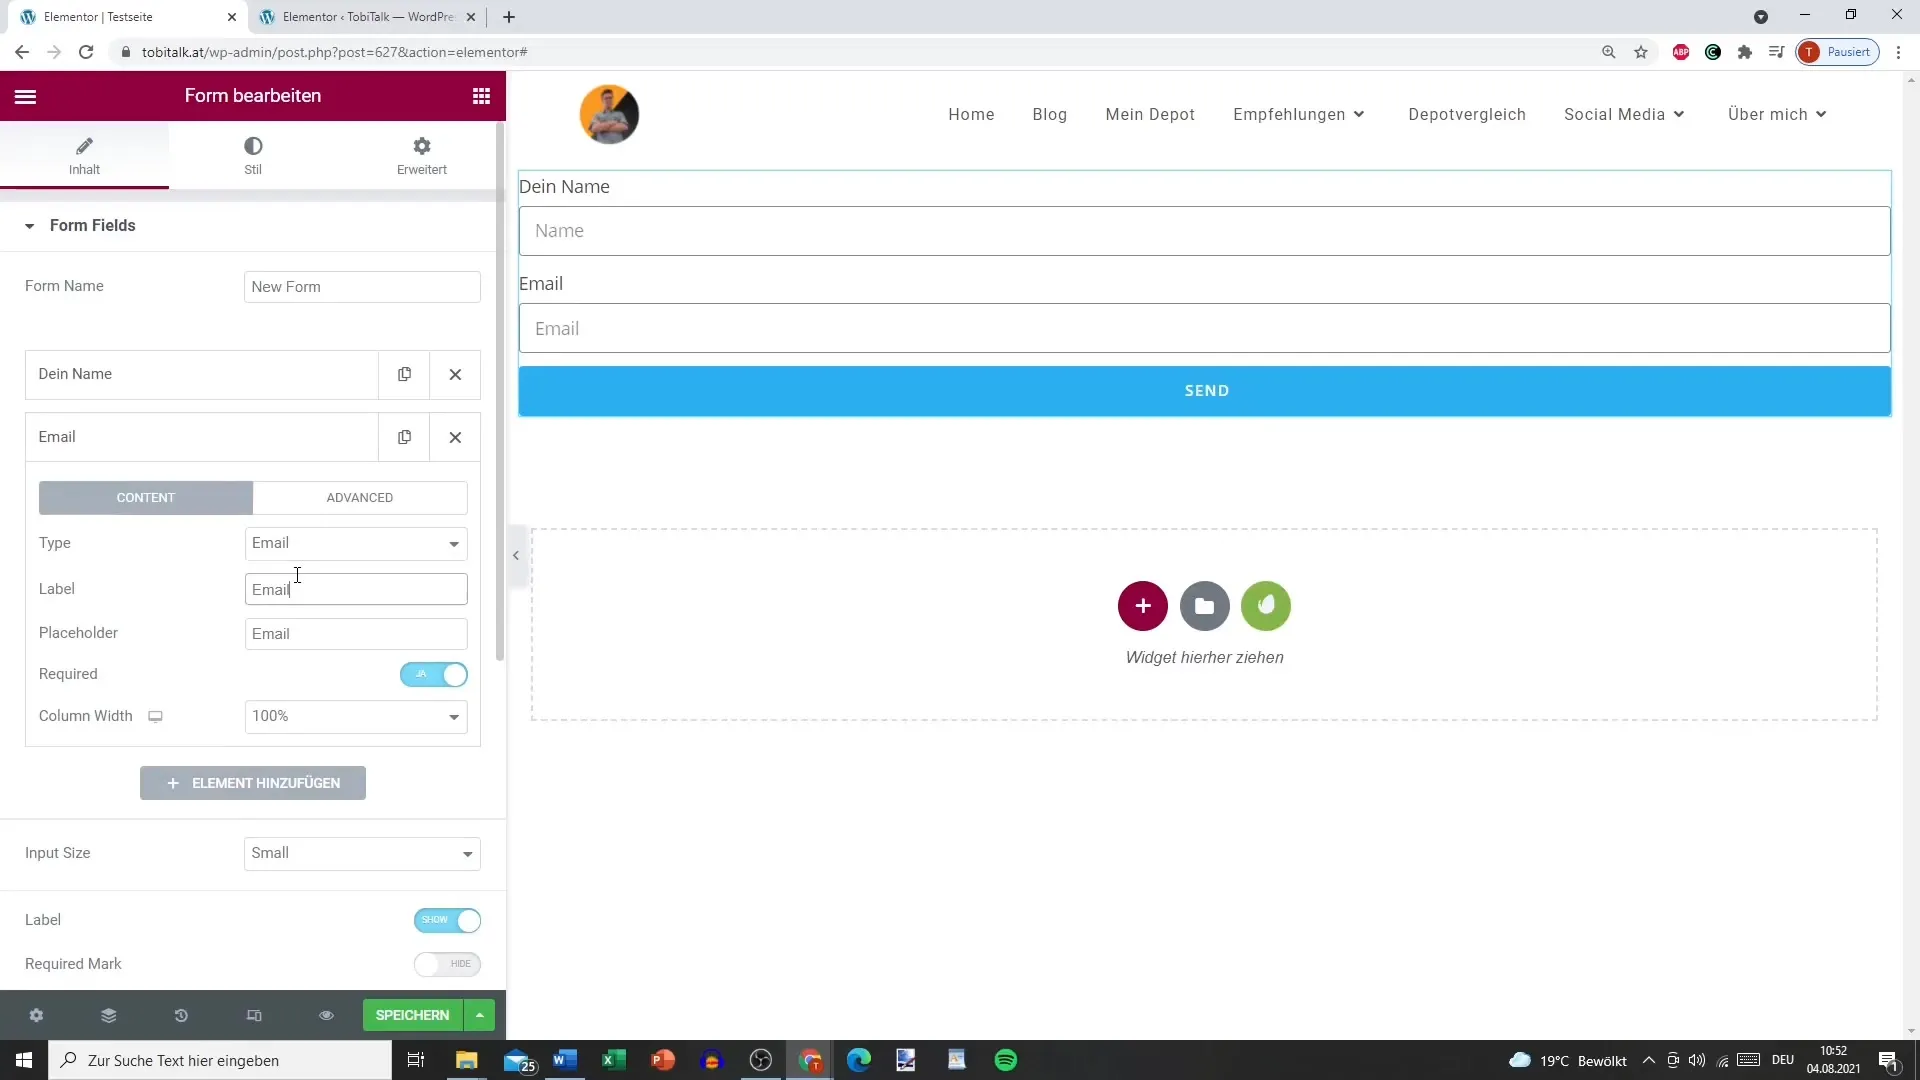
If you want the fields to be displayed side by side, you can adjust the column width for the fields. Set the width to 50% to achieve even distribution or choose your desired widths.
5. Add Additional Fields
If you want to collect more information, add additional fields - for example, another text field for the phone number. Also, use the opportunity to define the fields as mandatory if necessary.
6. Customize Button
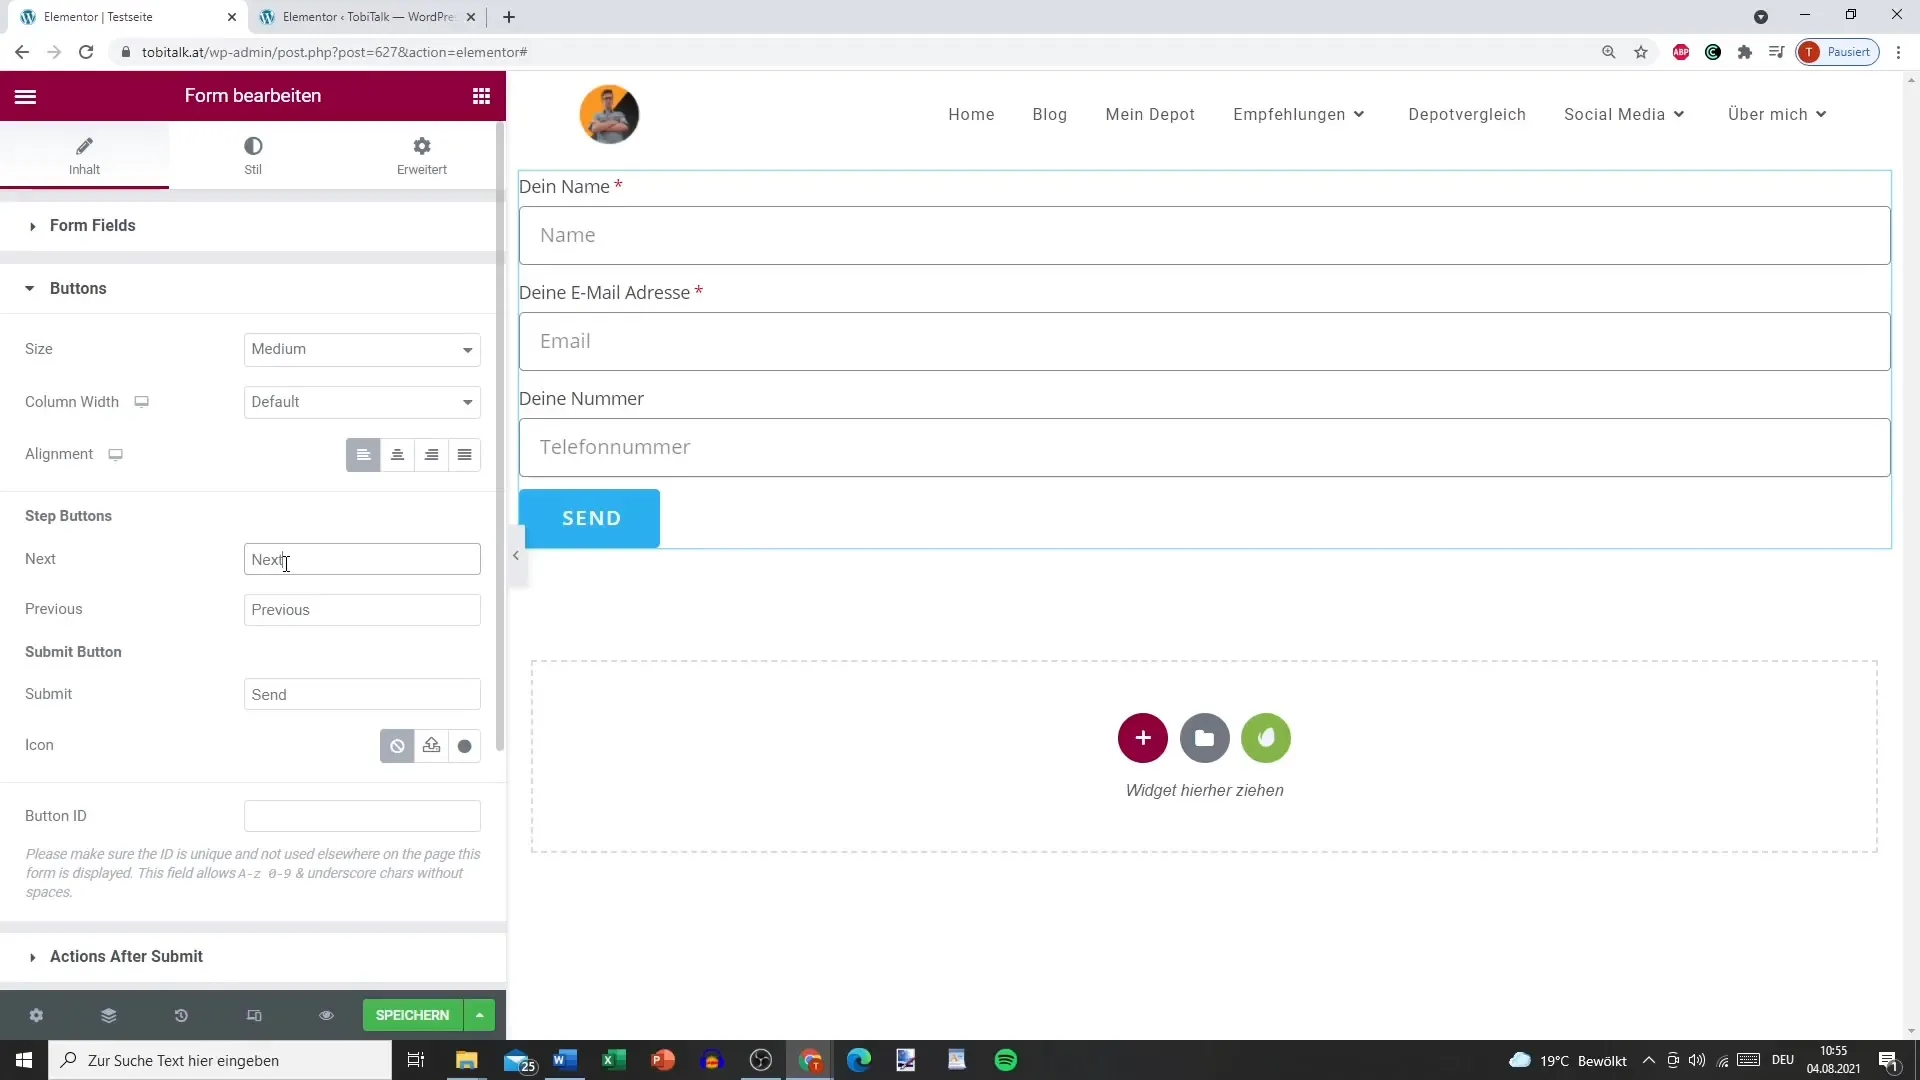
Now it's time for the button. You can center it and adjust the size. Change the button text from "Submit" to "Send" to make it clearer for users.
7. Set Up Email Notification
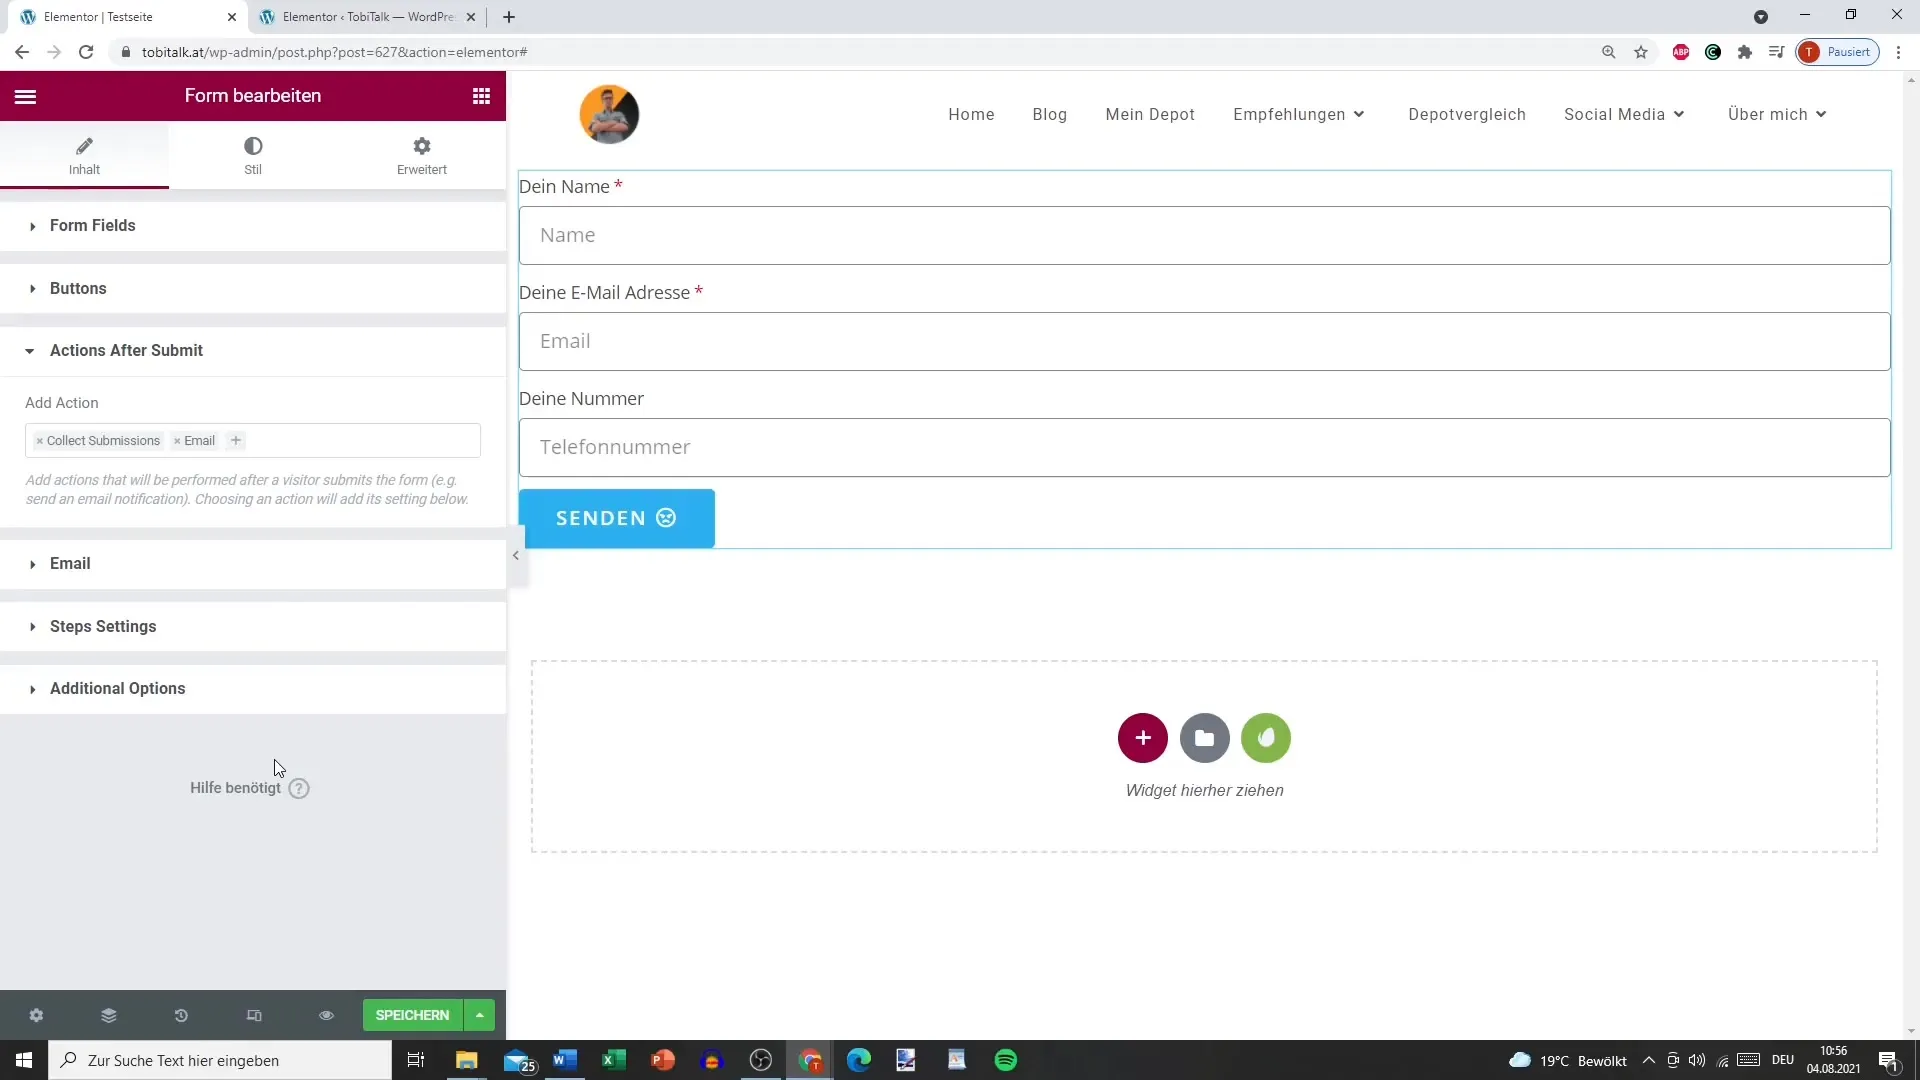
Configure the email notification that will be sent when the form is submitted. Enter your own email address in the corresponding field. This step ensures that you receive the submissions.
8. Personalize Messages
Add a subject and message that you want to receive. For example, you could set the subject as "Newsletter Subscription" and personalize the message with the filled fields. Use shortcodes to dynamically insert the information.
9. Set Error Messages
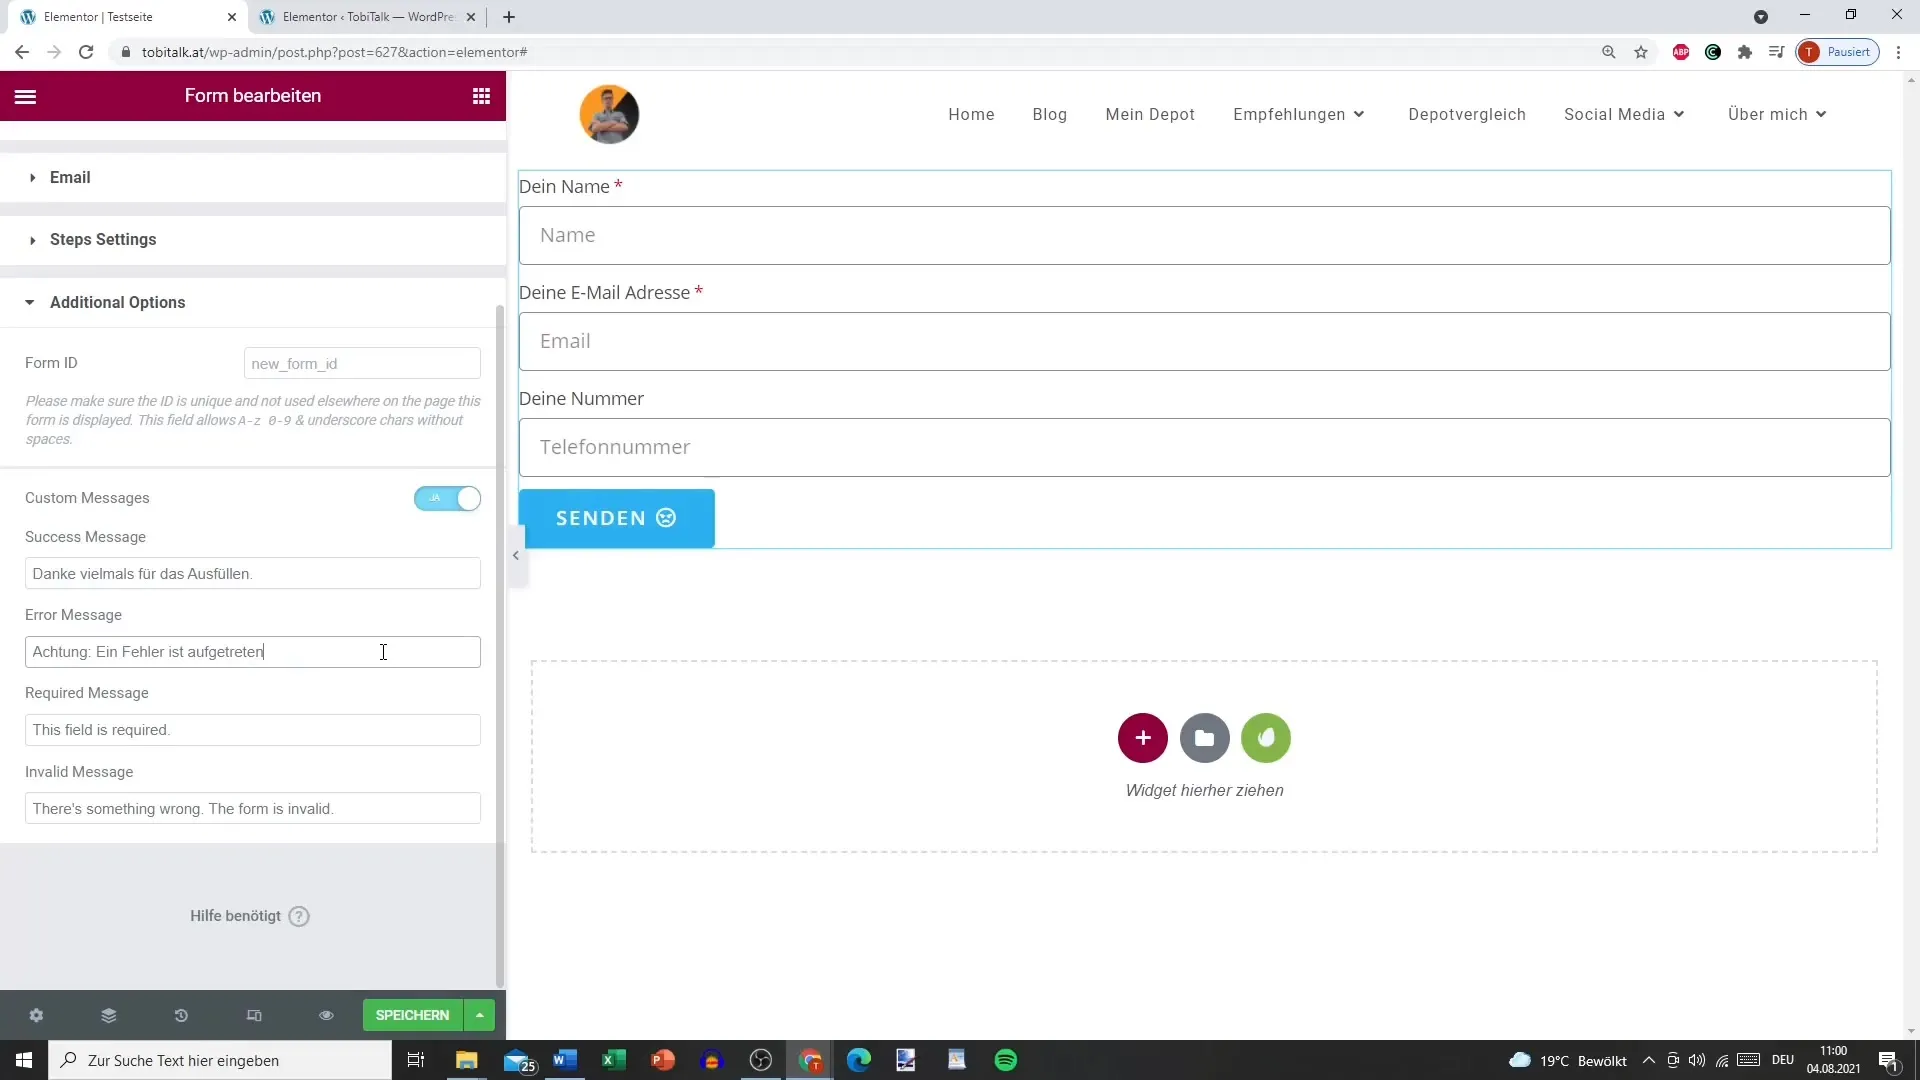
An important feature is setting up error messages for mandatory fields. Enable these to ensure that users are informed if they forget something. This enhances the user experience.
10. Test the Form
Once everything is set up, test the form. Fill out the fields to ensure that the email is sent correctly and the feedback works as intended.
Summary
Using Elementor to create a form not only gives you the flexibility to collect data, but also allows you to design a well-thought-out layout. By following the steps in this guide, you can ensure that your form is functional and user-friendly. From inputting fields to email notifications to error messages - everything contributes to ensuring that you get the information you need.
Frequently Asked Questions
What is Elementor?Elementor is a drag-and-drop page builder for WordPress that allows you to easily design web pages.
Can I customize the form?Yes, Elementor offers many customization options for forms, including designing fields and buttons.
How do I submit the form?You can submit the form by clicking the "Submit" button, and the email will then be sent to the address you provided.
Can I connect a form to services like MailChimp for actions?Yes, Elementor allows integration with various services, including MailChimp.


