There are people who actually create graphics for the web in Adobe InDesign. You can do that.
There was a situation when a friend asked me how it could be that when I export a graphic as a JPG and look at it in Photoshop, the resolution is no longer correct. I first had to see for myself how this could be.
Step 1
Let me show you how to do this correctly:
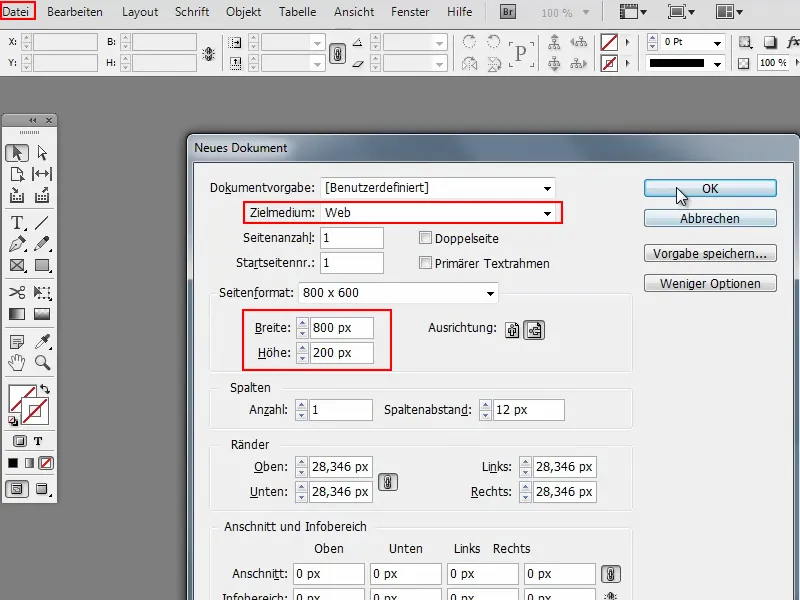
I go to File>New>Document and there I can already set whether I want it for print, web or digital publication. I need Web.
Pixels are used as the target unit, which is correct. I could also say exactly what resolution I want under Page format or I can enter this directly under Width and Height. Let's say 800 × 200 Px and confirm with OK.
Step 2
Then I have the workspace here and I'm going to create a button here, for example.
To do this, I'll use the rectangle tool and draw a shape.
Then I want to add a gradient from top to bottom. So I select Type: Linear and Angle: 90°.
I set the fact that I don't want a contour using color fields..webp?tutkfid=77850)
Step 3
Of course, I can also adjust the color myself if I don't like it. But that's not the point at the moment.
But if I do, I can select the color by going to Color swatches>New gradient swatch. This is created immediately and then I can double-click in it and move the black slider slightly to the right, for example, so that it doesn't go completely white straight away..webp?tutkfid=77851)
Step 4
Then I would like to round off the whole thing and go to Object>Corner options.
I always like to do this with Preview, so you can see it straight away. And then I just set Rounded and 20 px.
Then the whole thing looks like this:.webp?tutkfid=77852)
Step 5
There's another outline in there, which I didn't want at all, so I take it out again. I could now add some text, but let's just leave it like this.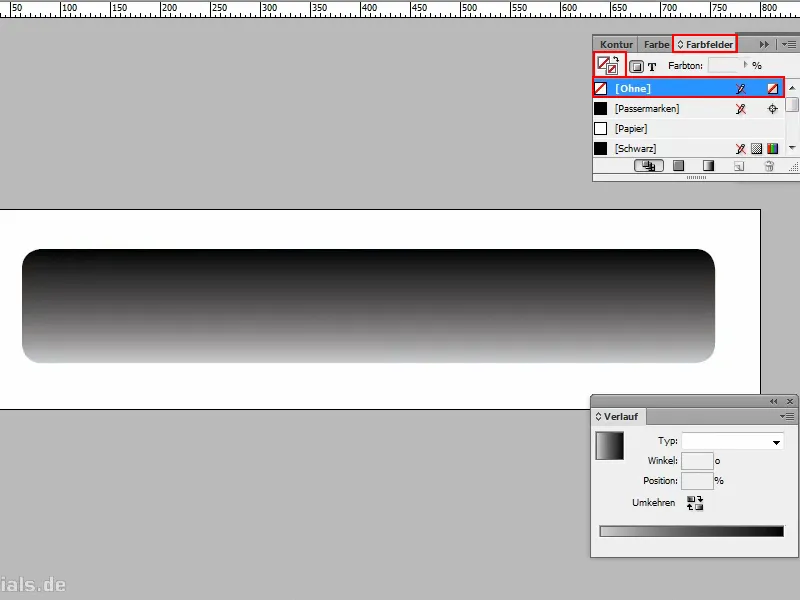
Step 6
Now I want to export this, so I go to File>Export and call it "button".
Then I can select which file format I want. PNG is interesting because I can also save the transparencies there. Let's do that.
Then I get exactly the same window as with JPG. I could export several pages, but as I only have one at the moment, this is irrelevant in this case.
I can also set the quality. The resolution is always set to 300 ppi - ppi are pixels per inch.
Then, of course, Transparent background is important and I go to Export.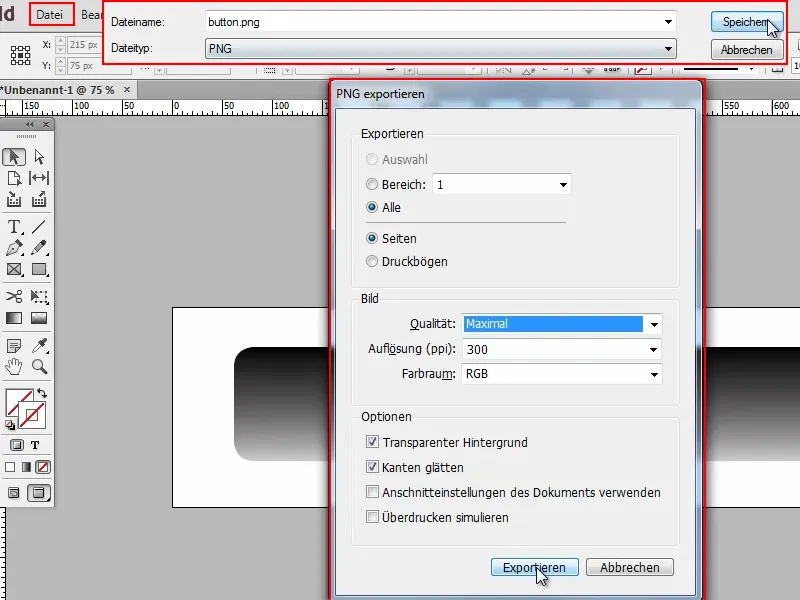
Step 7
Now I open this file in Photoshop and immediately see that it's a bit large.
And if I look at Image>Image size, it's 3334 × 834 pixels. But I didn't set that when I created the document!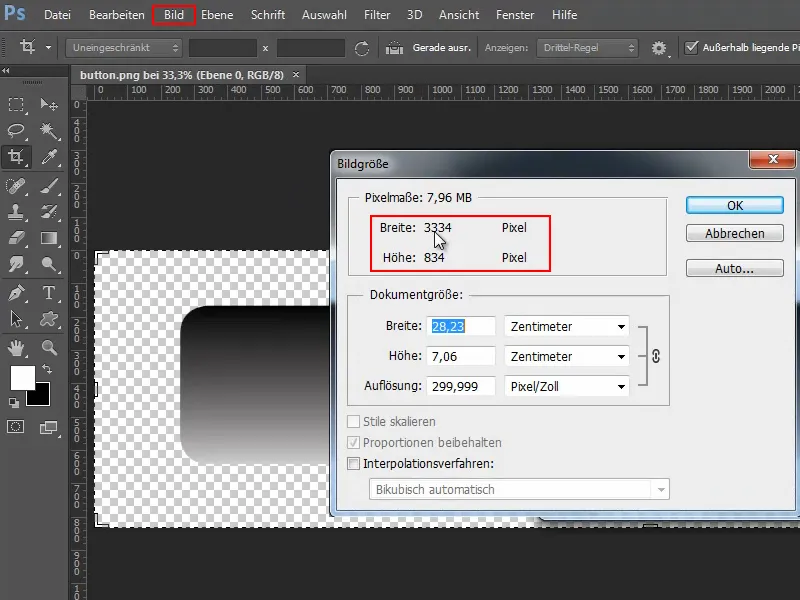
Step 8
So let's go back to InDesign and go to File>Export. This time I'll call it "button2".
And now it's time to enter 72 ppi under Resolution. That's all it is. Only when this value is entered is it exactly the resolution that we created at the beginning.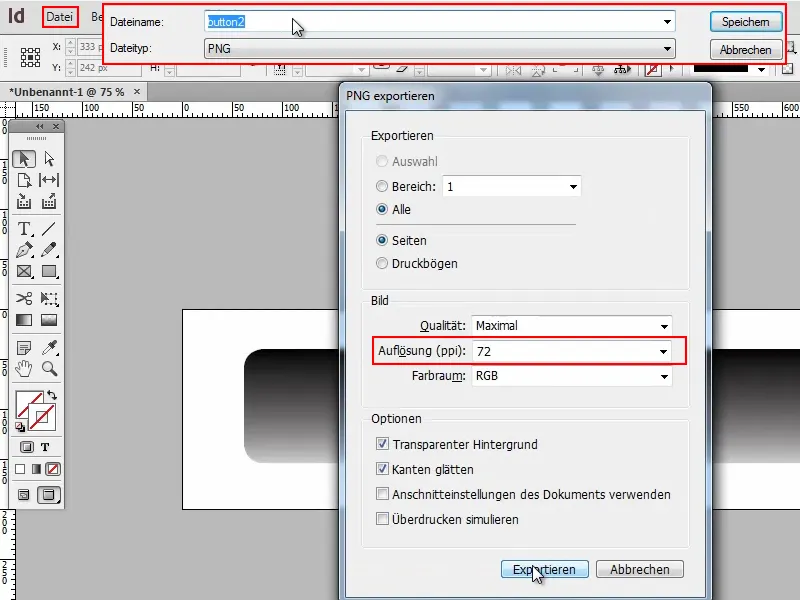
Then it also has the desired 800 × 200 pixels in Photoshop.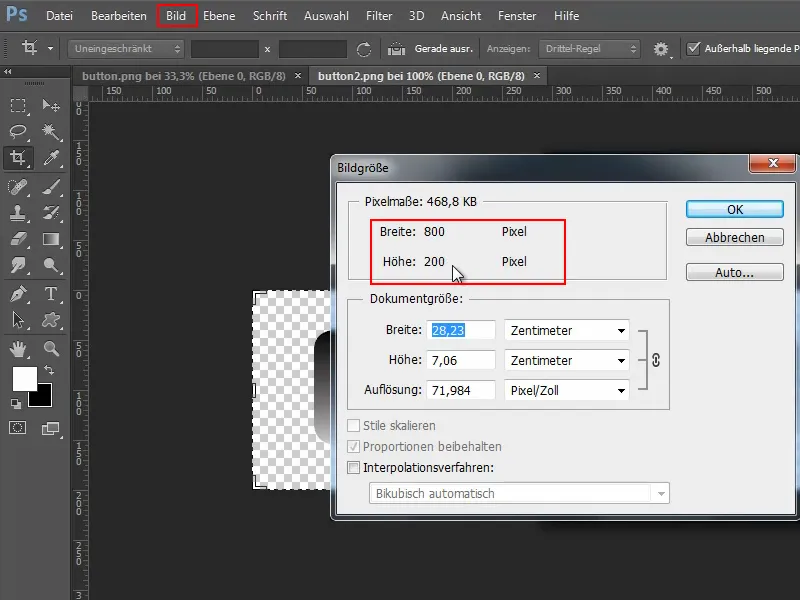
That was basically it. That's all it is. Basically, you just have to make sure that 72 ppi is entered when exporting.


