Efficient navigation and the right view are crucial for working precisely and quickly in Adobe InDesign. Whether you're zooming in a document, navigating between pages, or using view modes like "Preview" and "Bleed Preview" - the possibilities are diverse. In this guide, I will show you the key functions to help you navigate InDesign effectively and edit your layouts professionally. Let's get started and improve your workflow!
Navigating within an InDesign Document
When you open an ID document, you initially see only one page. If the view is scaled and you want to have the entire page displayed for an overview, choose the menu View > Fit Page in Window or press the shortcut Ctrl+0.
If you are in a double-sided document, this will center the left page.
If you also want to see the right page, choose the option Fit Spread in Window in the View menu or the shortcut Ctrl+Alt+0.
For navigation in multi-page documents, there are several options available: The Pages panel provides a good overview of extensive documents. Click on Pages in the Tool panels or in the Window menu on Pages, or - quickest of all - simply press F12.
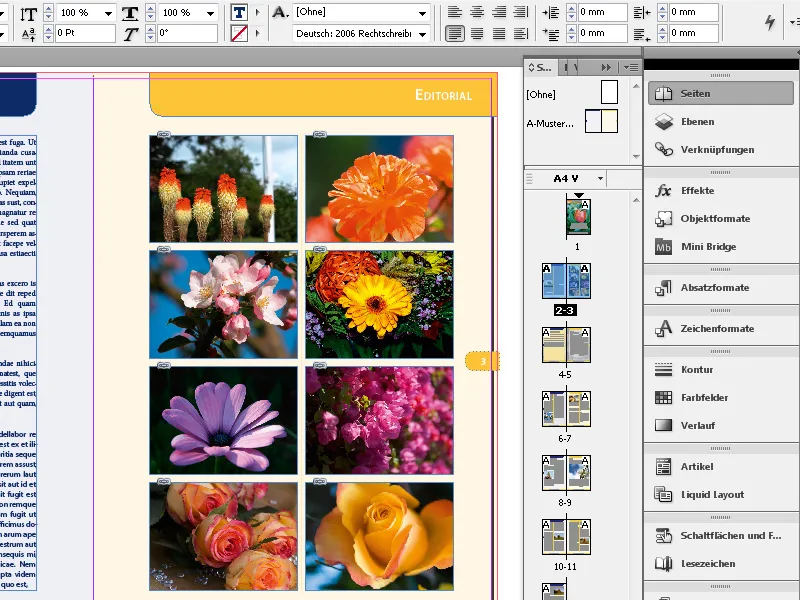
Here you have a good overview that can be extended downwards for extensive documents. Now you see a preview of the document's pages. The current page is highlighted in blue.
You can also adjust the size of the preview: Click on Panel menu and then Panel options. Here, you can adjust the size in six levels from very small to huge according to personal preference.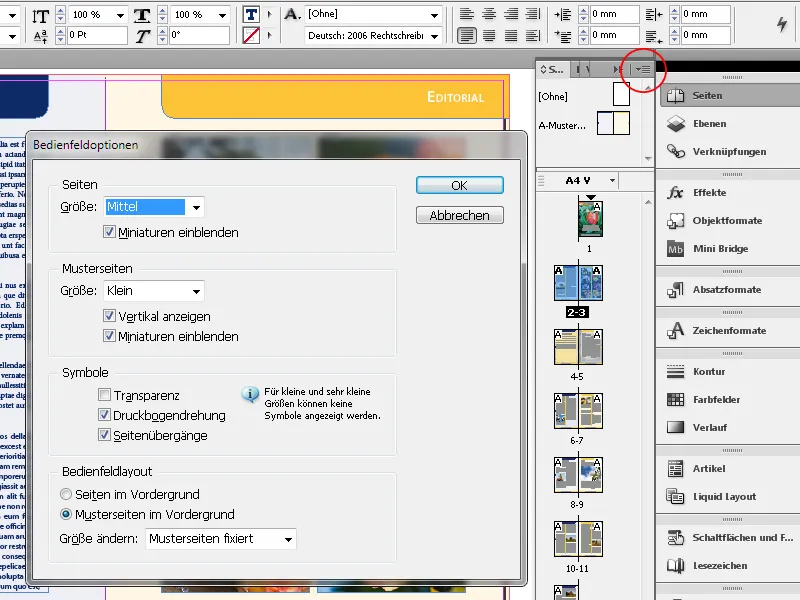
To jump to a specific page in the document, simply double-click on it. For double-sided pages, the respective left or right page of the spread is centered on the screen. If you want to see the entire spread centered on the display, double-click not on the page but on the page numbers below the preview in the Pages panel.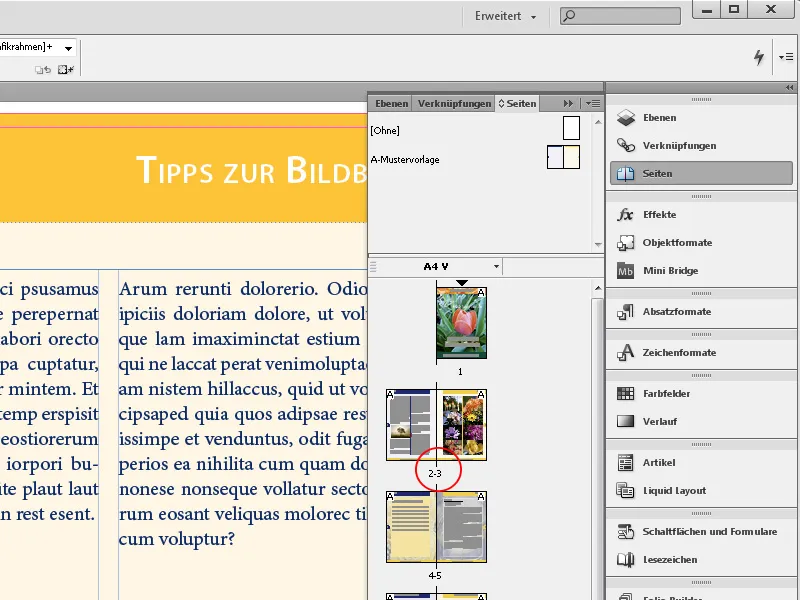
To navigate step by step from one spread to the next, use the useful keyboard shortcut Alt+Page Down (forward) or Page Up (backward).
For very extensive documents, jumping to a specific page is made easier by using the Pages menu at the bottom left of the status bar. The current page number is displayed there. Now, you can either click on the small arrow at the right edge and select the target page from the dropdown menu or double-click directly in the area with the current page number and overwrite it. Pressing the Enter key will take you to the destination (which can be quite convenient, for example, when jumping from page 3 to page 497).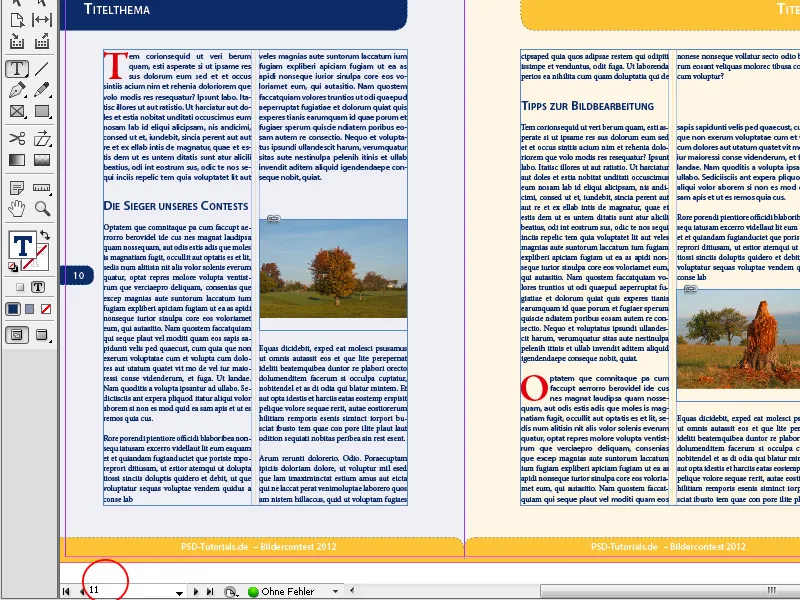
The master pages are also displayed there, and you can access them by double-clicking on them.
Navigating between Multiple Open InDesign Documents
When you have multiple InDesign documents open simultaneously, the program arranges them with tabs side by side. You can switch between these tabs either by clicking with the mouse or - for keyboard enthusiasts - using the shortcut Ctrl+Tab. This way, the documents are activated from left to right. Using Shift+Ctrl+Tab jumps between tabs in reverse order.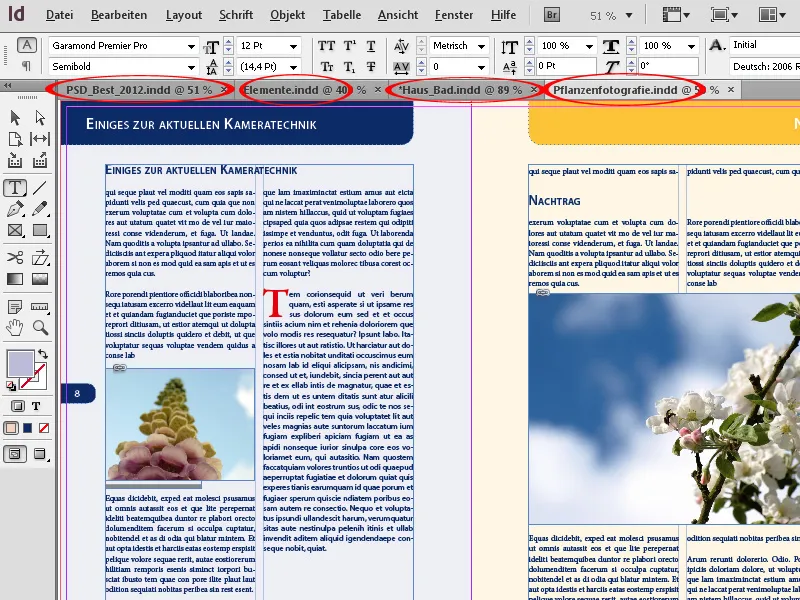
You can also arrange multiple open documents side by side or one below the other on the screen by using the Arrange Documents button in the menu bar.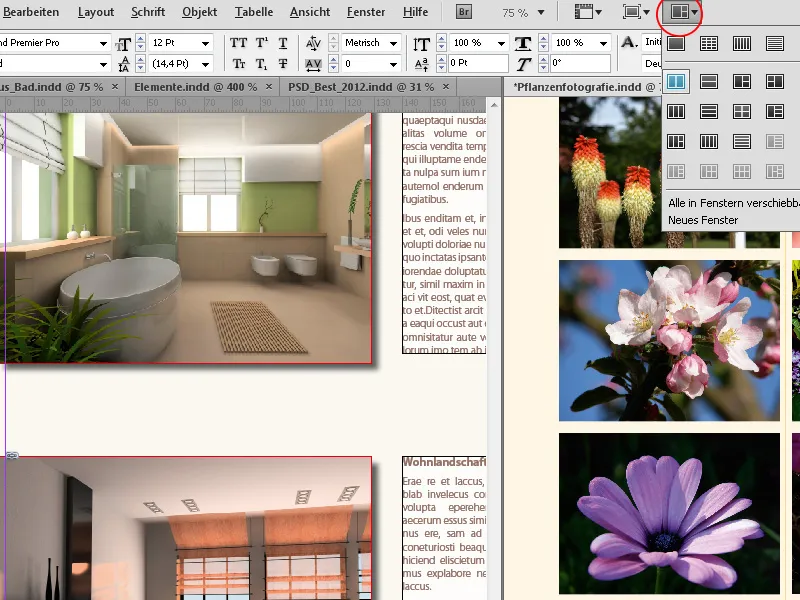
The Different Page Display Modes
InDesign provides five different modes for displaying a document on the screen. An overview can be accessed in the menu View > Screen Mode or by clicking on the corresponding icon at the top of the screen.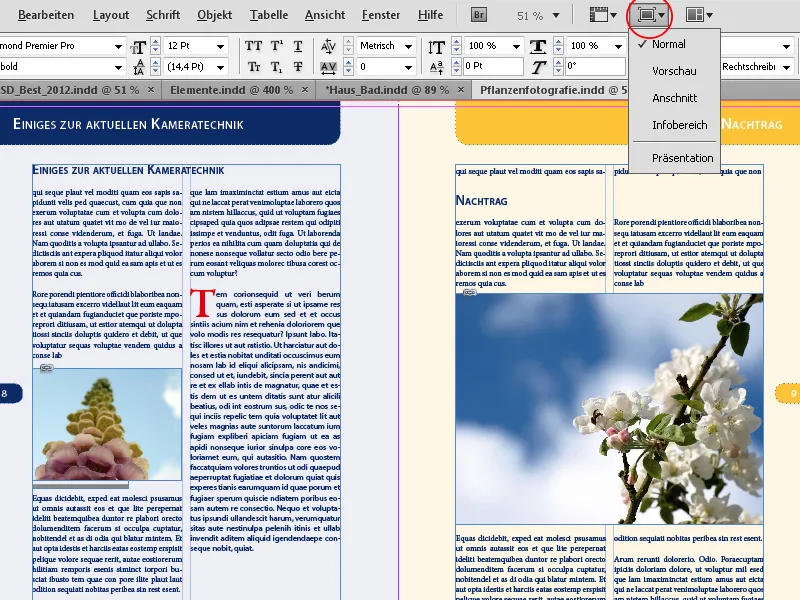
Normal is the default layout mode, in which the document, including any bleed and, if displayed, the Document Guides and Baseline Grids, is shown. This mode offers the best visual control over all these functions while working. However, as the abundance of displayed guides and gridlines can be distracting for assessing the expected final result, InDesign offers the Preview Mode.
In this mode, all the gridlines are hidden, and even the created bleed disappears, providing a more realistic preview.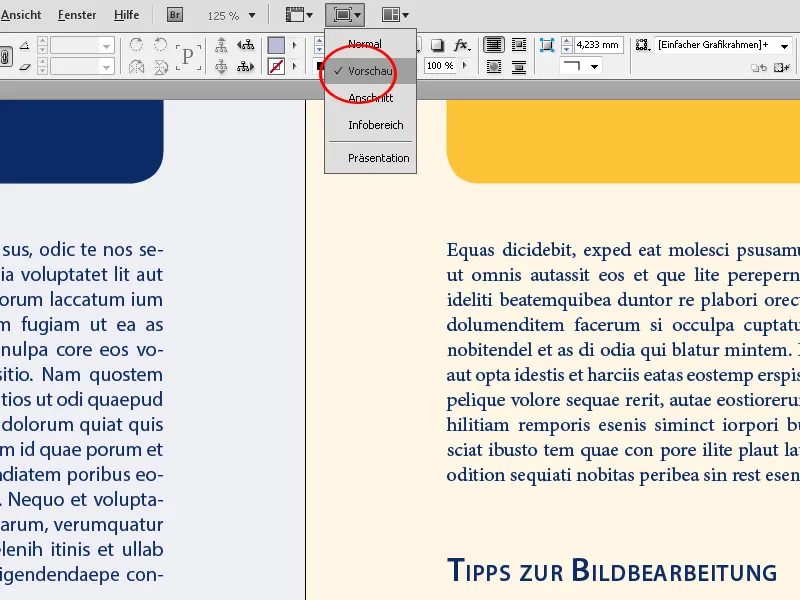
In Bleed Mode, graphics are displayed as in the printed state. Non-printing elements (grid, guides, non-printing objects) are not visible. The bleed area defined in the Document Setup dialog box is displayed as a bounding line.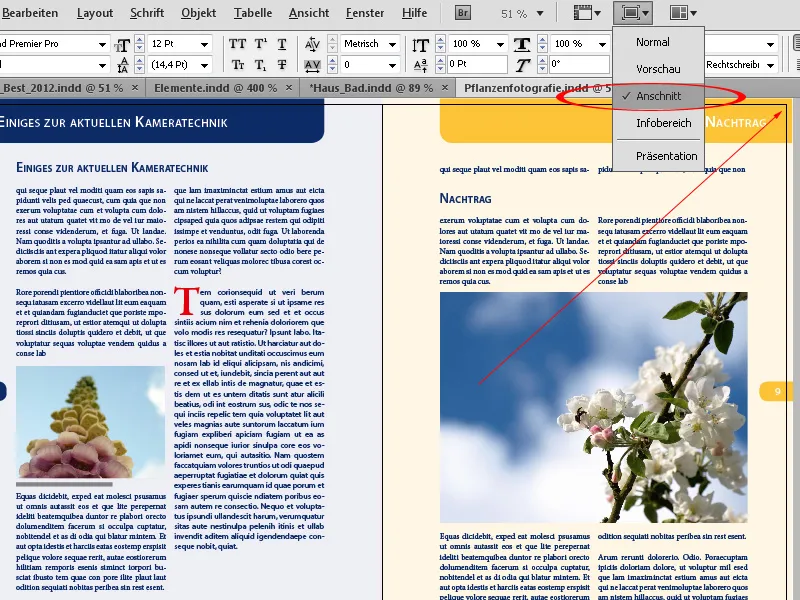
In Slug Mode, graphics are displayed as in the printed state. Non-printing elements like gridlines and guides are not visible. Printable elements within the slug area defined in the Document Setup dialog box are visible.
The optimal display of the final result is provided by the Presentation Mode. Here, everything is hidden except for the current page, which fills the entire screen with a black background. Navigating through the document is done using the arrow keys, allowing you to flip forward or backward through the document (especially useful for presenting designed documents to a client). You can also access this mode with the shortcut Shift+W. Pressing the Esc key will return you to the previous view.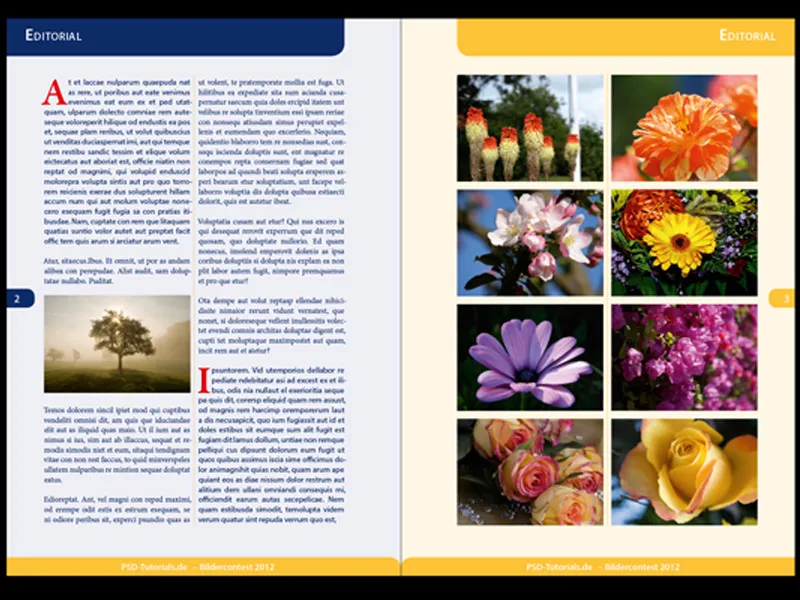
If you occasionally want to check a specific view, it's convenient to use the W key to return to Normal Mode. Pressing it again will toggle between the two views without having to reach for the mouse each time.
The Toolbar and Tool panels disappear with a press of the Tab key. This enlarges the display for a quick glance. Pressing it again will bring everything back.
If you also want the Ruler to disappear, use the shortcut Ctrl+R - this further enlarges the view.


