The Media Carousel in Elementor opens up new possibilities for presenting your content. Thanks to this feature, you can arrange images, videos, and even links in an appealing carousel format, significantly enhancing the user experience on your website. This guide will walk you through the process of creating and customizing a Media Carousel step by step.
Key Takeaways
- The Media Carousel allows the use of images and videos.
- You can add custom links to each element.
- The customization options are versatile, providing numerous design possibilities.
Step-by-Step Guide to Creating a Media Carousel
Step 1: Adding the Media Carousel
To create a Media Carousel, open the Elementor editor first. In the left sidebar, you will find the elements you can use. Look for the "Carousel" and drag it to the desired area of your page.
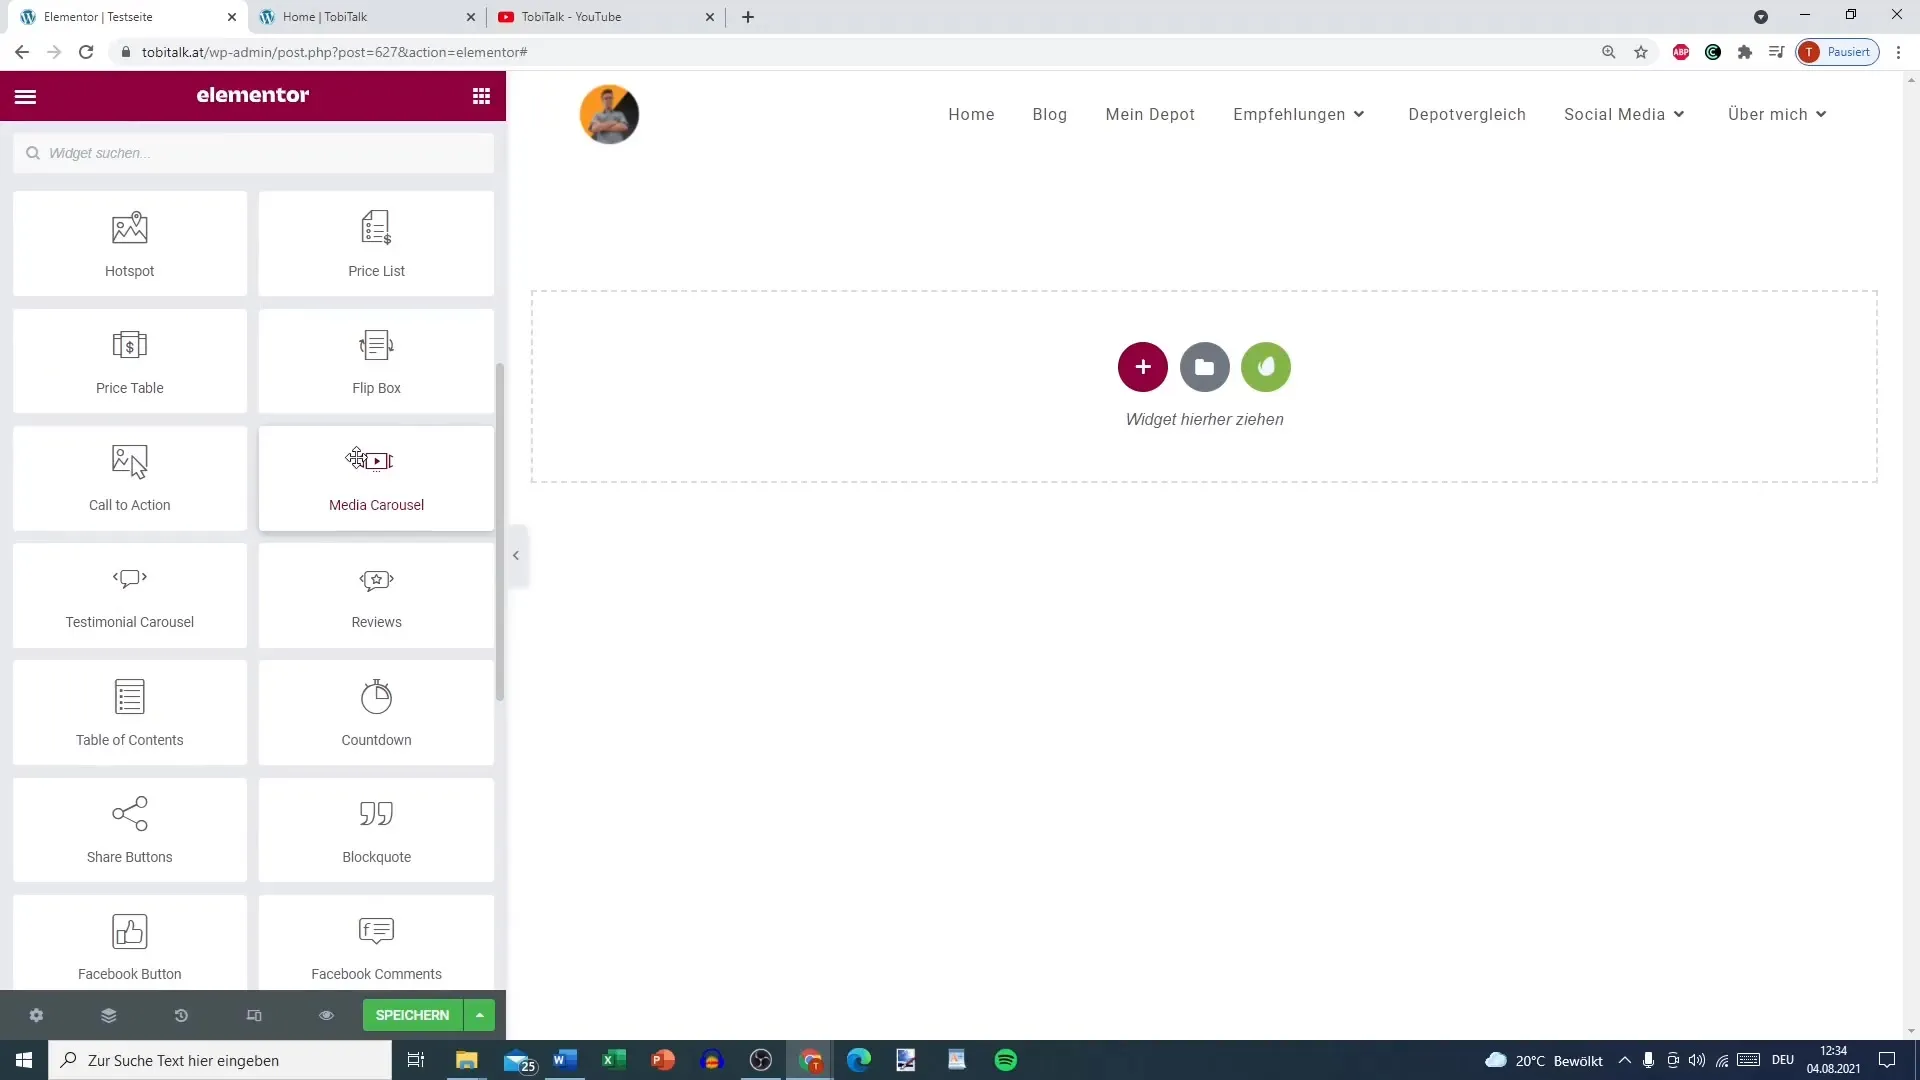
Step 2: Selecting the Elements
Now you have the option to select various media content. You can combine images and videos, making the carousel more versatile. For the first element, choose an image from your media library.
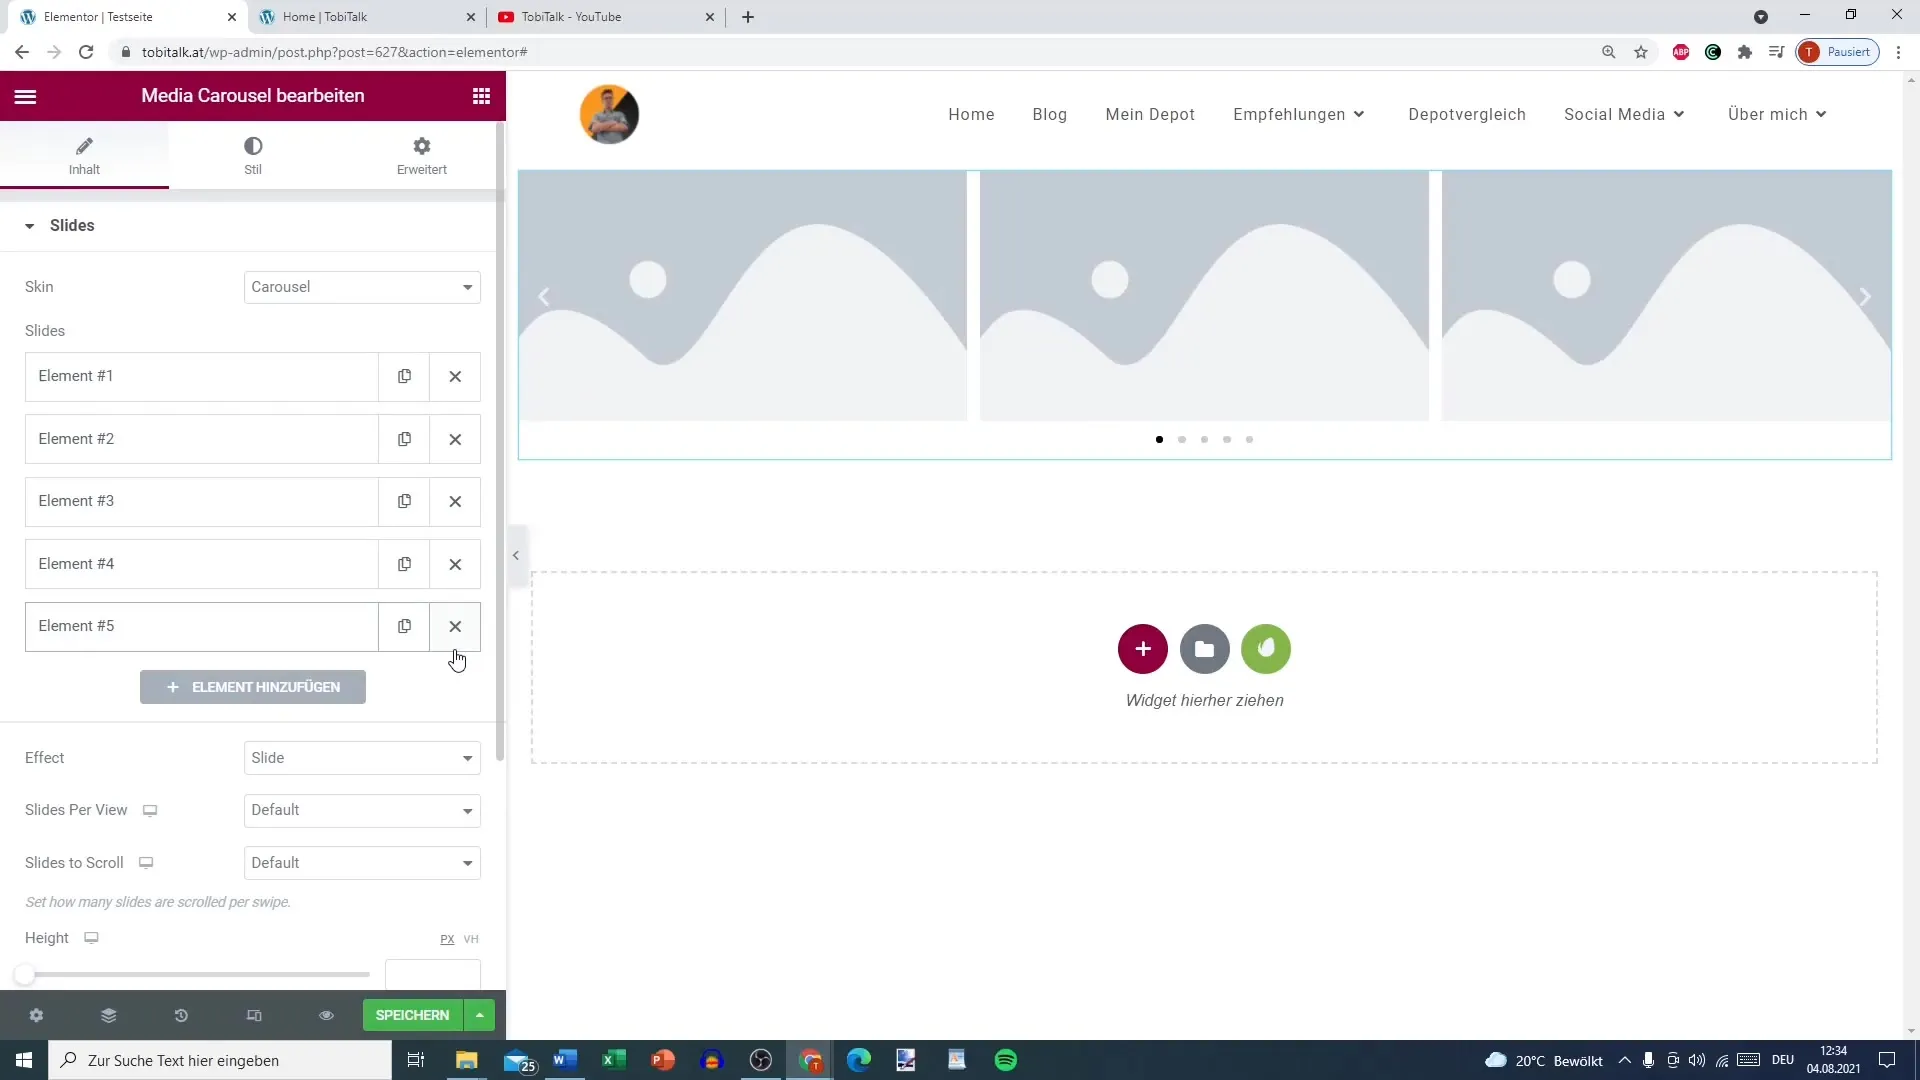
Step 3: Adding a Video
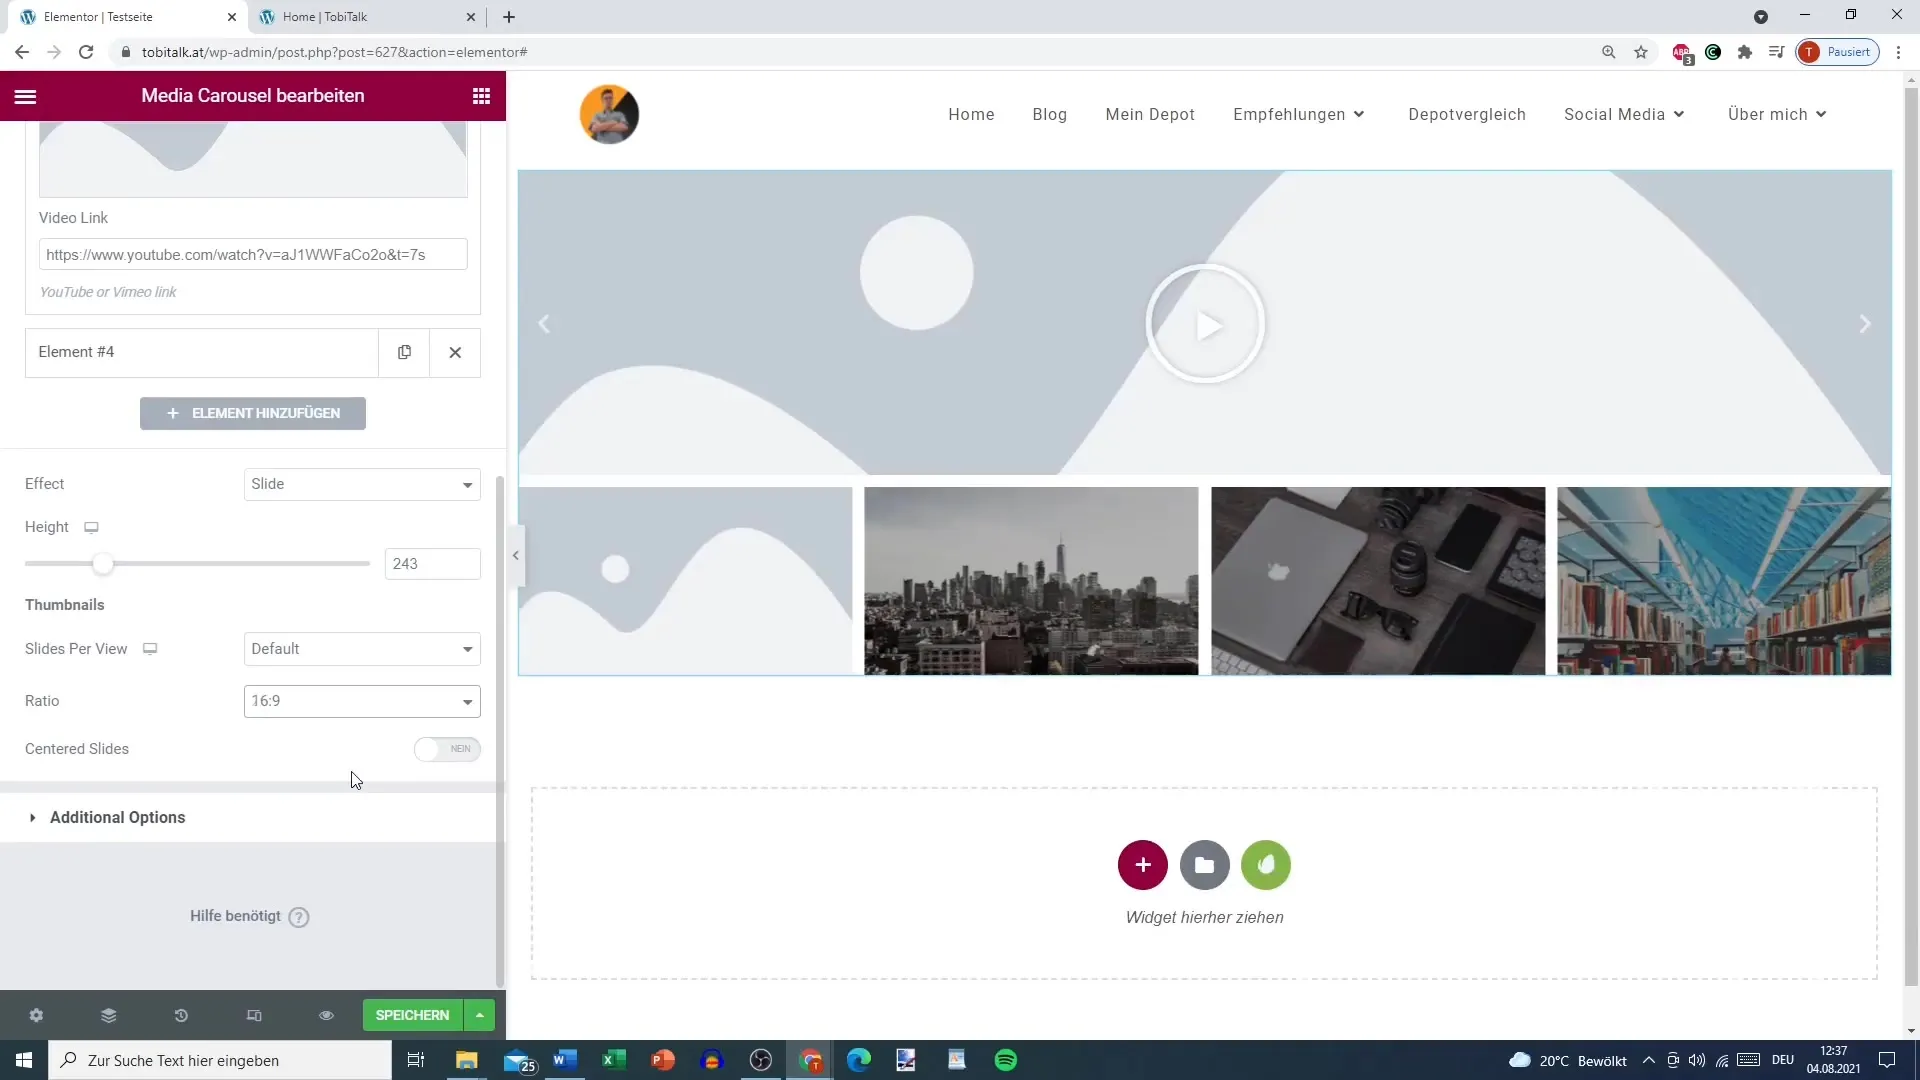
To add a video, select the second element in the carousel and click on the video icon. There you can insert a link to your video, for example, from YouTube or Vimeo. Remember to copy and paste the link.
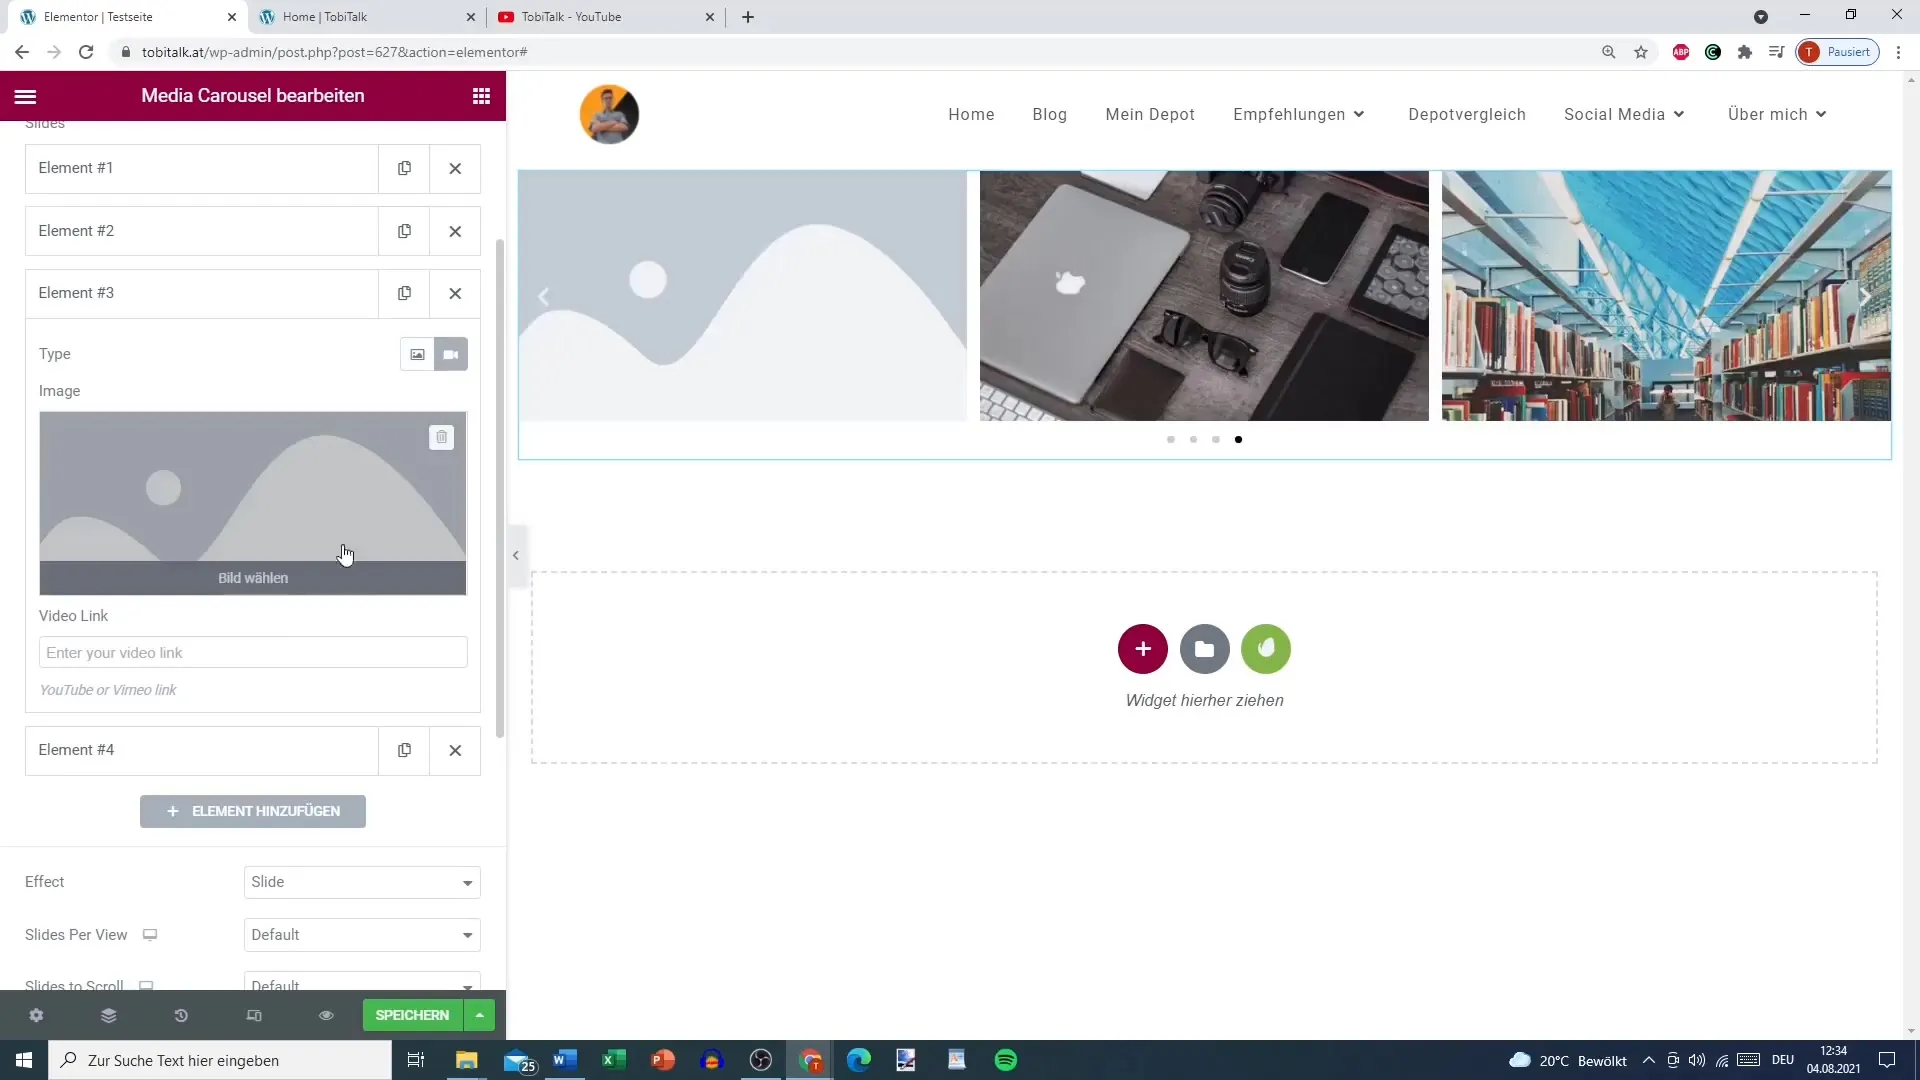
Step 4: Inserting More Images or Videos
For the third element, simply repeat the process. You can add another image or video, depending on your requirements. This allows you to vary your content and leave a dynamic impression.
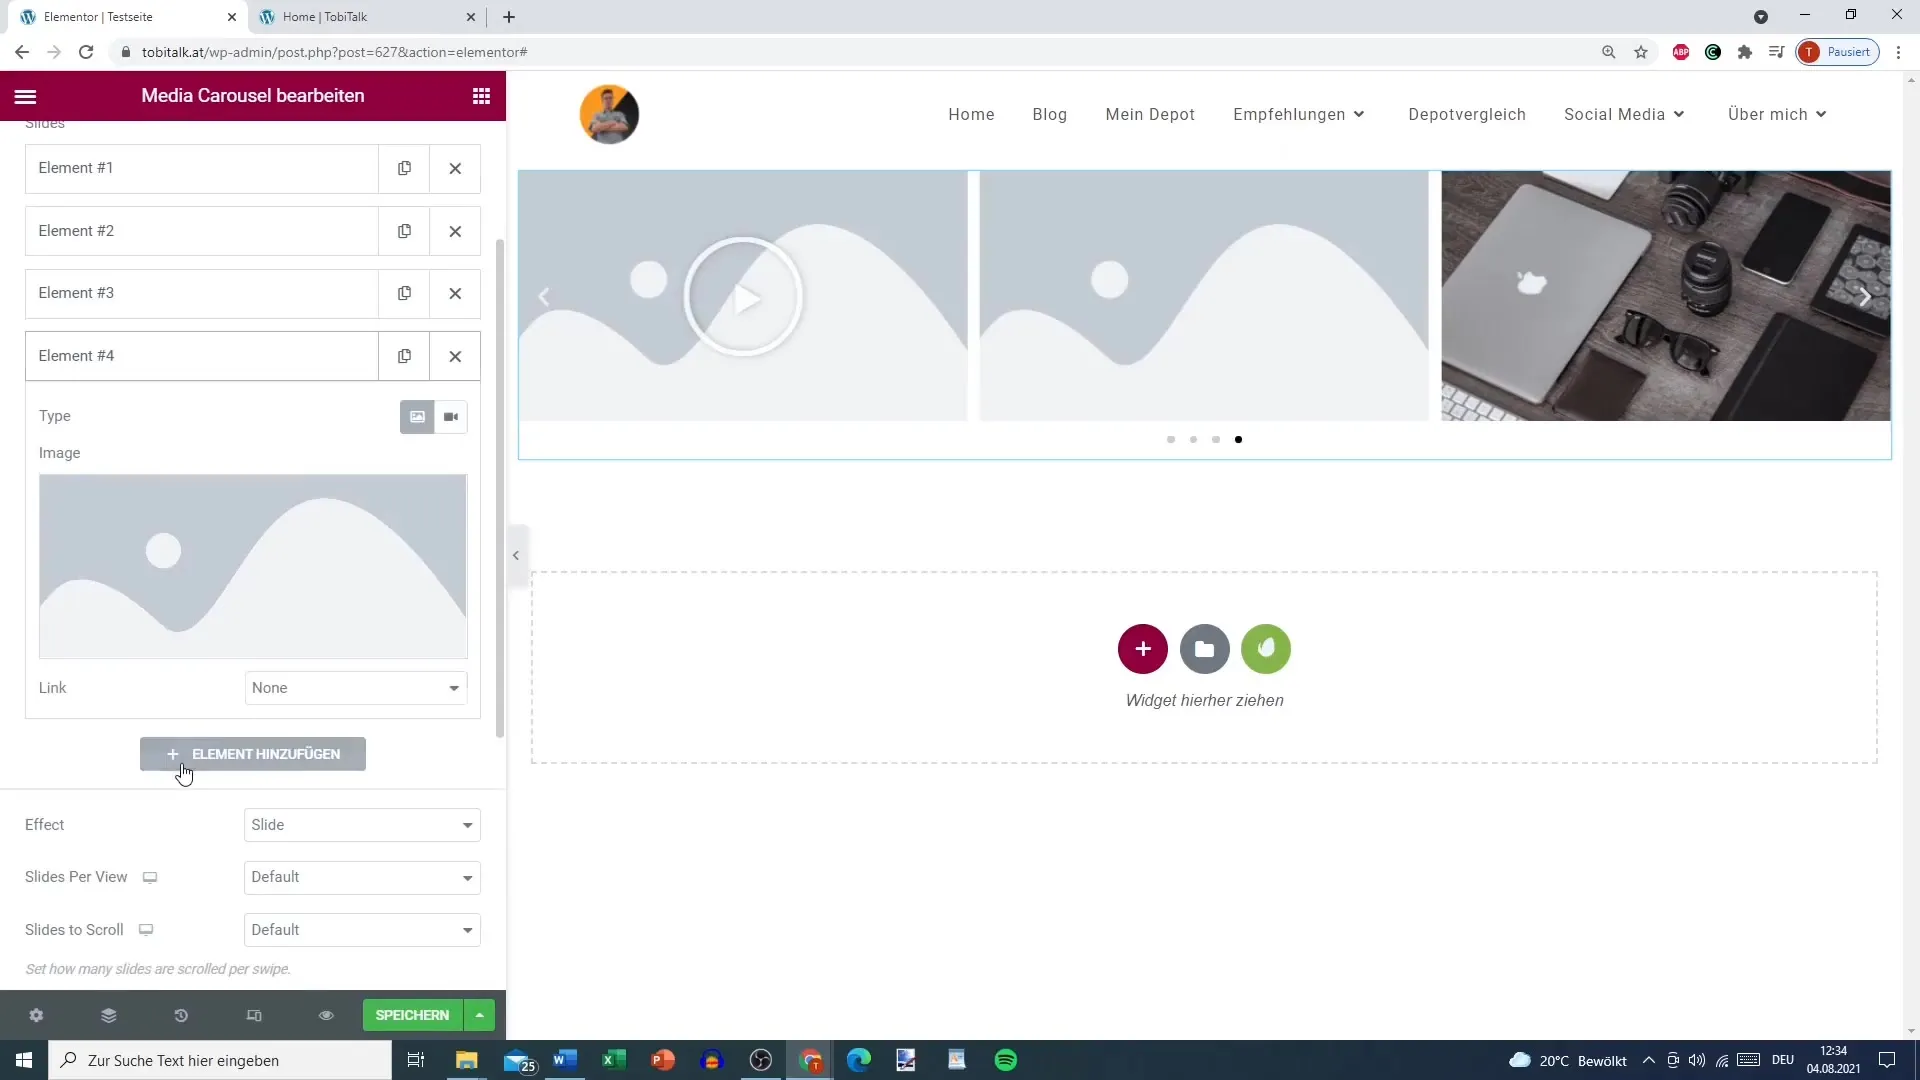
Step 5: Customizing the Carousel
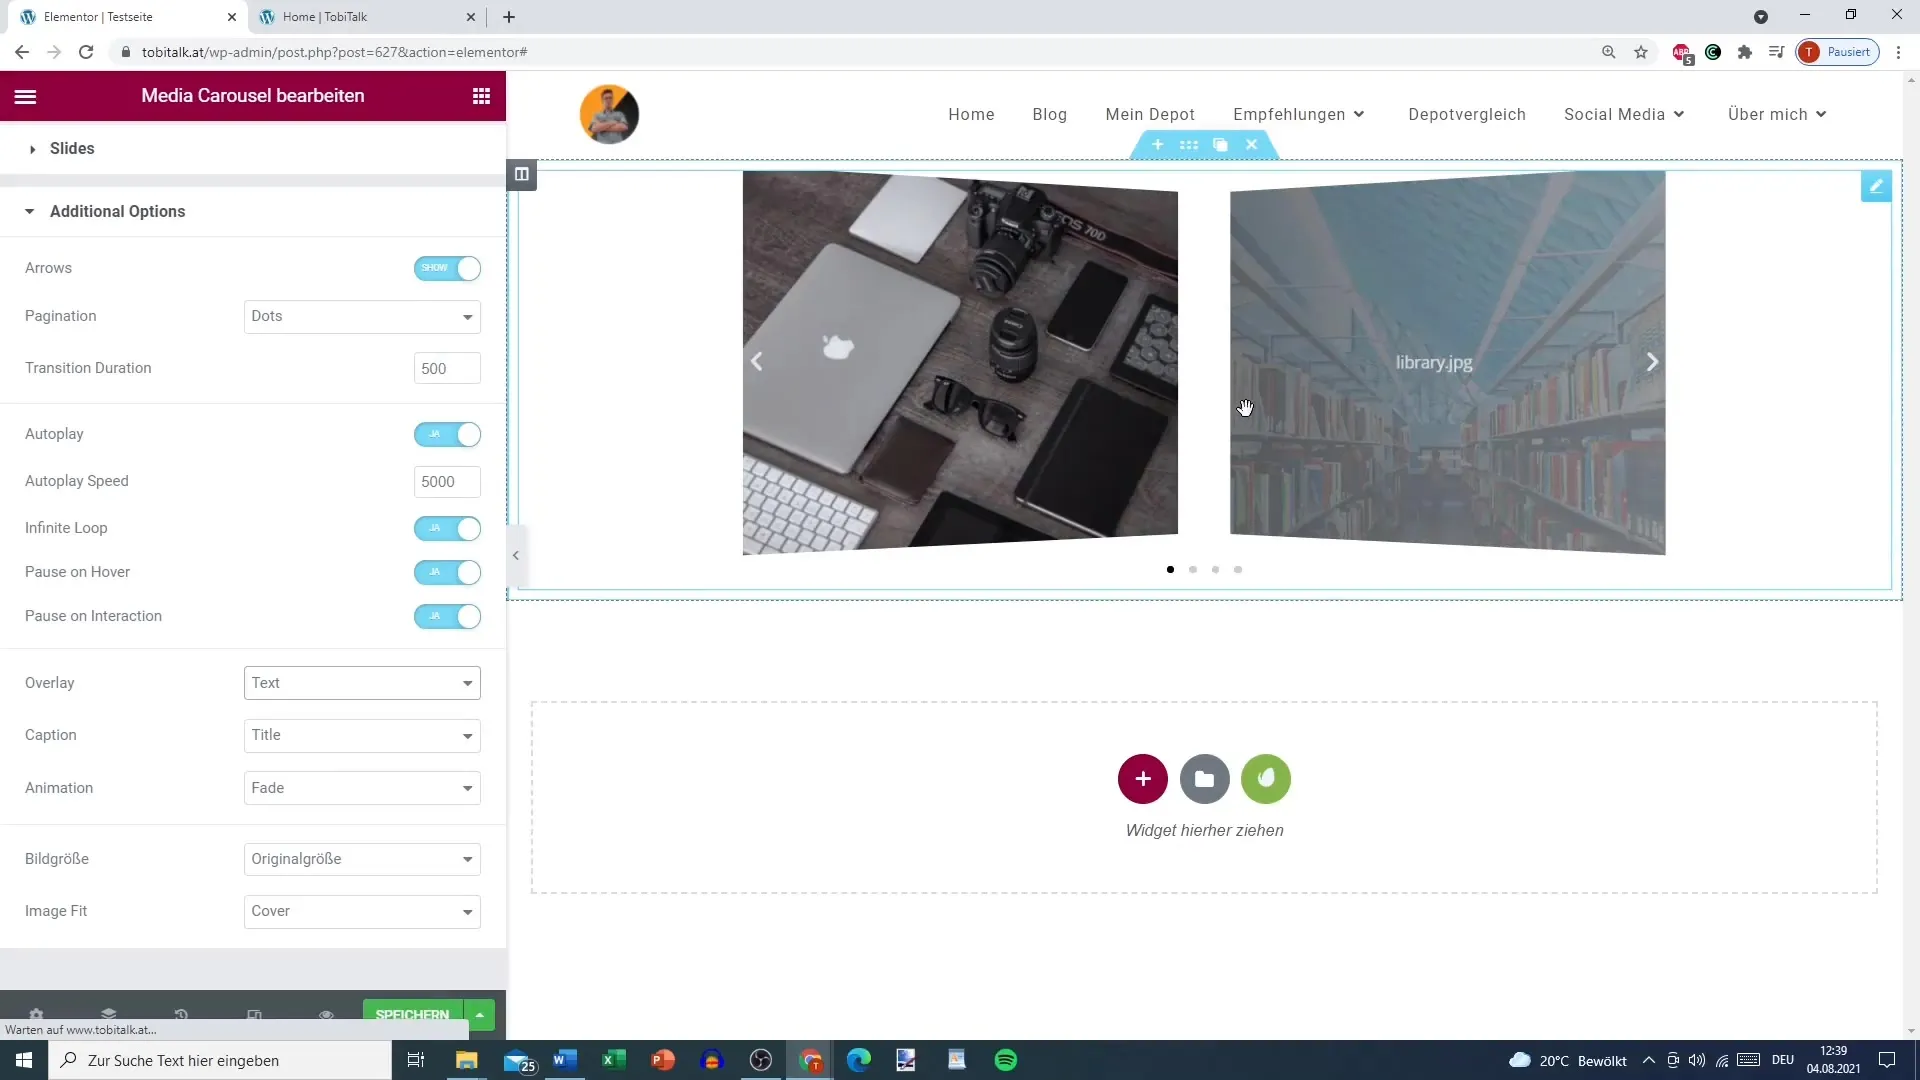
The carousel offers a variety of customization options. You can adjust the height and width of the carousel to your liking. Additionally, you have the option to enable navigation arrows, dots, or a progress bar. Consider which options best suit your website.
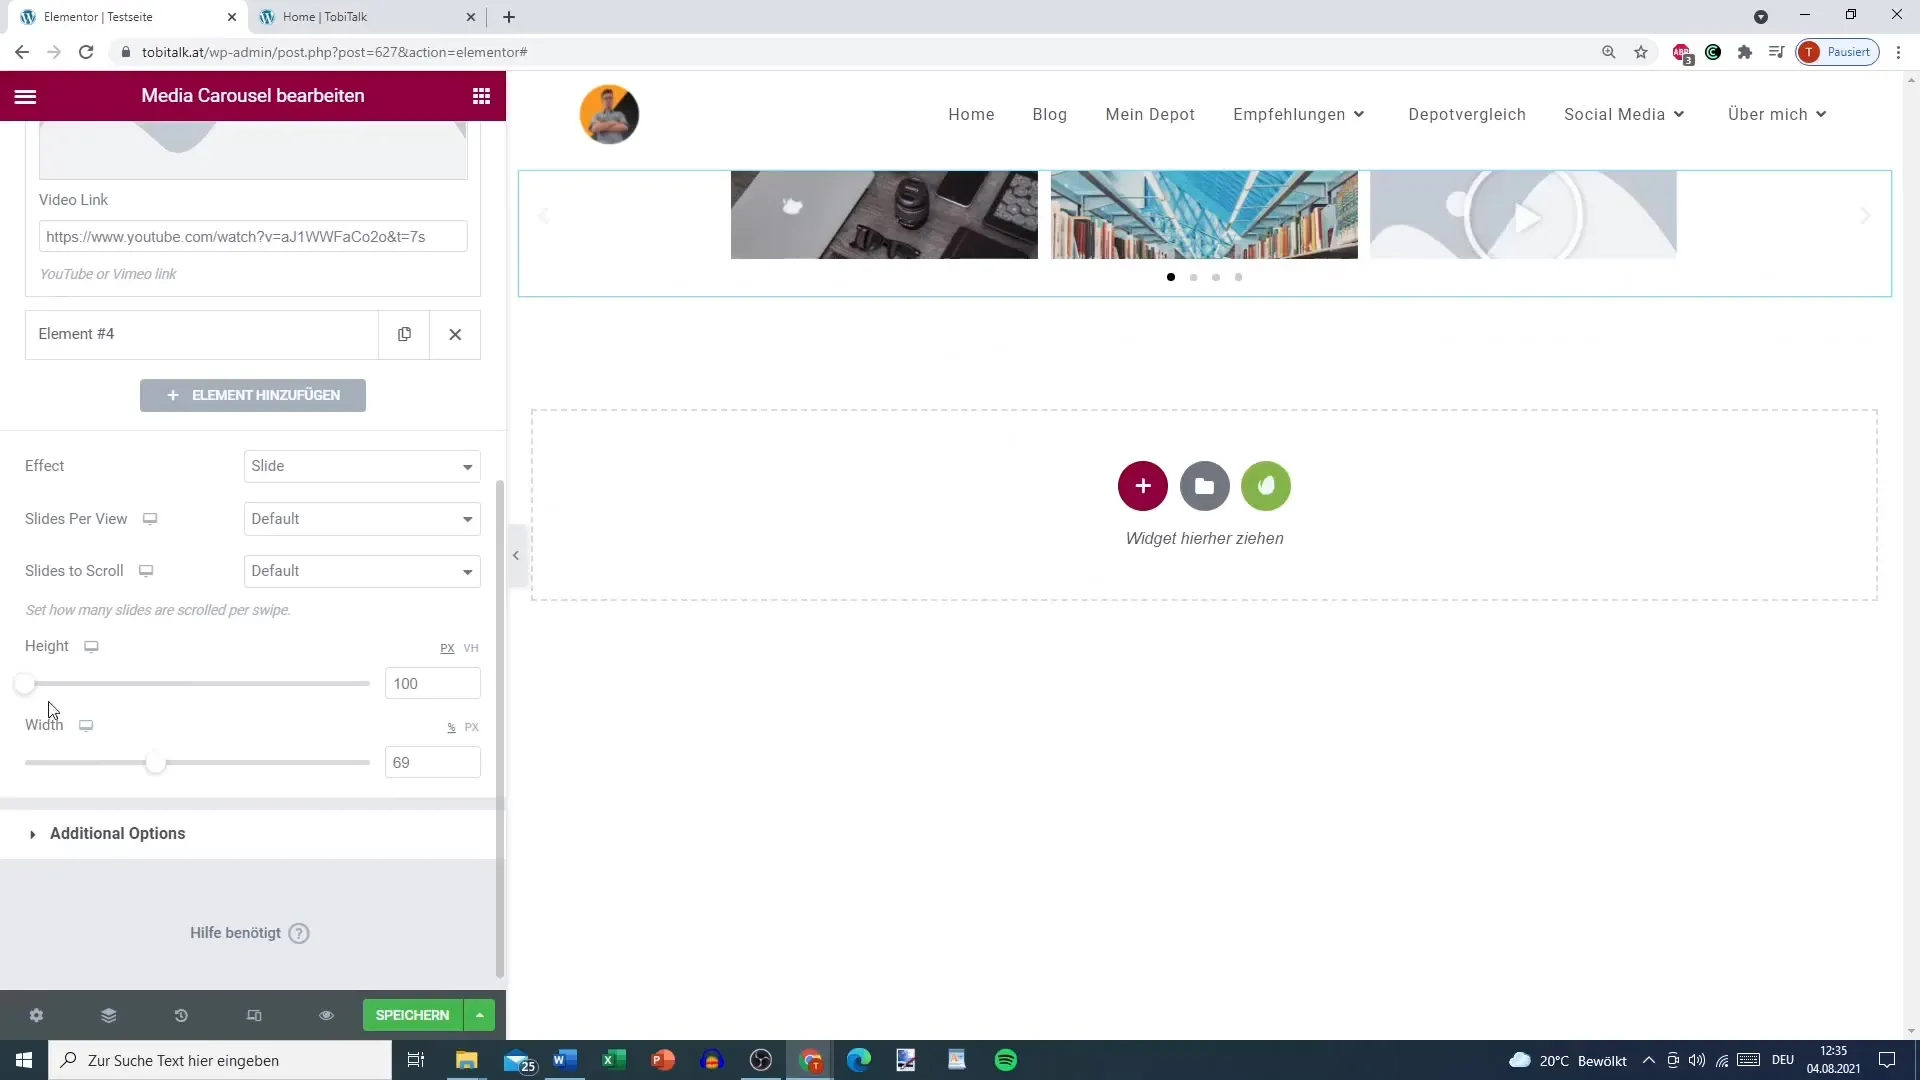
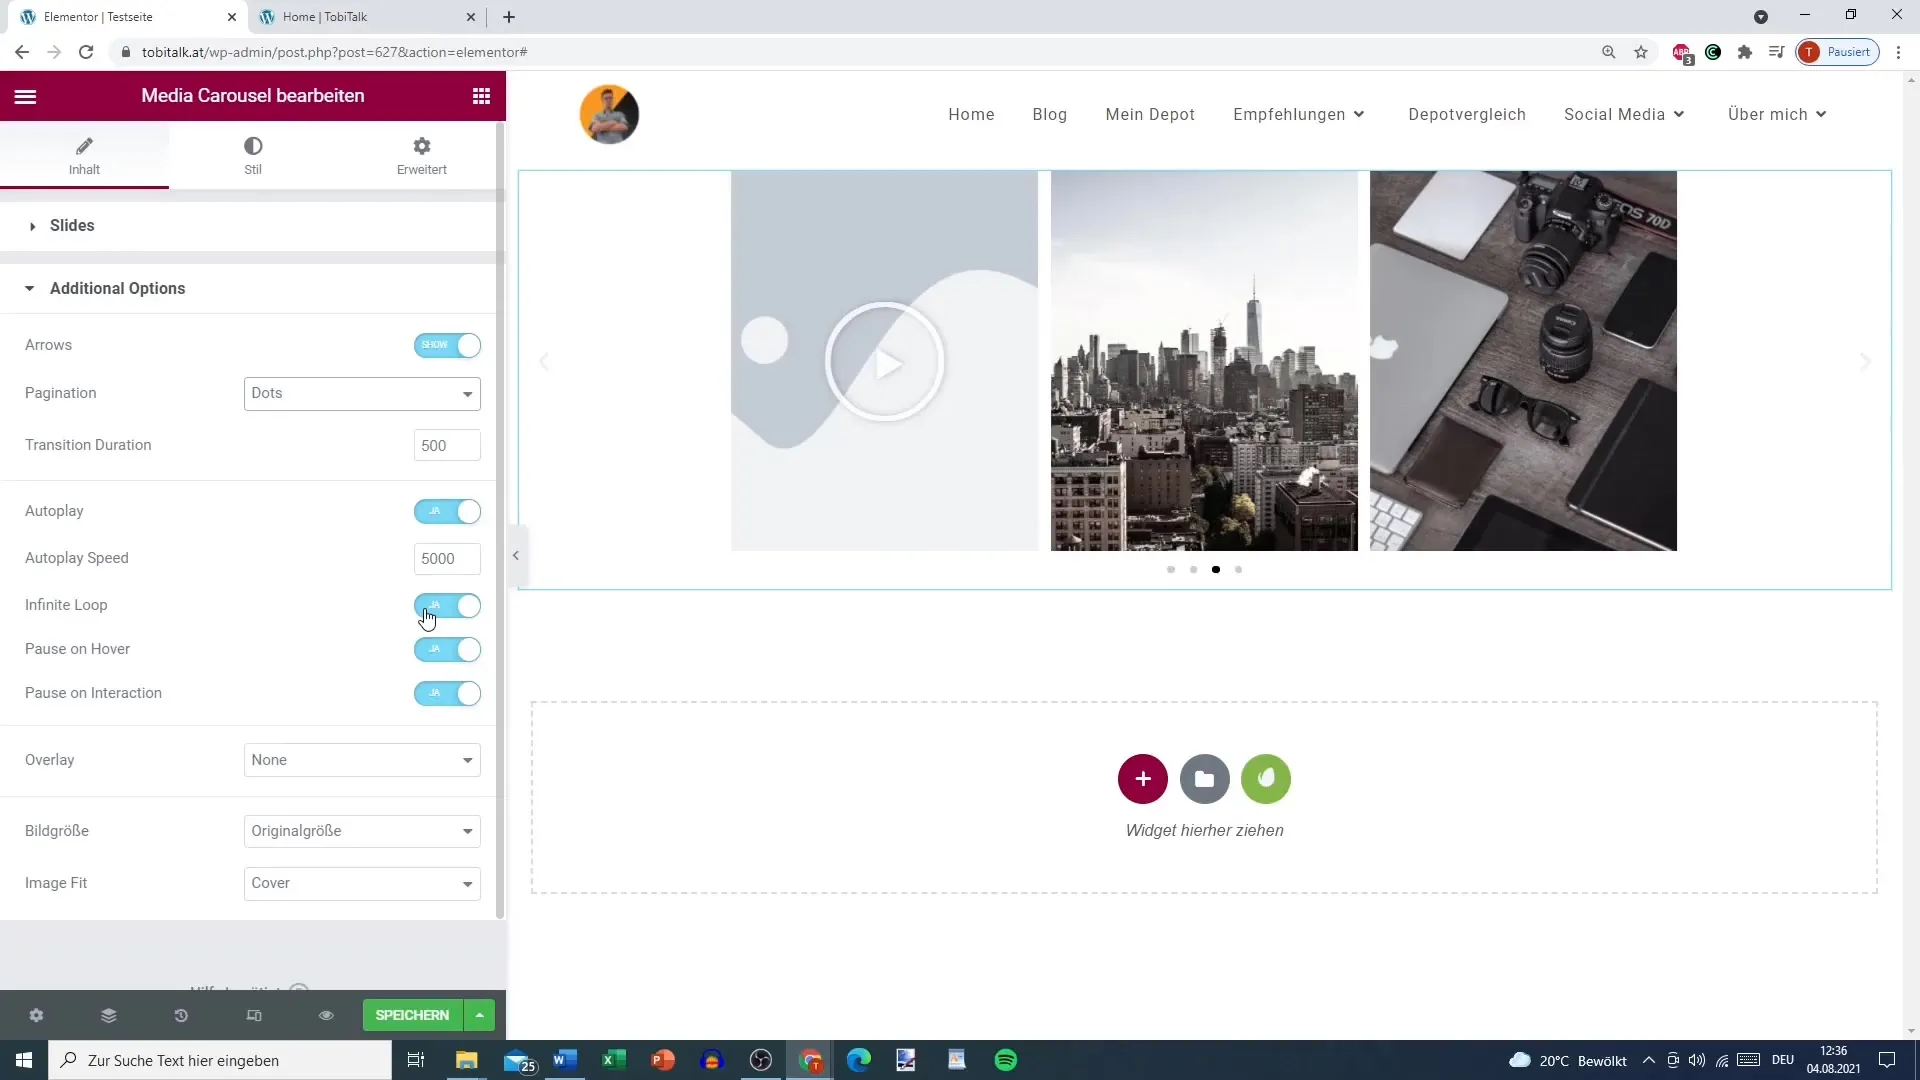
Step 6: Setting Additional Options
Go to the additional options where you can specify whether the carousel should play automatically and what speed to use. Additionally, you can activate the "Infinity Loop" option to create an endless loop.
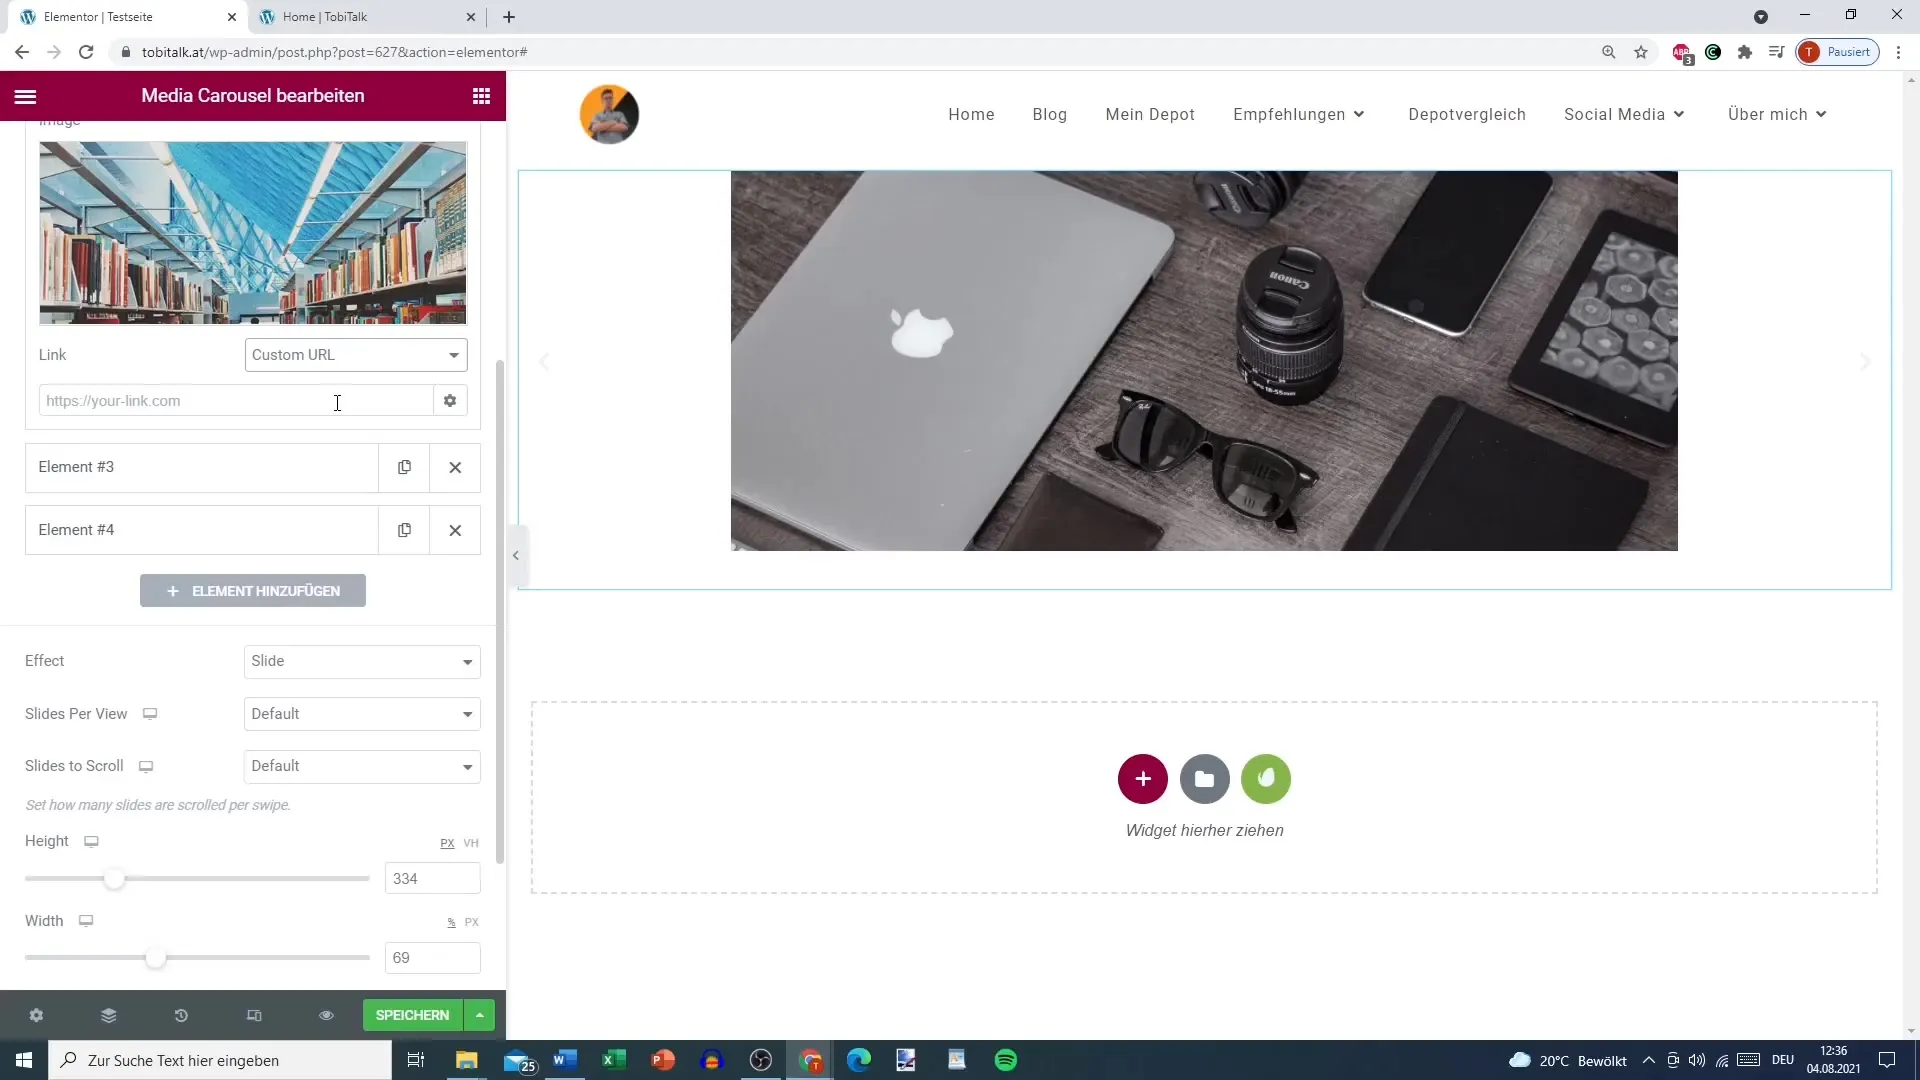
Step 7: Adding Links
For each element in the carousel, you have the option to add a link. Select the element, go to the link settings, and add the desired link. This is particularly useful for guiding users to relevant content on your website.
Step 8: Designing the Slideshow
In addition to the carousel, you can further customize the slideshow. Here, you can select effects like "Fade" or "Slide" to make the transition between elements more interesting.
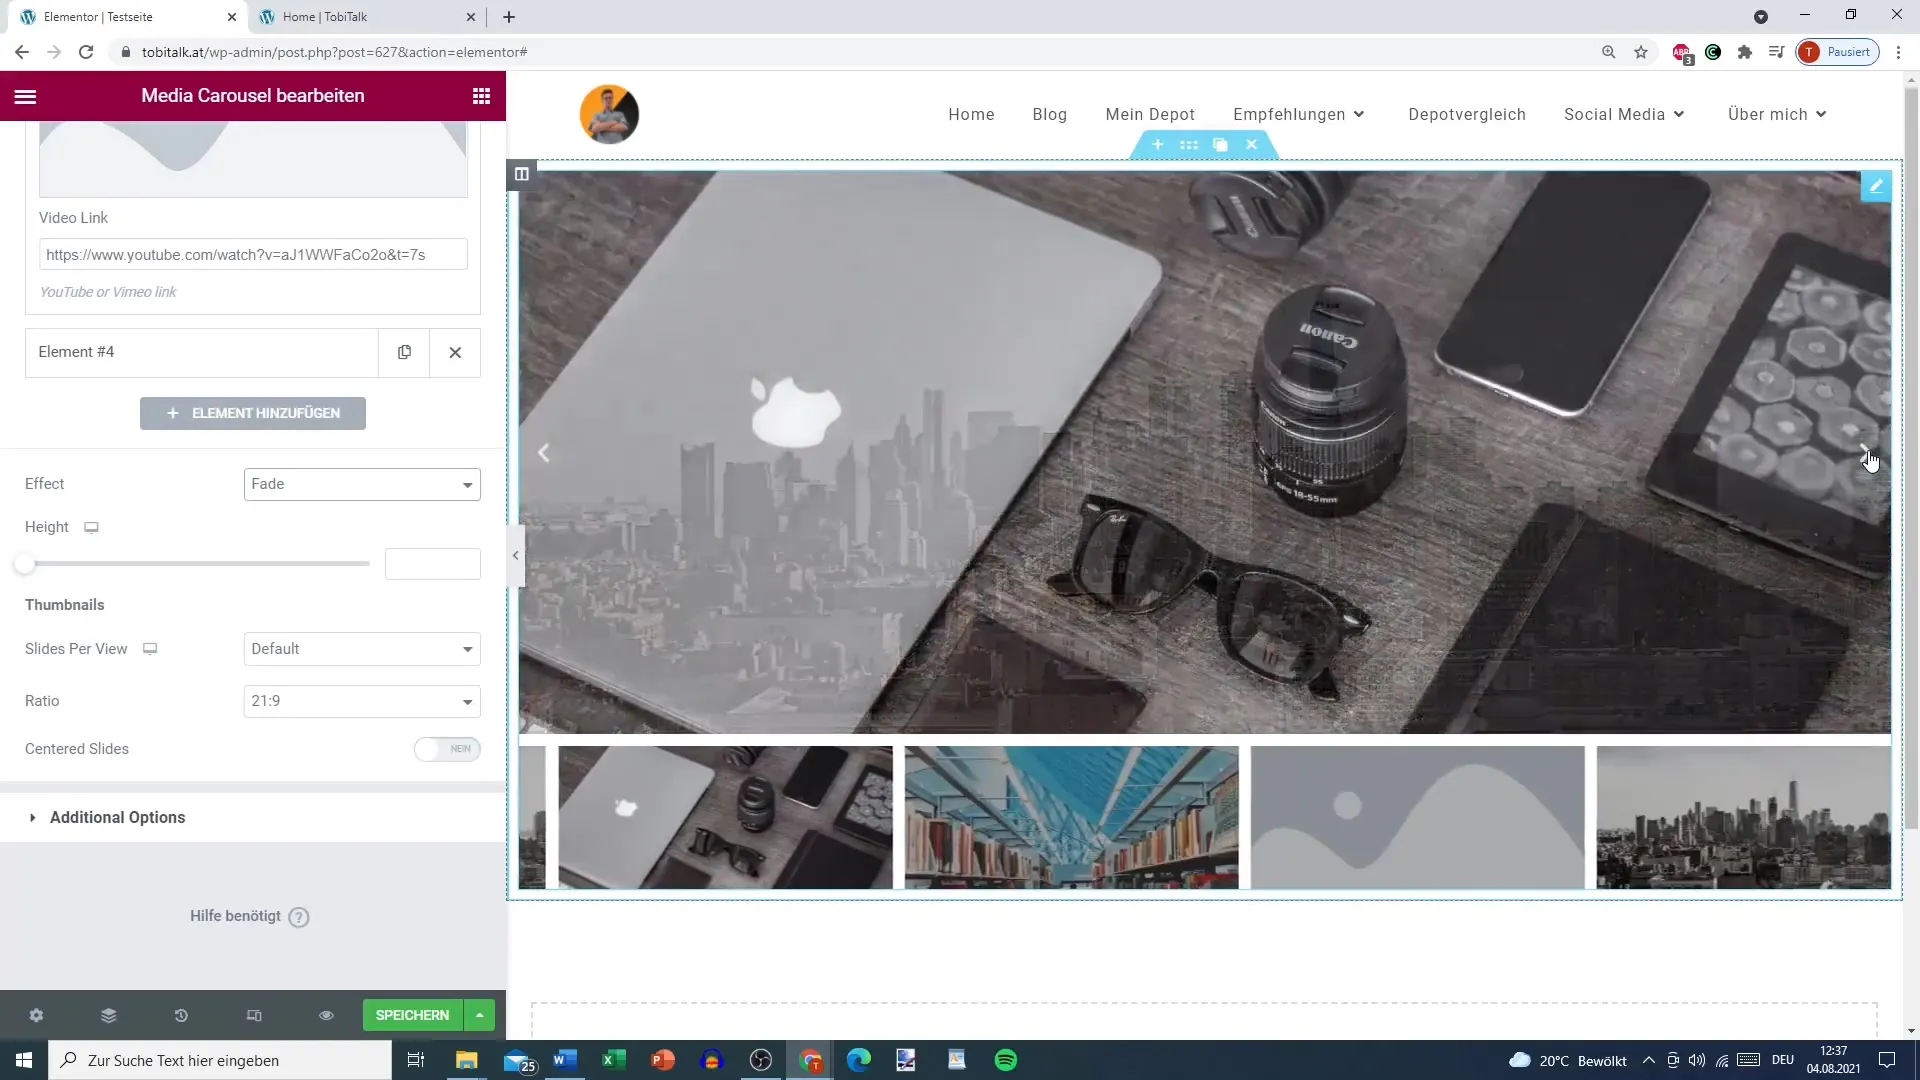
Step 9: Thumbnail Settings
In Thumbnail settings, specify how many slides per view should be displayed. This allows you to customize the user interface as needed and ensure that the most important content is highlighted.
Step 10: The Cover Page and Overlays
You also have the option to activate overlays that appear on hover. Here you can add a title and a description that provide users with additional information. Alternatively, you can add an icon that is displayed when hovering over the elements.
Summary
With the Media Carousel in Elementor, you can create an impressive gallery that combines images and videos. Thanks to the various customization options, you can create a unique user experience that will impress on your WordPress site.
Frequently Asked Questions
How do I add a video to the carousel?Select the video icon and insert the link from YouTube or Vimeo.
Can I add a link to each element?Yes, you can set an individual link for each element.
How do I enable automatic playback of the carousel?In the additional options, you can select the "Autoplay" function and adjust the speed.
Can I customize the size of the carousel?Yes, you have the freedom to determine the height and width of the carousel.
What effects can I choose for the slideshow?You can choose between different effects such as "Fade" or "Slide" to customize the transition.


