Creating an effective menu for your website is crucial to provide visitors with clear navigation. In this guide, you will learn how to step by step create your menu with Elementor in WordPress. We will focus on the different ways to create subpoints and design the menu attractively.
Key Takeaways
- You can create a new menu or edit an existing one.
- Subpoints can easily be created by moving elements.
- You can add customizable links to social media, categories, and individual pages.
- Precise menu mastering impacts the user experience.
Step-by-Step Guide
First, open your WordPress dashboard. Here we will navigate to the section responsible for the menu.
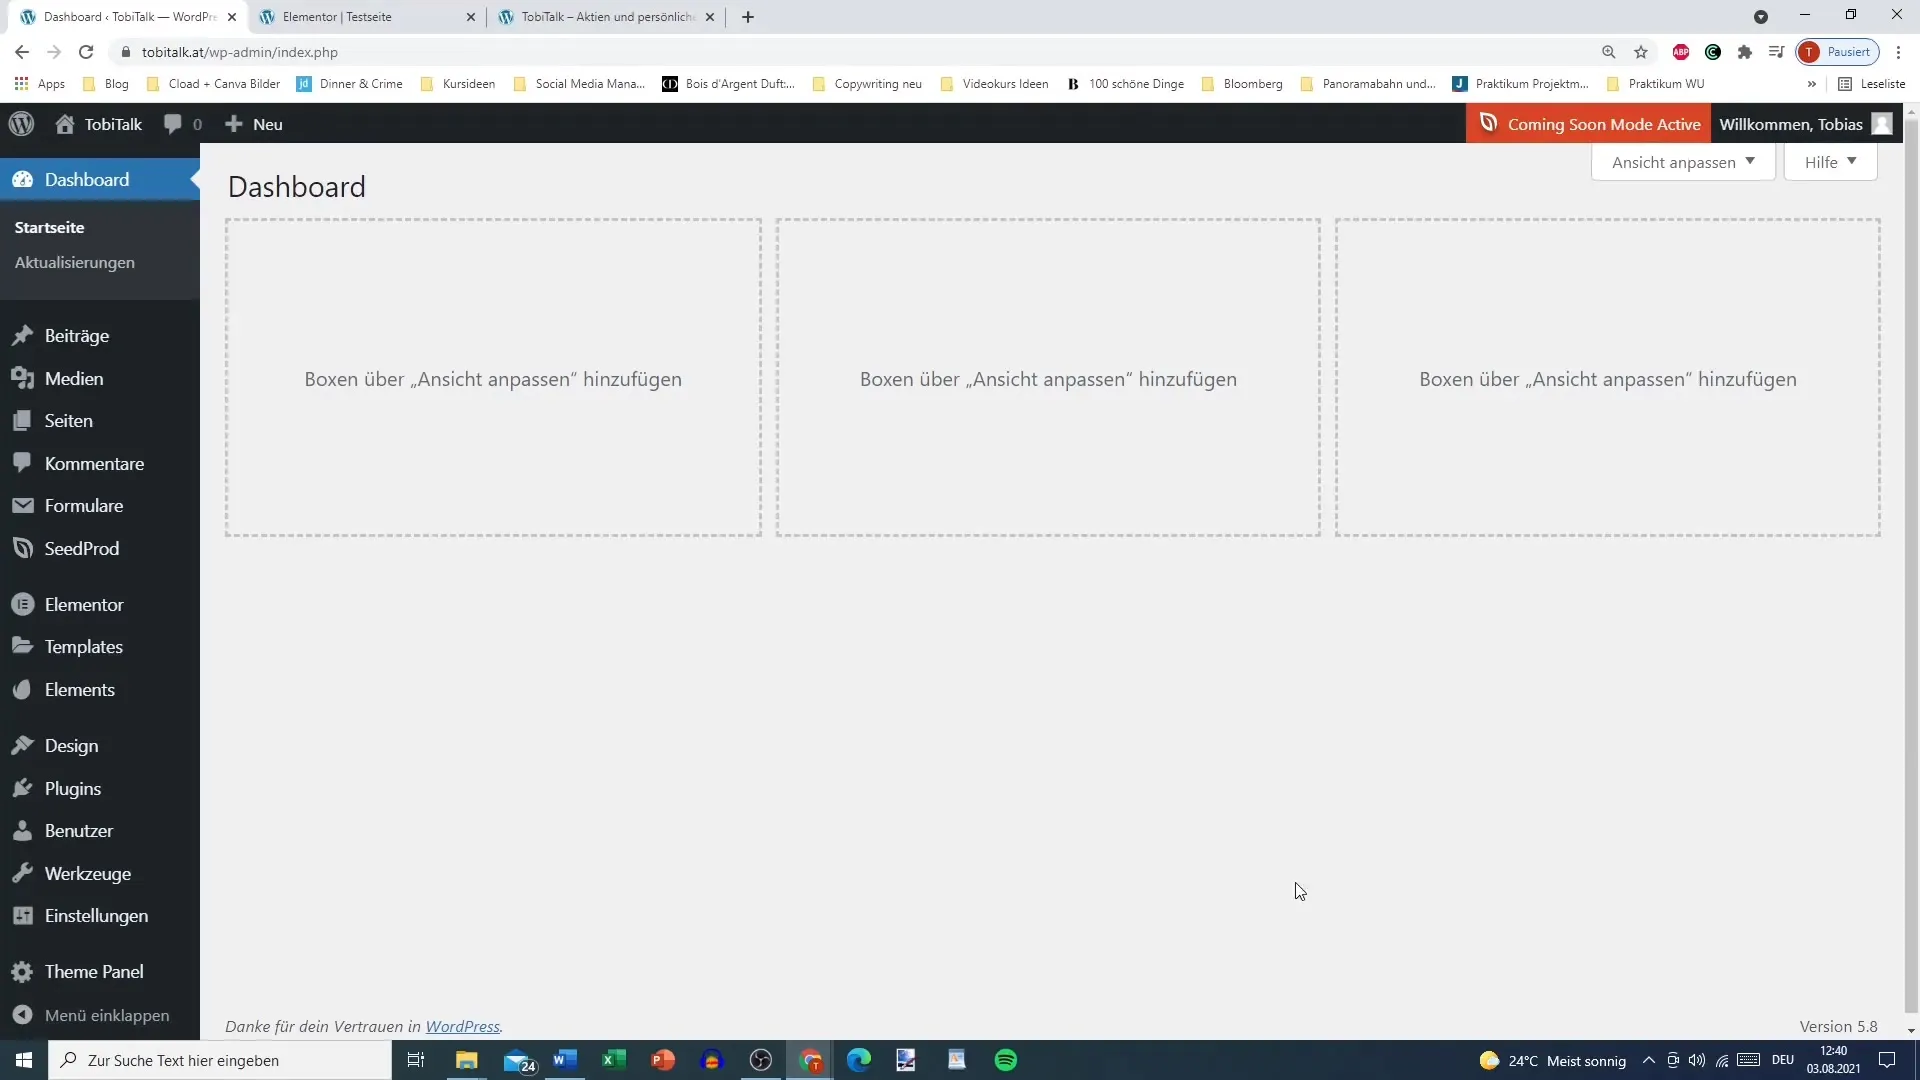
Go to "Design" and select "Menus". This section is the right starting point to customize your navigation.
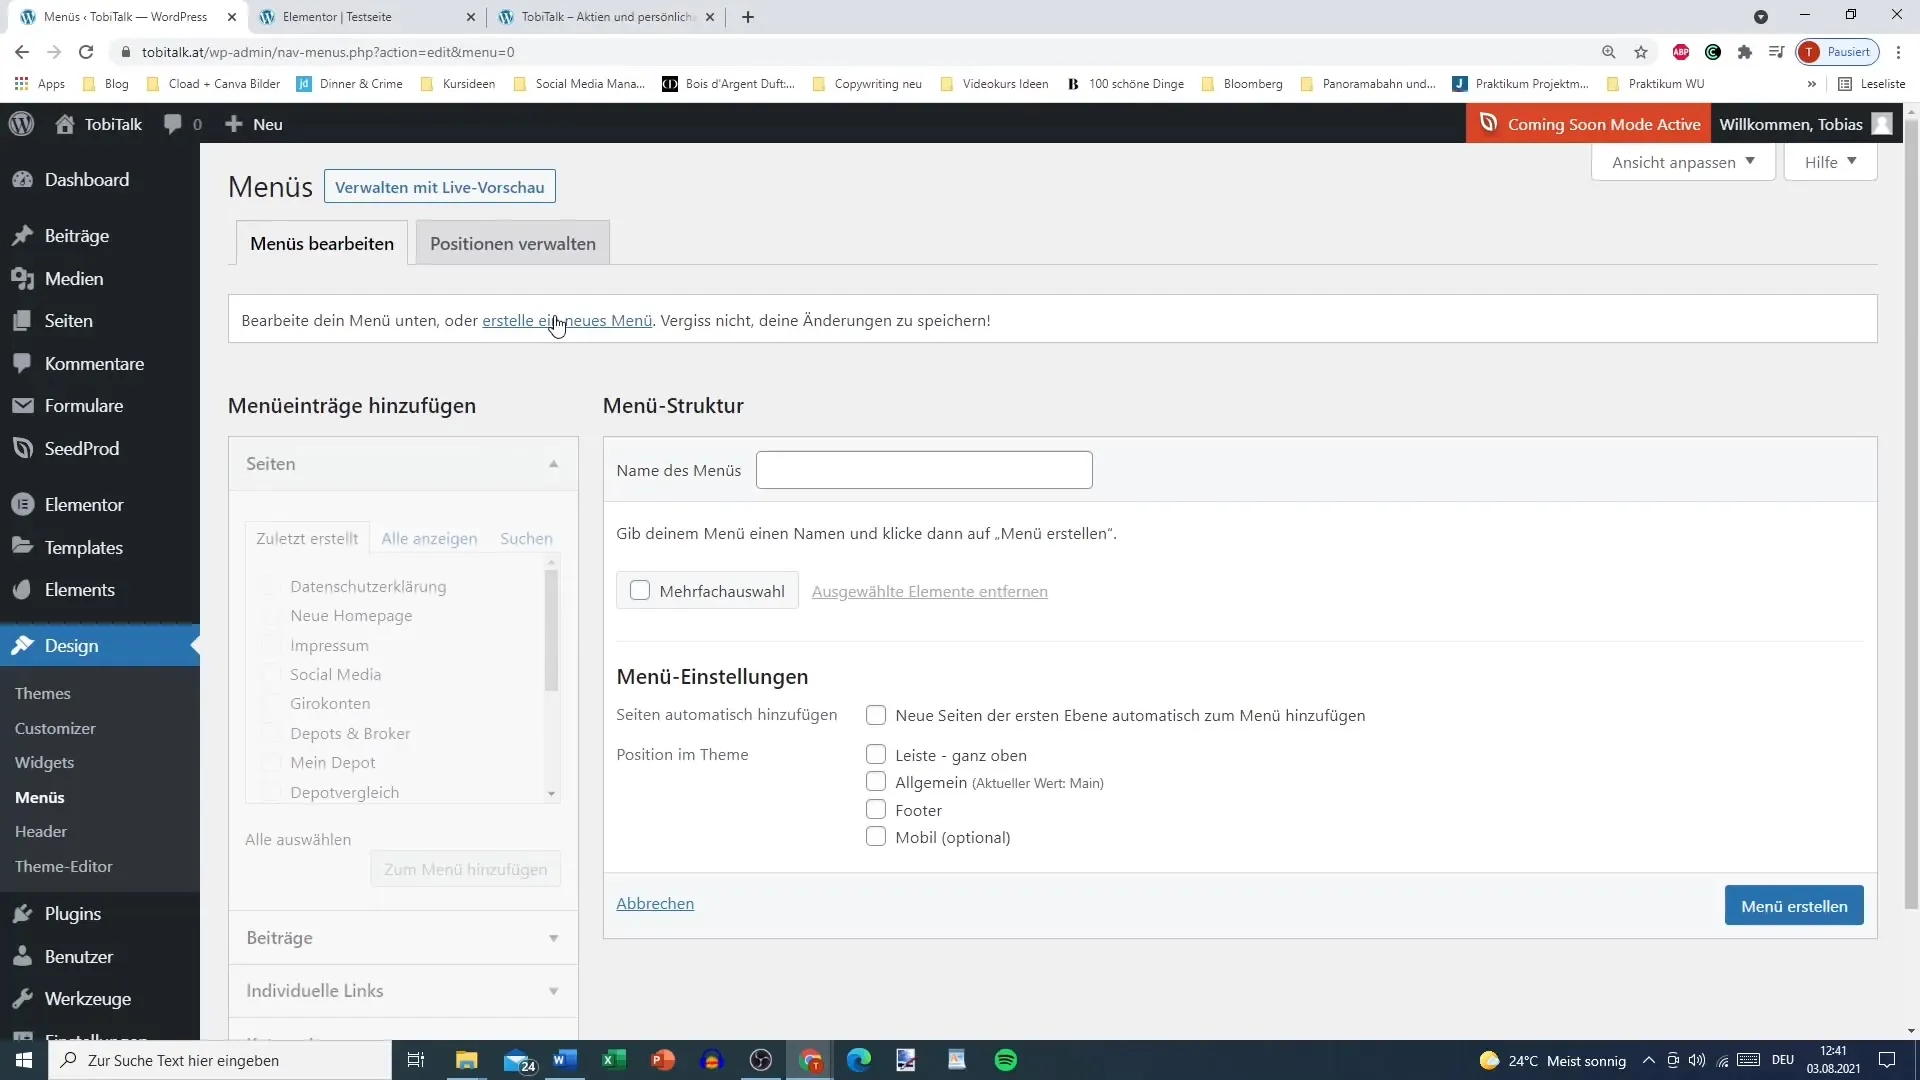
You will see your existing main menu if you have already created one. If not, you have the option to create a new menu. Enter a name for your new menu, whether "Main Menu" or "Test Menu", and press "Create Menu".
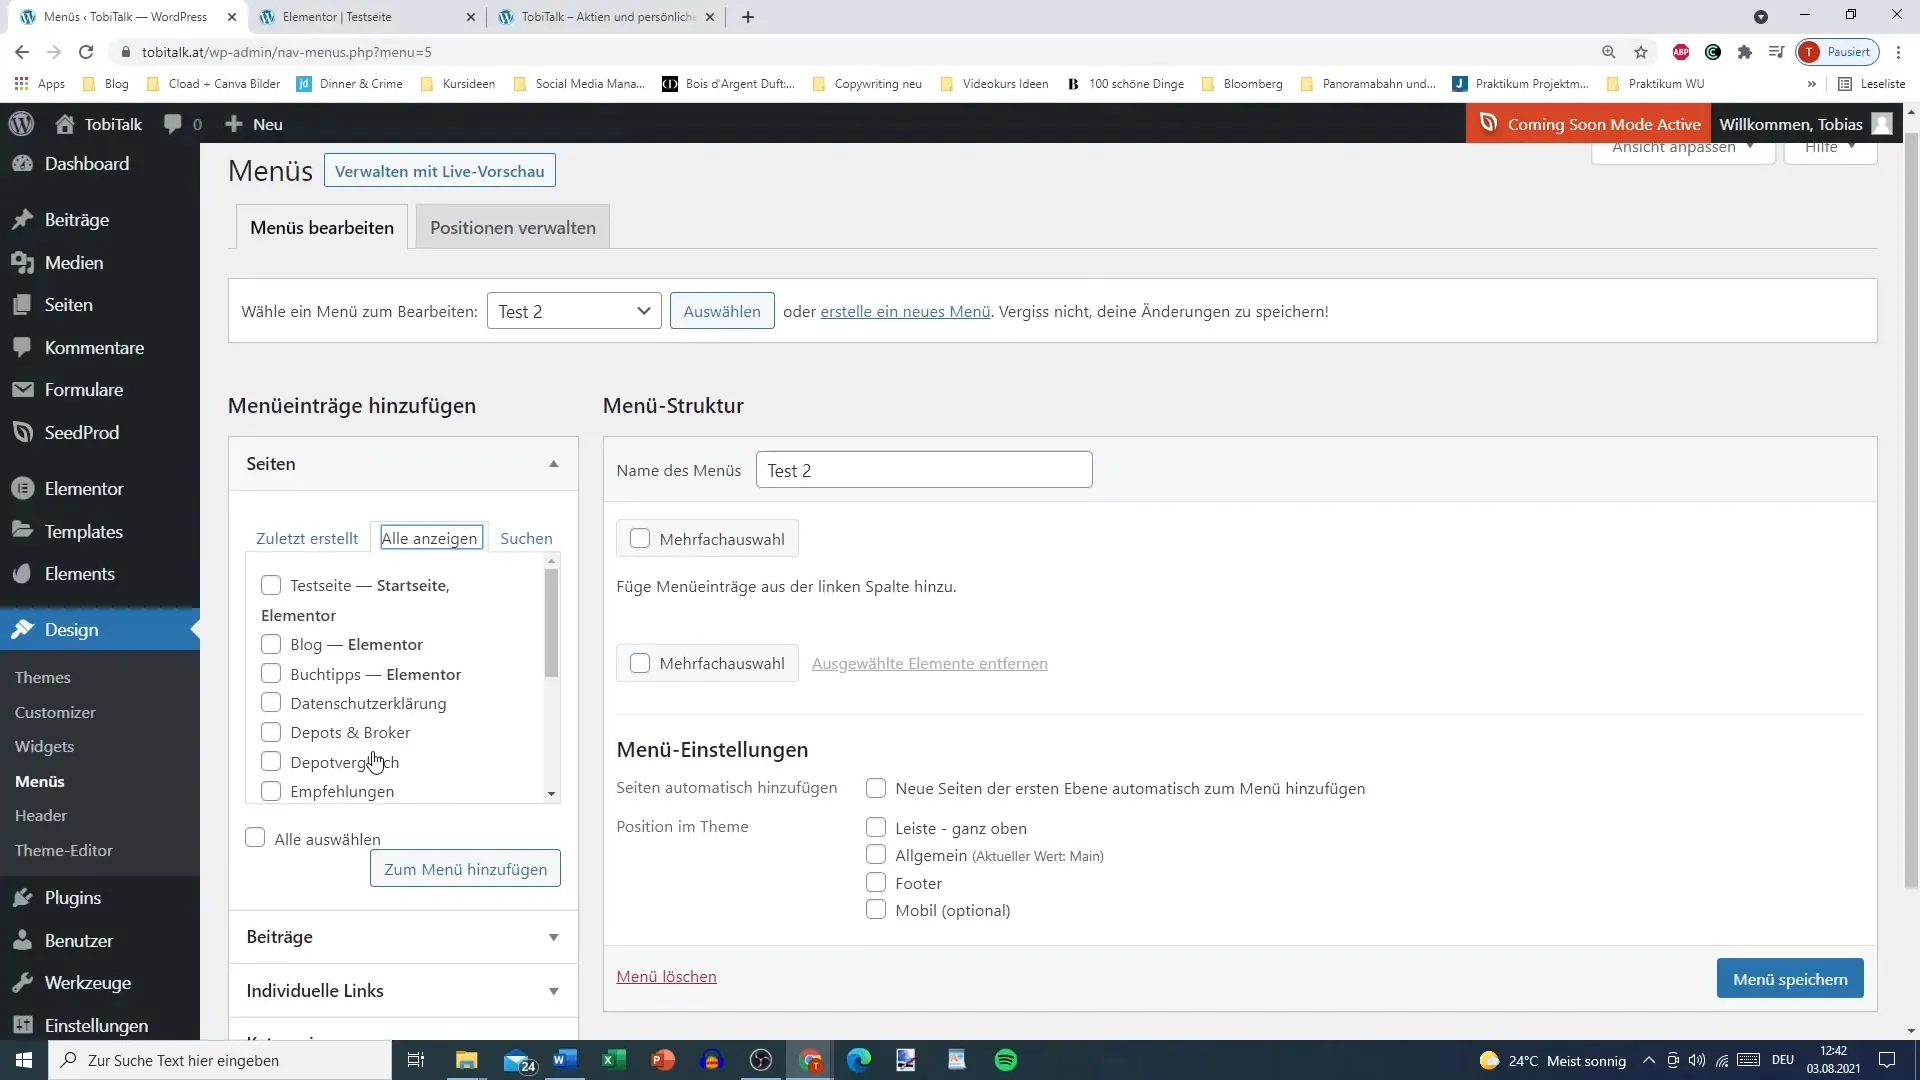
Now you can see your available pages. These are the pages you can add to your menu. Click on the pages you want to integrate, such as "Blog", "Book Recommendations", or "Legal Notice". Don't forget to add your "Privacy Policy" and other relevant pages.
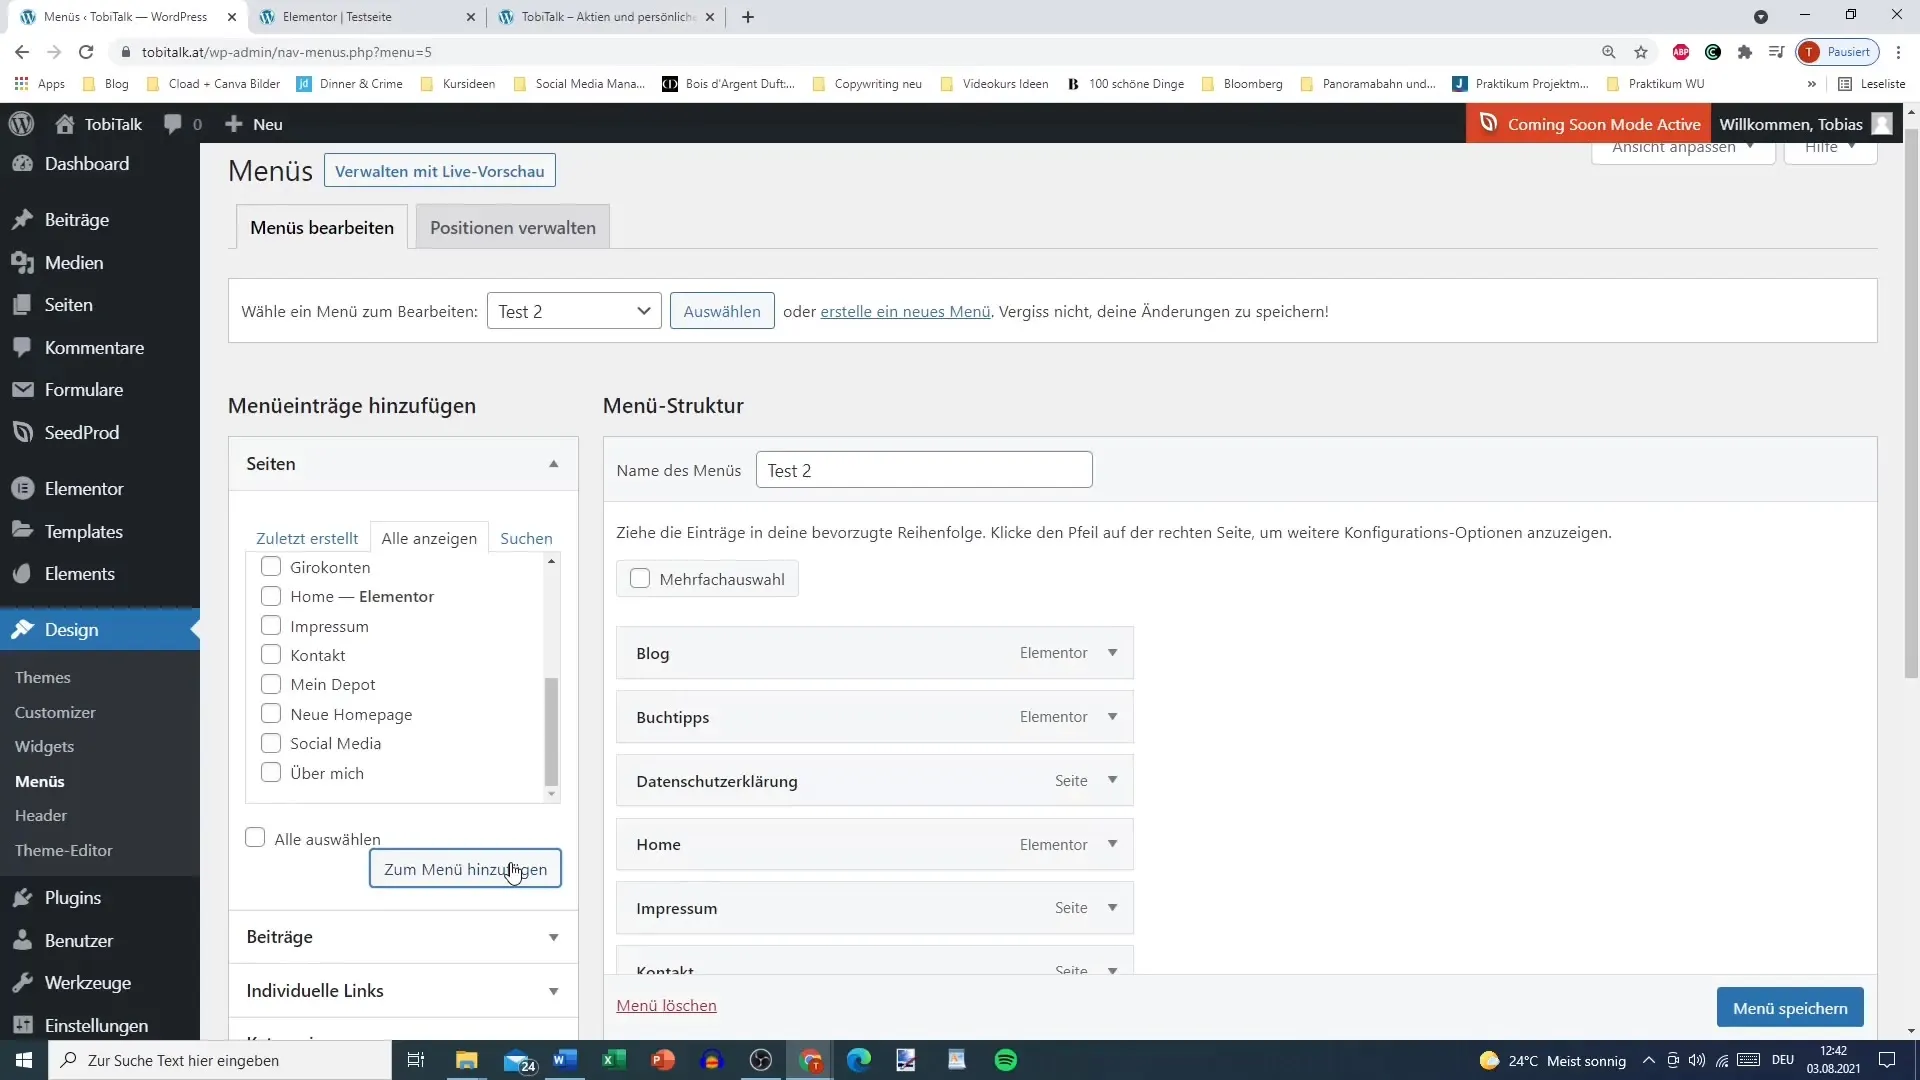
Then click "Add to Menu" to include the selected pages in your menu. You can change the order of menu items at any time by dragging and dropping them to the desired position.
If you want to add subpoints to a menu item, simply drag a point under the main menu item and slightly move it to the right. This way, your menu will have a hierarchical structure.

To further refine the menu, you can add more elements. For example, if you want to link your YouTube channel, go to "Custom Links". Here you can enter the URL of your YouTube channel and give it a title, such as "YouTube".

You can also add suitable categories or icons. This allows for easy navigation through your content. Remember to save the menu regularly to preserve your changes.
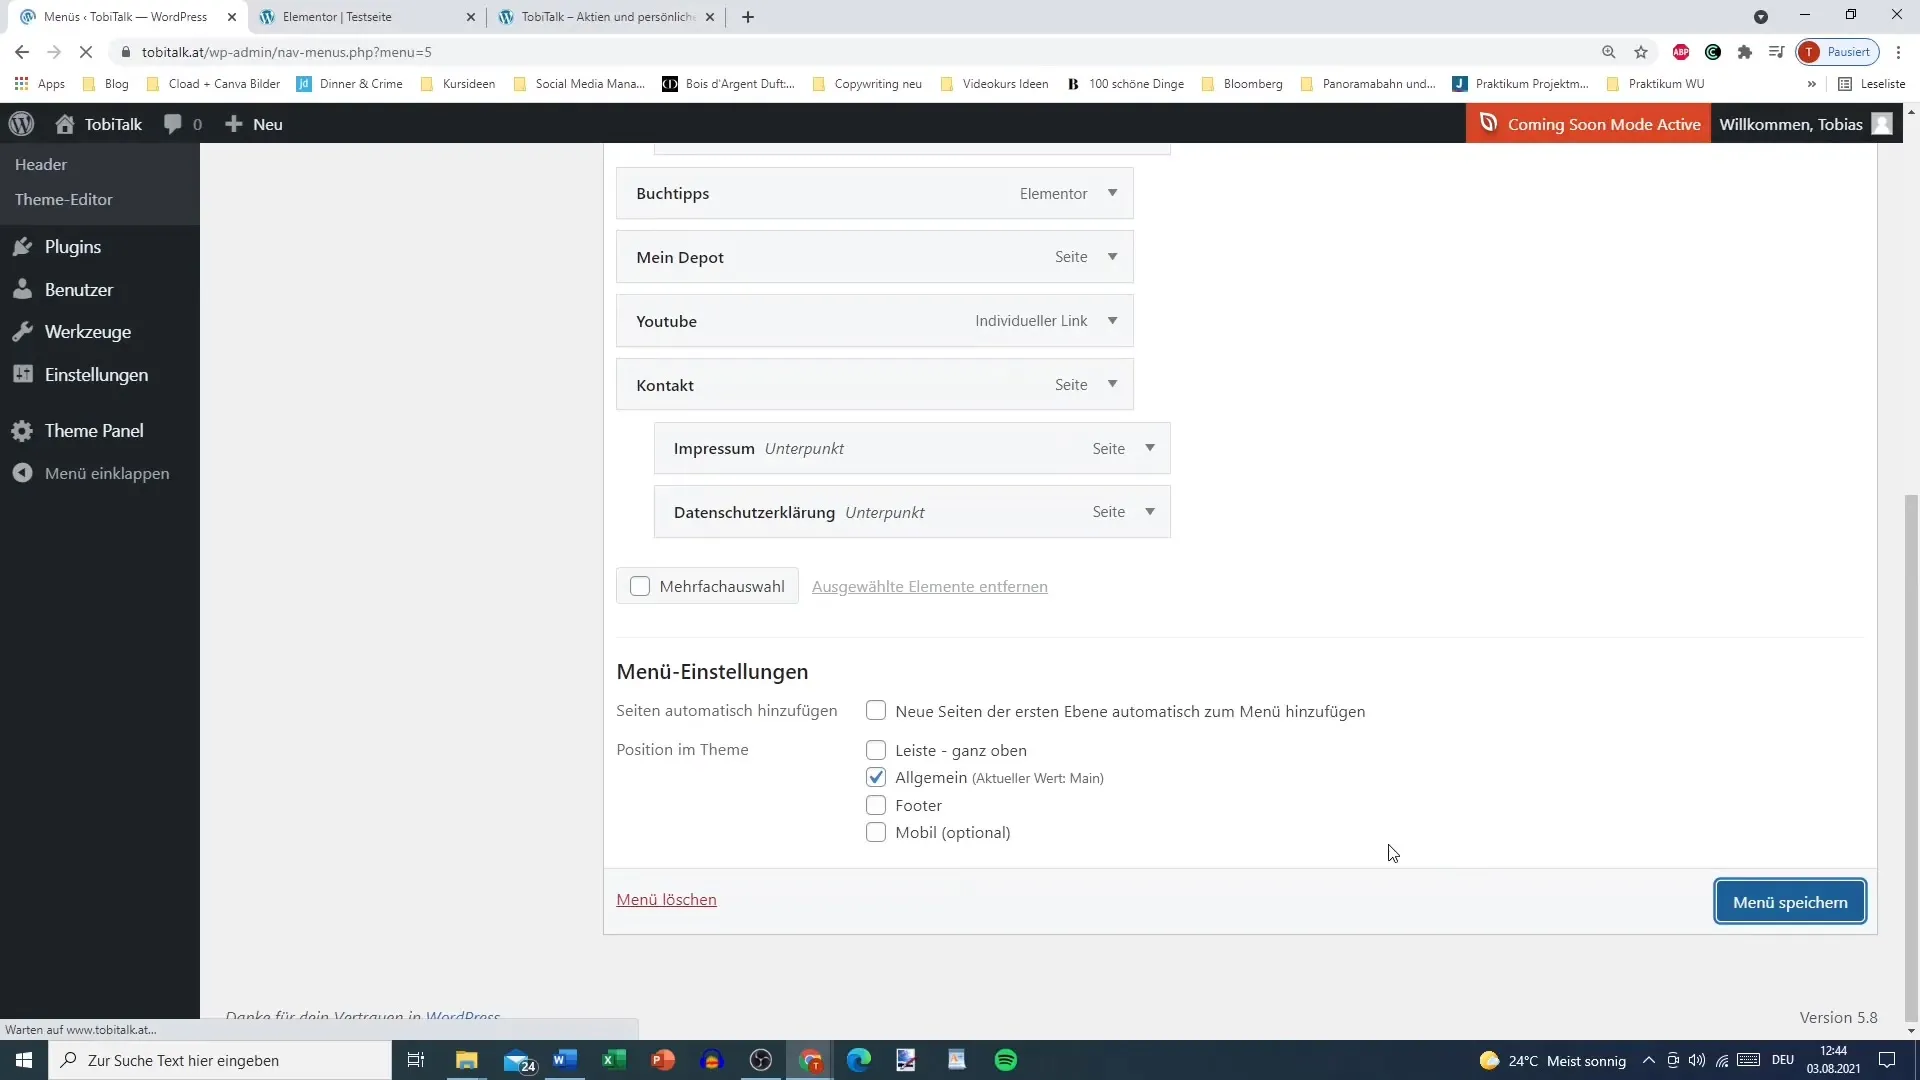
After adding all the links, go to the menu settings. Here you can specify whether your menu should be displayed as a main menu, test menu, or another menu.
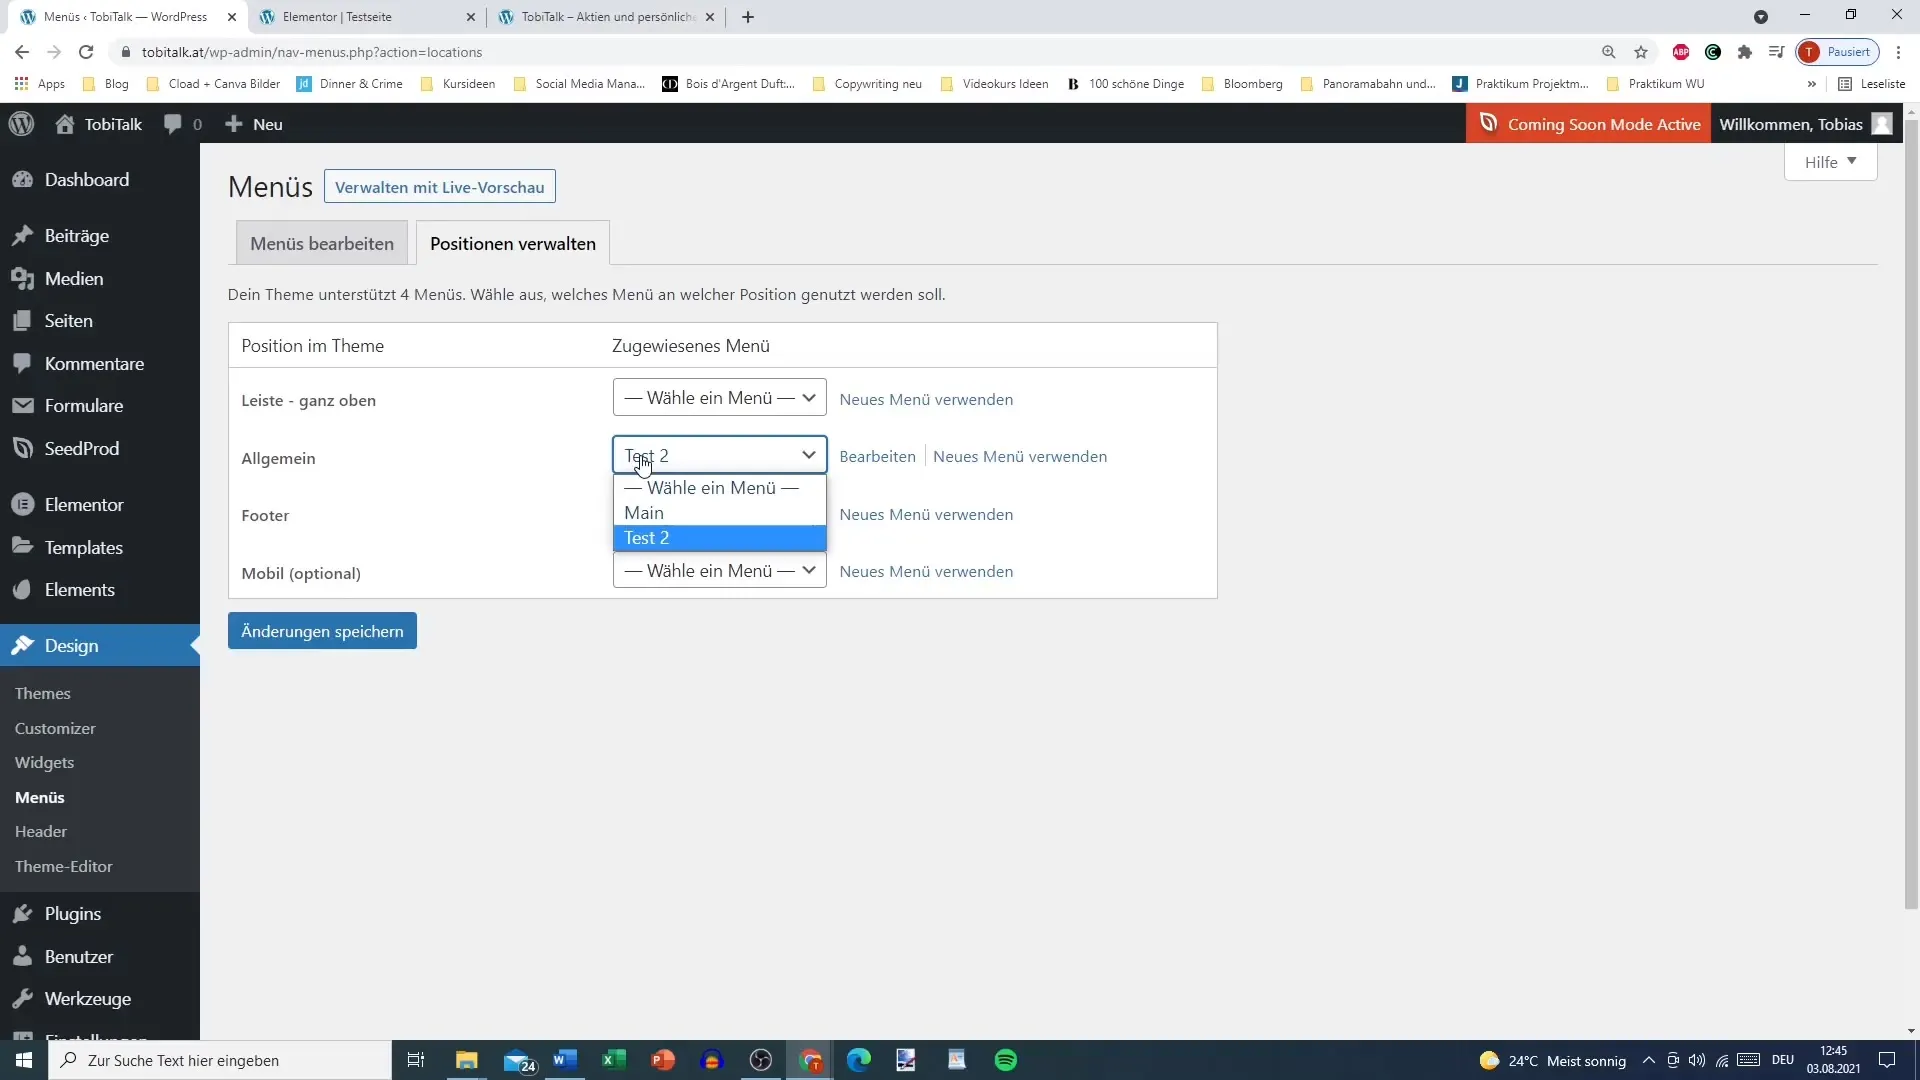
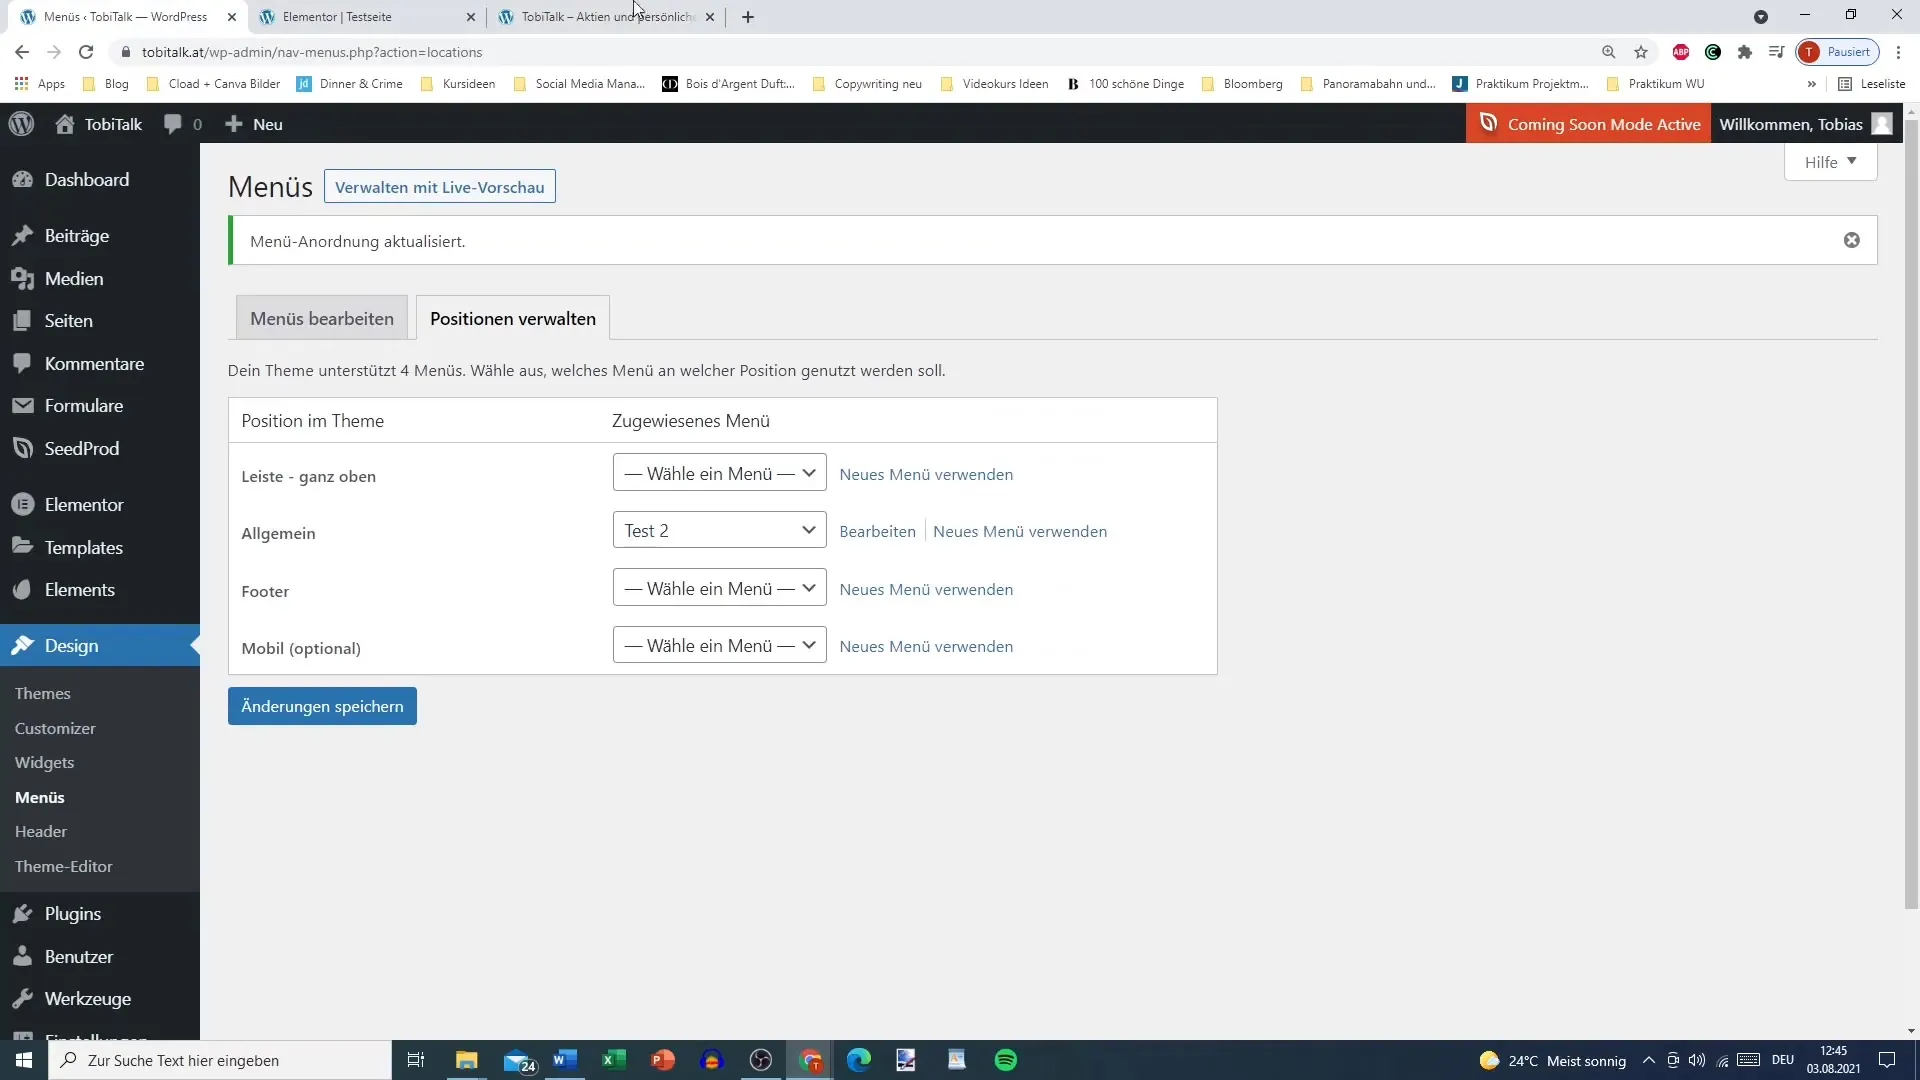
Once you have saved your changes, visit your website to check if the menu is displayed correctly. You should now be able to see your clear and functional menu containing the desired pages.
If you wish to make further adjustments regarding design, such as colors or hover effects, we will address these topics in another video.
Summary
To effectively create a menu for your WordPress website, you need to navigate between different webpages, add, customize points, and ensure everything is clear and responsive. A well-structured menu facilitates user usage and enhances the user experience.
Frequently Asked Questions
How can I create a new menu?Go to your dashboard, select "Design" and then "Menus". Assign a name to your new menu and click on "Create Menu".
How can I add subitems?Drag an item under the main menu item and position it slightly to the right to display it as a sub-item.
Can I add custom links?Yes, you can specify the URL and link text under "Custom Links" in the menu area.
How do I save my menu settings?Once you have made all the desired changes, click on "Save Menu" in the menu area.
How can I change the order of menu items?You can easily drag and drop the items into the desired order.


