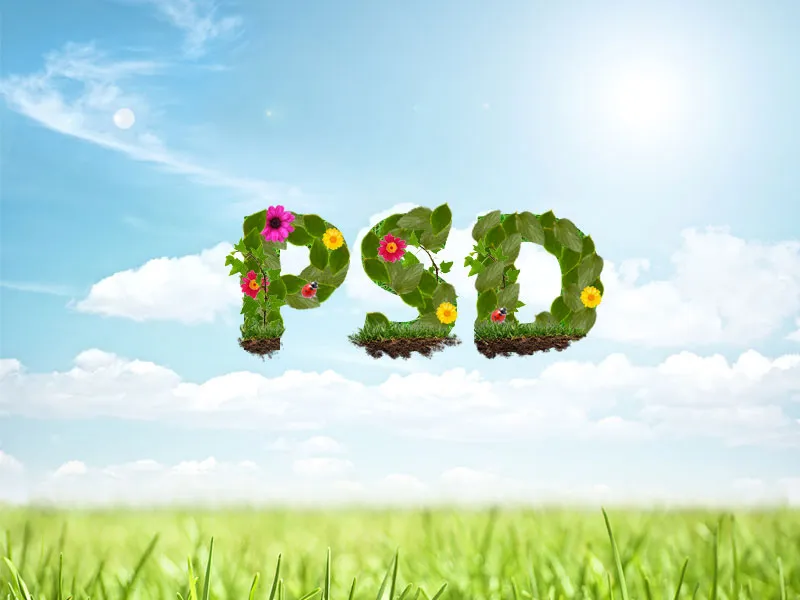
A floral font gives your designs elegance and naturalness, perfect for invitations, posters, or creative projects. With Photoshop, you can design text with flowers, leaves, and other floral elements that add a special touch to your design. In this tutorial, I'll show you step by step how to create a floral font - from selecting suitable brushes to integrating details like blooms and vines. Let's get started and turn your text into floral works of art!
Step 1
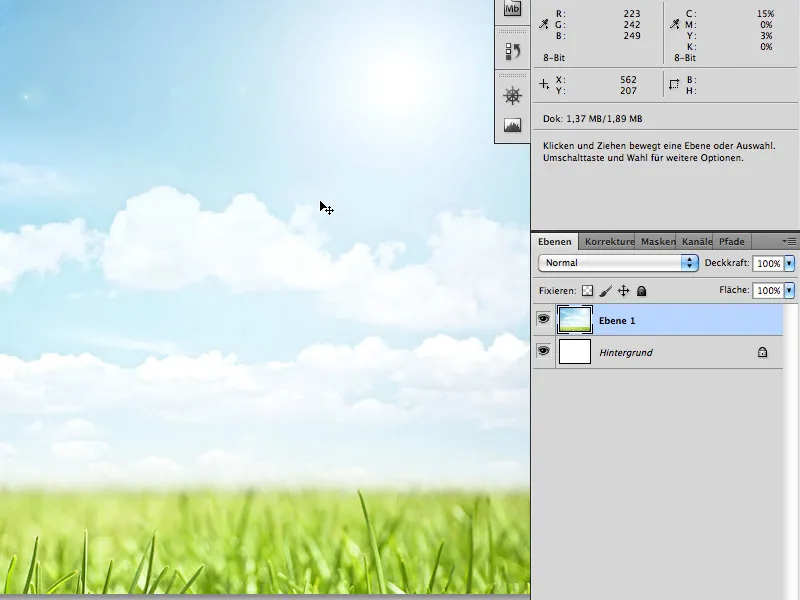
First, create a new document in Photoshop. The size does not matter (I'm using 800x600 pixels). Now you need a nice background image on which the text can later stand out well. I have chosen a stock image from Fotolia.de.
We will now position this image appropriately in our new document. You can easily cut away some of the grass area so that more sky is visible.
Step 2
Select the Text Tool (T) and write your text in the middle of the document: for example, "PSD", using the font Myriad Pro Black 200px.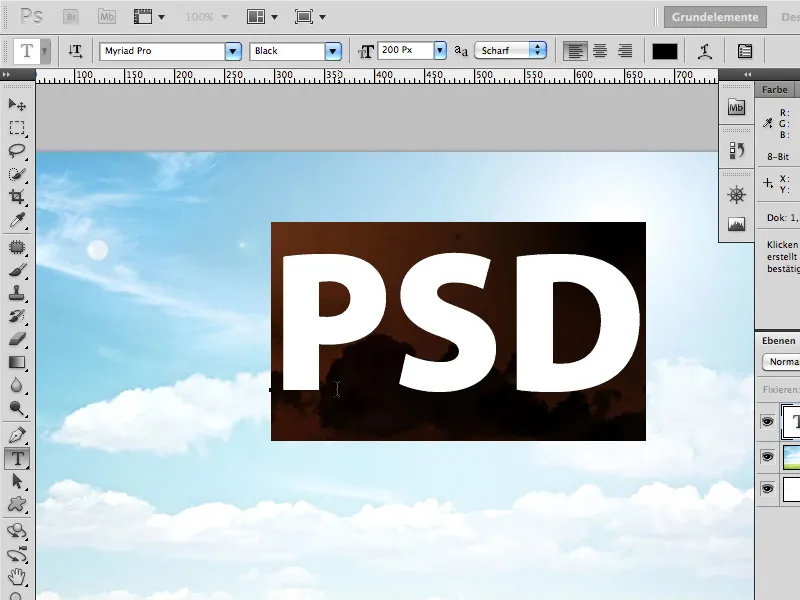
Next, we will temporarily fill this with an appropriate background. This will later only faintly show through in places where the leaves create holes.
I use the Fotolia.de image: 589032 - grass 4 © Alx - Fotolia.com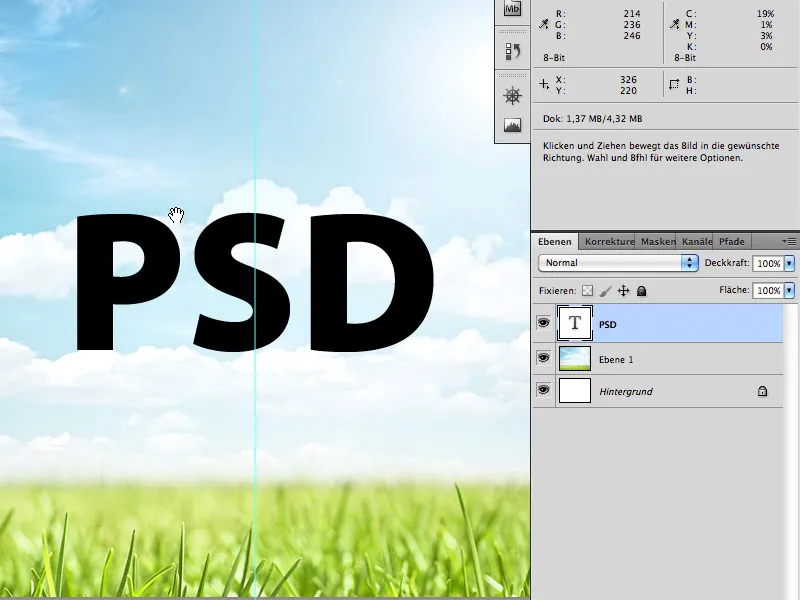
Now place the grass image on a new layer above the letters PSD. Now, click and hold the Ctrl/Cmd key on the layer thumbnail of the text layer. This should create a selection around the letters PSD.
However, the selected layer is still the one with the grass area. Now click on the layer mask. Consequently, the grass is now only visible in the shape of the letters PSD.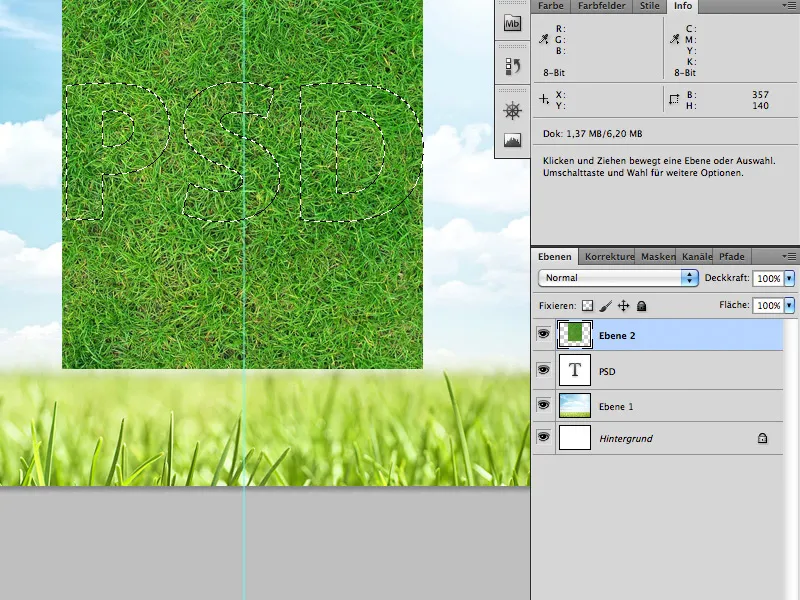
Step 3
The next step involves adding roots at the baseline of the text. For this, the following Fotolia.de stock image is used: 2866977 - grass © lidian neeleman - Fotolia.com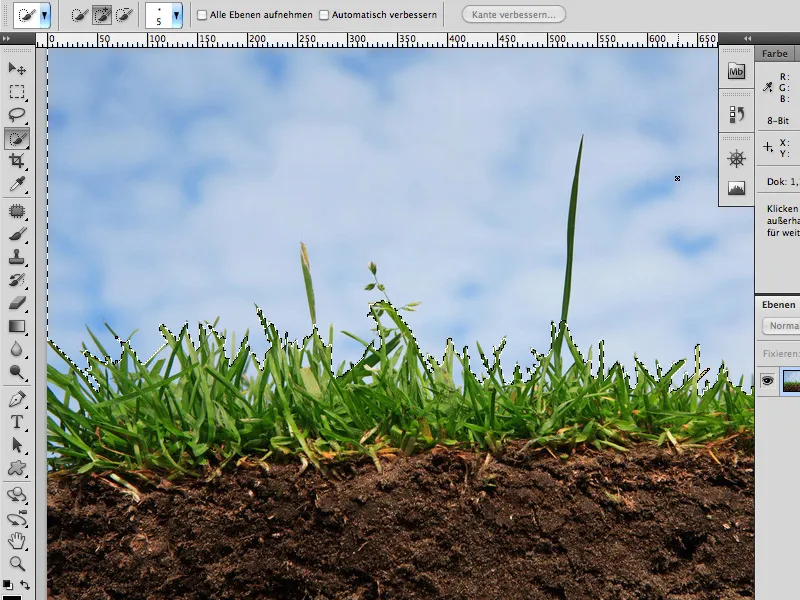
You can easily separate the sky from the grass using the Quick Selection Tool. For areas you miss directly, you can use the Color Range tool (Select>Color Range).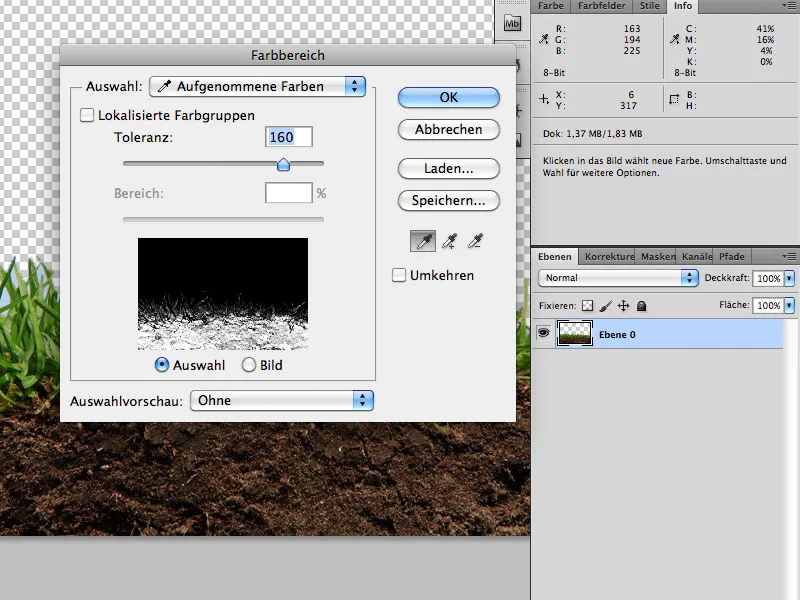
Then place the root piece with the cutout grass in a layer mask over the lower area of the letters (as described in Step 2).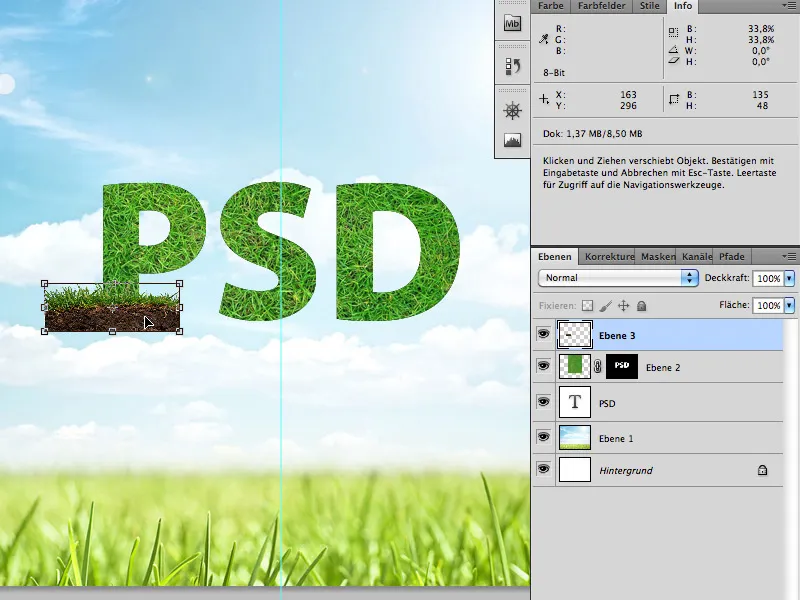
View after adding the layer mask: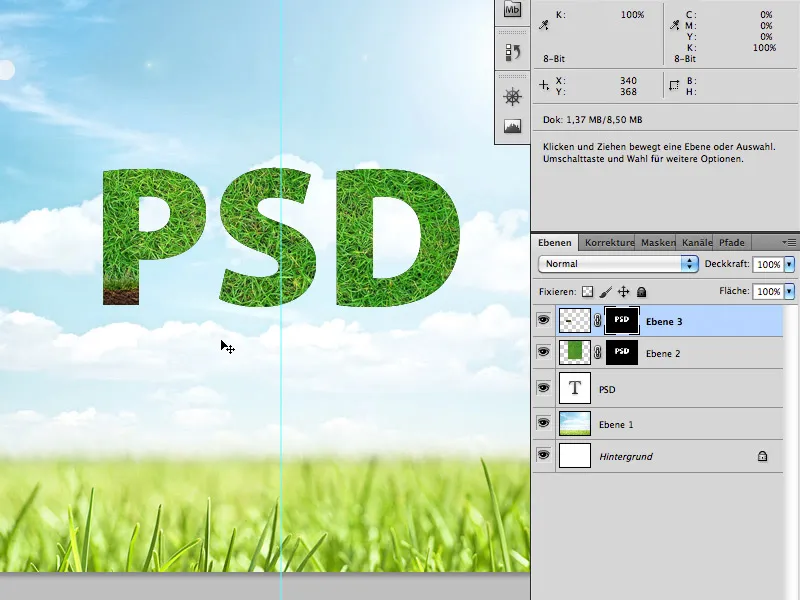
Now switch to the layer mask of the roots/soil and paint the roots further down with a feathered brush (Brush color: White).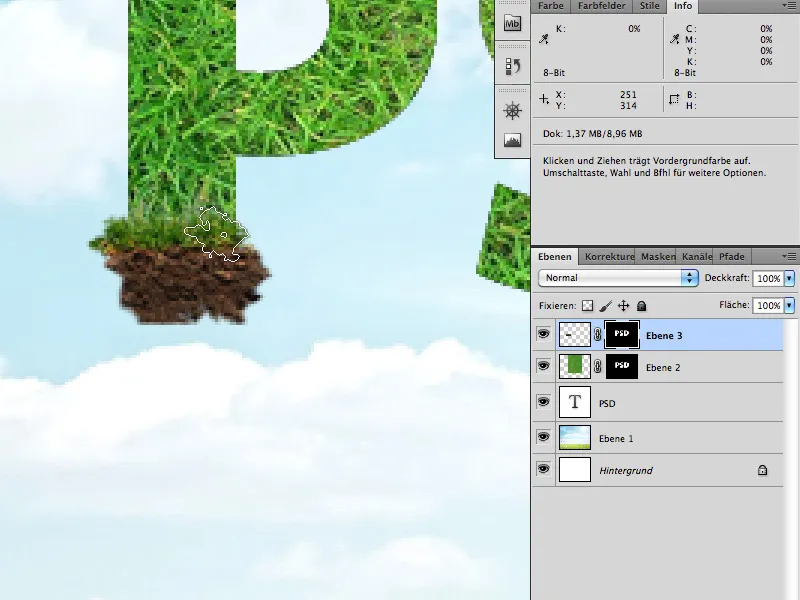
Step 4
This step takes the longest and unfortunately cannot be described in great detail, as you need to trust your personal taste here.
First, just like in the previous steps, you need the right stock material: leaves and the ivy vine:
Fotolia.de
23293494 - Lierre rampant © PIL - Fotolia.com
26481477 - Sex on the Beach - Cocktail © ExQuisine - Fotolia.com
Cut out leaves and vines from the two images as desired, and paste them into your letters (again using the Quick Selection Tool and Color Range).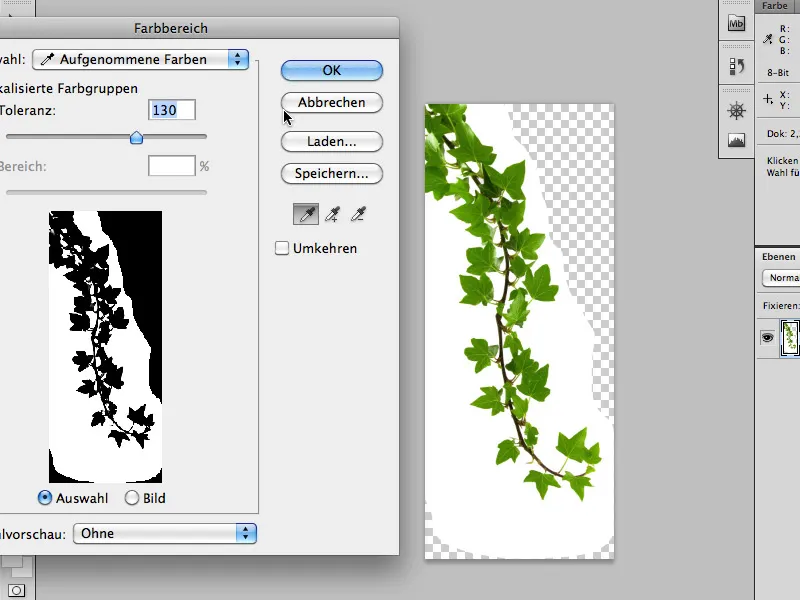
Duplicate the leaves, move and rotate them, and most importantly: use different leaves. This way, you fill the letters completely with leaves. Let some leaves protrude from the letter shapes.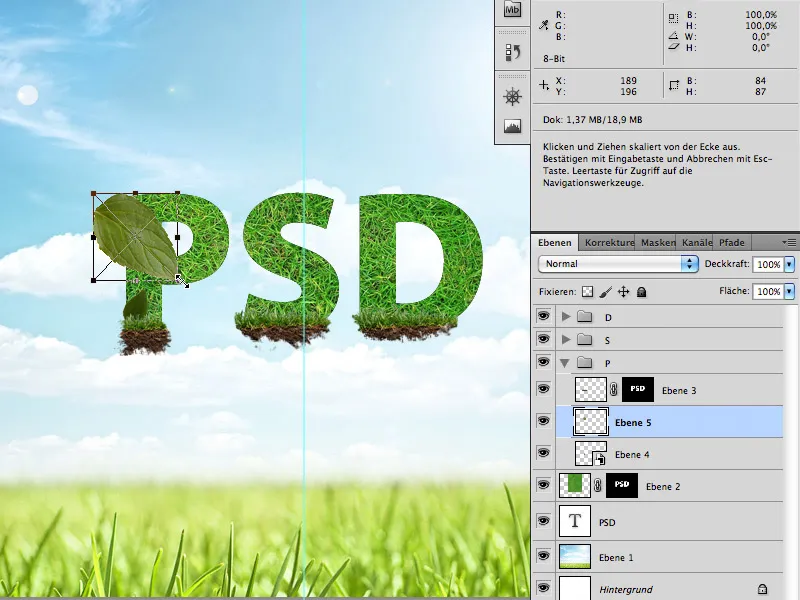
Place the images exactly in the shape of the letters, …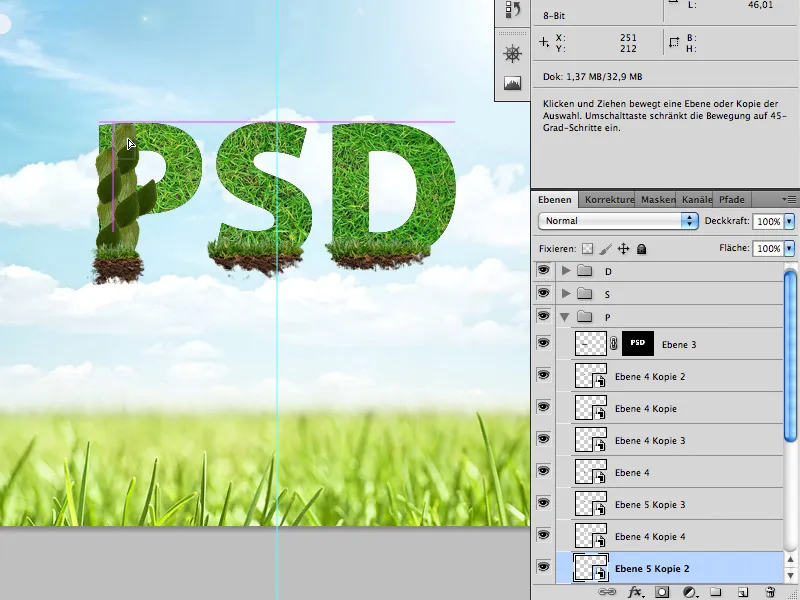
… until they are closed again.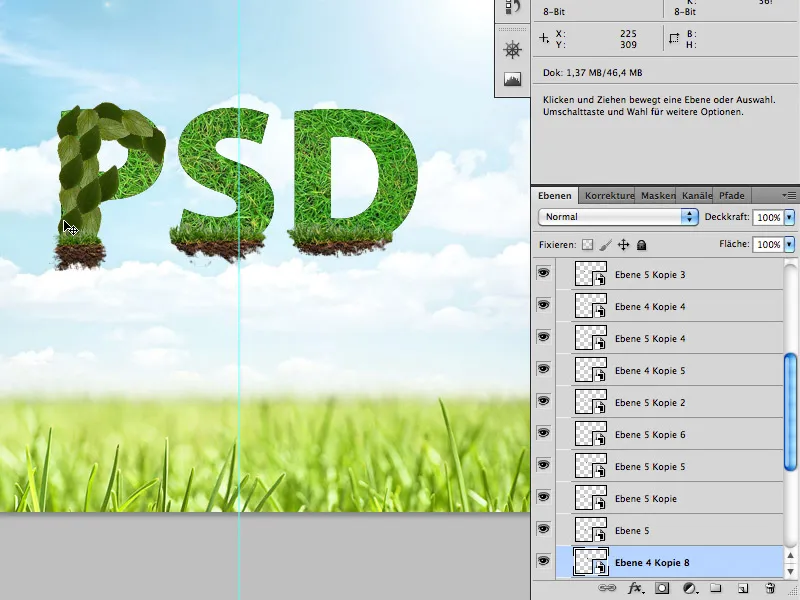
Then insert the ivy vine into the letters and place it among the leaves.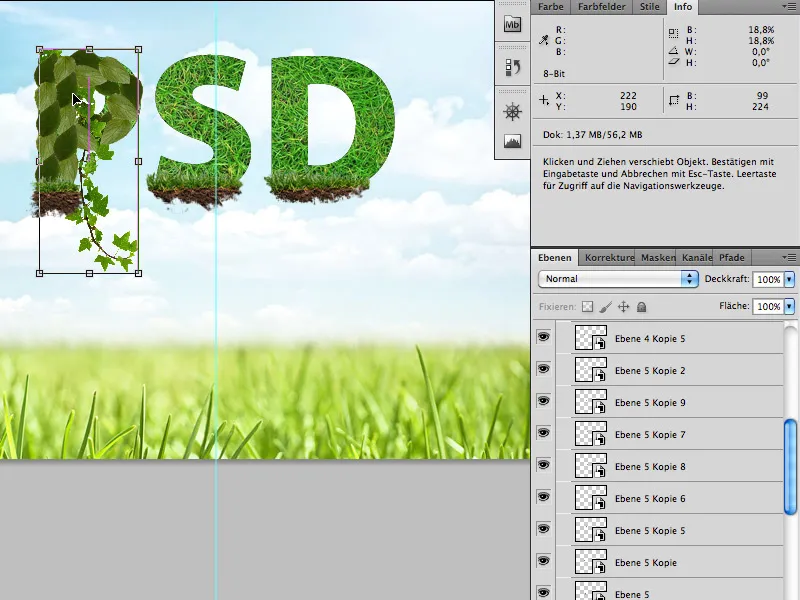
Step 5
After the letters are completely filled with leaves, do the fine-tuning with flowers and ladybugs:
Fotolia.de
24292714 - Ladybug on white © Alekss - Fotolia.com
3064620 - daisy collection © Acik - Fotolia.com
You can easily and quickly cut out flowers and ladybugs with the Magic Wand Tool.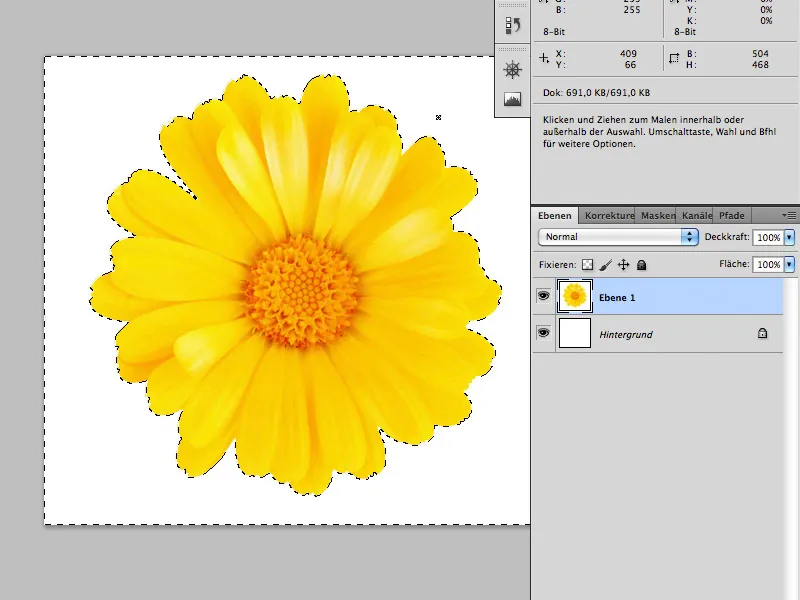
After that, place it between the pages of your writing.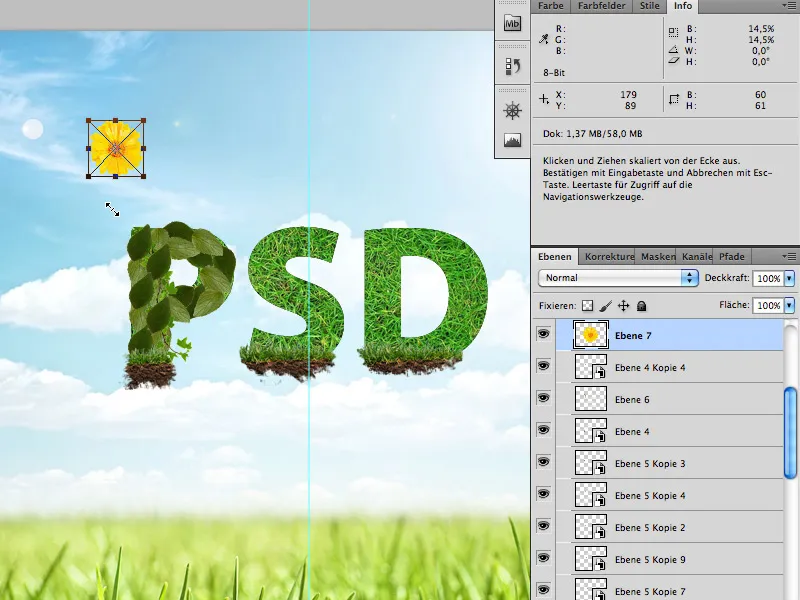
Do not use too many flowers or ladybugs.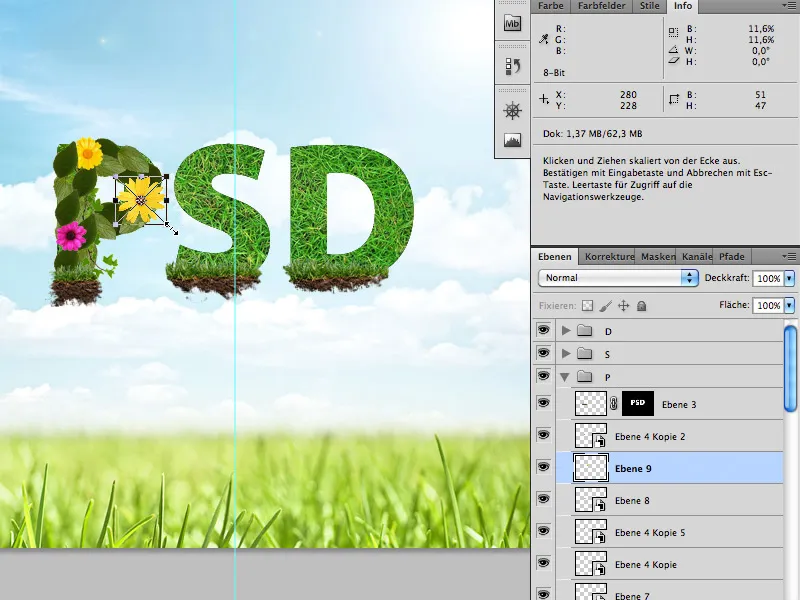
Once you've done all of that, …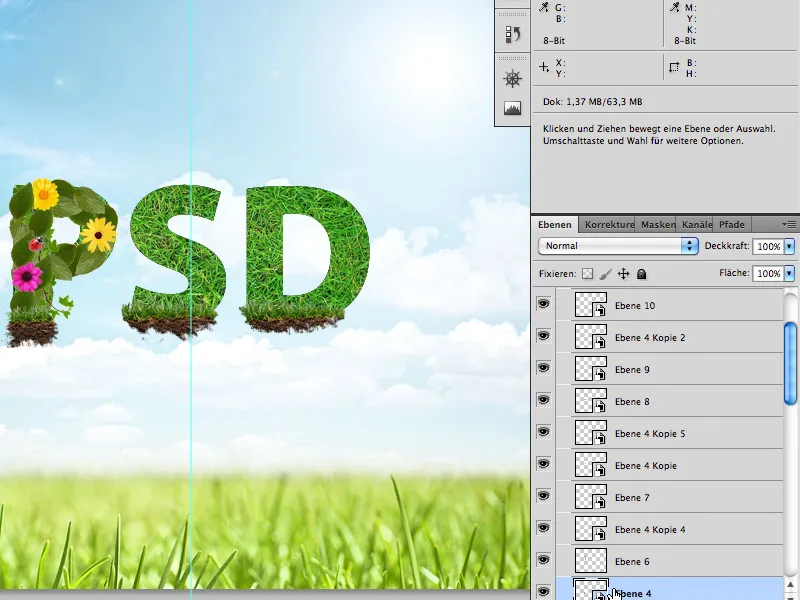
… you're already finished.
I wish you lots of fun with the tutorial.