Creating a table of contents in Adobe InDesign is basically a very simple task if you pay attention to a few things when creating the document.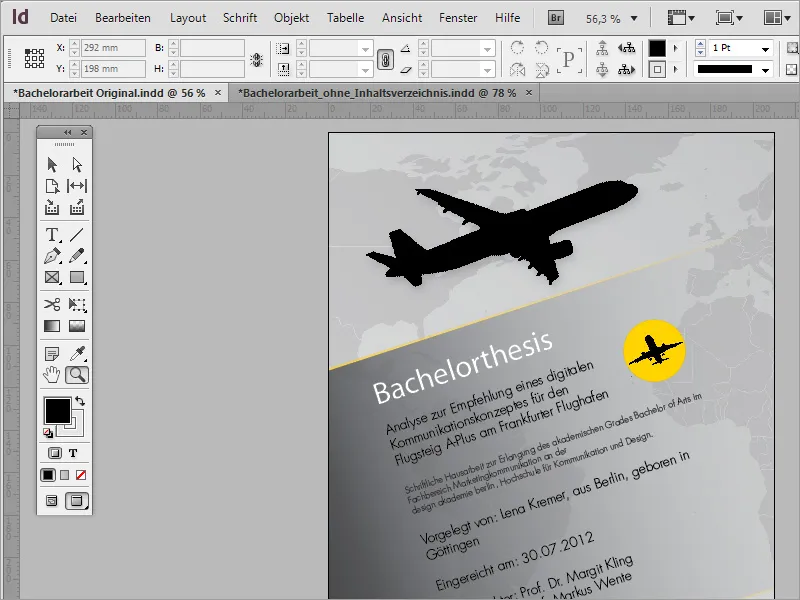
In this tutorial, I will show you how to create such a table of contents in a very simple way.
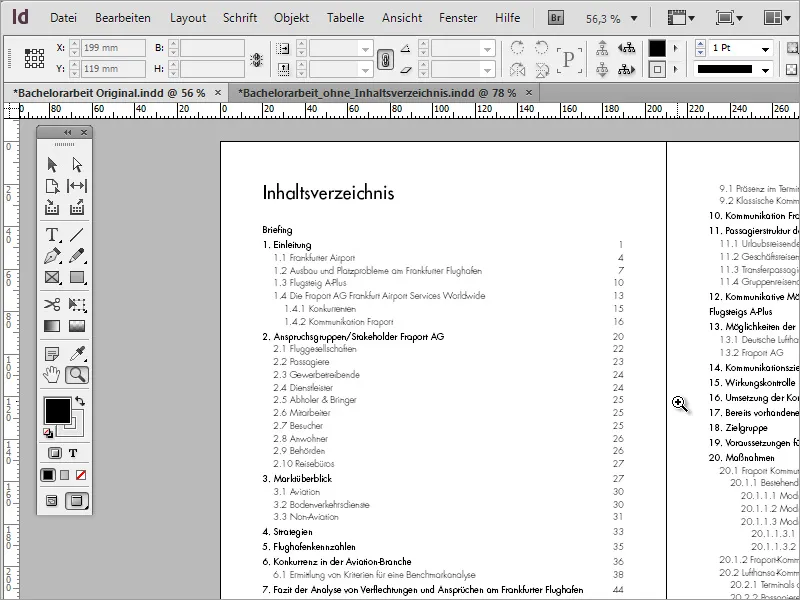
All you need is proper formatting so that both the page numbers and the structure can be displayed in the document at the touch of a button. This can be defined using the paragraph formats and applied to the document. A heading should be created as a heading, as should 2nd or 3rd level text passages.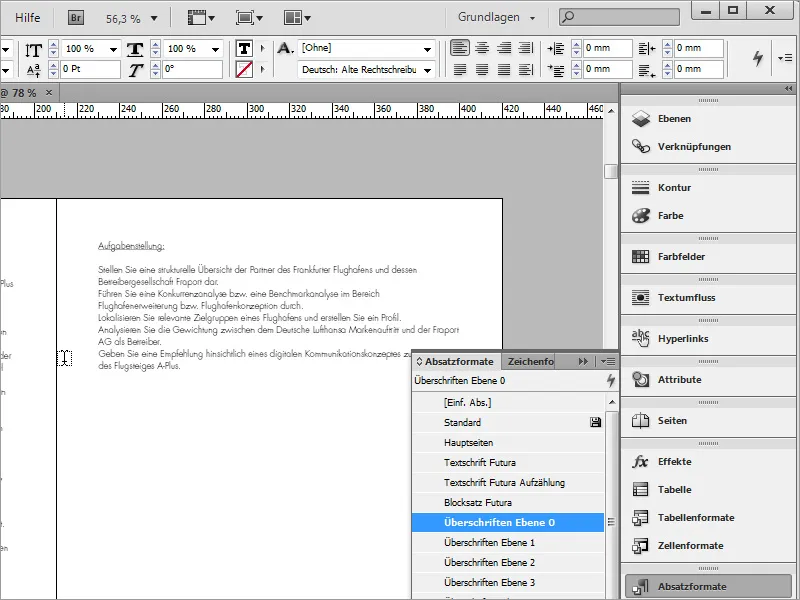
The preset paragraph formats can also be adjusted afterwards. The changes then take effect directly in the document in all places where the corresponding format has been applied - without affecting the table of contents to be created.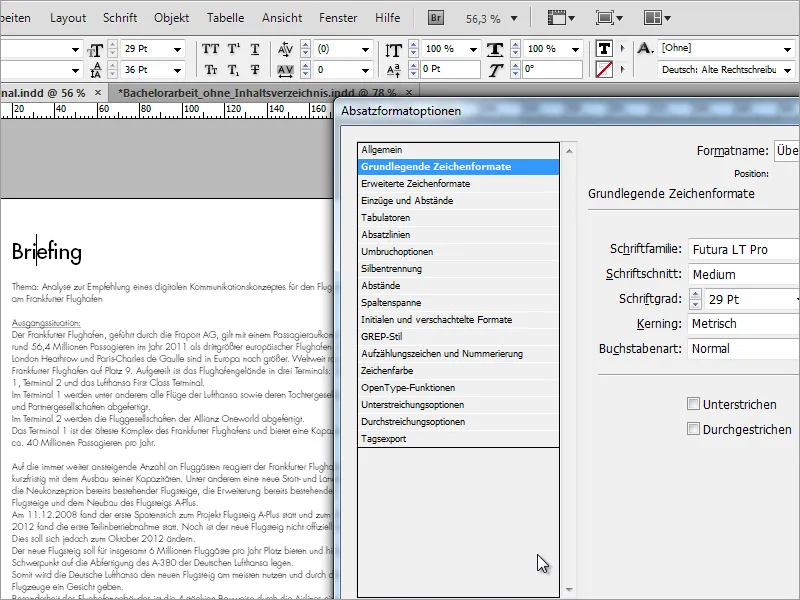
If you click on a corresponding position in the text in a document, the corresponding paragraph format is also activated in the paragraph format palette. This means you always have full control over the appearance of the document.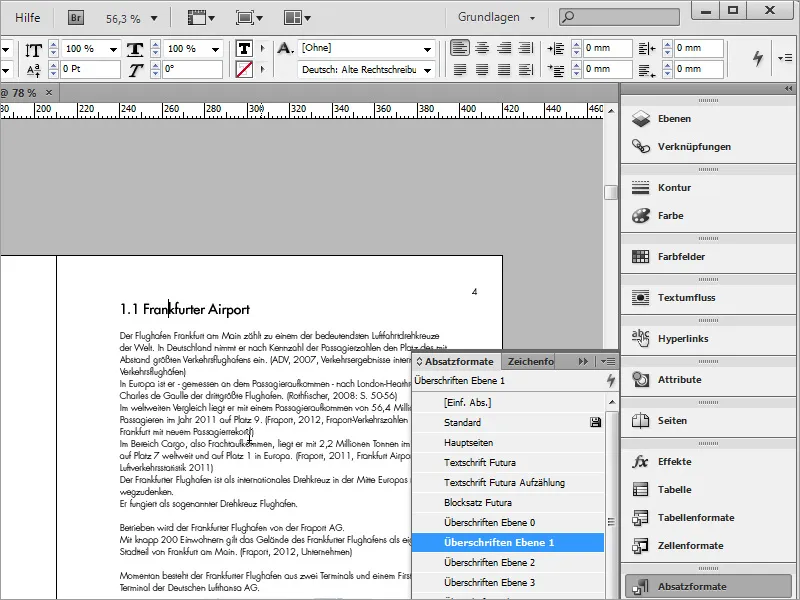
Based on these few rules, you can now create a table of contents based on the pre-formatted document. For this tutorial, I am using a new document without a table of contents, which I have already pre-formatted.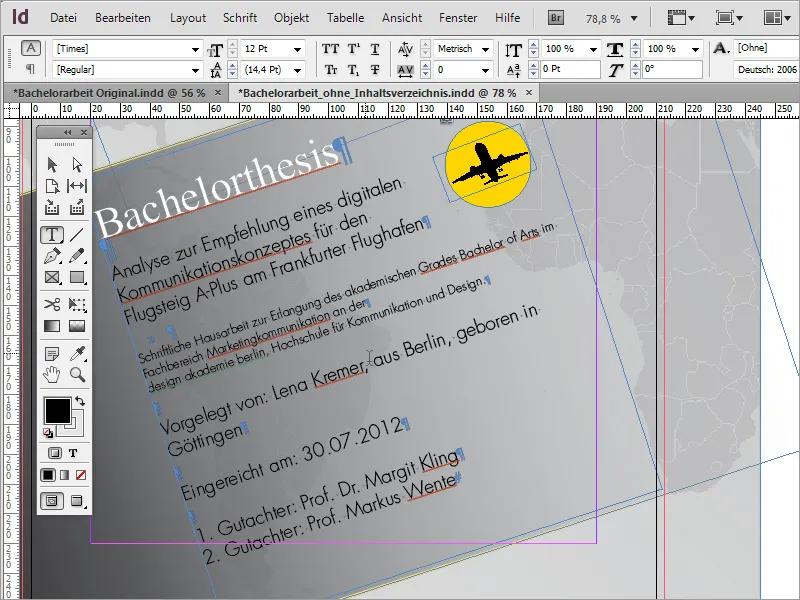
I can create placeholder pages in the document in which the table of contents is to be created later. These do not require any text frames to create such a table of contents. If I am on these pages, I can trigger the creation of such a table of contents via the menu item Layout>Table of Contents.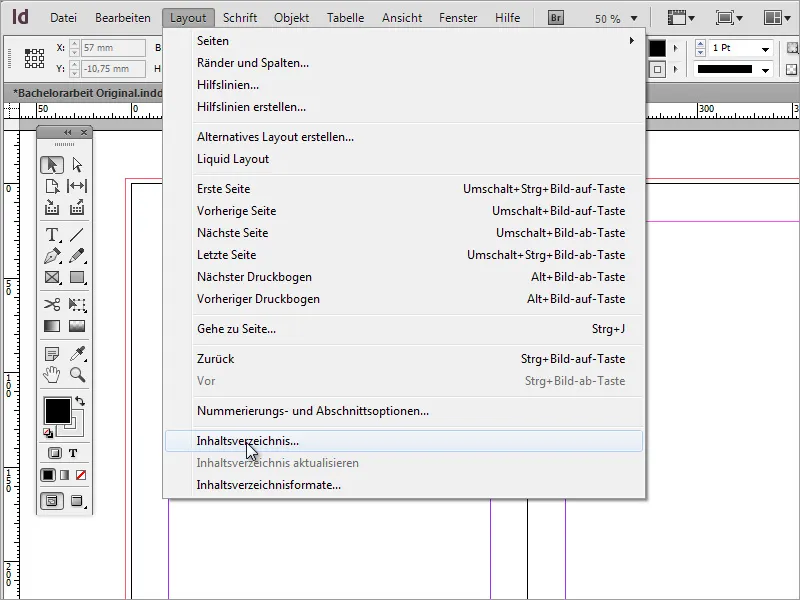
Before doing this, however, you should take a closer look at the table of contents formats, which can also be found under the Layout menu item.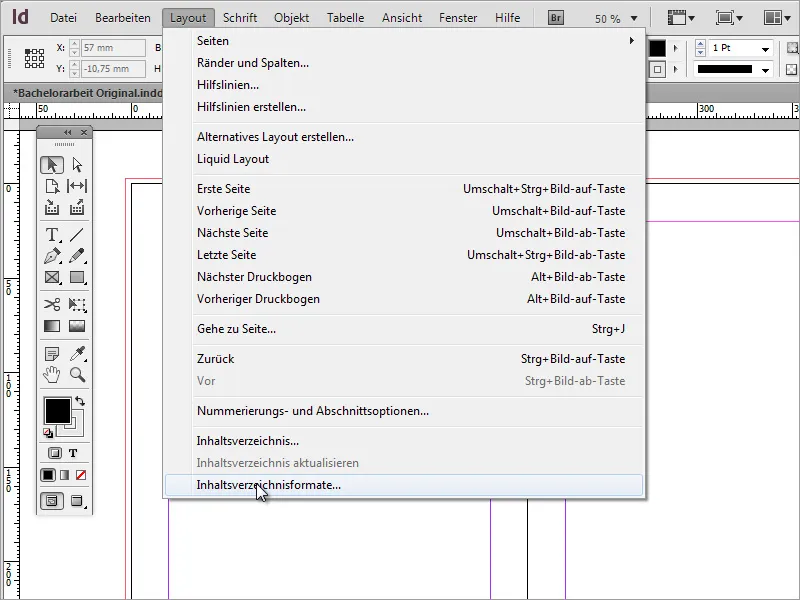
If you click on this menu item, a window with a preset standard formatwill appear.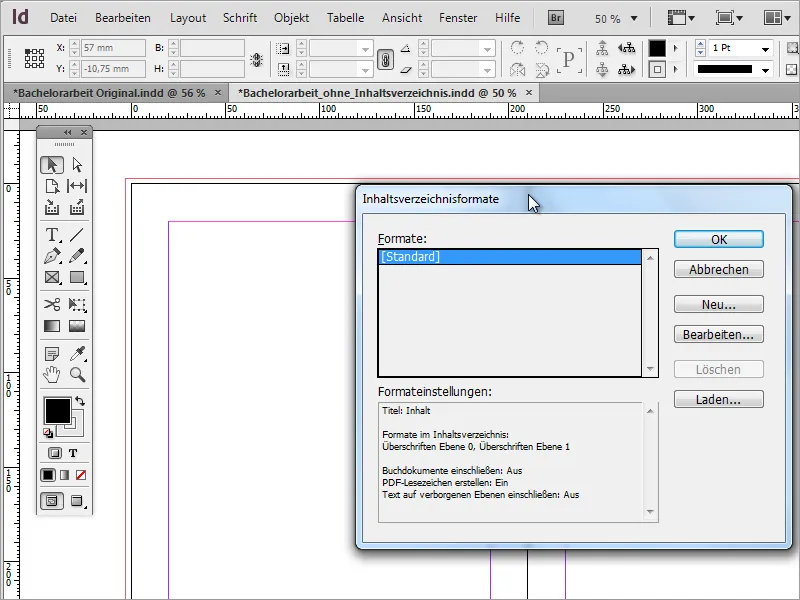
If you click on the Edit menu item in this window, another window for editing the table of contents format will open.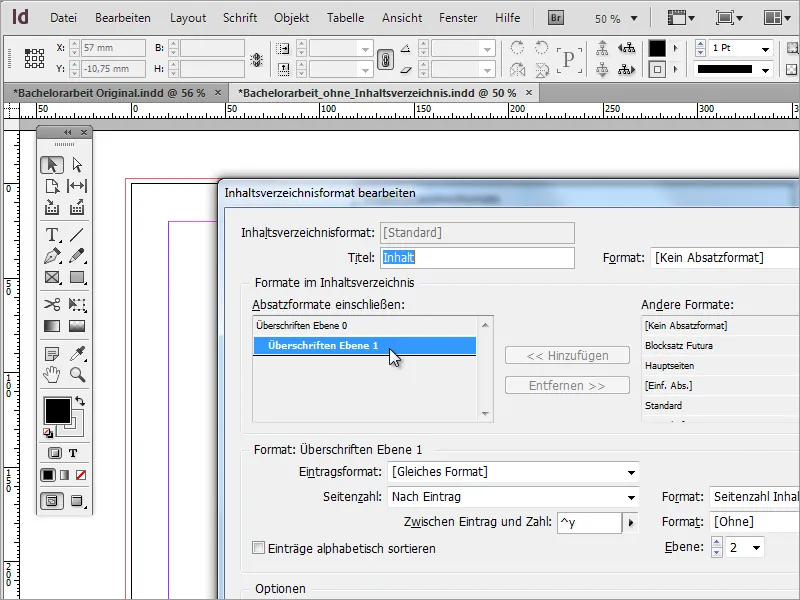
Alternatively, you can also load an already created table of contents format by clicking on the Load radio button.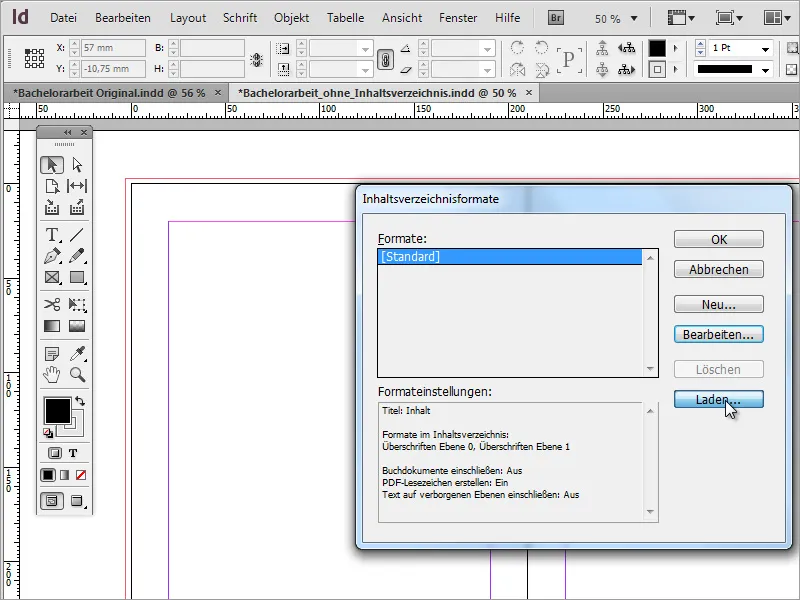
I then have the option of opening such a document with preset formatting.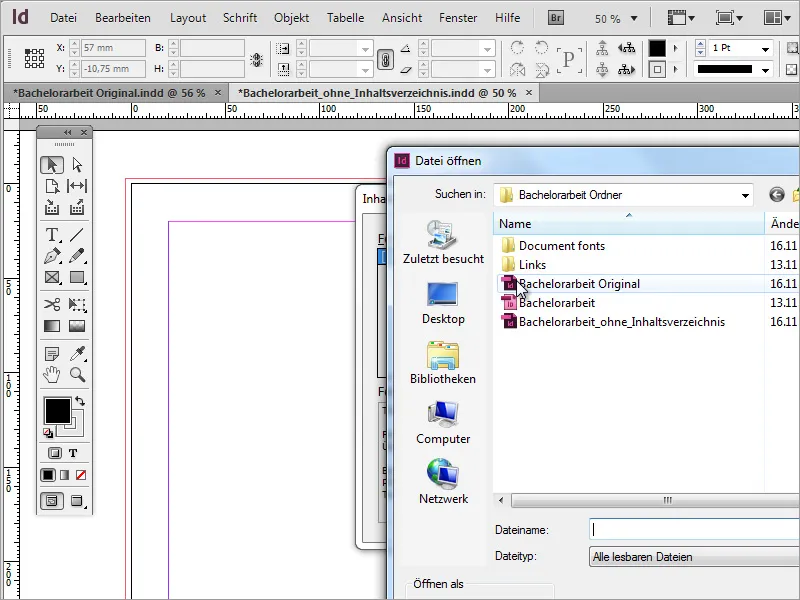
However, as I want to show how such a document is created, I call up the table of contents formats again and click on the New button.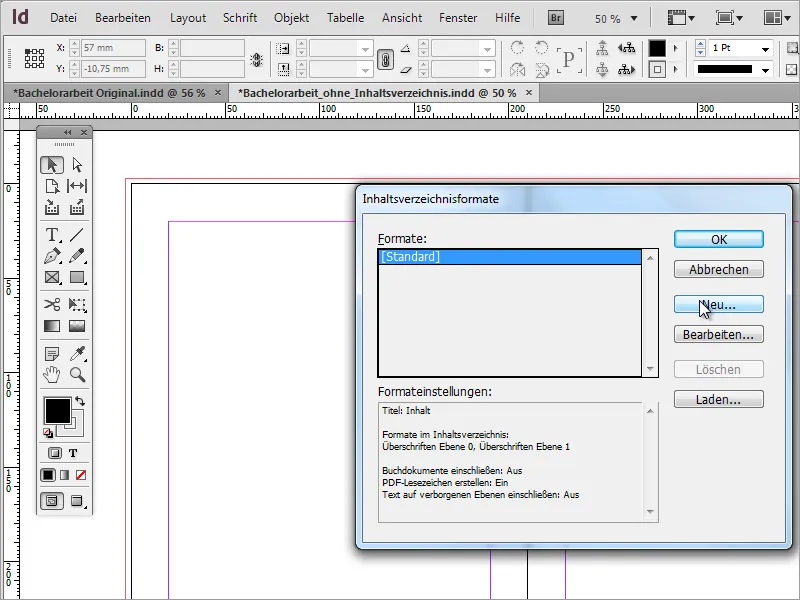
In the dialog box that then appears, I can first give both the title and the table of contents format a meaningful name.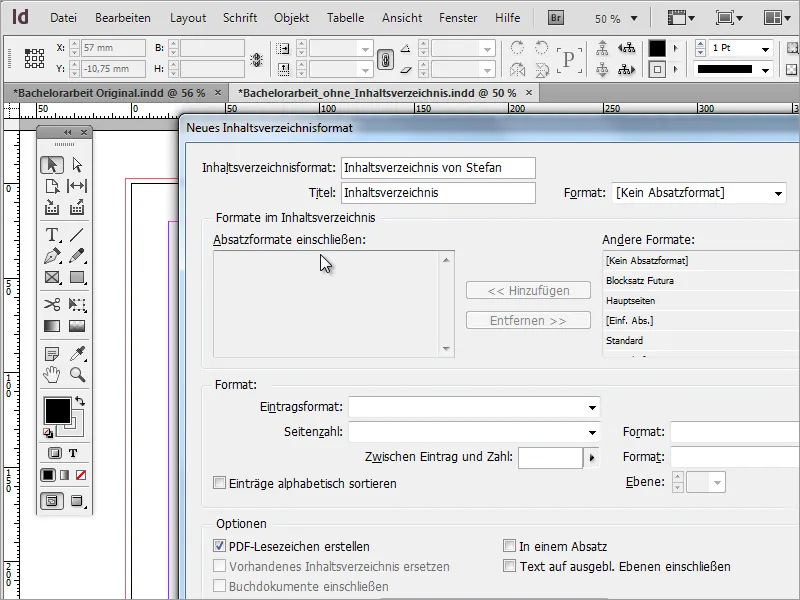
In order for the document and the paragraphs to be used for the directory, I must include the paragraph formats of the document - i.e. determine which paragraph formats of the document that is currently open should be taken into account. It is therefore important to pre-format the document accordingly right from the start.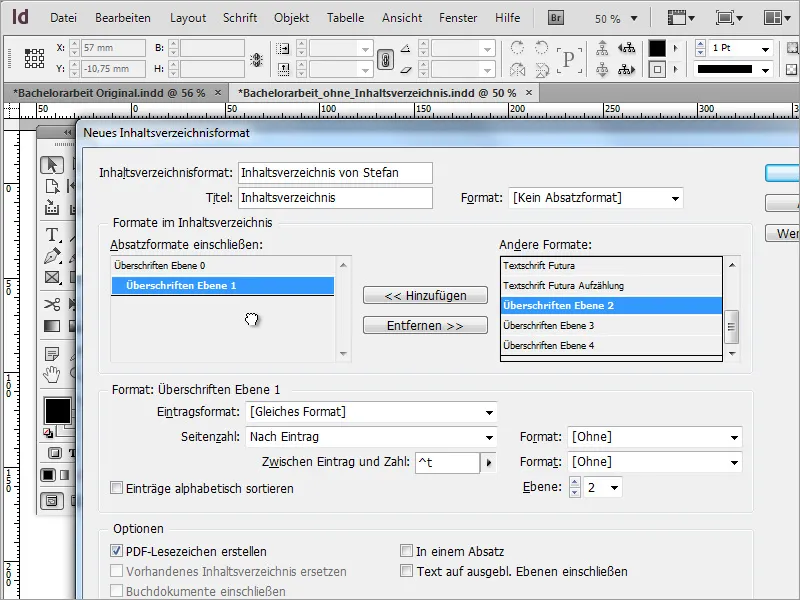
If you look at the left-hand window, you may notice that the headings are already organized according to their order of precedence.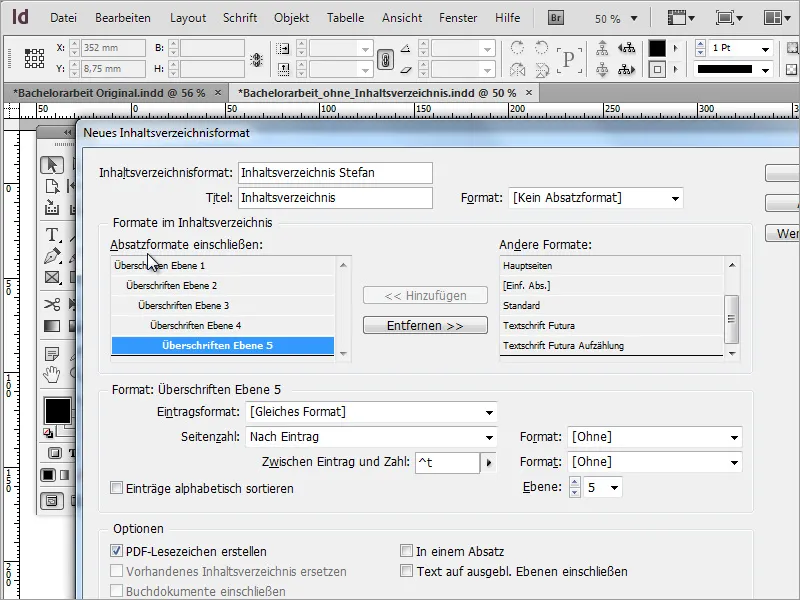
Once this initial classification has taken place, you can close the dialog box. The table of contents should now be created. However, nothing of this is visible at first.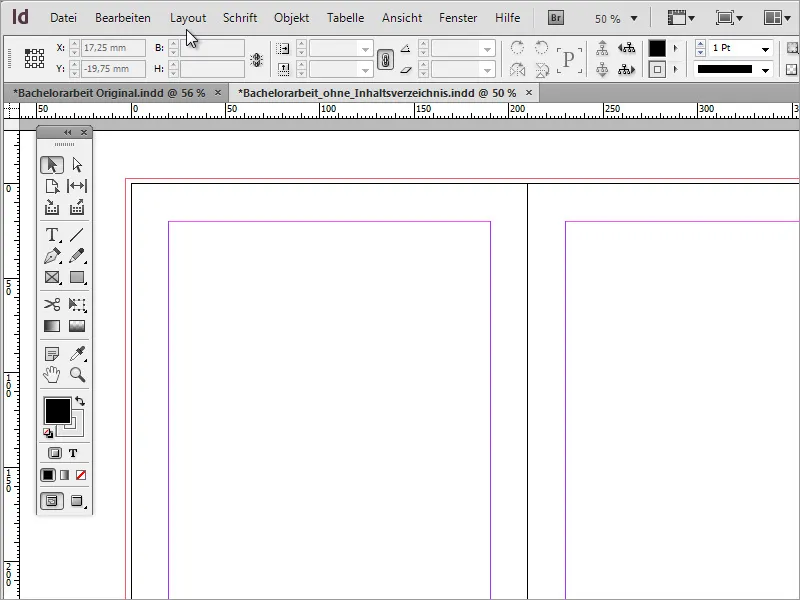
The reason is quite simple: at the moment I have only changed the table of contents formats, but have not yet created a table of contents.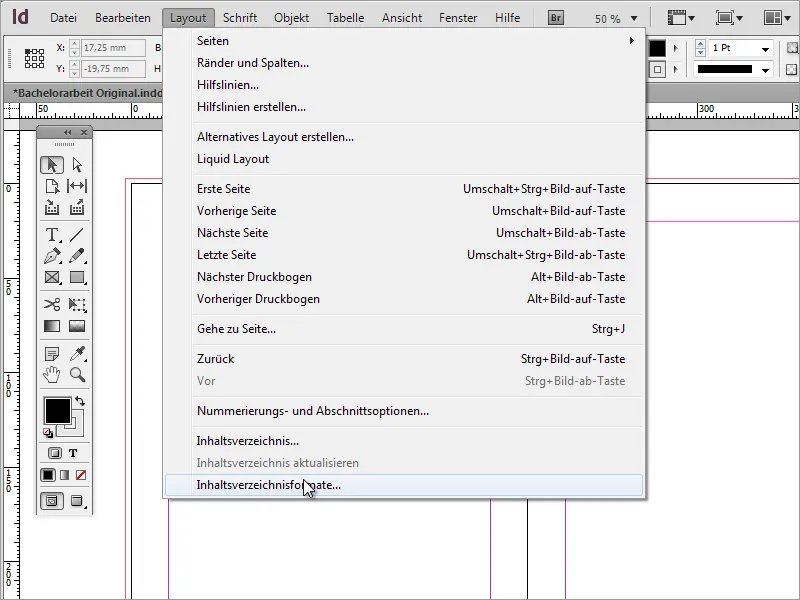
To create a table of contents, I have to select the Table of contents entry. The Table of Contents dialog box then appears , which looks exactly like the window we have just closed.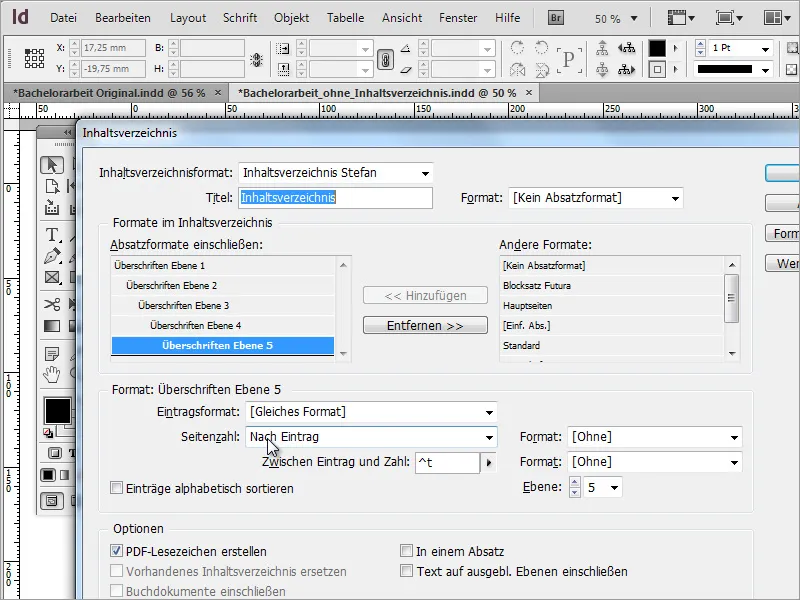
If I click on the OK button in this dialog box, the window closes and my mouse pointer changes.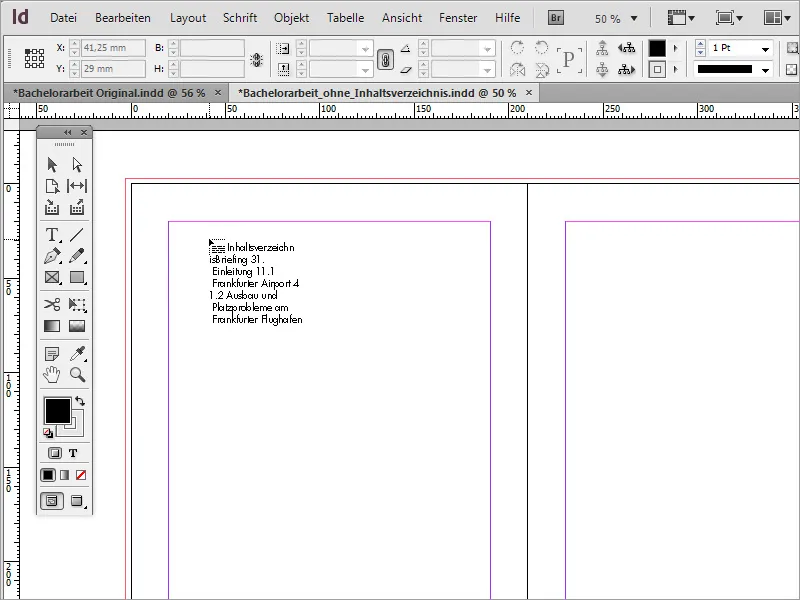
Now I can click on the active frame or, if necessary, draw my own frame into which the table of contents will be inserted.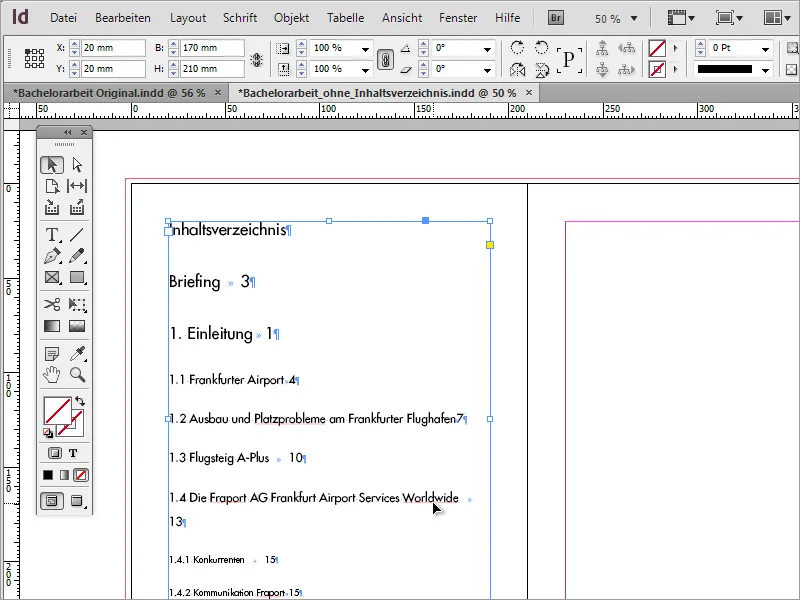
Initially, however, only part of the actual content of the document is displayed. This is due to the fact that the text frame cannot display the entire content due to its limitation. However, the text frame has a function that you can use to extend this content to other text areas by linking the text frames and thus displaying them. To do this, simply click on the plus symbol on the active text frame.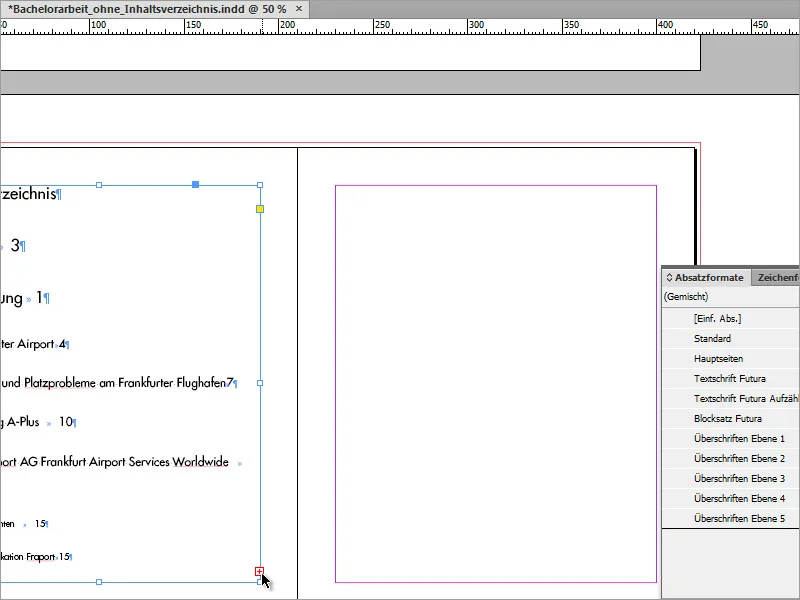
As soon as you click with the mouse on the text frame on the other side, the overhang text is displayed there. Depending on the amount of content, you may have to repeat this step again, starting from the now active text frame.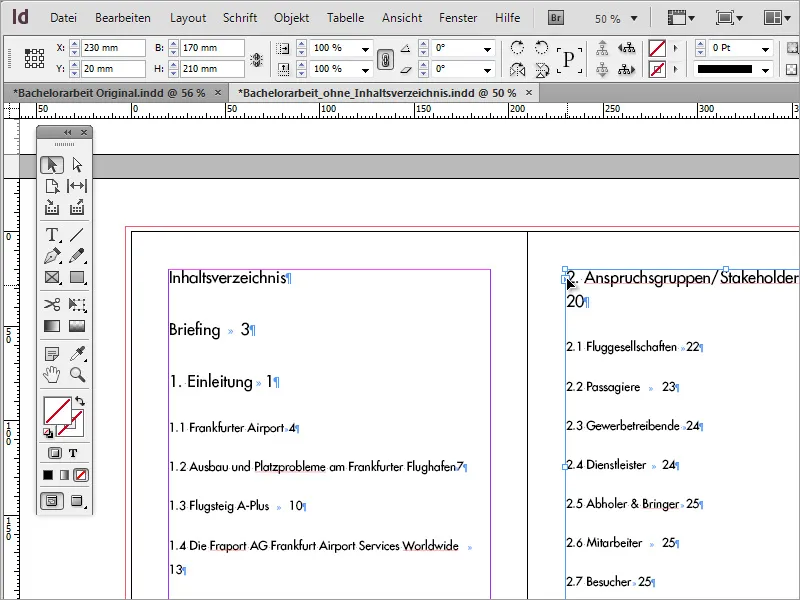
However, as the procedure is a little too cumbersome this way, you can use a simple "trick". By pressing the Shift key on the first text frame, you can activate a function that allows you to insert the entire text in one go. The mouse pointer changes its appearance.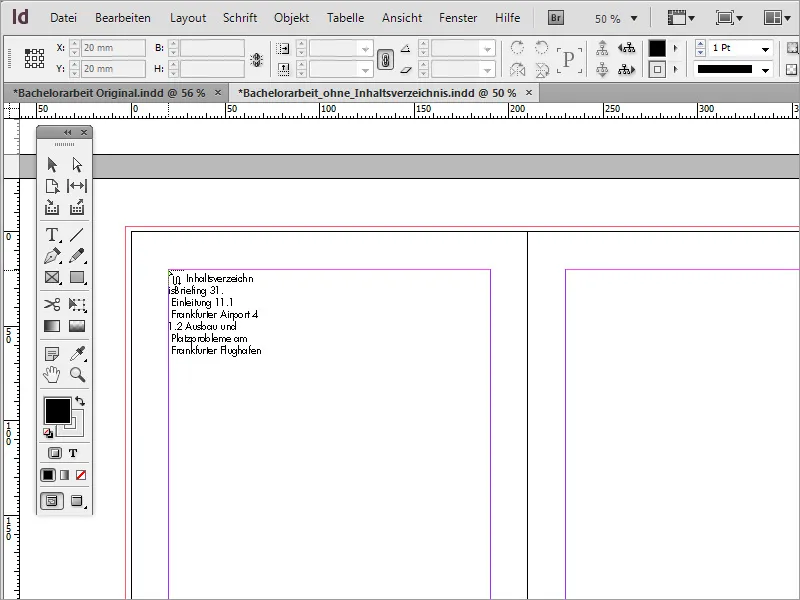
InDesign now automatically inserts the text over several pages. However, you must ensure that the layout behind it is not moved or overwritten. When using this function, it is therefore advisable to create a few blank pages in advance, into which the table of contents can then be inserted.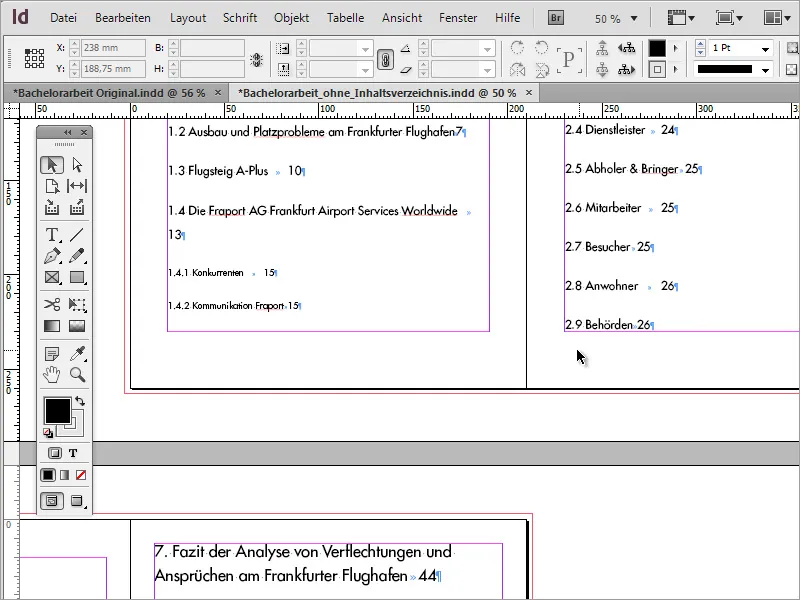
However, as the text of the table of contents is not yet really nice to look at, further formatting is required, which I can call up via the table of contents formats.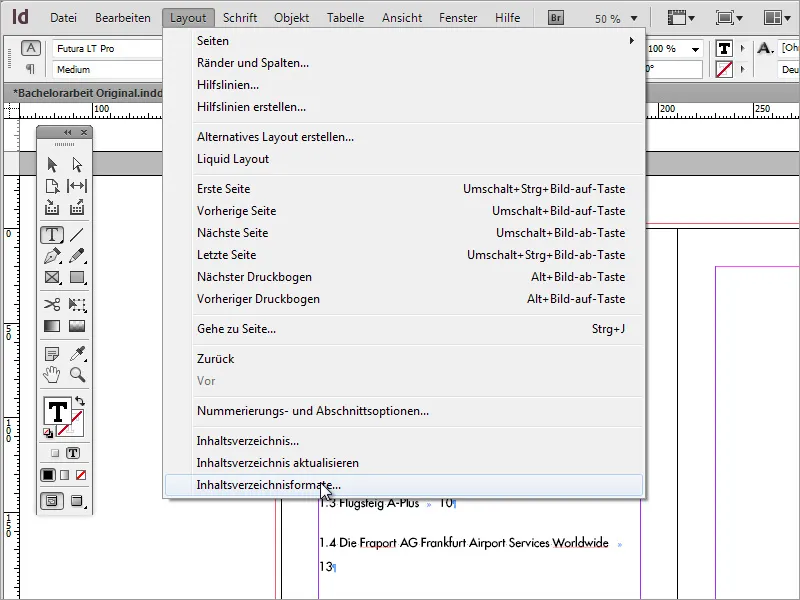
In the dialog box that then appears, I click on the Edit entry, which takes me to the editing dialog.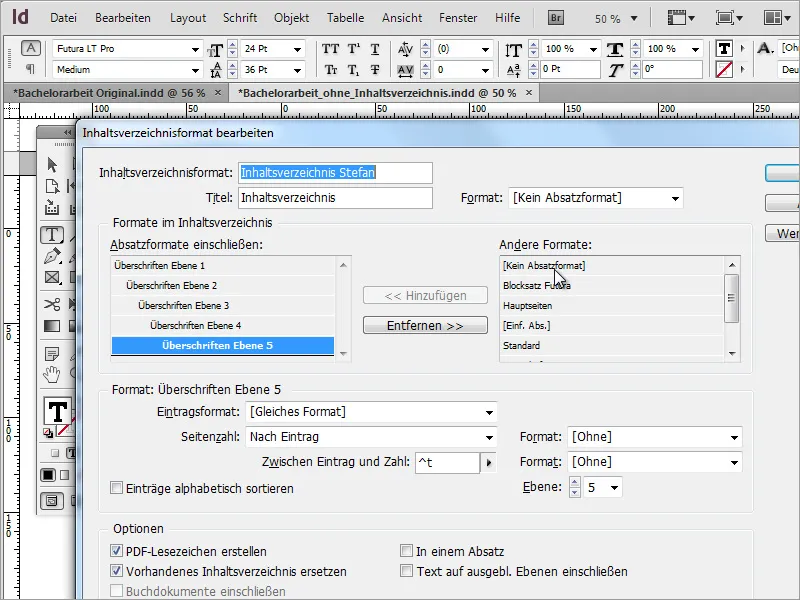
For each of the paragraph formats specified and applied in the Include paragraph formats dialog box, you can make changes in the field below.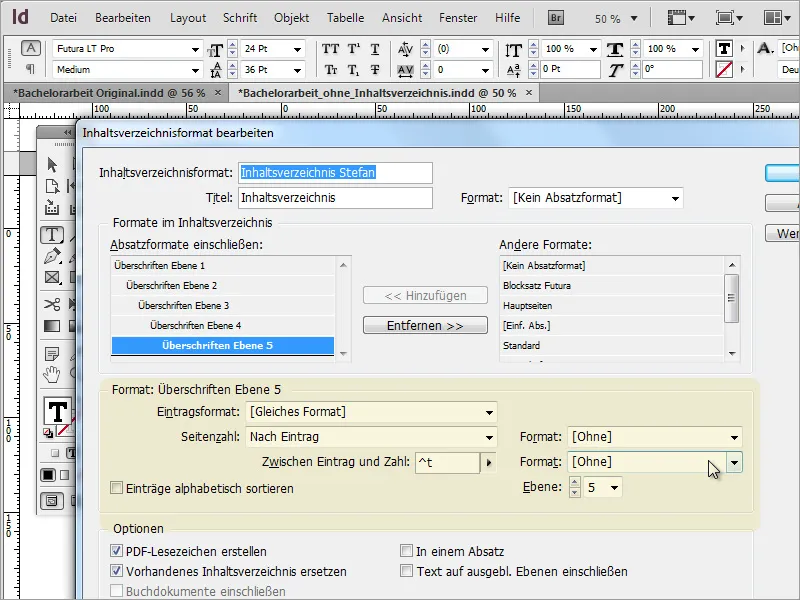
To ensure that the changes affect all paragraphs in the table of contents, you must manually change each individual paragraph level. You can start with the entry format, for example, which defines the font or font type in more detail. For example, you can use a slimmer font style to save space.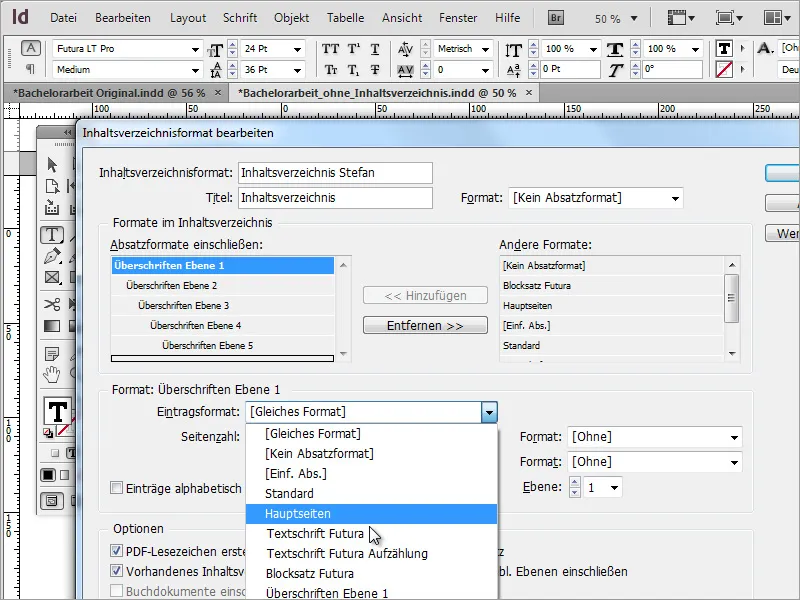
After confirming with OK, you may want to view the changes. To do this, go to the Layout menu item again and select Update table of contents.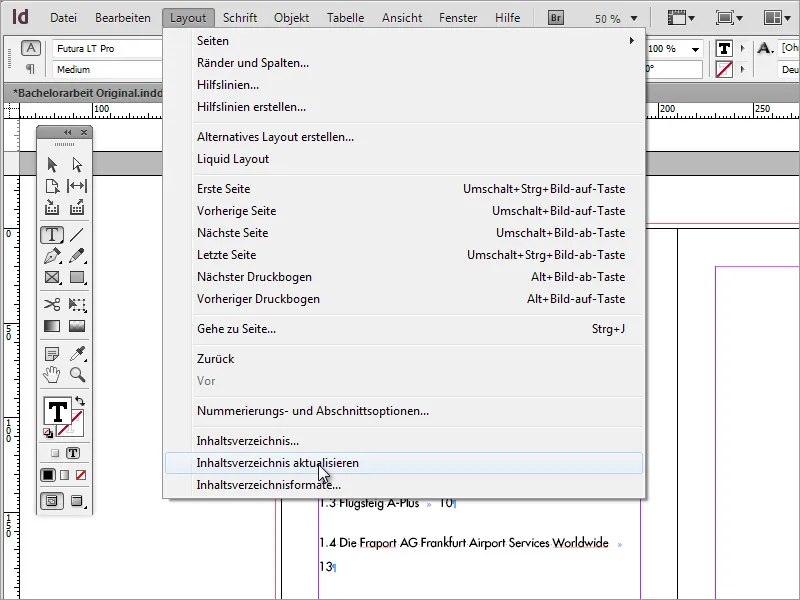
The table of contents is now displayed with the changed values.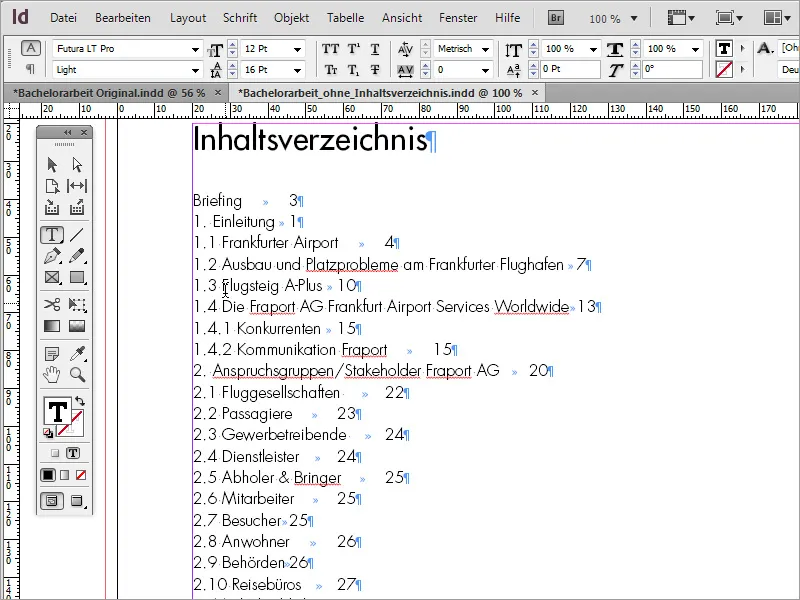
The space saved is already good progress. However, further formatting is required so that certain sections are displayed in bold and the numbers are right-aligned, for example. To do this, it is necessary to create additional paragraph formats. The easiest way to do this is to click on the New iconat the bottom of the Paragraph styles palette.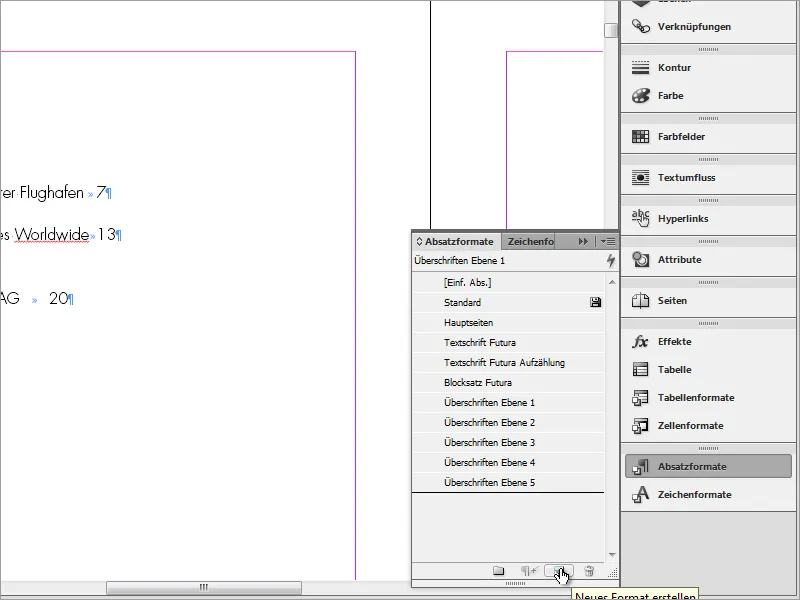
Double-click on the new entry to open the Paragraph format options settings dialog box.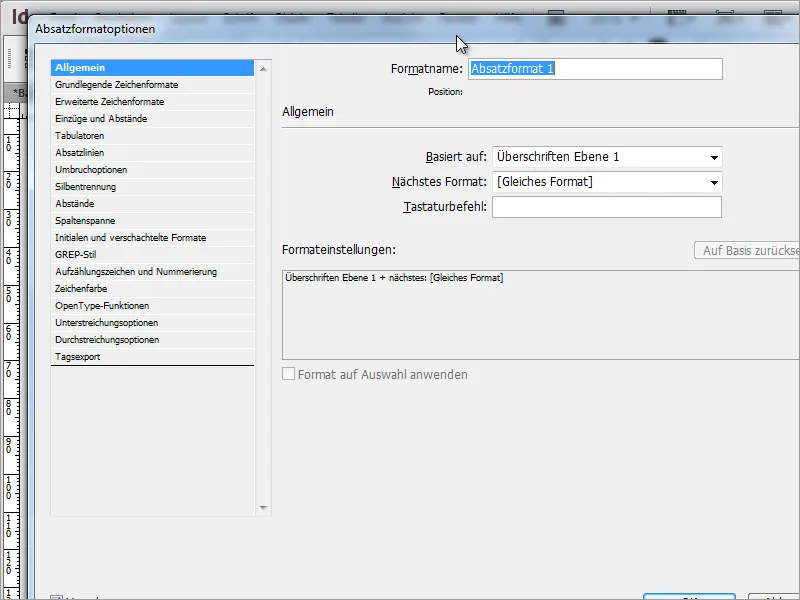
You can then assign a format name in this dialog box and make further font formatting settings. For example, the font should be smaller overall and more emphasized, which is why the font style has been changed to Bold. After making the changes, the dialog box can be closed by clicking OK.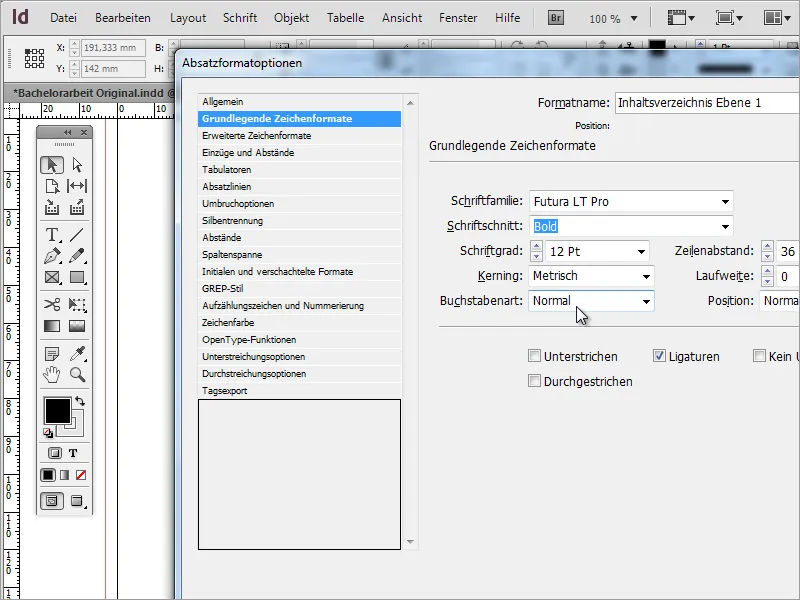
After confirmation, nothing changes in the appearance. The Update table of contents entry under the Layout menu item is also grayed out and cannot be used to apply this change. You should therefore switch back to the settings for the table of contents, which can also be found under the Layout menu item. A new entry format is defined for the heading of level 1. You can use the paragraph format you just created.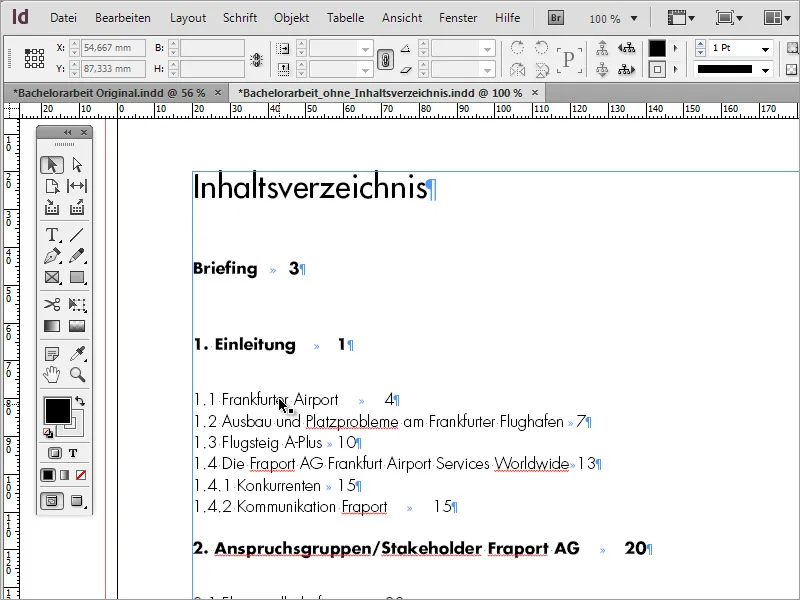
As soon as this change has been made and confirmed, the format of the table of contents changes.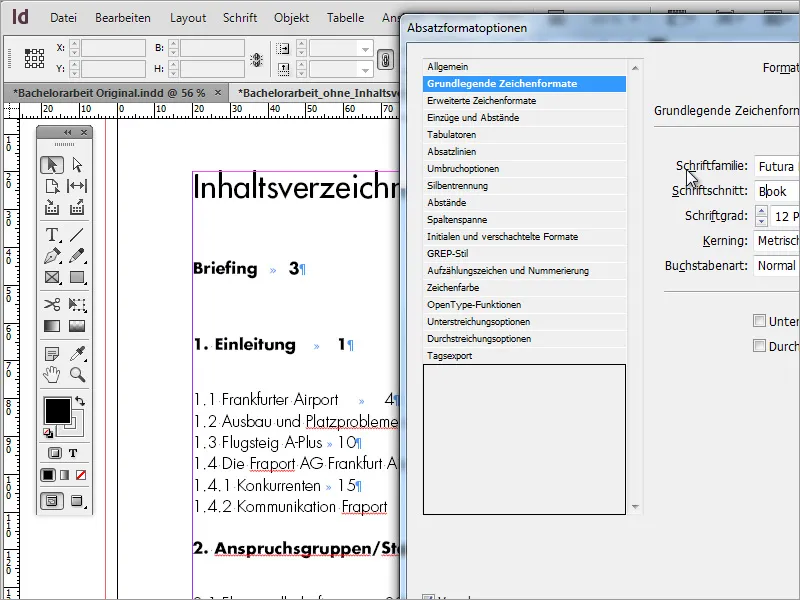
If the font style does not meet your expectations, it can also be changed later using the paragraph format options. To do this, simply double-click on the entry in the paragraph format palette that is to be changed and modify the font. In the example, the Bold font style has been changed to Book.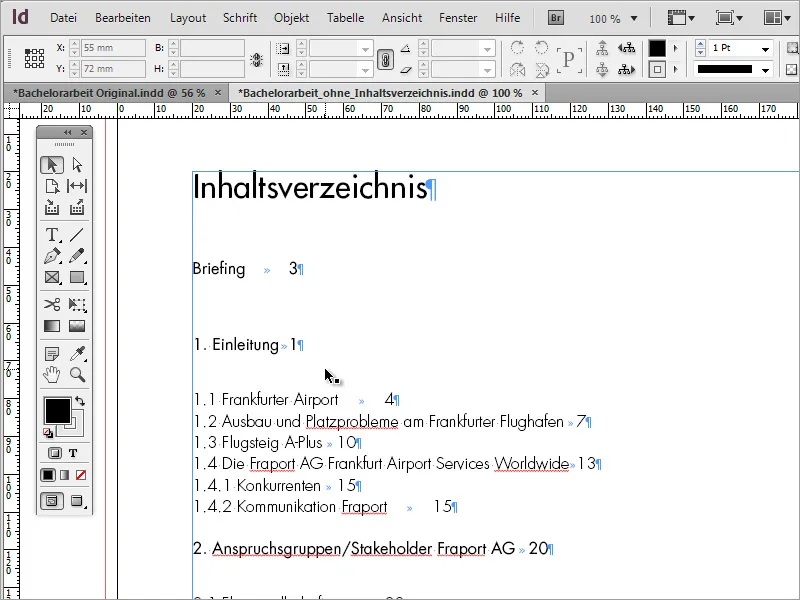
The changes are applied immediately after confirmation.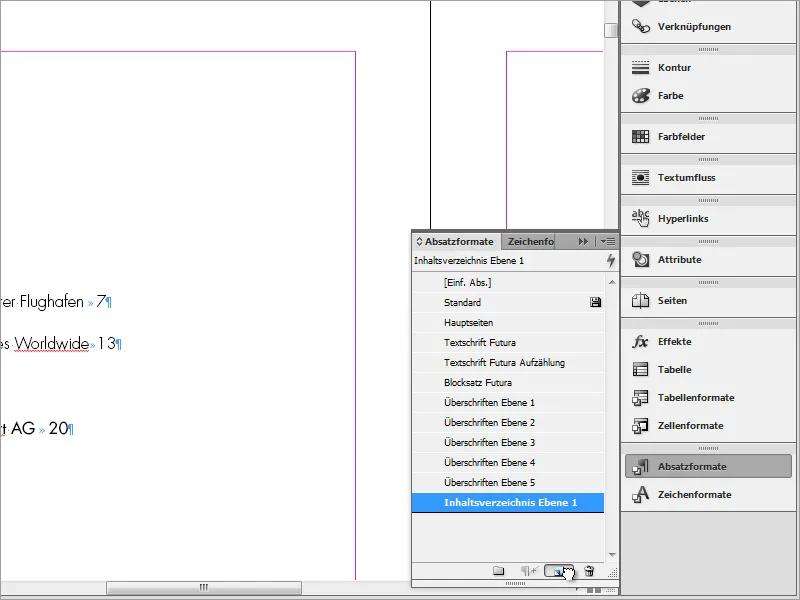
And in the same way, a separate paragraph format is now created for each of the levels from the table of contents and headings. To do this, you can simply drag the existing paragraph format for the table of contents level 1 onto the New iconin the paragraph palette.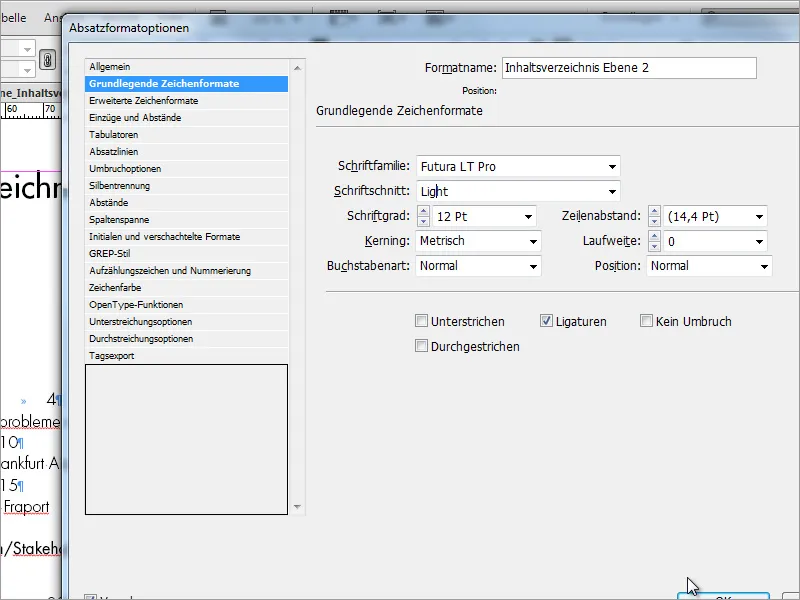
You can edit the copy created in this way by double-clicking on it and changing the font or font size, for example.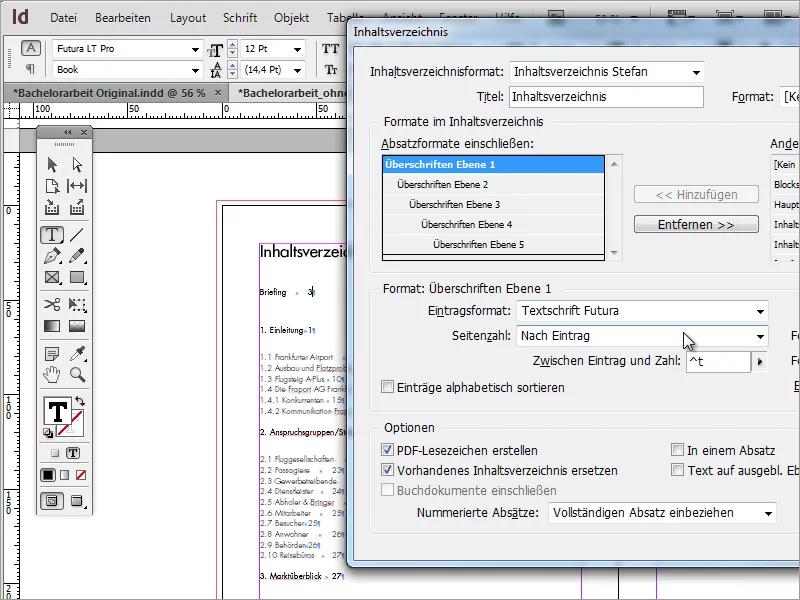
If you go to Layout again and select the Table of Contents entry, you may notice that the changes you have just made have not been applied or retained for the document. As you can see in the screenshot, the Futura text font entry format is still active.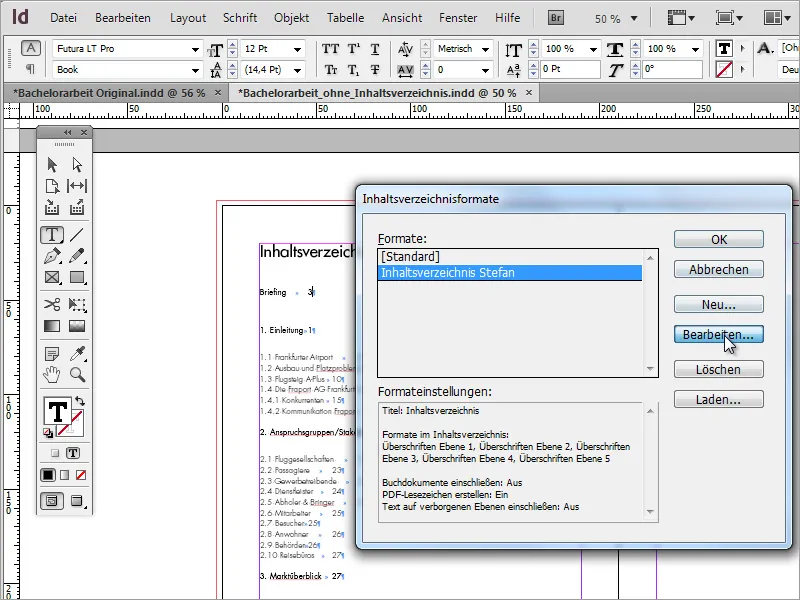
In order for the changes to be saved permanently, you must go to Layout>Table of Contents Formats and select Edit.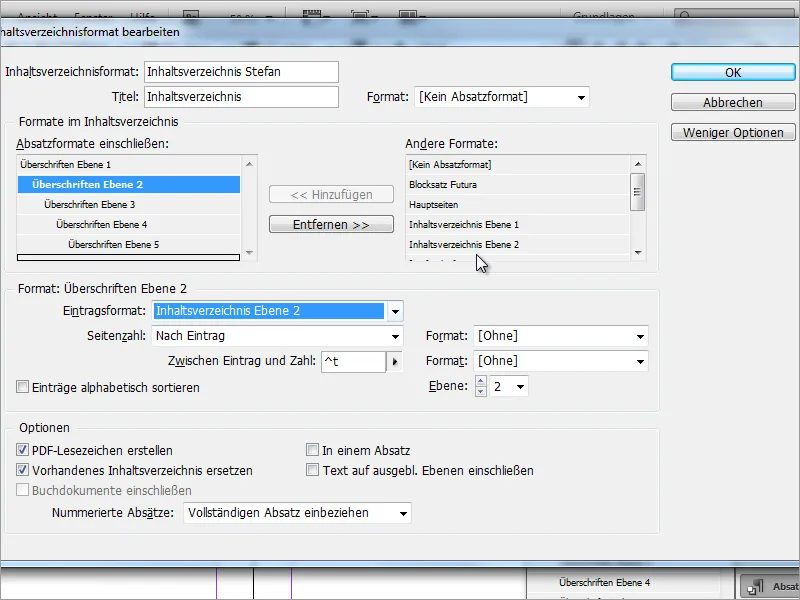
Now you can change the text formatting for the heading structure and close the dialog box by clicking OK.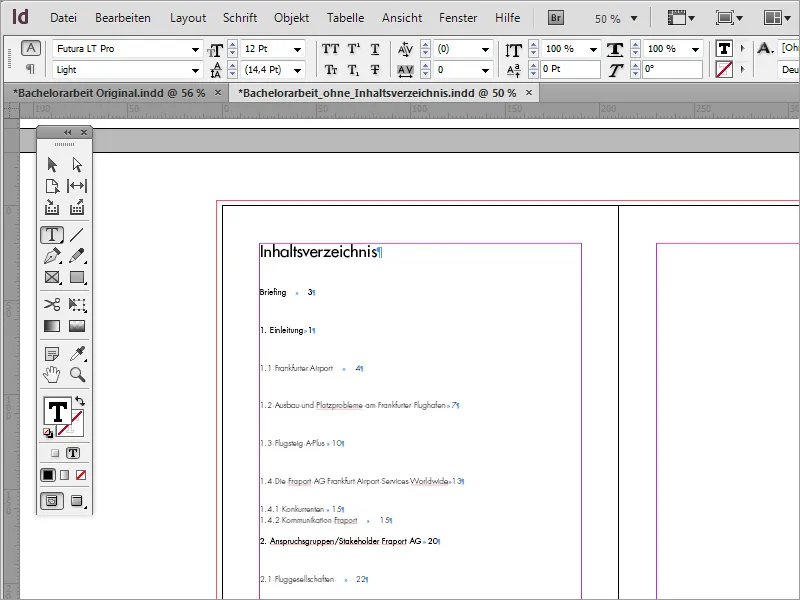
Now you just need to update the table of contents via the menu item Layout>Update table of contents.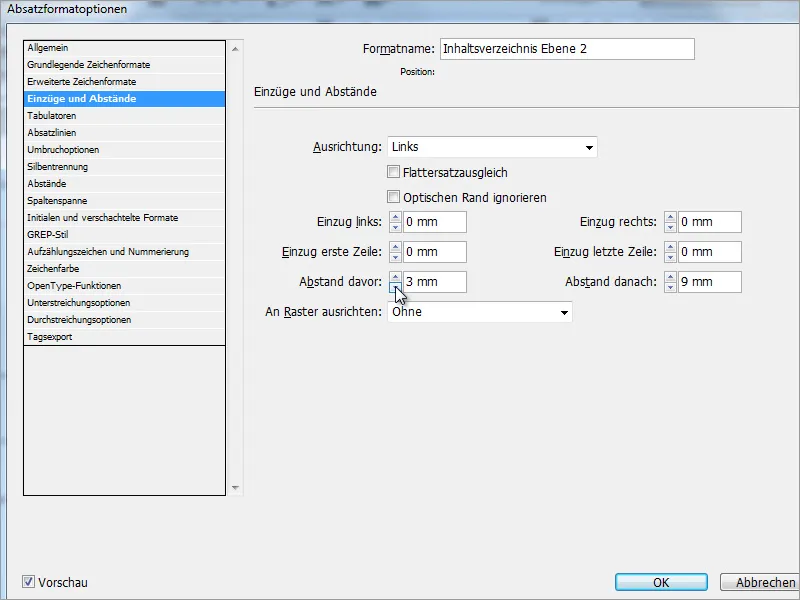
It may be necessary to find the ideal format. It is therefore essential to repeat these steps several times and make the appropriate settings. The headings on levels 2 and 1 still have far too much line spacing at this point. This is therefore adjusted using the Indents and spacing option in the paragraph format options.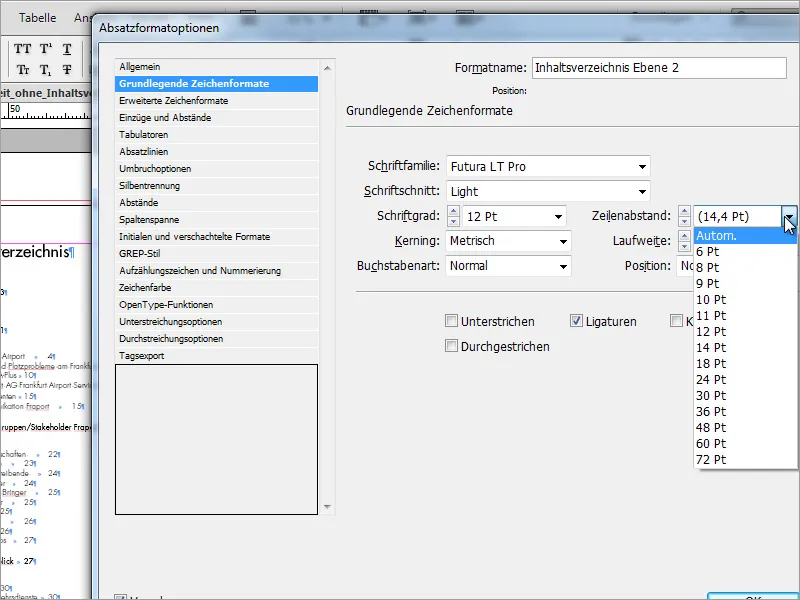
Alternatively, the line spacing can of course also be adjusted.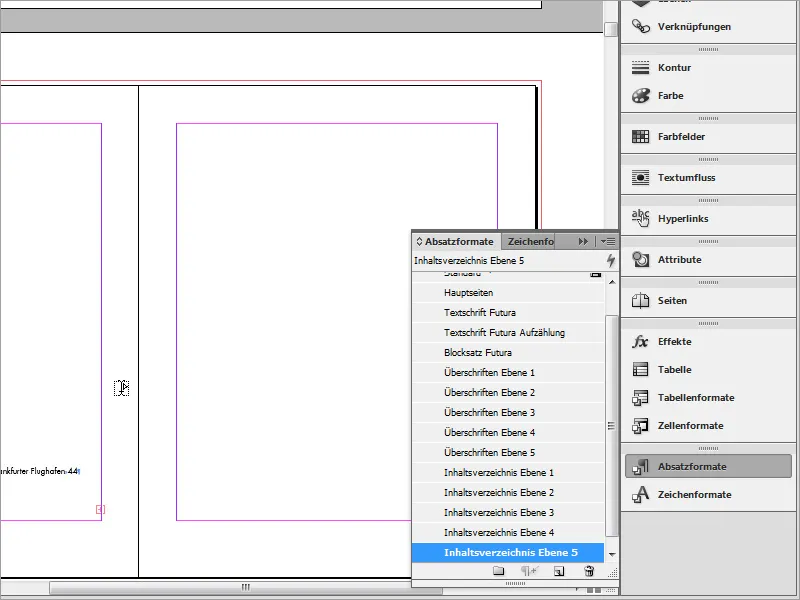
As a precaution, a separate paragraph format is created for each paragraph level. You can simply duplicate an existing format by dragging it onto the New iconand then renaming it. This allows you to quickly make changes to each paragraph level later on.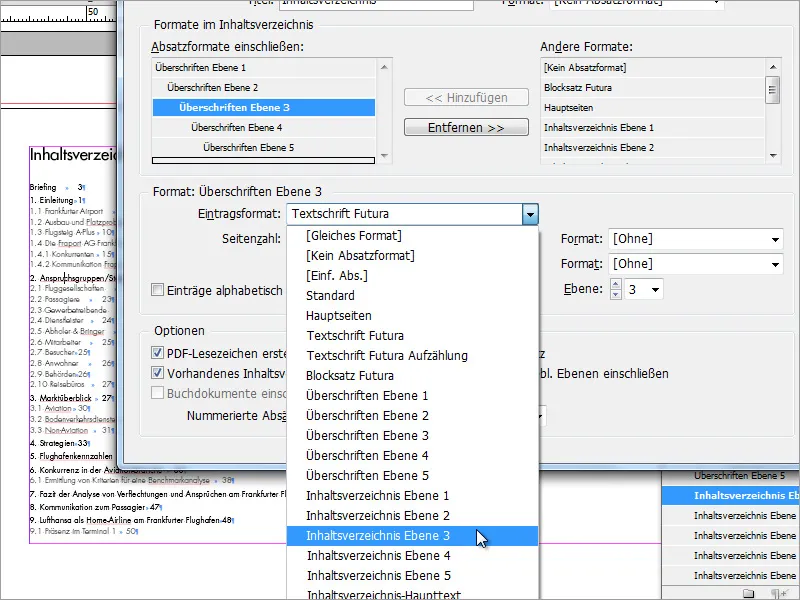
However, the paragraph formats created in this way still need to be assigned to the heading sections so that the changes also affect these areas.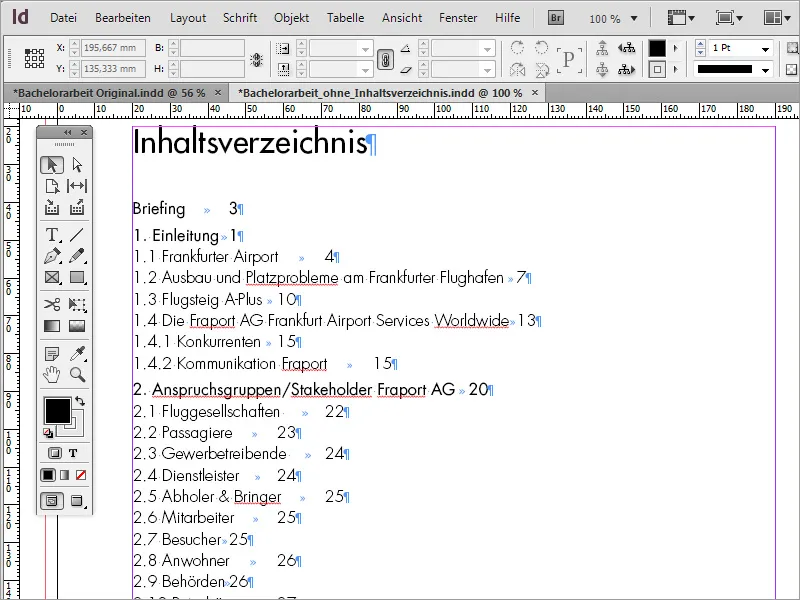
The table of contents already looks much better this way. However, the page numbers are still at the end of the text.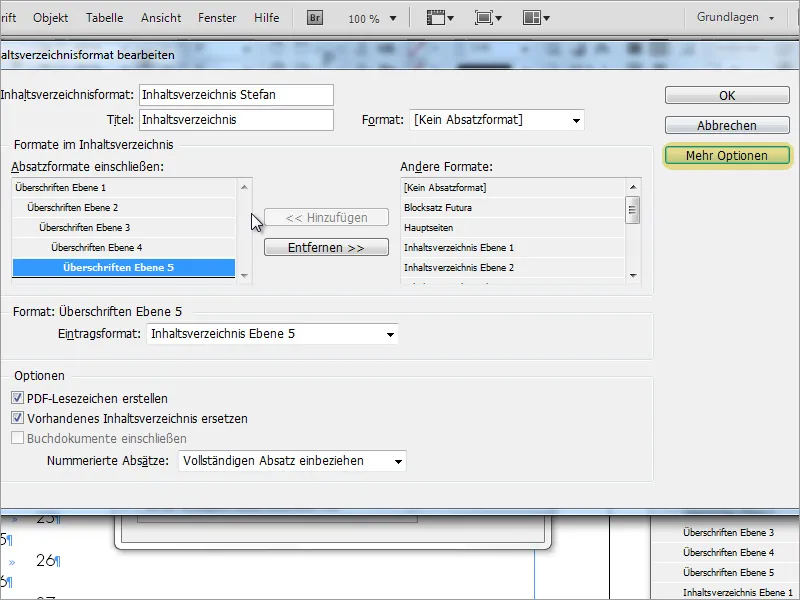
To change this, I go back to the Layout>Table of ContentsFormats menu and select the Edit option in the following window. To ensure that all relevant options are visible, the window should be displayed in the expanded view. To do this, simply select the More options button on the right-hand side to make hidden functions visible in the editing window.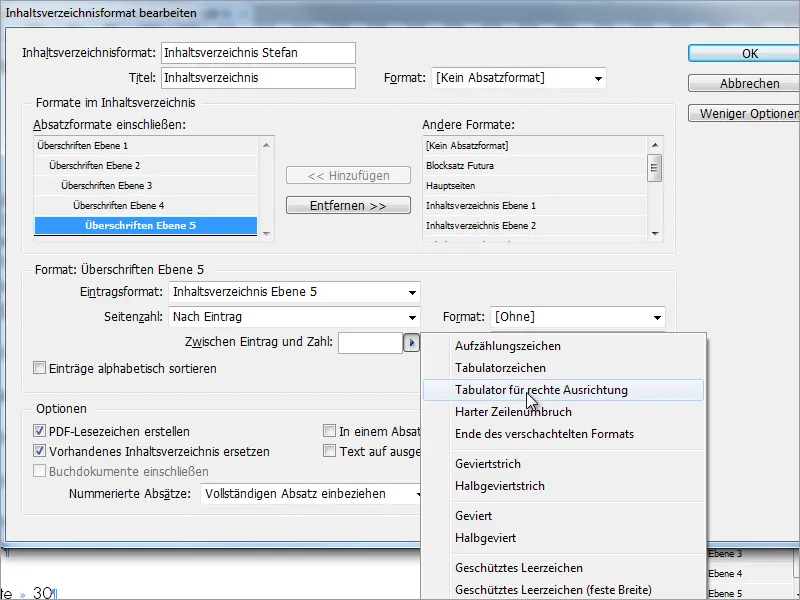
The formatting settings not only include editing options for the content names, but also for the page number and the corresponding space. A tab is set here by default. However, you can also use other default settings to change the appearance. It is important that the preset value is removed from the corresponding field in advance and set for each heading level.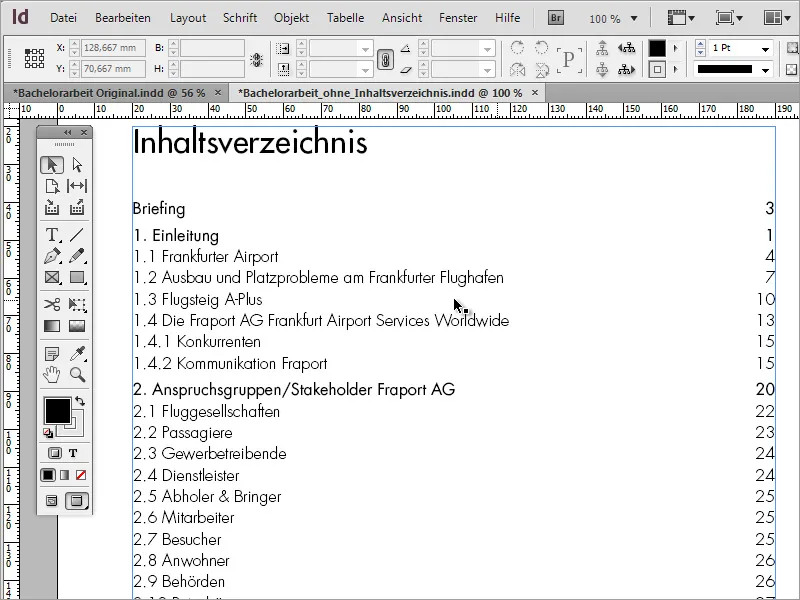
After updating the table of contents via the menu item Layout>Update table of contents, the table of contents is rewritten with the modified settings.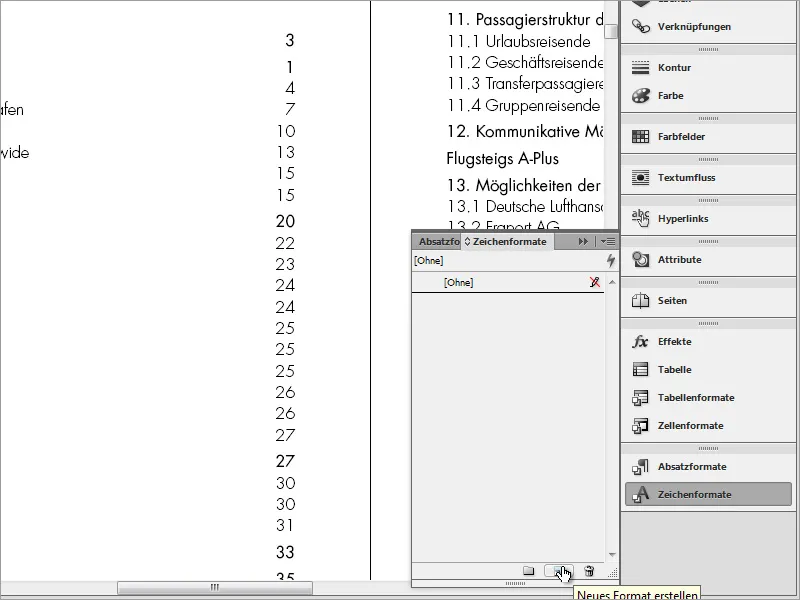
Although all page numbers are now correctly aligned to the right-hand margin, those among them whose chapter has been formatted in bold have the same font properties. For a more homogeneous appearance, it would certainly be better at this point if these page numbers were all formatted in the same way. This can be solved by creating a new character format.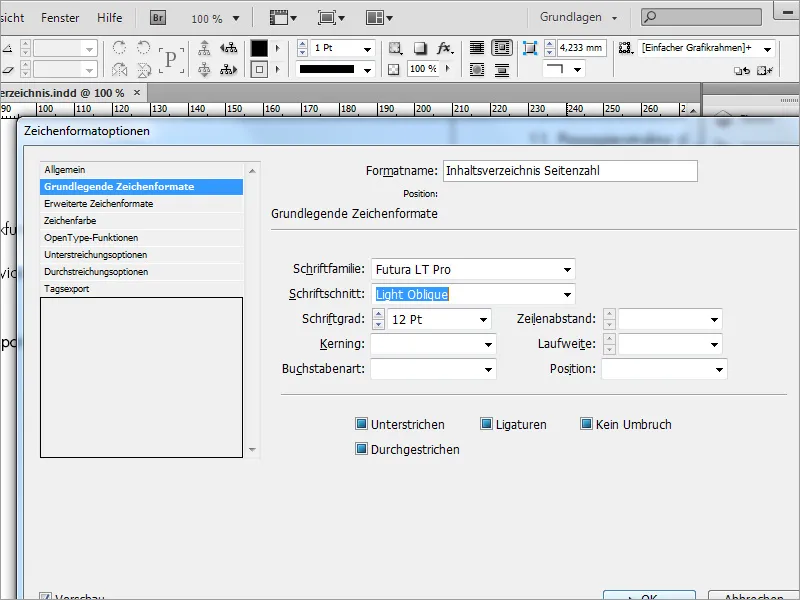
The advantage of character styles is that they can be applied to a text area in addition to the paragraph styles. They can therefore be added to an existing paragraph format. However, the character format must first be preset. You can access the settings dialog box by double-clicking on the character format you have just created. You can specify the font family, the font style and its further appearance.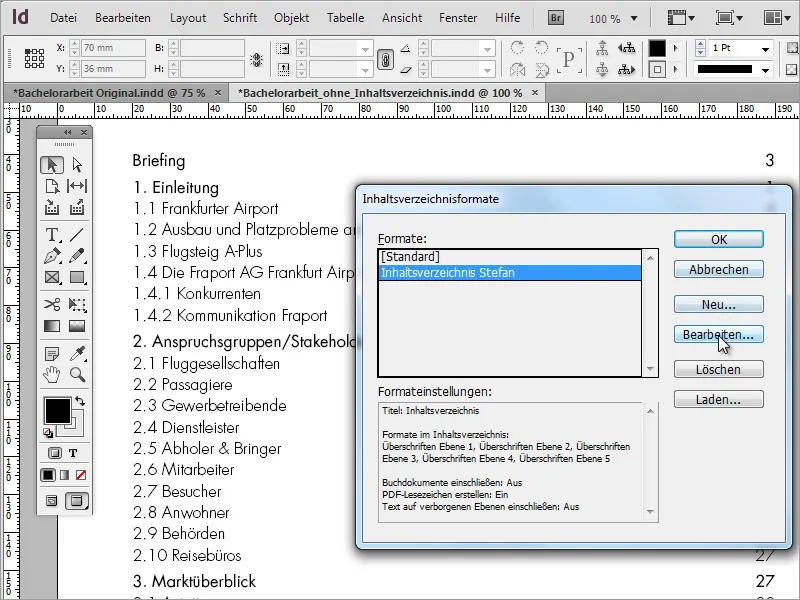
To apply these settings to an existing paragraph format, you must edit the table of contents formats via the Layout menu. To do this, click on Edit in the dialog box that opens.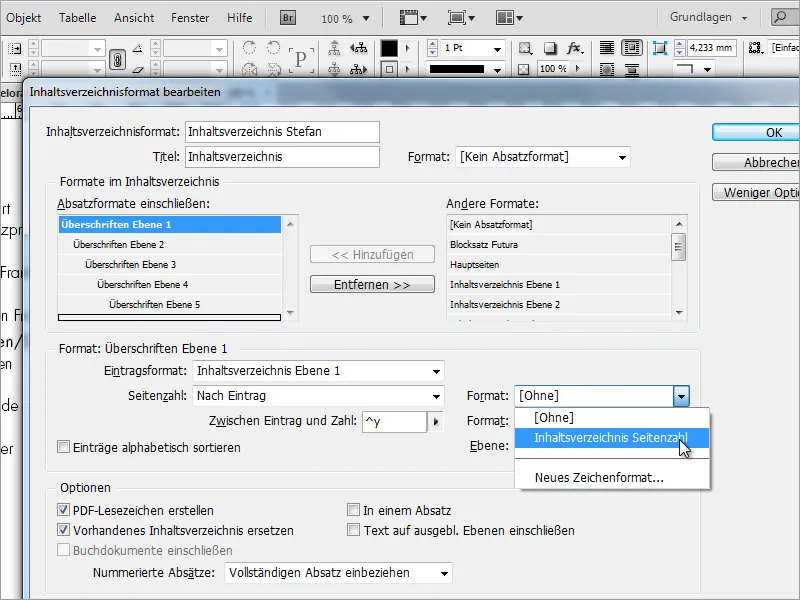
There are several format settings dialogs, but only one is currently relevant. Select the format for the table of contents display for each chapter in the field to the right of the page number.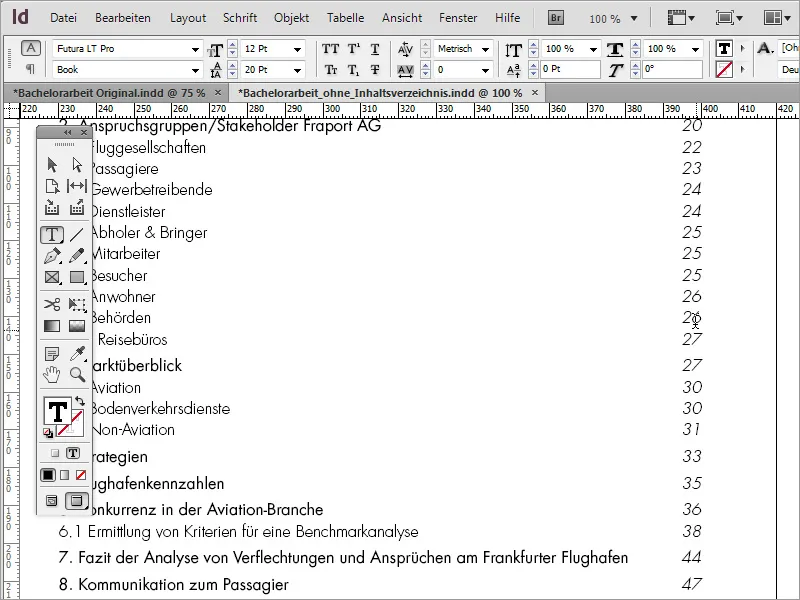
After confirming the dialog boxes, you must update the table of contents via the Layout menu so that the changes are applied and visible.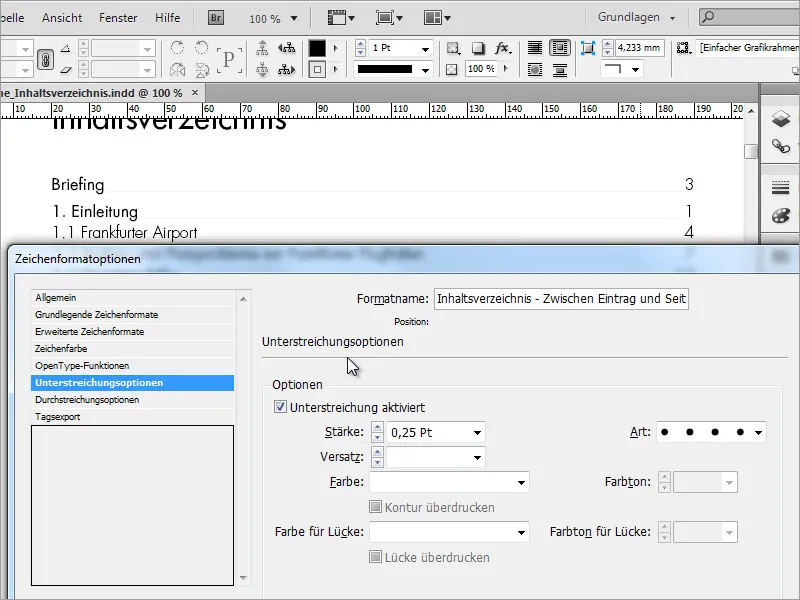
In the event that dotted lines are required for better reading guidance between the chapter and page number, this can also be implemented using a further optional character format. All you need to do is activate underlining in the underlining options - so don't forget to check the box. This can be created for an existing character format or additionally as a new format.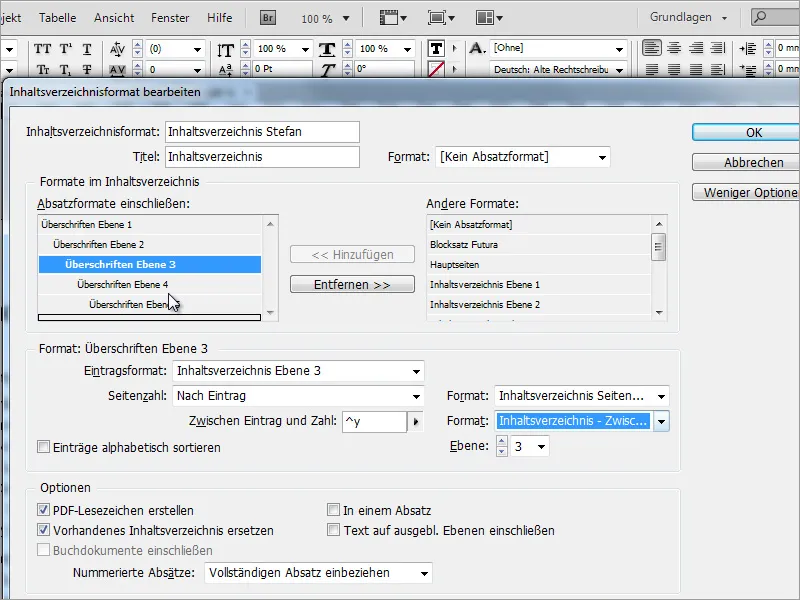
The table of contents format must then be fed with this new information so that it can be applied to the current document.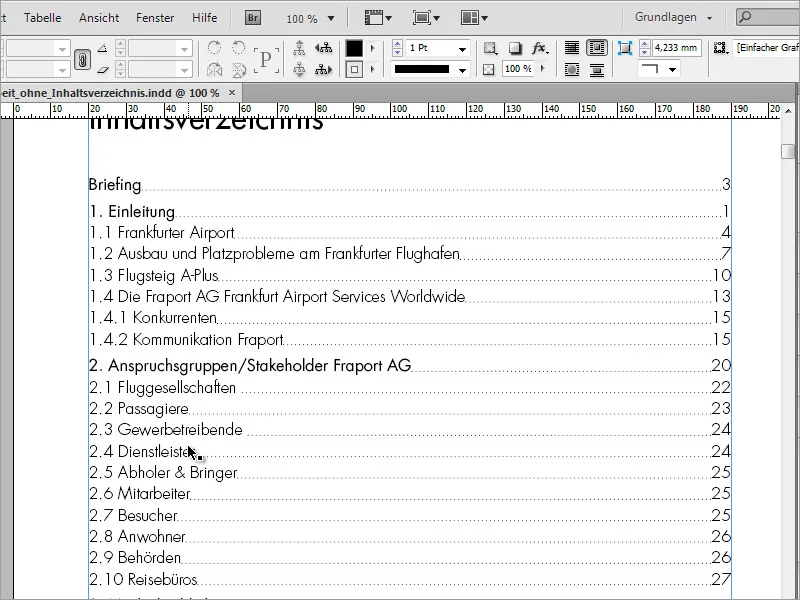
Once the table of contents has been updated, these changes are displayed.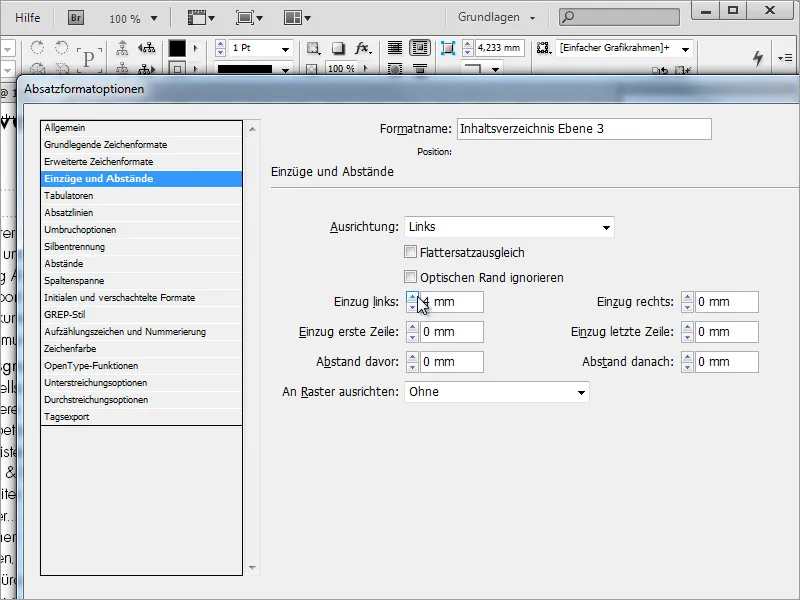
The only thing missing now is the indentation of the chapters or subtitles. To do this, you need to go back to the paragraph format options. You can access these by double-clicking on the corresponding entry in the paragraph formats. Under Indents and spacing, you can specify how much space should be left before a character.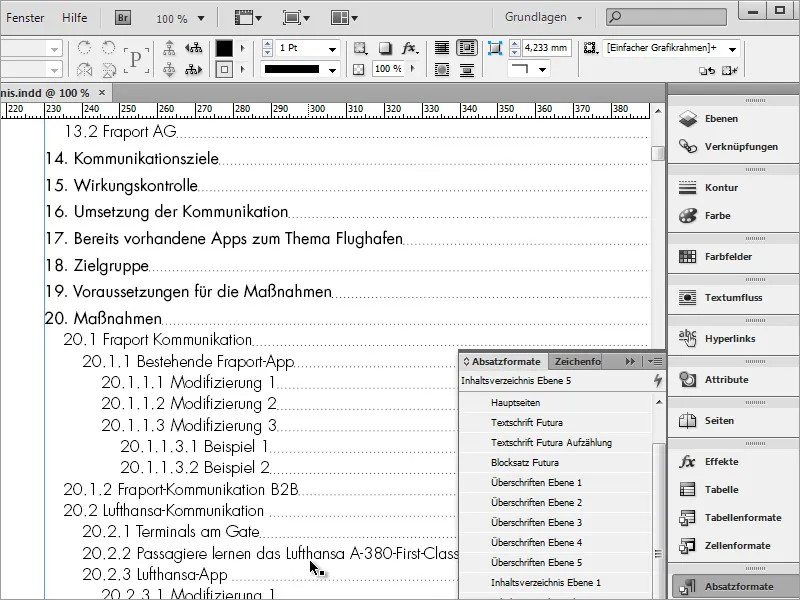
For a visually appealing overall picture, the indents of the respective chapters should not be too small. In our example, an indentation of 5 mm has been made for each of the four table of contents levels. Level 1 is left-aligned, level 2 is indented by 5 mm to the right, level 3 by 10 mm, level 4 by 15 mm, level 5 by 20 mm ...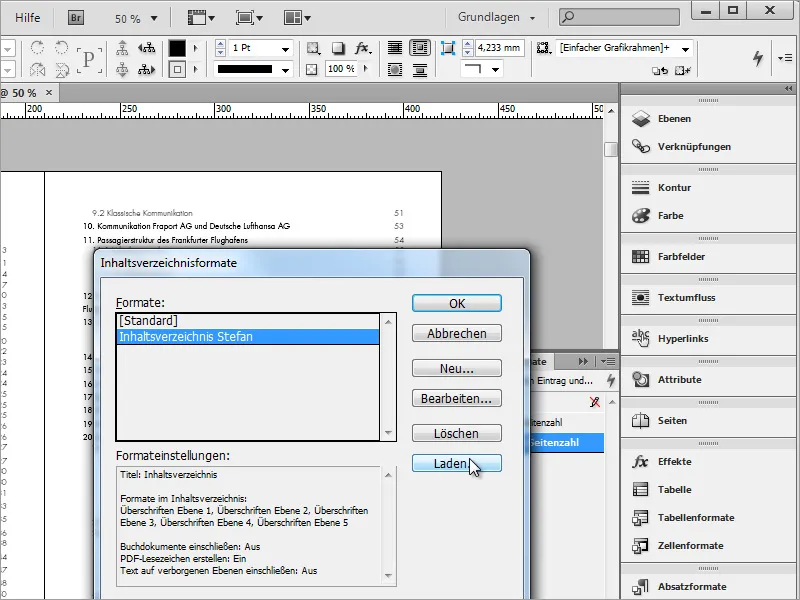
The advantage of such a table of contents is that it can also be used for other projects by creating a corresponding presetting in the table of contents format dialog boxor by selecting a project that has already been created.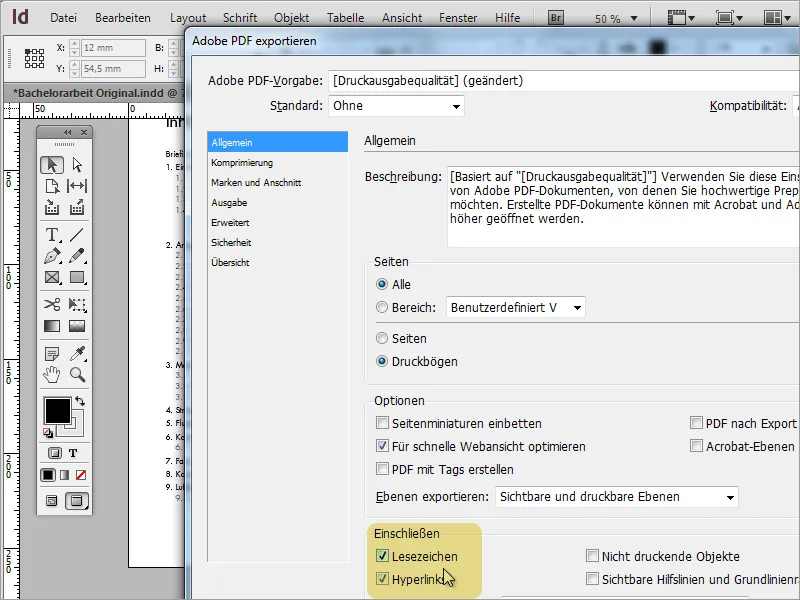
Furthermore, such a document including the table of contents can also be exported in another form - for example as a PDF. In the export options, however, care should be taken to ensure that the bookmarks are output with the document.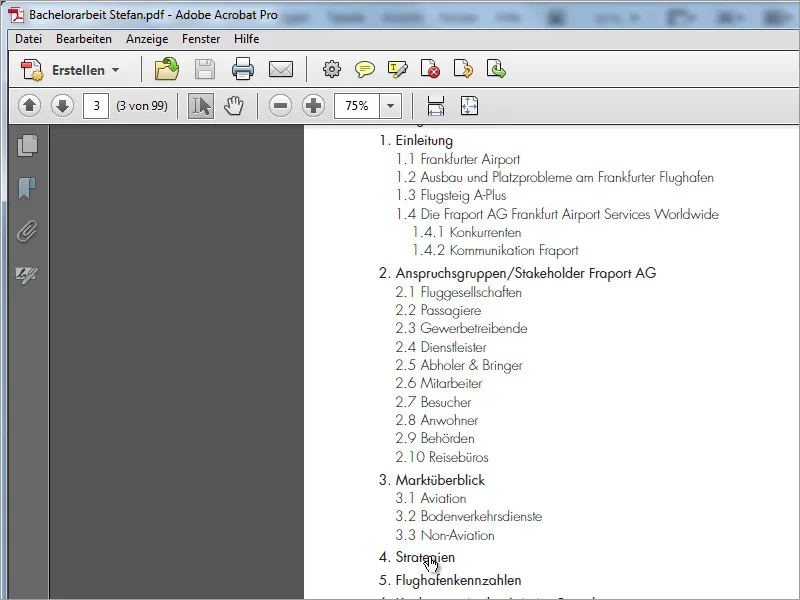
The table of contents is now displayed as an interactive medium in the exported PDF document, enabling quick navigation to the relevant content.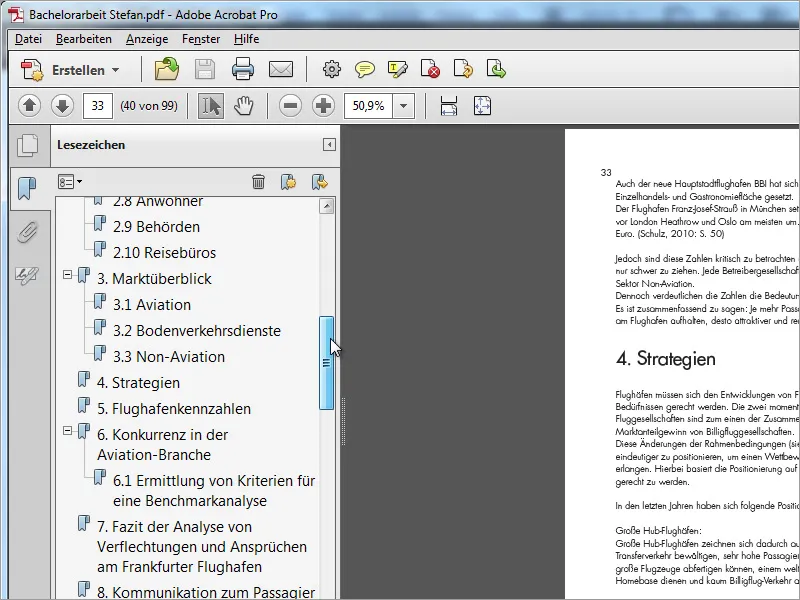
The bookmark export option enables simplified navigation in the PDF reader without always having to switch to the table of contents at the beginning of the document.
