A 3D text light effect makes your designs shine and gives them a modern and lively touch. With Photoshop, you can create this effect in just a few clicks by combining layer styles, gradients, and light elements. In this tutorial, I'll show you how to step by step create a glowing 3D text perfect for posters, social media graphics, or creative projects. Let your text shine and impress with a cool neon look!
Step 1:
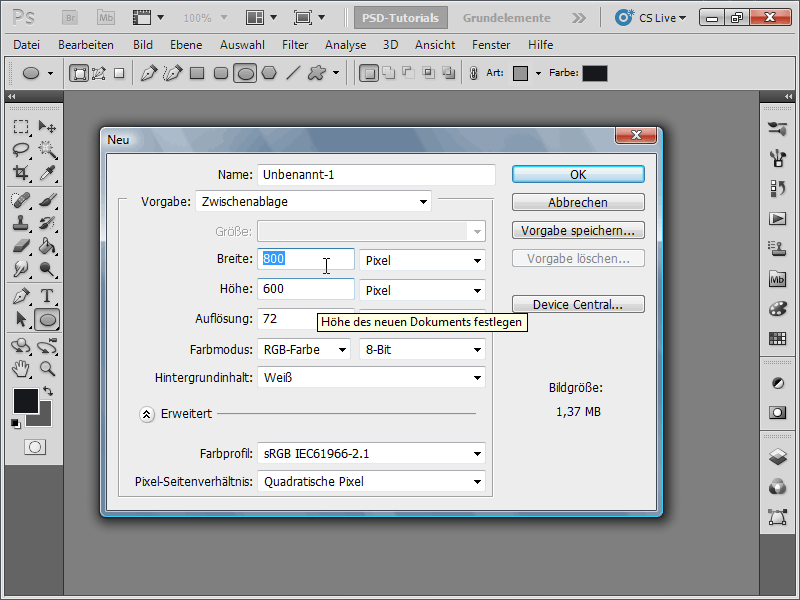
First, I create a new document; the size doesn't matter. I choose a very small size of 800x600 pixels. If you plan to print this effect, change the unit from pixels to cm and the resolution from 72 to 300 pixels/inch.
Step 2:
Next, I color the background layer black and insert some text. I duplicate this layer twice with Ctrl+J. Then, I select two of the text layers while holding the Shift key.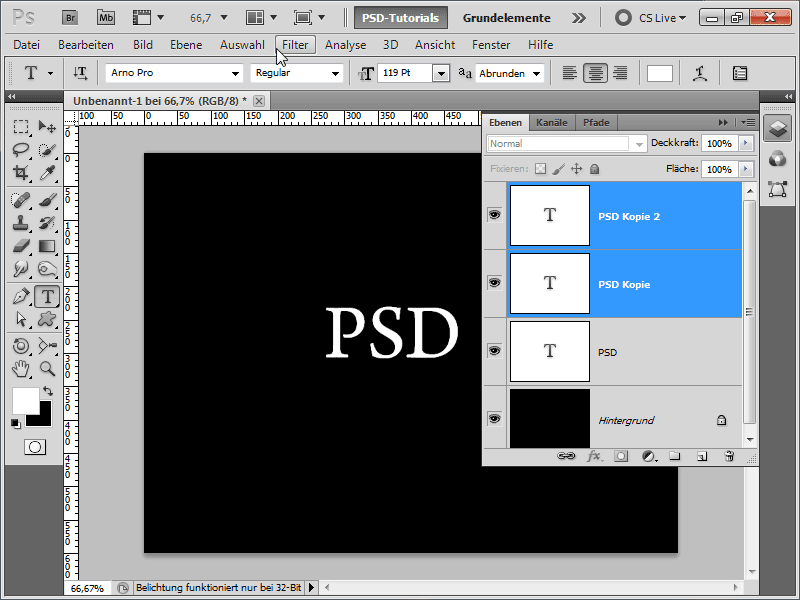
Step 3:
Then, I click on New extrusion from the layers in the 3D menu. A dialog box appears, which I simply confirm.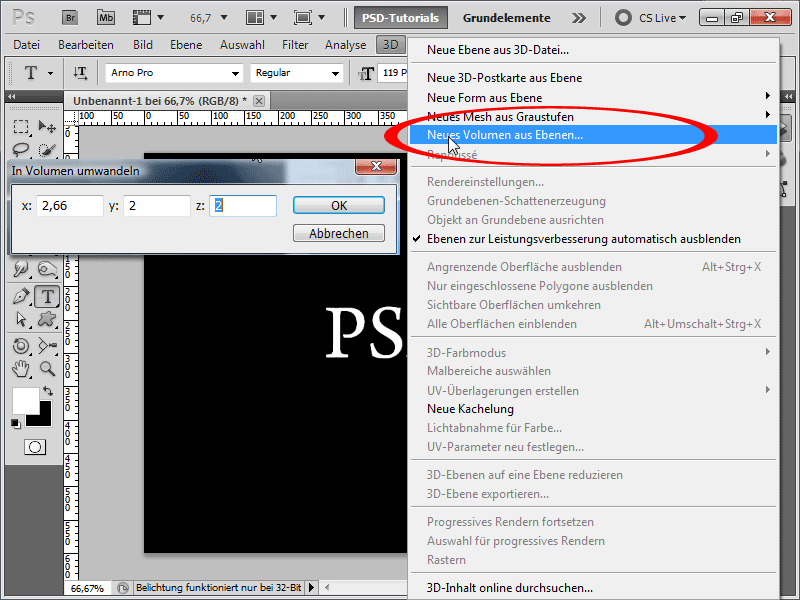
Step 4:
Now, I select the 3D camera zoom tool.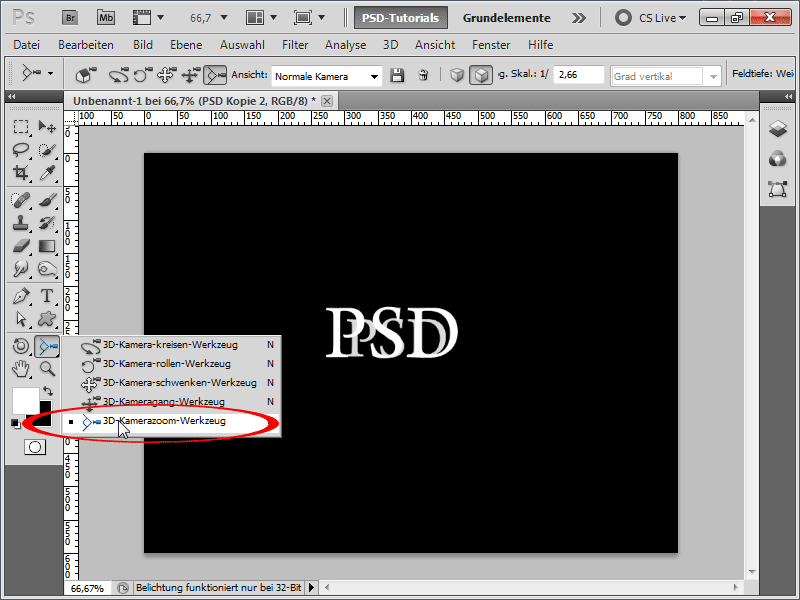
Step 5:
After that, I click on the following icon: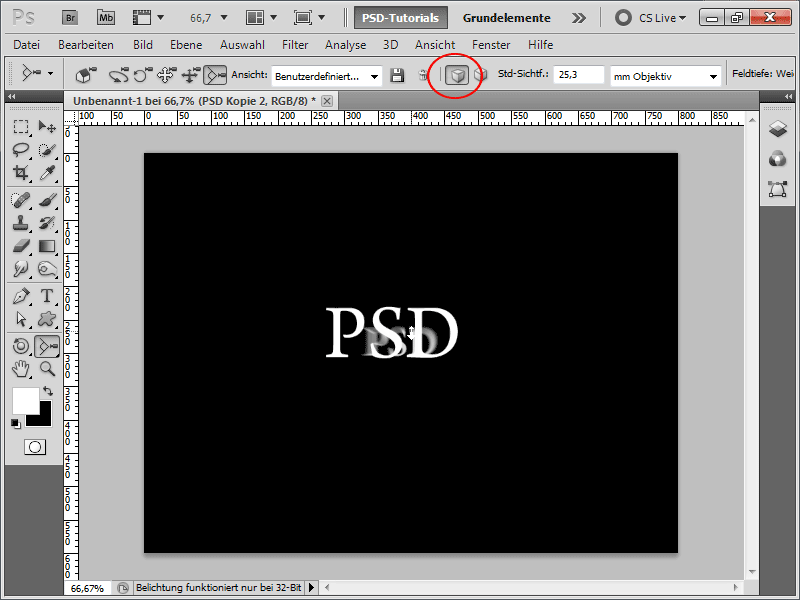
Step 6:
Next, I select the 3D object scale tool.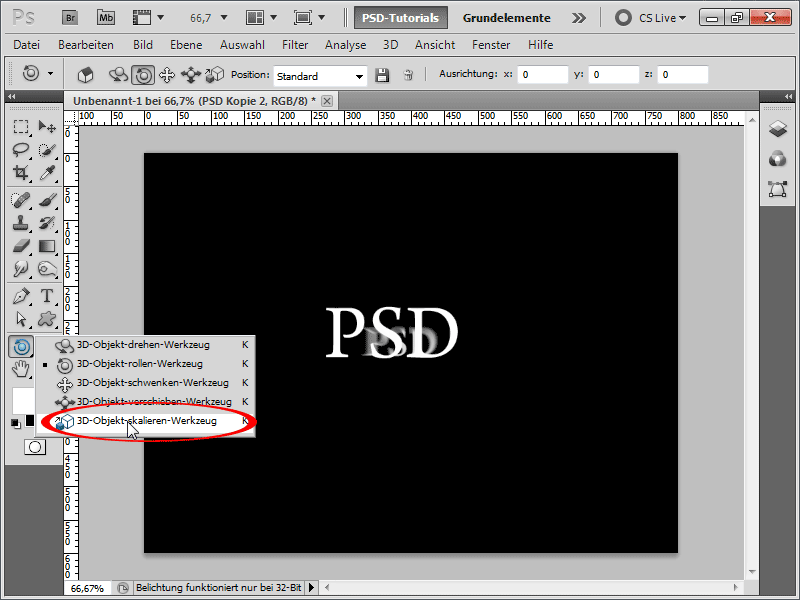
Step 7:
Now, I can drag the 3D layer forward while holding down the left mouse button. This creates a cool light effect.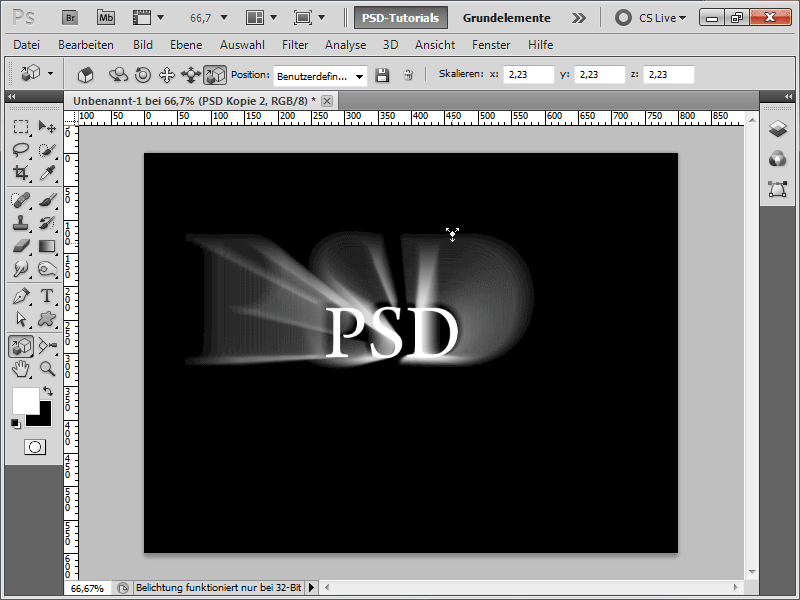
Step 8:
I also increase the z-value in the control panel to enhance the effect further.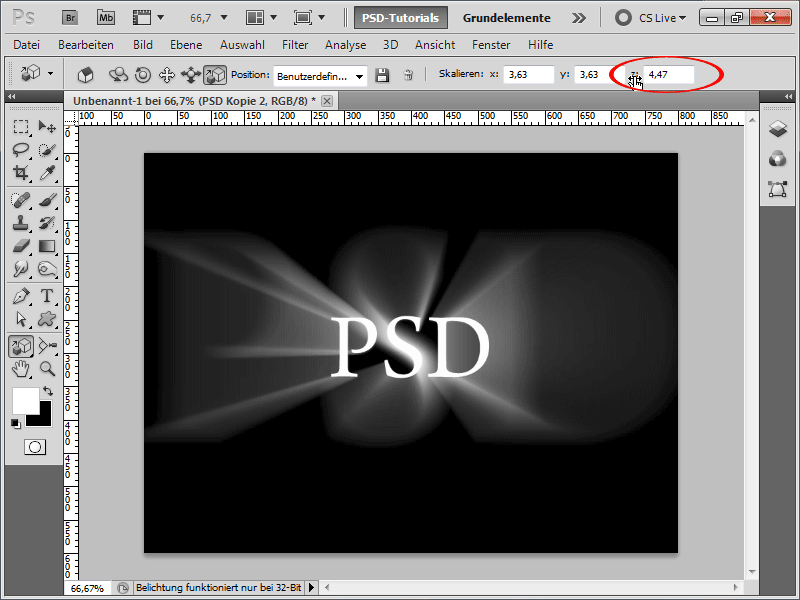
Step 9:
With the 3D object roll tool, I can tilt the object slightly.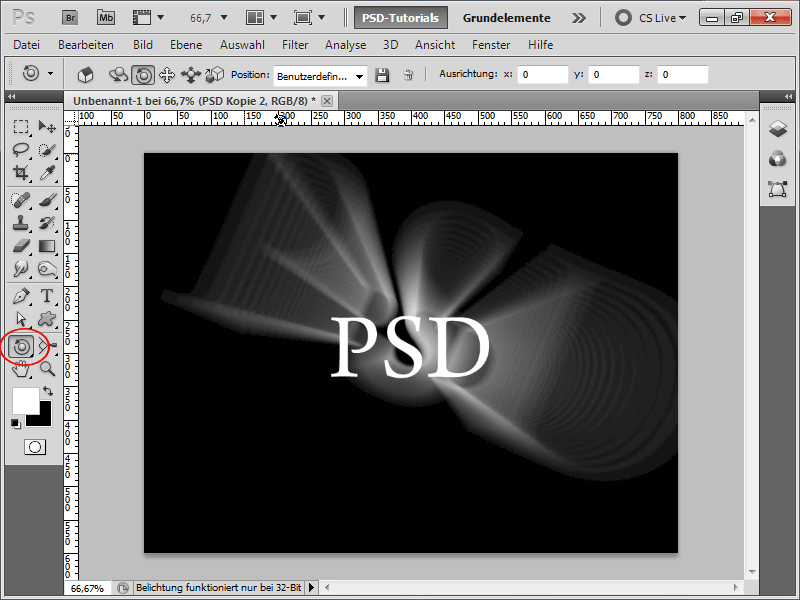
Step 10:
To add some color, I create a Hue/Saturation adjustment layer.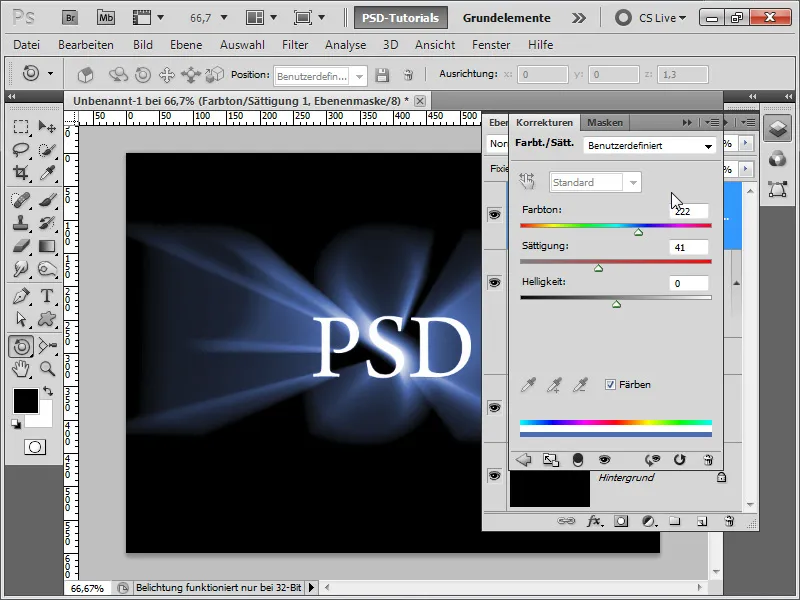
Step 11:
To enhance my text further, I create a layer mask and fade out the left side and then the right side slightly with a black-to-transparent gradient. Of course, a large soft brush with low opacity would work for this as well.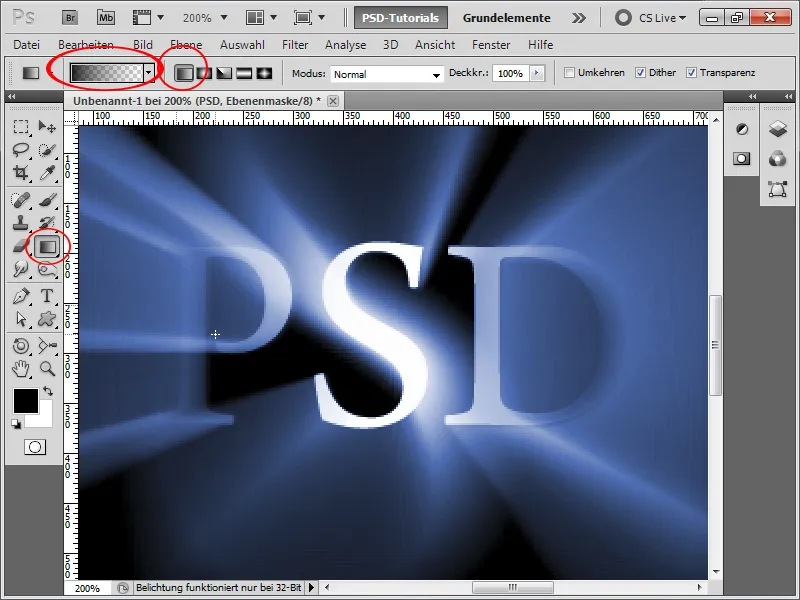
Step 12:
In another layer, I use a brush or radial white gradient to create a spot, which I then transform with Ctrl+T to make it look like my S-letter in the middle is glowing even more.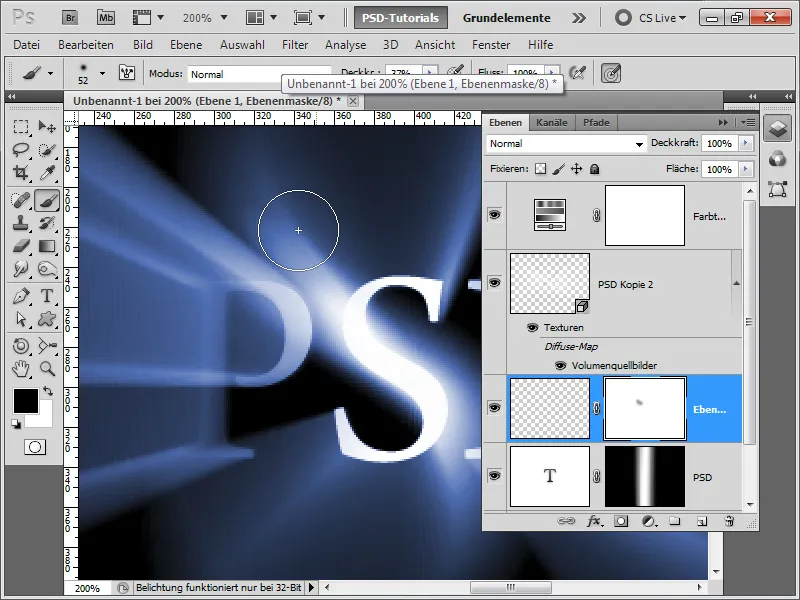
Step 13:
I do the same for the lower letter, using the warp tool (Ctrl+T and then right-click>Warp). Alternatively, I could activate an outer glow for my text layer and then convert the fill option into a layer and then fade out the P+D letter.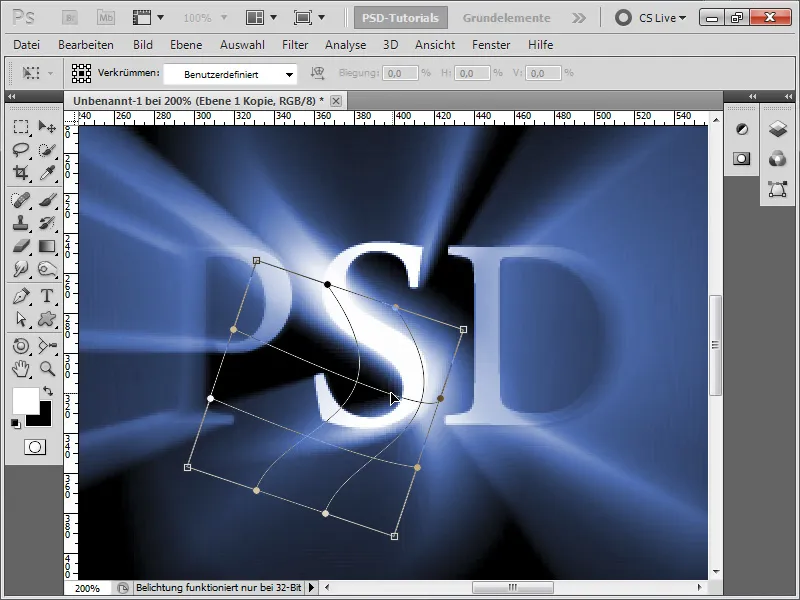
Step 14:
Tip: Since the gradients sometimes show artifacts, I can rasterize my 3D object in the layer panel with the right-click and then apply a Gaussian blur over it. The same can be done by converting my 3D object into a smart object.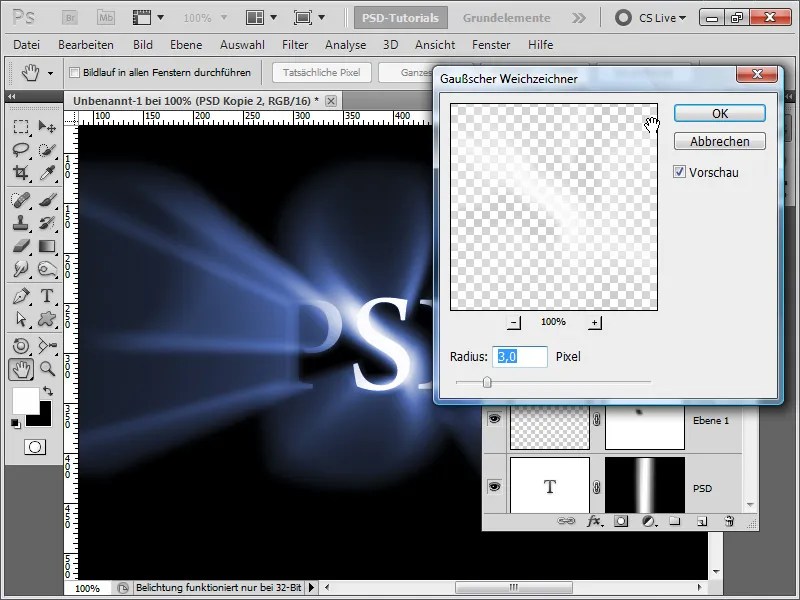
Step 15:
My final effect will look like this. I could certainly pull the light glare even further forward so that it extends beyond the workspace.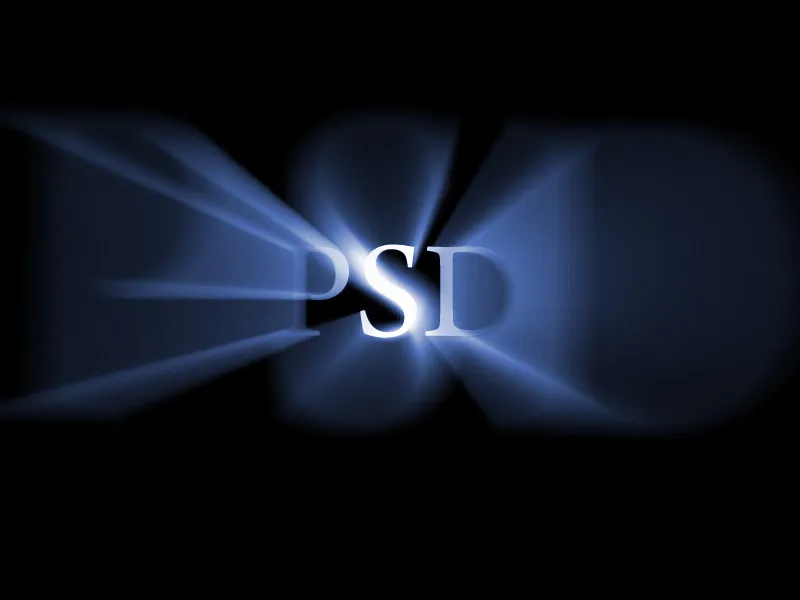
Step 16:
As I zoom in further, the effect looks like this: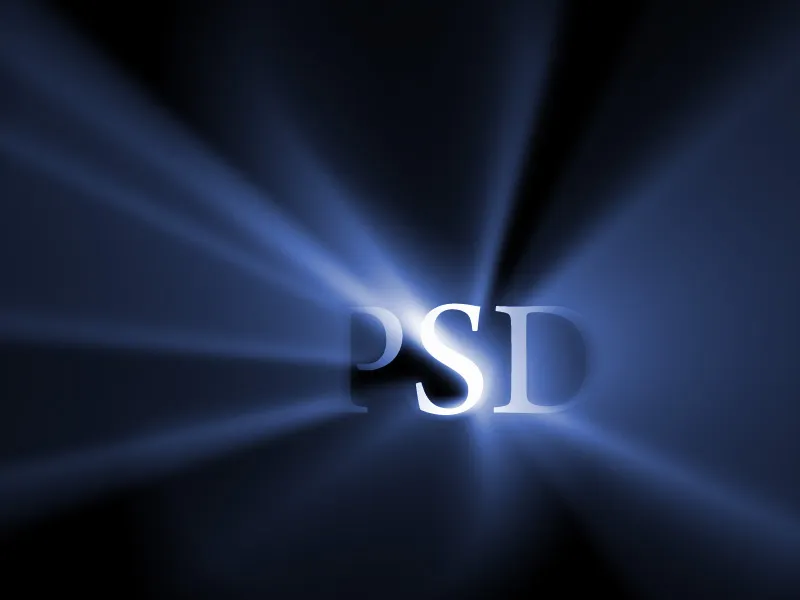
(Tip: Set the mode to 16 bits to make the transitions even smoother).


