The Control Panel or Control Panel is a context-sensitive, extremely useful, and customizable multifunctional tool in InDesign. By default, it is docked below the menu bar and displays a variety of relevant information based on the selected tool. However, you can customize the position of the Control Panel to suit your needs, dock it Down for example, or move it freely. To do this, click on the symbol for the Context Menu of the panel at its right edge and choose the desired option.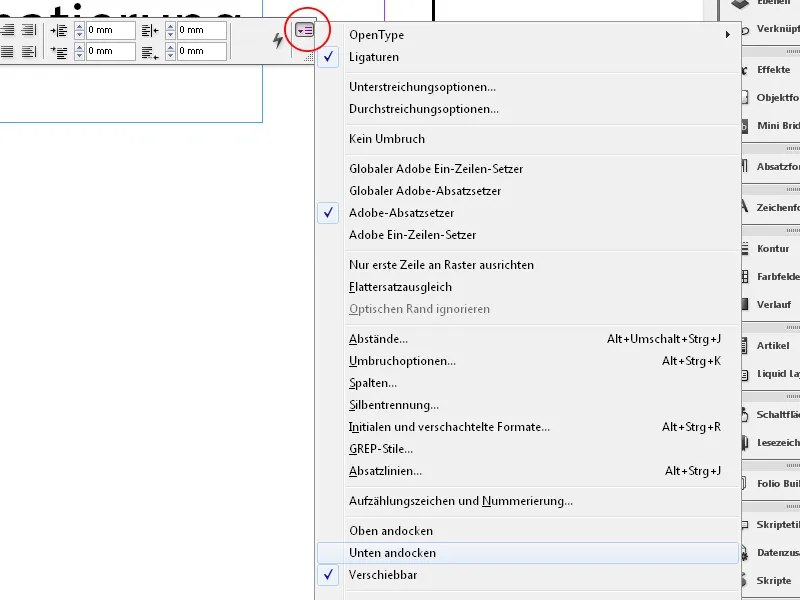
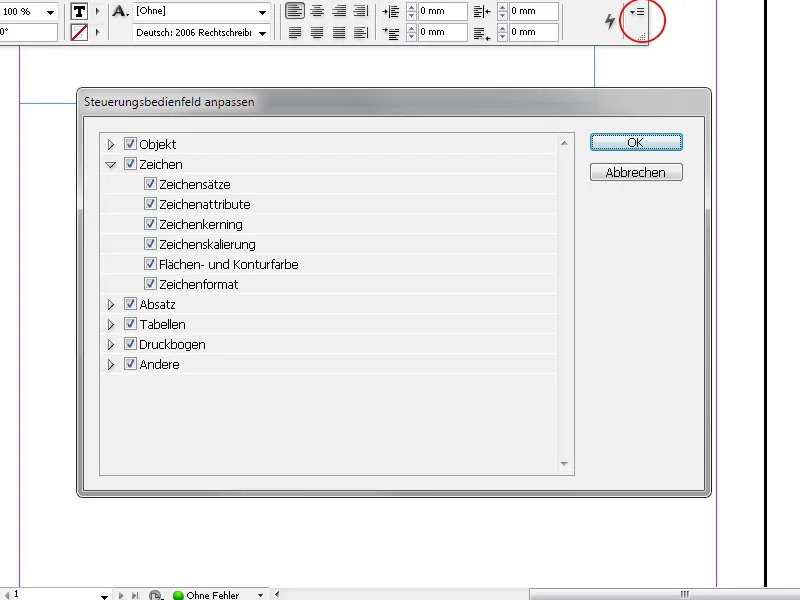
In addition to the position, you can also customize the contents of the Control Panel. If only specific options are required for a particular project, you can hide all unnecessary information on objects, characters, paragraphs, tables, and printing sheets for better clarity. To do this, select Customize from the Context Menu of the Control Panel and deactivate the unnecessary information fields.
You can also get information about the individual options in the Control Panel through tooltips that appear when you hover over a symbol or option name.
If you want to make settings for a selected object through a dialog box, simply click with the Alt key pressed on the corresponding symbol.
If you want to add a specific effect to an image frame or modify an existing effect, click with the Alt key pressed on the Drop Shadow symbol and a panel for adjusting all effects will open.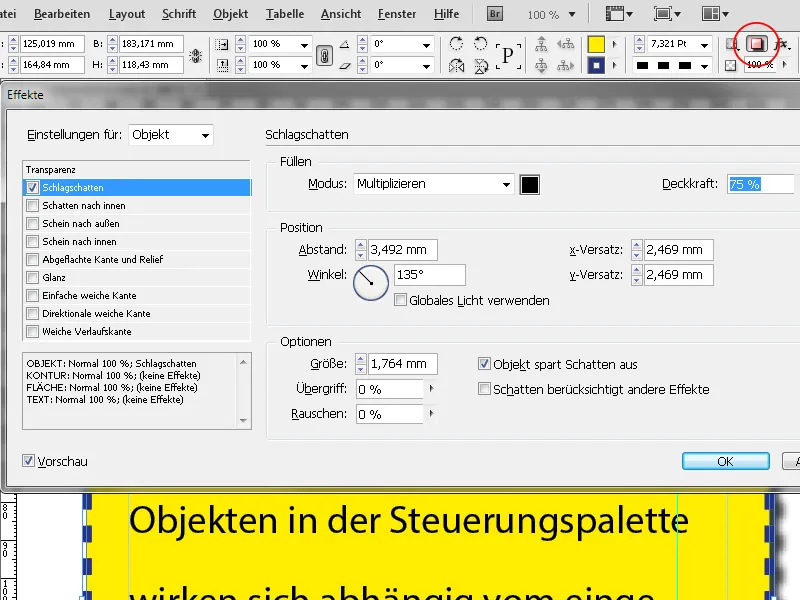
When you have selected the Text tool, the Control Panel displays all information about font style, size, line spacing, kerning, tracking, scaling, baseline shift, color, etc. (see the screenshot below).
In the Paragraph Formatting section, information such as text alignment, indents, spacing, baseline alignment, number of columns and spacing, list, etc. is displayed.
On the left side, there is a symbol for Character- and one for Paragraph Formatting, between which you can switch to display the respective settings. On sufficiently large monitors, InDesign arranges the two areas side by side, with the currently selected area on the left and the other on the right in the Control Panel.
To edit highlighted text, you can directly adjust the desired settings in the Control Panel.
When you have the Selection or Frame tool active, InDesign – depending on the current reference point – displays the position on the X and Y axes, width and height, as well as the scaling factor of the selected object; with a click on the corresponding symbol, you can rotate it, mirror it horizontally or vertically, set colors for stroke and fill, opacity and corner effects, and much more.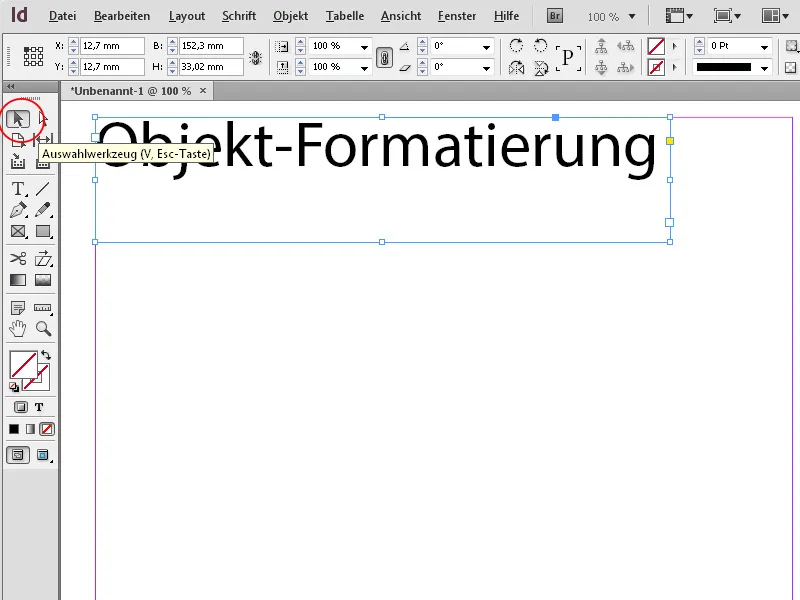
Another interesting feature is the ability to vertically align text within a frame. By default, the alignment is at the top of the frame, but with a click using the Selection tool on the corresponding buttons in the Control Panel, you can also align the text at the bottom, vertically center it, or align it in vertical justification – in this case, it is evenly distributed within the frame from the top and bottom edges.
Slightly arranging text in two or more columns is also easy – with a click, it will be evenly divided among the columns with the same number of lines.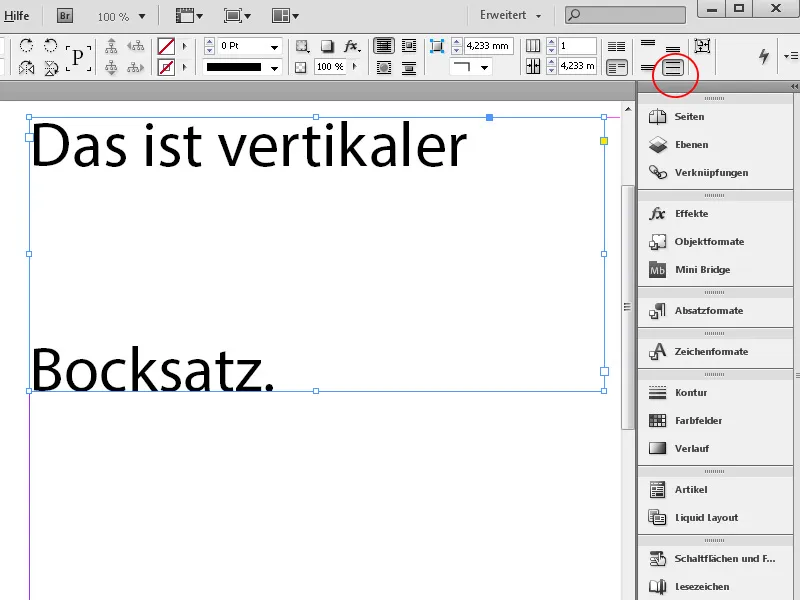
The ability to determine a specific reference point for aligning an object is also a very helpful tool that saves complex calculations. For example, if an object needs to be wider overall without shifting the center, simply click on one of the middle reference points and then adjust the width measurement – now the object will grow uniformly from the center. If the object needs to be resized while keeping the lower and right positions, mark this reference point in the Control Panel, and the adjustment will be quickly completed.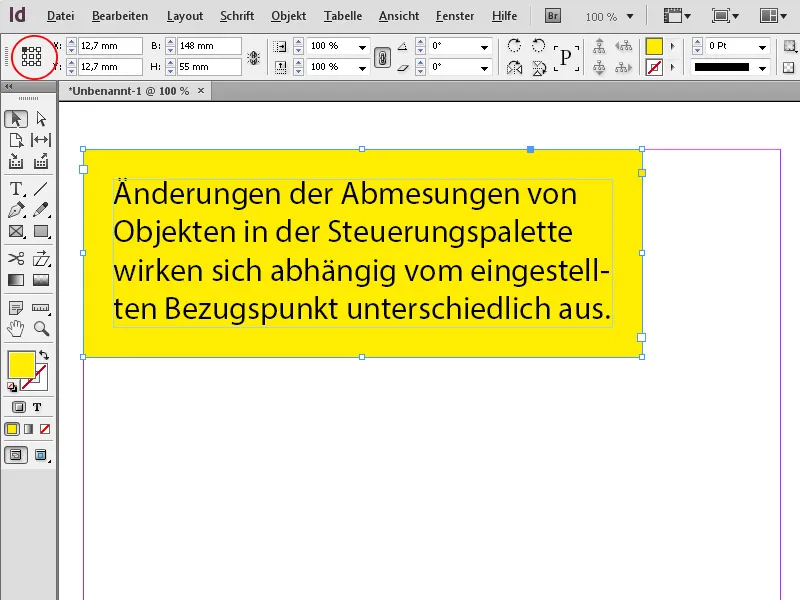
Effects such as a Drop Shadow can be easily added to a selected object directly in the Control Panel, as well as specifying the type of contour path for an object enveloped by text.
To align an image within a frame, simply click on one of the frame fitting options in the Control Panel.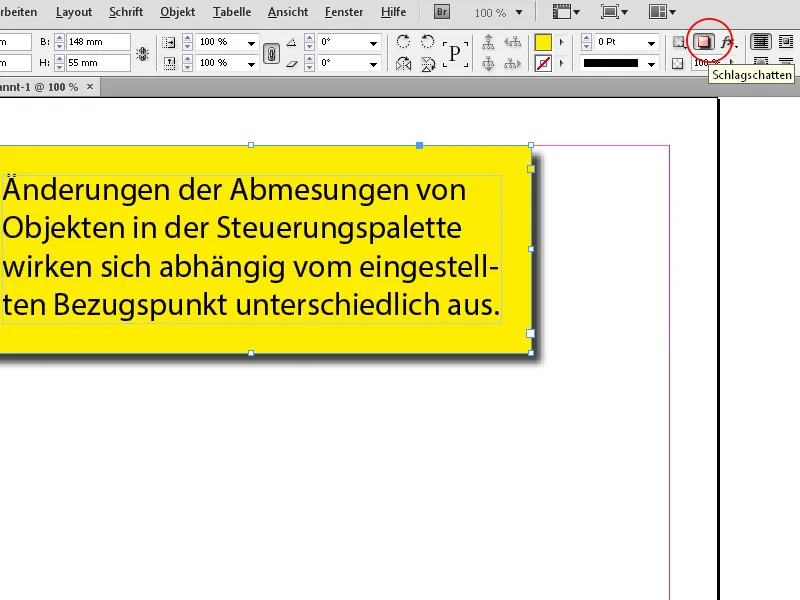
When selecting a table cell, the Control Panel displays options for adjusting the row- and column sizes, as well as for merging cells, aligning text, and adding contours.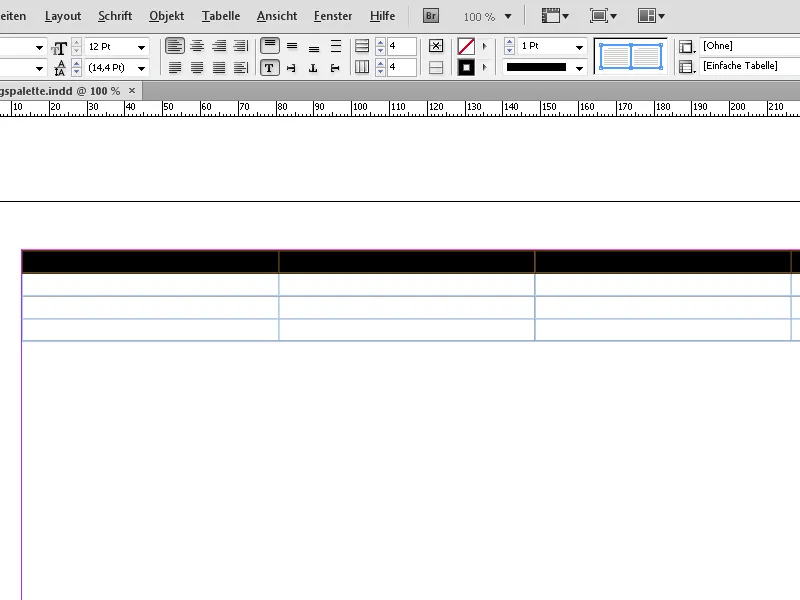
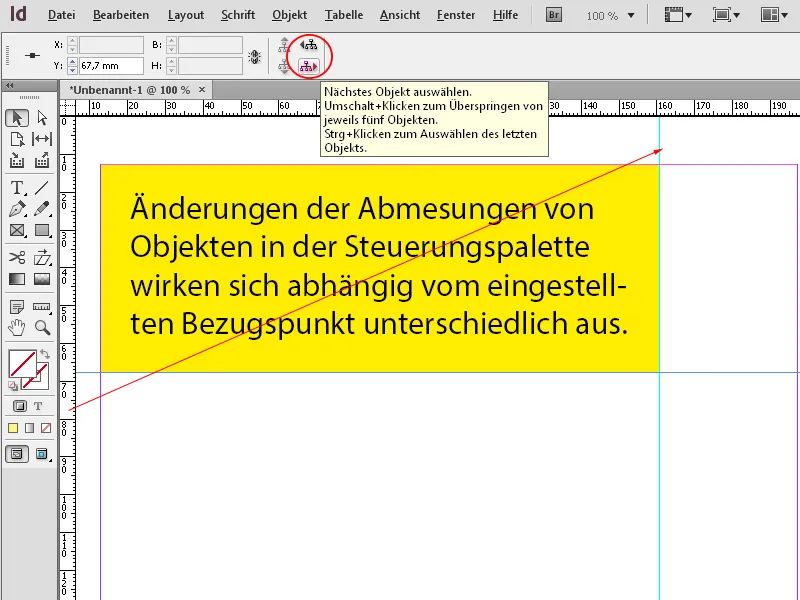
If you want to create a guide, click on the horizontal or vertical ruler and drag the line to the desired position while holding the mouse button. The Control Panel will now display the current position on the corresponding axis, allowing you to adjust the setting precisely there.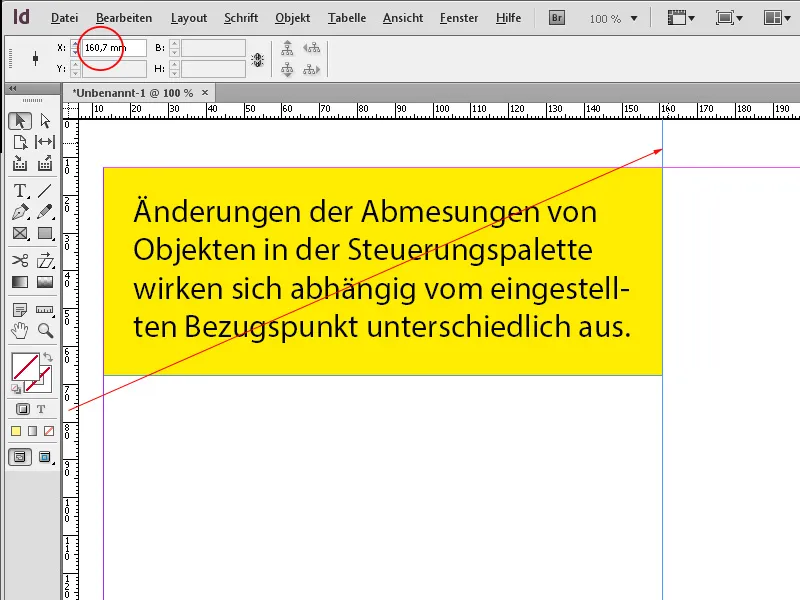
In order to adjust multiple identical objects (such as guides) one after the other, the Control Palette offers the button Select Next (or previous) object. This saves a lot of clicking with the mouse, as you can quickly jump to the next element using this function and then adjust the settings.