Writing texts is an art in itself. As a copywriter, you want your words to captivate and persuade. However, even the best ideas can be negatively affected by spelling mistakes and grammatical inaccuracies. It is therefore important to proceed carefully when proofreading. In this guide, I'll show you how you can use effective and free tools to perfect your texts before publication.
Key Insights
- Proofreading is crucial for text quality.
- Free online tools can offer valuable support.
- Combine multiple tools for optimal results.
- Errors that go unnoticed are usually not tragic.
Step-by-Step Guide
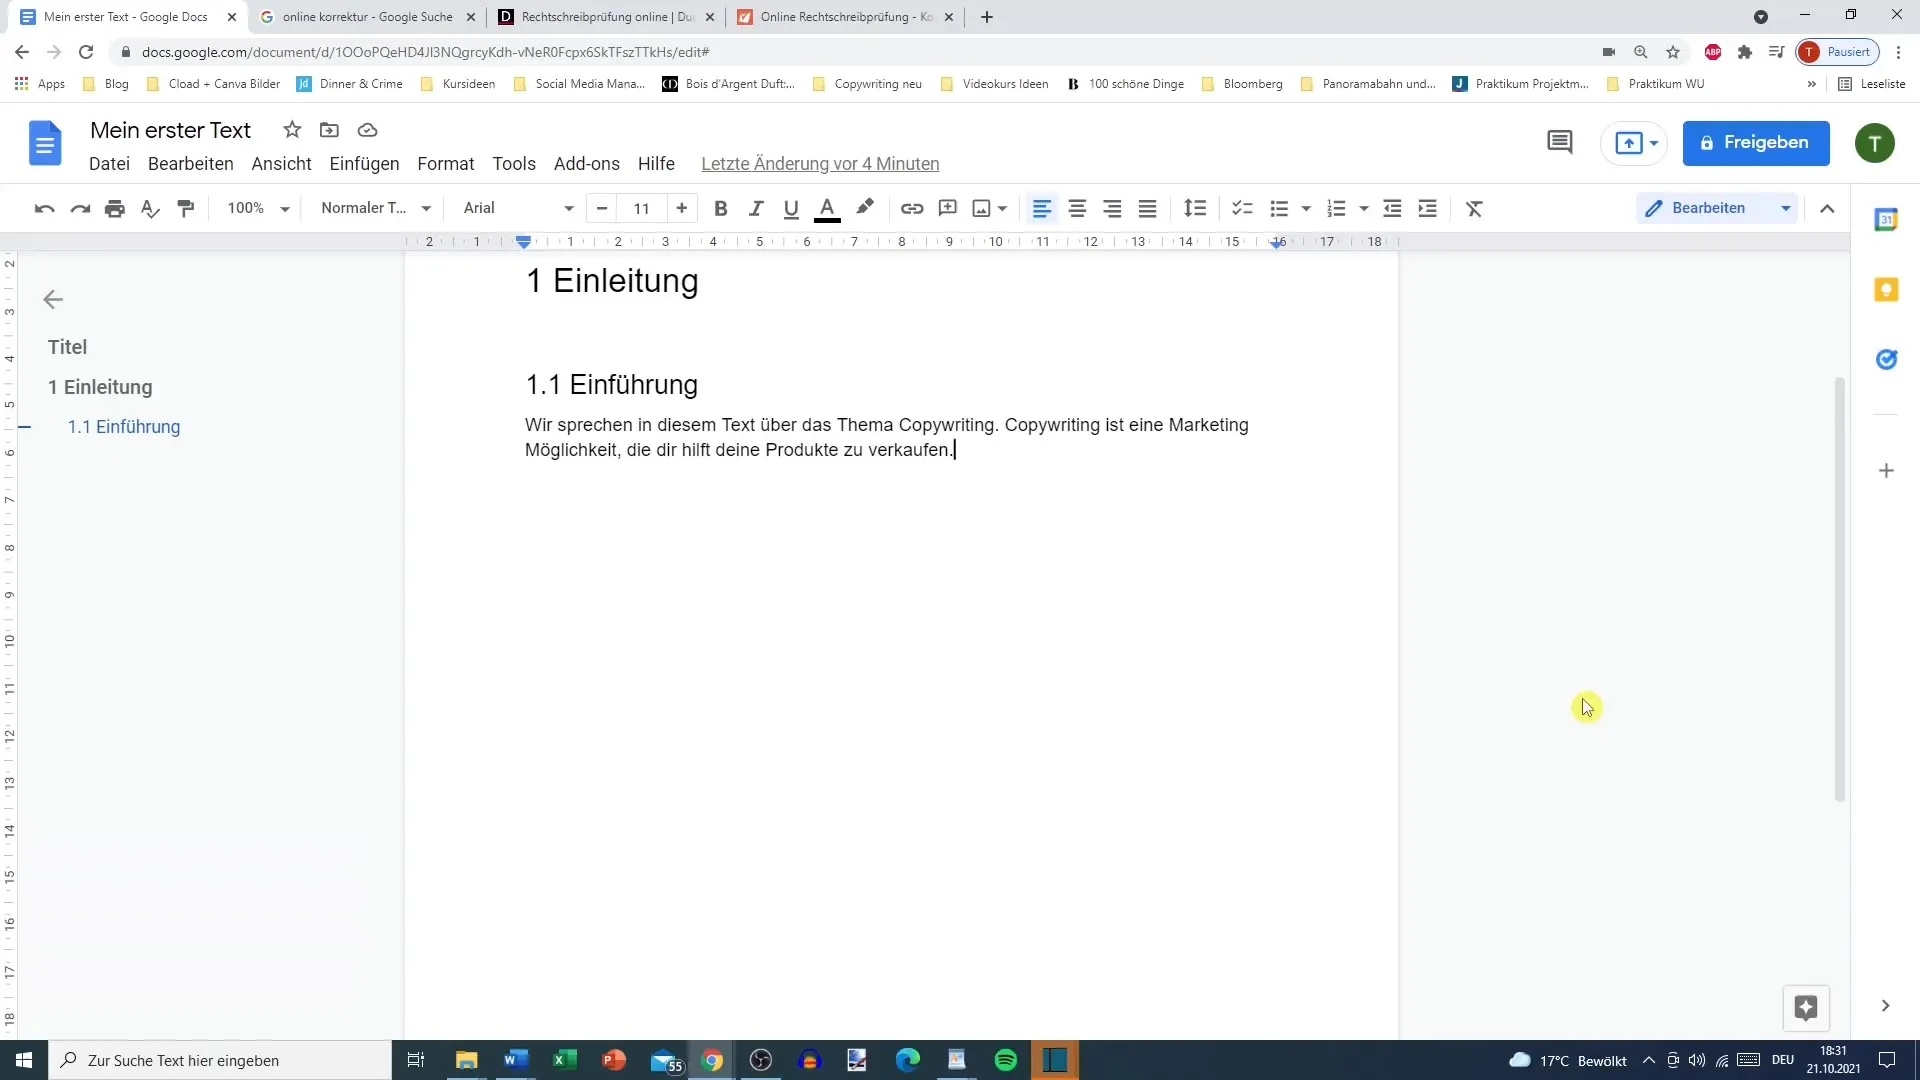
Step 1: Copy Text
The first step in proofreading is preparing your text. Highlight the entire text you are checking, either by right-clicking and selecting "Copy" or by using the keyboard shortcut Ctrl+C (Windows) or Cmd+C (Mac).
Step 2: Search for Proofreading Tools
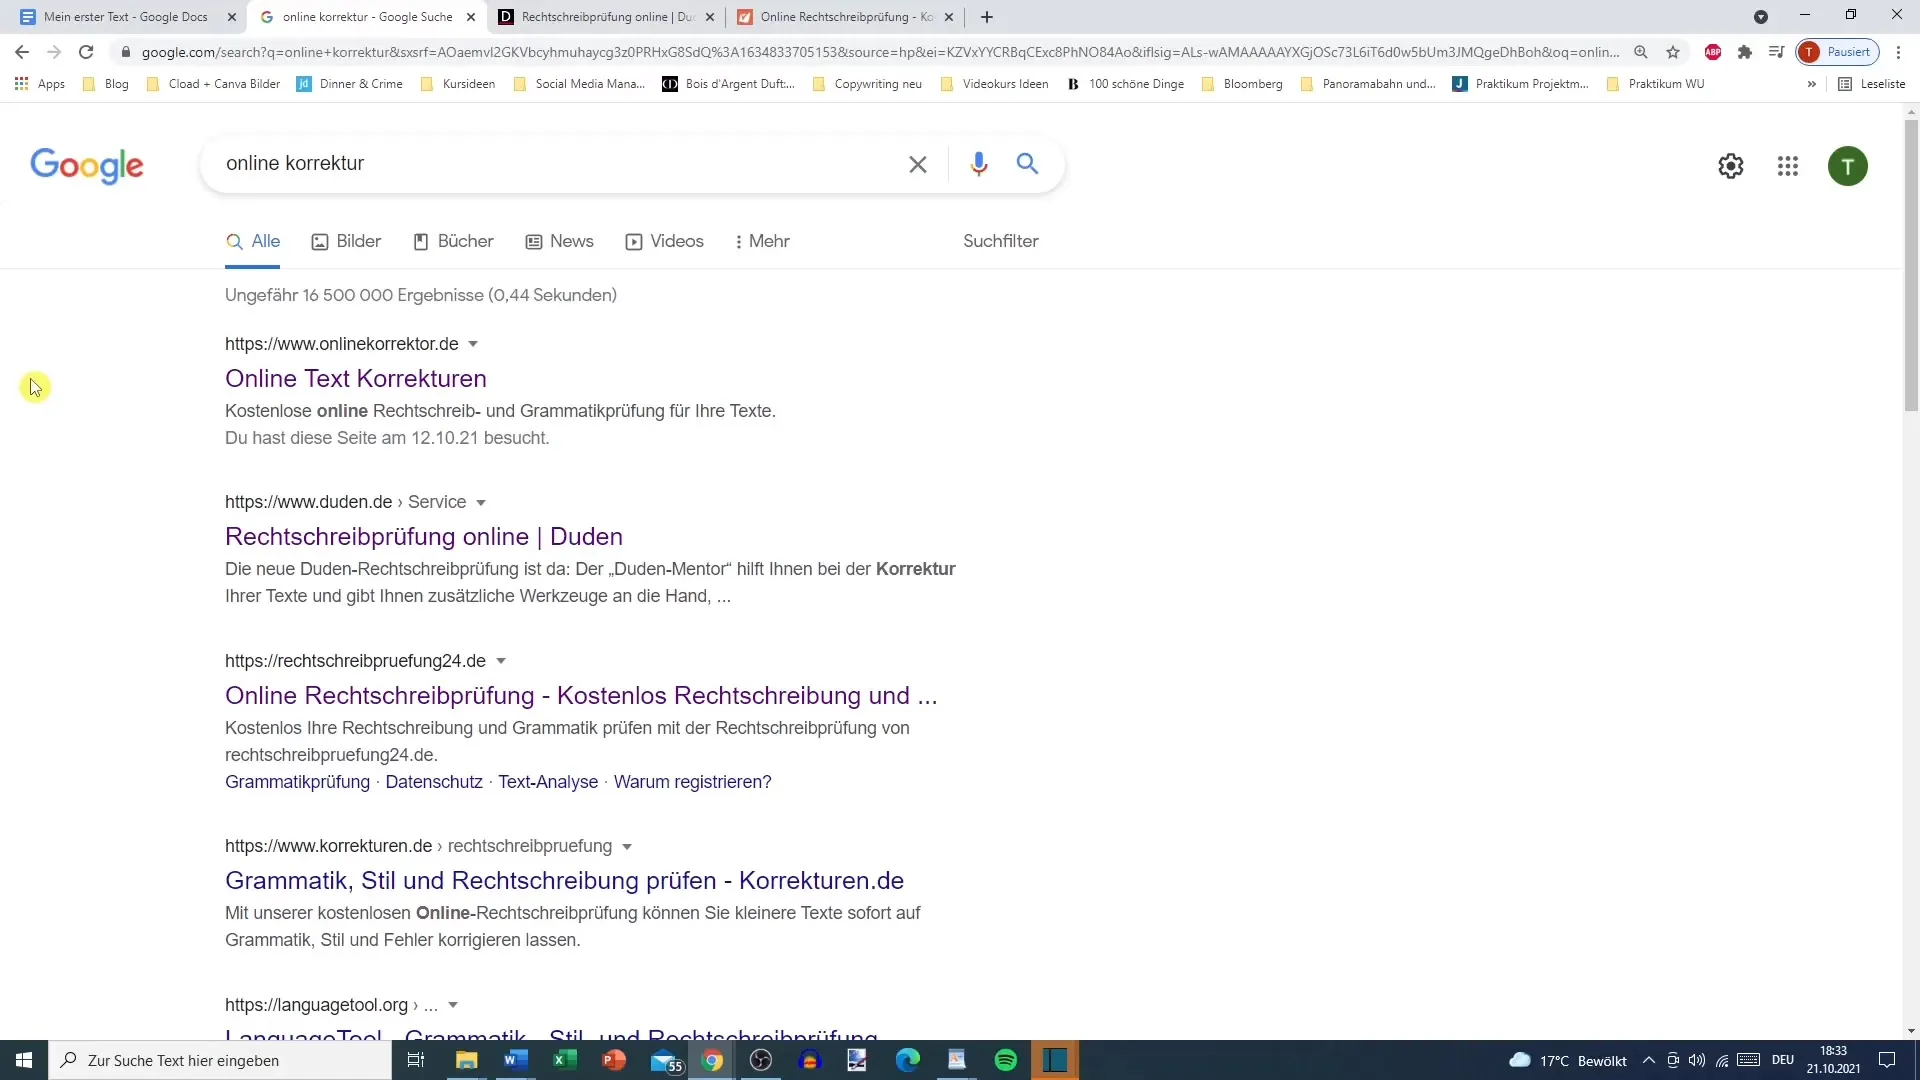
In the next step, search for proofreading tools. You can find free options by simply typing "online proofreading" into the search engine. Popular sites include onlinekorrektur.de, duden.de, or rechtschreibprüfung24.de.
Step 3: Use Multiple Tools
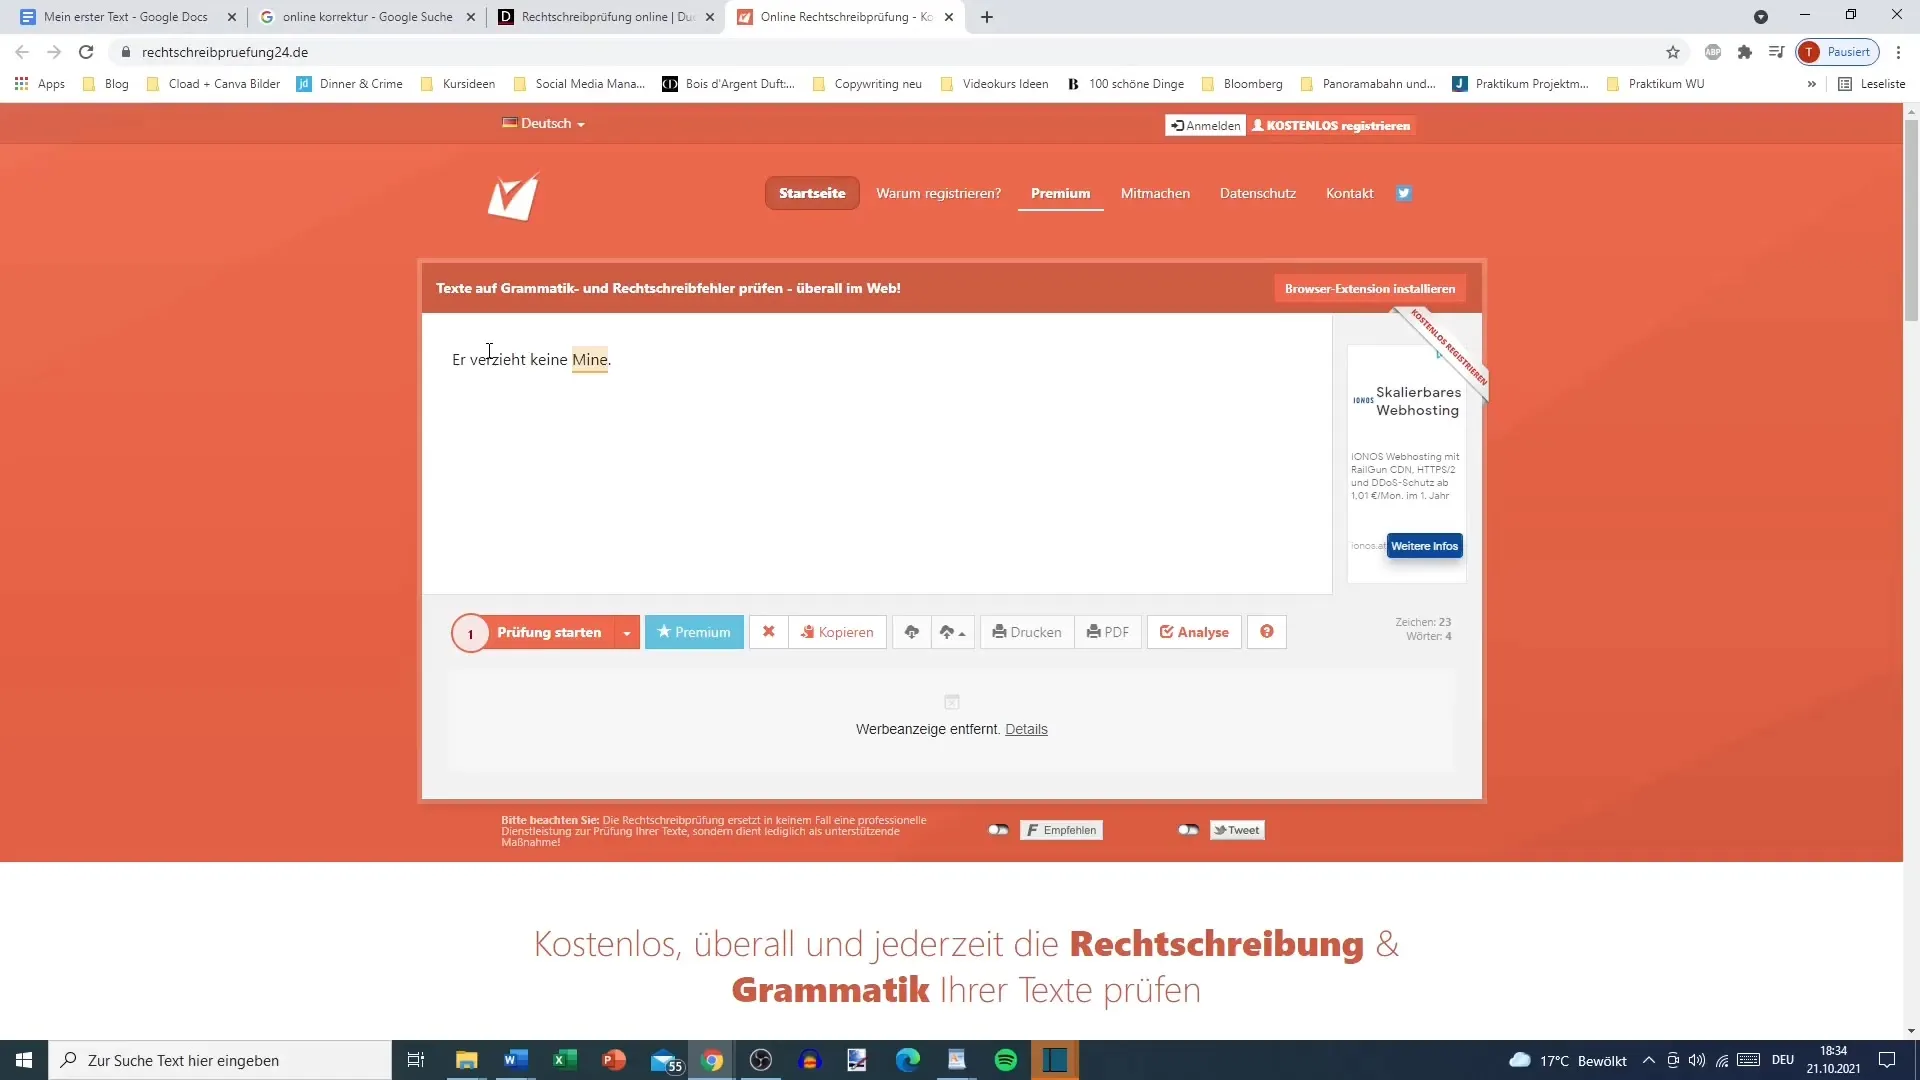
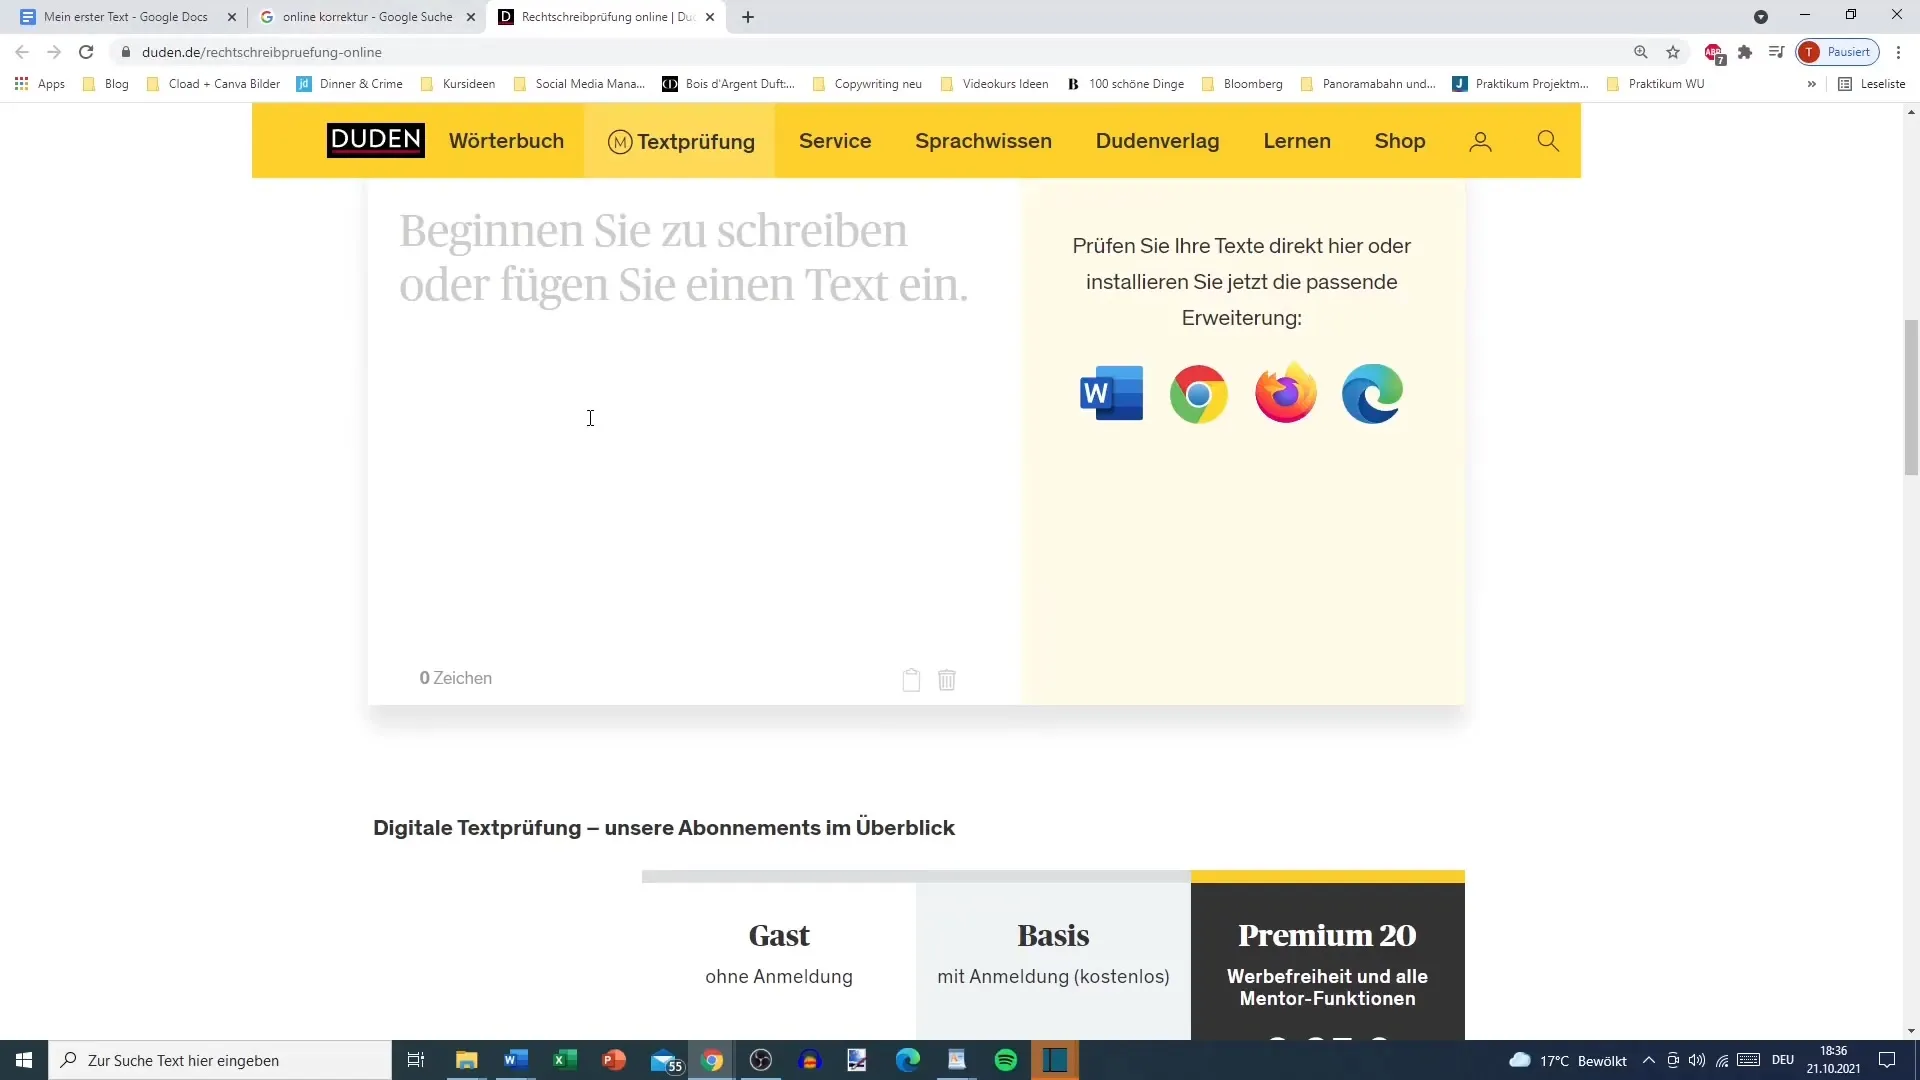
It is recommended to use multiple tools at the same time, mainly because they identify different errors or aspects. For example, I recommend using Duden and Rechtschreibprüfung24.de simultaneously. This gives you a broader coverage of possible errors.
Step 4: Paste Text and Test
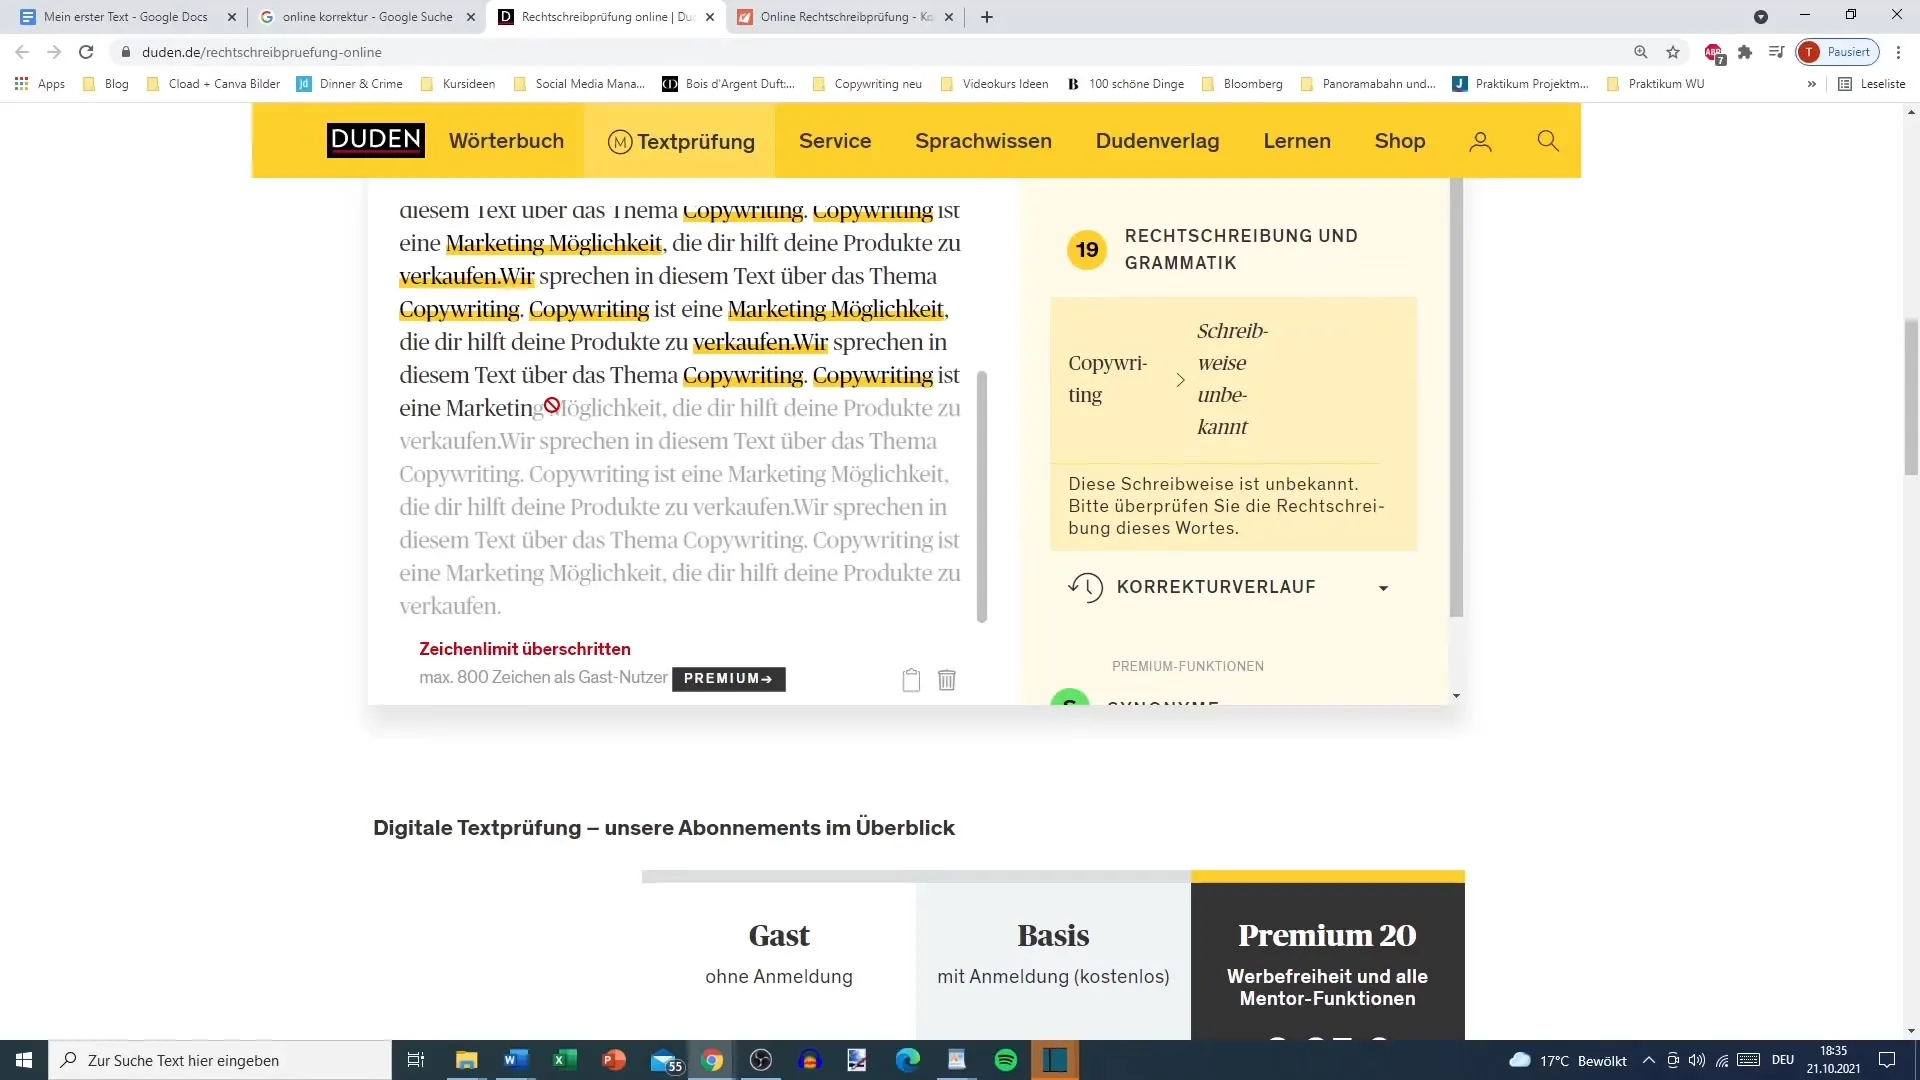
Paste your copied text into your chosen proofreading tool. Note that some tools like Duden, for example, only accept 800 characters at a time. You may need to divide your document into paragraphs and insert them one by one.
Step 5: Analyze Results
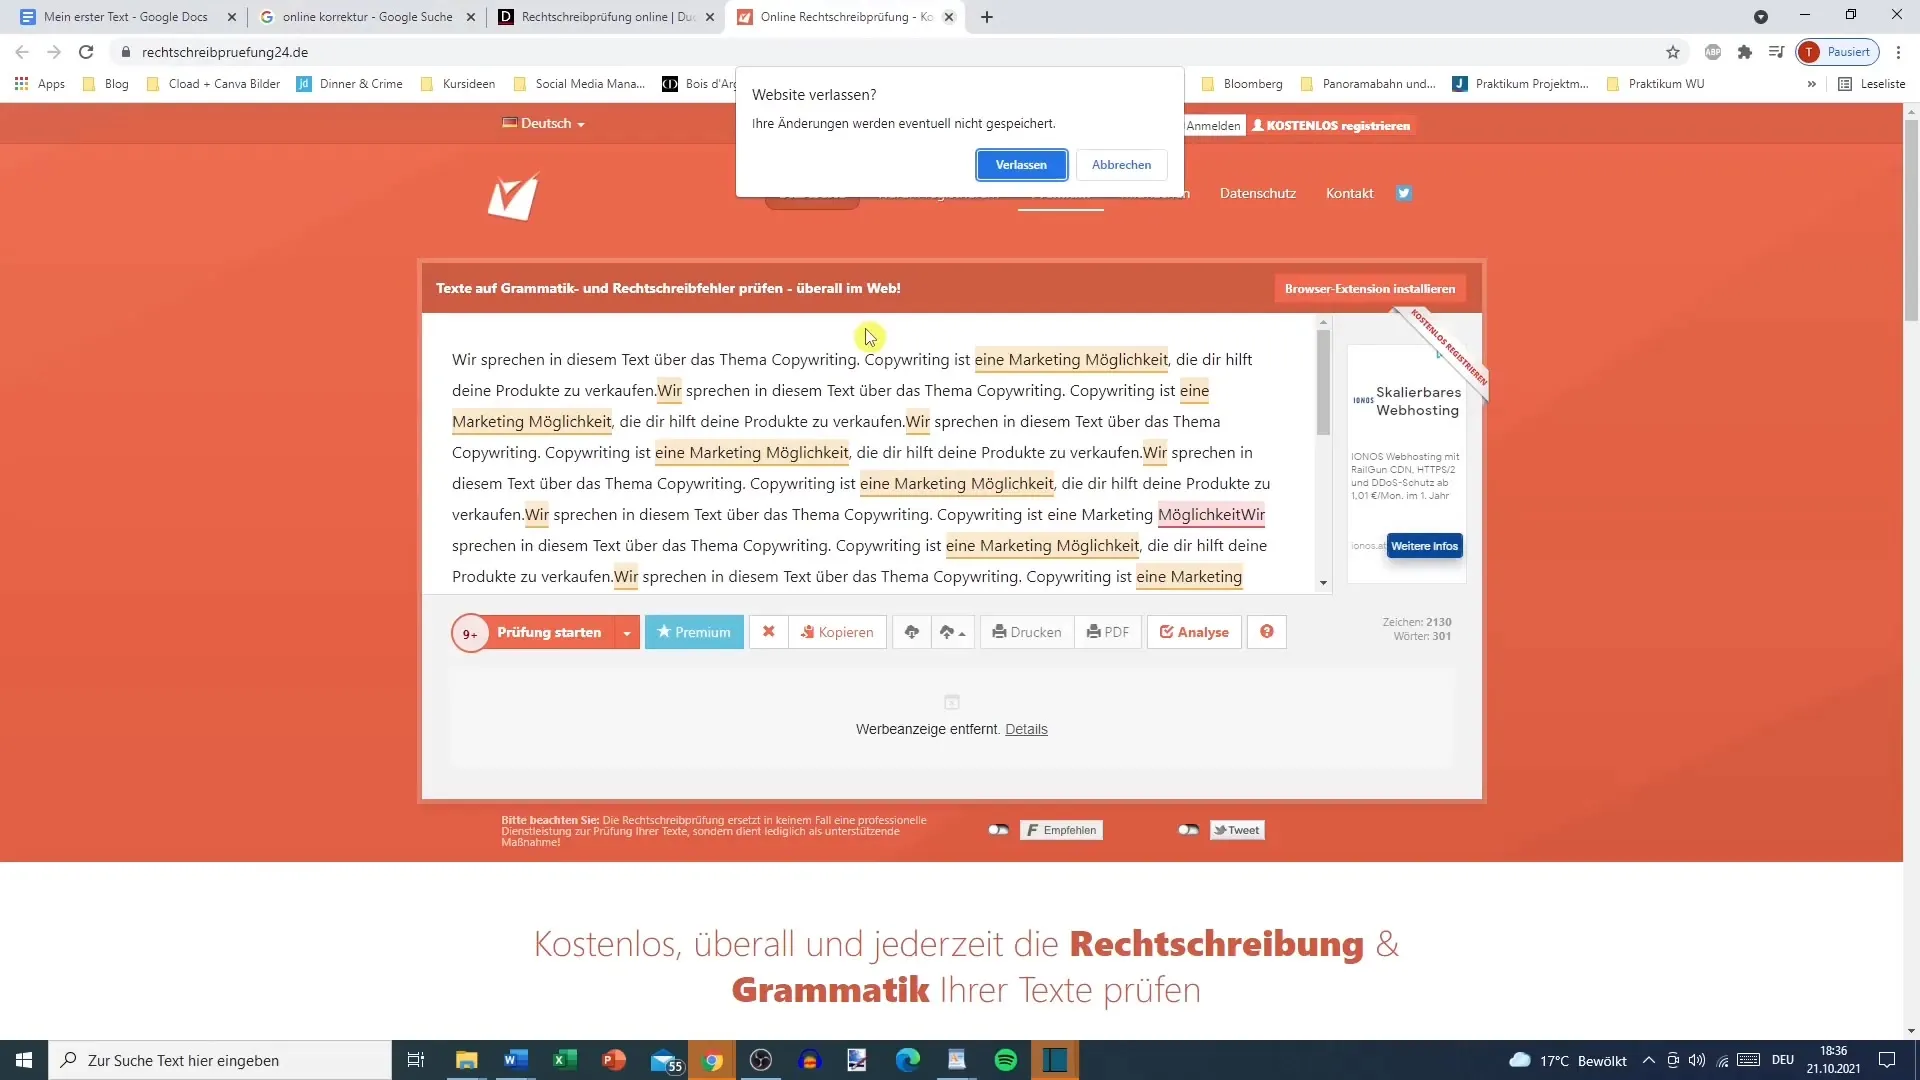
After pasting the text, analyze the results from the proofreading tools. Often, not only spelling errors are highlighted, but also grammatical errors and improvement suggestions.
Step 6: Fix Errors
Correct the errors identified by the tools. You must decide for yourself which changes you want to make. Sometimes, the programs show minor deviations that may not be necessary. Also, trust your own language intuition.
Step 7: Recheck Text
How about going back to your proofreading tool after making the corrections? A second pass can ensure that no mistakes were overlooked. You can then repeat the same steps as before.
Step 8: Final Review
Before publishing or submitting the text, conduct a final review. Sometimes, it can be helpful to read the text out loud to get a better sense of the writing flow and to catch possible errors.
Summary
You have now learned the basic steps of using free tools for proofreading. With practice, you will be able to perfect your texts faster and more efficiently. It may take some time to find the best tools for you, but the investment of your time will pay off in the quality of your texts.
Frequently Asked Questions
What are the best free tools for proofreading?The best free tools include Duden, onlinekorrektur.de, and rechtschreibprüfung24.de.
How many proofreading tools should I use simultaneously?Ideally, you should use at least two or three tools simultaneously to achieve the best results.
Are there character limits in the free tools?Yes, some tools like Duden only allow 800 characters per check.
Are the free tools perfect?No, the tools have their limitations and do not always catch every error. Self-review is also important.
How do I deal with errors that the tools do not recognize?If the tools do not recognize an error and you also do not notice the error, it is probably not a critical mistake for the reader.


