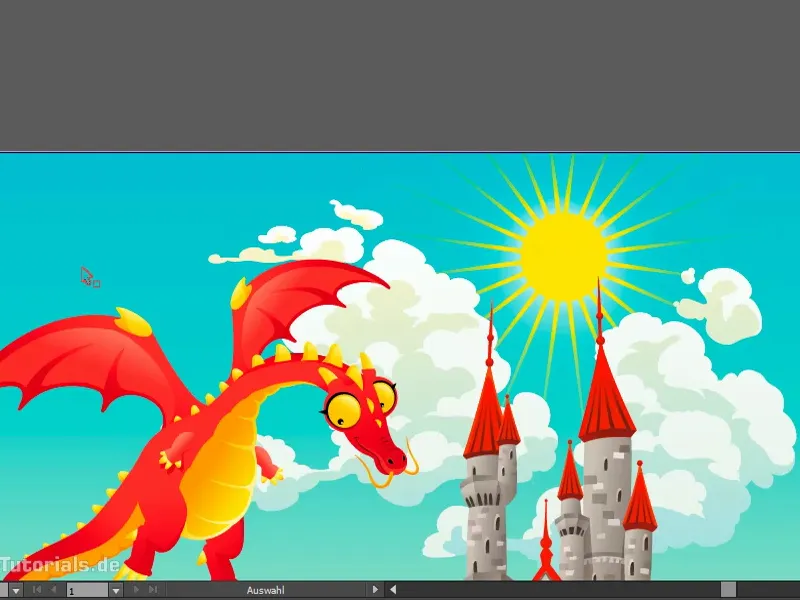
What a great scene, isn't it? My nephew would love it, because he likes to color pictures like this. But: what's missing here is a sun, isn't it? I'll explain how to add it now.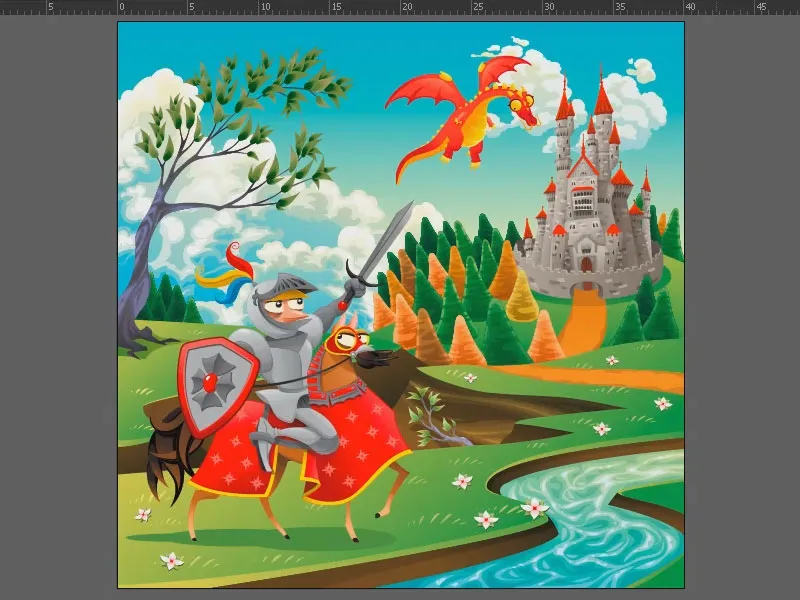
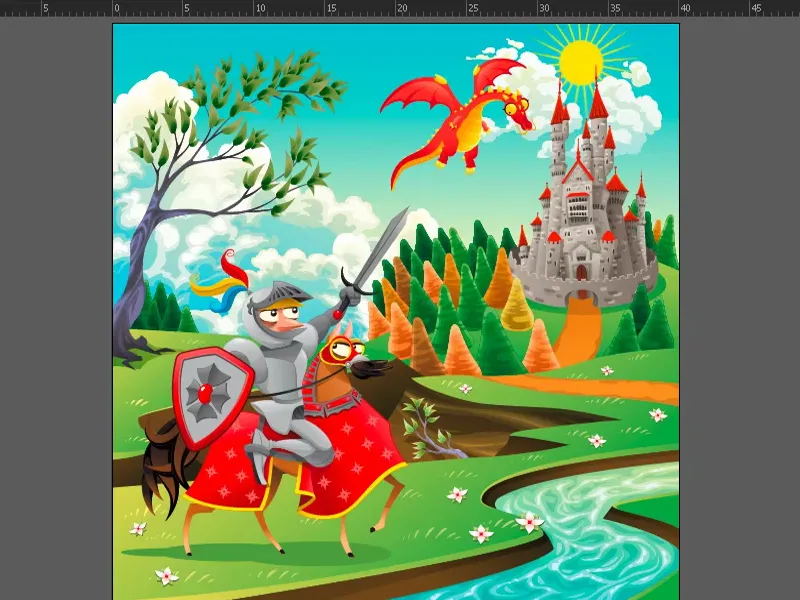
This is what the end result looks like. It's a simple sun, not really spectacular, but there are a few tricks for creating it that you should keep in mind. Among other things: pointed lines that are faded out like this. How can I create them? And: How do I do the whole thing quickly? This is part of this training.
To do this, I'm going to Blender out all the layers in the document by simply holding down the mouse button and hovering over all the eye symbols (1). Now I'll create a new layer and give it the name "Sun 2" (2).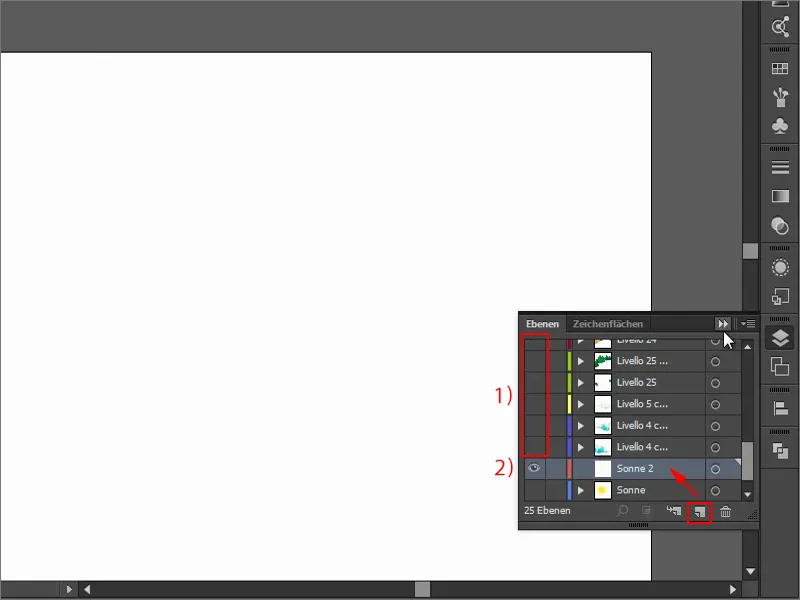
Let's start with an ellipse (ellipse toolor shortcut L). Of course, I want it to be nice and circular, so I press the Shift keywhen drawing it. I don't need an outline. I turn the whole thing around here and fill the area with yellow.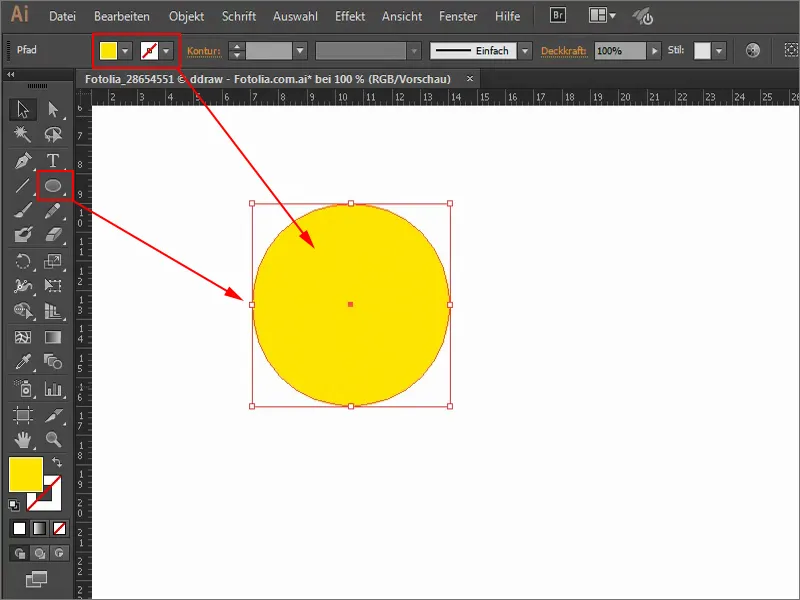
Now come the rays. To do this, I use the line segment tool(1) and simply drag it on. Here I need an outline (2), so I'll click on it. The color should of course be the same as for the sun. That's why I'll use my color swatches paneland select yellow (3). Alternatively, I could also use the eyedropper tool (4). I set the outline to 4 pt (5).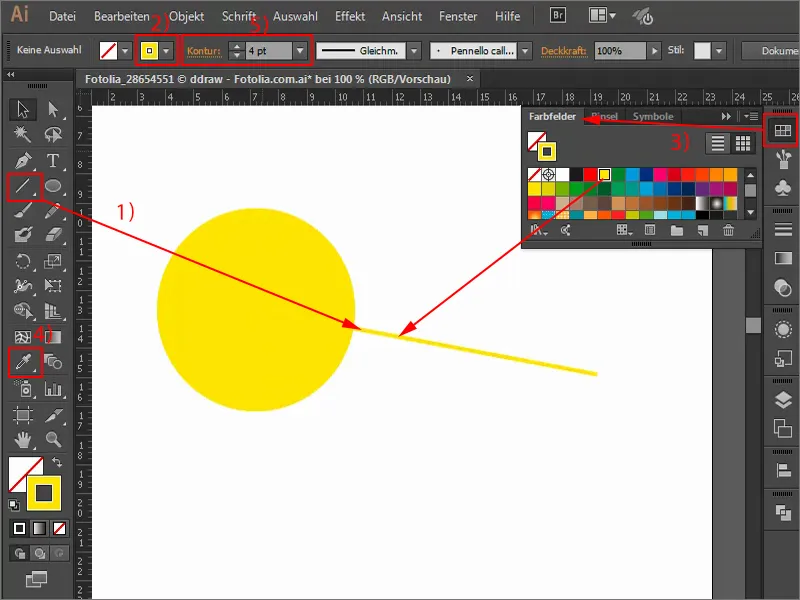
Okay, that's now a boring ray. I think it should run from wide to narrow. I can choose quite a few here, for example this one (1). I increase the contour thickness (2) a little and I have a ray that runs from thick to thin.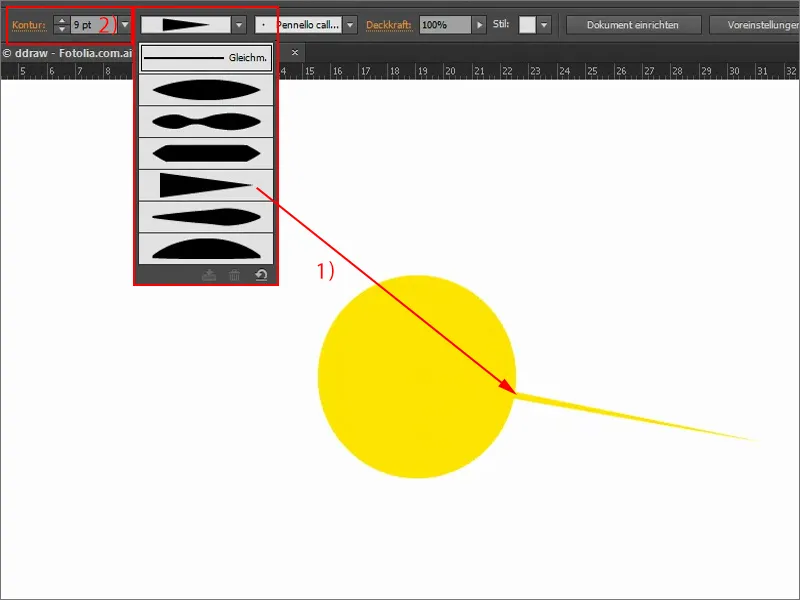
Of course, I don't want this to be the only ray of sunlight. To do this, I grab the rotate tool(1). Now I can move this point here (2) and rotate the line around it. If I also use the Alt key, this is also copied. But: I don't want to do it all individually, that takes too long and doesn't really work out evenly.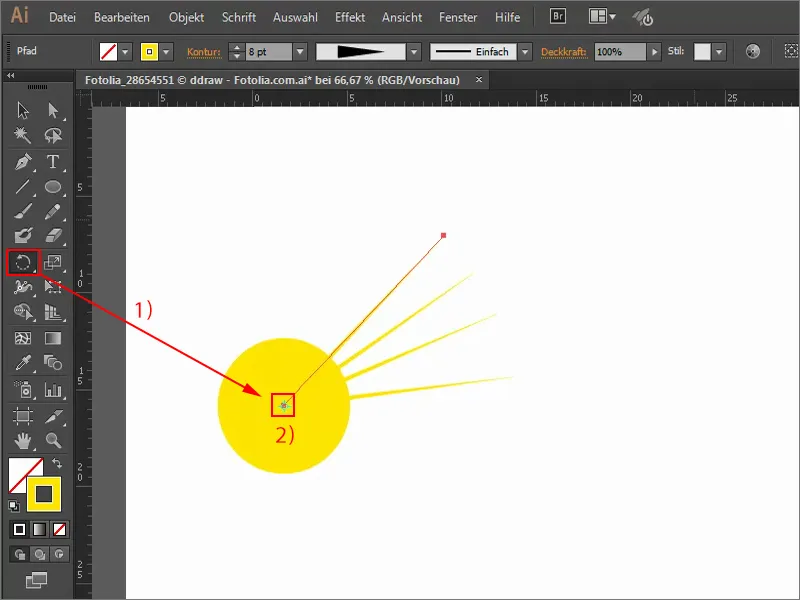
So here's a trick: I press the Alt key(1) once. This opens the rotate dialog. If I go to Preview (2), I can already see what changes. I want to rotate the line by 15° (3) and make a copy of it (4).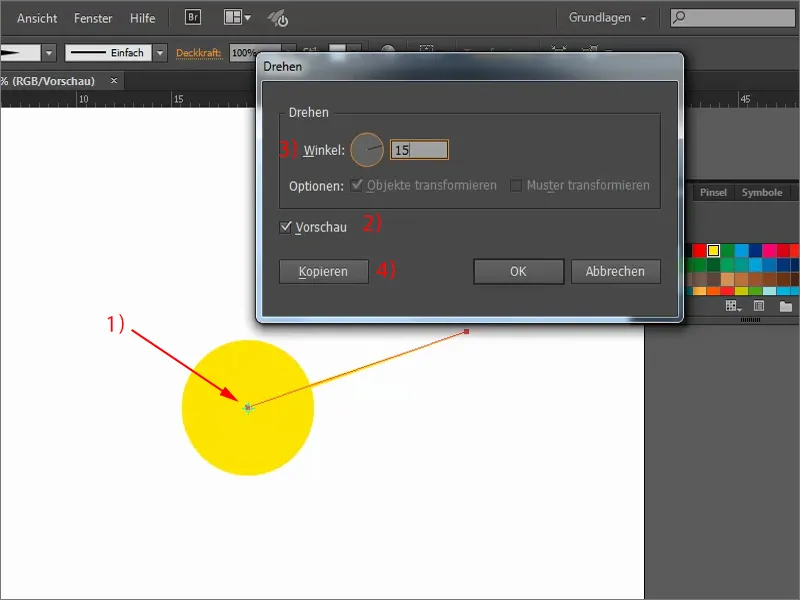
To repeat this, I press Ctrl+D several times so that I get my sun. Everything is nice and even, just as I wanted it. I now select the whole thing with my selection tool(1). Then group everything using the context menu with the right mouse button (2). This allows me to grab and move everything.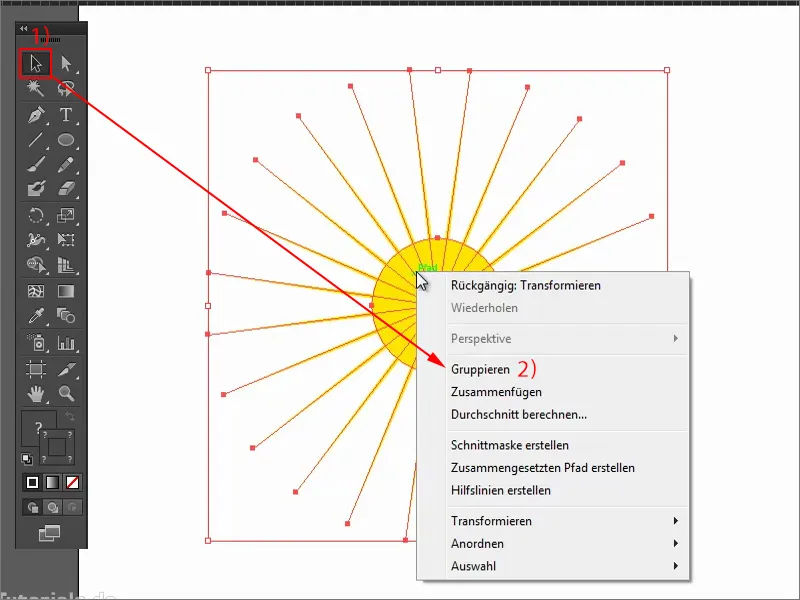
Now I would like to hide the rays a little. To do this, I need a mask: I go to the transparency panel(1) and create a mask (2). Now nothing is displayed at all, because the mask is completely black (3). Only when I have a colored area is it displayed again.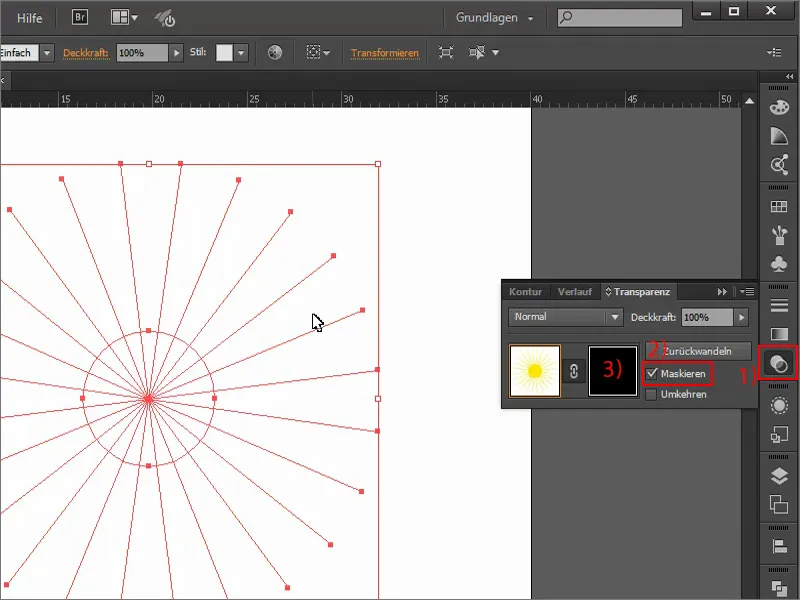
To do this, I'll use the ellipse tool. Important: I have to work within the mask, which I have to click on separately (1). So if I now draw a circle (2), you can see something again.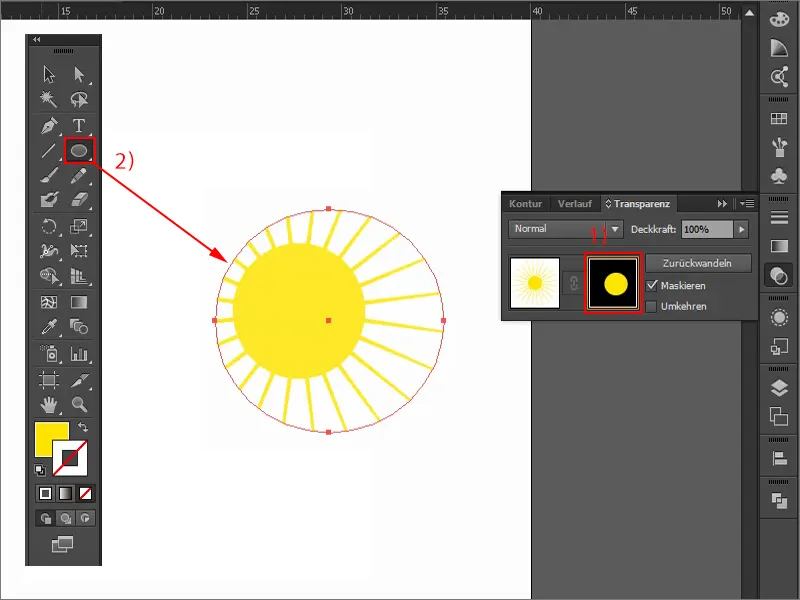
To create the transition, I need a gradient (1), from white, where everything is displayed, to black, where it is hidden (2). In other words, I select the gradient, set it to circular (3) and drag it onto my area.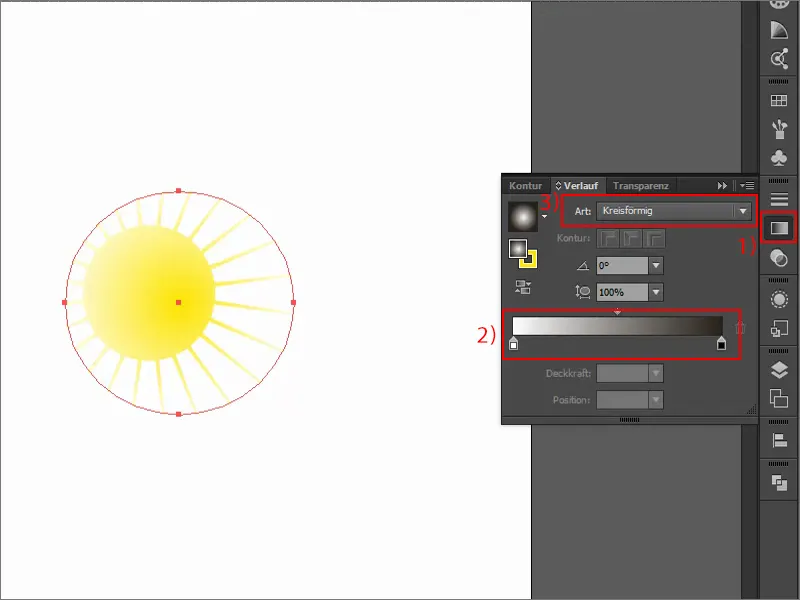
Now I adjust the gradient: I move the whole thing and drag it a little larger by holding down the Shift and Alt keys. And the gradient itself can be defined even more precisely here.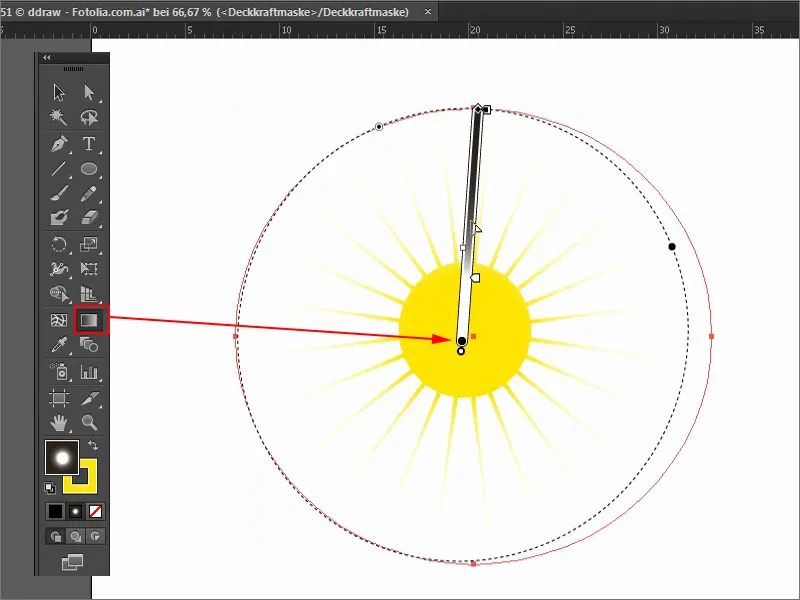
So that's my sun, which I'll now reduce in size so that it fits into the picture at the end. To do this, however, I go back to the transparency panel(1) and click on this image again (2), otherwise I only change the mask, not the image itself. Now I can make it a little smaller by holding down the Shift key(3).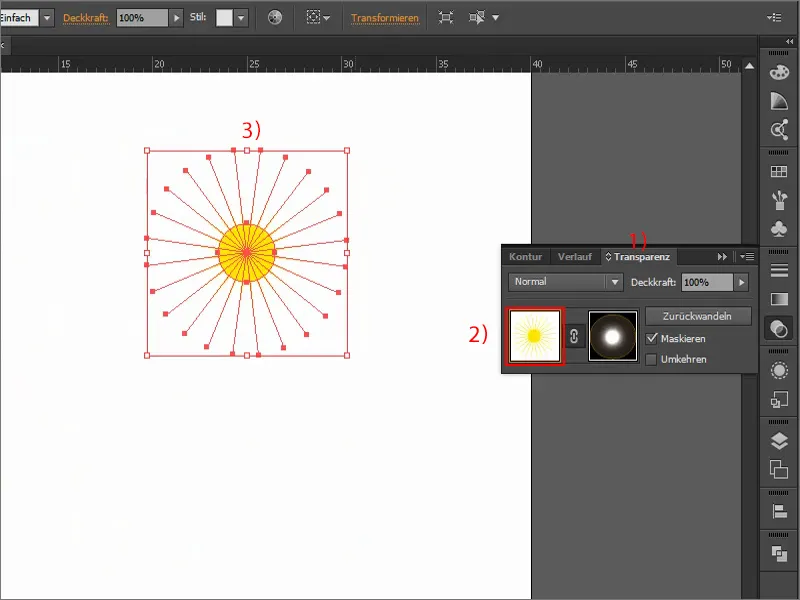
Now I Blender all the layers again (1). Of course, I don't want the sun to be behind the clouds. To do this, I press the drag selection once and can then move the sun by holding down the Shift keyand using the arrow keys.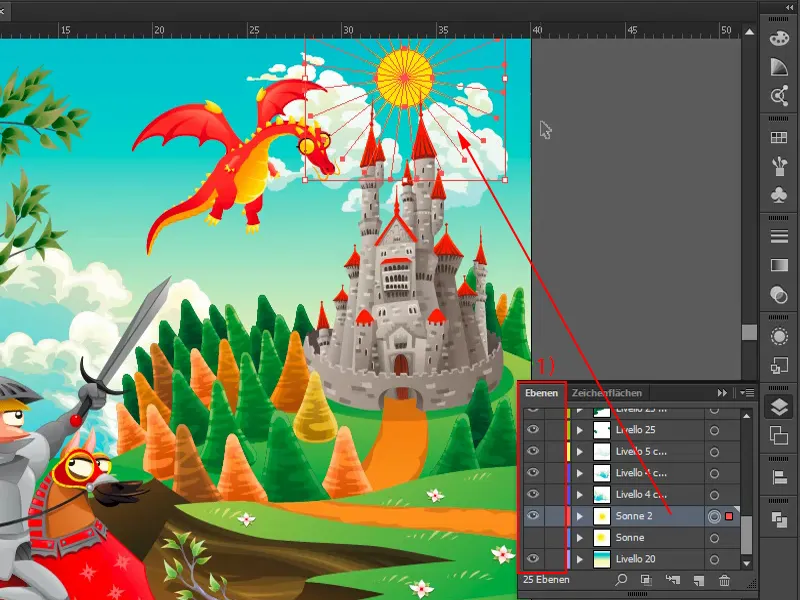
If I don't want the rays to extend beyond my image, I can create a clipping mask. To do this, I take the rectangle tool (1), drag it open, select everything here and right-click to create a clipping mask (2). The sun is now only displayed within the image and does not protrude beyond it.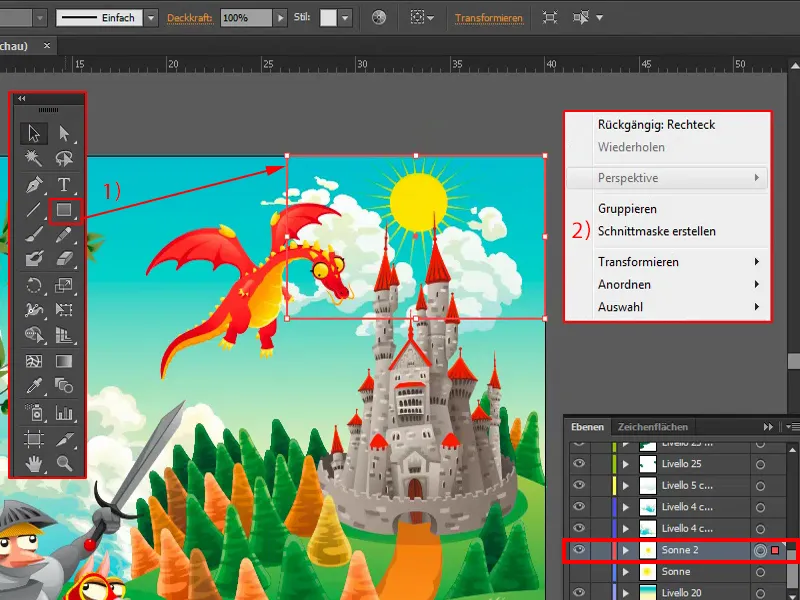
Of course, I can now go into my sun at any time and change the circle, for example. By holding down the Shift and Alt keys, for example, I can make it a little smaller.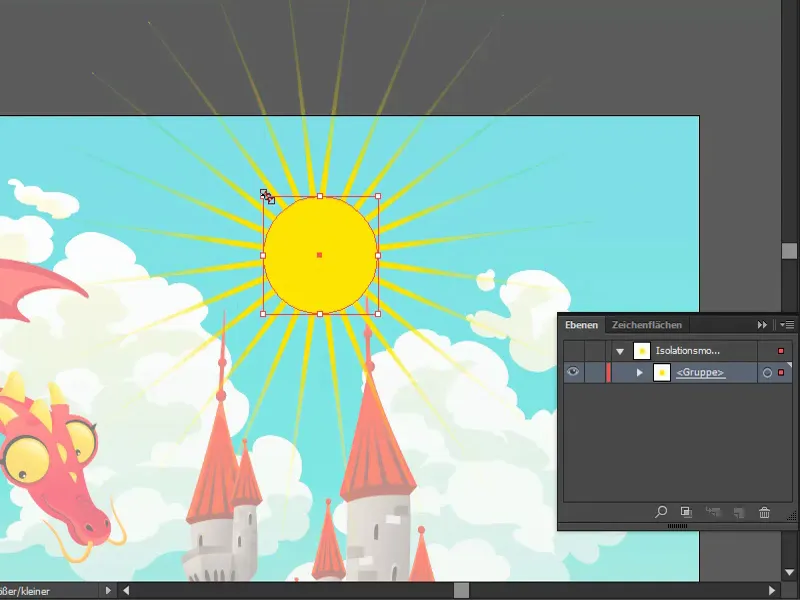
Finally, a trick for further optimization: I select my sun in the layers (1). Under Effects>Stylization filter>Outward glow... (2), I add a white glow (4) via Multiply negative (3).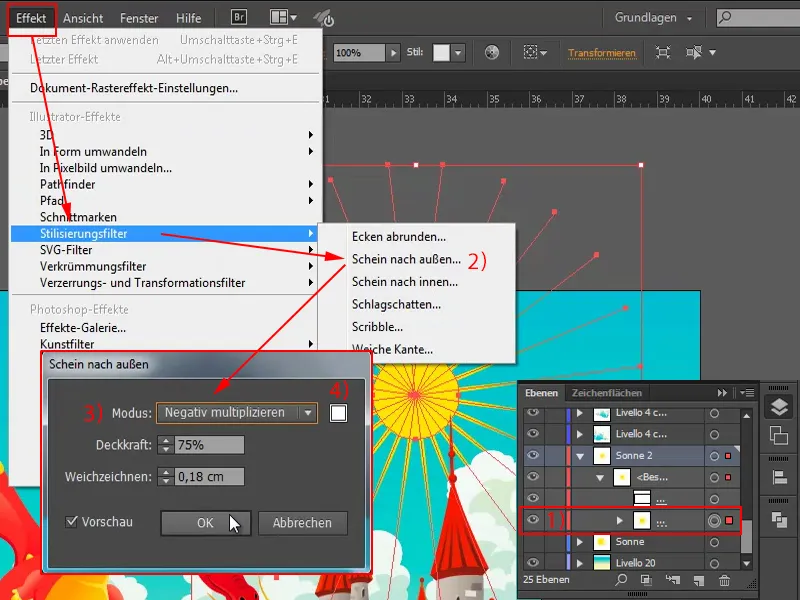
I can edit the effect by double-clicking on it: For example, more opacity or less blur, set to normal and so on.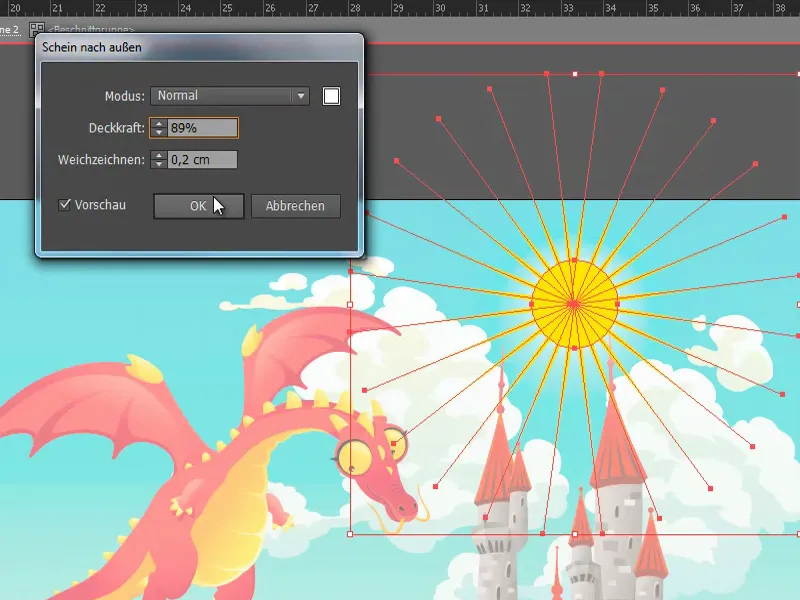
This is how you can easily create a sun in Adobe Illustrator. I hope you were able to pick up some tips and tricks.