Introduction
In today's tutorial, I would like to discuss the reuse of graphics and text. I'm sure you're familiar with the situation: you start working on preparing a comprehensive document and you realize that there are various elements that are constantly needed again. In my work environment, I am currently creating the layout for an architectural office.
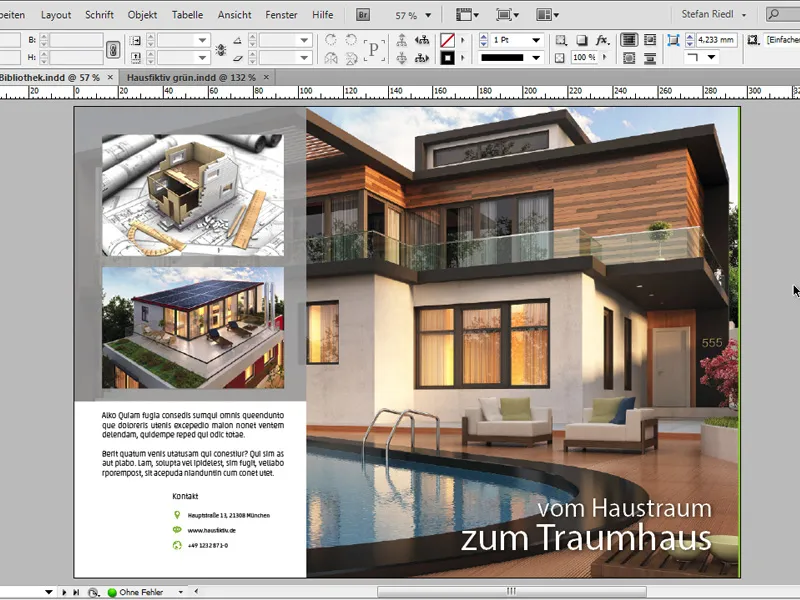
A few months ago, I recorded a video training course on how to create a business card. I created the logo in InDesign with different shapes and the Pathfinder. The logo hasn't changed since then and I want to use it in exactly the same form for my current document, specifically in the bottom left-hand corner in the free white corner.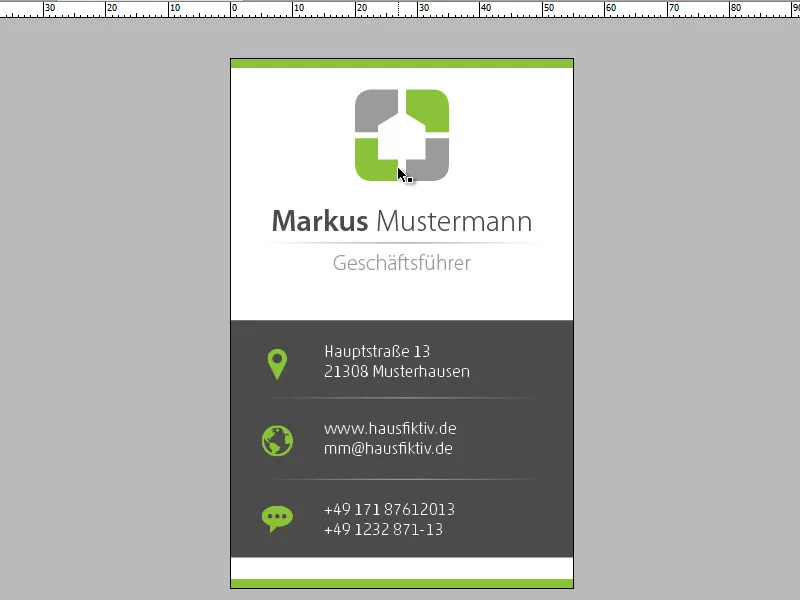
There are now various options for reusing such elements.
Option 1 - Working with object libraries
Object libraries are, figuratively speaking, a collection of frequently used objects. It behaves like a drawer into which you can put all sorts of things and take them out again as required. It is therefore particularly suitable for margin bars, text quotations, author boxes, logos or other repetitive objects. They can be conveniently stored in it.
To create such a library, simply follow this command: File>New>Library. In the following dialog, you only need to give the child a name and save it in *.indl format. The INDL format is InDesign's library format and you will find your new library listed on the right in the control panels. In my example, house-fictitious.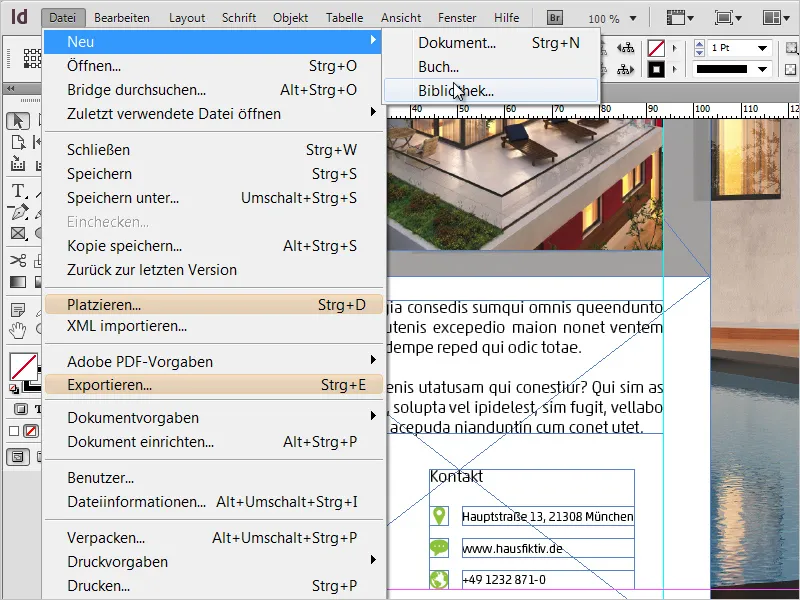
Now that the library has been created and opened, I can click on any object and add it. You can either do this via the context menu of the library (small arrow in the top right-hand corner) and then click on Add object,...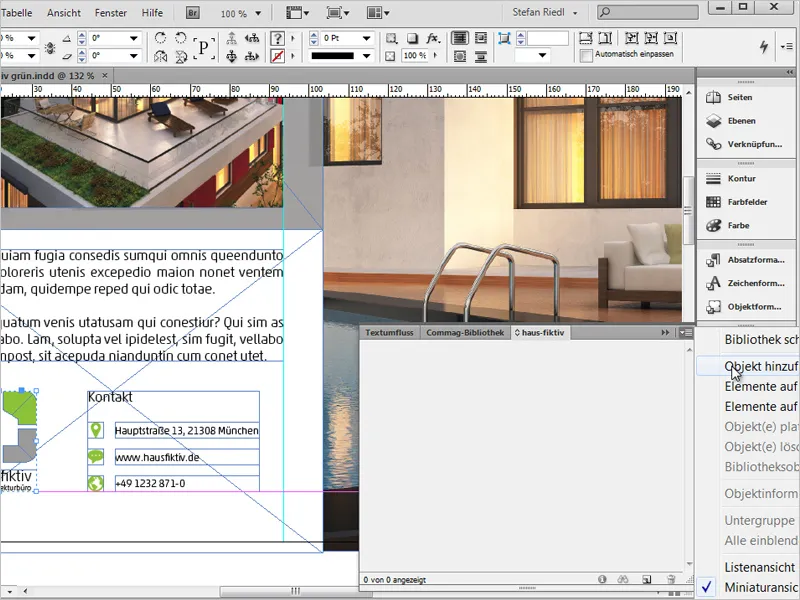
... or you can use drag & drop to conveniently move the selected element into the library. You can also add all elements of a page as a group by selecting Add elements to page X in the context menu of the control panel. If you want all elements to be listed as separate objects, select the command below: Add elements on page X as separate objects.
Of course, you can now also rename the element. To do this, right-click on the small preview and call up the object information, now you can make the adjustment.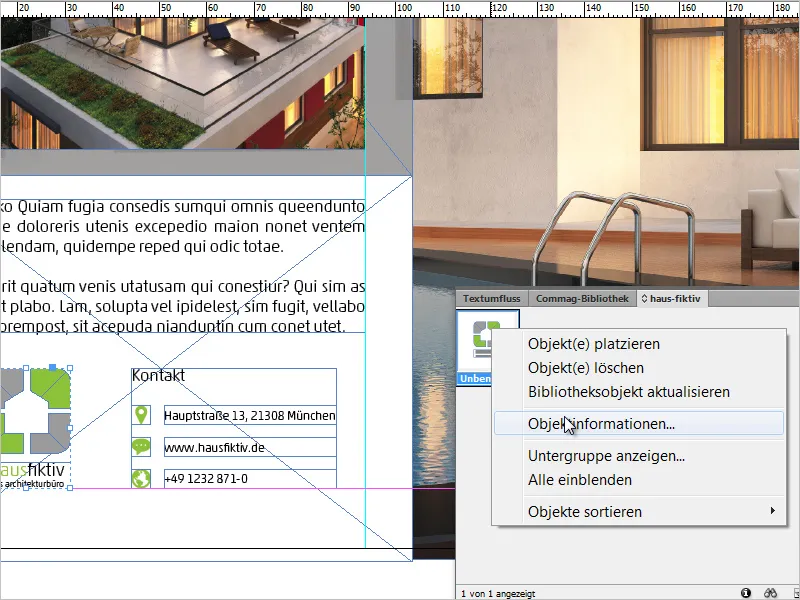
I assign the name Logo hausfiktiv. This is particularly recommended if the library is gradually getting fuller and fuller, as otherwise you will quickly lose track.
If you find it too tedious to first add an object and then call up the object information, you can hold down the Alt key when dragging an object into the library, which will immediately call up the object information dialogand allow you to define changes. This saves another click.
Furthermore, an object name and an object type can be defined to describe the element in more detail. A change only has an effect on the search function and sorting, but does not change anything in the database.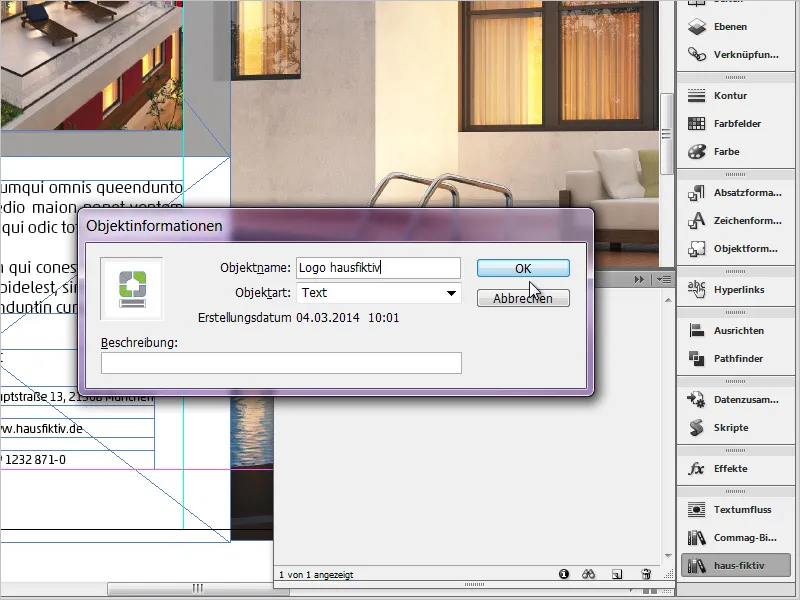
I now repeat the last steps with other elements as required. You can use anything you can think of. For example, graphics, simple text fields, grouped elements as well as *.psd files or *.ai files. A great feature!
You can also create subgroups, show them using the binoculars symbol at the bottom and call up library information using the small (i) symbol.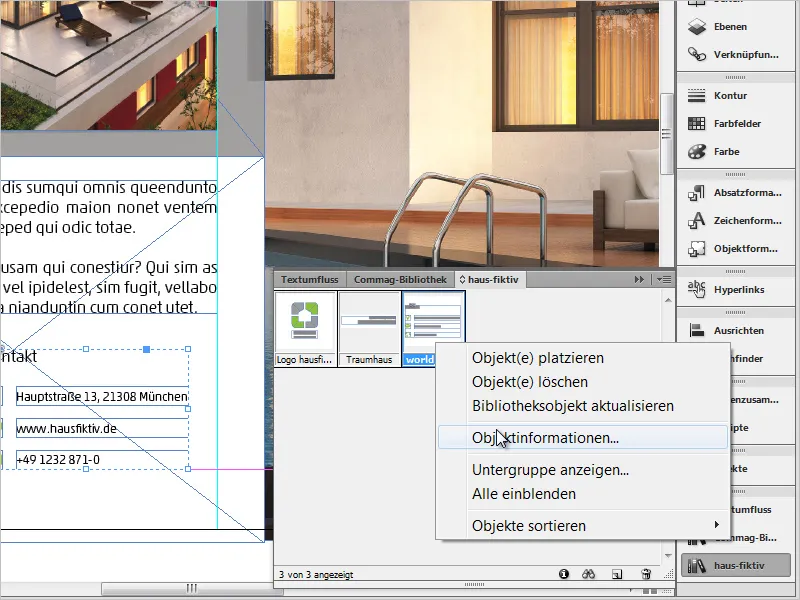
To place such an element again, I simply drag the desired content into my workspace by holding down the mouse button. It's as simple as that.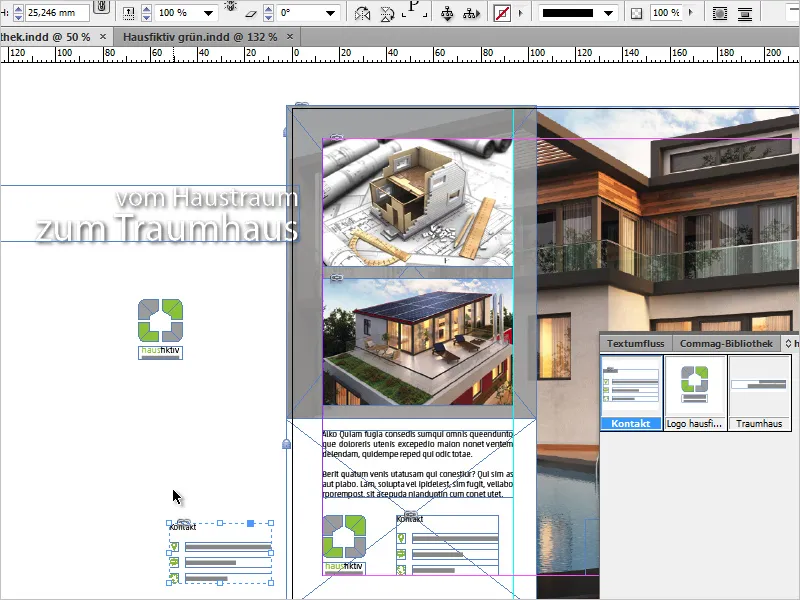
Of course, libraries can also be tidied up again if they contain objects that are no longer needed. To do this, simply select the element you want to make disappear and drag it to the small inconspicuous dustbin at the bottom right. InDesign will now warn you that this element will no longer be available. It is important to note that this warning message only affects the library and has no effect on documents in which the element has been used.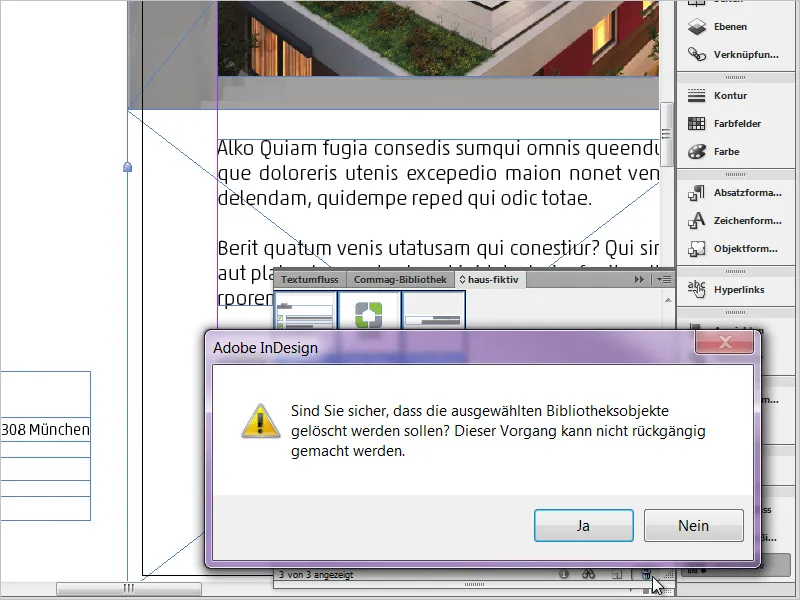
Libraries also act completely autonomously and are not linked to the documents in which you are working. This means that if you close a document, the library remains intact and visible.
Option 2: Use snippets
The principle of snippets is similar to that of libraries. However, the Adobe help describes a snippet as follows = is a file that contains objects and describes their relative position to each other on a page or printed sheet.
And here we have the crux of the matter - their relative position to each other. The exact dimensions on the x and y axes are also saved. I scroll down one page in my document and aim to place the logo in exactly the same position as on page 1. To do this, I create a snippet from the logo on page 1. I select our hausfiktiv logoagain and go to File>Export>InDesign Snippet, shortly afterwards the export dialog opens. The file format is *.idms.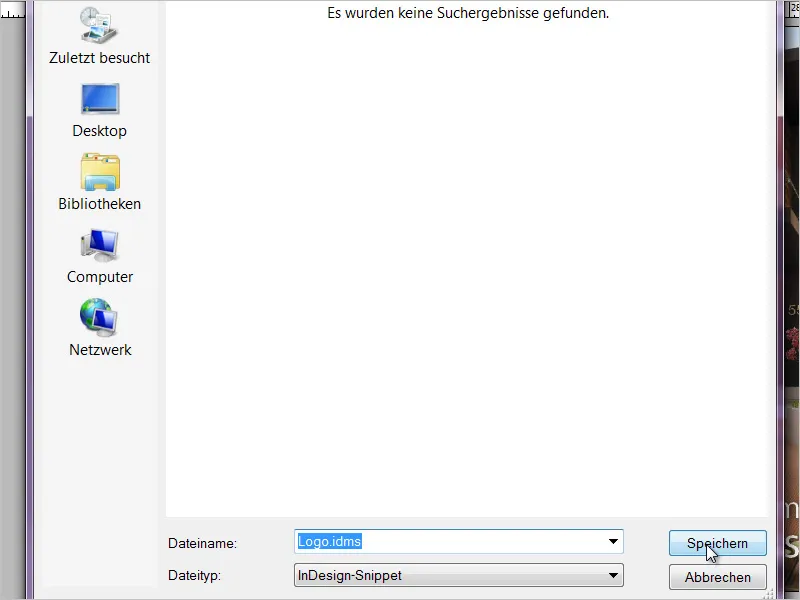
An independent idms file has now been created and saved from the logo, which exists on any path on my computer. All objects that are stored in libraries can also be saved as snippets. If I now want to call these up, I select File>Place (Ctrl+D) and then the snippet.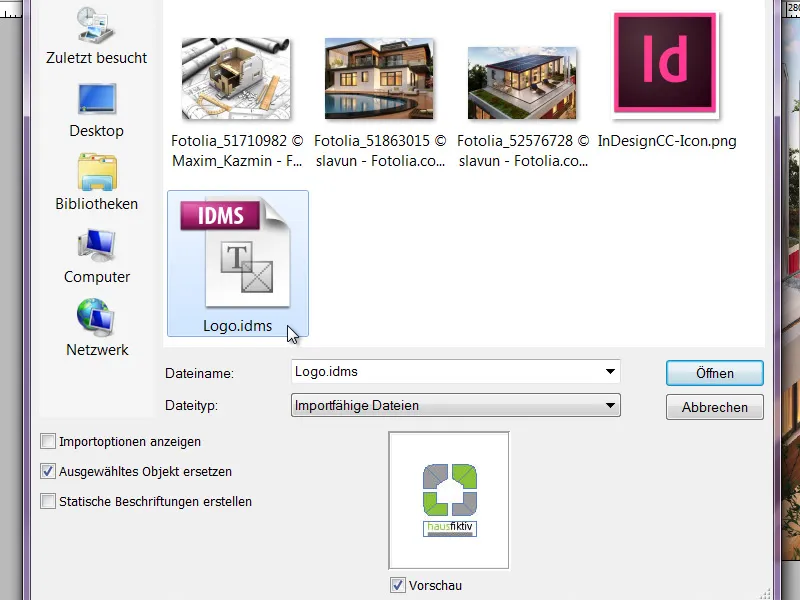
I now have a loaded mouse pointer and if I simply click on my page 2, the file is placed where my cursor is. However, if I want to drop it at the relative position of its origin, i.e. as on page 1, I hold down the Alt key and then click somewhere on my document. The result looks like this: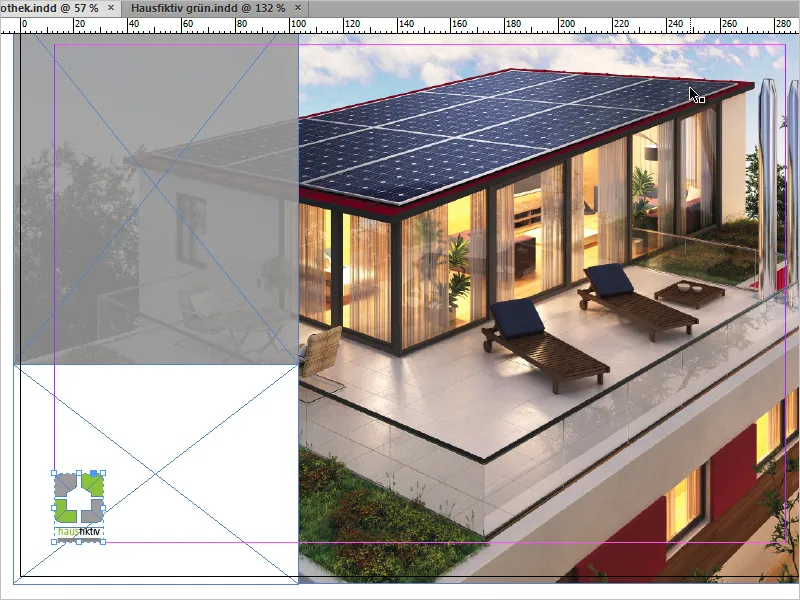
The logo has landed in exactly the same position. Pressing the Alt key is not absolutely necessary, because it depends on which settings you have selected in your preferences. To do this, open the dialog via Edit>Preferences>File handling and check what is stored in the Snippet import area.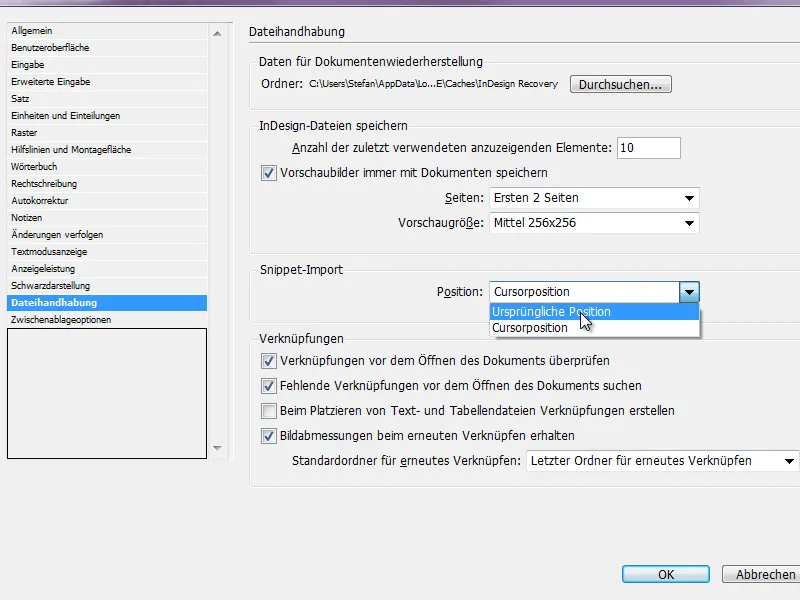
In my last example, I would now like to add a slogan to my document and also save this as a snippet. We now know that any formatting is saved in addition to the position. Font, size, color, rotation and many more!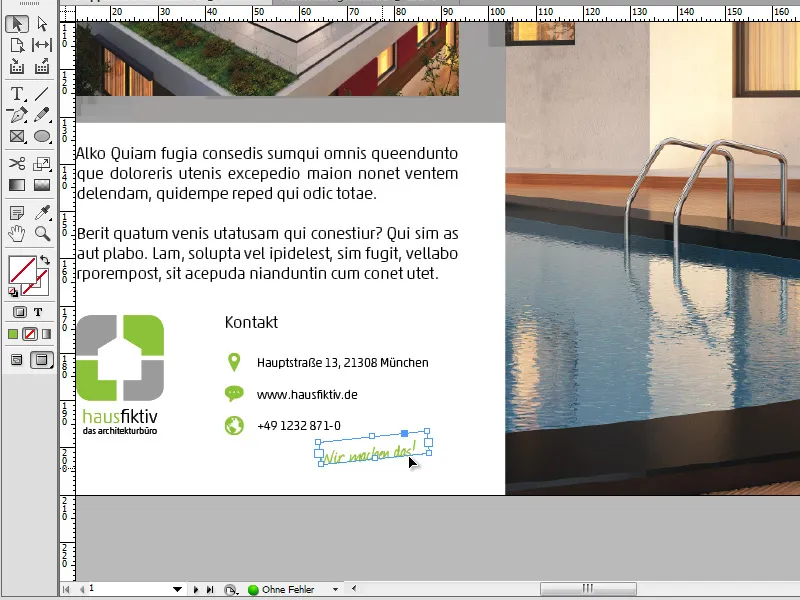
I now select the text field and simply drag it onto my desktop while holding down the mouse button. A snippet is created. This is another quick and easy way to archive important elements.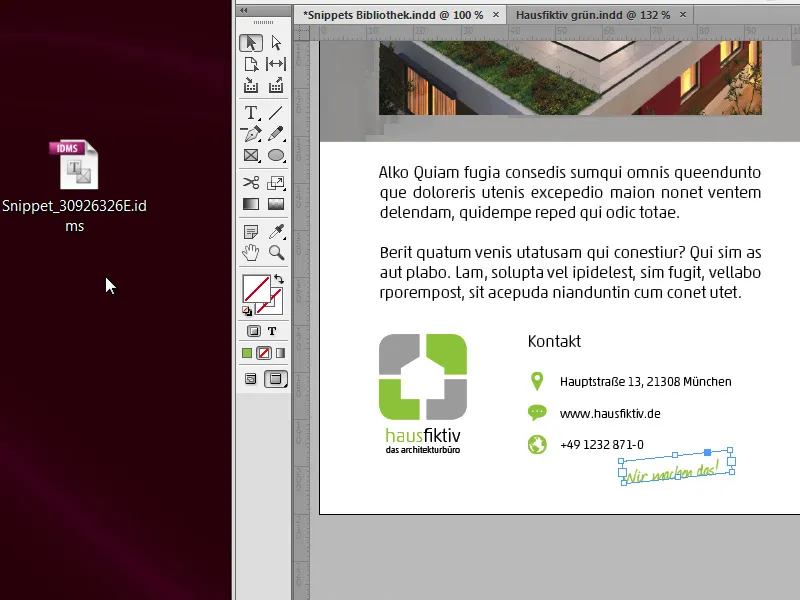
And if you are still looking for your snippets, you can also manage them conveniently via the Mini Bridge, which you can display via Window>Mini Bridge.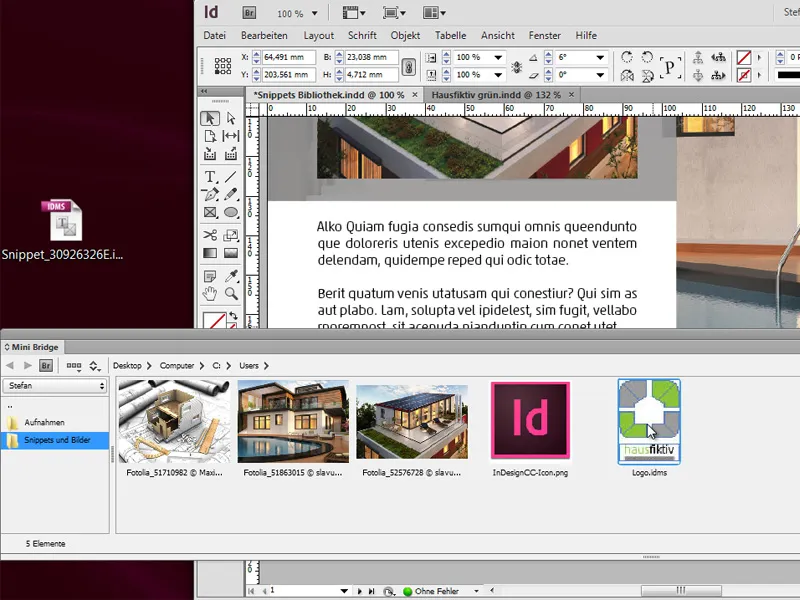
As the file format of such snippets has been changed with CS4 (*.idms), it is important to finally address compatibility. This means: Everything from CS4 upwards can also be placed in the versions upwards without further ado. Of course, some things change from version to version, such as the automatic resizing of text frames, which was only introduced with InDesign CS6. This information is then lost in older versions.
Just try it out for yourself. Working with snippets and libraries is always worthwhile!


