Mailchimp is a powerful tool that not only allows you to send emails but also promotes targeted communication with your target audience. To optimize interaction with your audience, it is important to create segments that represent different groups of your contacts. In this guide, you will learn how to effectively define and use segments in Mailchimp to plan targeted campaigns.
Key Takeaways
- Segments help you divide your audience into specific groups.
- You can create segments based on different criteria, such as email addresses, location, or language.
- Automated assignments to segments make it easier to manage your audience.
Step-by-Step Guide to Creating Segments
1. Navigate to the Segments
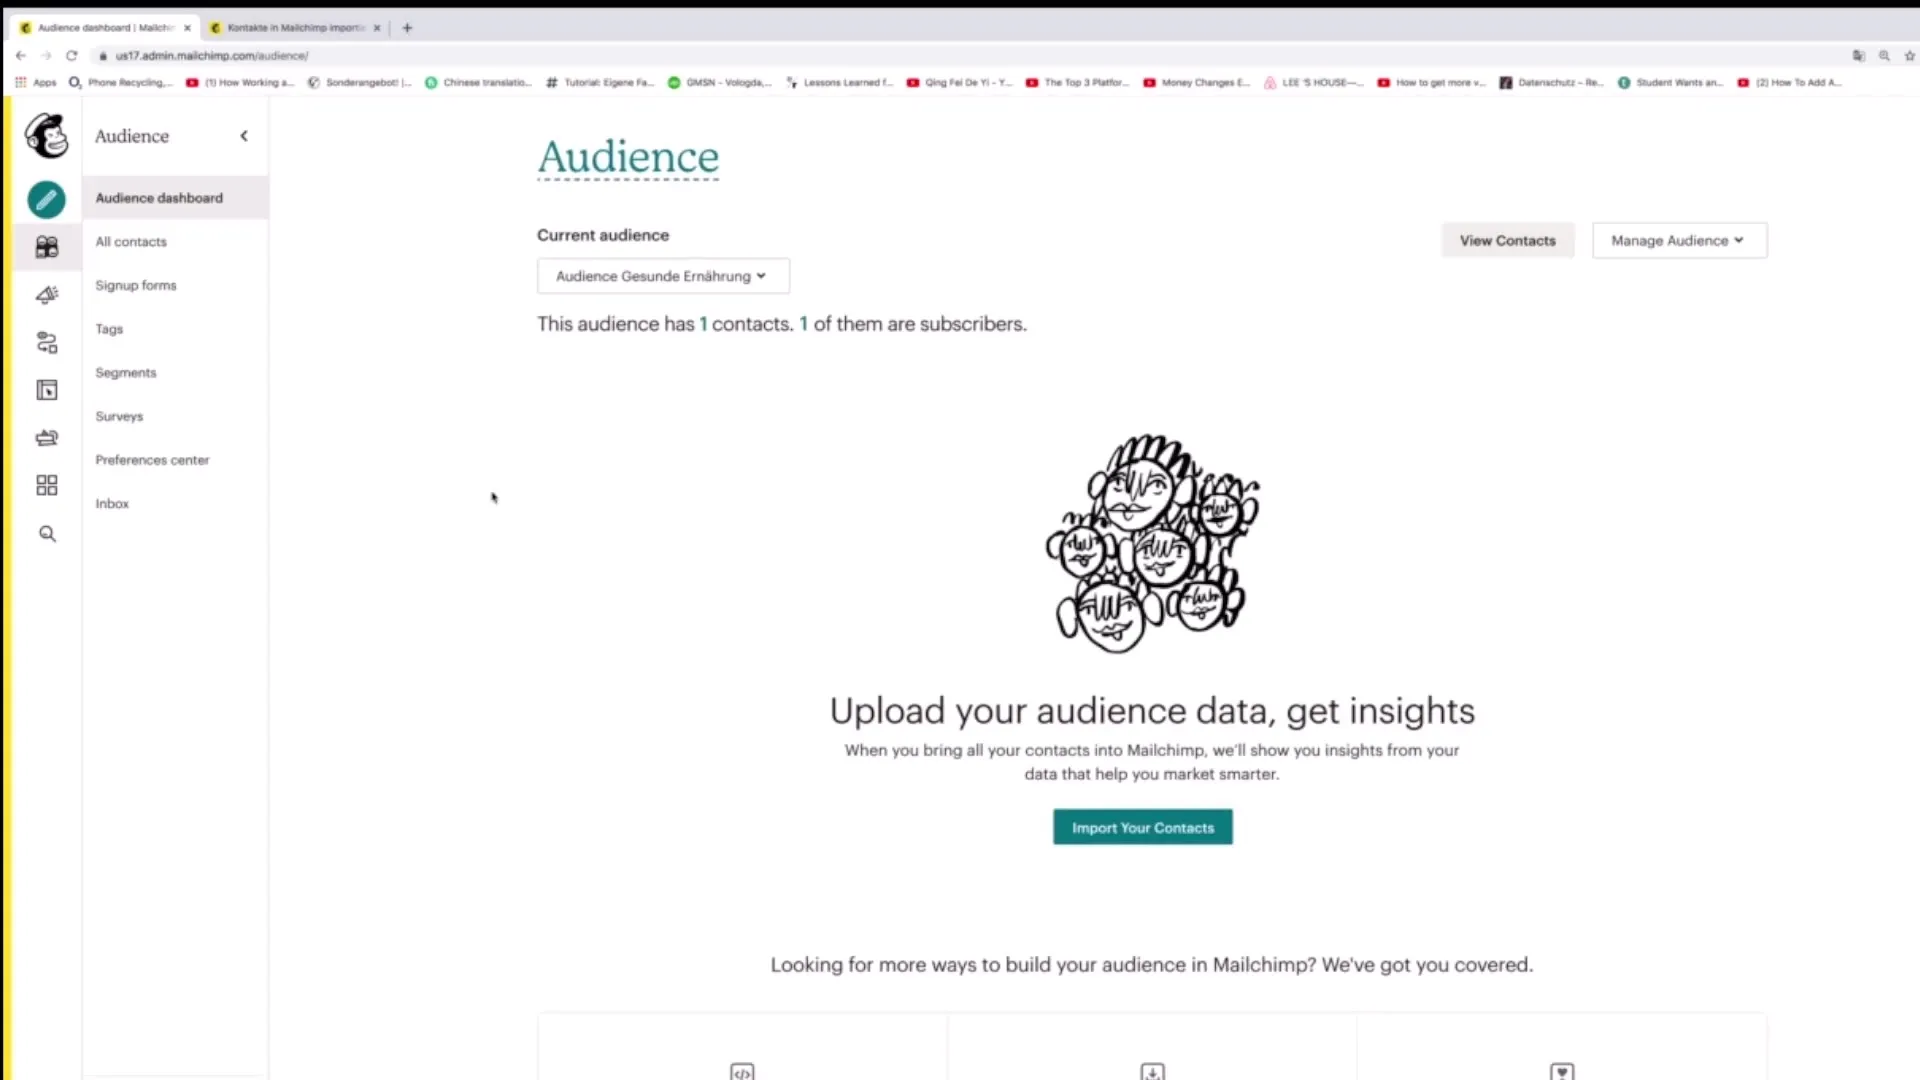
Start by opening your audience in Mailchimp. Click on "Segments" in the left sidebar. There you will find an overview of your audience where you can create and manage your segments.

2. Create a New Segment
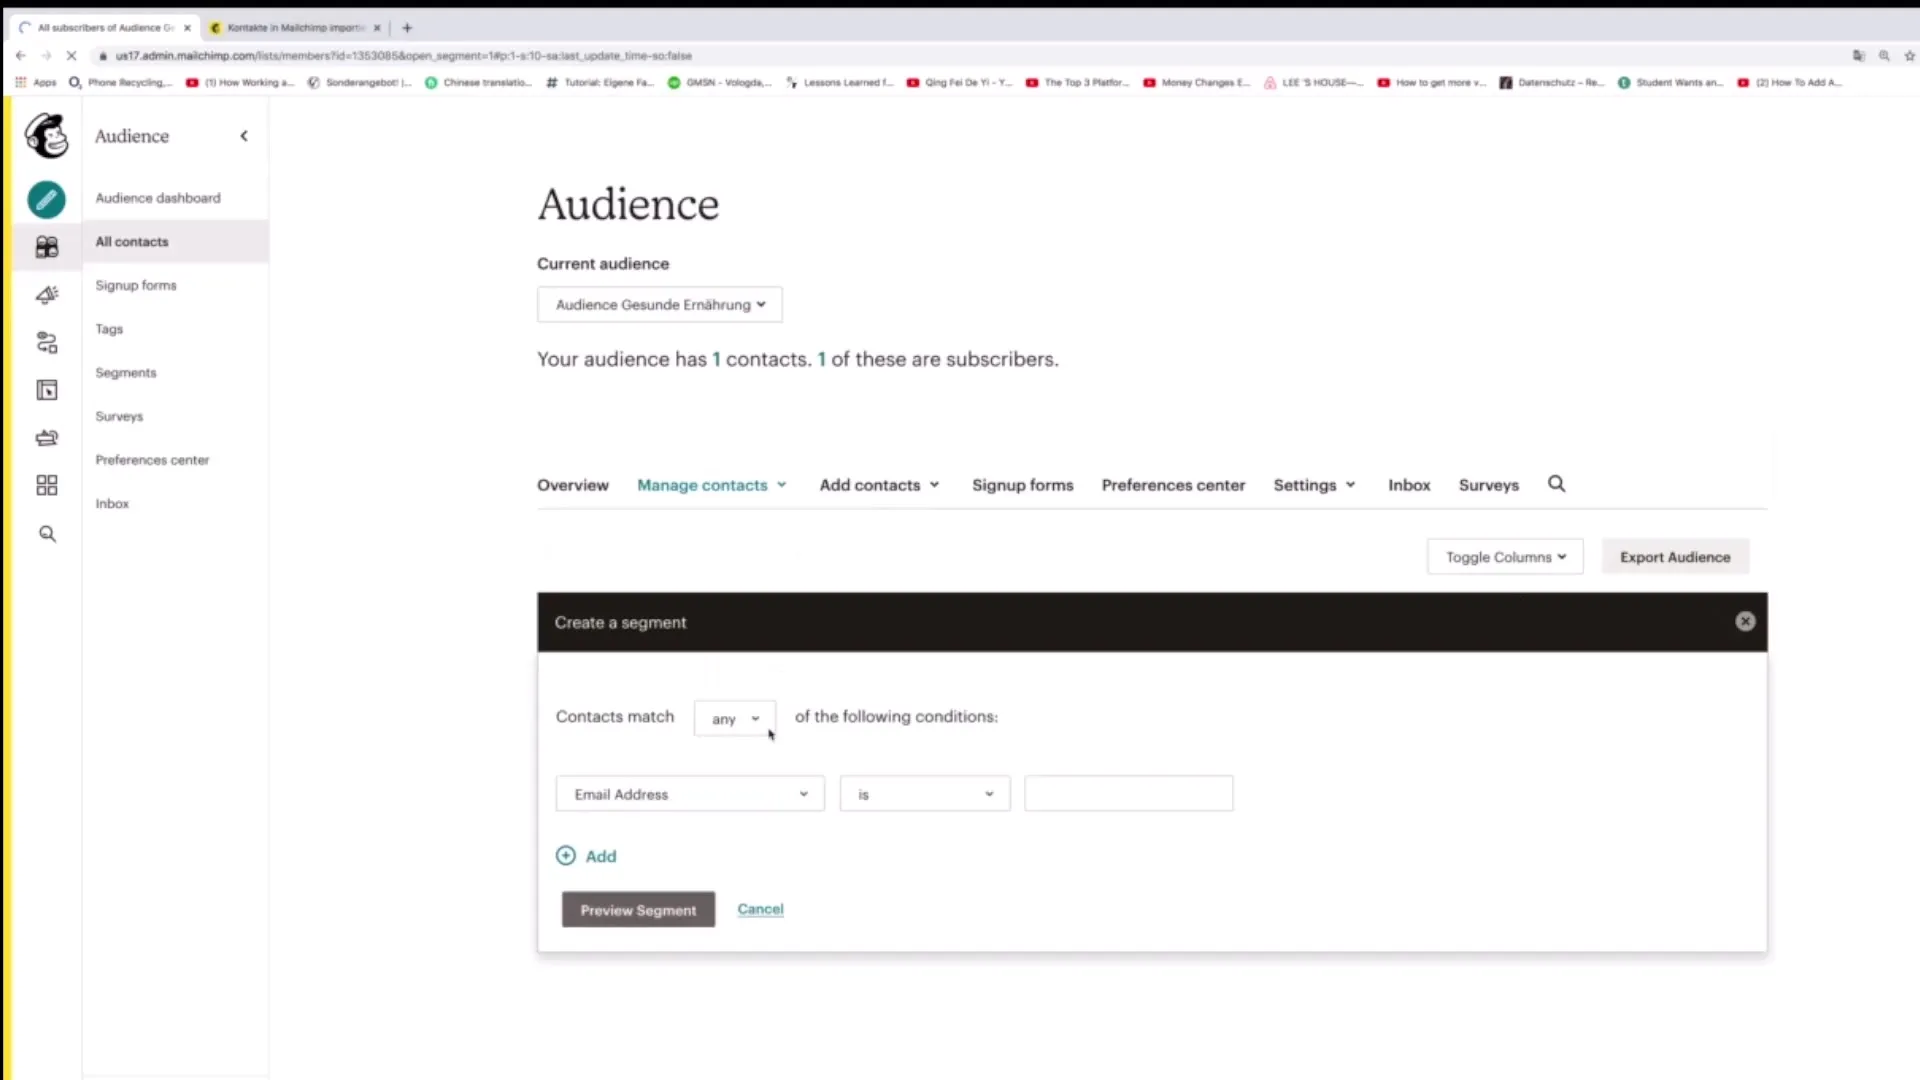
To create a new segment, click on the "Create Segment" button. This will open a form where you can set up various filters to segment your audience.

3. Define the Conditions for Your Segment
Now it's time to set the conditions for your segment. You can specify that contacts must meet certain conditions. For example, you can specify that contacts with a specific email address or a specific last name should be included in the segment.
4. Add Conditions
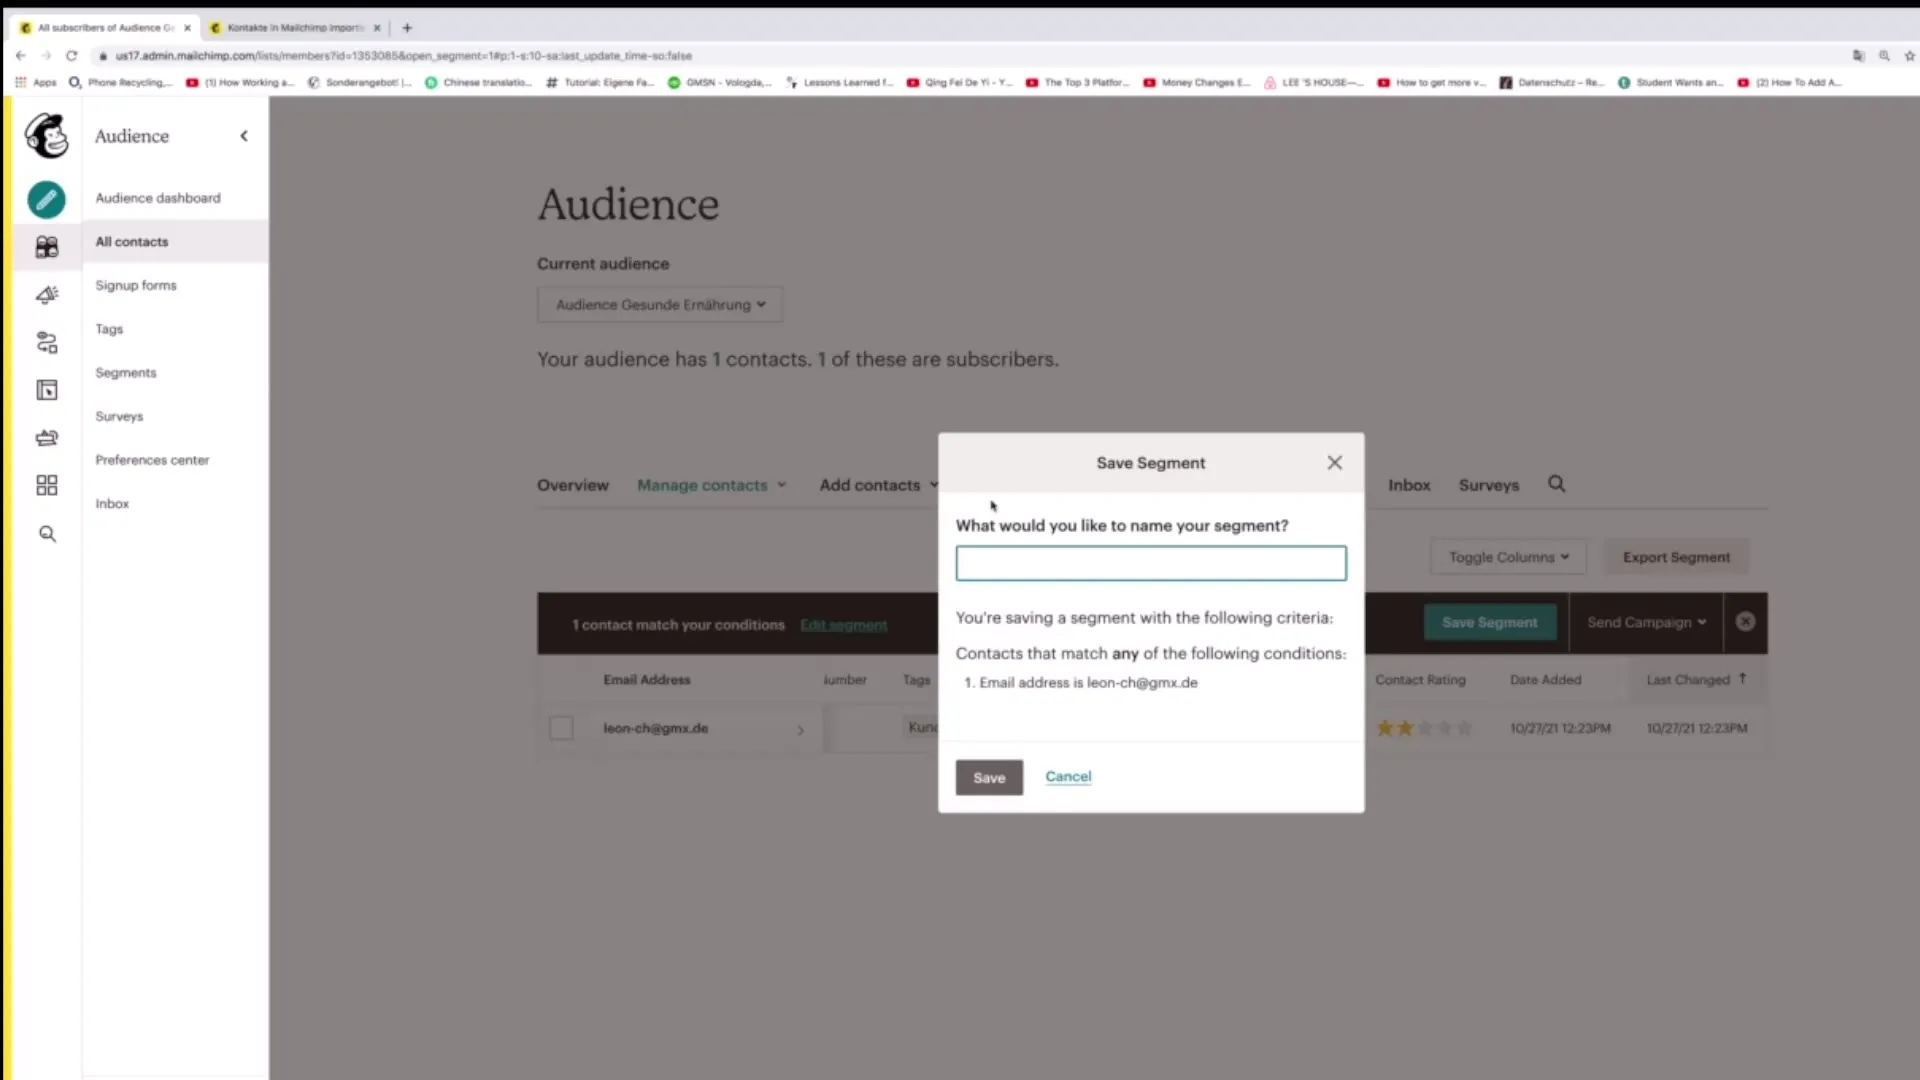
Add the corresponding condition for your segment. You can select different criteria, such as email address, last name, first name, and many more. Click on "save Segment" to save your settings.

5. Assign a Name to Your Segment
Once you have defined the conditions, you need to give your segment a name. This will help you easily identify the segment later. For example, you could name it "Important Email Contacts."
6. Review Your Segment
After saving the segment, you can click back on "Segments" to see if it was created correctly. Click on the segment name to get an overview of the contacts assigned to that segment.
7. Add More Segments
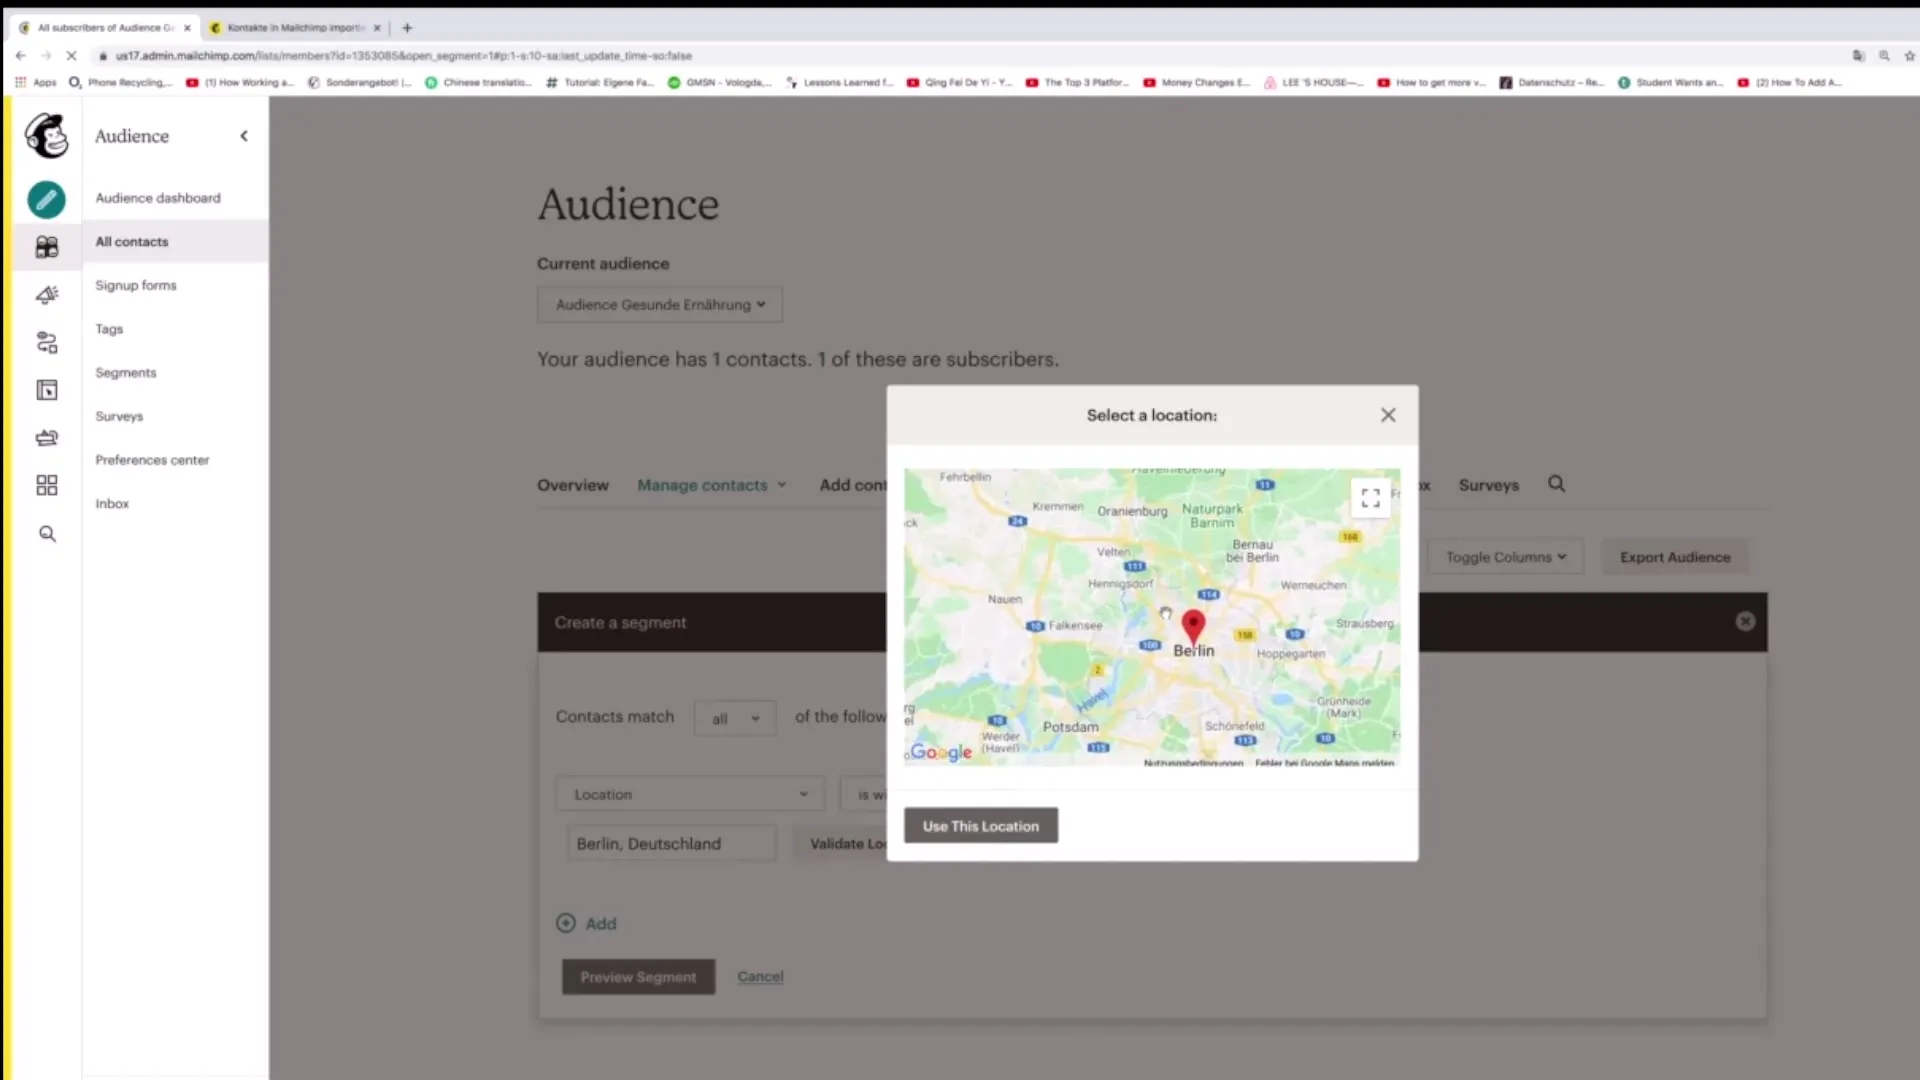
You can always create more segments. For example, you may want to create a segment for contacts in a specific geographic area, such as "Subscribers in Berlin."
8. Create Segments with Multiple Conditions
You have the option to create advanced segments with multiple conditions. By using "match all" or "match any," you can add multiple requirements that a contact must meet to be included in the segment.
9. Use Location Data for Segments
If your audience has geographic data, you can use it to create segments. For example, you can specify that only people living within a certain distance of a specific location should be included in a segment.

10. Automatic Segmentation for New Contacts
Mailchimp automatically updates the segments when new contacts are added to your audience. Contacts that match the segment's conditions will be immediately categorized.
11. Manage Your Segments
You can edit or delete segments at any time. Click on the segment you want to modify and select the "edit" option to change the criteria.
12. Use Ratings for Segmentation
Mailchimp also allows you to segment contacts based on their "Contact Rating." For example, if you only want contacts with a rating of three stars or higher, you can also set this in the segment.
Summary
Creating segments in Mailchimp is a simple but crucial step for targeting your audience. With different criteria, you can create segments that help you conduct effective marketing campaigns. Note that segments are automatically updated, and you can make changes or create new segments at any time.
Frequently Asked Questions
How do I create a new segment in Mailchimp?Click on "Segments", then on "Create Segment" and define the conditions.
Can I use more than one condition for a segment?Yes, you can add multiple conditions to make your segments more precise.
How do I save the settings for a segment?Once you have defined the conditions, click on "save Segment".
What happens if I add new contacts?New contacts are automatically categorized into segments if they meet the criteria.
Can I edit or delete segments?Yes, you can edit or delete segments at any time by clicking on the segment and choosing the respective options.


