The context menu in Adobe InDesign is a convenient feature that provides quick access to commonly used commands and settings. With a simple right-click, depending on the selected element – text, image, frame, or page – you can directly access relevant options without having to navigate through menus. In this guide, I will show you how to efficiently use the context menu to speed up your workflow and edit layouts precisely. Let's get started and explore the benefits of this time-saving feature!
You open the context menu by right-clicking. Depending on the current tool and the selected object, it presents you with completely different editing options.
For example, when you call up the context menu of a selected text frame, you will find text-specific menus such as Text Frame Options, Fill with Placeholder Text or Edit in Story Editor, …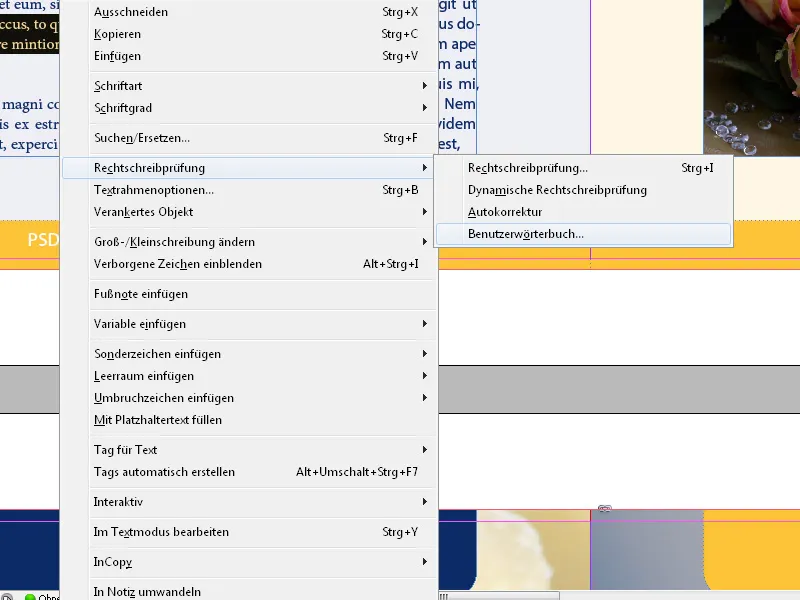
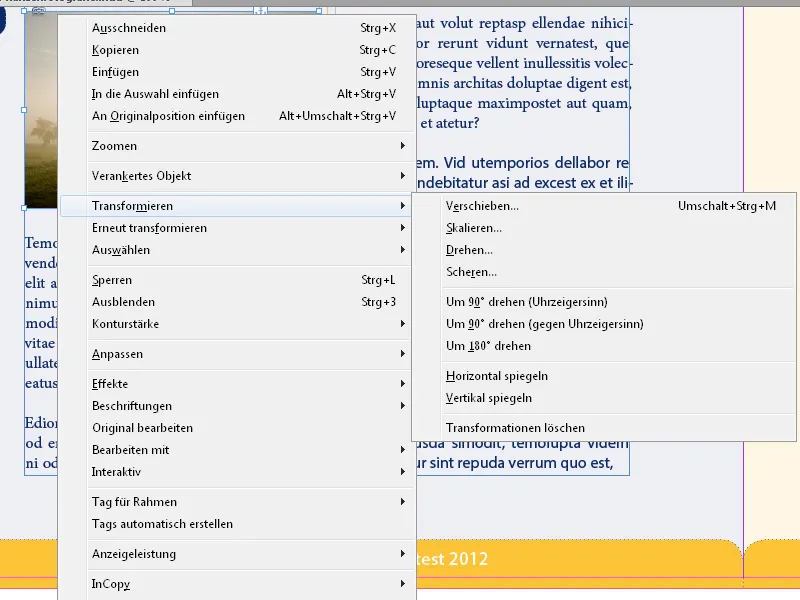
… whereas the context menu of image frames allows quick access to effects like Drop Shadow or Transparency, Image Captions or Editing the image file with the associated graphics or image editing program.
When working with text, you can quickly look up words in the dictionary or check the spelling of a selected text passage using the context menu.
Or you can quickly change uppercase or lowercase (a very useful feature for correcting text that was written with the Caps Lock accidentally on), insert special characters like symbols, trademarks, hyphens, or em dashes, or all kinds of quotation marks.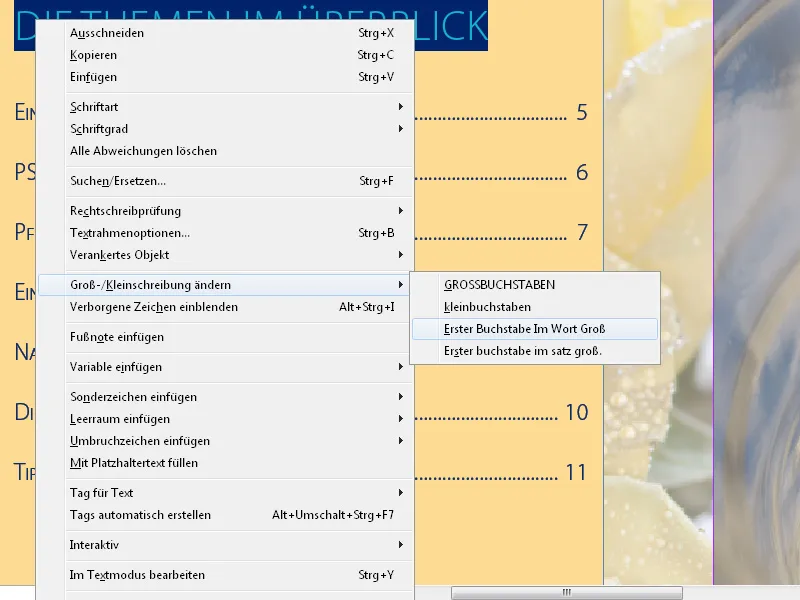
All imaginable types of spaces such as en space in various division forms facilitate the structuring of text sections through the context menu. Not to be forgotten are break characters for column, frame, page, or line breaks that can be precisely placed via the context menu at the position of the insertion point.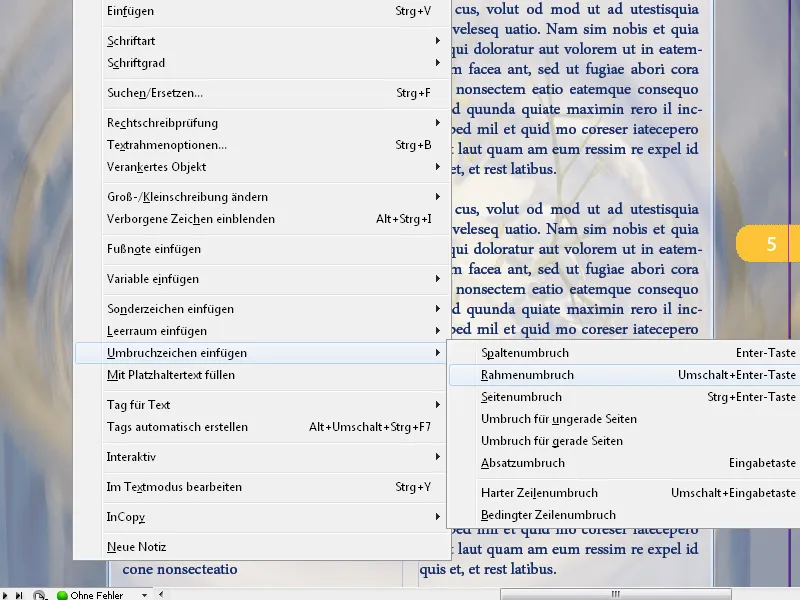
For text frames, the context menu also offers editing in Story Editor (Shortcut Ctrl+Y). This can be especially helpful when the frame has been rotated or mirrored, making the text difficult to read.
The Story Editor then opens a new window where the plain text without formatting is displayed and can be edited.
For bulleted and numbered lists, the context menu provides the option to restart numbering.
Conversely, there is also the option to continue a list that was started further up after additional text has been inserted in between.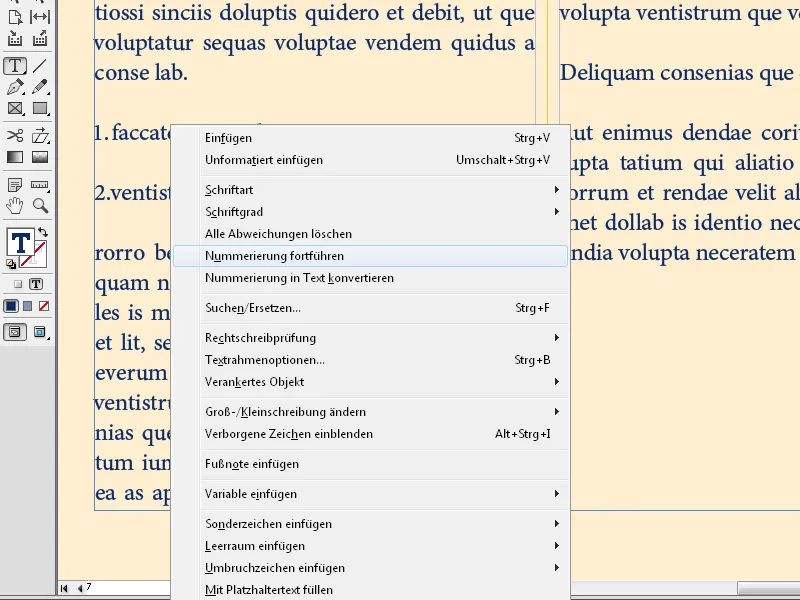
Through the context menu for an image frame, you immediately have access to frame fitting options (Fit) and can center the placed image or fill the frame proportionally.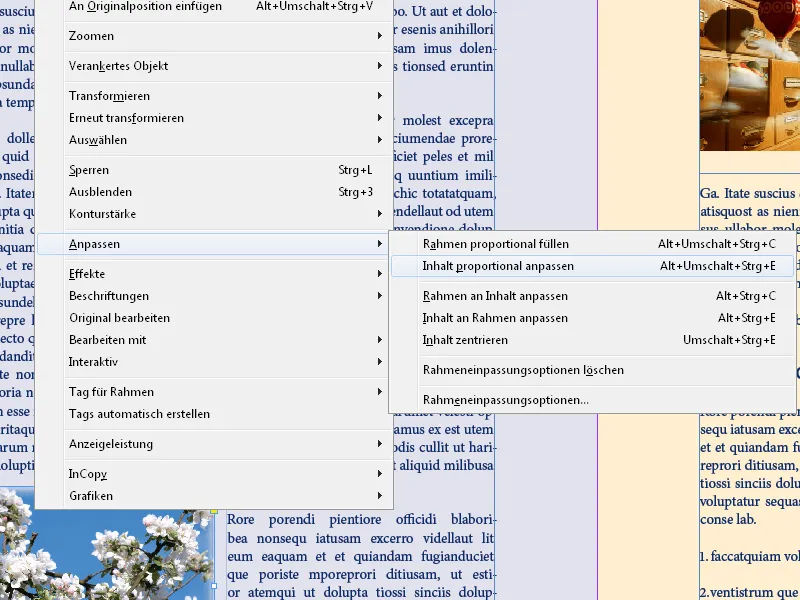
To check the resolution quality, you can also zoom into an image and using the right-click set InDesign's display performance to High-Quality Display. Now the image will be displayed on the screen in its original quality. To improve the program's performance when working with documents containing many high-resolution image data, it is advisable to switch back to normal display quality afterwards.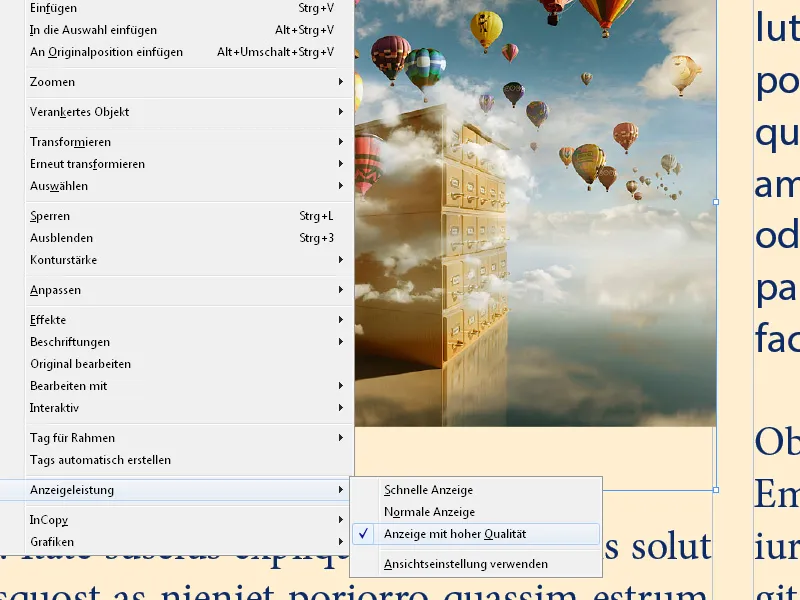
The menu item Graphics offers the possibility to show the file location of the selected file in Explorer. Clicking on it opens the corresponding folder in Explorer – with the file selected. Through the entry Reveal in Mini Bridge, the window with the source folder of the selected image file opens. To replace it with another image, you just need to drag the new image from the Mini Bridge into the image frame.
Finally, at that point (the Graphics entry of the context menu), you can check and change if necessary the color profile associated with the image.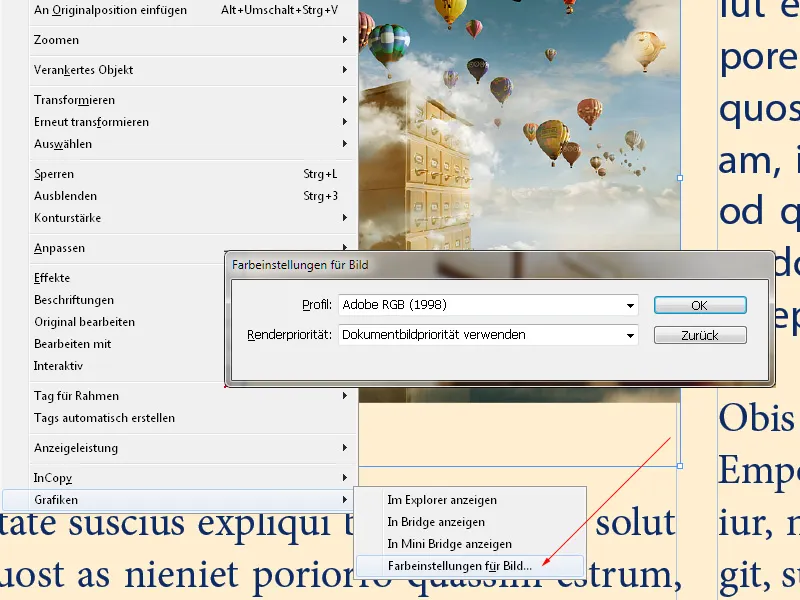
With two or more objects stacked on top of each other, you will find the Arrange entry in the context menu. Here you can set which object should be in the background, foreground, or in between.
If an existing image frame needs to be filled with text, select Content and then Text (or vice versa) from the context menu.
The context menu can also be used in the different tool palettes. The options offered always depend on the area you click on. For example, the Pages panel (F12) has an upper area with master pages. If you right-click in a free area there, you will get menus specific to master pages, while in the lower area with the actual document pages, the menus will be related to those.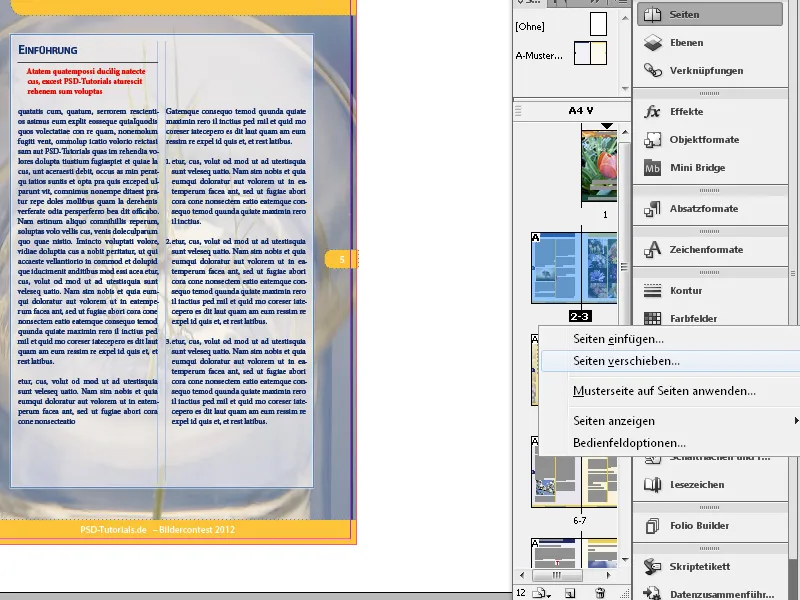
And the right-click directly on a specific print sheet shows different options again, to for example insert pages at that point, rotate or delete the page, etc.
You can find all menu items available in the panel in the palette menu, which you can access by clicking the icon below the close cross of the tool palette.
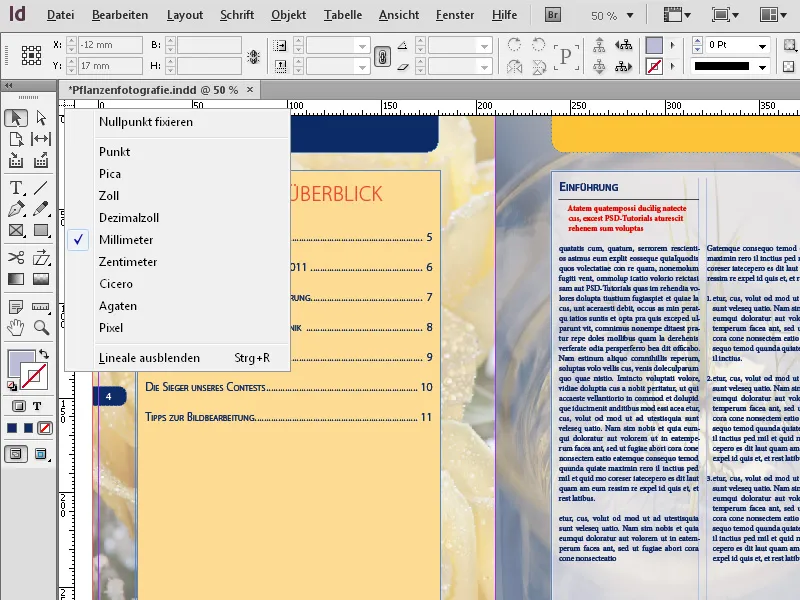
If you right-click on the ruler, you can change the measuring unit of a selected object in the context menu e.g. from millimeters to points or pixels. The conversion is displayed in the control palette for the axis of the chosen ruler. If you want to change the measuring unit for both rulers, click at their intersection.