More than just a simple email marketing tool, Mailchimp gives you the opportunity to improve your customers' Customer Journey using versatile automation and personalization strategies. This guide will help you understand and apply the different features of Mailchimp's Customer Journey Tool.
Key Insights
To effectively use the Customer Journey Tool, you can:
- Explore and customize various existing Customer Journeys.
- Create new Customer Journeys from scratch.
- Define different actions and triggers to communicate targeted messages with your audience.
- Send automated emails that react to your users' behavior to increase conversion rates.
Step-by-Step Guide
Step 1: Accessing the Customer Journey Tool
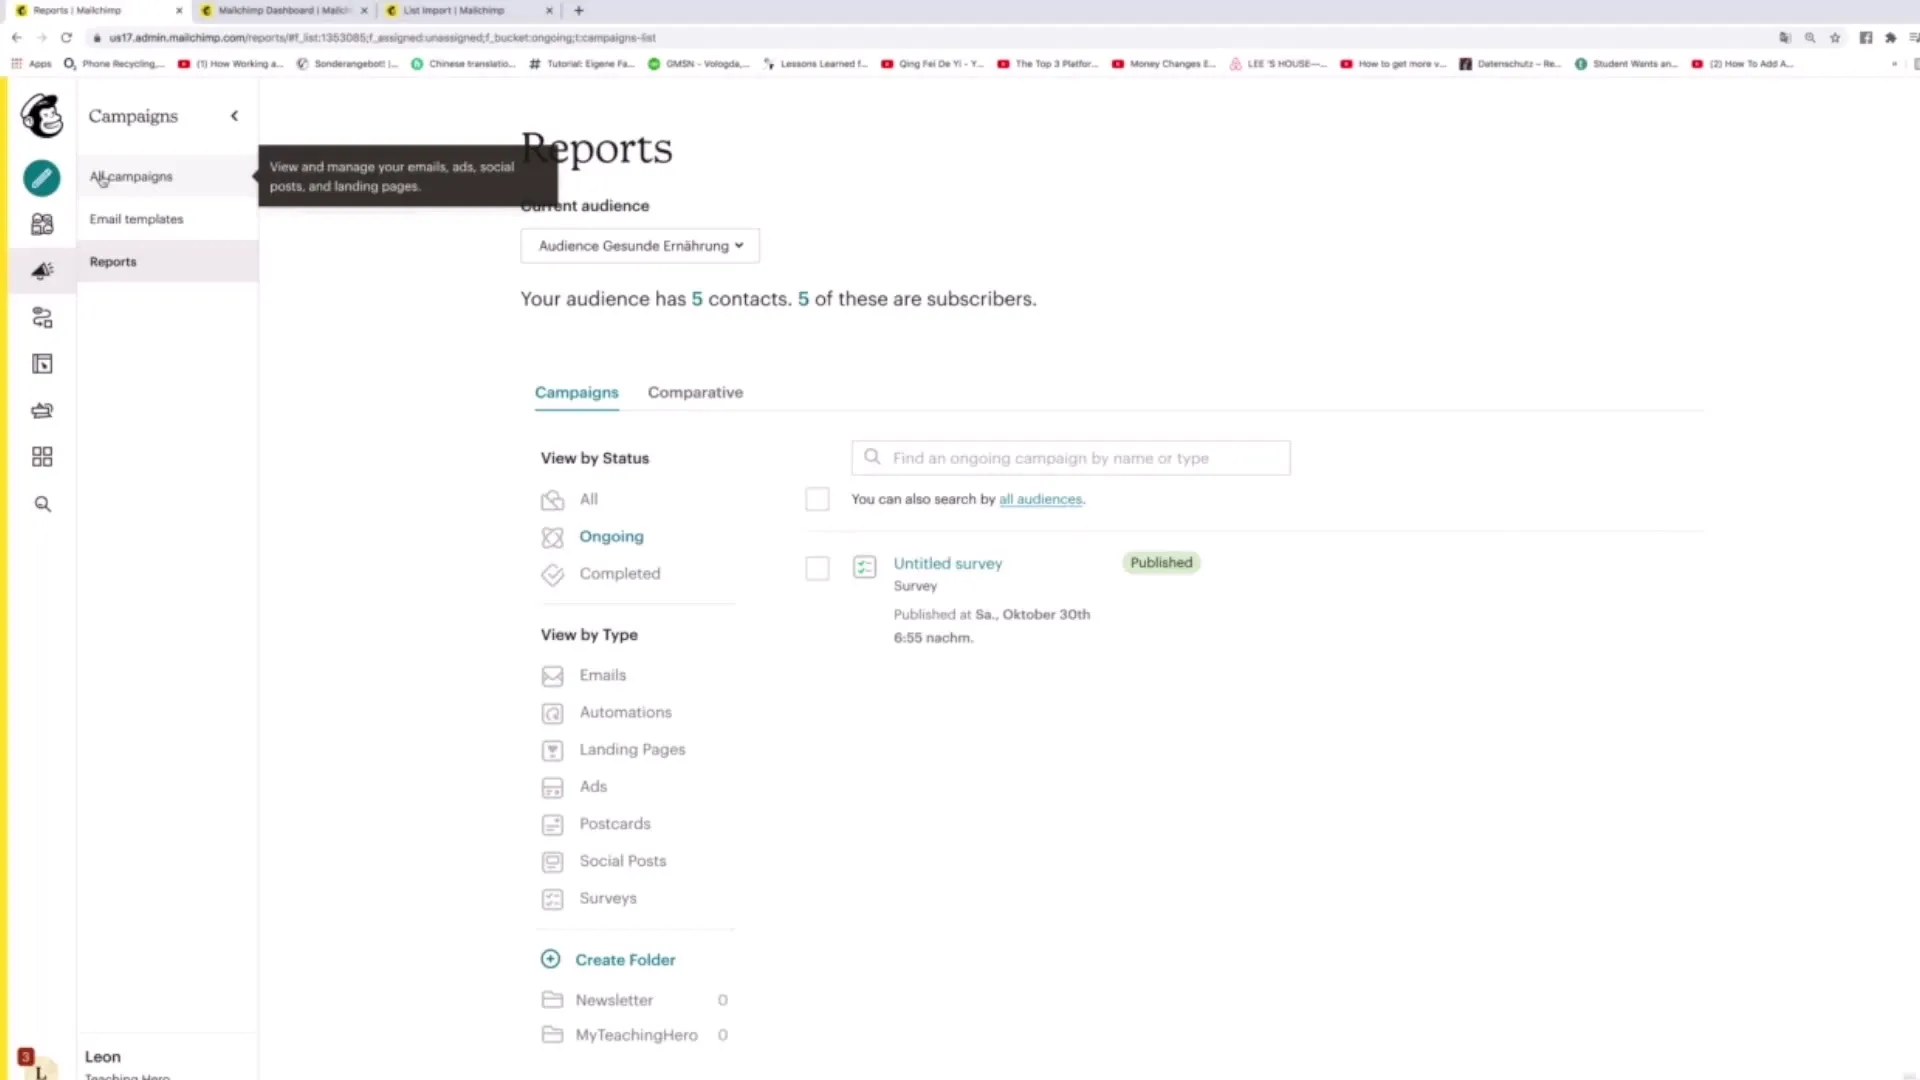
To gain a better understanding of the Customer Journey, start Mailchimp and navigate to the left sidebar. Click on "Create" and then select the "Customer Journeys" option.
Step 2: Exploring Existing Customer Journeys
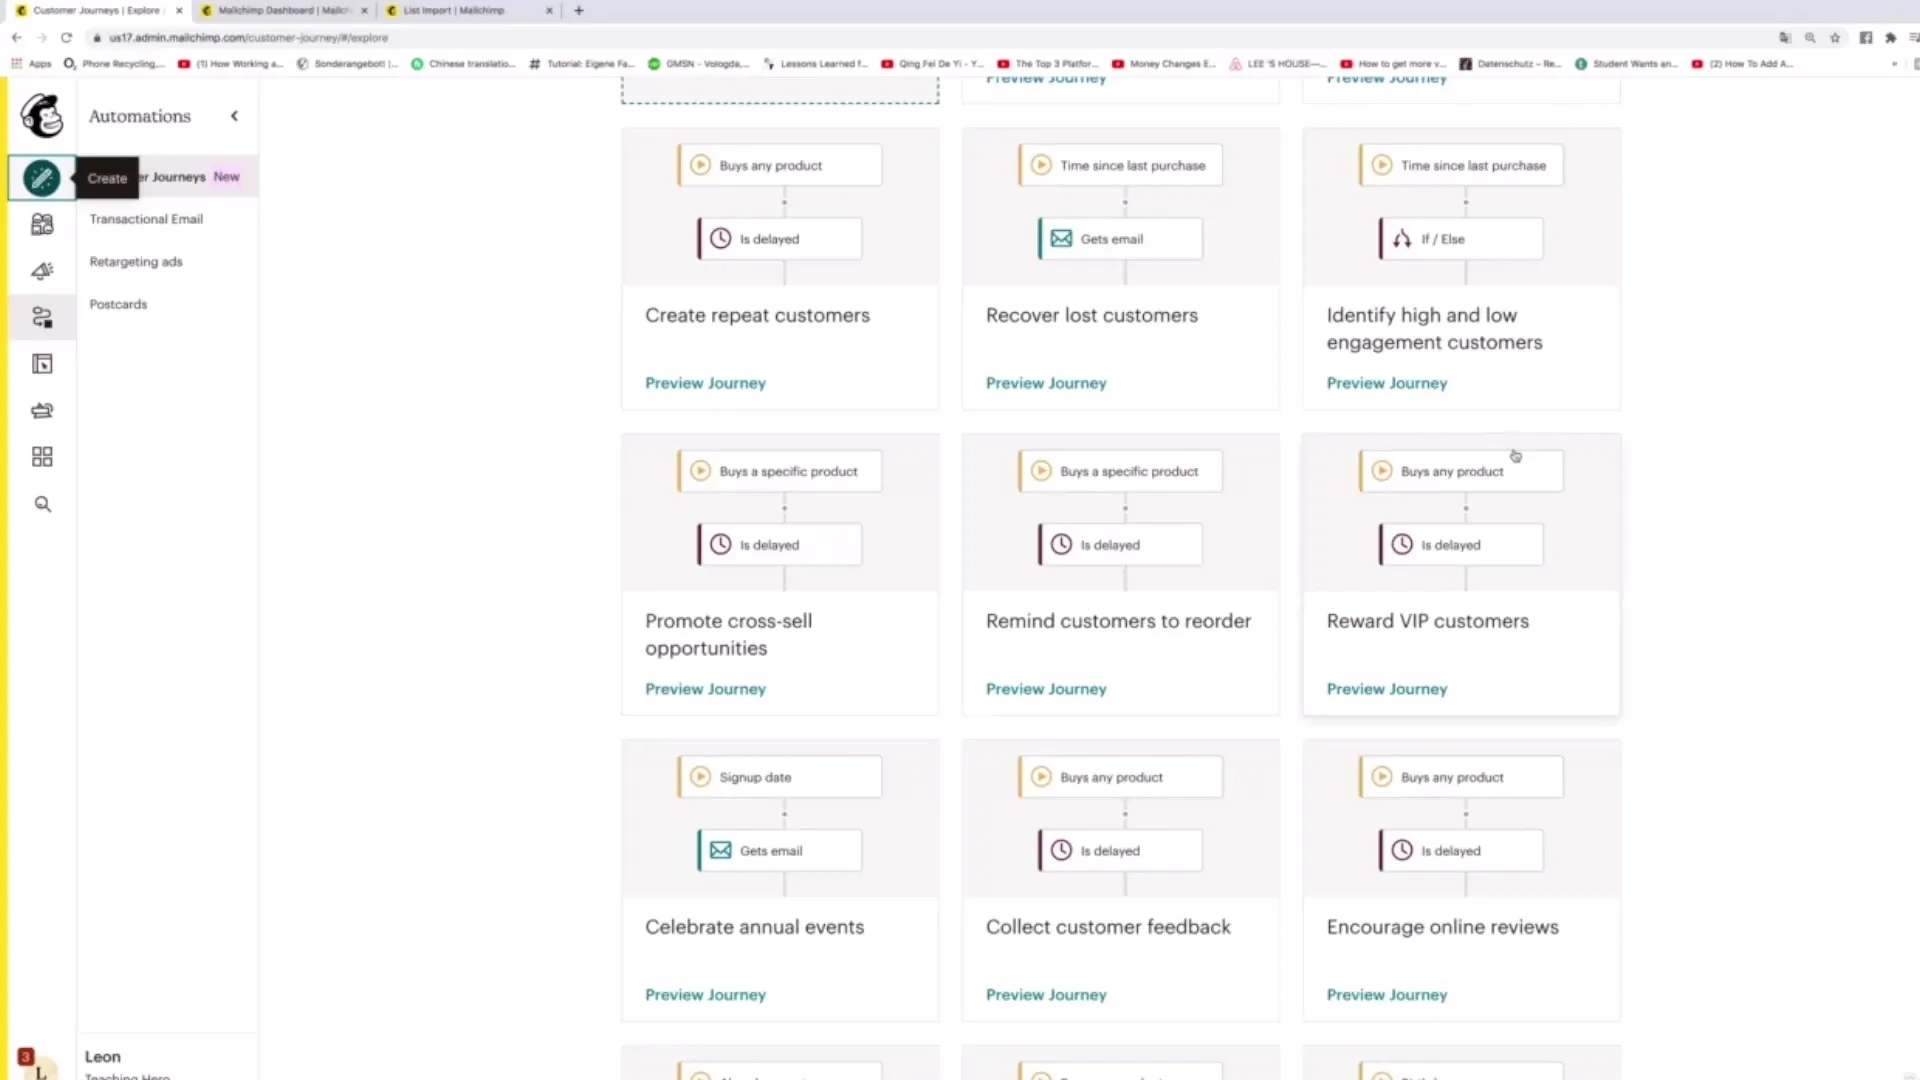
You have the option to browse through the predefined Customer Journeys provided by Mailchimp. Scroll down to see various options. Clicking on one of the available Journeys will give you more information about how they work and how you can use them.
Step 3: Creating a New Customer Journey
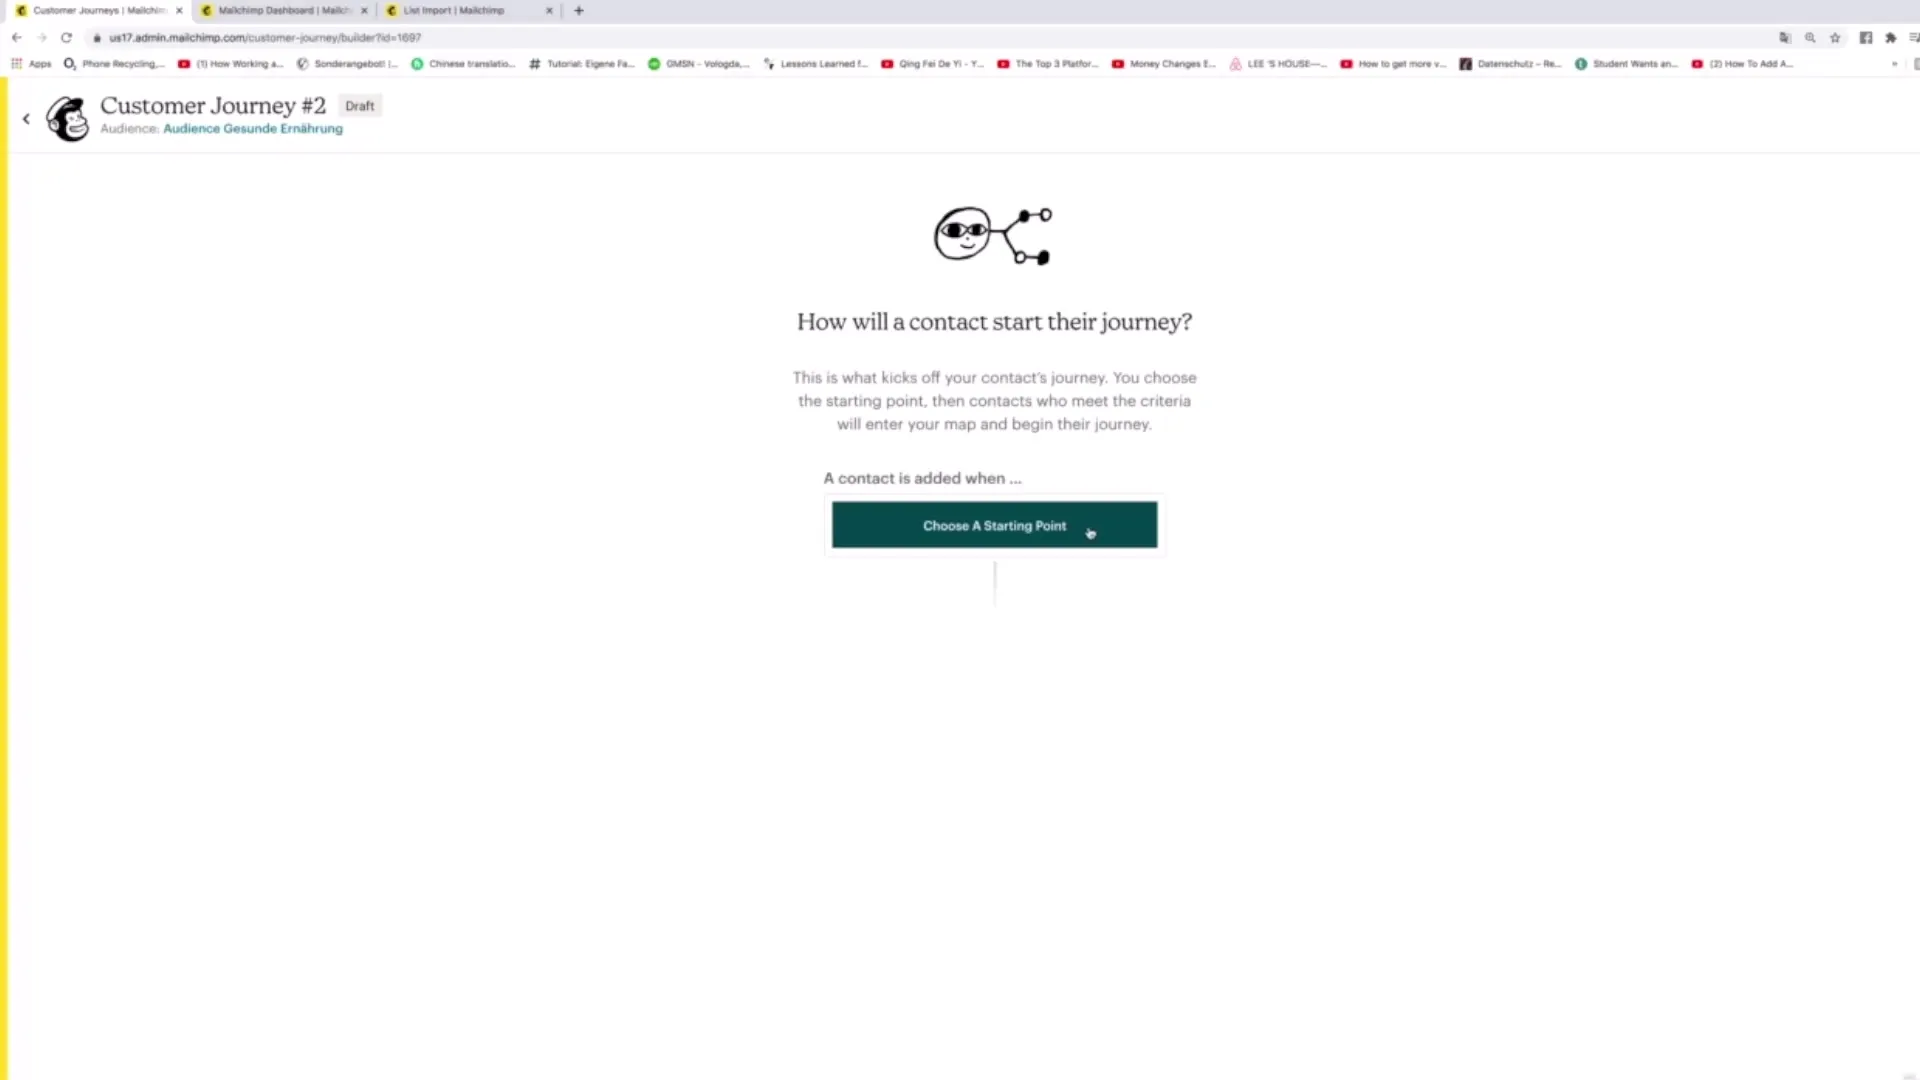
To create your own Customer Journey, click on "Start Creating". It also allows you to develop a Journey from scratch. Here you can assign a name to your Journey, e.g. "Customer Journey 2", and select an audience to target.
Step 4: Setting the Entry Point
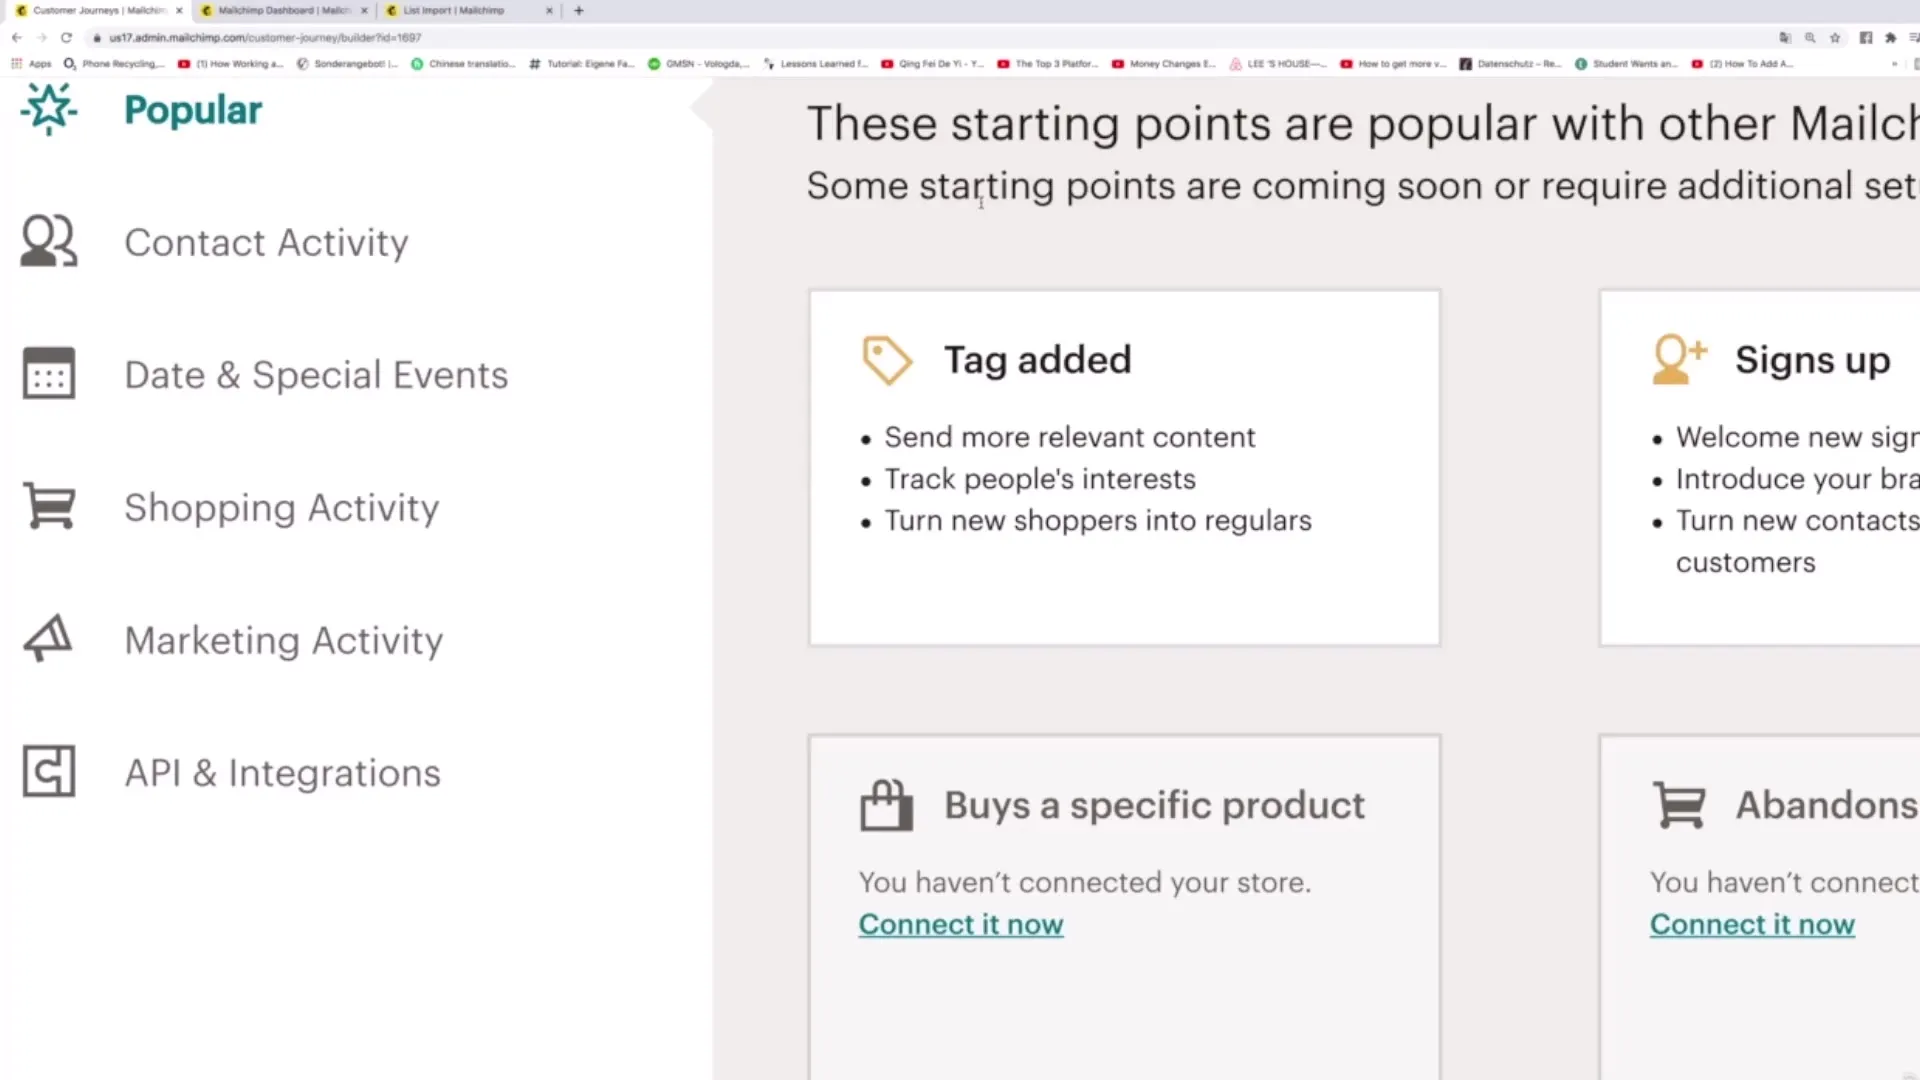
Now select an appropriate starting point for your Customer Journey. There are many different options. Previously, we discussed the "Signs up" option; additionally, there are possibilities like "Contact Activity" or "Marketing Activity" to address your users' behavior specifically.
Step 5: Adding Automations
After selecting the starting point, you can add automations. For example, you could specify that a certain email is sent to a user when they receive the tag "Customer". Additionally, you can decide what happens to contacts that do not respond.
Step 6: Creating Upsell and Downsell Emails
Looking to boost your sales figures strategically? Sending upsell or downsell emails is a good approach. An upsell, for example, is an email that leads to a more expensive product, while a downsell offers a cheaper alternative. When creating them, make sure to choose compelling subject lines that pique curiosity.
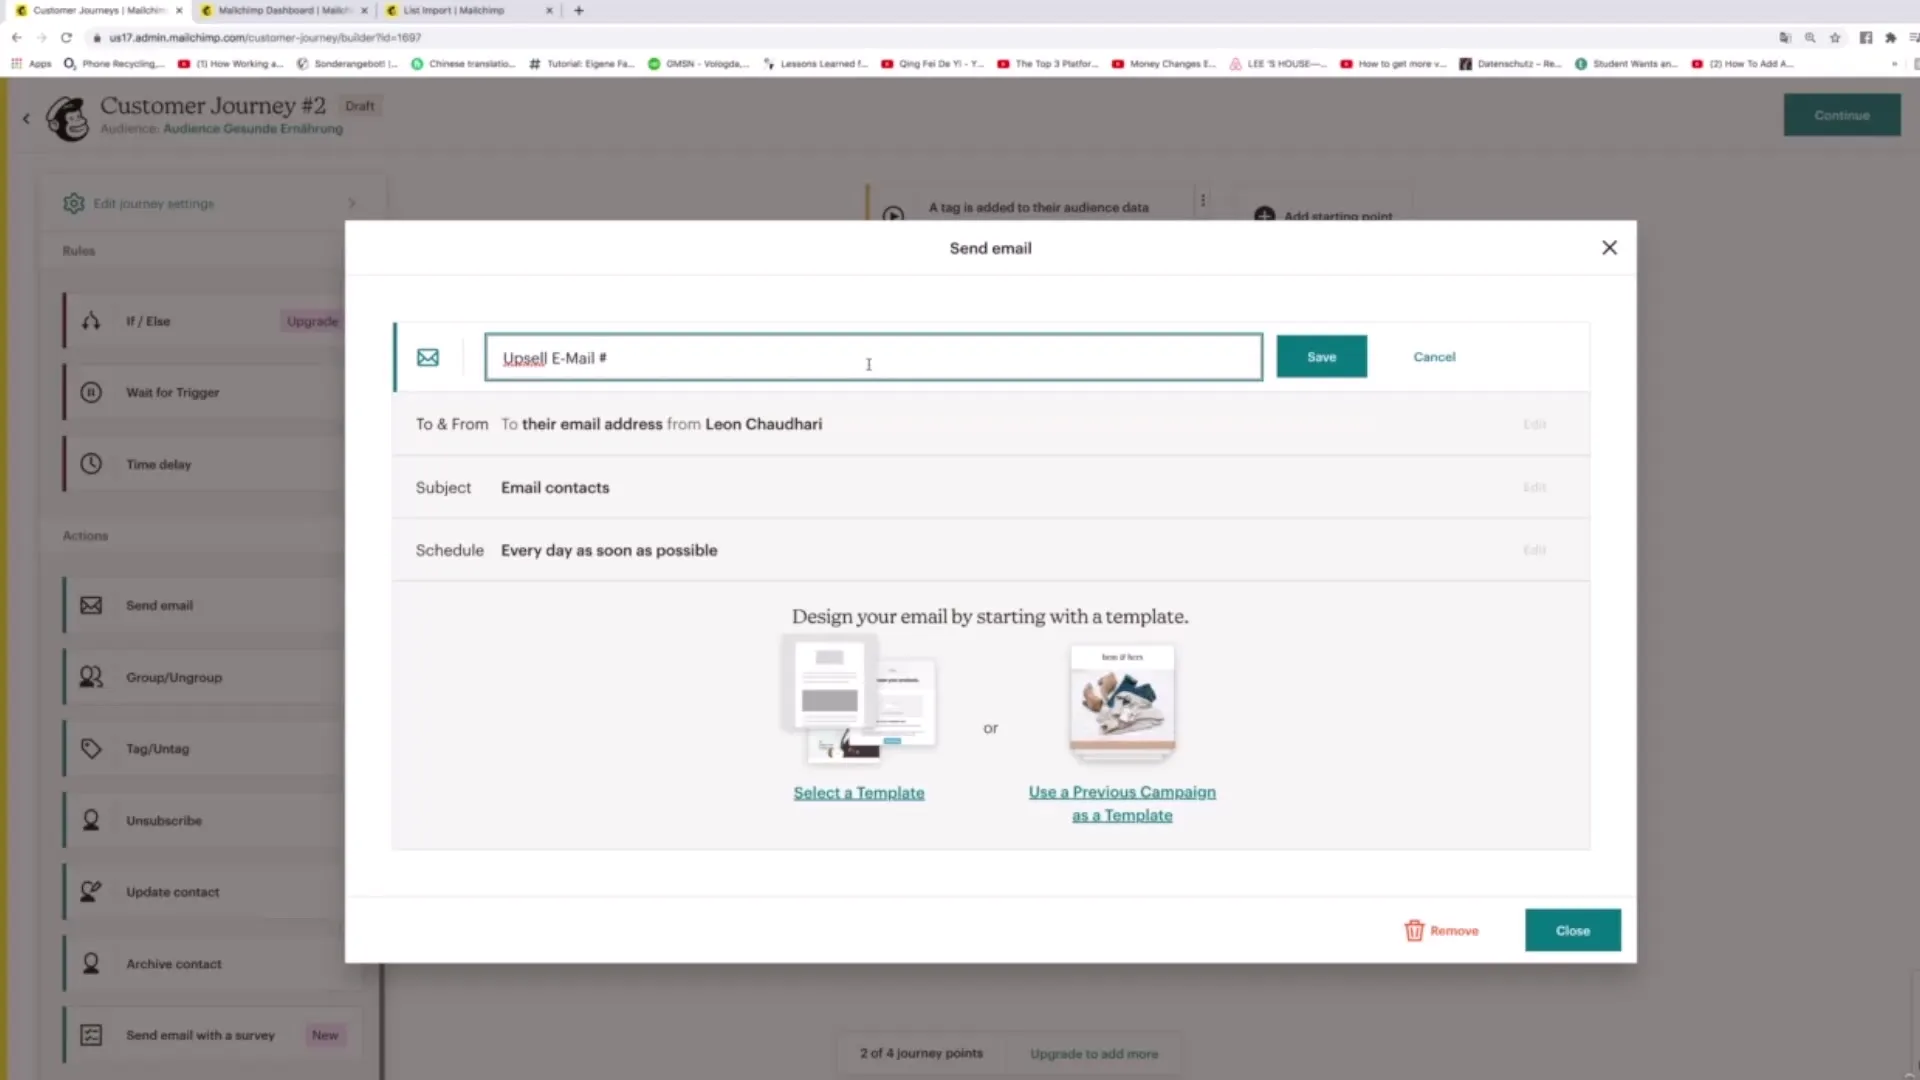
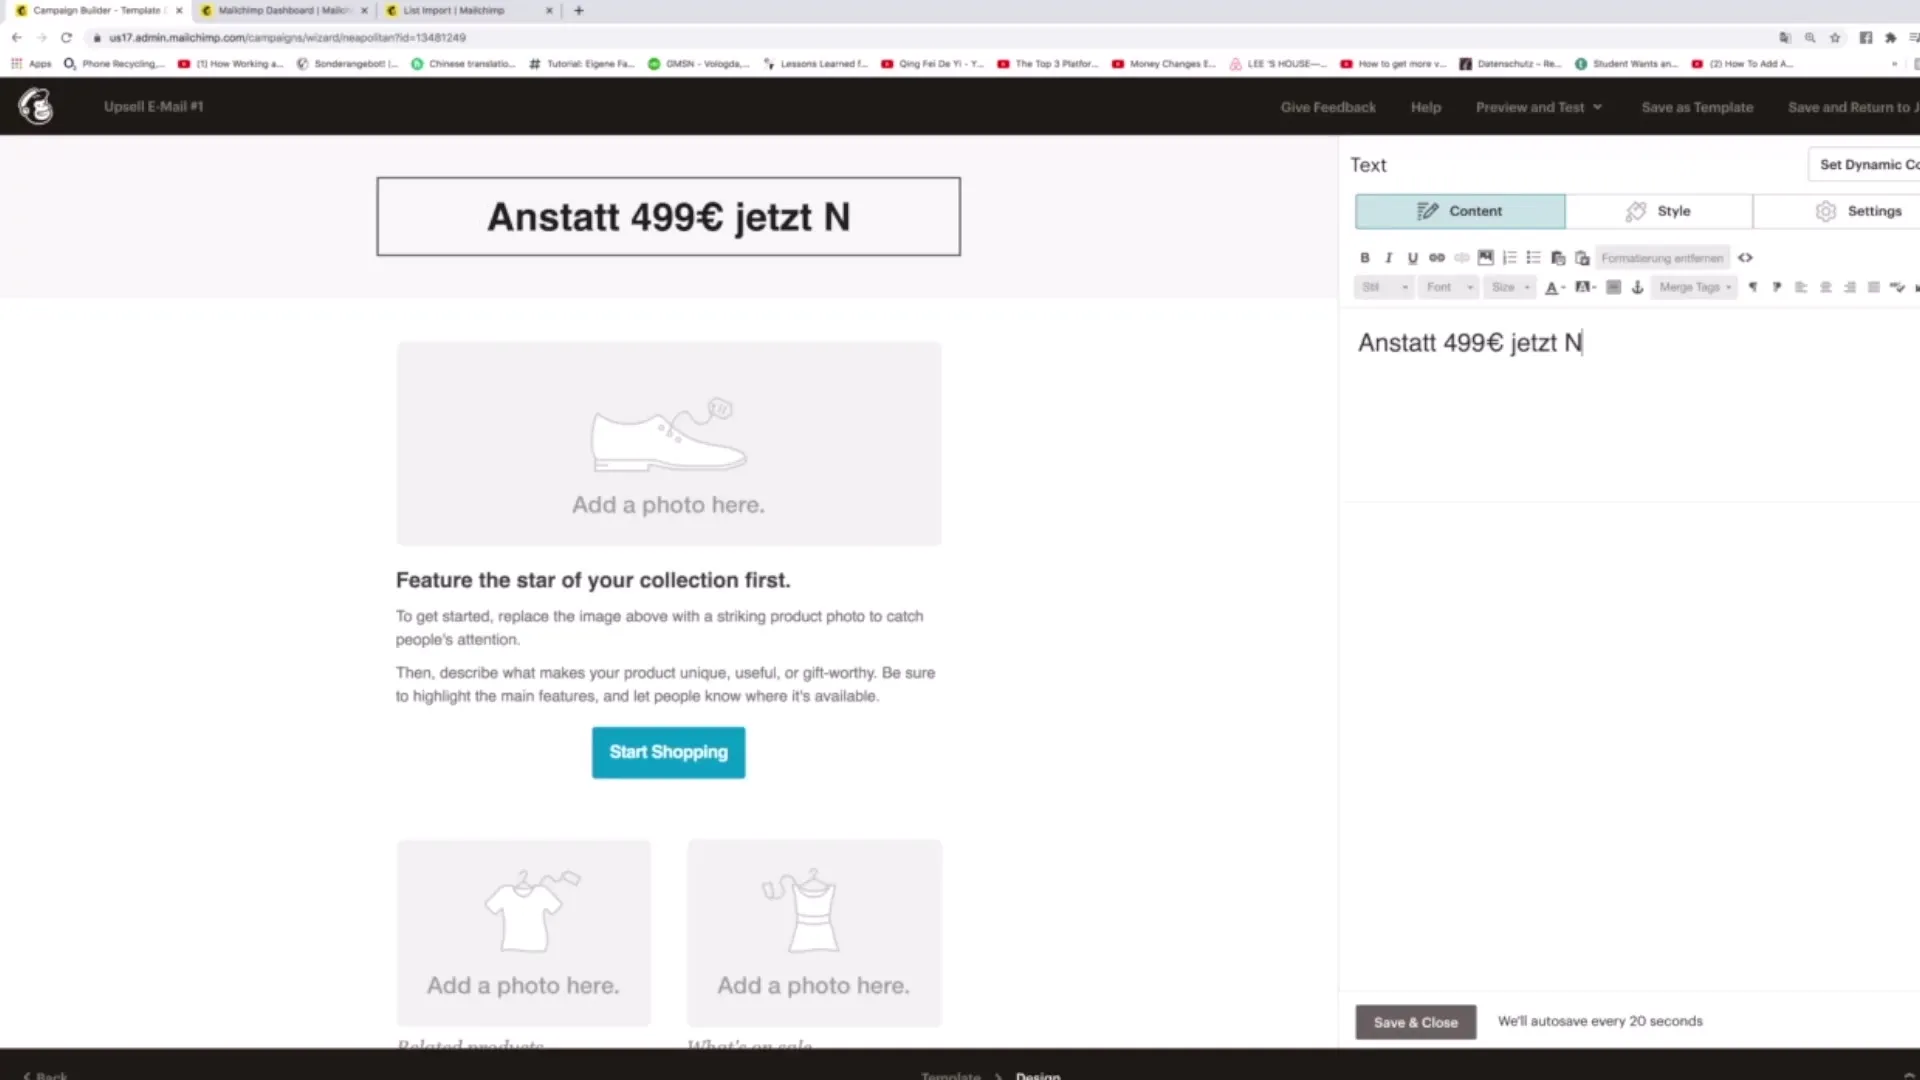
Step 7: Editing Email Content
Then click on the templates to further customize your outputs. Personalize the email contents and add images or GIFs to capture your readers' attention.
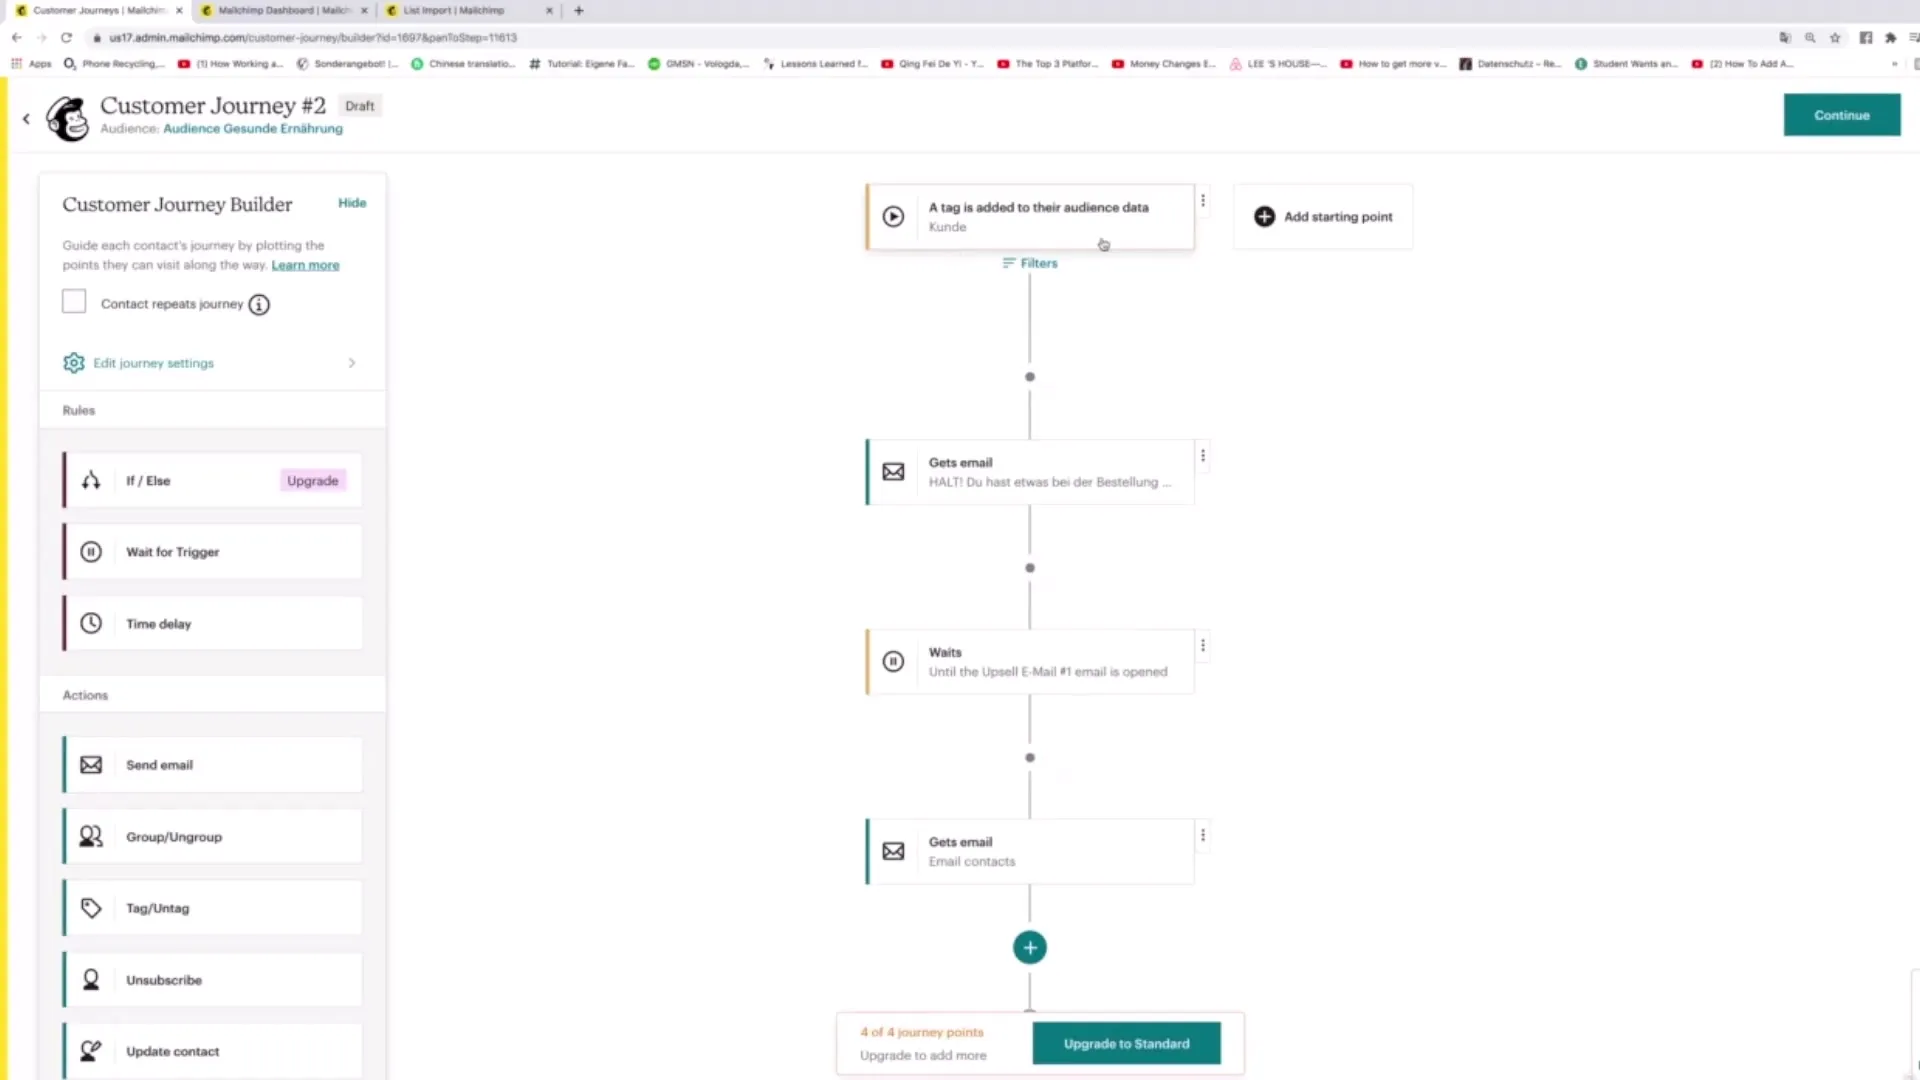
Step 8: Setting Triggers and Waiting for Events
With the "If-Else" logic, you can determine which actions should be taken in response to users' behavior. It checks if the user has opened an email. If so, a follow-up email is sent based on that engagement.
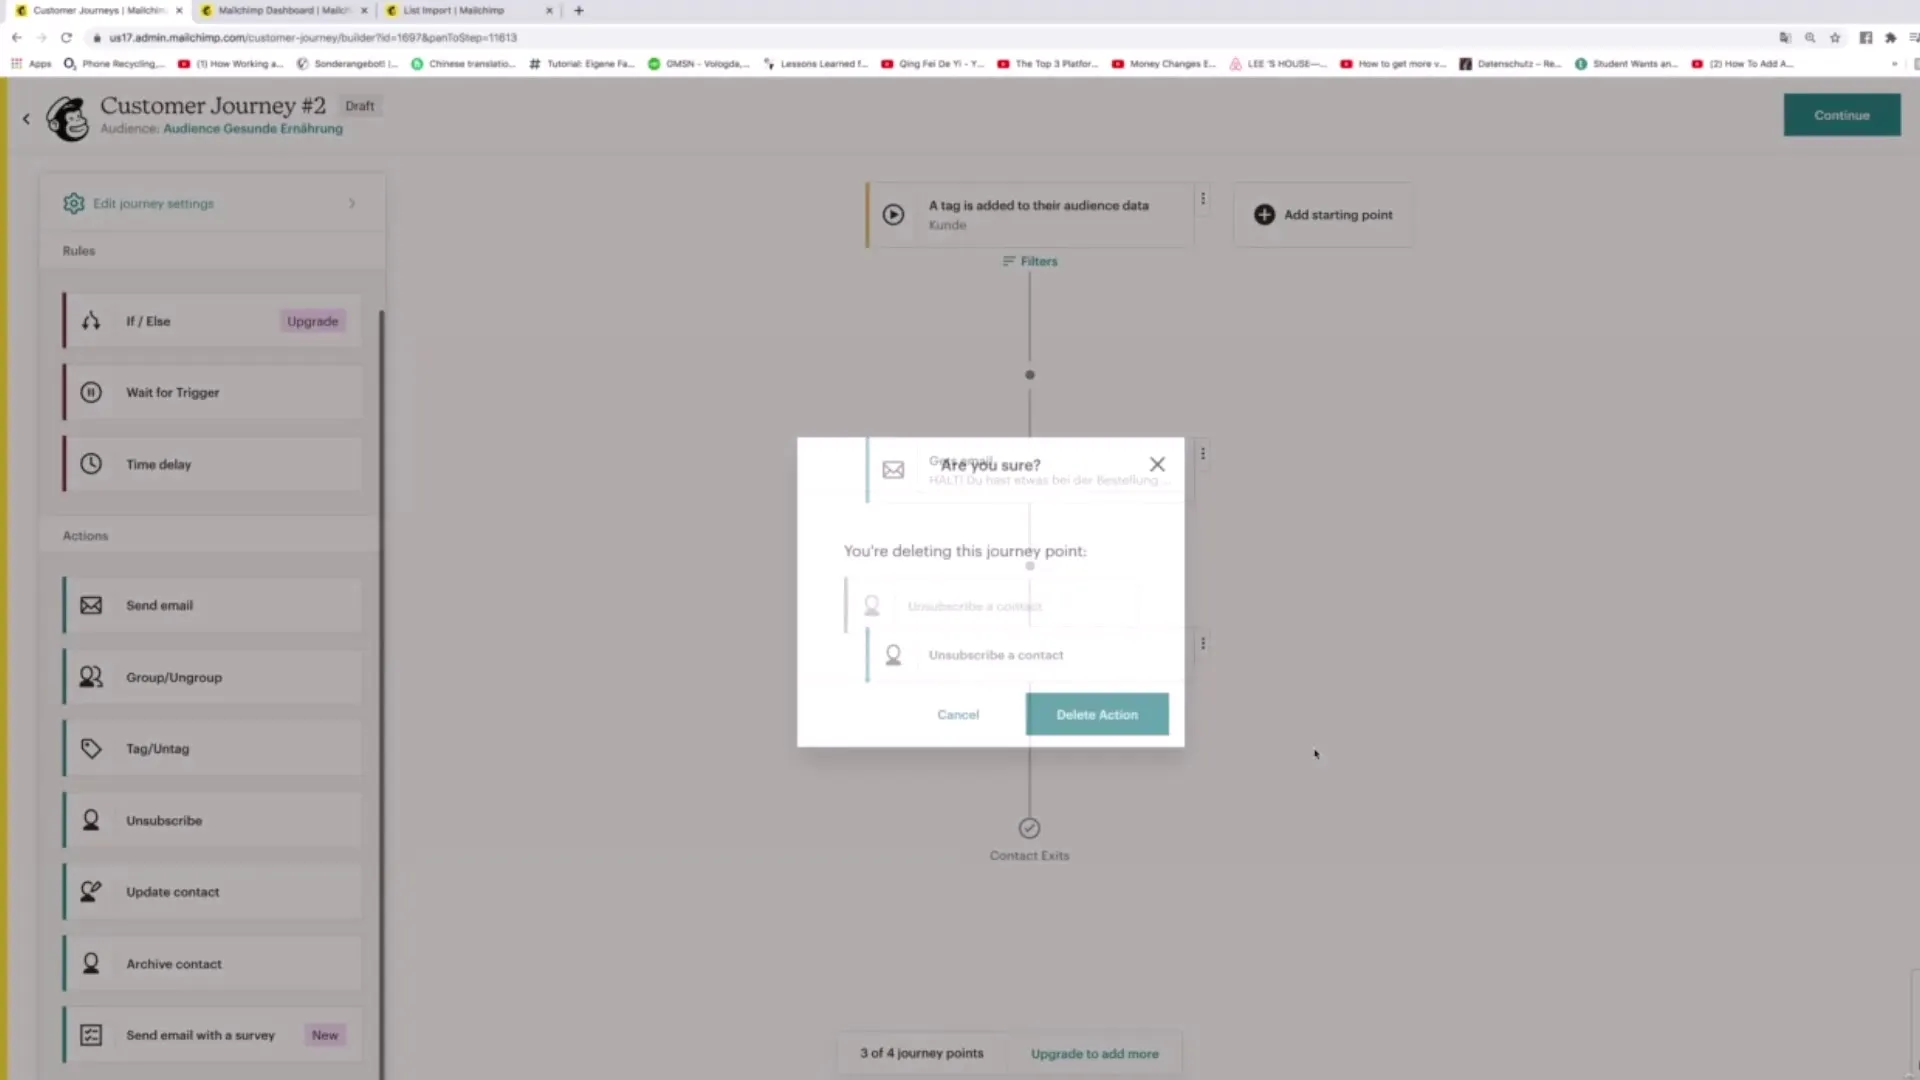
Step 9: Adding Additional Options to the Journey
You can also utilize other features such as "Update Contact" or "Unsubscribe Contact". This allows you to change the status of your contacts or remove them from the Journey when certain conditions are met.
Step 10: Finalize and Test the Journey
Once all steps are defined, click on "Continue" to save and activate your journey. Test the journey to ensure everything functions as desired and adjust settings if necessary.
Summary
Throughout this tutorial, you have learned how to use Mailchimp's Customer Journey Tools to develop individual marketing strategies. You have internalized creating customer journeys, defining triggers, and sending automated emails to increase conversion rates. These approaches will significantly improve your marketing efficiency.
Frequently Asked Questions
How can I customize an existing Customer Journey?You can select an existing journey and make the desired customizations by editing the steps or adding new steps.
What is the difference between Upsell and Downsell?Upsell aims to offer a more expensive product, while Downsell presents a cheaper alternative.
How do I add triggers to my Customer Journeys?You can add triggers by using the "If-Else" logic or setting specific actions and criteria that trigger the next action.
Can I activate multiple Customer Journeys simultaneously?Yes, you can activate multiple journeys and run them in parallel.
How do I test my Customer Journey?You can activate the journey and observe how the emails are sent, or use test contacts to verify its functionality.
