Mailchimp offers a versatile platform that is not only suitable for sending emails. A lesser-known but extremely useful feature is the ability to send postcards. This option opens up new ways for you to connect with your customers and prospects. Even if you are already familiar with Mailchimp, this step may be new to you. Below, I will explain how you can send postcards through Mailchimp - from the initial steps to the final details.
Key Takeaways
- Mailchimp allows sending postcards to existing or new contacts.
- There are different pricing tiers for the mailing, based on the number of postcards.
- The entire process is simple and only requires basic information and content.
Step-by-Step Guide
Let's start by taking the initial steps to send your first postcard via Mailchimp.
First, log in to your Mailchimp account. To start creating a postcard, click on the "Create" button on the dashboard.
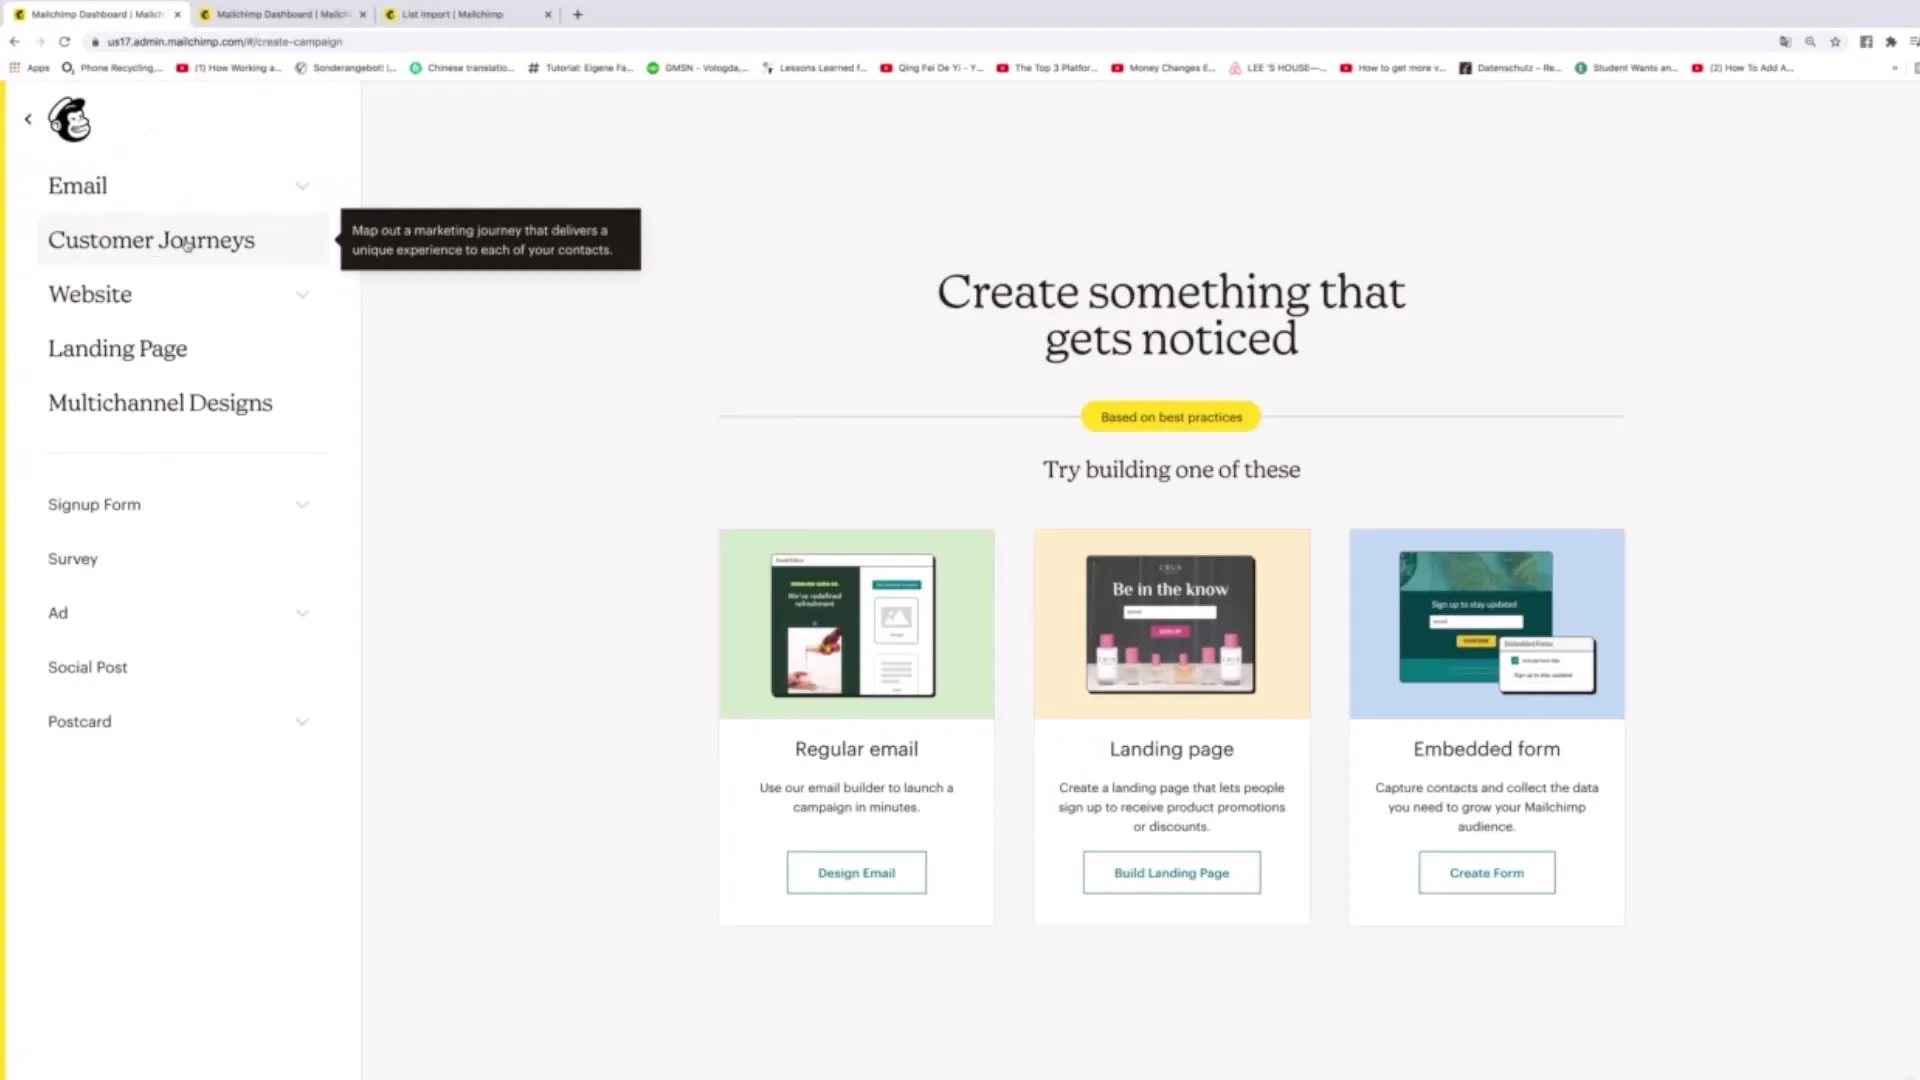
In the next step, you will encounter various options. Choose "Customer Journeys" and scroll down to "Postcards". Click on "One Time Send" to go directly to your postcard project.
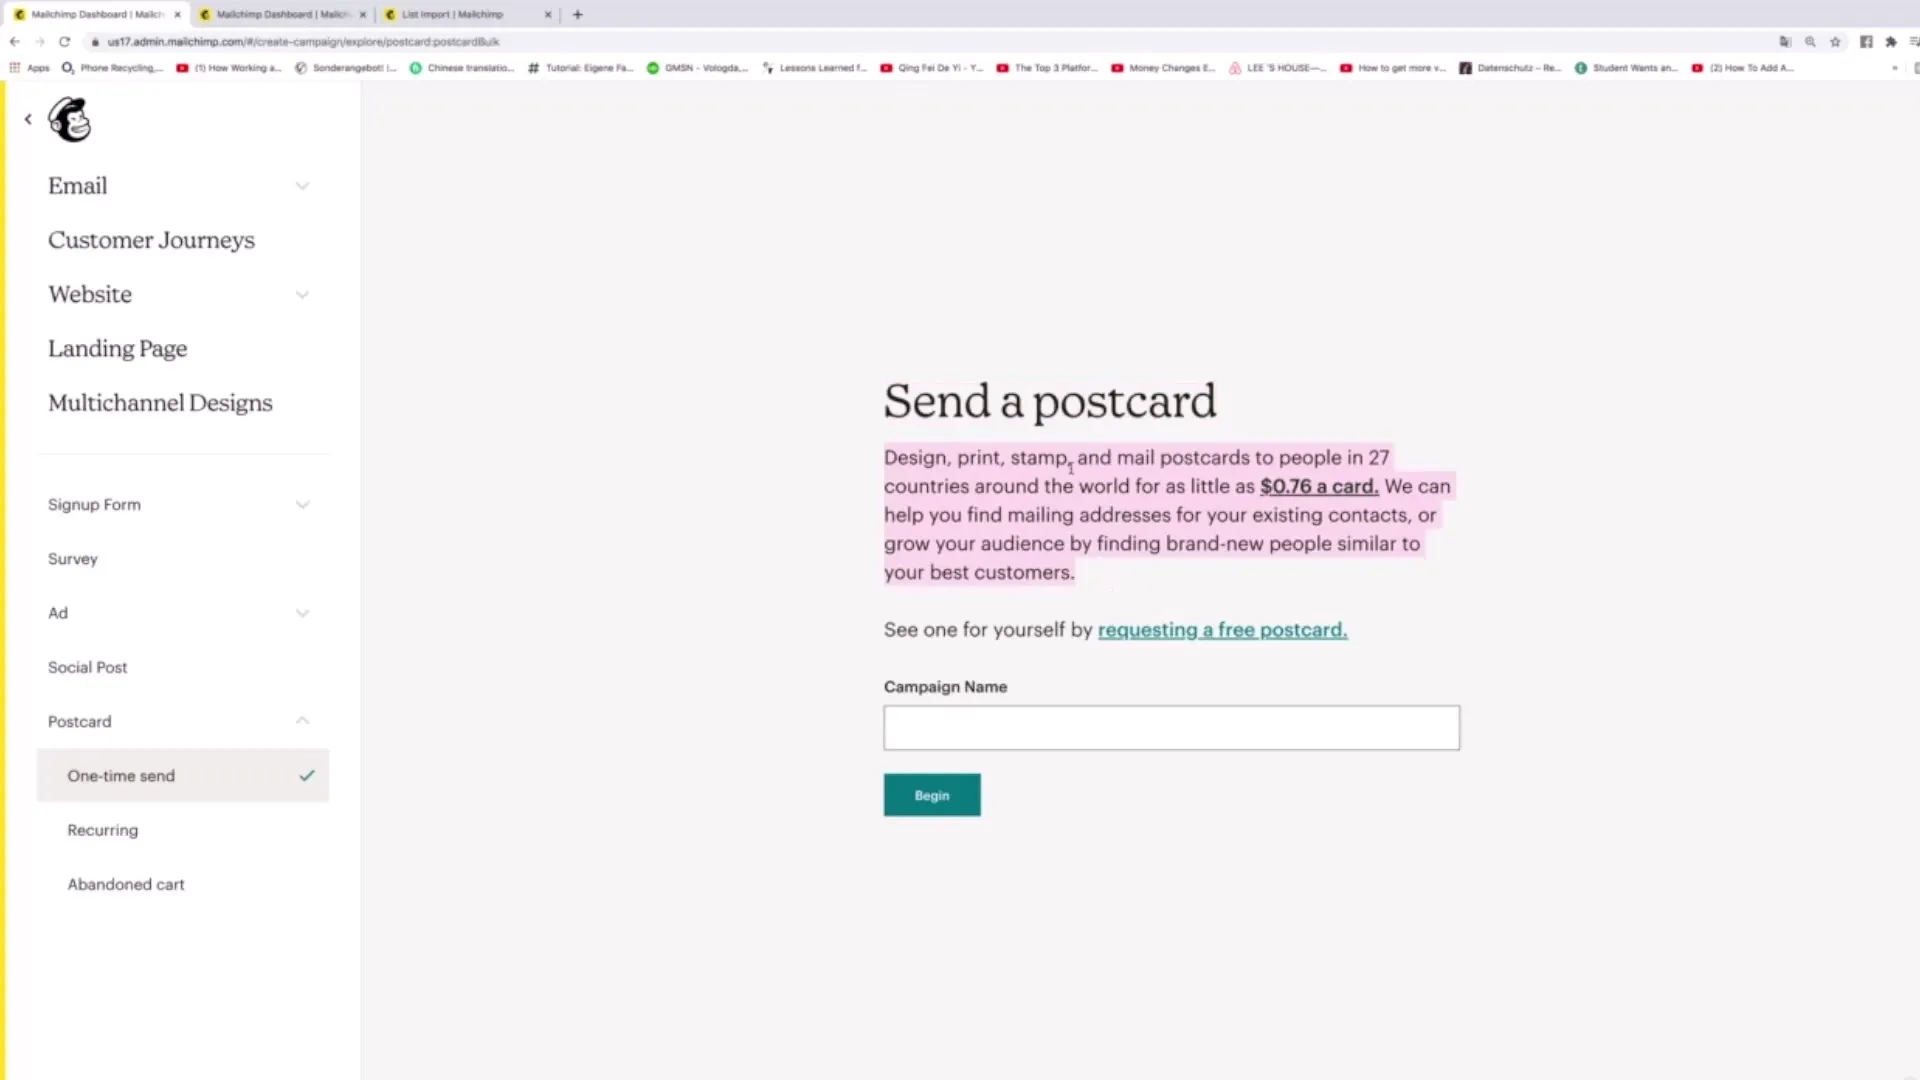
Now you can give your campaign a name, for example, "Postcard Campaign Number 1". Click on "Begin" afterwards.
You are now in the next step where you define the recipients for your postcards. Click on "Recipients" to select your target audience.
Here you can decide whether you want to send the postcards to existing contacts or to a new audience. If you choose existing contacts, make sure that the relevant addresses are stored in your Mailchimp account.
If you want to use the "Address Finder" to extract addresses from your contacts' email addresses, click on the corresponding option. However, note that this may pose data privacy risks. It is advisable to discuss this with legal counsel beforehand.
Now select your audience, for example, "Healthy Eating", and set your budget for sending the postcards. Here you can define the maximum expenses. Keep in mind that you need to allocate at least 2 US dollars per postcard to enable the delivery.
Under "Postcard Pricing," you can view the costs per postcard depending on the quantity. The more postcards you send, the cheaper the individual delivery becomes.
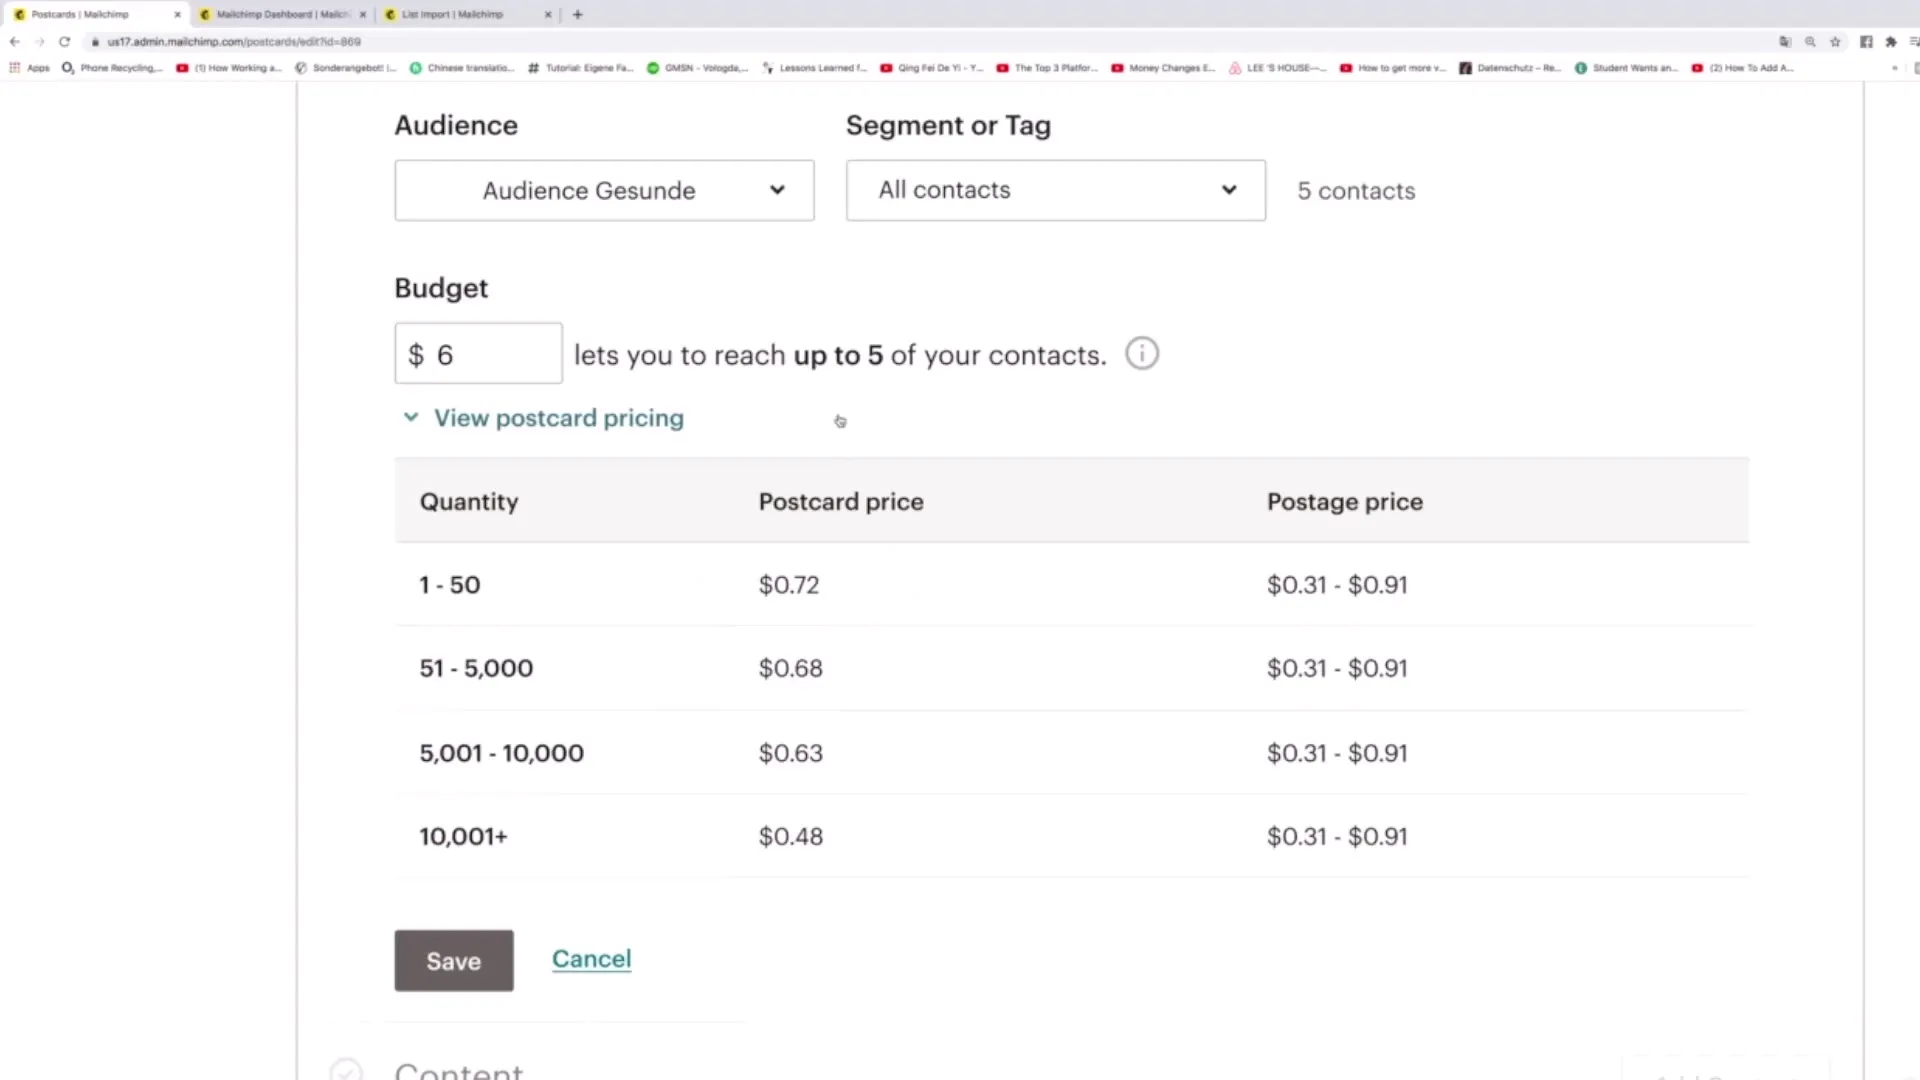
Click on "Save" to save your current settings. This step is crucial to ensure that all information is correctly recorded and you do not forget any relevant details.
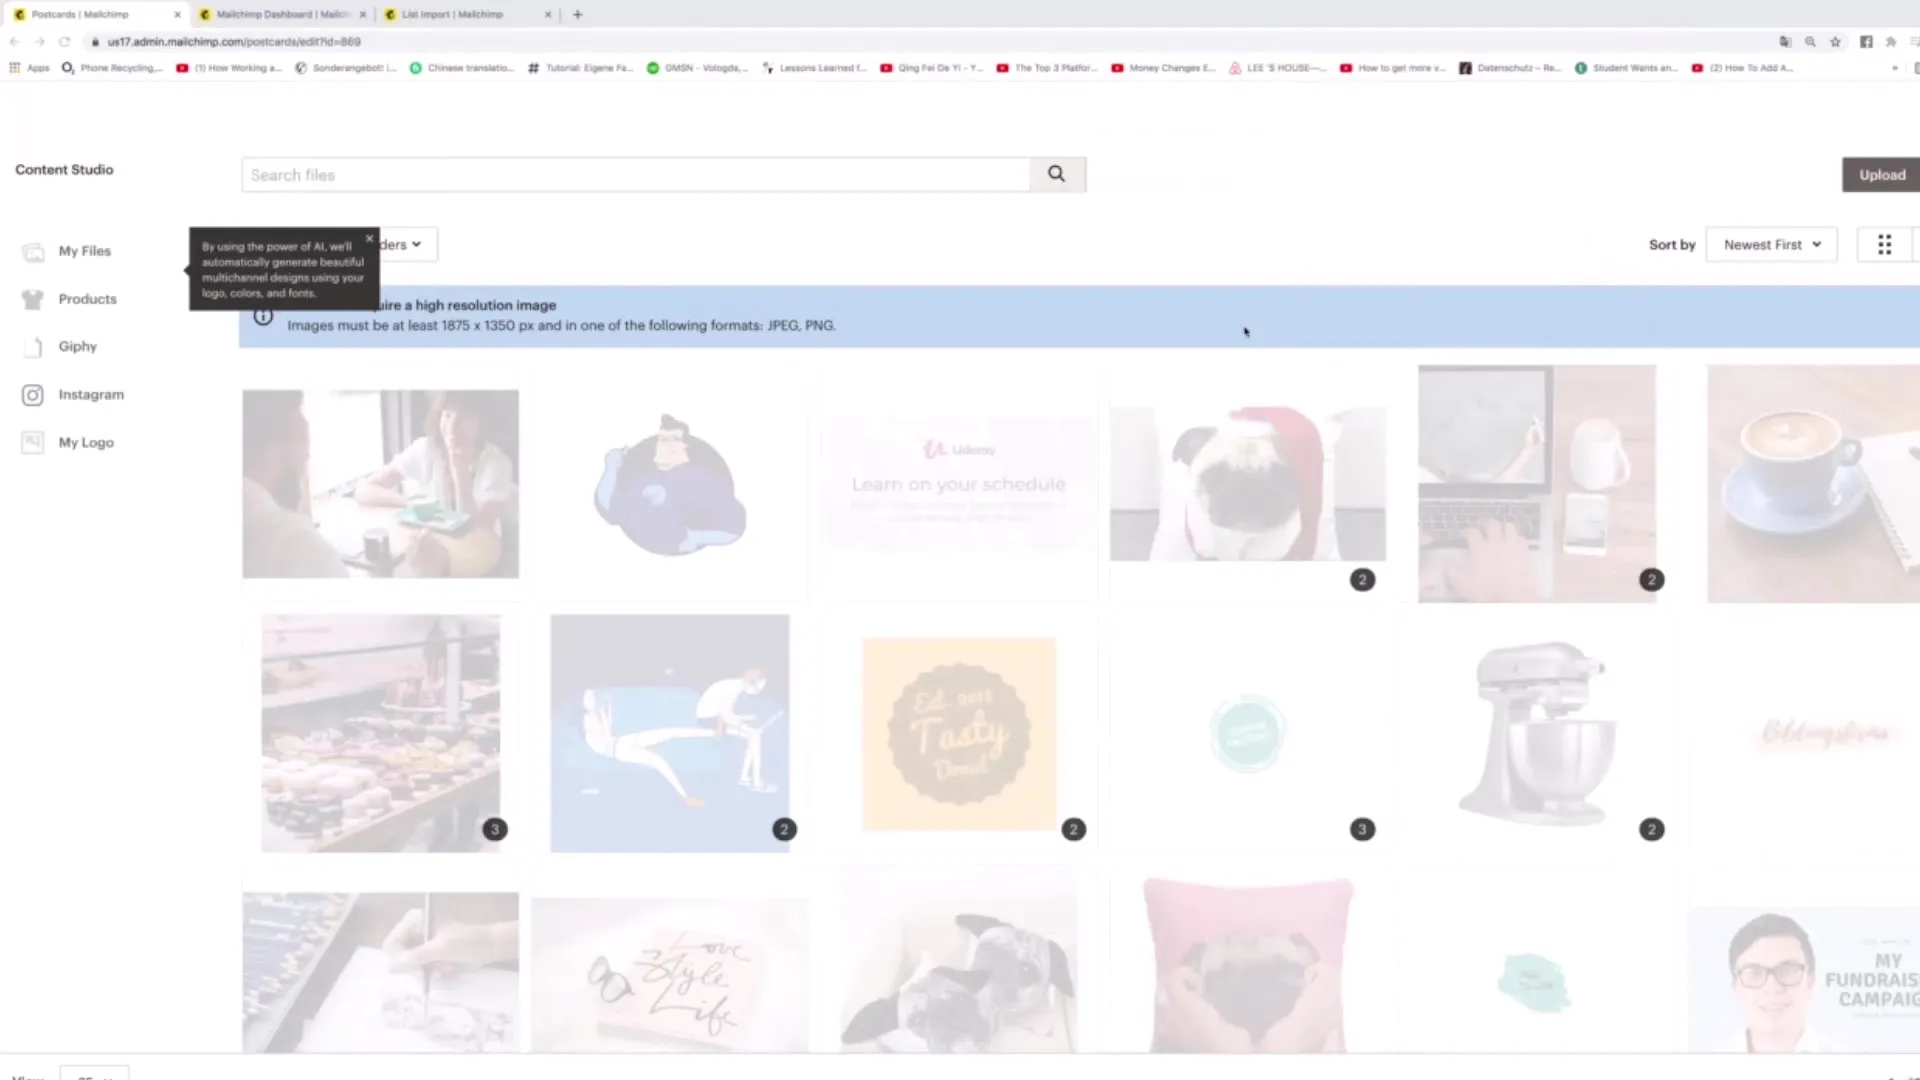
Now it's time to design the content for your postcard. Click on "Add Content". Here, you have the option to upload an image to appear on the postcard.
Select a suitable image from your computer. Ensure that the image has the correct dimensions for a postcard. After uploading the image, you can add additional information such as a headline and a personal message. Plan the content in a way that resonates with your target audience.
A possible text could be: "I would like to give you something! Thank you for being our customer. Use the code on our website to get a book for only 1 euro."
You can also insert a logo to further emphasize your brand. This graphic should be clear and visually appealing to reflect your company's identity.
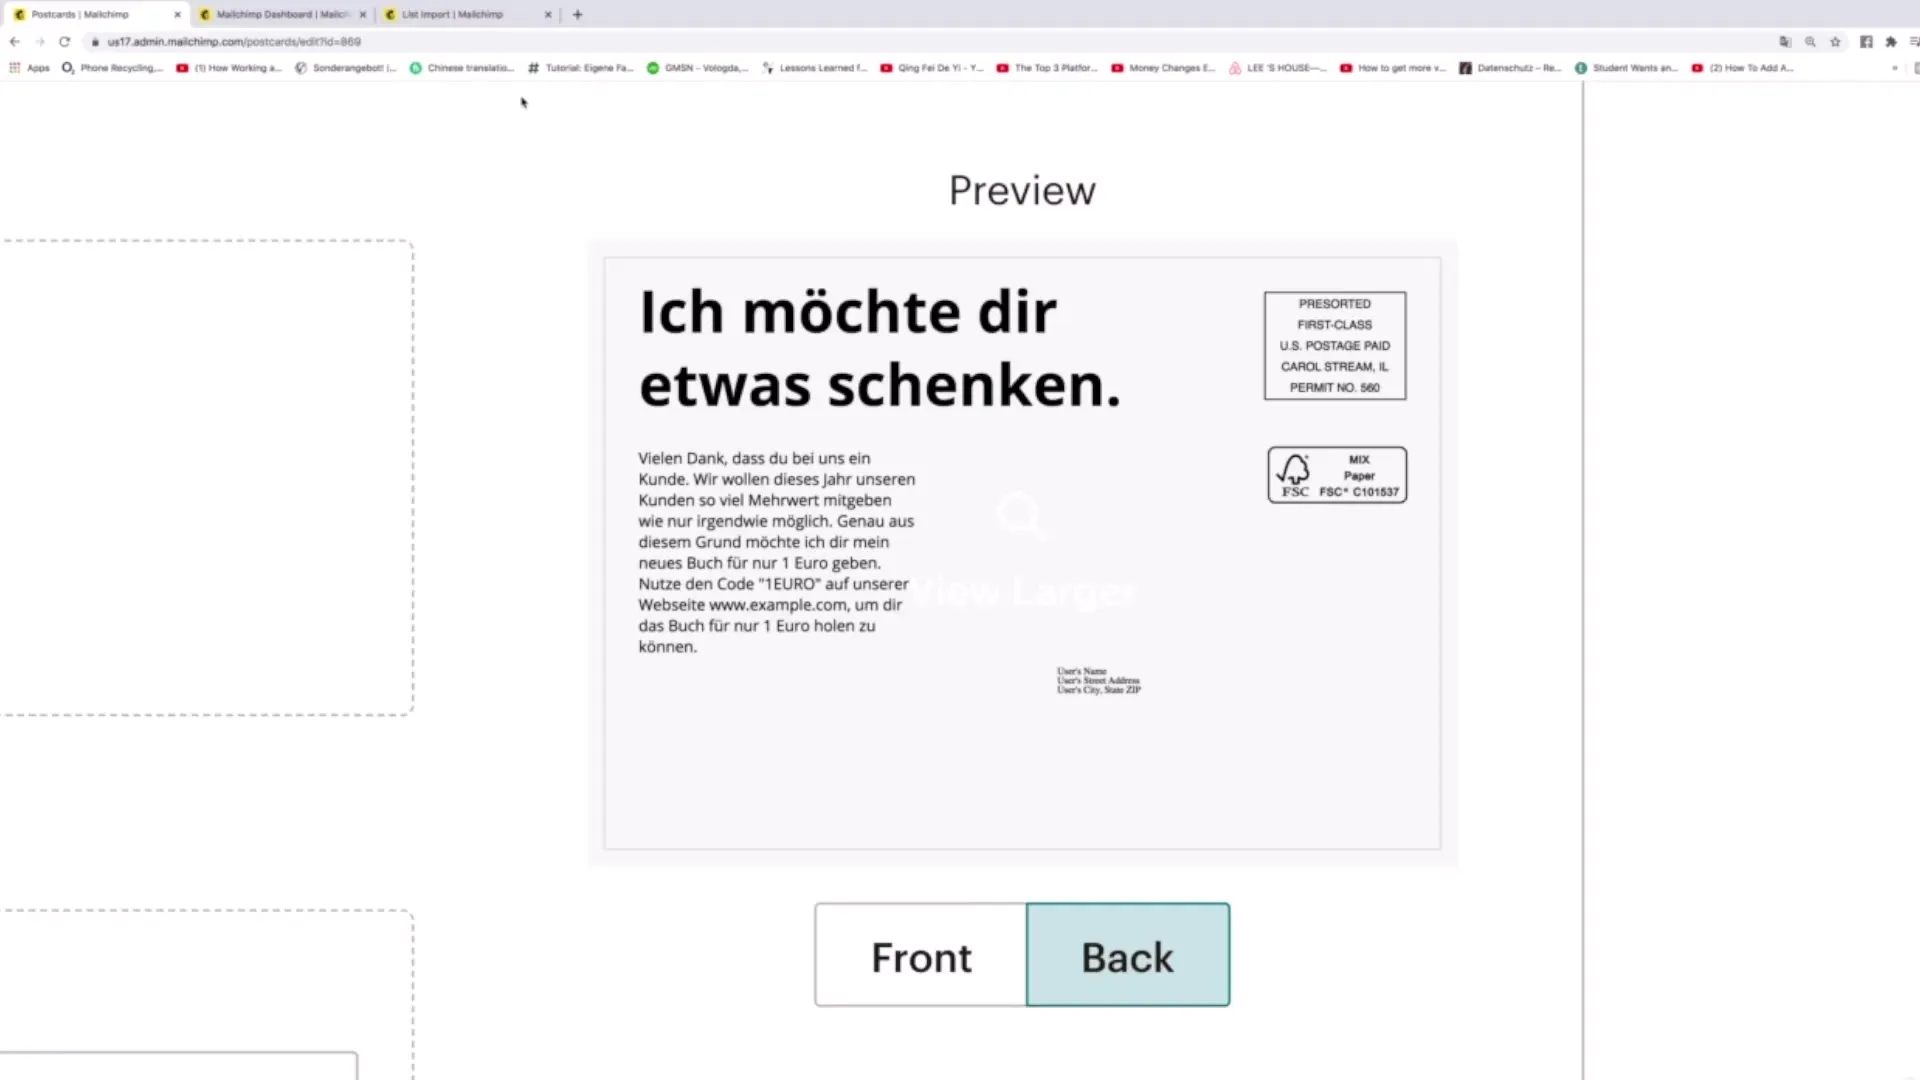
After creating the content and adjusting everything to your liking, click "Save" again. Saving is crucial to ensure that your postcard is ready for editing in the next phase of the project.
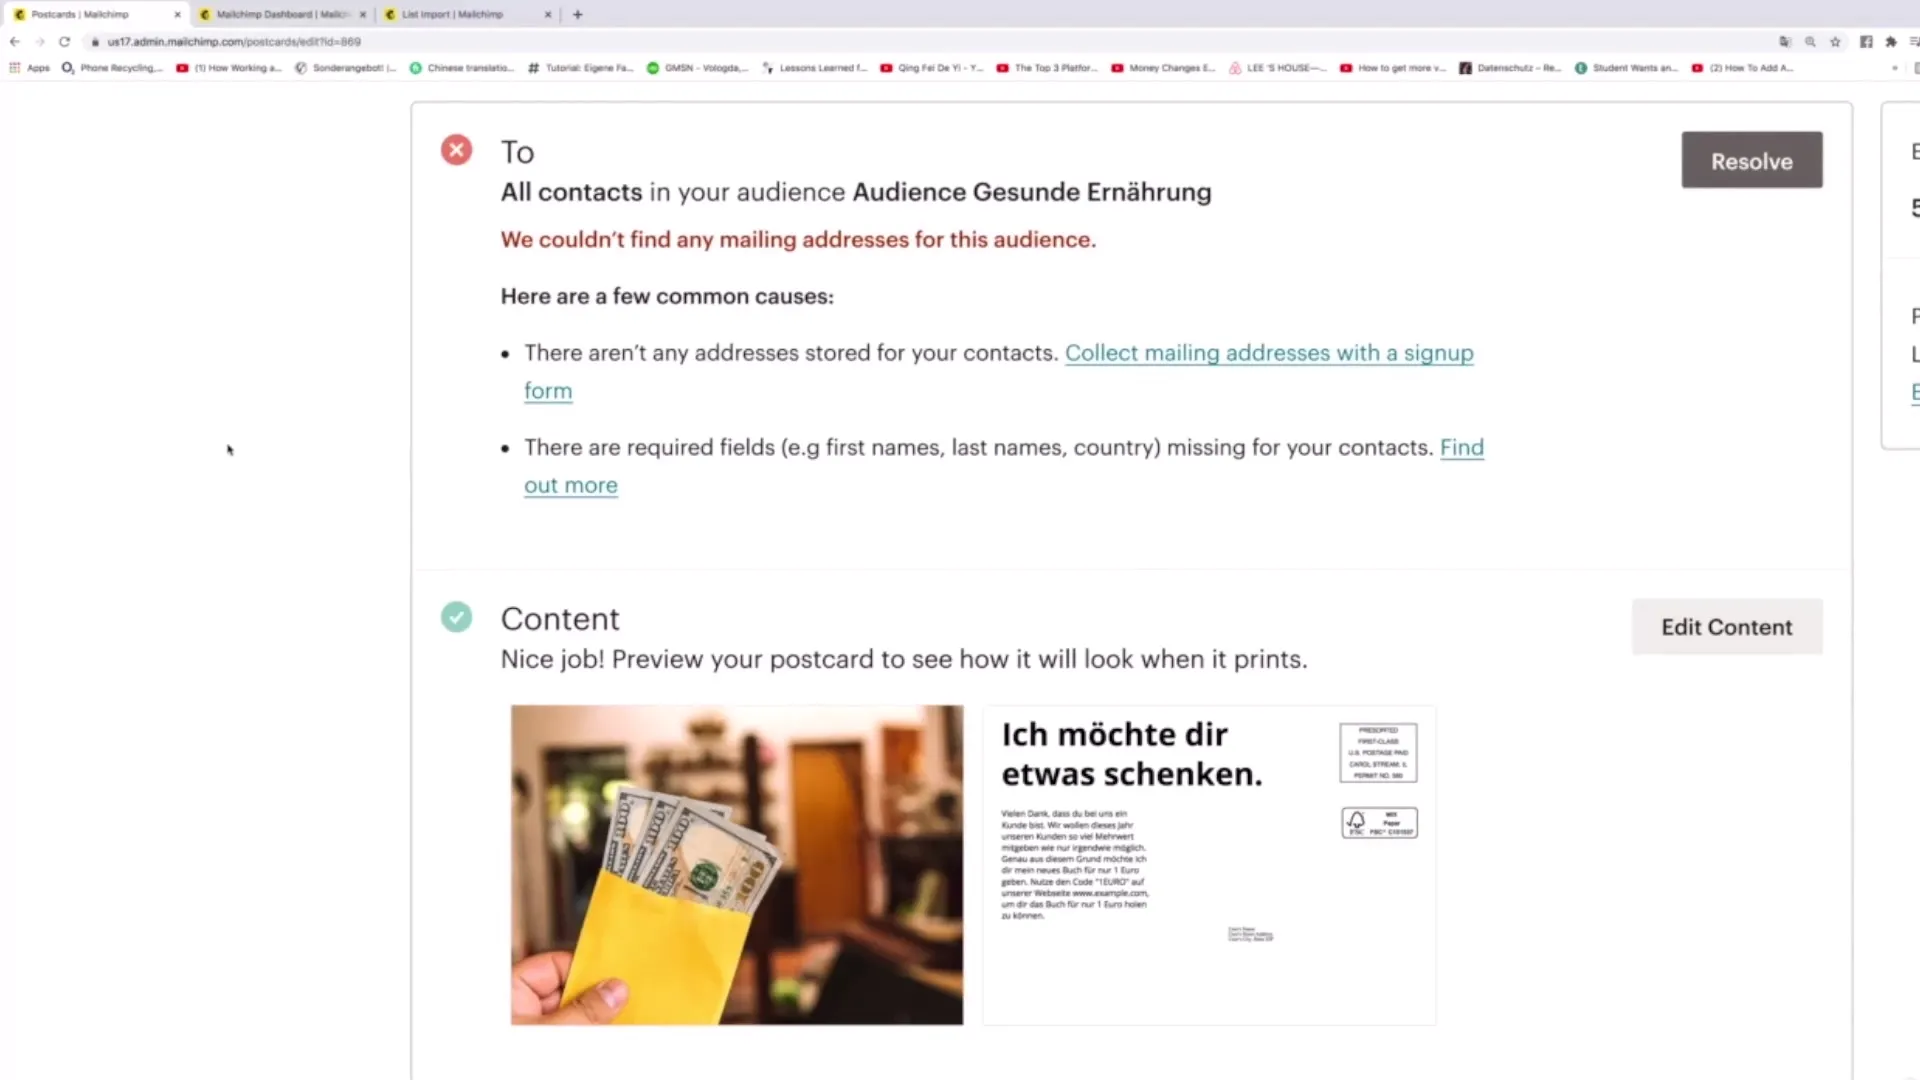
Now you have completed all necessary steps to send your postcard. The delivery itself should usually take between 5 and 9 days. After this time, the postcard will be sent to your customers. It is possible that the recipients will respond to your offer and take the desired actions.
Summary
With this guide, you now have the necessary knowledge to successfully send postcards via Mailchimp. The individual steps are clearly presented and lead you directly to your first postcard campaign. Take advantage of this opportunity to offer your customers or prospects special added value.
Frequently Asked Questions
How much does it cost to send a postcard via Mailchimp?The costs start at 2 US dollars per postcard, with prices decreasing for higher quantities.
Can I automatically find the address of my recipients?Yes, this is possible via the Address Finder, but you should consider this from a data protection perspective.
How long does it take for my postcards to be delivered?Generally, delivery takes between 5 and 9 days.
Are formats other than postcards deliverable with Mailchimp?Mailchimp primarily specializes in postal services such as emails and postcards.
Do I need to upload an image in a specific format?Yes, the image must meet specific size and formatting criteria.


