You want to create an effective Landing Page, for example to collect email addresses or inform potential customers about your offers? In this guide, you will learn how to do this step by step with Mailchimp. A Landing Page is a special webpage that exists independently of other pages and is often focused on specific actions. Let's get started right away and utilize this valuable marketing tool!
Key Insights
- Landing Pages are standalone webpages designed to collect information or facilitate actions.
- Mailchimp provides a user-friendly way to create Landing Pages without any programming knowledge.
- You can collect email addresses from prospects and assign them to a specific target audience.
Step-by-Step Guide
Step 1: Select Account and Target Audience
First, you need to log in to your Mailchimp account. Go to the upper right corner and click on "Audience" or "Campaign." In the next step, select the "Create" icon.
By the way: You don't need your own website to create a Landing Page. Mailchimp allows you to work directly in the tool, so you don't need additional URL or hosting services.
Step 2: Create Landing Page
After clicking on "Create," choose the option "Landing Page." Now you can give your new Landing Page a suitable name. Let's call it "First Landing Page," for example.
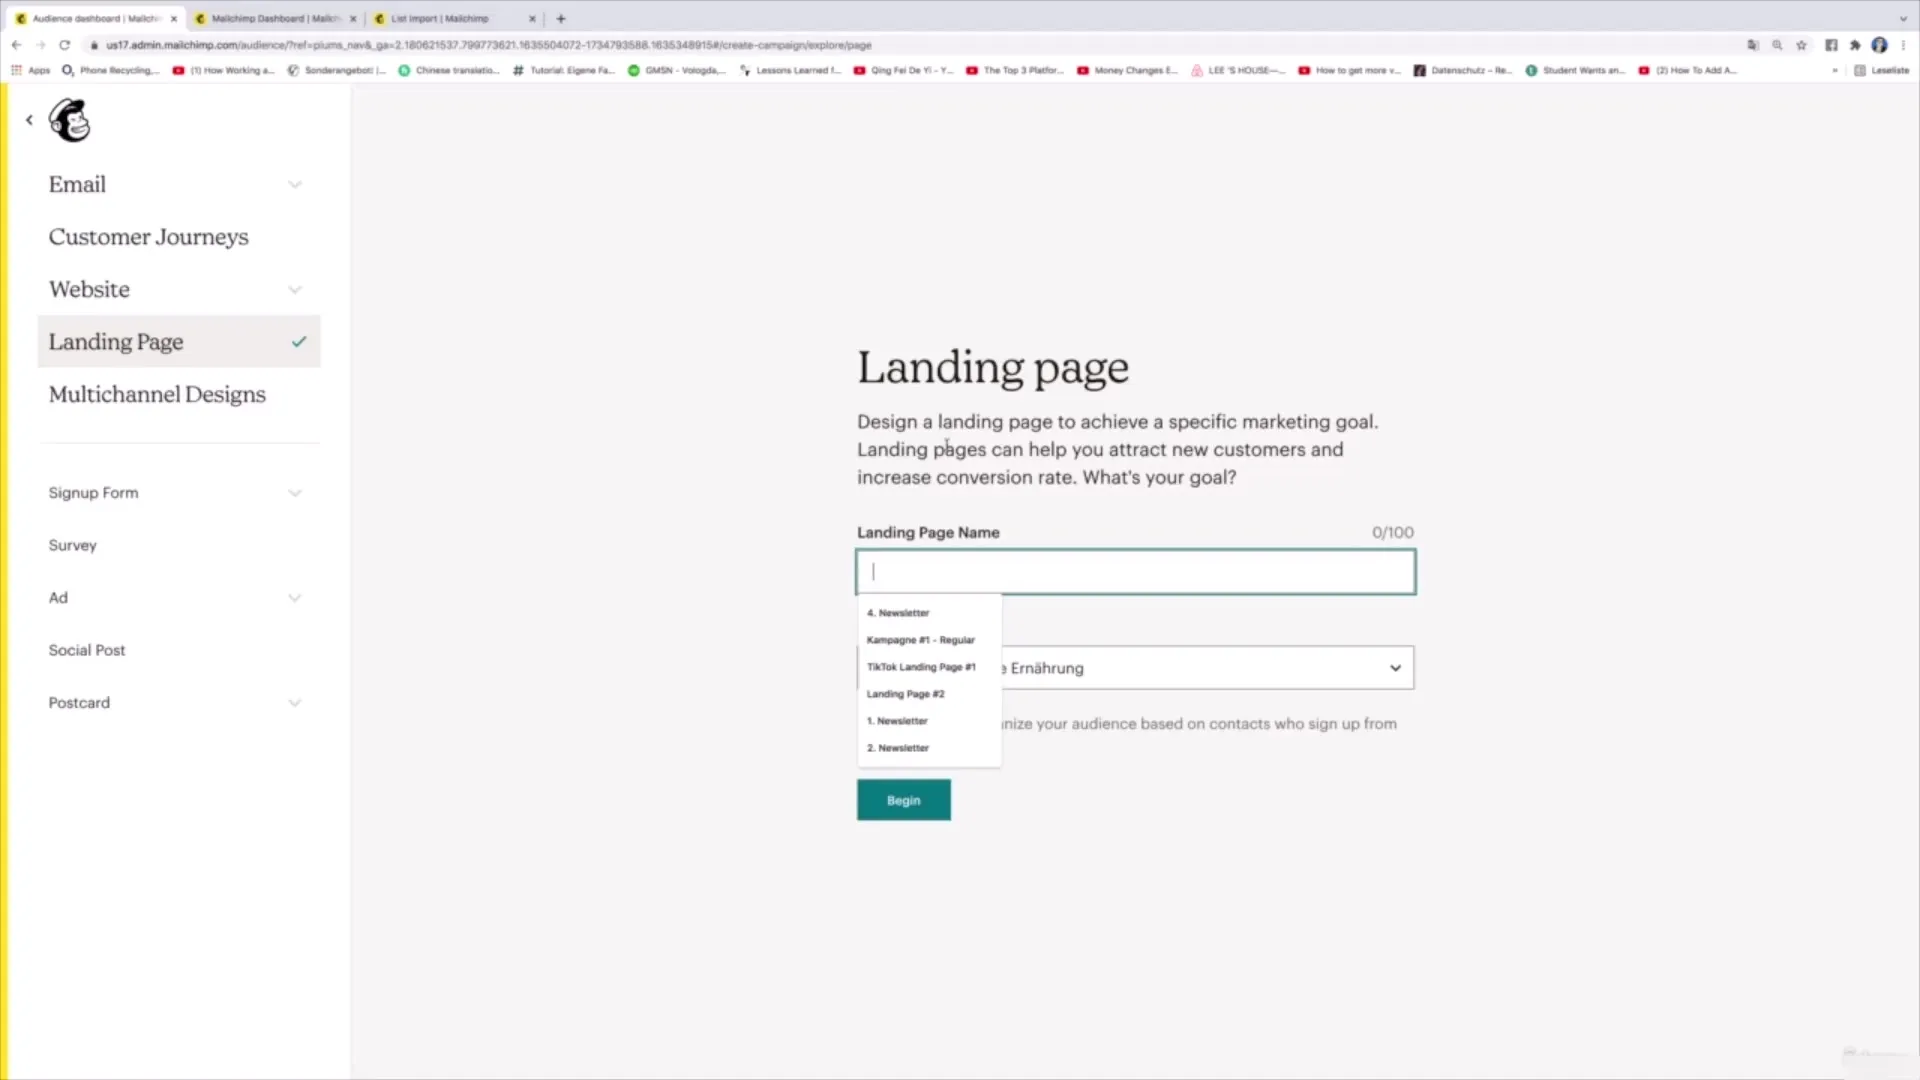
Now you have the option to select a target audience. This is particularly important as the email addresses you collect through the Landing Page will be stored in this target audience. In our example, we select the target audience "Healthy Nutrition."
Step 3: Choose Template
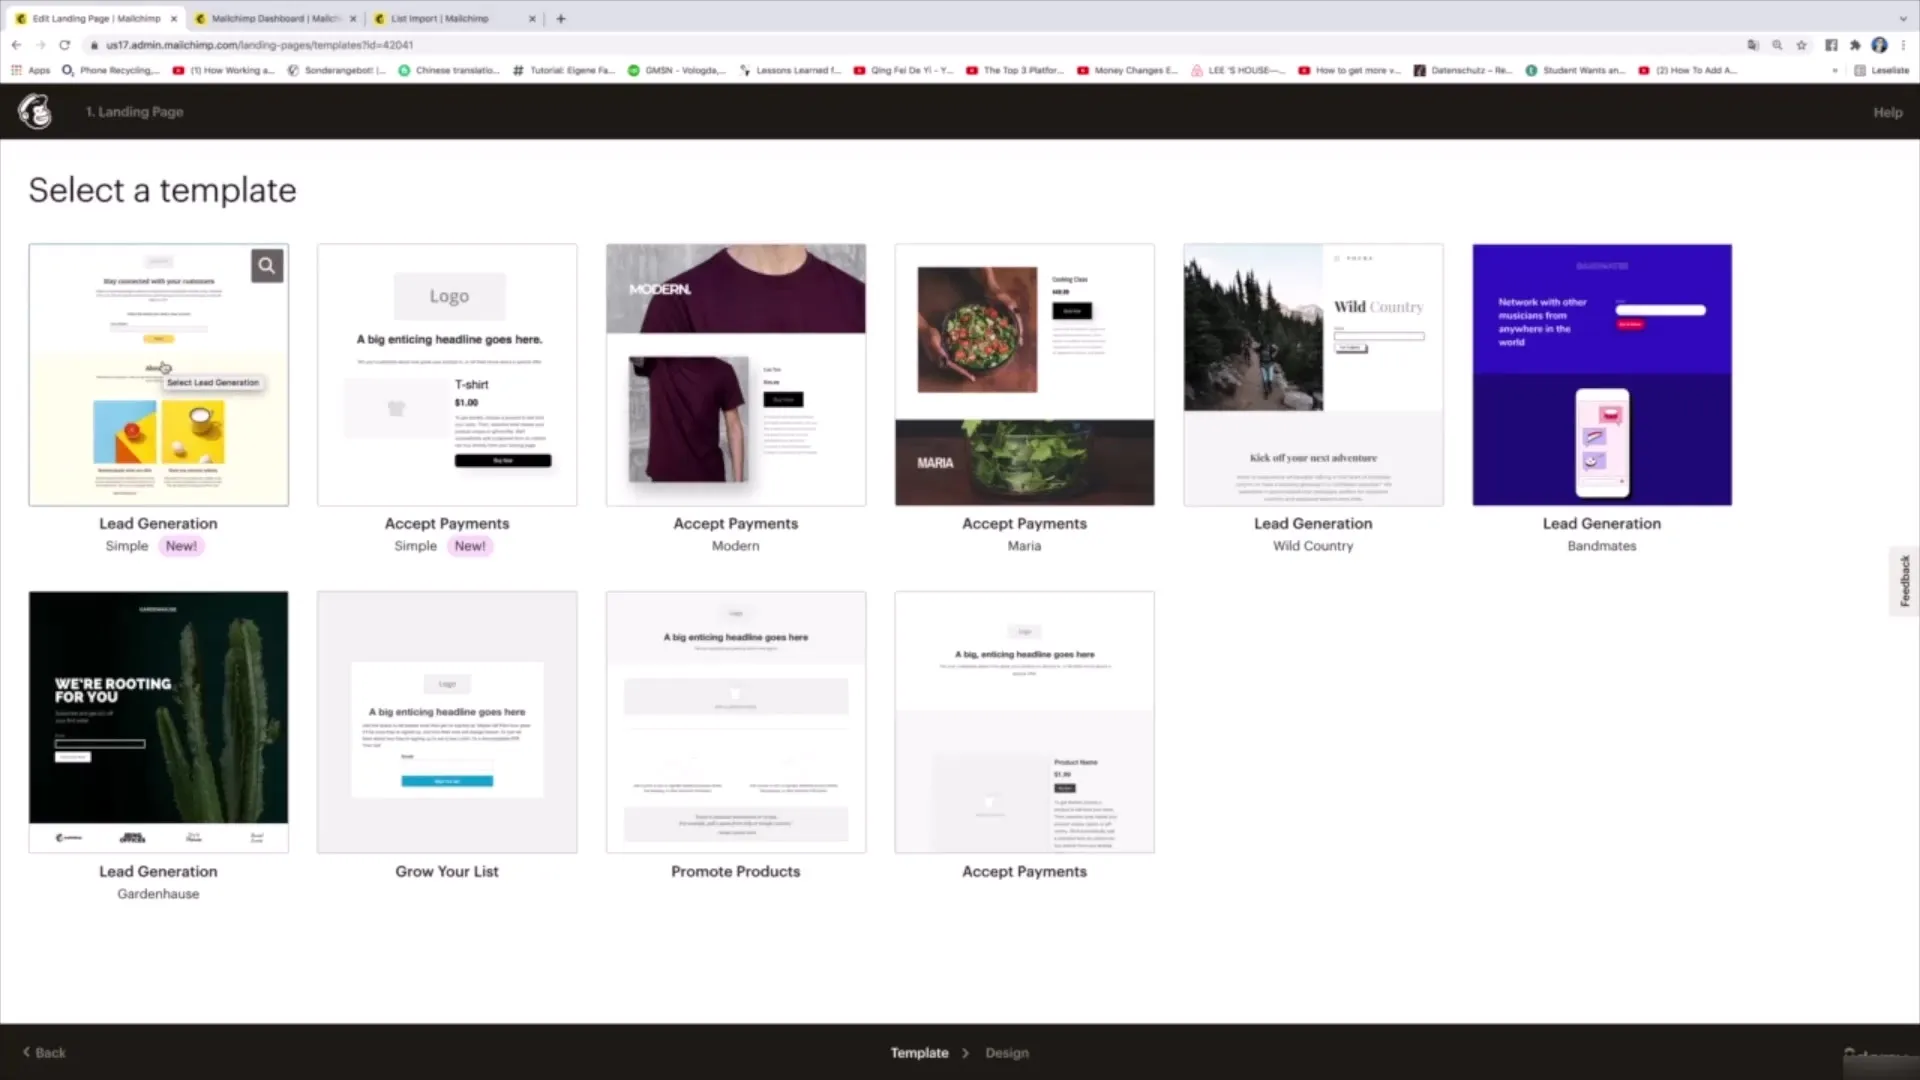
Once you have set the target audience, proceed with selecting a template. For starters, I suggest starting with a simple template. Choose the template "Grow your list," which is ideal for actively collecting email addresses.
Step 4: Add Logo and Headline
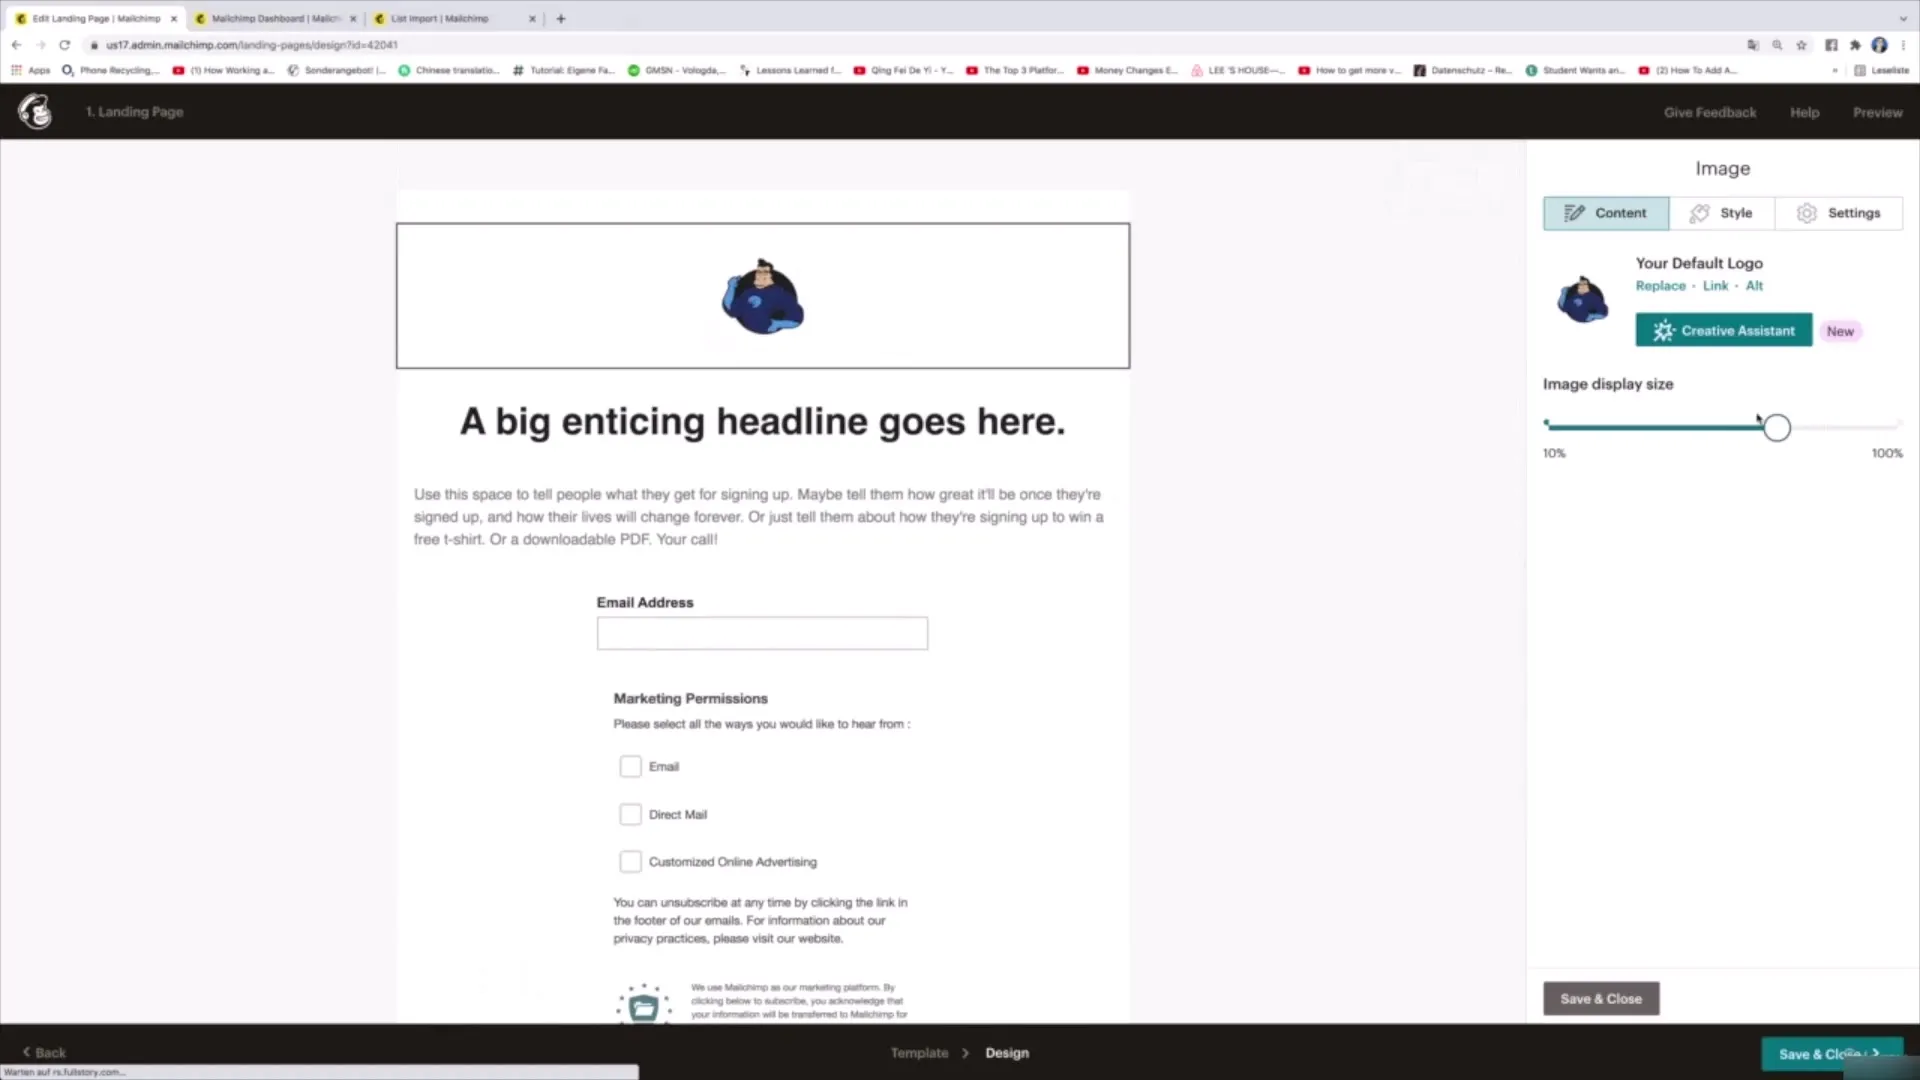
The next step is to upload your logo. Make sure the logo is not too large; you can adjust it later. Then, write a clear headline that explains to users what to expect on this page. For example: "Sign up for my newsletter!"
Step 5: Design Landing Page Content
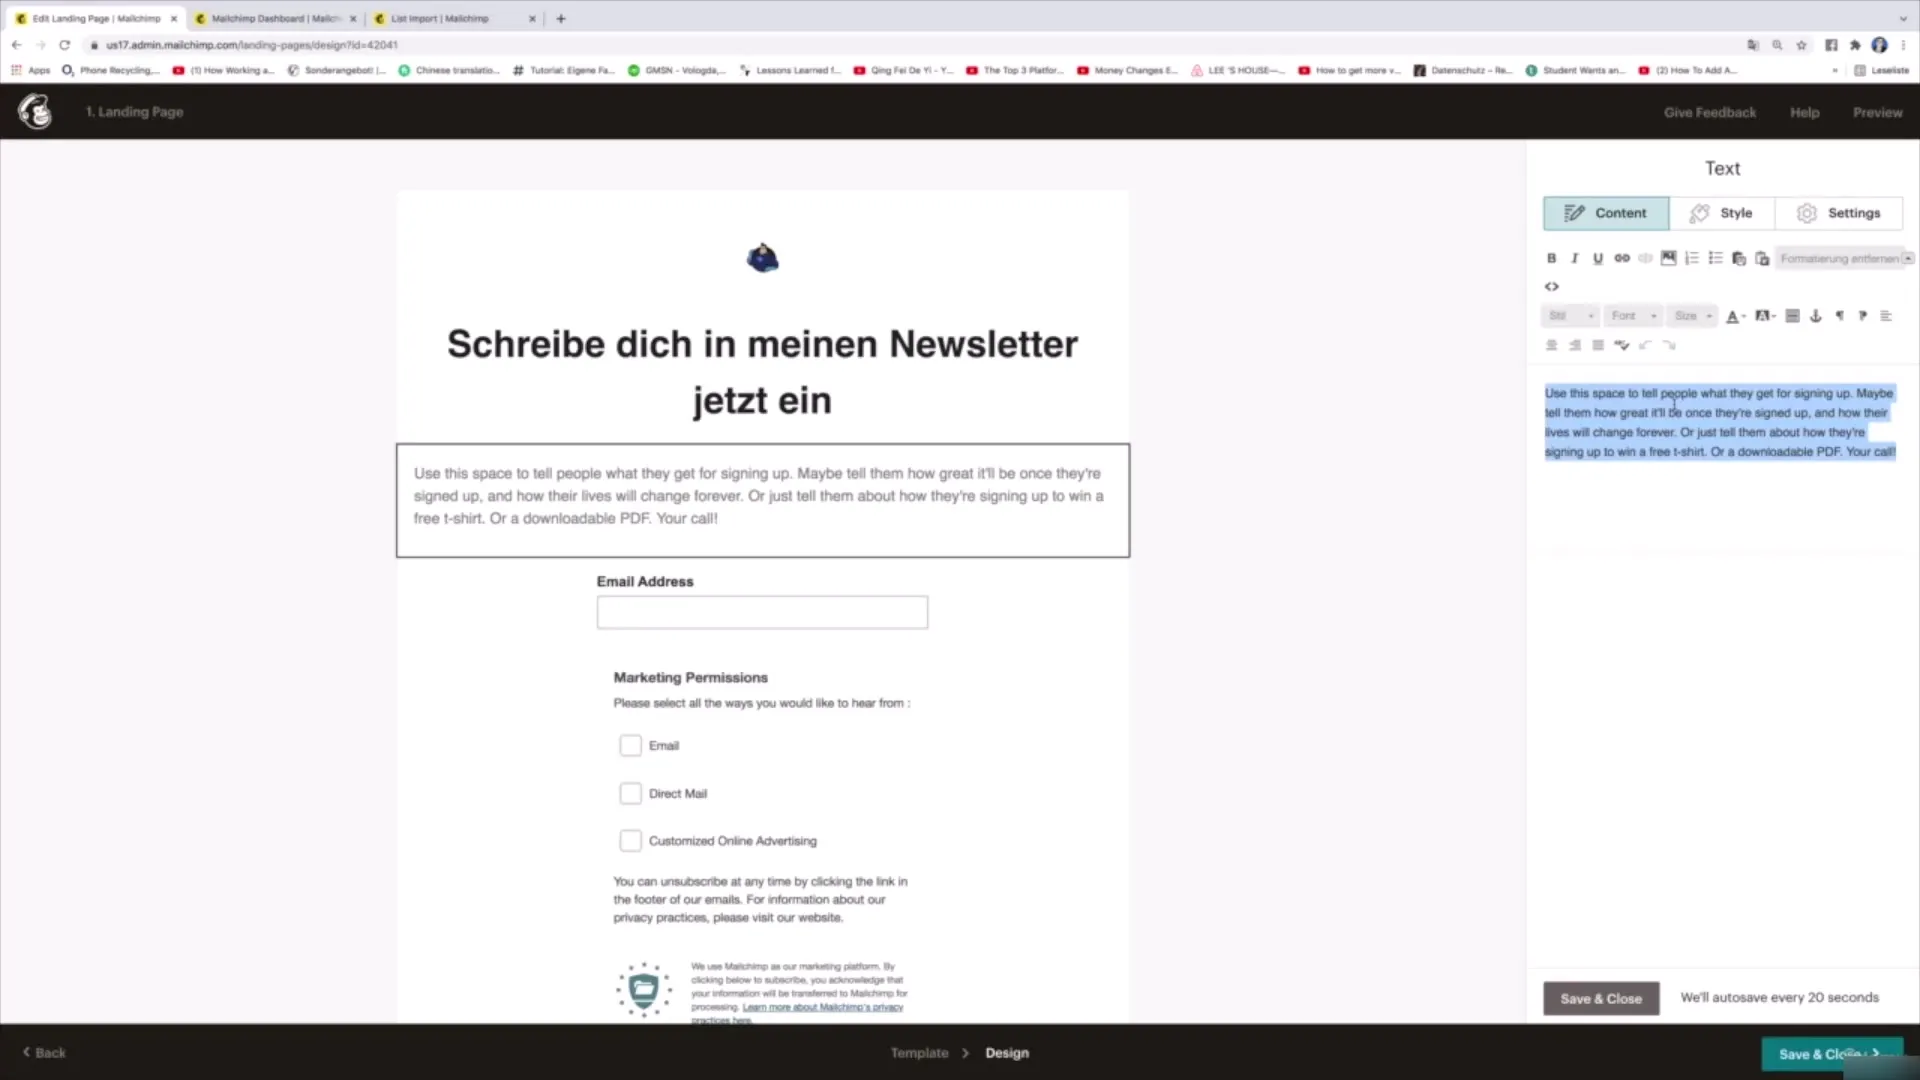
Now you can add a brief explanatory text below the headline. Explain to visitors what they can expect from your newsletter. For example: "By subscribing to our newsletter, you will receive exciting information on health, nutrition, and fitness. You can unsubscribe at any time."
Step 6: Add Email Field and Marketing Permissions
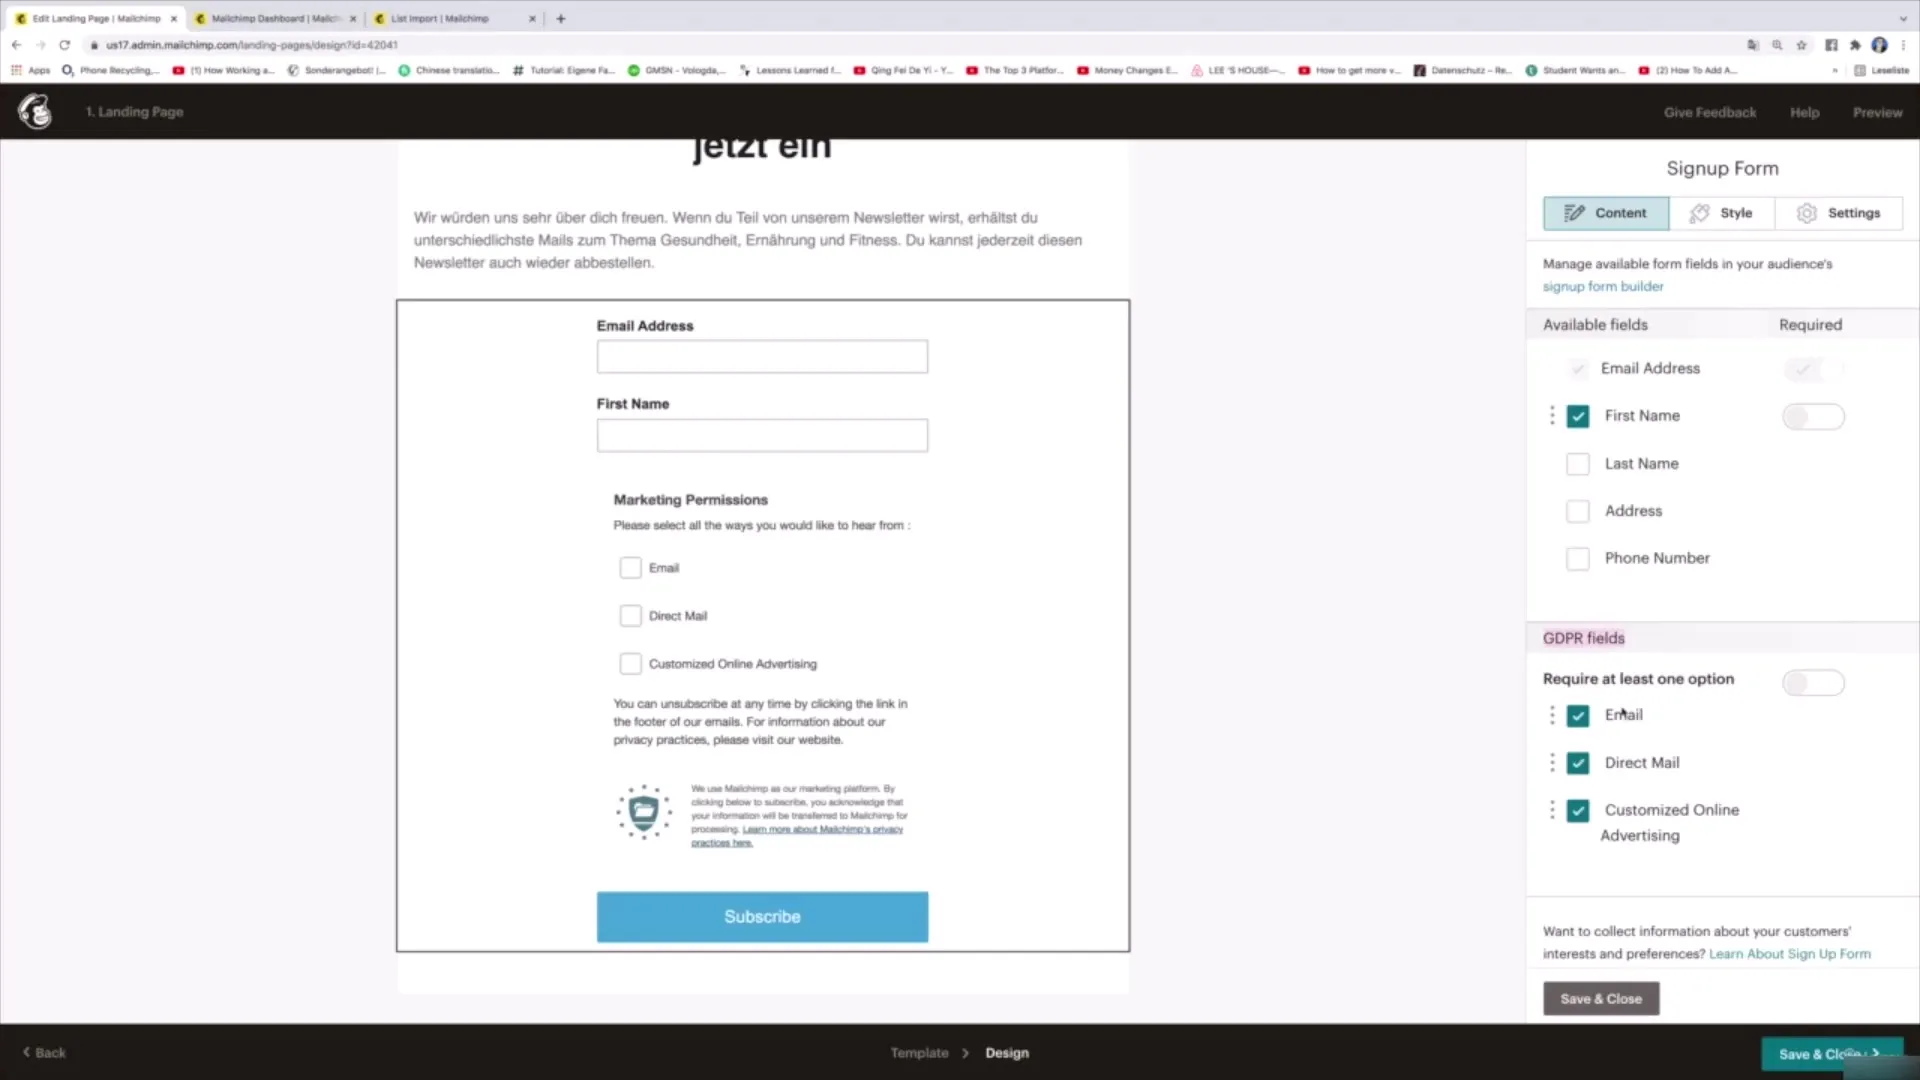
Next, add a text field where users can enter their email address. Here, you can decide whether to ask for the first name or other information as well.
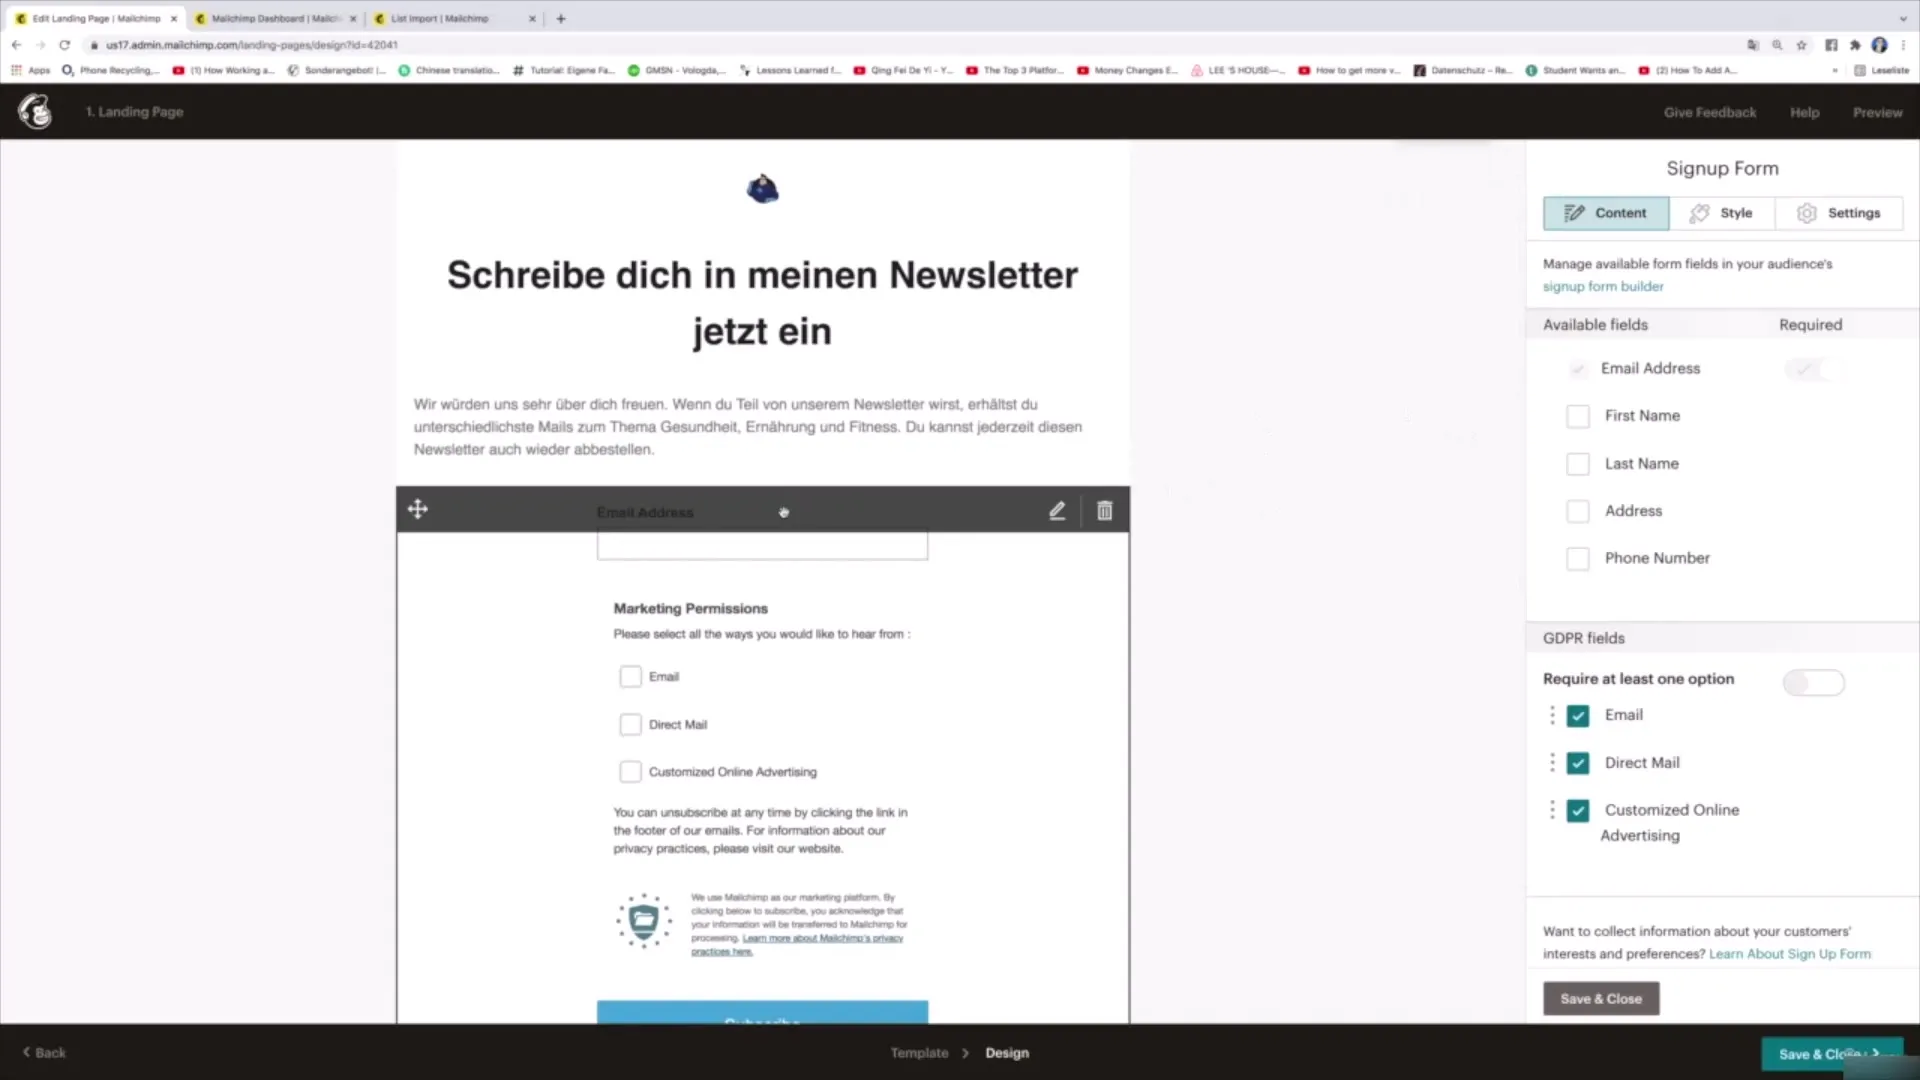
Below the email field are the so-called Marketing Permissions, which obtain consent according to data protection regulations (GDPR). Here, you can offer three options: "Receive emails," "Receive direct advertising," and "Allow ad customization." Ensure that users can check these boxes.
Step 7: Submit and Confirmation
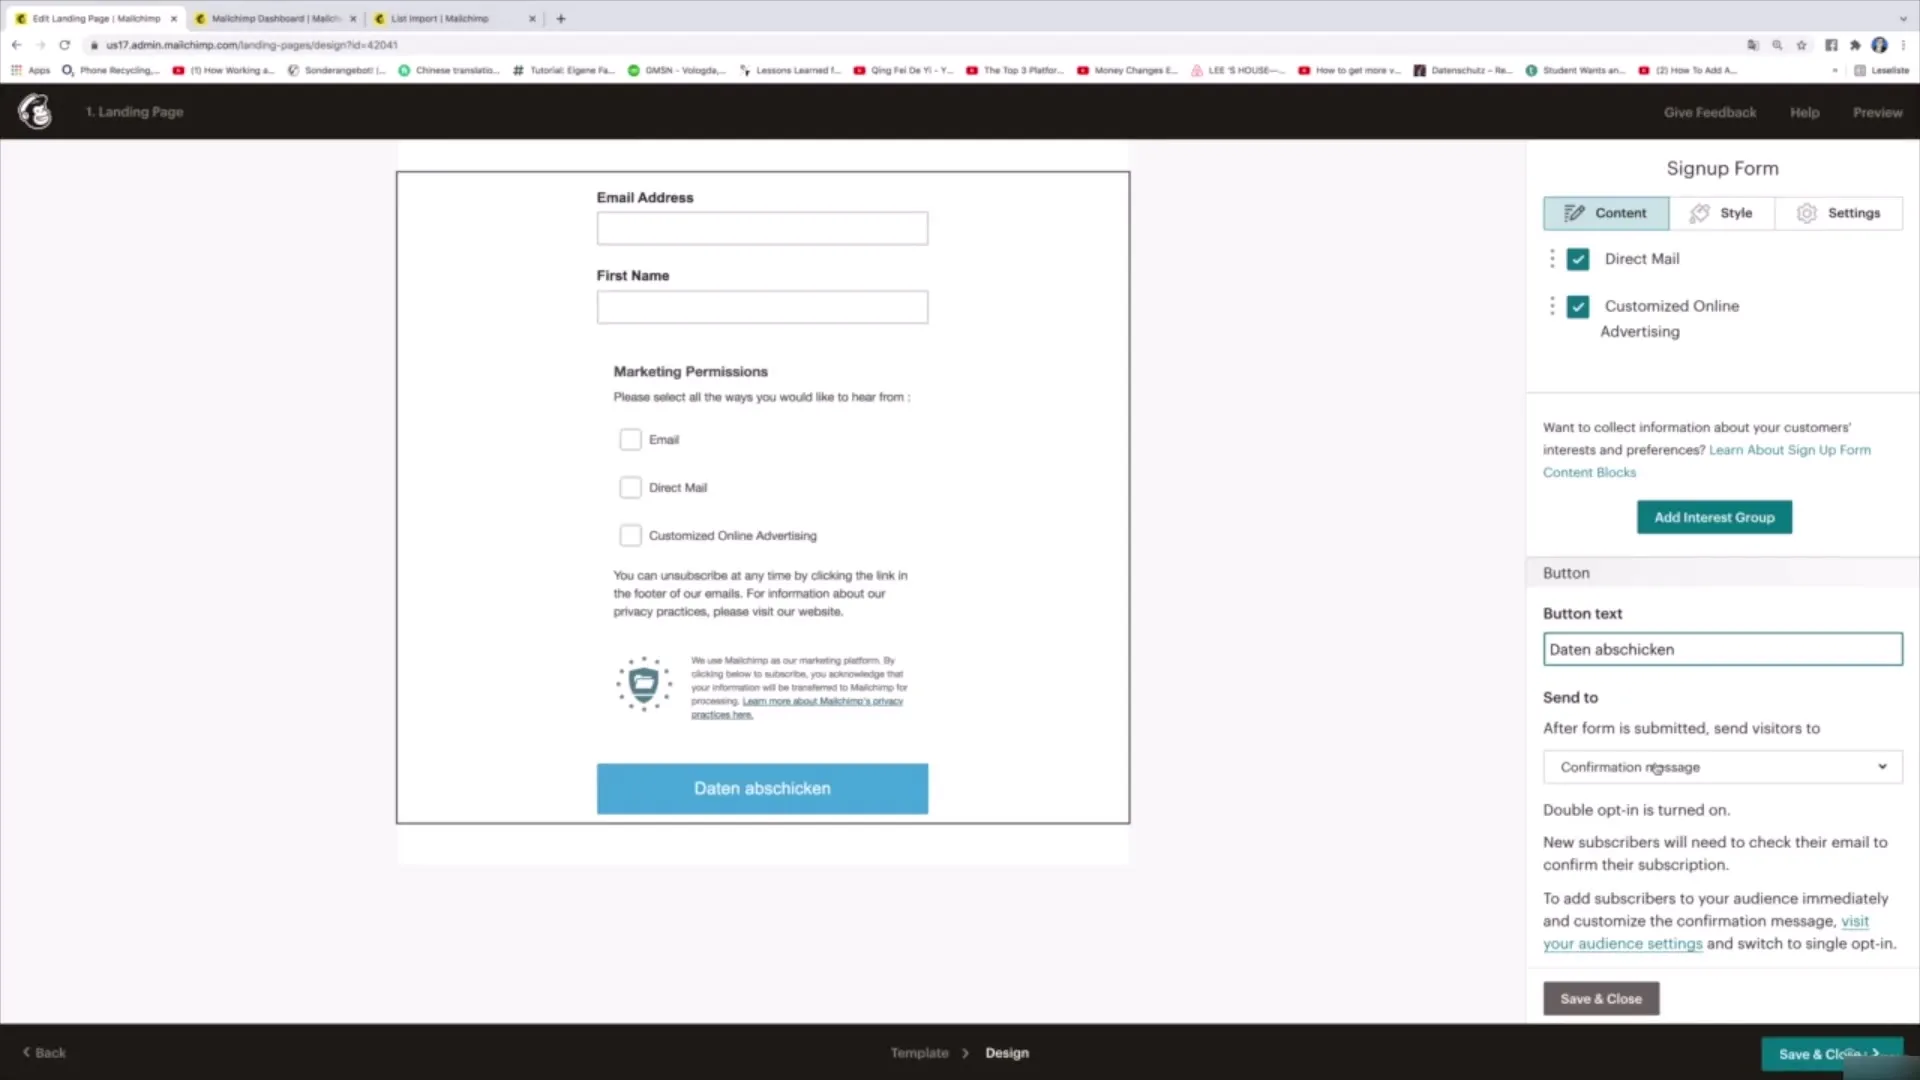
Design the button to submit the data. A simple text like "Submit Data" is ideal here. Additionally, add a confirmation message to show users that their data has been successfully submitted.
Step 8: Preview and Publish
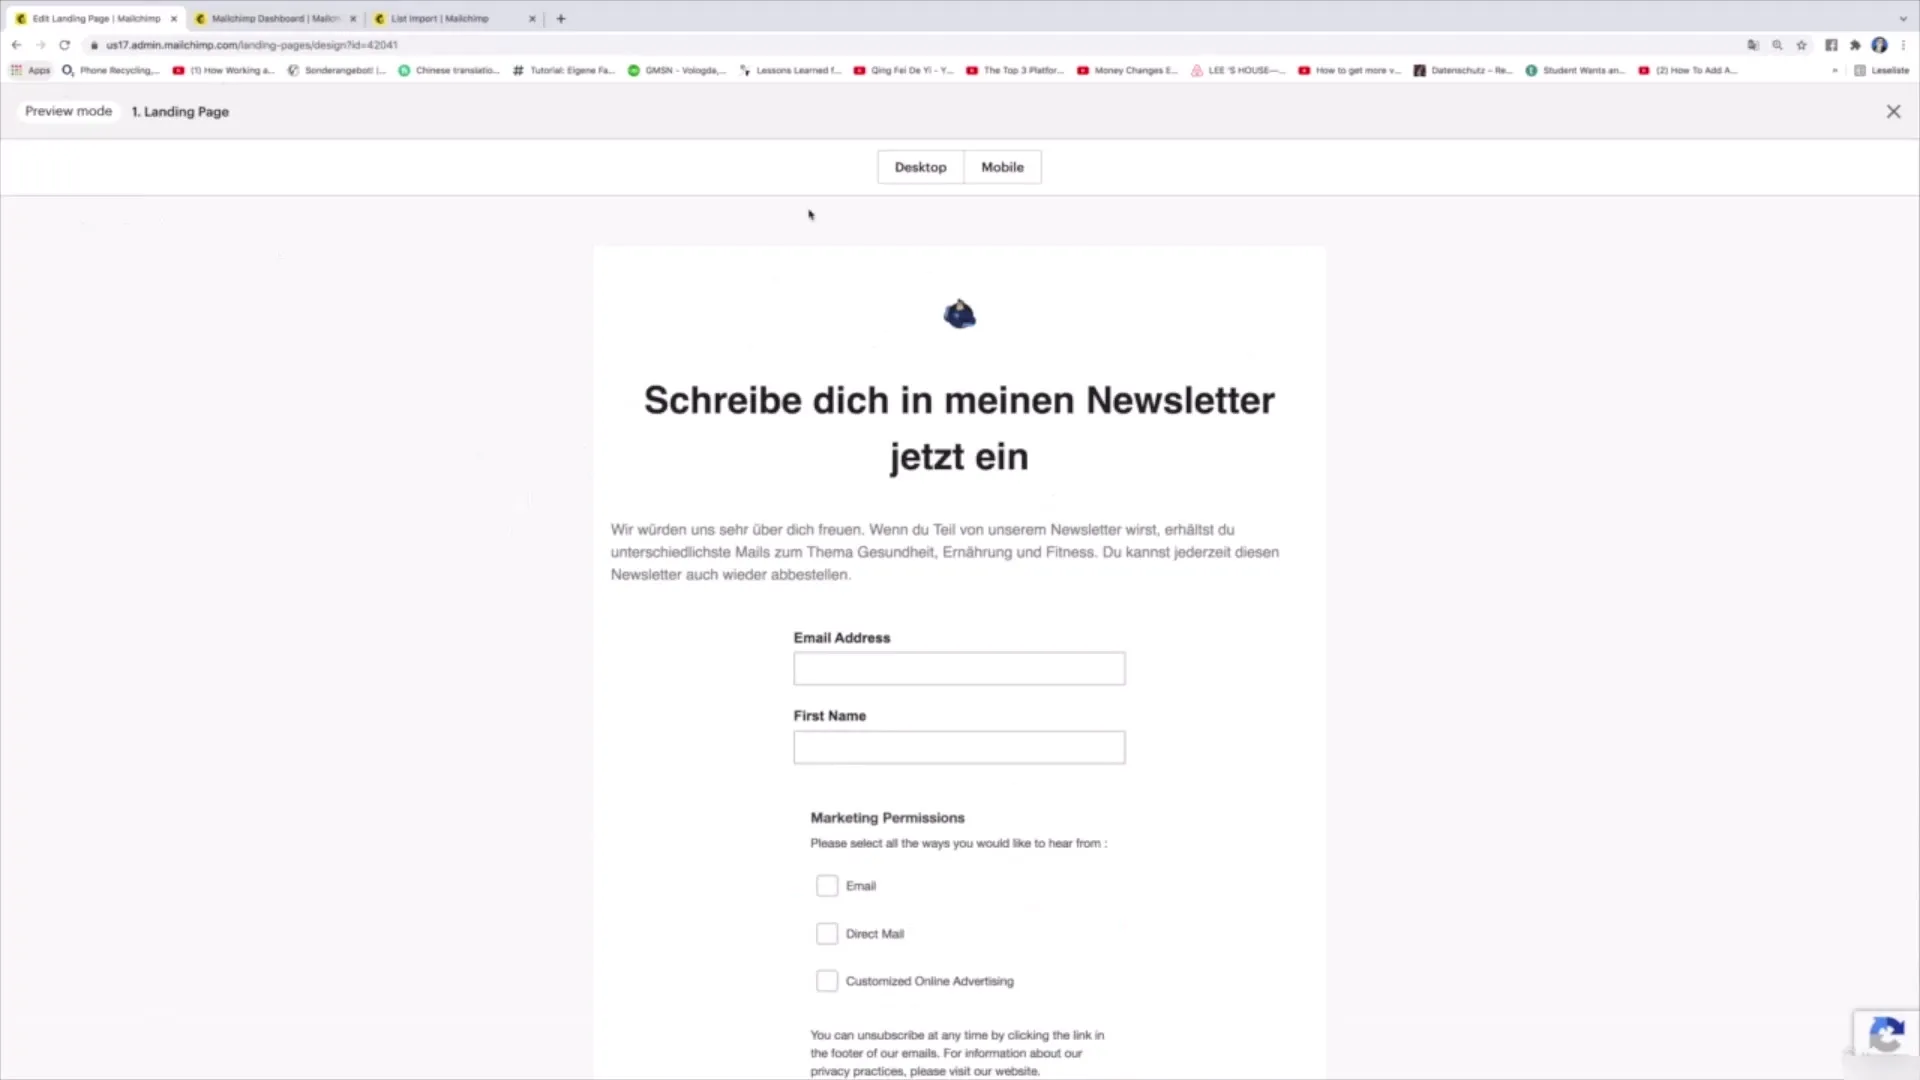
If you are satisfied with your landing page, you can view a preview to see how the page will look. If everything is fine, click on "Save and Close" to return to the overview.
To publish the landing page, click on "Publish". You will then receive a URL that you can share with others so they can enter their data.
Summary
Creating a landing page with Mailchimp is a straightforward and effective process. From template selection to design to publishing, everything is integrated in the tool. You can immediately start generating contacts and spreading your message.
Frequently Asked Questions
How long does it take to create a landing page in Mailchimp?Creating a landing page in Mailchimp can be completed in about 15 to 30 minutes, depending on your experience and the content chosen.
Do I have to pay to use Mailchimp?Mailchimp offers a free plan that allows you to create landing pages at no additional cost.
Can I make changes to the landing page later?Yes, Mailchimp allows you to edit the landing page anytime and make adjustments.


