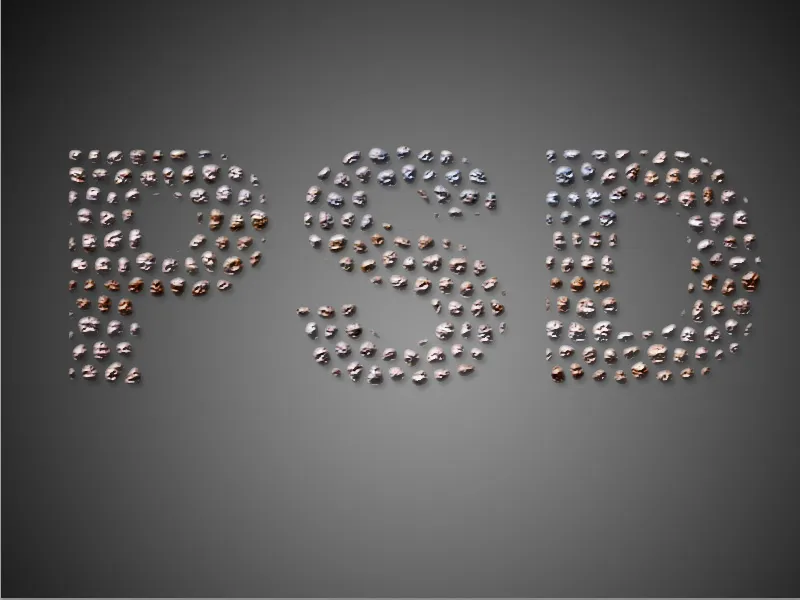
A text made of stones gives your designs a natural and rustic look. This effect is perfect for posters, logos, or creative projects with an outdoor or nature theme. With Photoshop, you can easily create this look by combining textures, layer styles, and shading. In this tutorial, I will show you step by step how to create a realistic stone effect for your typography. Let's get started and transform your text into an impressive stone sculpture!
Step 1:
First, I create a text in as large and thick letters as possible. The color is black. Then I set white as the foreground color, go to the Filter menu, and click on Glass Tile Mosaic.

Step 2:
The size of the mosaic tiles determines the size of the stones that will be visible in the text later on.
Step 3:
Next, I select the white color of the letters using the Magic Wand tool. Then I press the Delete key and create a new channel.
Step 4:
I fill the remaining selection with white color and then open the Gaussian Blur and enter a radius of 3.5 pixels.
Step 5:
Then I press Ctrl+T to open the Levels adjustment and drag the three sliders fairly close together so that only the stones remain and not the blurry veil.
Step 6:
Now I click with the Ctrl key pressed on my channel to create a selection. Then I go back to the Layers panel, create a new layer, and fill it with black. I can delete the underlying layer.
Step 7:
In the background, I quickly create a gradient. Then I add a Bevel & Emboss in the Layer Styles.
Step 8:
For texture, I can choose a stone-like pattern.
Step 9:
If the text is too dark for me, I can lighten the color with a Color Overlay.
Step 10:
Also nice is the option to insert a stone texture with low opacity on my Layer 1.
Step 11:
Alternatively, I can use the texture with full opacity and insert it as a clipping mask on Layer 1. To do this, I click between the layers holding the Alt key. However, I need to remove the Color Overlay and Texture on Layer 1.
Step 12:
If I had chosen a smaller mosaic tile size at the beginning, the result would look like this:


