Creating an online shop can be a challenging but extremely rewarding task. With Mailchimp, you have a powerful tool at your disposal to develop an attractive and functional online store. In this guide, you will learn how to build and manage your own E-Commerce website in a few steps to efficiently offer and sell products.
Key takeaways
- Mailchimp enables easy creation of an online store.
- Users can add products, configure payment options, and set shipping policies.
- An attractive product presentation and tax management are crucial for your shop's success.
Step-by-step guide
Step 1: Accessing the Store section
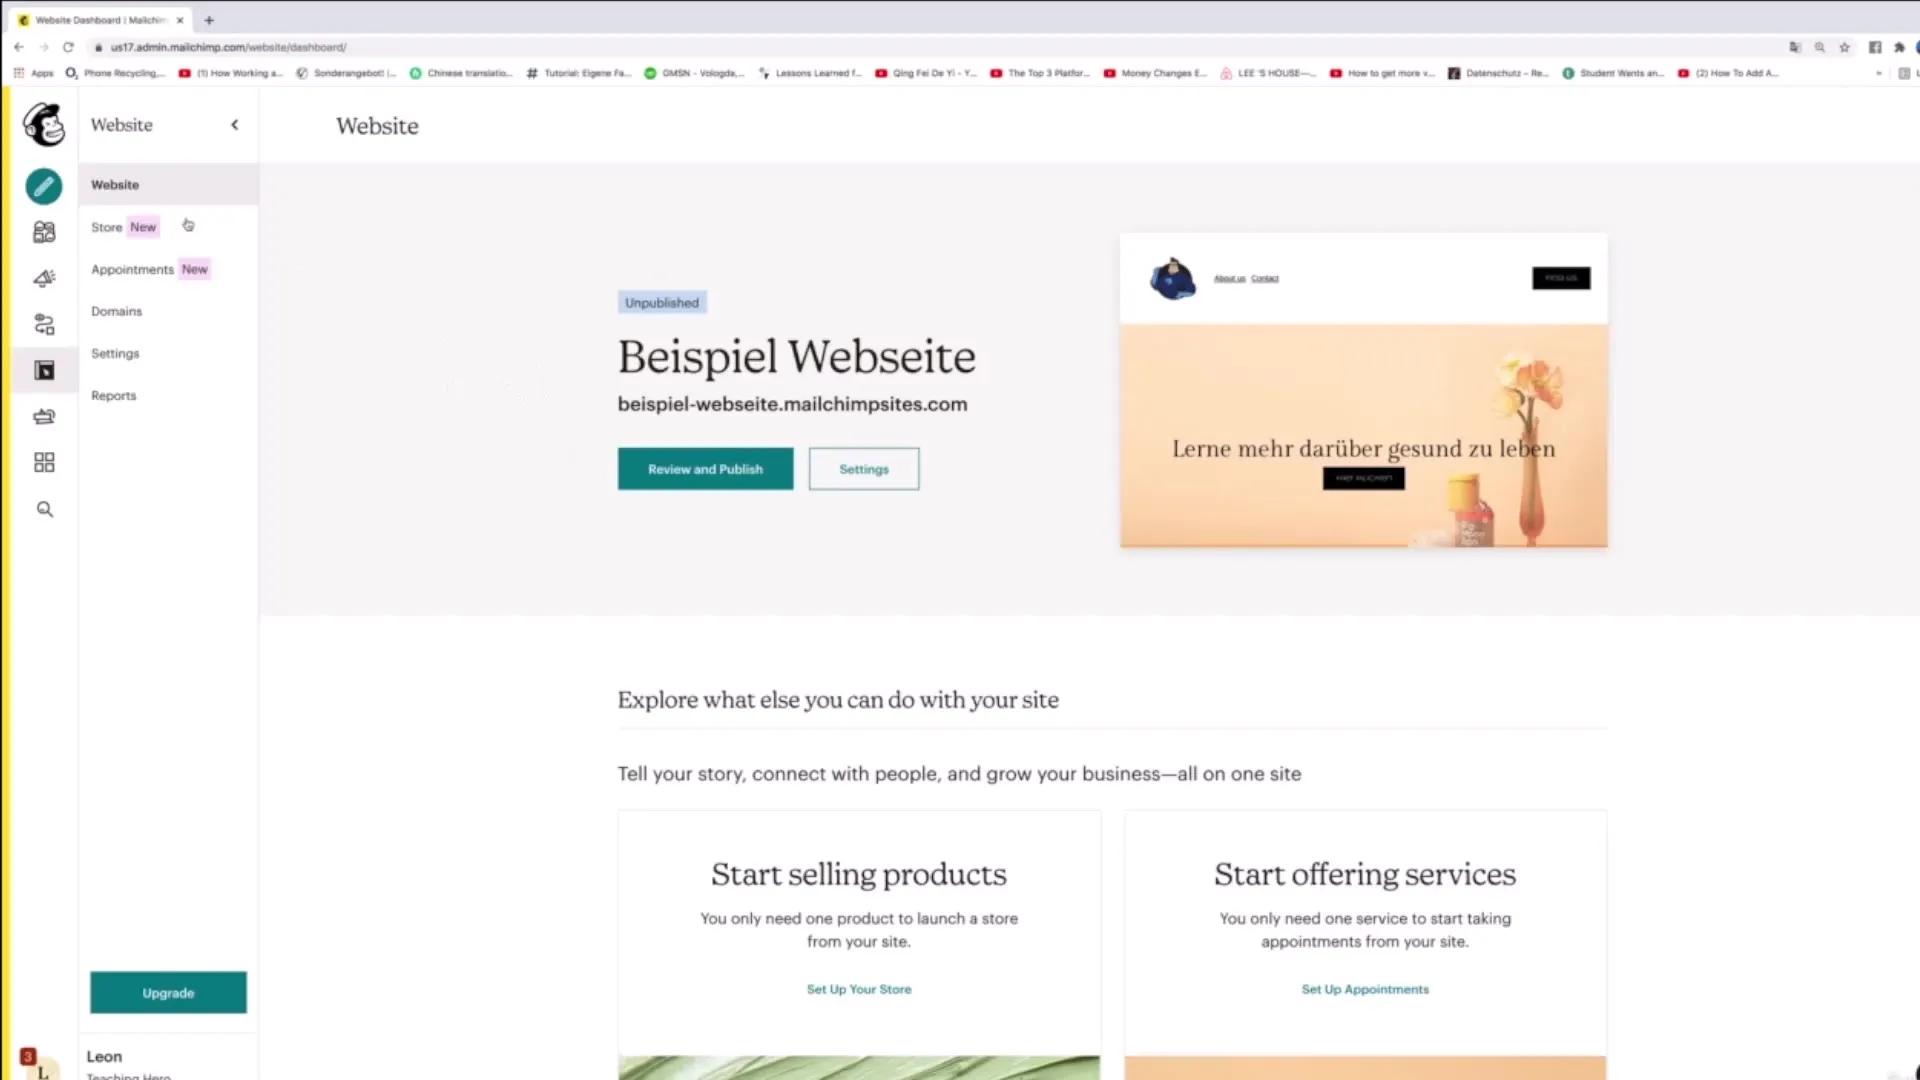
To create an Online-Shop, first open Mailchimp and navigate to the left sidebar. Click on the "Store" section. There you can start setting up your store website.
Step 2: Setting the Store name
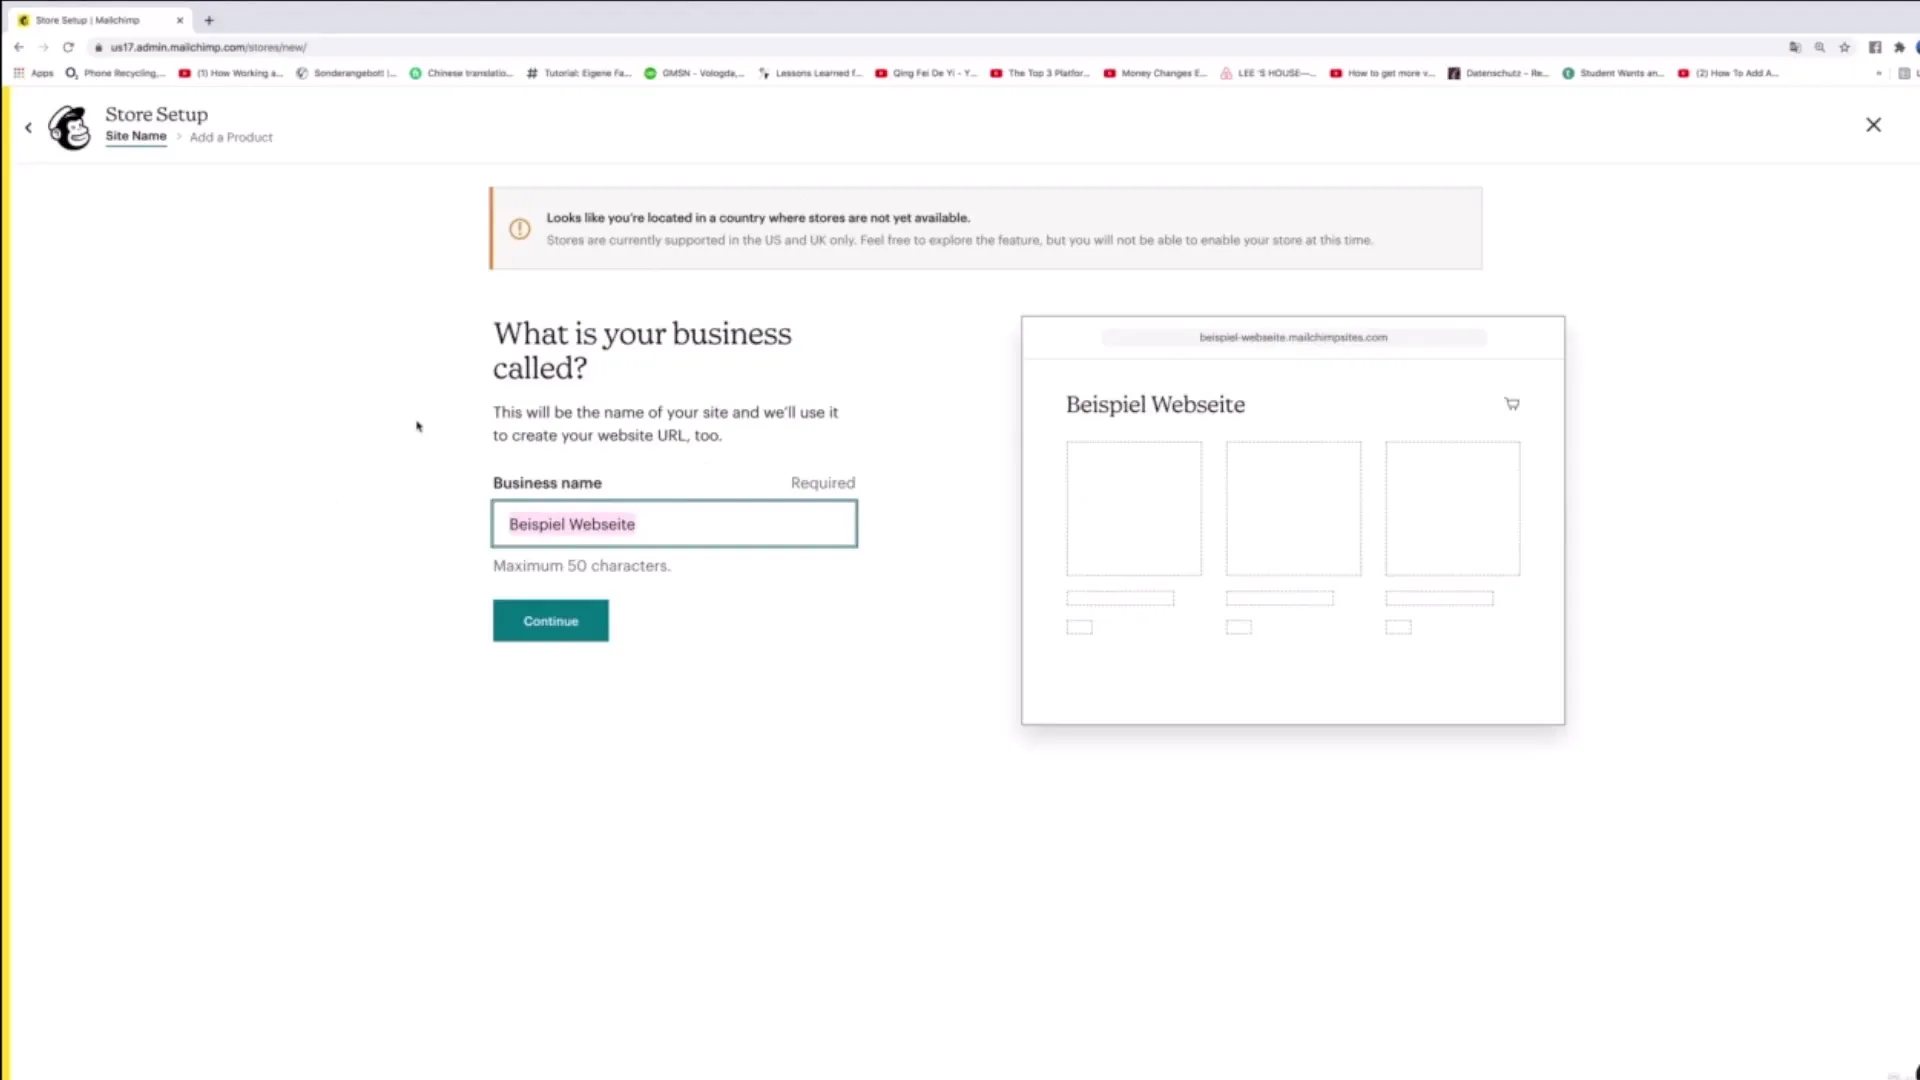
Now you are in the Store setup. Here you have the option to set a name for your store. This will be the name of your website and will also be used in the URL. Enter "Example Online Store", for example, and click "Continue" to proceed.
Step 3: Uploading product photo
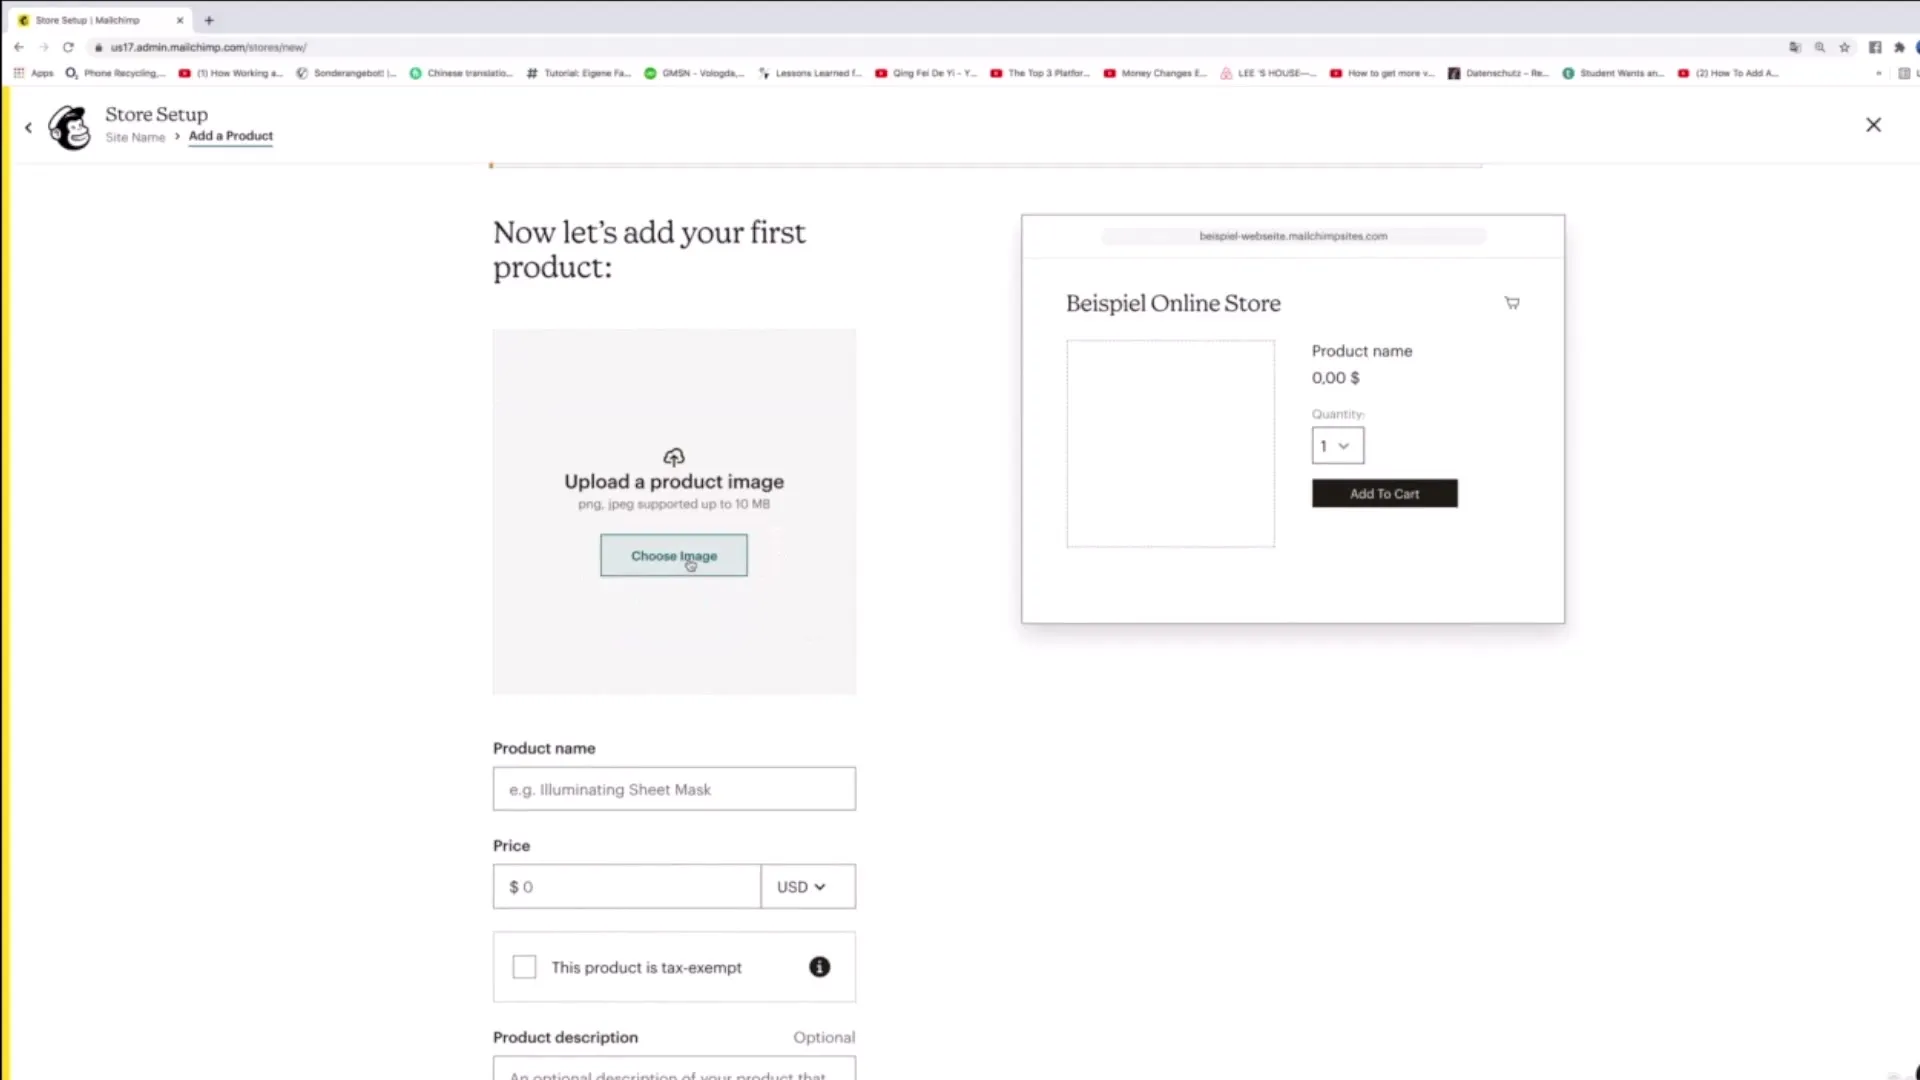
After setting the name, the next step is uploading a product photo. Click on "Choose Image" and select a suitable photo of your products from your computer. This could be a picture of a notebook or any other product.
Step 4: Entering product information
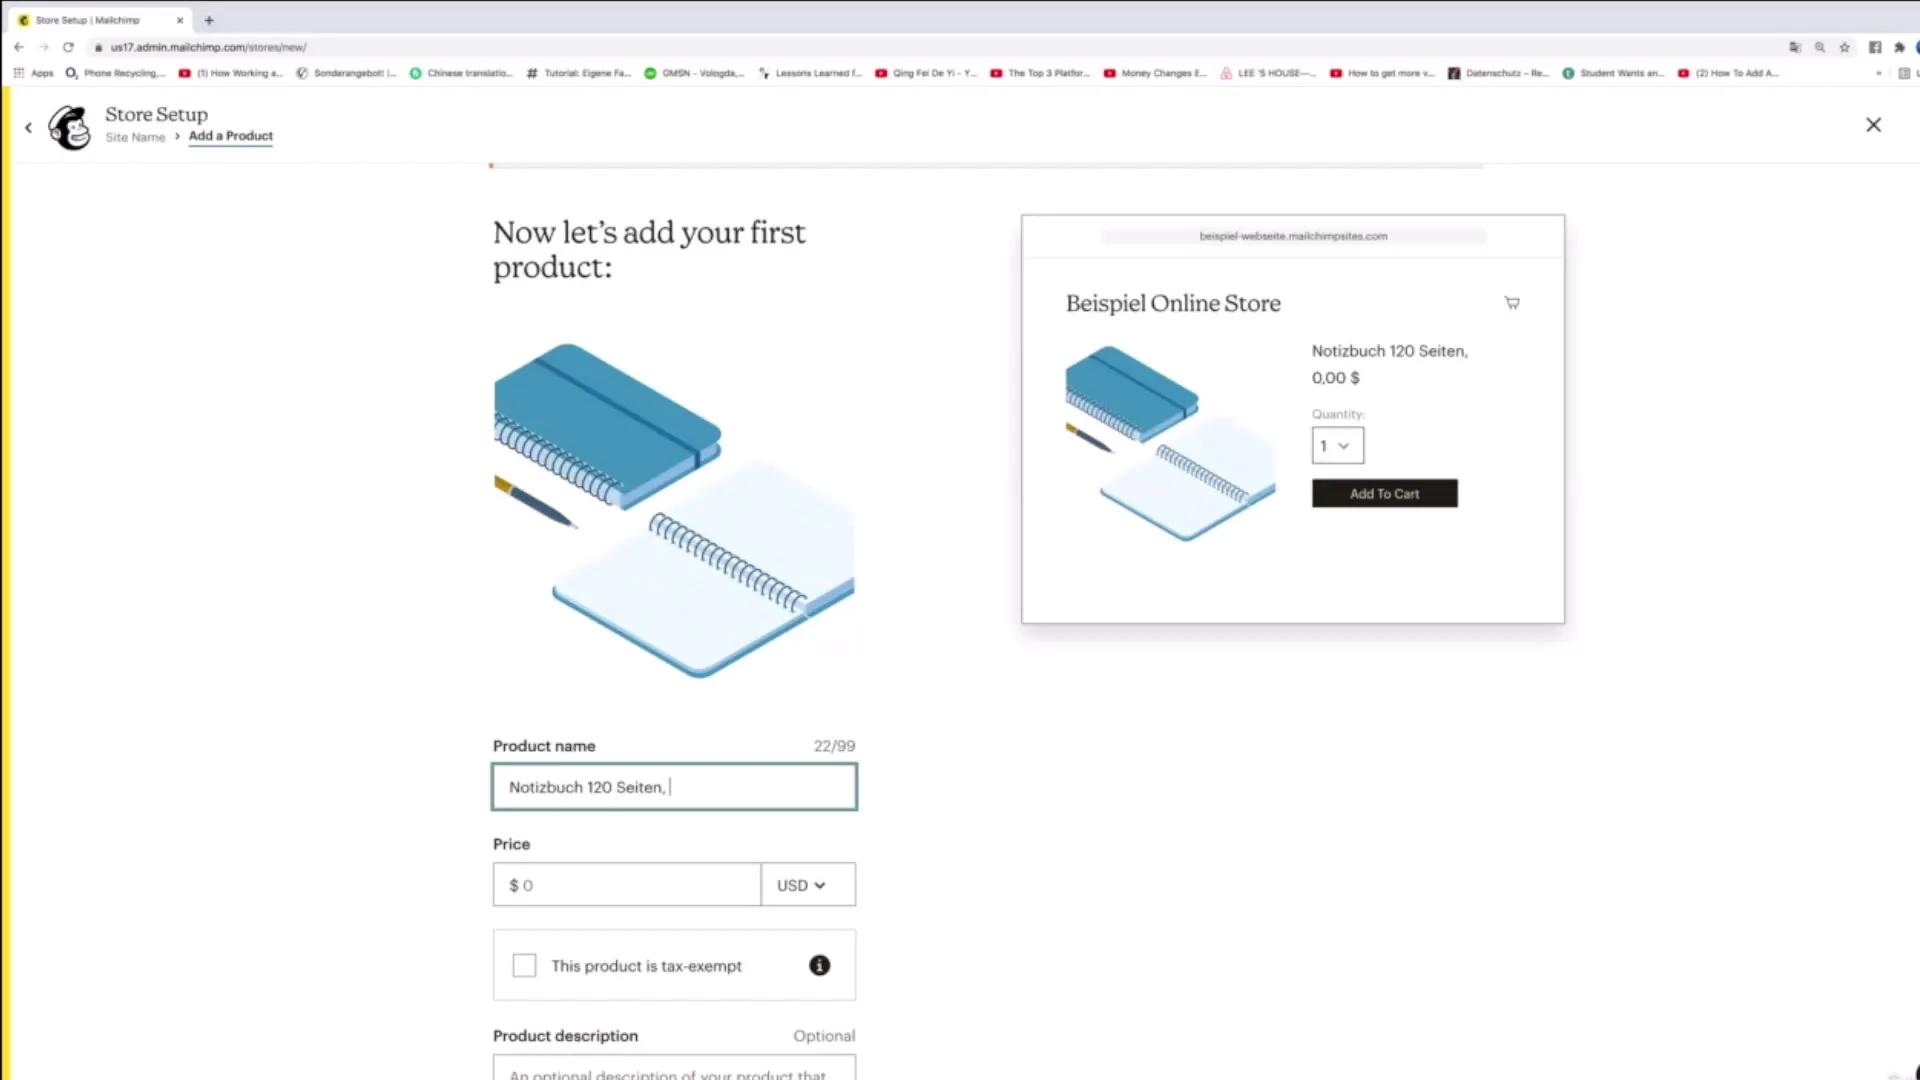
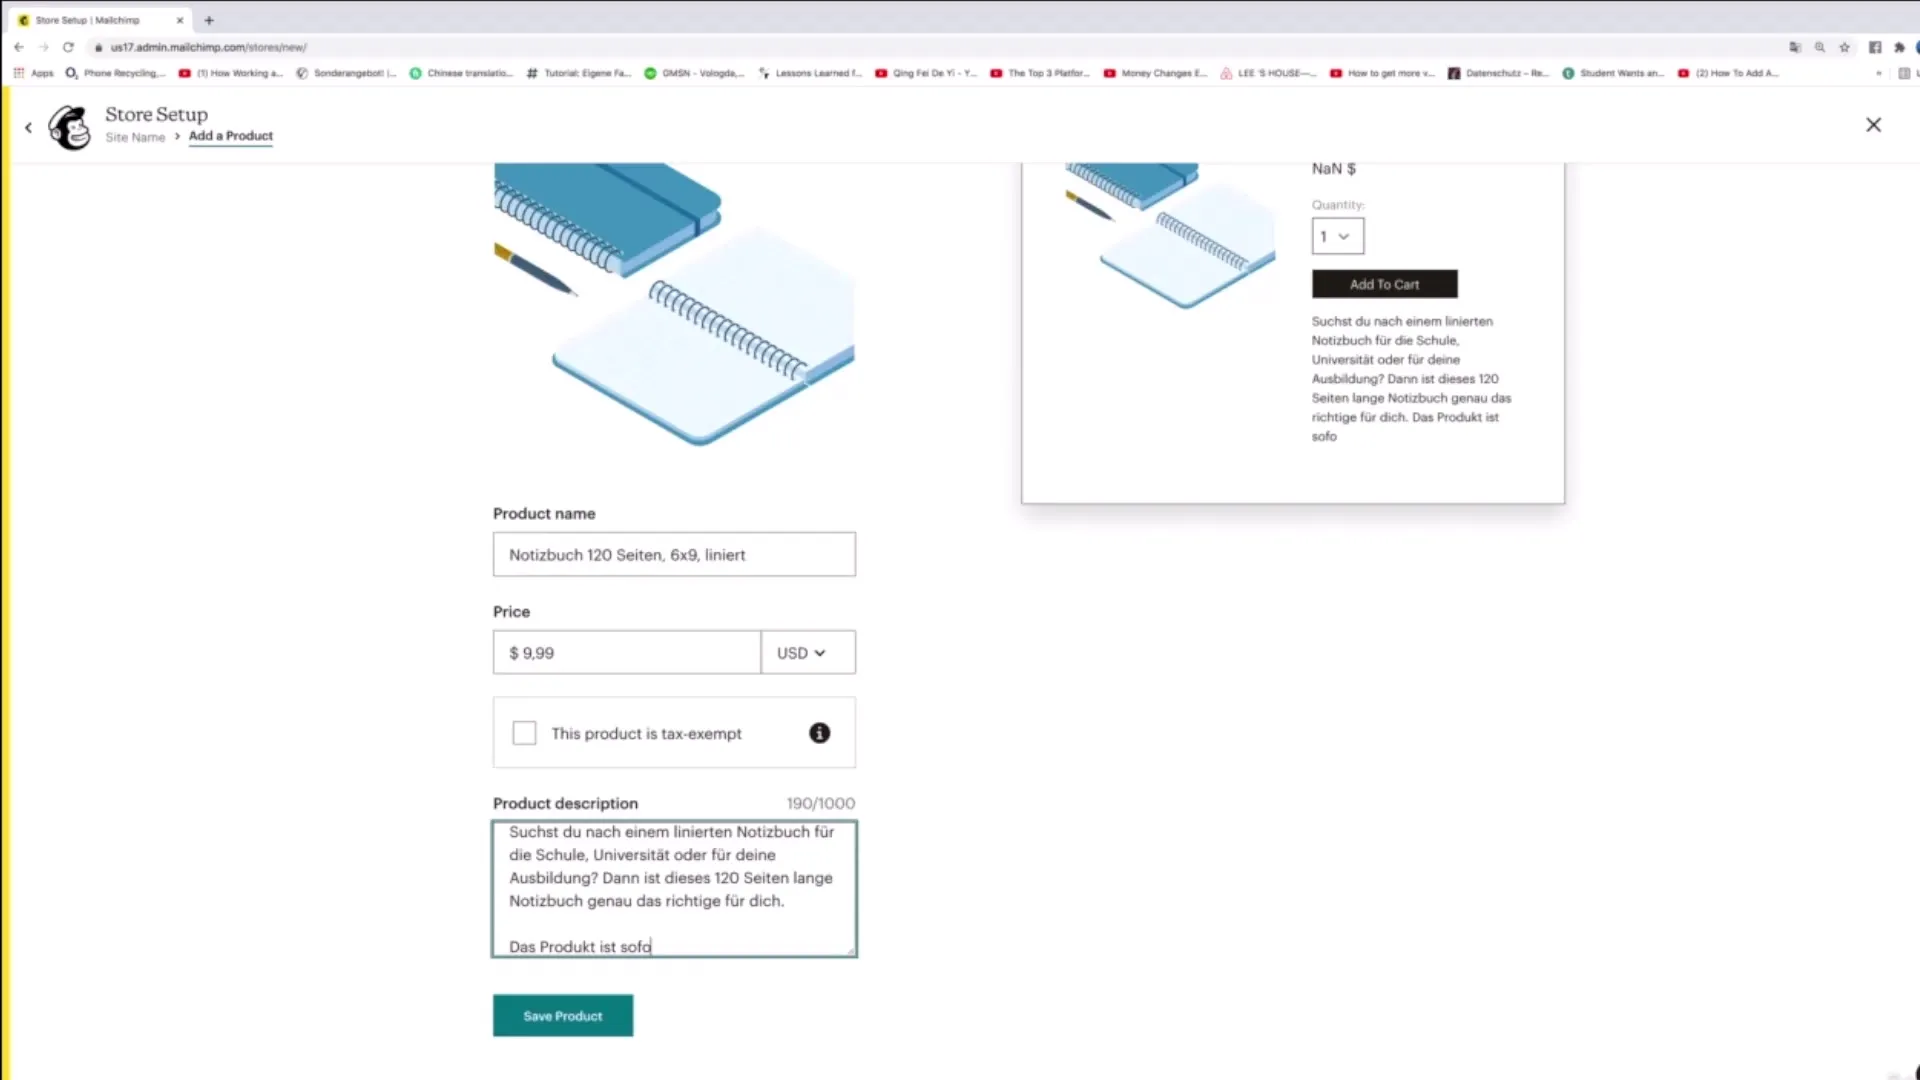
After uploading the product photo, you can enter the information about your product. This includes the product name, description, quantity, price, and whether the product is exempt from sales tax. Make sure to provide accurate and clear information.
Step 5: Adding product description and shipping details
In this step, you will enter a detailed description of your product. Inform customers about the features and uses of your product. Then, set the shipping options, including shipping costs and estimated delivery time.
Step 6: Setting up payment options
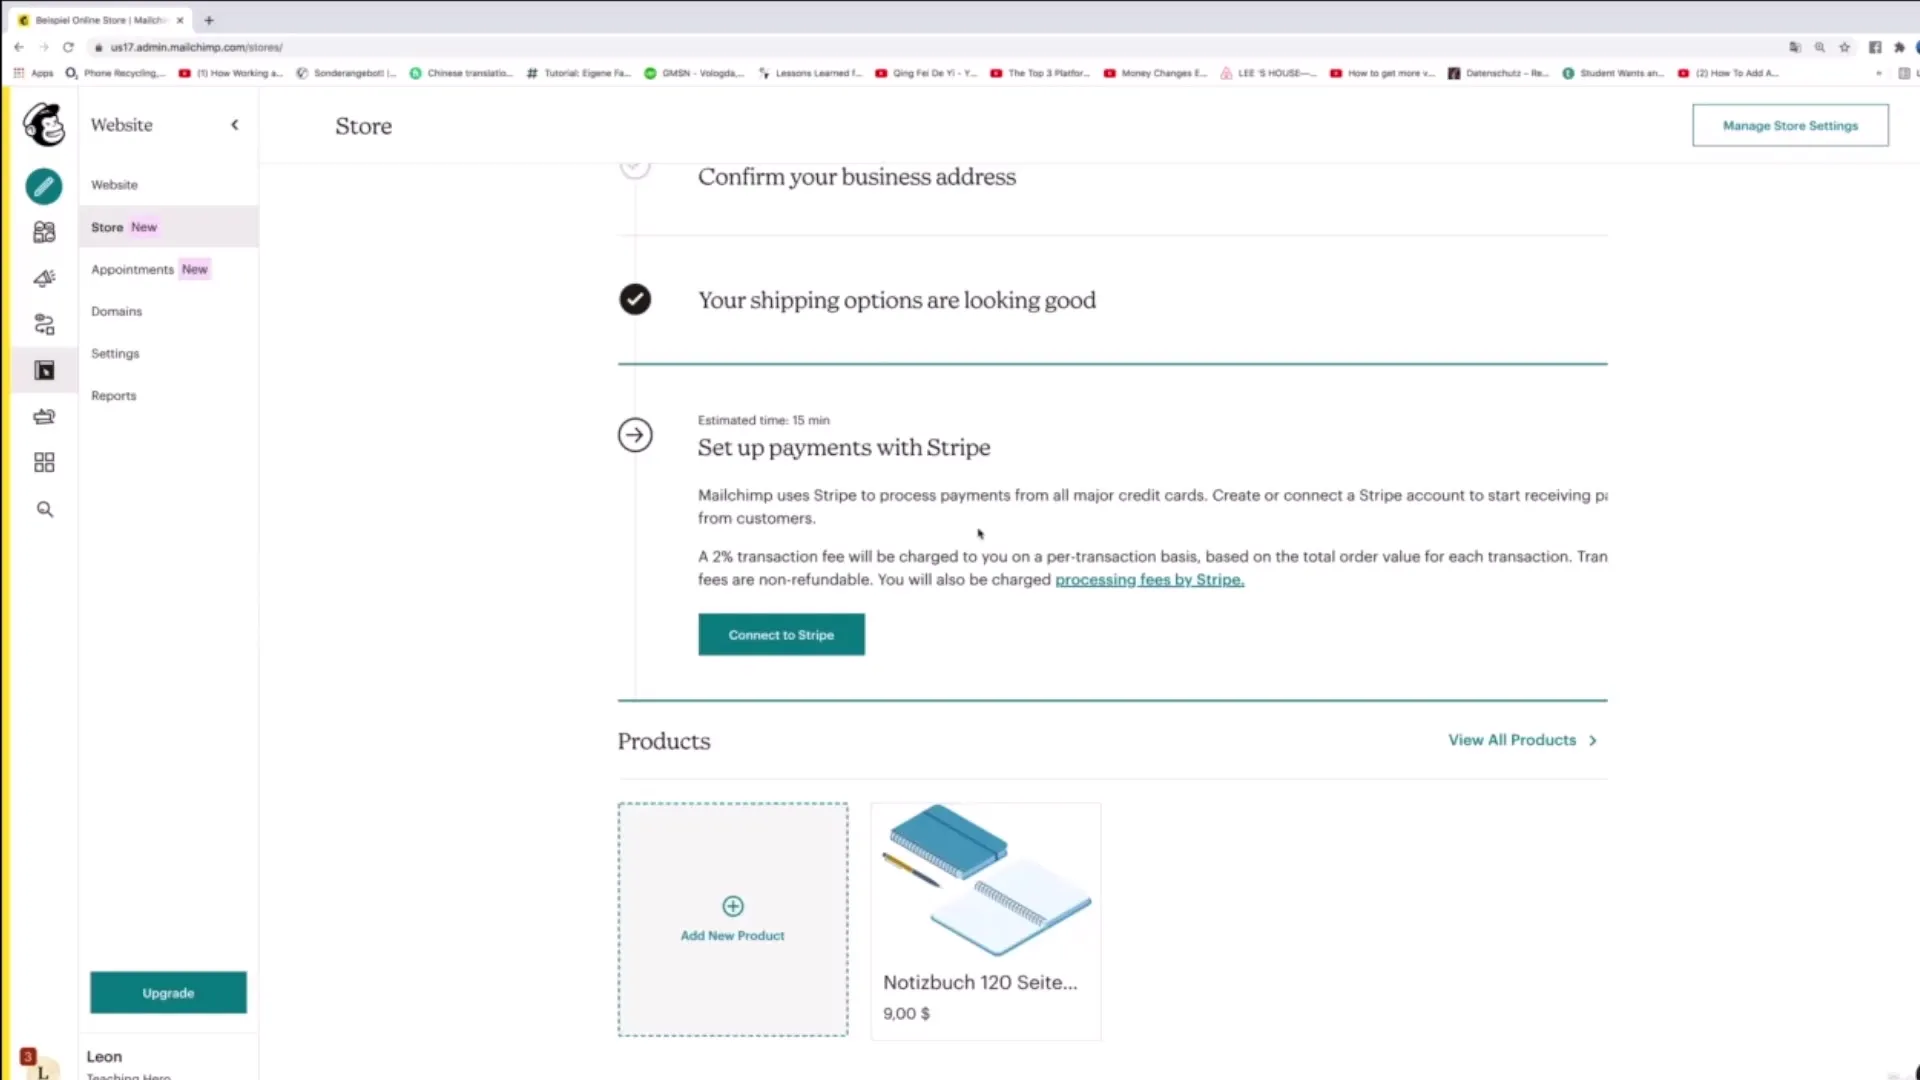
Now it's time to configure your payment methods. Go to "Setup Payments" and select "Connect to Stripe". Here you can connect your Stripe account to process payments. Once your store is ready, customers can securely purchase your products.
Step 7: Configuring shipping options
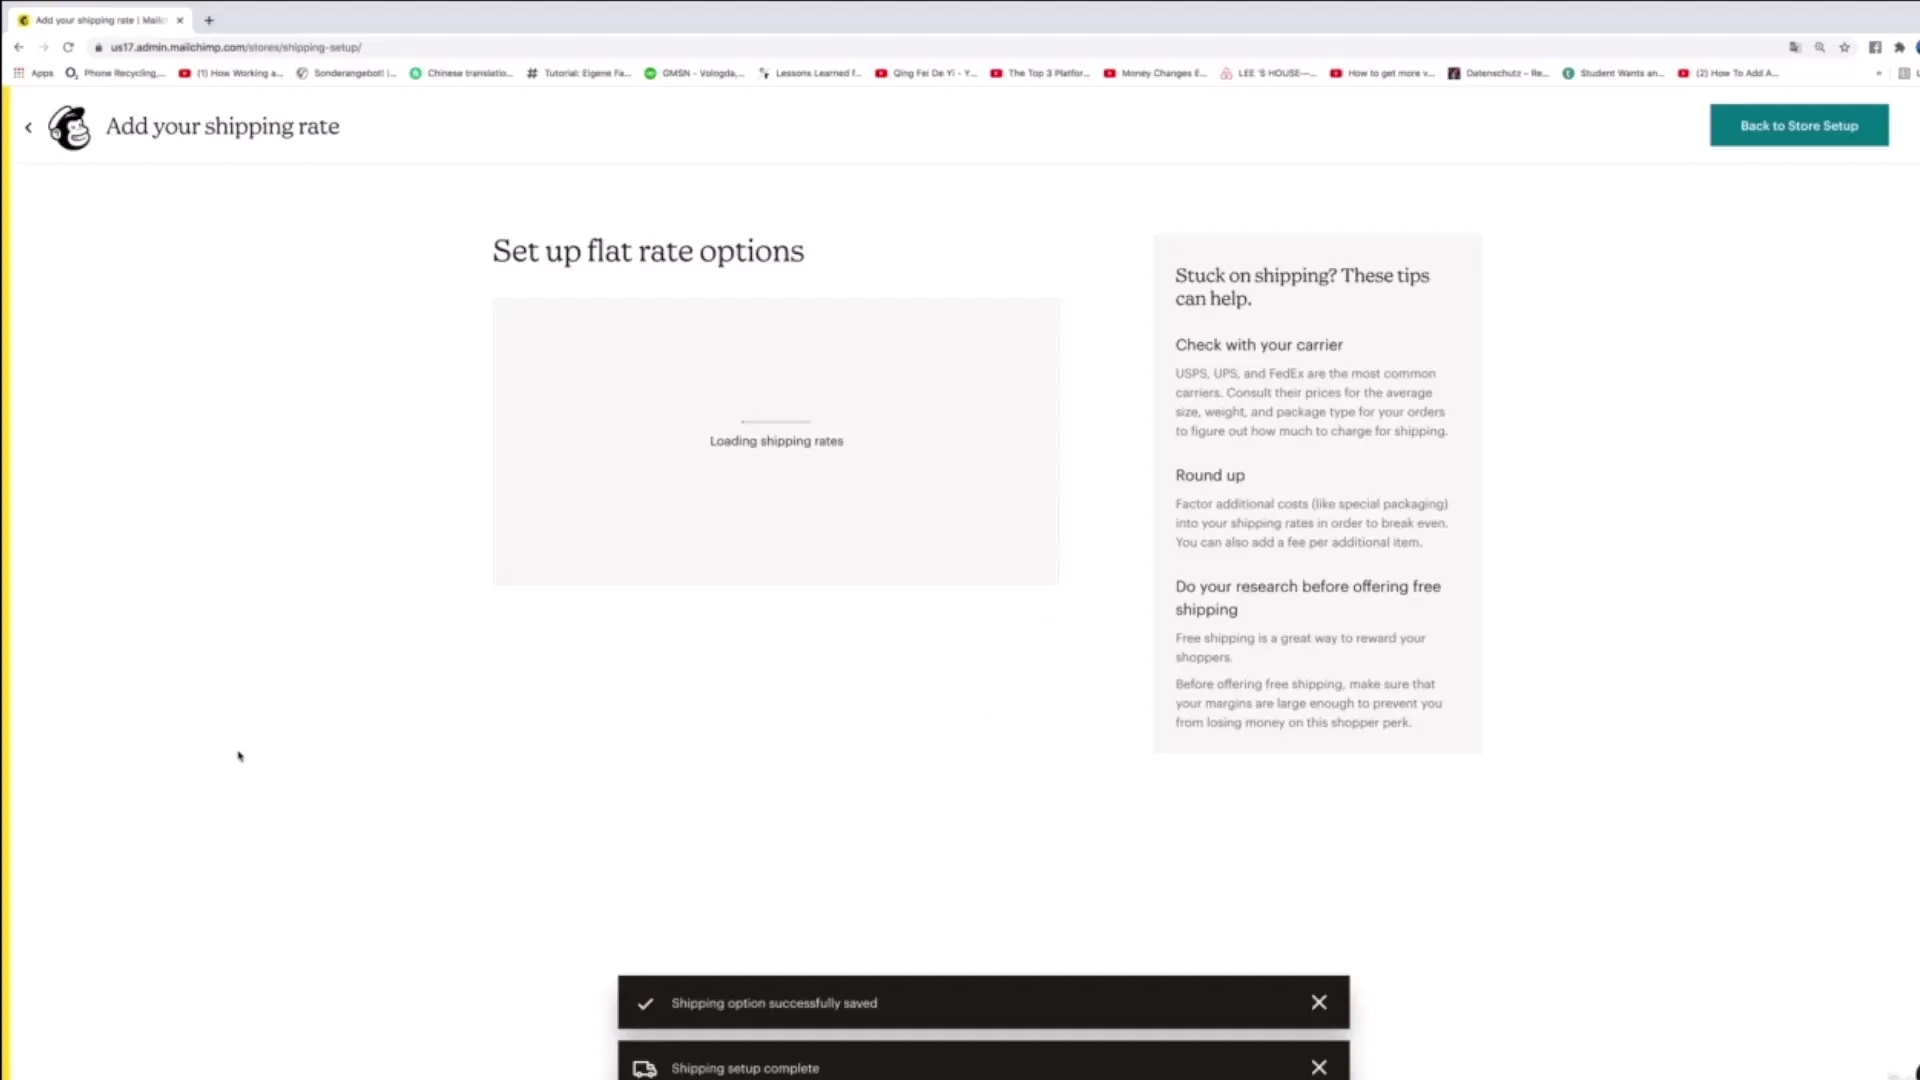
To offer your customers a choice, set up various shipping options. Define standard and express shipping costs and specify how long shipments usually take. Don't forget to create an attractive offer to increase purchase incentive.
Step 8: Reviewing and finalizing the store
Before publishing your store, review all the entered data and settings. Ensure that the contact information and business address are correct so that customers can reach you for any questions or issues.
Step 9: Publishing the store
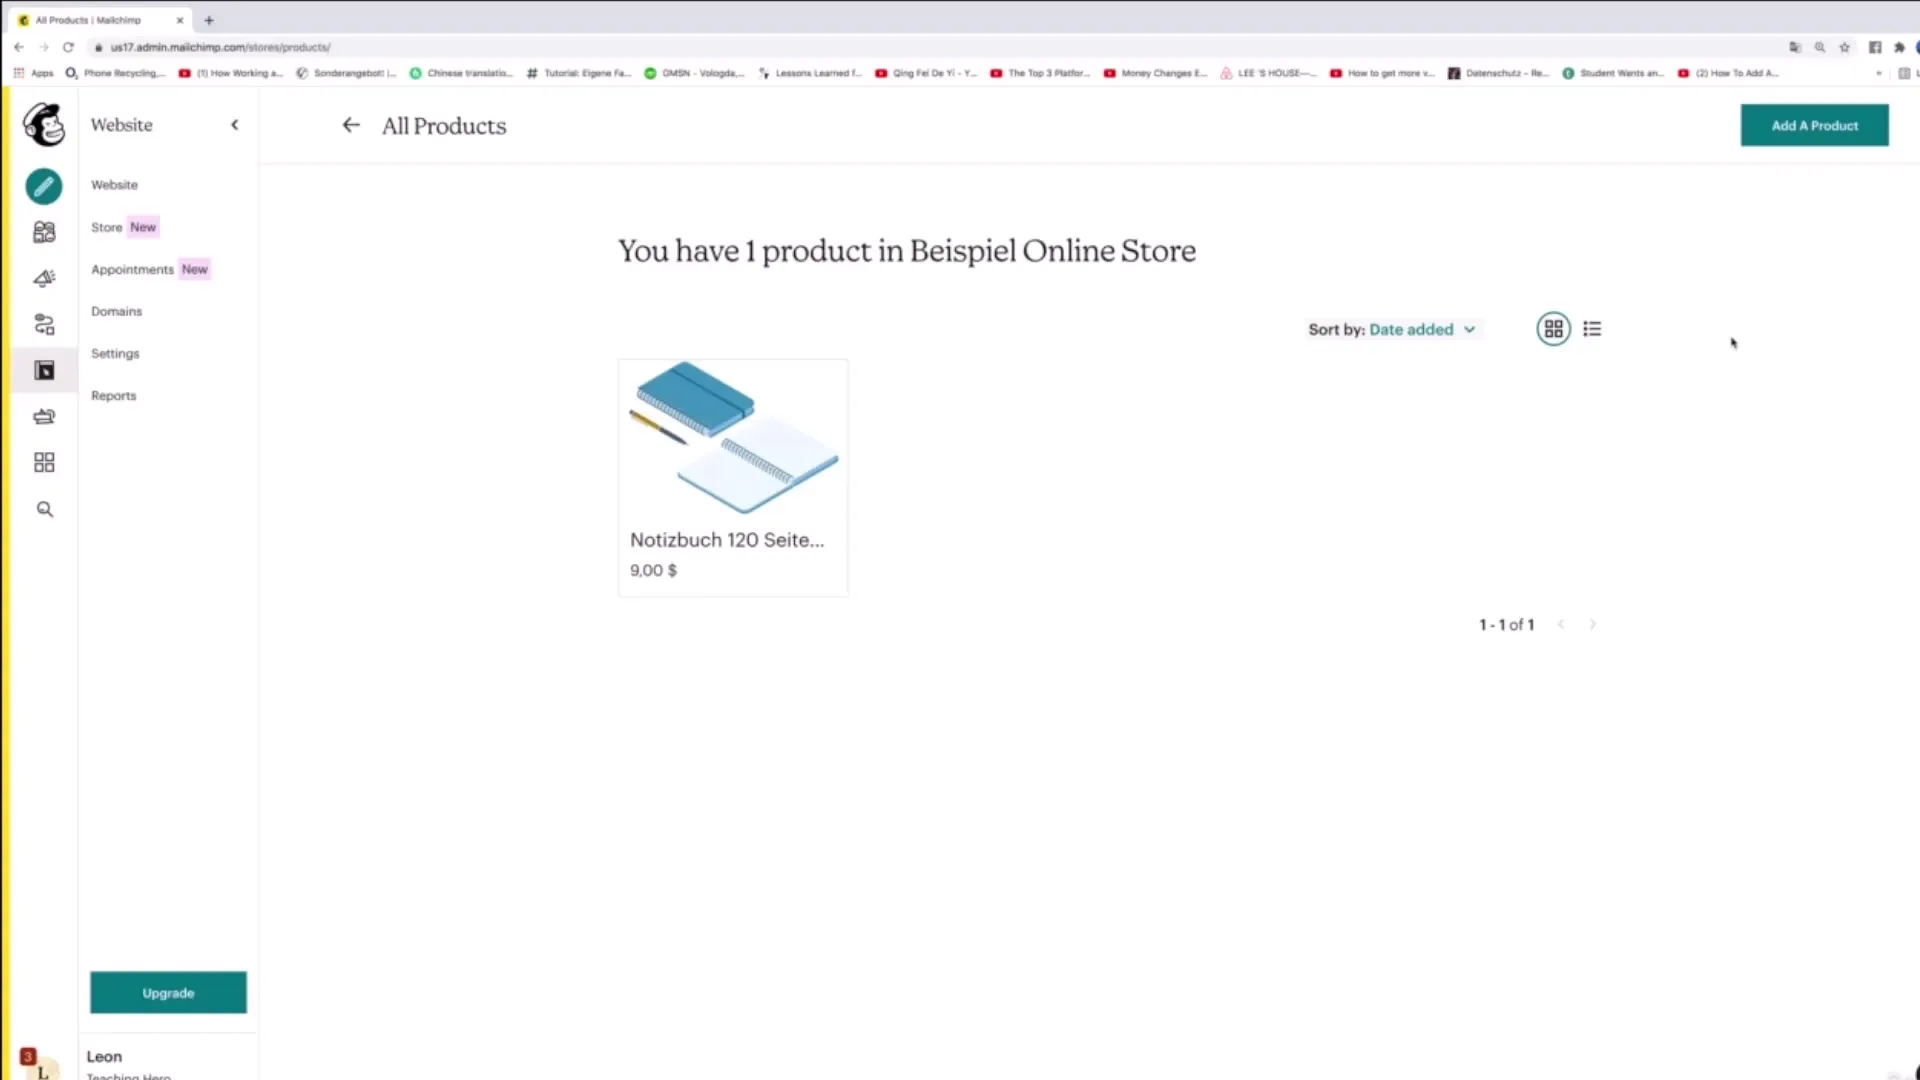
Once everything is ready, you can publish your store. Go to "View All Products" to review the products. Your website is now online and ready to sell your products.
Step 10: Manage Store Settings
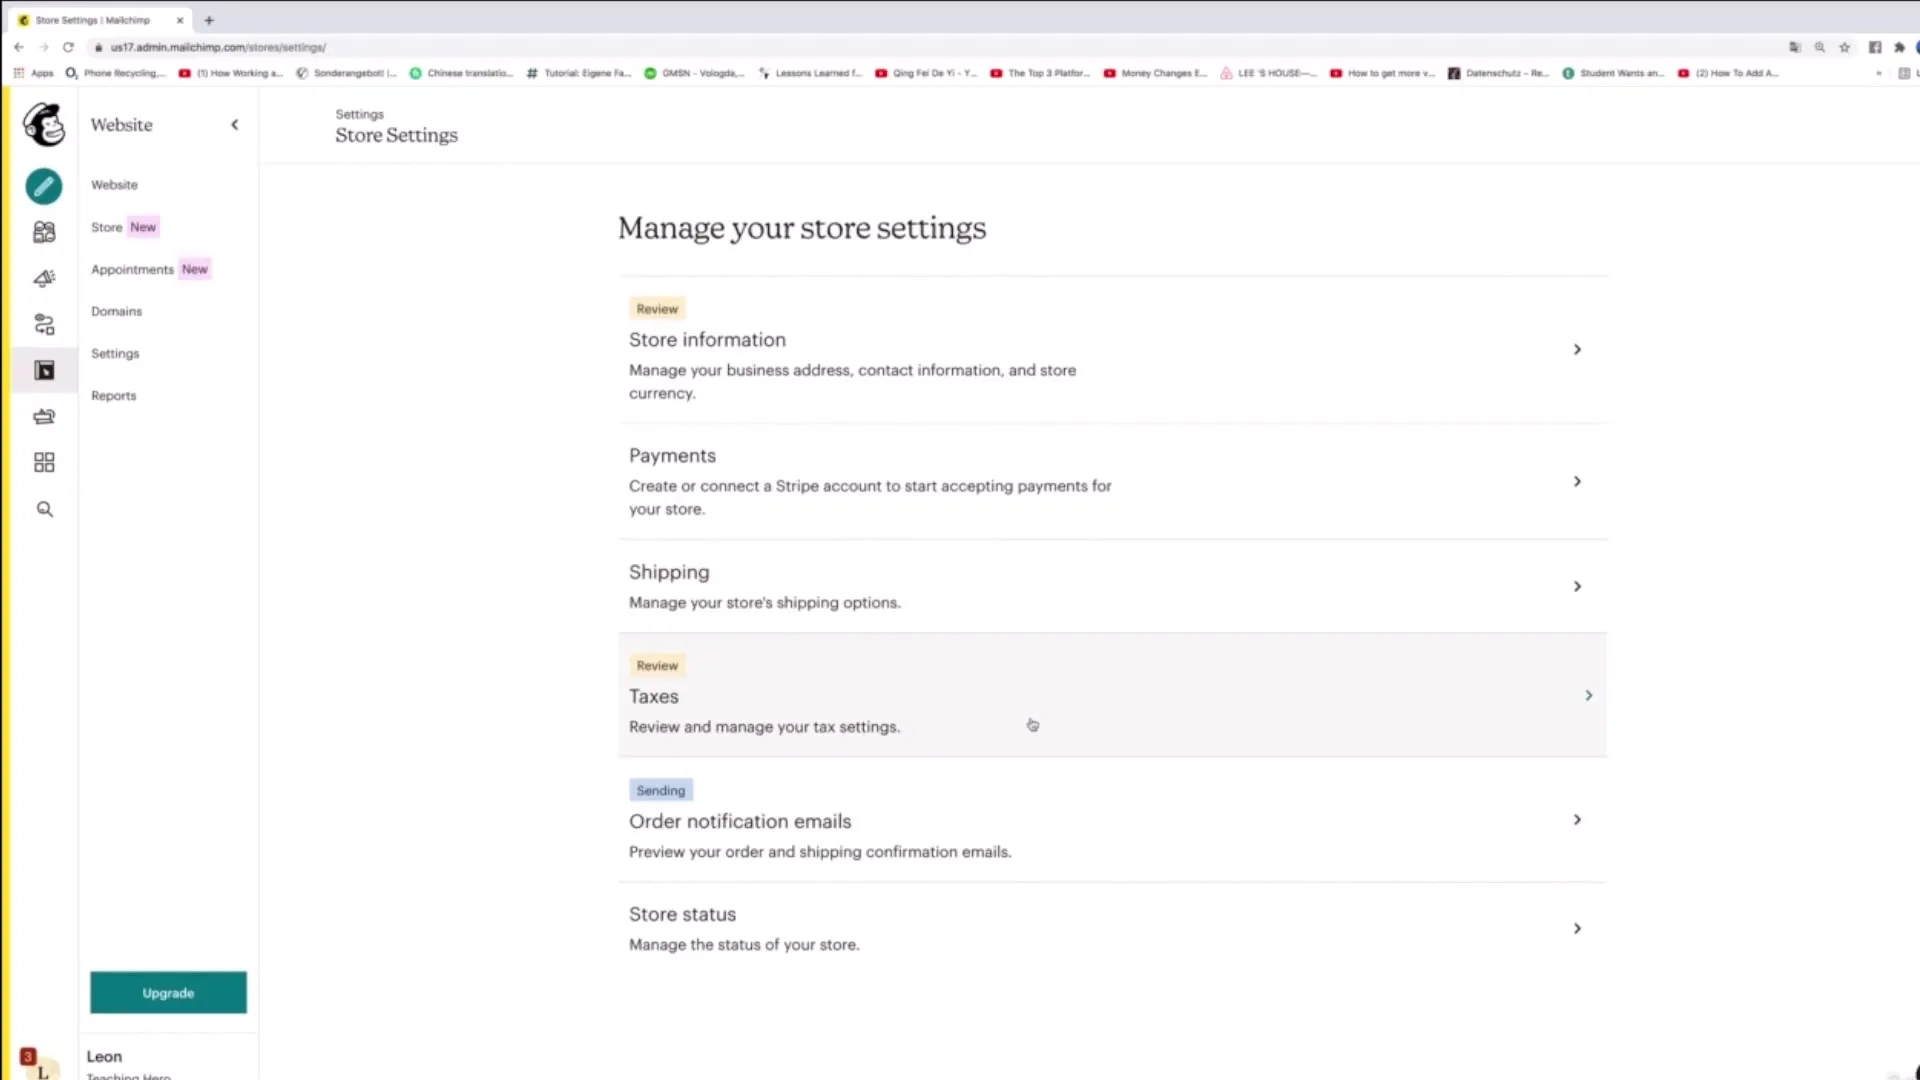
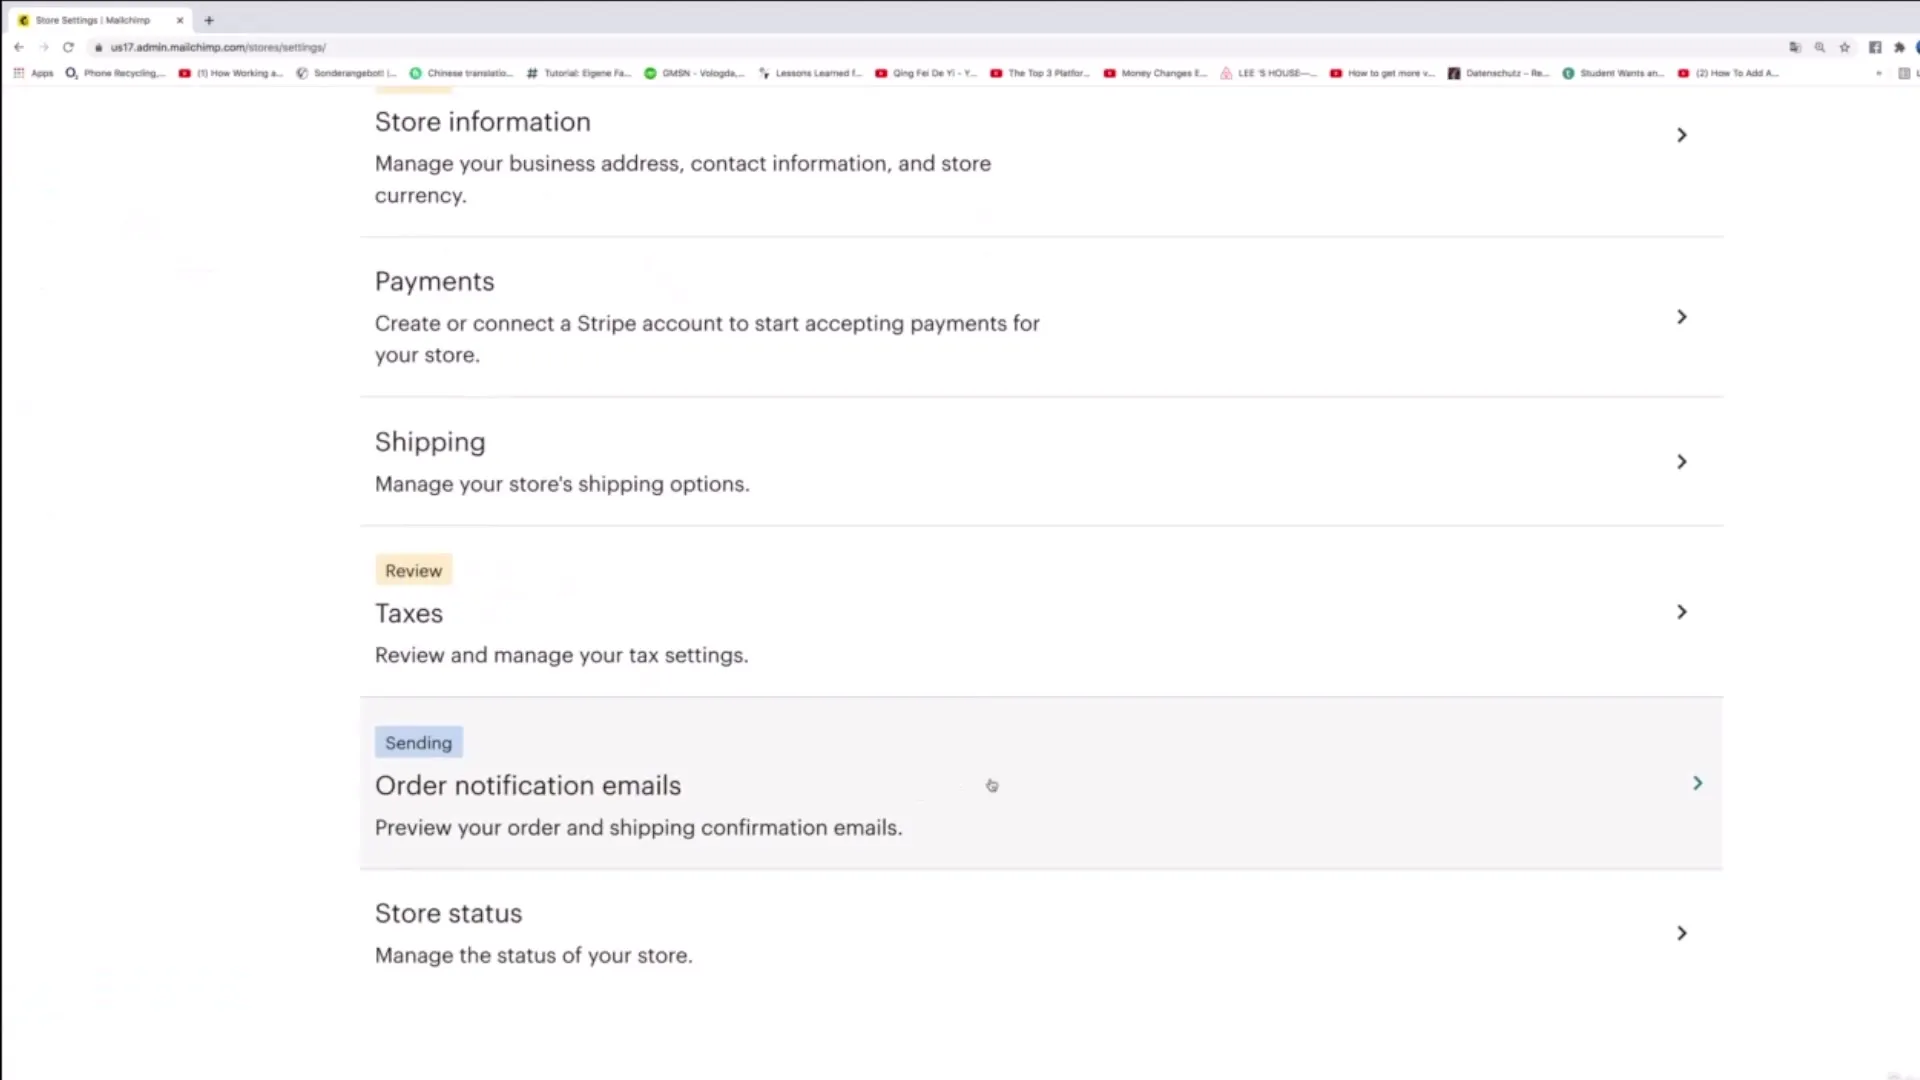
To effectively manage your store, you can customize various settings. These include order notifications, payment method management, and adjusting your tax settings.
Summary
You have now learned all the steps to create your own online store with Mailchimp. From the initial settings to publishing your shop, you are well-equipped to sell your products online.
Frequently Asked Questions
How can I add products to my online store?You can add products by clicking on "Add More Products" and entering the product information.
How do I configure the payment options?Go to "Setup Payments" and link your Stripe account with Mailchimp.
What happens if customers want to make a return?Make sure your return policies are clearly communicated on the website and provide an address for returns.
What shipping options can I offer?You can add standard and express shipping options and set prices and delivery times individually.
Where can I find order notifications?You can manage order notifications in the store settings to be informed about incoming orders.


