Inserting Shapes and diagram parts is a central part of working with MS Visio. These objects not only facilitate structuring diagrams, but also help to visually represent complex information. In this tutorial, you will learn how to effectively use different diagram parts like containers, legends, and connectors to optimize your visual presentation. Let's dive right into the details.
Key Takeaways
- You can group shapes in containers to create a clear structure.
- Legends allow you to label shapes and explain their meanings.
- Connectors help in creating relationships between different shapes.
Step-by-Step Guide
Inserting Shapes onto the Drawing Board
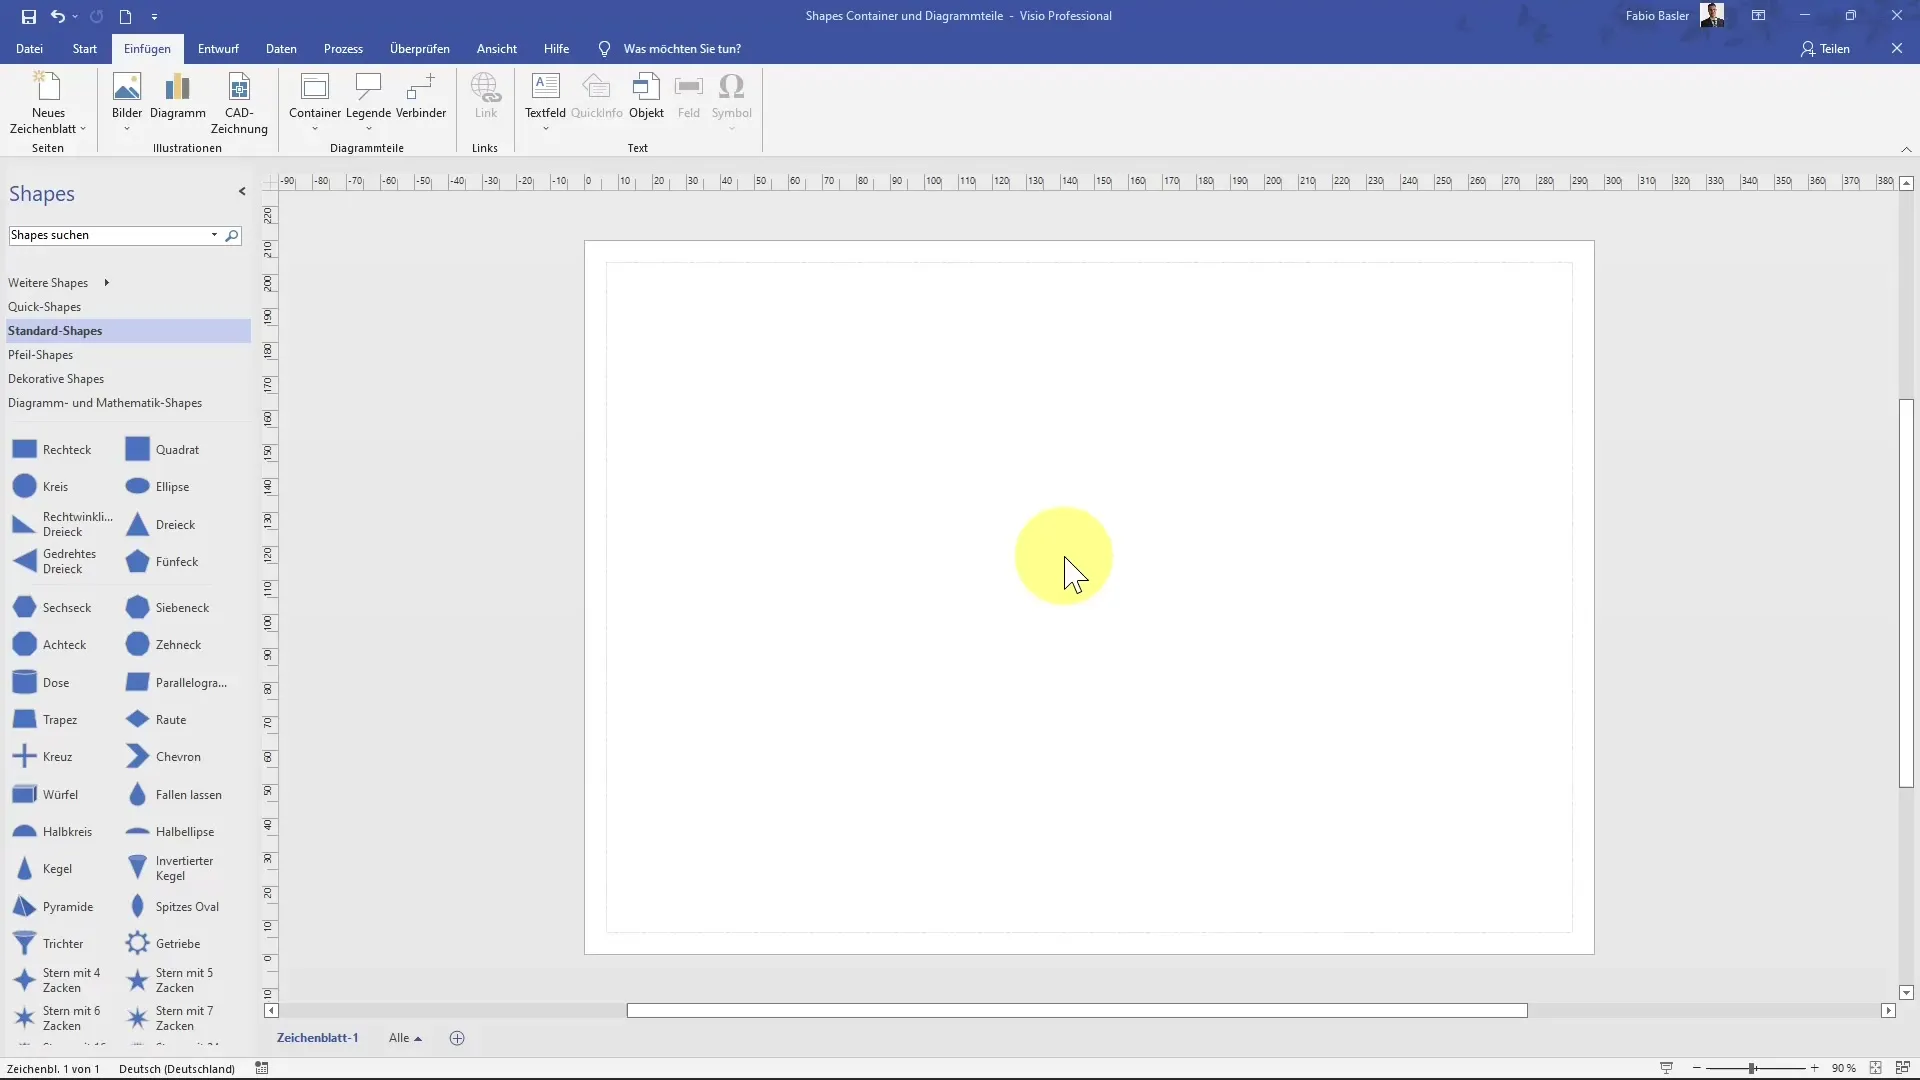
To start inserting shapes, navigate to the "Insert" tab and select the relevant shapes from the "Diagram Parts" command group. Initially position a shape on your drawing board by simply dragging and dropping it into the workspace. For this example, we are using a square. You can resize the shape by dragging its corners. Make sure to maintain the proportions of a square while dragging.
Using Containers
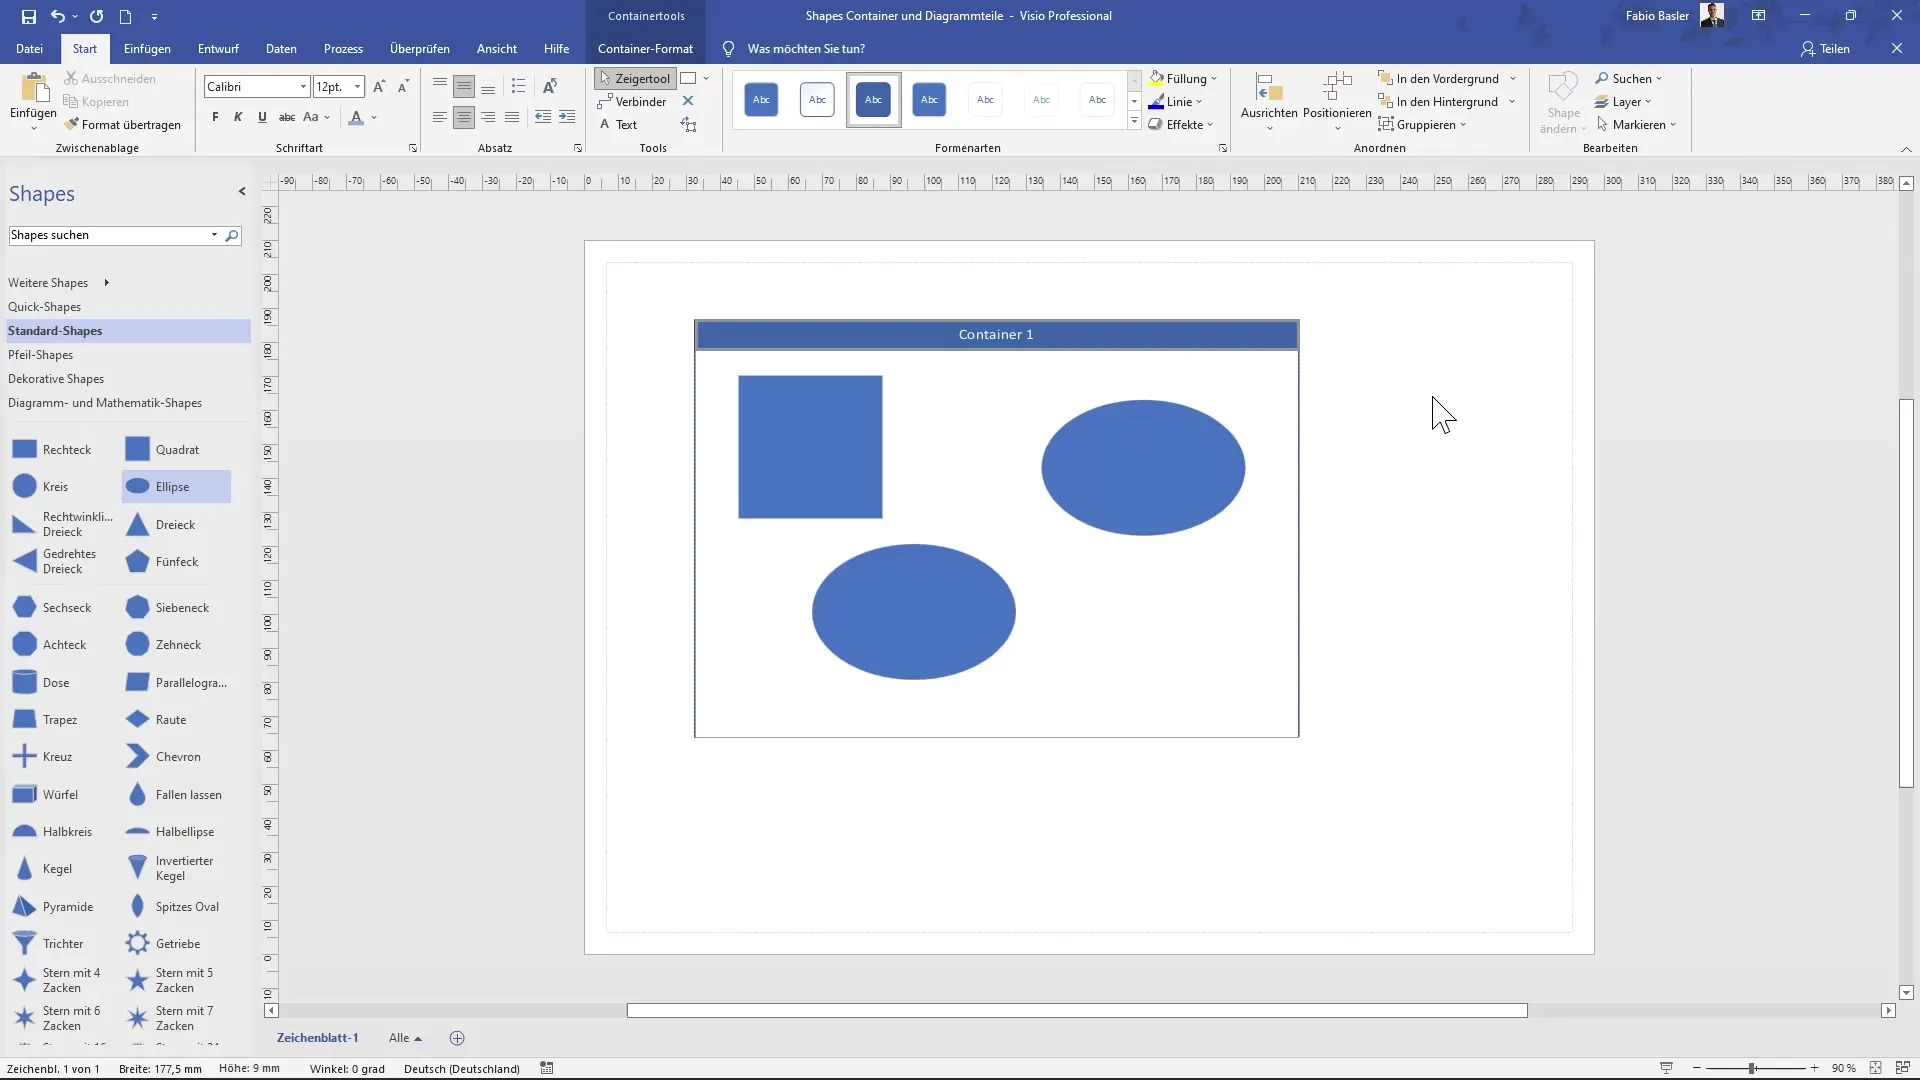
A container is a useful tool to group multiple shapes together. Hover over the Container action to see various container options. A classic container is particularly popular. Select the desired container and drag it onto your drawing board. After that, you can drag shapes into this container. When the container changes its color, it indicates that the shape has been successfully positioned inside.
Adjusting Shapes Inside Containers
After inserting shapes into the container, you can customize them as needed. Hold down the control key to duplicate a shape. To keep all shapes inside a container, make sure the container itself remains selected. Additionally, by double-clicking on the container, you can give it a title, such as "Container 1". This way, your container receives a clear label for future references.
Utilizing Container Tools
Once you have created a container, various tools are available to make your work easier. Click on the Container Tools tab to choose different formatting styles. You can decide whether to maintain the default format or select a specific style to vary the design.
Locking and Disbanding Containers
Another useful feature is the ability to lock the container. This is done through the "Lock Container" option, which means you cannot drag any more shapes into it. This function is particularly helpful if you want to maintain a stable layout. If you want to disband a container, simply click on "Disband Container". All shapes will then be placed independently again. If this is done accidentally, you can easily undo the action.
Inserting Connectors
Connectors are essential for representing relationships between shapes. Select the Connector tool and simply drag from the edge of one shape to another to establish a connection. The highlights while dragging will help you precisely set the connection. It is important to always keep the Connector tool active to efficiently create the desired connection.
Adding Legends
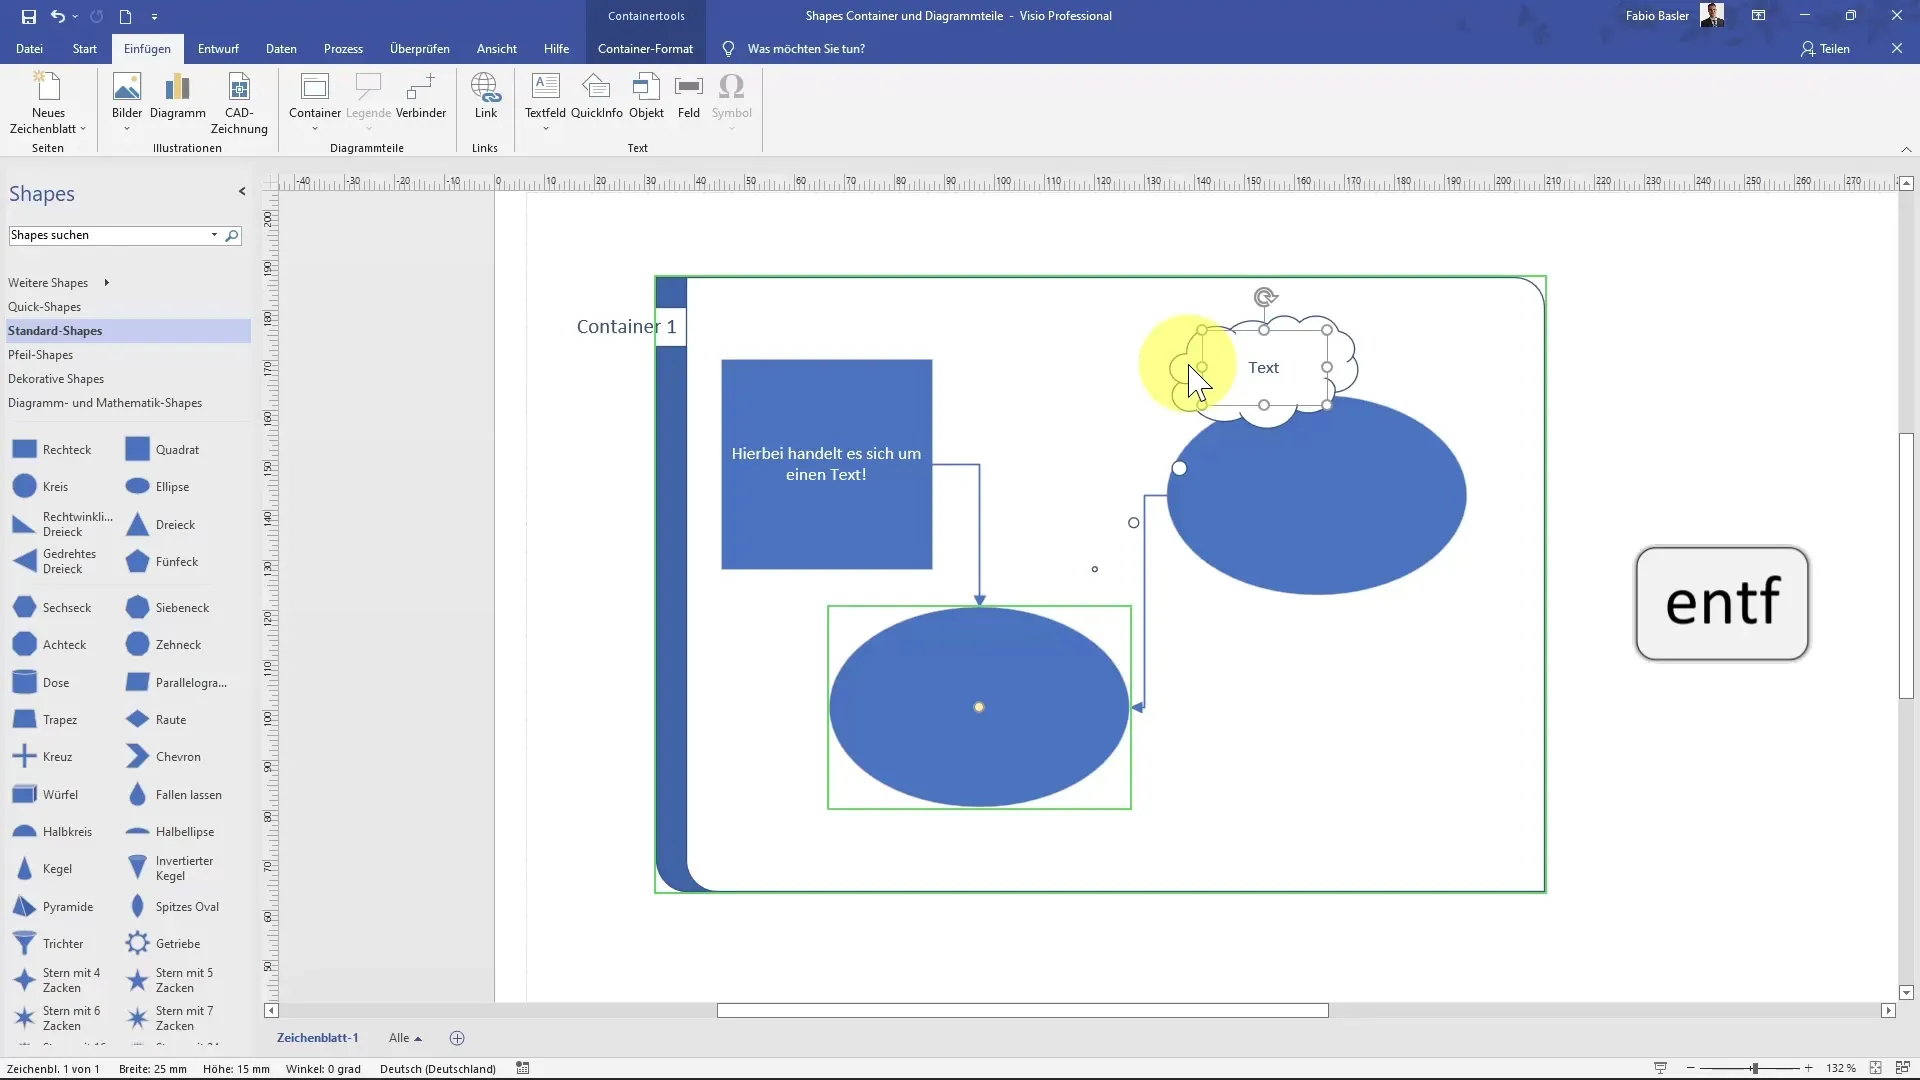
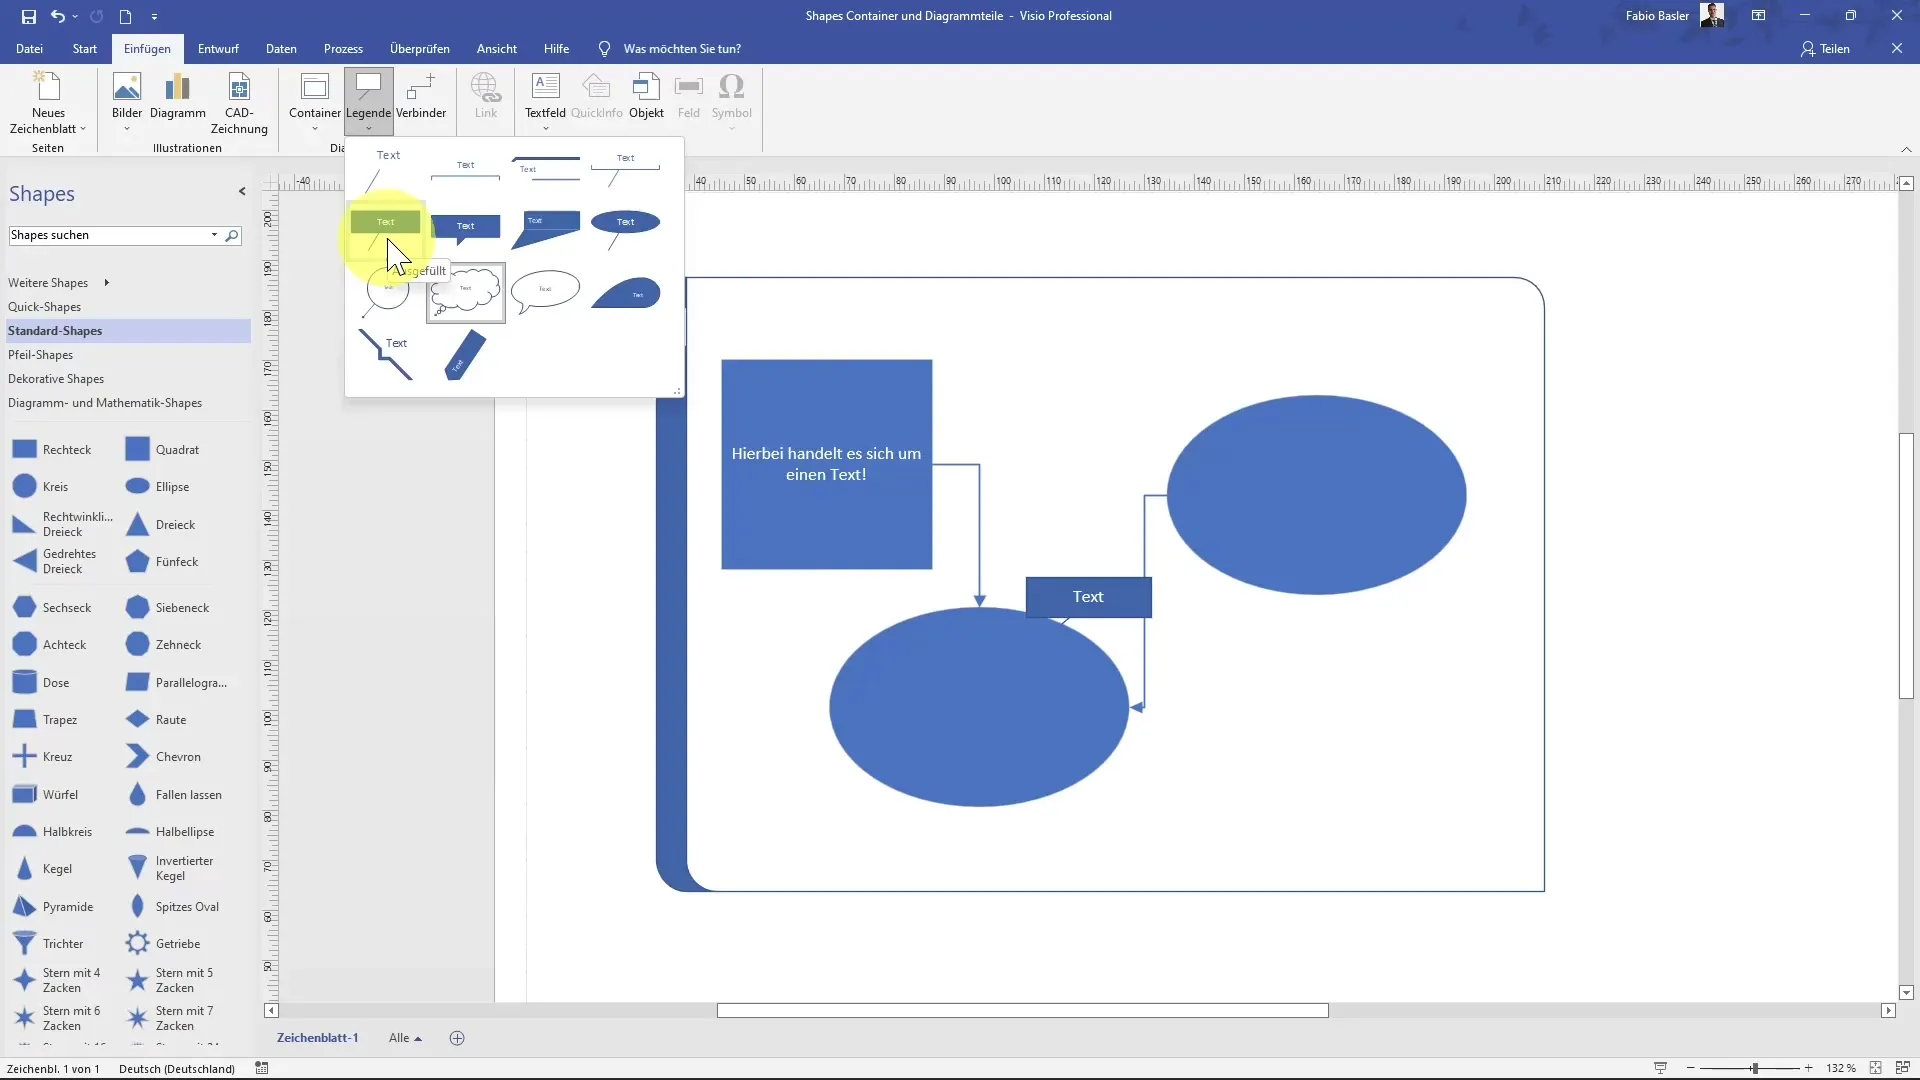
Legends are very helpful in providing additional explanations for your shapes. You can add these by selecting a shape and then clicking on the Legends option. Through the legend, you can now enter a text that explains what the respective shape represents. Position the legend as needed using the yellow handlers.
Editing Legends
If you have added a legend, it may be necessary to modify it. Simply select the legend in the diagram. You can delete the legend by pressing the Delete key and can repeat all the steps taken as needed.
Summary
In this tutorial, you have learned how to insert and efficiently utilize shapes and diagram parts in MS Visio. The use of containers, the integration of legends, and the establishment of connections between shapes were discussed. By taking advantage of these functions, you can organize your diagrams more effectively and clearly communicate messages.
Frequently Asked Questions
How do I insert a shape in Visio?You can insert a shape in Visio by selecting the desired shape from the "Diagram Parts" command group and dragging it onto the worksheet using drag-and-drop.
What is the purpose of a container in Visio?A container helps group multiple shapes together and ensures a clearer structure.
How can I connect a legend to a shape?Select the legend, drag it to the desired shape, and use the alignment guides to establish the connection.
How can I lock a container?A container can be locked by clicking on the "Lock Container" option, preventing any further shapes from being added.
How do I dissolve a container in Visio?To dissolve a container, click on the "Dissolve Container" option.
