The customization of the Quick Access Toolbar in MS Visio has the potential to significantly improve your workflow. By making targeted adjustments, you can quickly access frequently used functions and increase your efficiency. In this guide, I will show you step by step how you can customize the Quick Access Toolbar to suit your needs, allowing for a more pleasant and productive working experience.
Key Takeaways
- The Quick Access Toolbar provides an easy way to access frequently used commands.
- You can add or remove standard and custom commands.
- The position of the Quick Access Toolbar can be adjusted to optimize usage.
Step-by-Step Guide to Customizing the Quick Access Toolbar
To customize the Quick Access Toolbar in MS Visio, follow these steps:
Step 1: Open Visio and Locate the Quick Access Toolbar
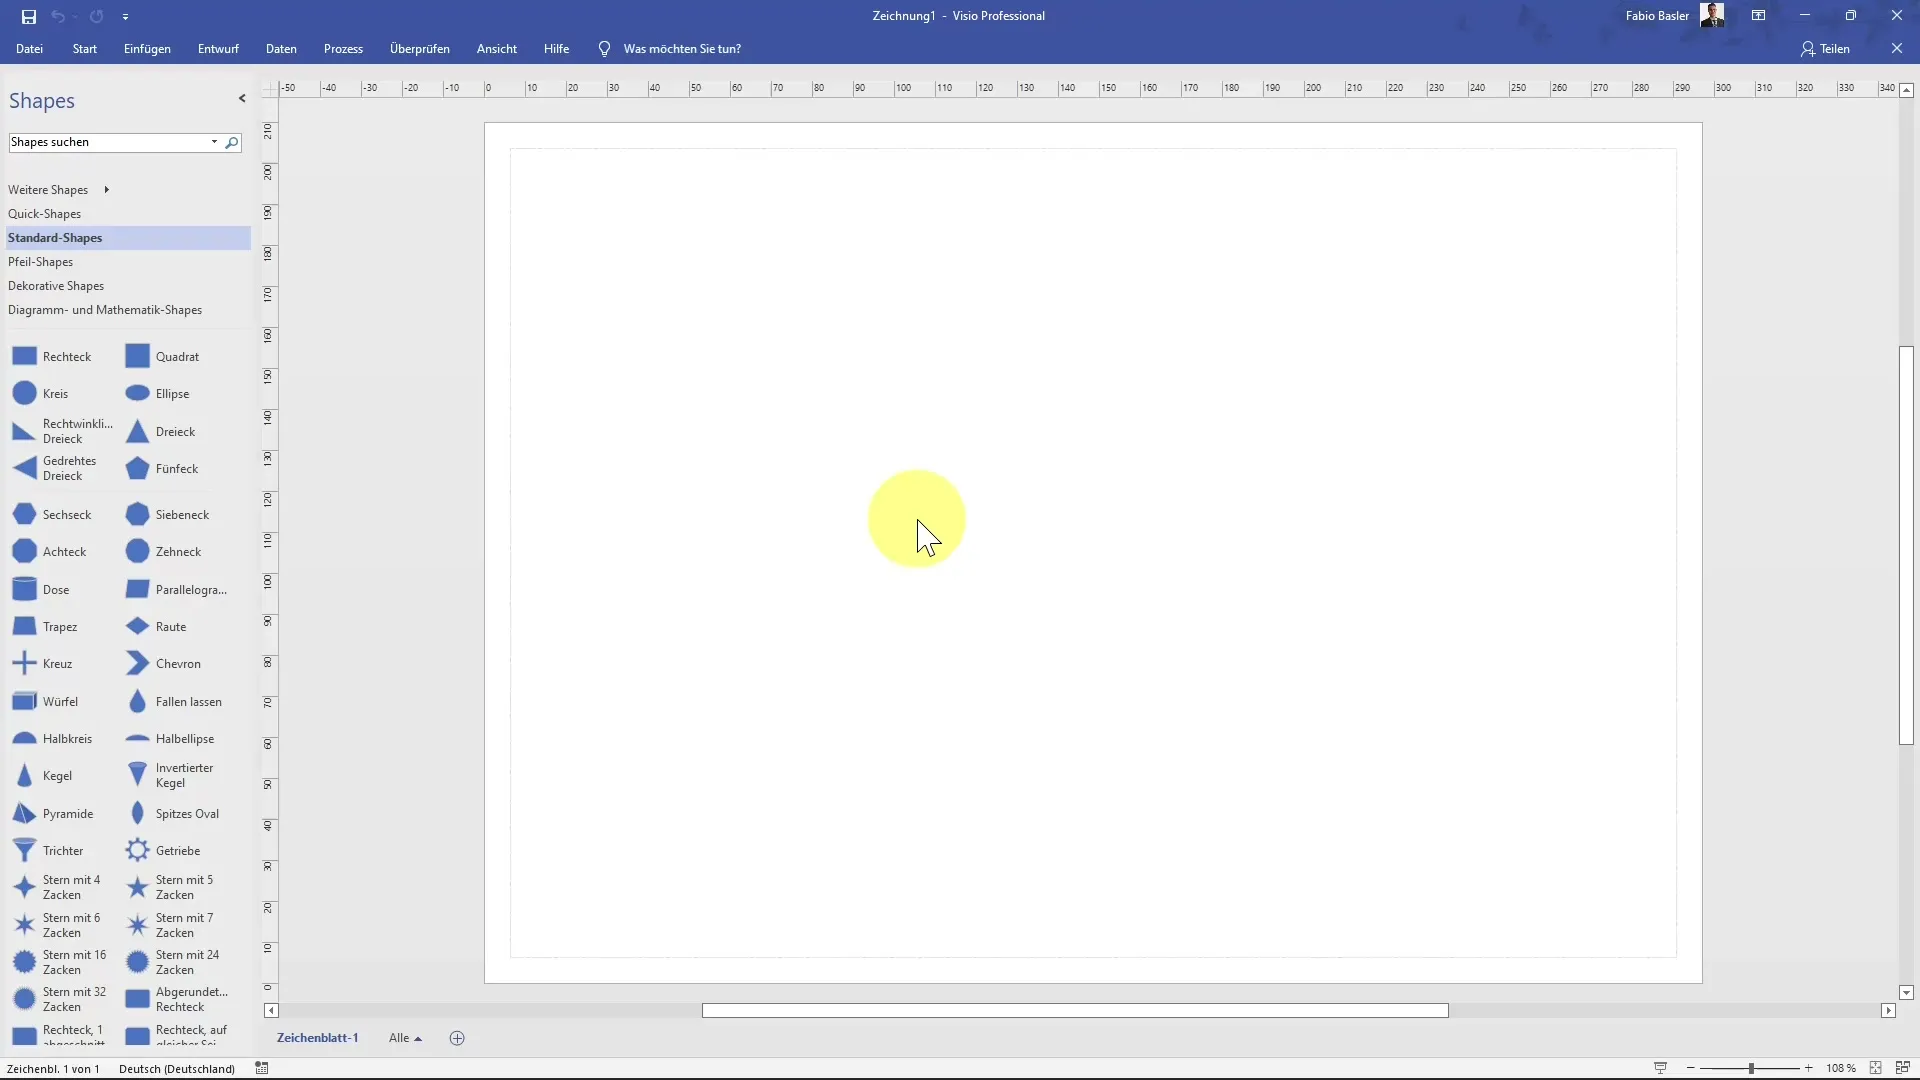
Open MS Visio. Look at the top left corner to find the Quick Access Toolbar. Here, you will see standard commands like the Save icon. This is the starting point for your customizations.
Step 2: Add Commands via the Quick Access Toolbar
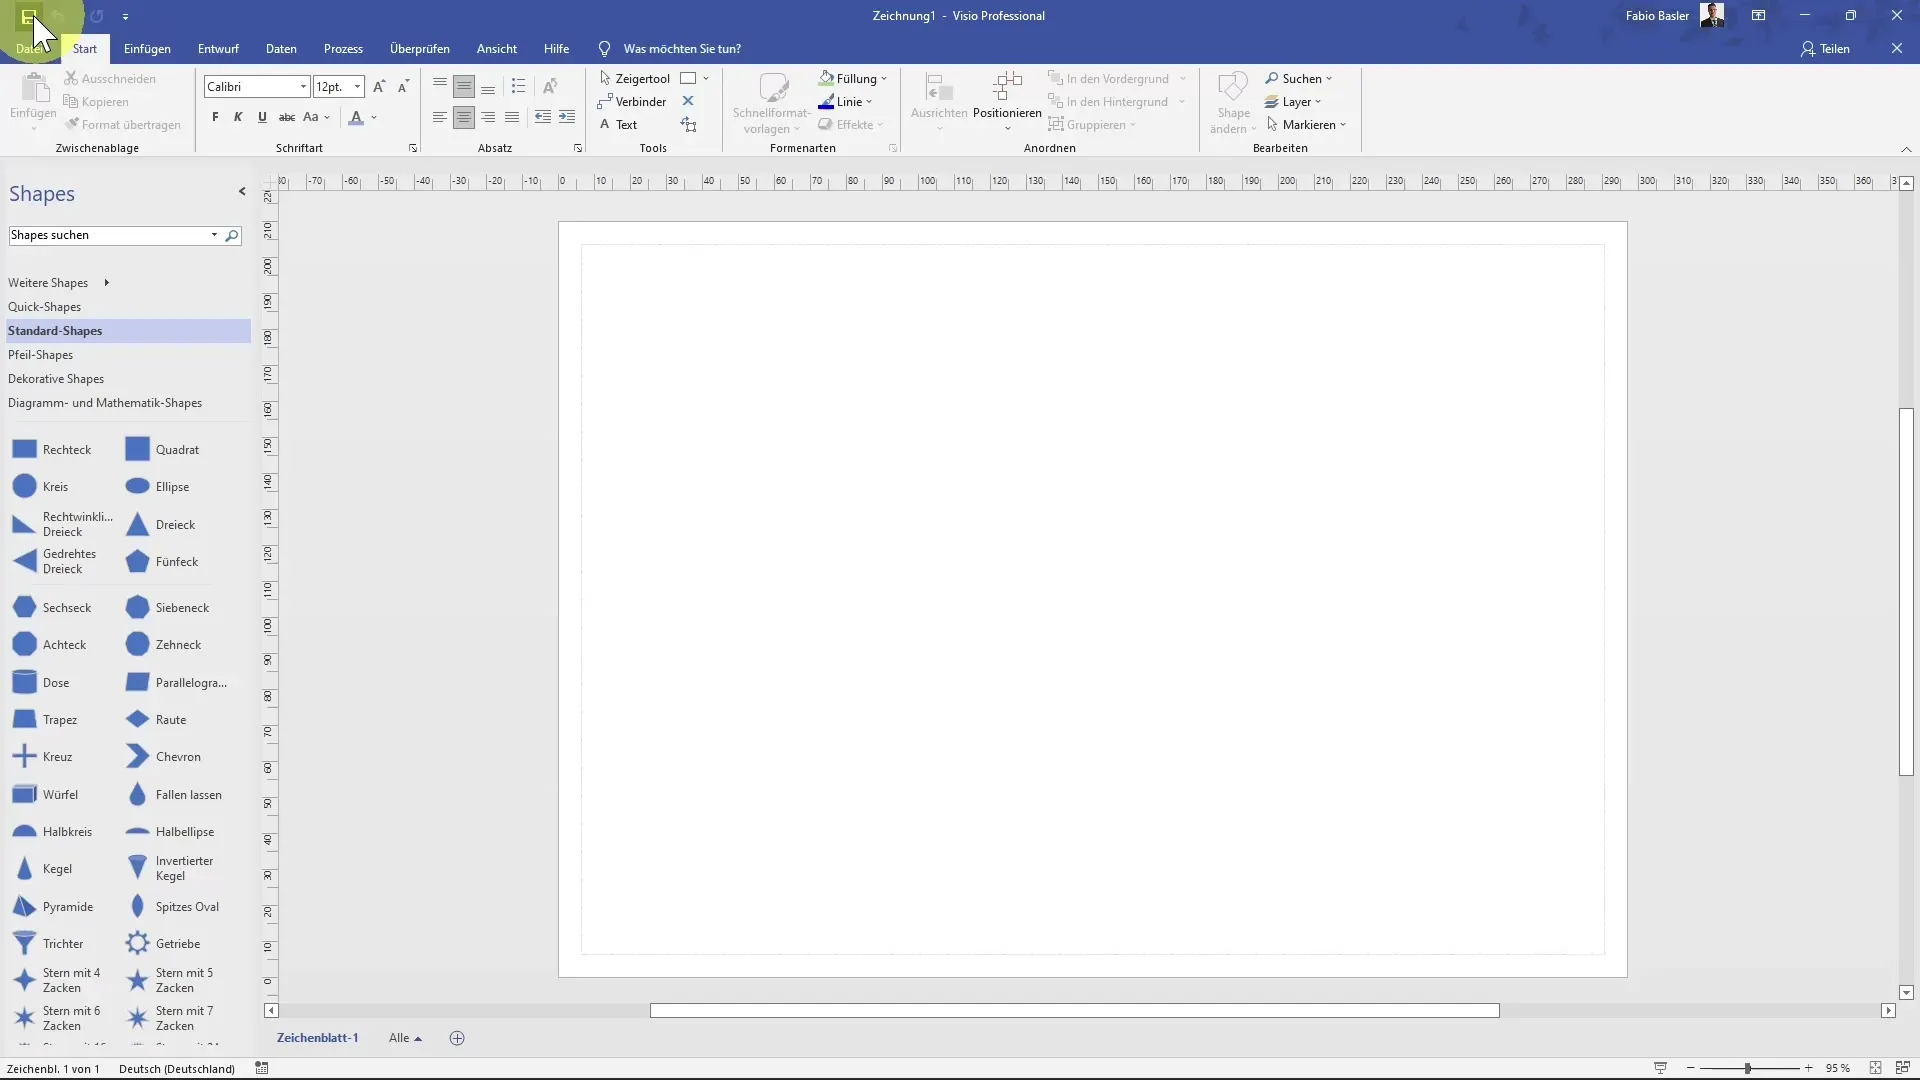
Click on the small dropdown arrows next to the Quick Access Toolbar. A menu will appear where you can quickly add various useful commands. Here, you will find commands like "New" and "Open". Select the desired command to add it to the toolbar.
Step 3: Add Custom Commands
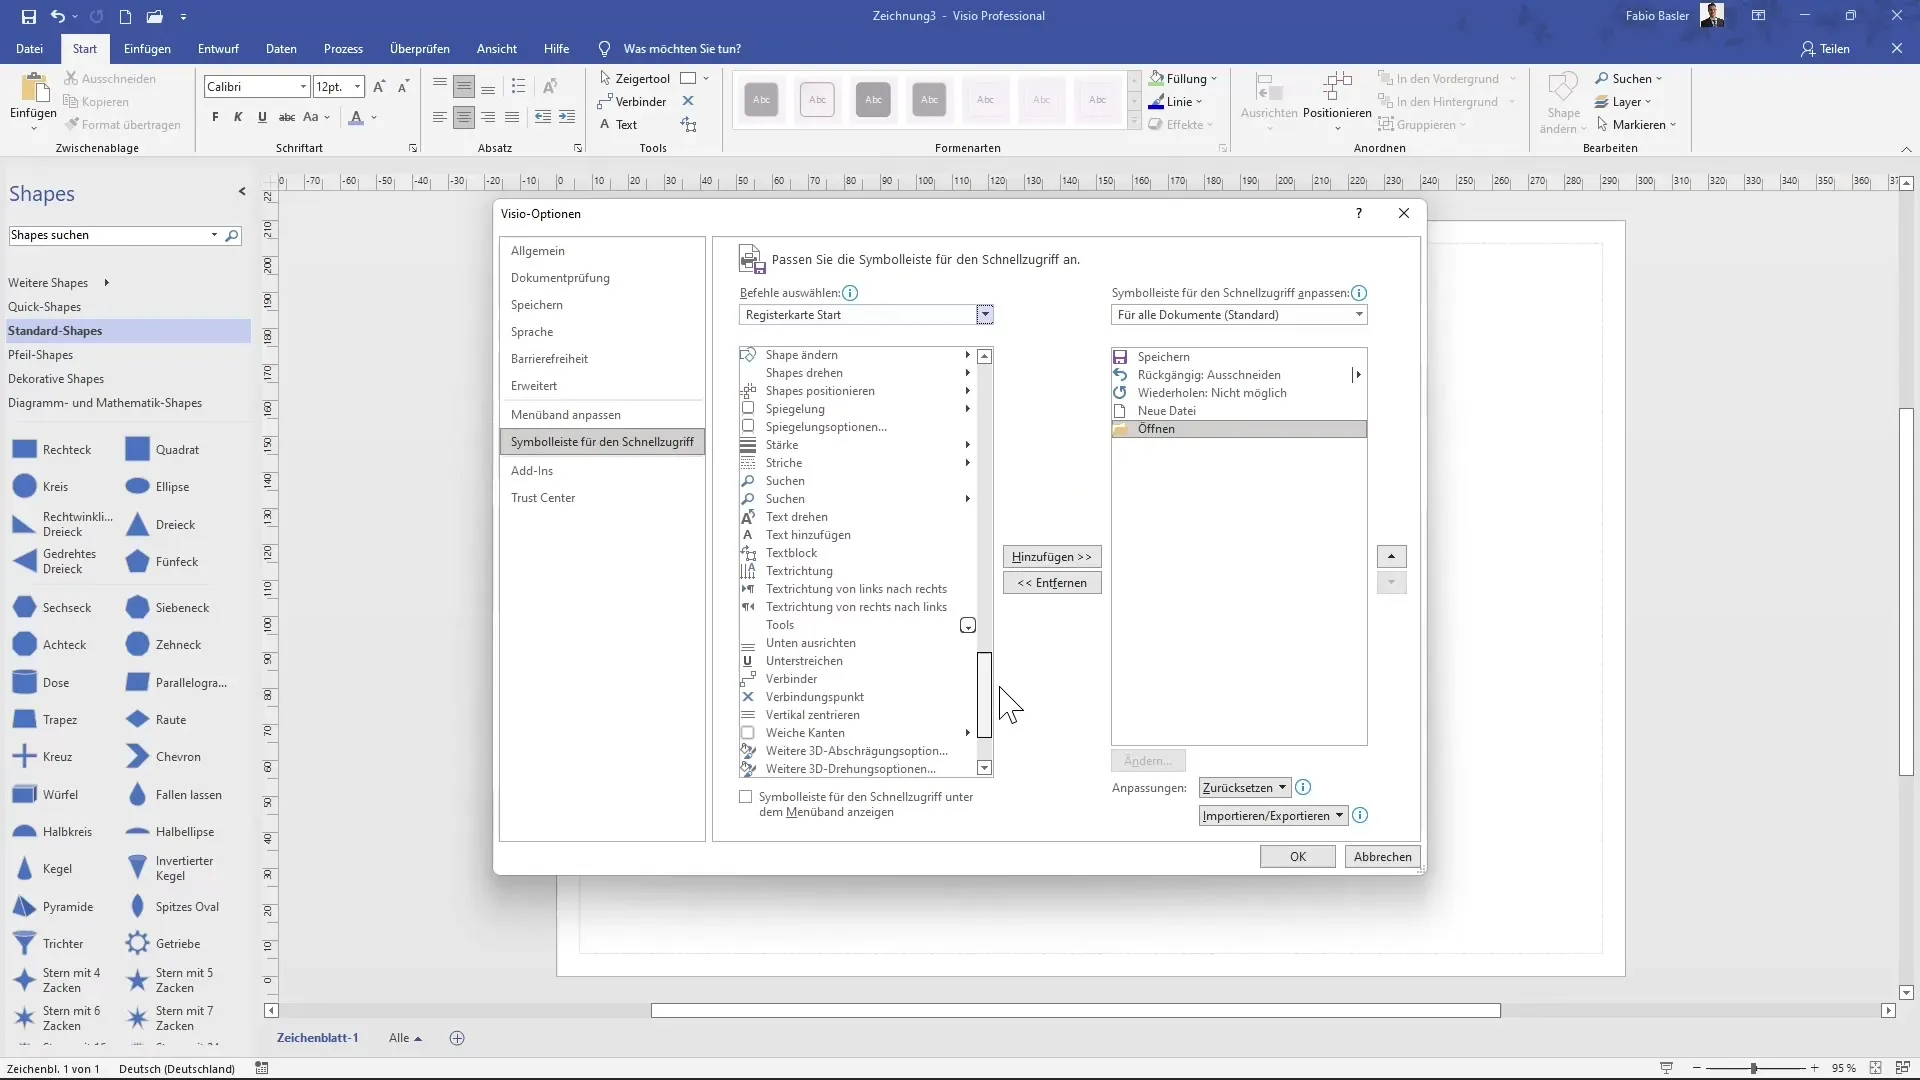
If you want to add specific commands, click on the tiny down arrow at the top of the toolbar and select "More Commands." This will open a dialog box with an overview of all available commands in Visio.
Step 4: Choose Desired Commands
In this dialog box, navigate through the available commands and access frequently used commands. You will see a list of commands that are suitable for your use. Choose a command you wish to add and click "Add".
Step 5: Select Commands from Different Tabs
To make further adjustments, you can also check the tabs at the top of the menu. For example, go to the "Home" tab to see what actions are available there. Click on a desired command and add it to the Quick Access Toolbar as well.
Step 6: Adjust the Position of the Quick Access Toolbar
By default, the Quick Access Toolbar is displayed above the ribbon, but you can also place it below. Right-click on the Quick Access Toolbar and select the option "Show Below the Ribbon".
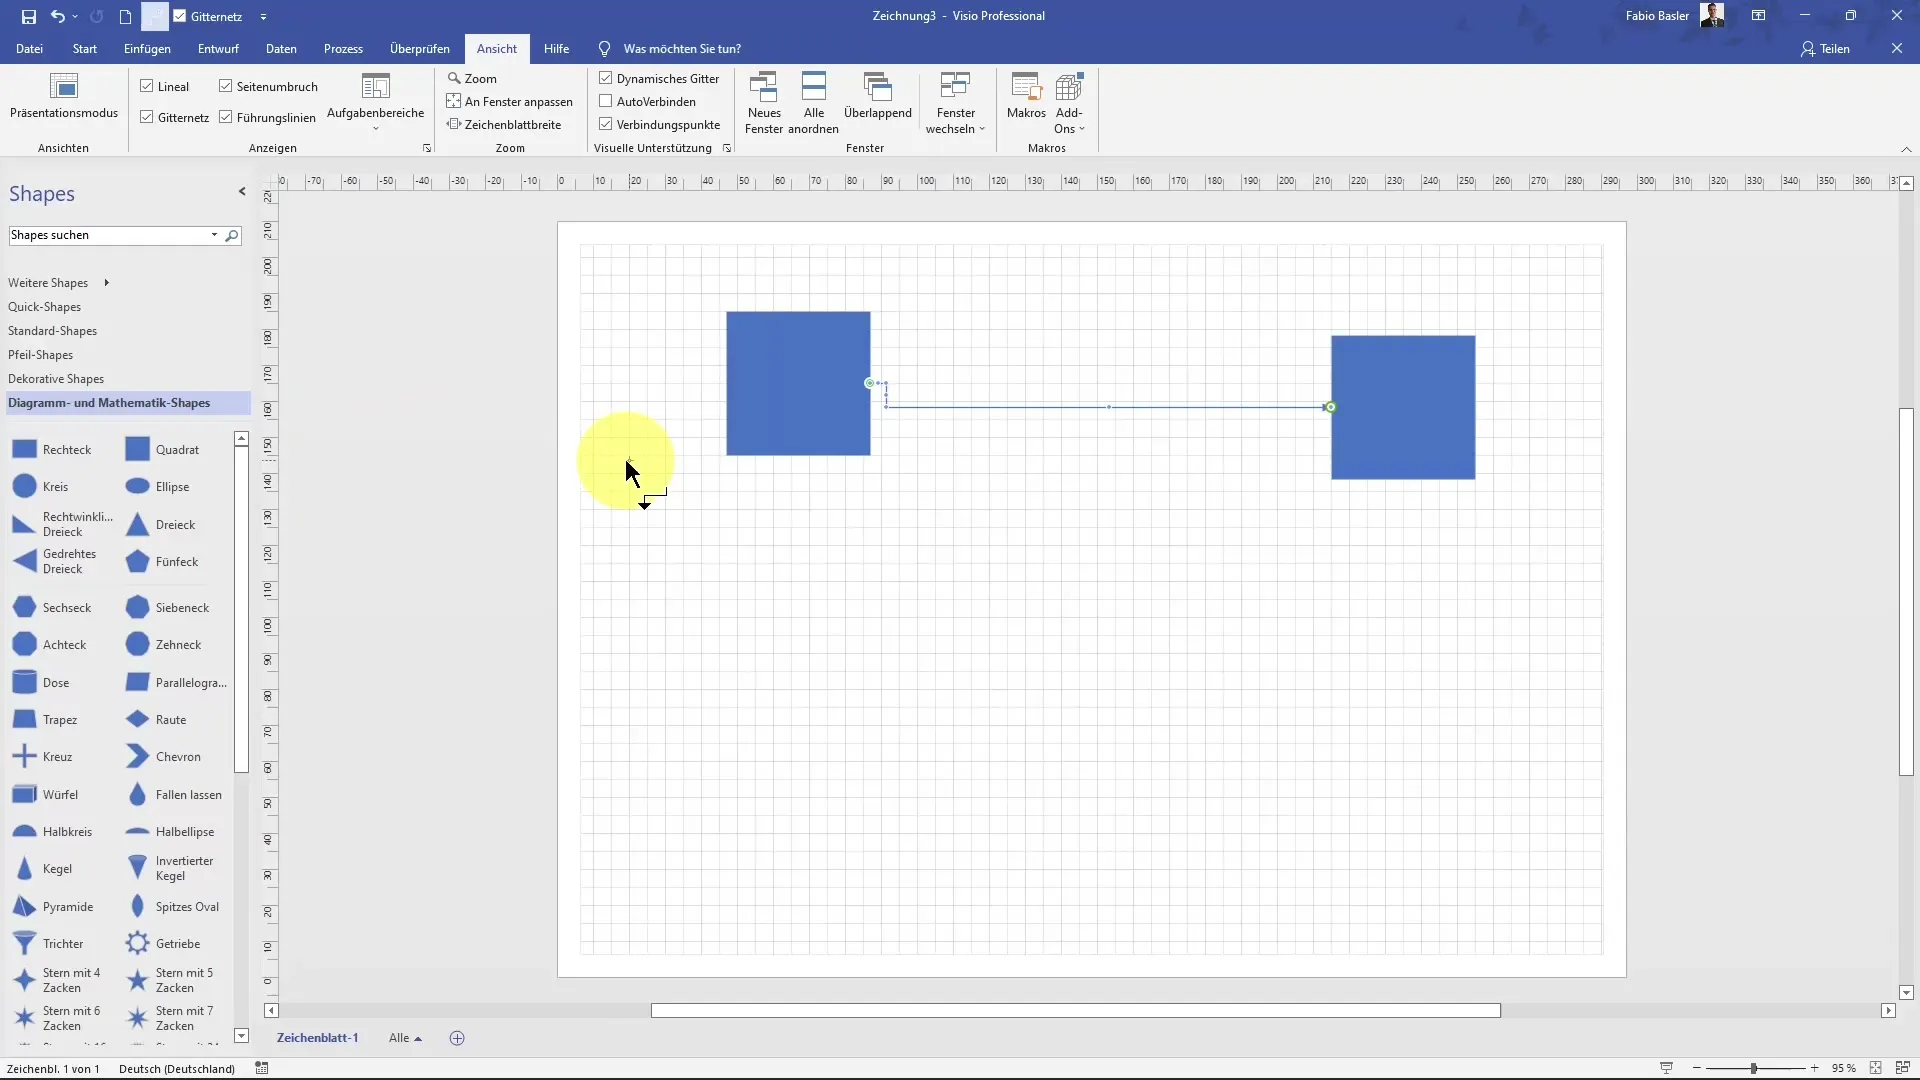
Step 7: Save Changes
After adding or removing all desired commands, click "OK" to save your changes. This will allow you to make full use of the customized Quick Access Toolbar in your daily work.
Summary
In this guide, you have learned how to effectively customize the Quick Access Toolbar in MS Visio. You have discovered how to easily add, remove commands, and change the position of the Quick Access Toolbar to work more efficiently.
Frequently Asked Questions
Why should I customize the Quick Access Toolbar?Customizing the Quick Access Toolbar allows for quick access to frequently used commands and enhances efficiency.
How do I add new commands to the Quick Access Toolbar?Click on the arrow button in the Quick Access Toolbar and select the desired commands from the dropdown menu or access "More Commands."
Can I change the position of the Quick Access Toolbar?Yes, the Quick Access Toolbar can be displayed both above and below the ribbon, depending on your preferences.
What are some useful commands I should add?The selection depends on your working style, typical commands are "Save," "Undo," and "New."
How do I remove commands from the Quick Access Toolbar?Right-click on the command in the Quick Access Toolbar and select "Remove."
