In this guide, you will dive into the world of custom ribbon customization in MS Visio. You will learn how to customize the user interface to your liking to make your work more efficient. Whether you want to make frequently used commands quickly available or hide unused options, these steps will help you.
Key takeaways
- Ribbon customization allows you to customize the user interface of MS Visio according to your needs.
- You can add, remove, or rename command groups, tabs, and individual commands.
- The customizations can be exported or imported to share with other users.
Steps for custom ribbon customization in MS Visio
To personalize your workspace in MS Visio, follow this detailed step-by-step guide.
Step 1: Customize the ribbon
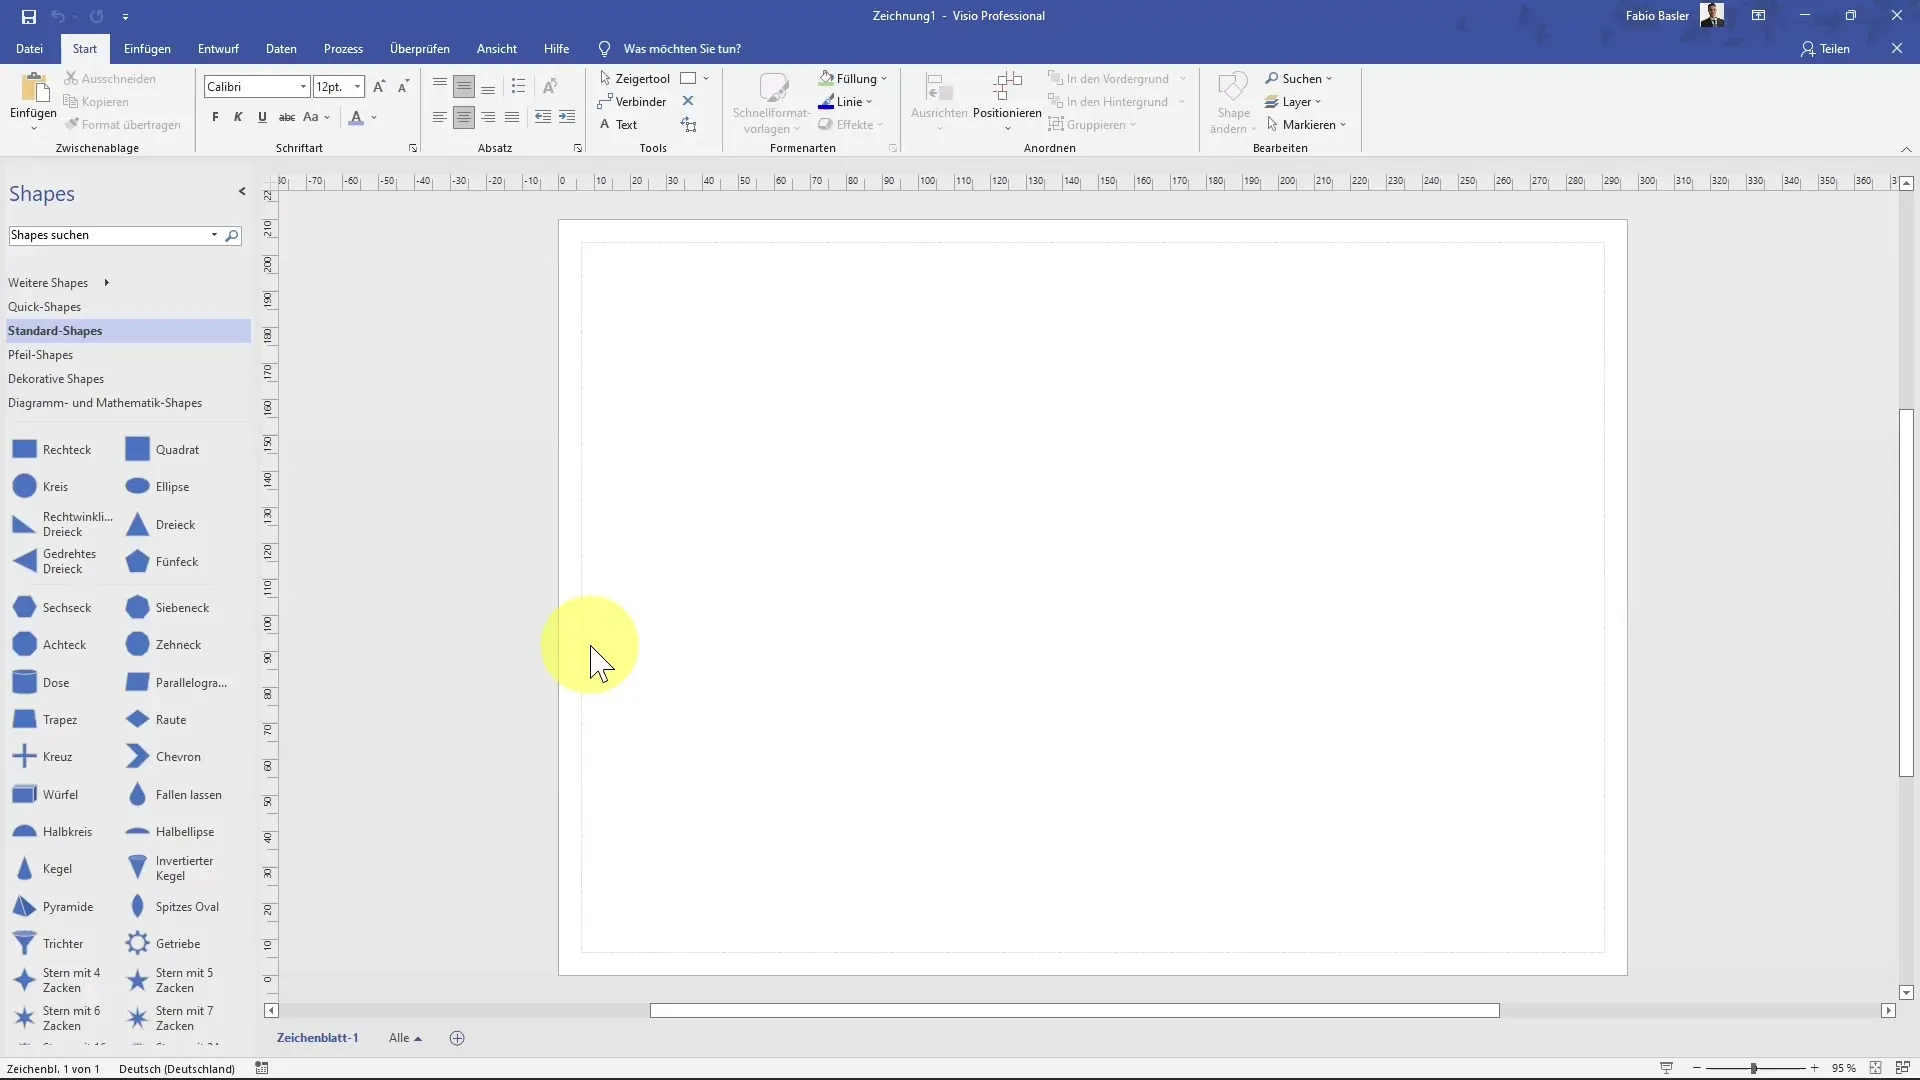
First, open the ribbon customization dialog box. Right-click on any tab, then choose "Customize the Ribbon" from the context menu.

Step 2: Overview of ribbon customization
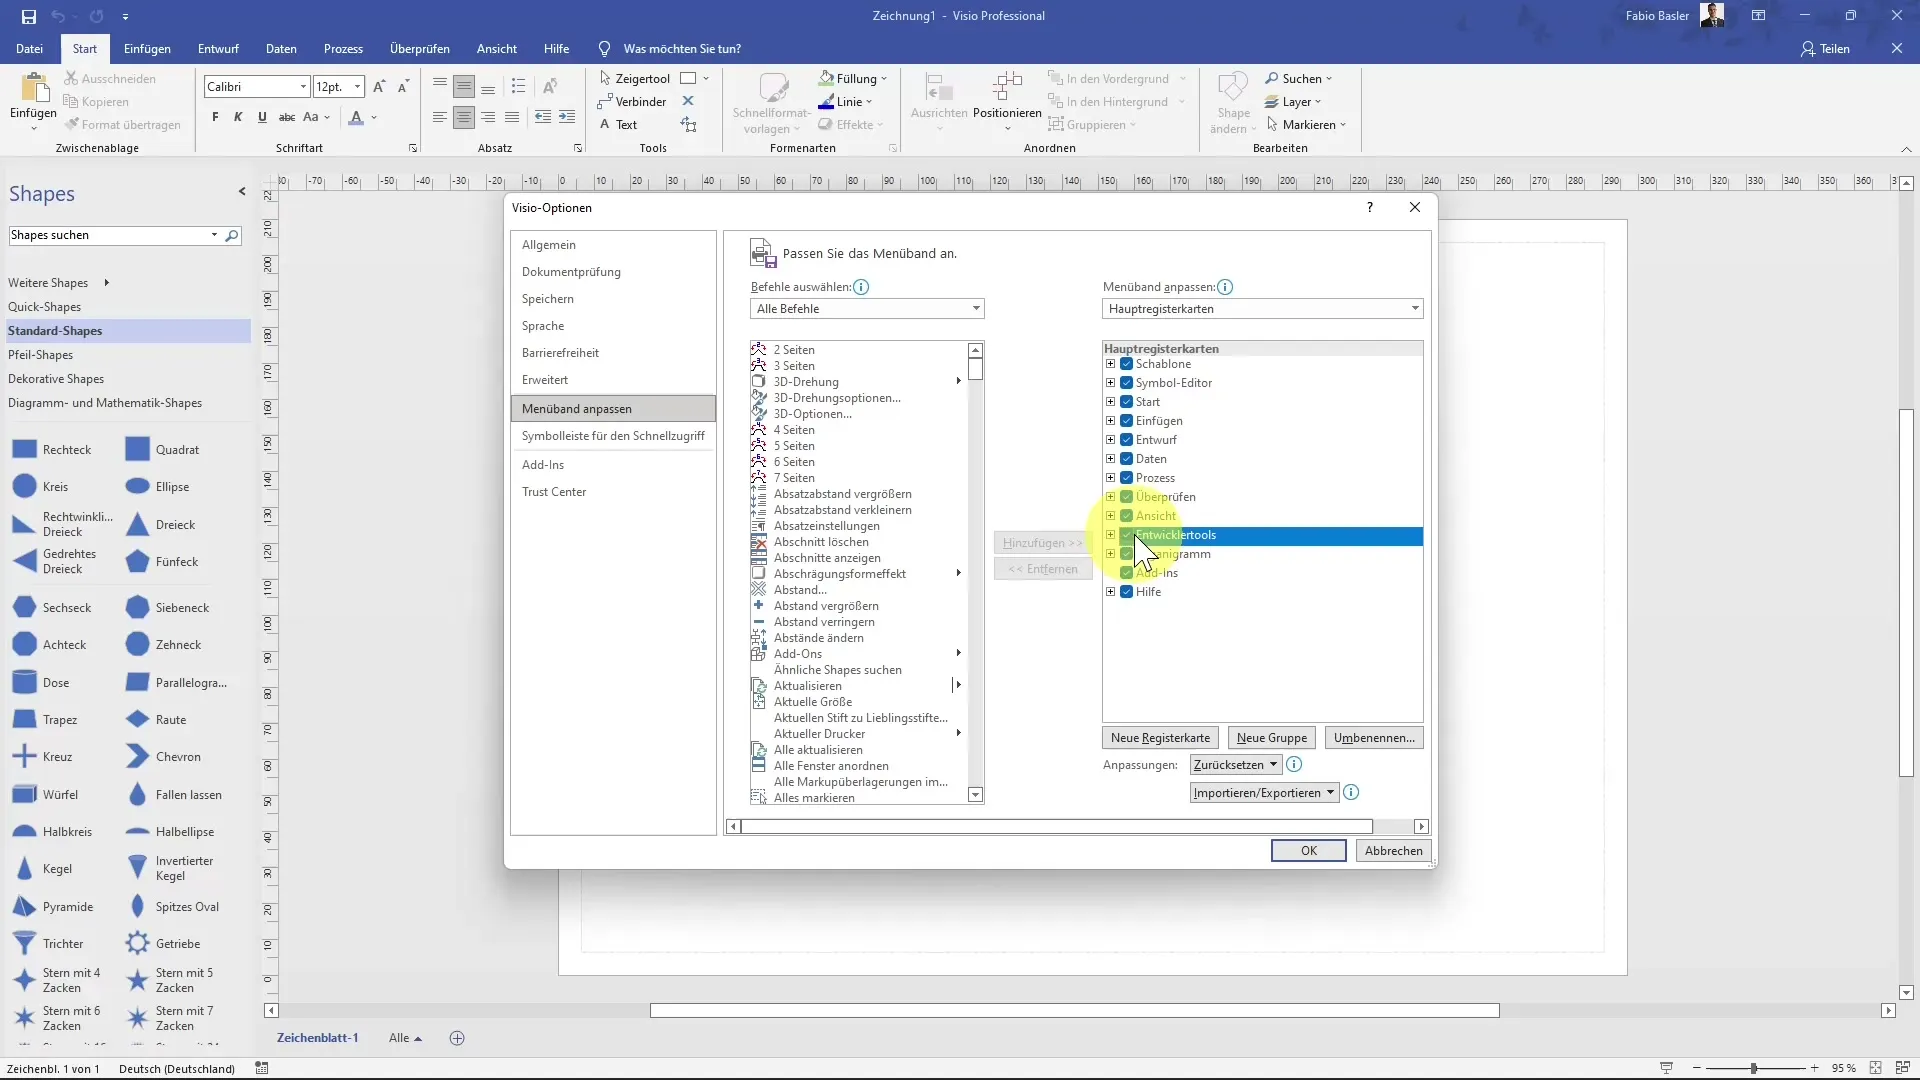
In the dialog that opens, you will see all available commands on the left and your currently configured ribbon on the right. Use this view to sort, add, or remove commands as needed.
Step 3: Manage tabs and command groups
You can also choose which tabs to display. Active tabs are marked with blue checkmarks. You can deselect tabs like "Home" to hide them.
Step 4: Activate inactive tabs
If you want to show inactive tabs like "Developer Tools" again, simply check the box next to them, confirm your selection, and they should appear in the ribbon.

Step 5: Create your own ribbon
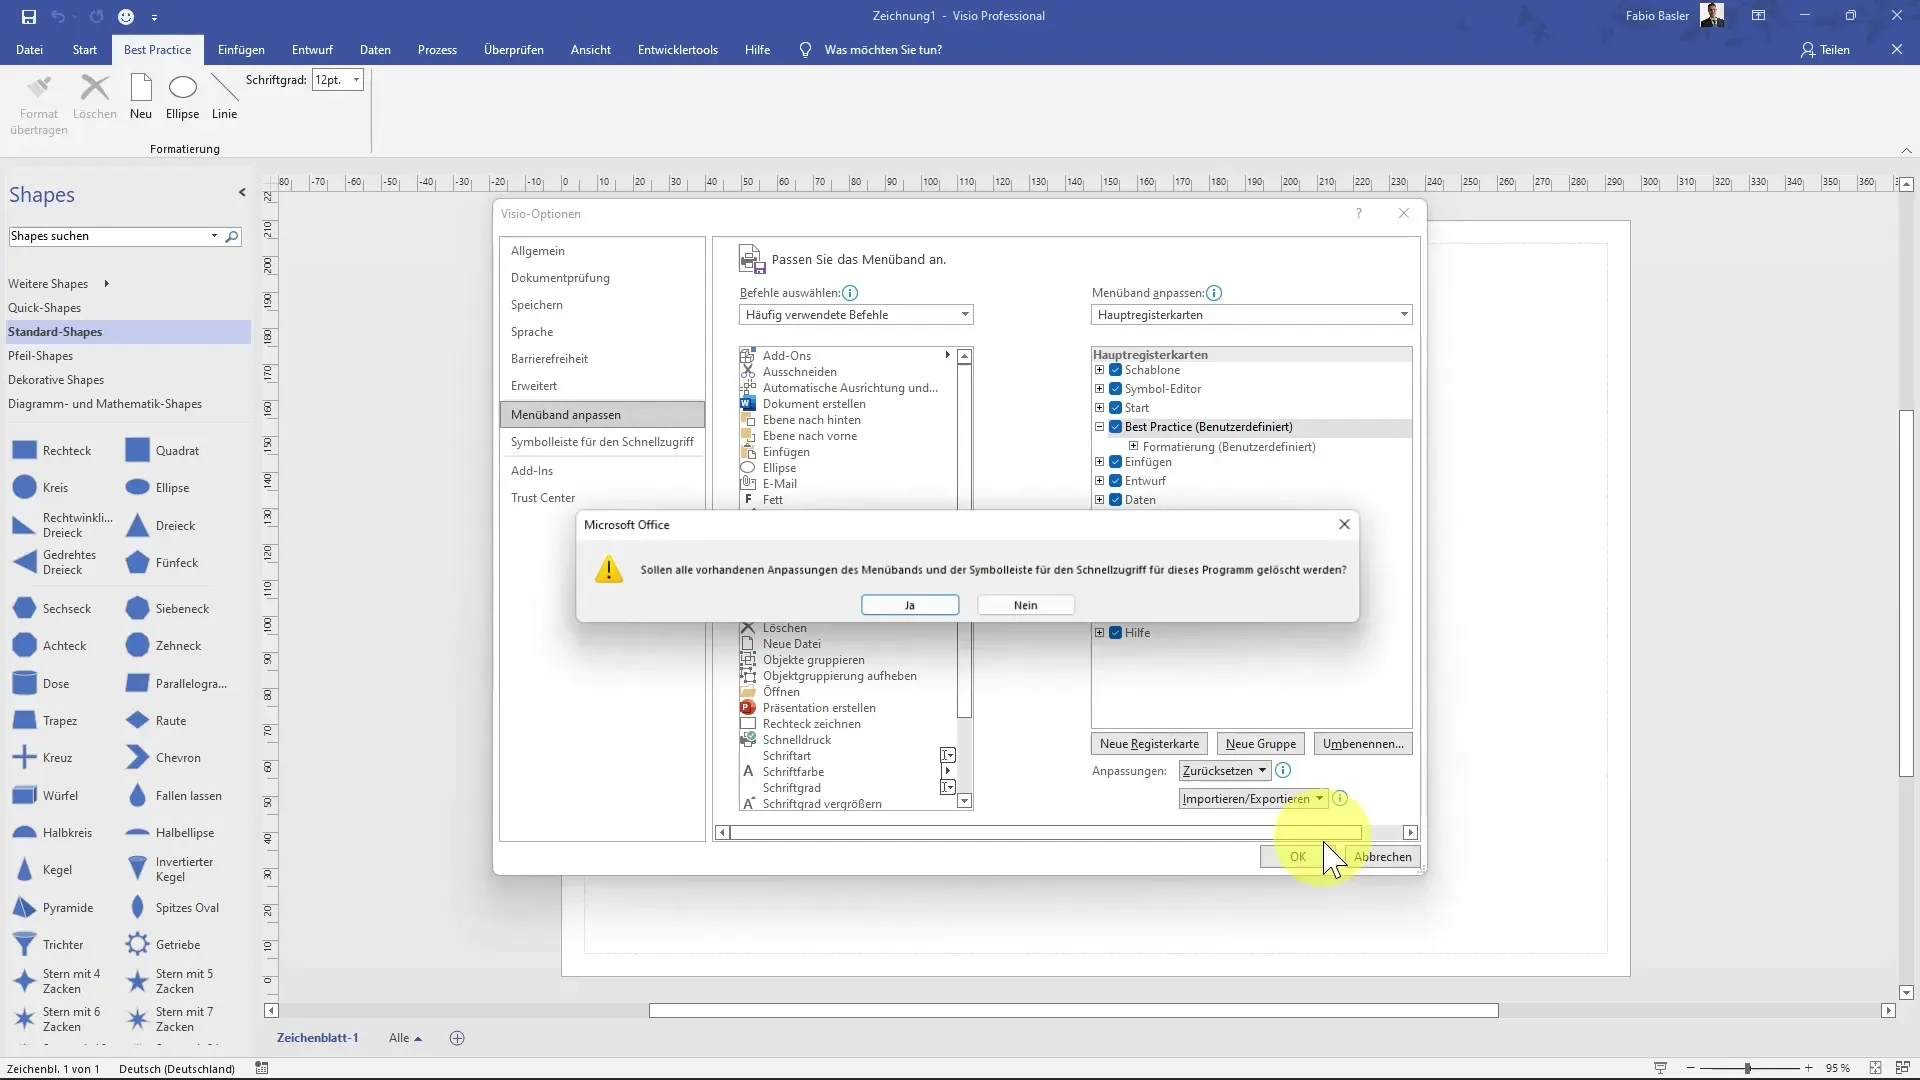
Use the feature to create new tabs. Click on "New Tab" and name it according to your preferences. You could name it "Best Practices" or "Key Commands" to access them quickly.
Step 6: Add commands
Each new tab can contain specific groups. Create a group called "Formatting" and add the most relevant commands for you, such as "Apply Formatting" or "Change Font."
Step 7: Customize commands
Using the drag-and-drop principle, you can customize the order of commands to make them more intuitive. Move the "Formatting" group next to the "Home" tab.
Step 8: Save changes
After making all desired customizations, confirm the changes with "OK." Your new ribbon should now appear and be ready to support your work.
Step 9: Reset ribbon
If you want to undo your customizations at any time, you can click on "Reset all customizations" in the customization dialog box to return to the default settings.

Step 10: Export and import customizations
If you want to share your custom settings with colleagues or use them on another computer, use the export function. You can save your customizations as a file and share it with others.
Step 11: Import customizations
To import customizations from a colleague or another source, go to the same customization dialog and select the import function. This way, you can easily adopt the configuration.
Summary
Customizing the ribbon in MS Visio is a helpful feature to enhance your productivity. You have the ability to adjust both tabs and commands according to your needs, allowing you to optimize and tailor your workspace.
Frequently Asked Questions
How can I customize the ribbon in MS Visio?You can customize the ribbon by right-clicking on a tab and selecting "Customize the Ribbon."
Can I create custom groups in the ribbon?Yes, you can create custom groups in a new tab and name them according to your needs.
How can I reset my customizations?To reset your customizations, go to the customization dialog and click on "Reset All Customizations."
Can I share my customizations with others?Yes, you can export your customizations and save them as a file for colleagues to use.
Is there a way to activate inactive tabs?Yes, check the box next to the inactive tab to display it in the ribbon.


