There's a little trick in this workshop: It always bothered me that it was so easy to rotate objects in InDesign, where I can easily influence the center point over which I want to rotate - and apparently not in Illustrator. But it does work. Let me draw a line and a circle.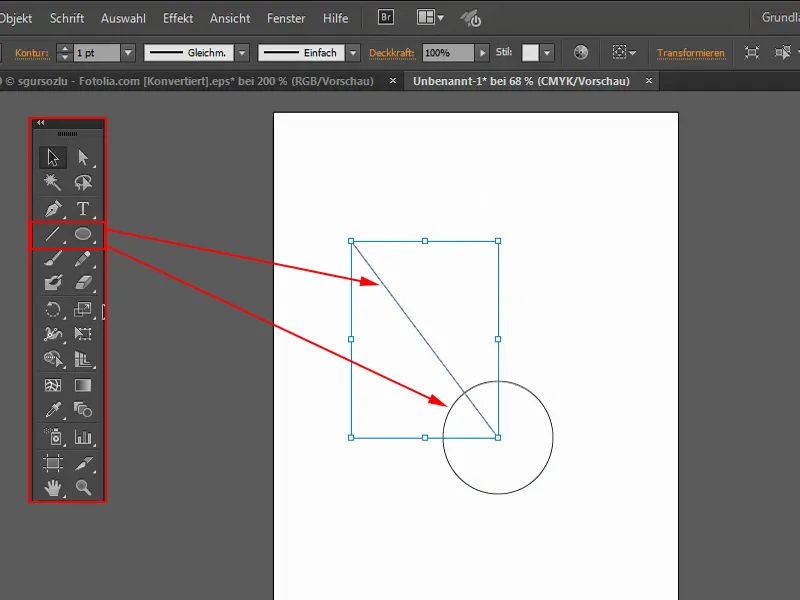
The line should now be rotated exactly around this circle. To do this, I use the rotate tool(1). When I rotate now, the rotation is based on the center point (2).
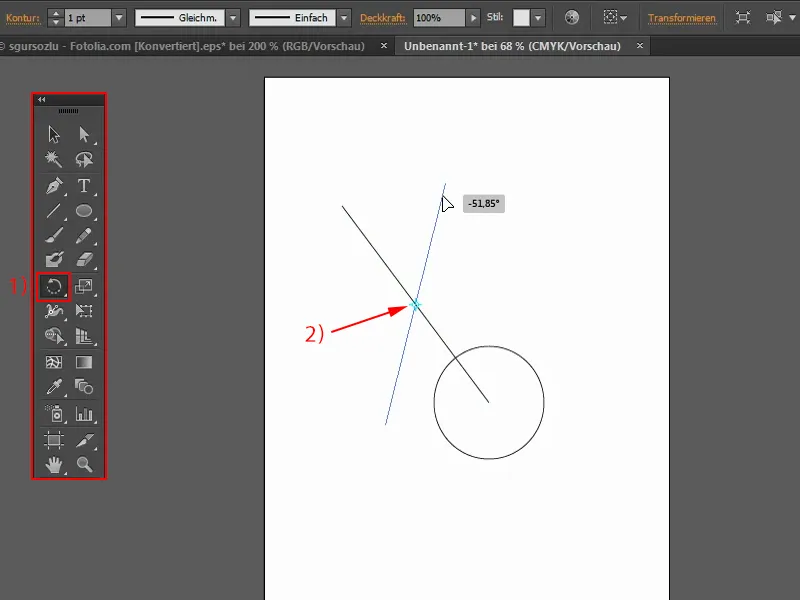
I can change this by moving the rotation point with the left mouse button (1) to where I want to rotate, in my case exactly in the middle of the circle. And if I rotate it now, you can see that it works perfectly.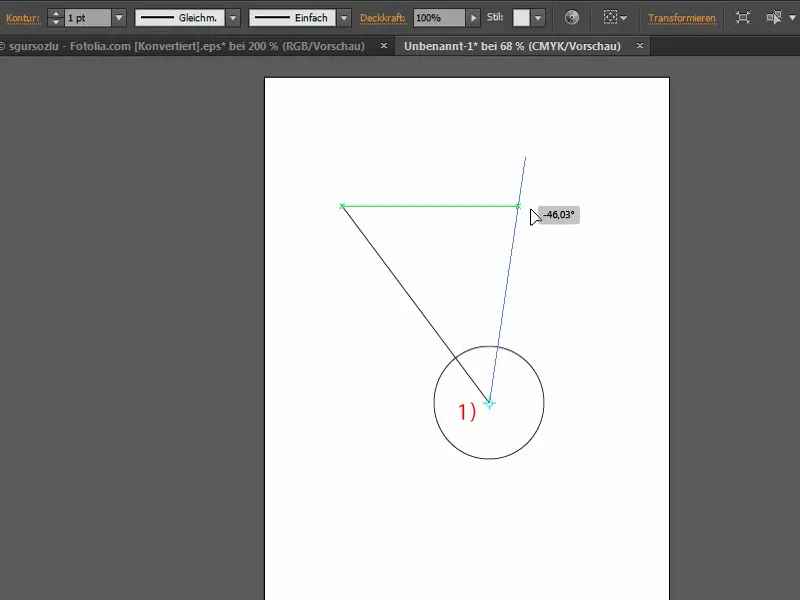
Now I want to copy the line several times so that it rotates around my circle. The easiest way to do this is to double-click on the rotate tool. However, it now changes this pivot point again - and that's mean. Why does it do that? It's not like that in InDesign.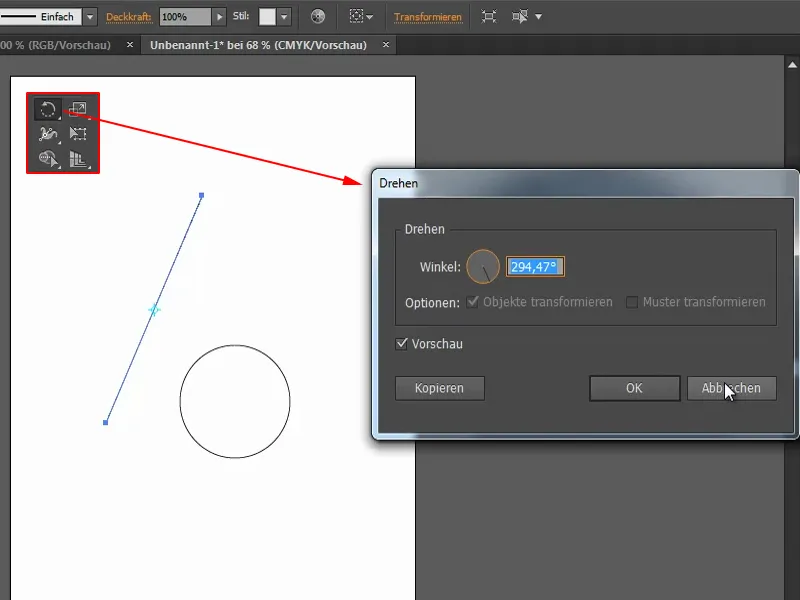
So you have to use a trick. I hold down the Alt keyand press once on this point (1). This brings up the rotate windowagain. The center point has not actually been changed. This gives me the option of moving it accordingly. I'll set this to 15° (2). And the whole thing as a copy (3).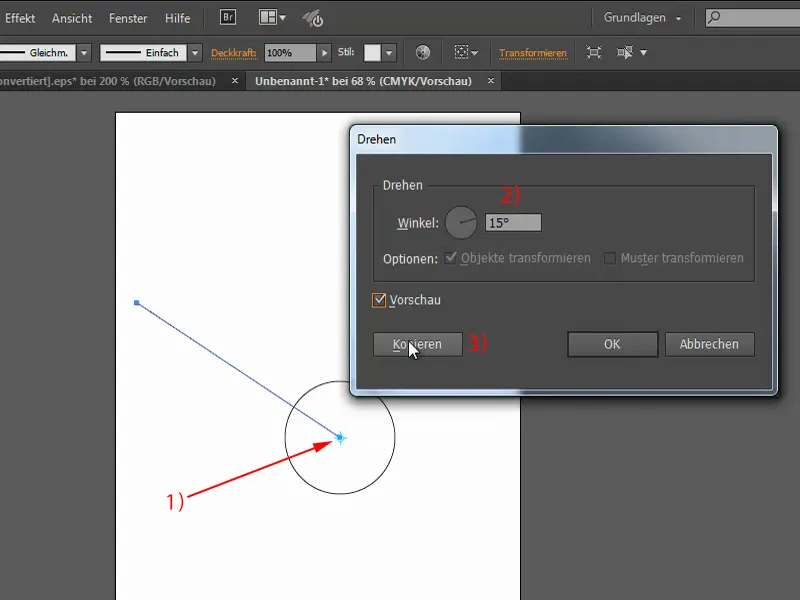
Now I can press Ctrl+D repeatedly and copy the object by exactly 15°. This can be used as a sun, for example, if I change the color to yellow. I give the outline 3 pt and also color the circle.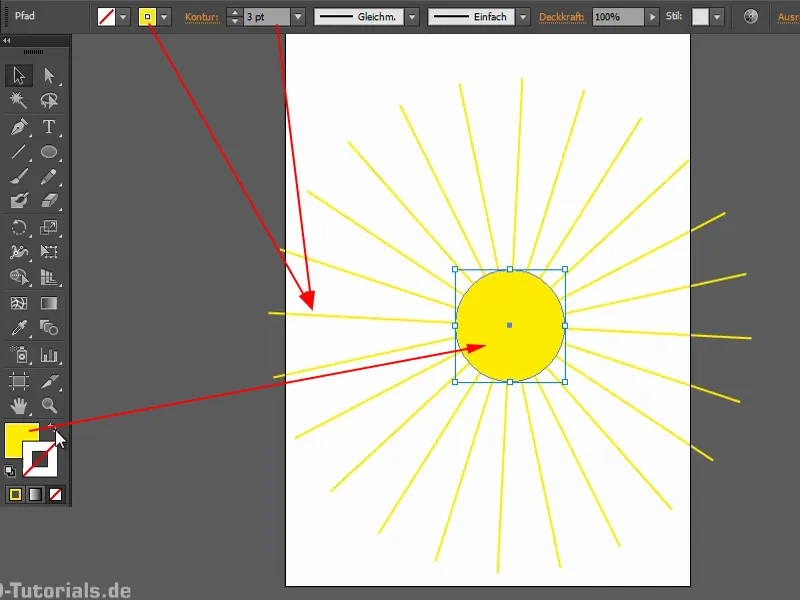
Sunbeam effect
Here's another example: I want to enhance this image even further by creating a sunbeam effect. I can use the same technique again: I create an "Effect" layer above the background and below the other layers (1). Now I draw a polygon with the polygon tool. To do this, I click once (2) and open the corresponding context menu, where I set three sides (3). I make it white, slightly smaller and drag it to this position (arrow at 3).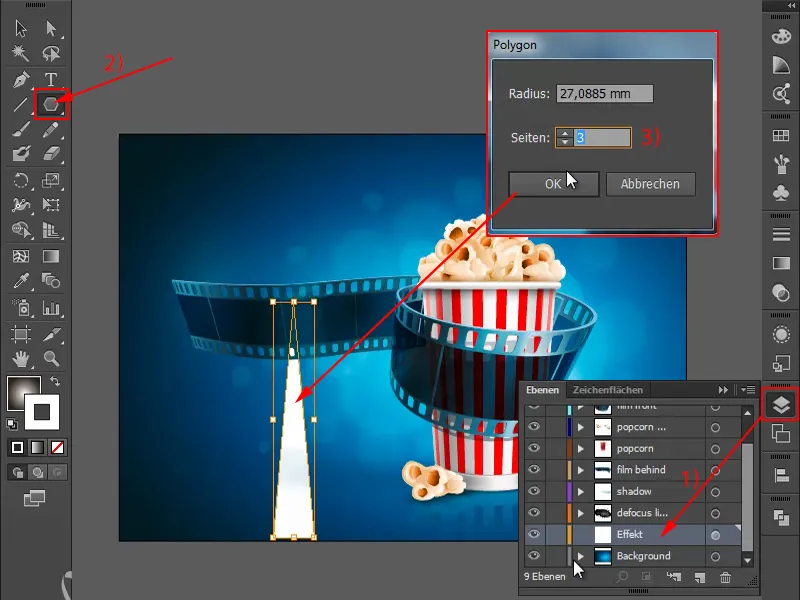
Now select the rotate tooland click at this point while holding down the Alt key(1). You can see that even if the center point is actually at this position, I can reset it immediately by holding down the Alt key(2). This time I want to rotate the whole thing by 30°, for example, again as a copy (3).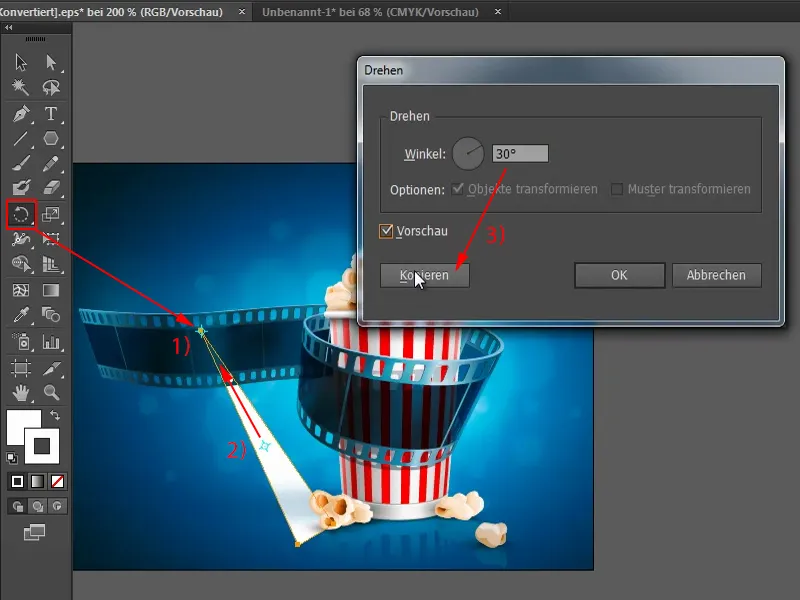
Now I press Ctrl+D several times again to get the effect (1). Now I group the whole thing. To do this, I press F7 to call up the layer control panel. Then I click on this to select everything (2). And now I group it all together (3).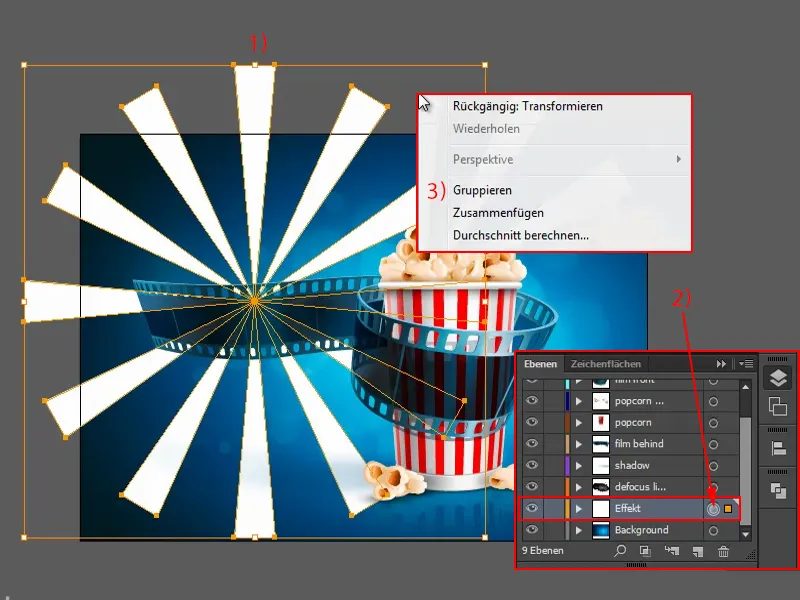
Now another gradient: I go to the Gradient paneland select Circular (1). Then click once on the gradient tool (2) and change this (3).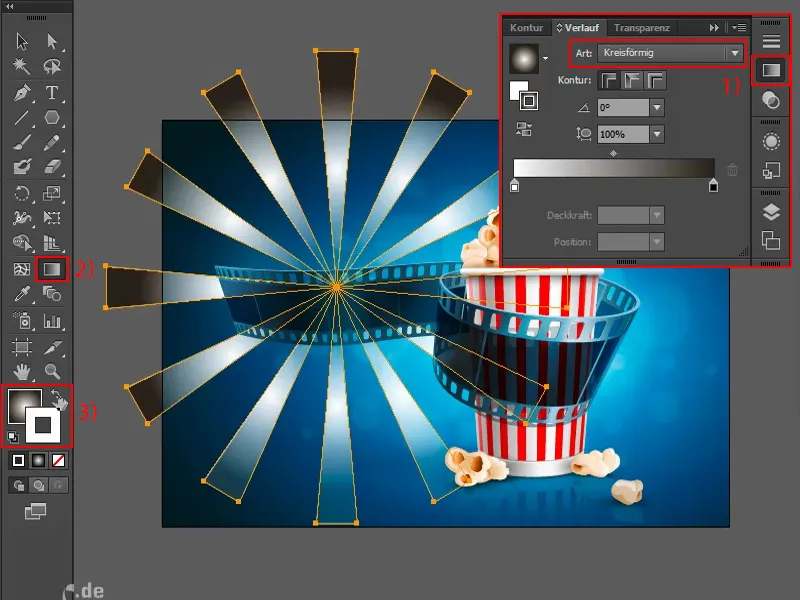
I'll show you exactly how to do this again: I'll click here to select the whole layer (1). It says Multiply Negative. If you don't do that and select Normal (2), it doesn't look quite as nice. I'll make it a bit bigger. So - it doesn't really look nice.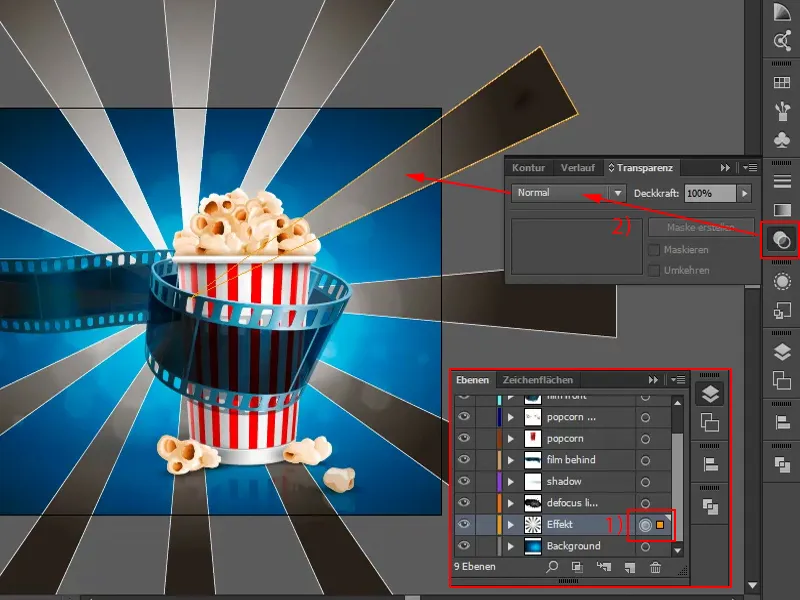
You can lower the opacity a bit and it will look better. Or you can choose, for example, multiply negative.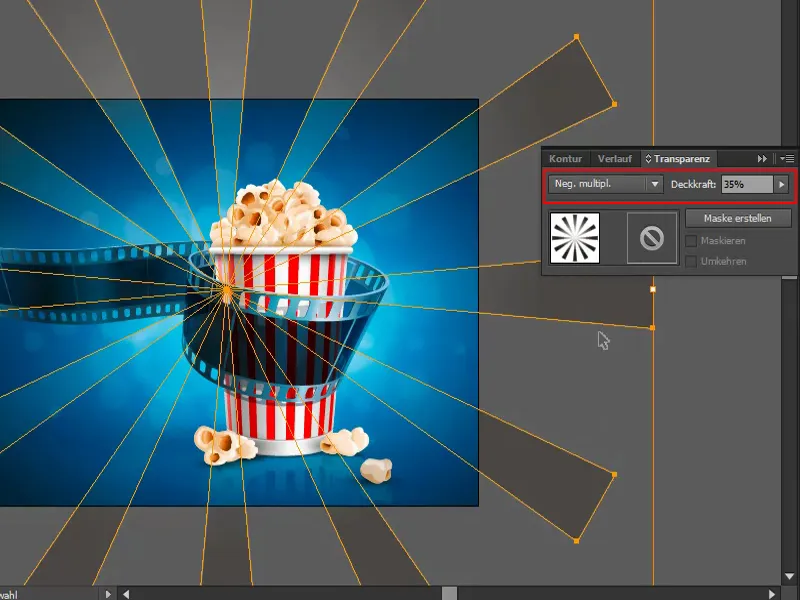
Which is also possible to embellish it: I give the whole thing an effect, for example the swirl (Effect>Distortion filter>Swirl...).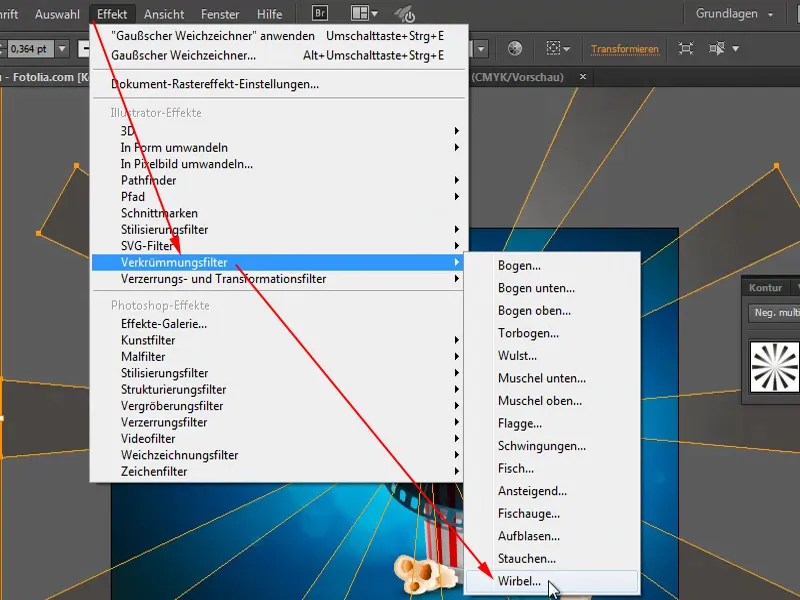
This makes it even more dynamic.
And another addition: I copy this, paste it and rotate it a little. This makes it look even more "peppy".


