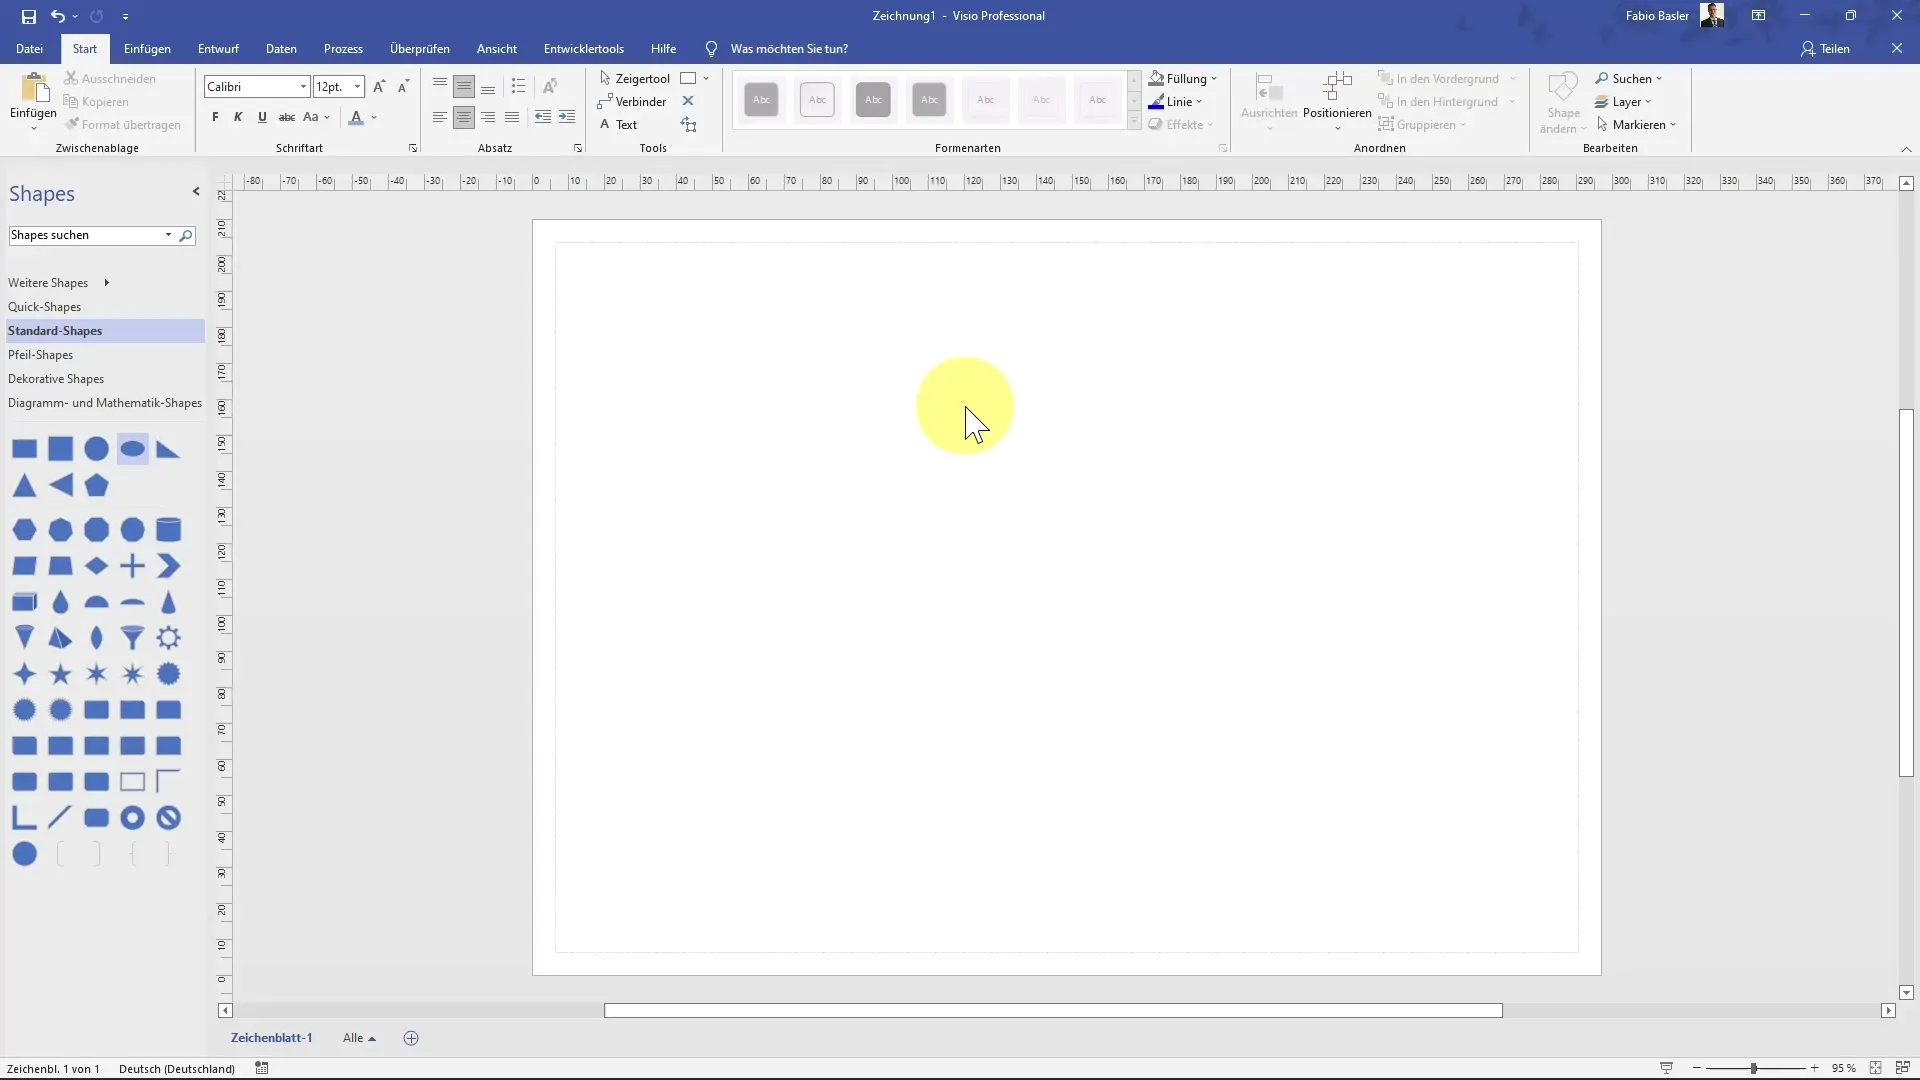
Working with Shapes in Microsoft Visio becomes easier when you master the basics of grouping and positioning. In this guide, you will learn how to efficiently organize shapes and optimize their positioning. Get ready to take your diagrams to the next level!
Key Insights
- Shapes can be grouped to facilitate editing.
- New shapes can be added to existing groups at any time.
- The positioning of shapes can be improved using horizontal and vertical distribution functions.
- Containers allow for easy management of multiple shapes in Visio.
Step-by-Step Guide
Selecting and grouping shapes Start by selecting the shapes you want to group. For example, you can select a circle, a square, a star, and a cylinder. To select all shapes at once, press the Control (Ctrl) key and the A key. Alternatively, go to the menu, choose "Select," and then select "Select All."

In the next step, you can group the selected shapes. To do this, right-click on the selection and choose "Group." You can also group them by accessing the "Arrange" option in the menu. Similarly, you can use the shortcut "Control + Shift + G" to group them.
If you later want to ungroup the shapes, select the group again and use the shortcut "Control + Shift + U." Alternatively, you can right-click and choose "Ungroup."
Adding new shapes to an existing group If you have a new shape that you want to add to the existing group, follow these steps: Start by selecting the new shape. You will notice that it is outside the group. Now, select the group first, then the new shape, and click on the "Group" option. This will integrate the new shape into the group. Now you have a uniform group of shapes.
Positioning the shapes To optimize the positioning of shapes in your group, select all shapes again and choose the "Position" option. Here, important functions are available to control the horizontal and vertical distribution of shapes.
In addition to grouping, you can also use containers. Right-click on the shapes and choose "Container," then select "Add New Container." With a container, you can group multiple shapes together and easily move them.
When moving the container, you can hold down the Shift key to move only horizontally or vertically, giving you more control over the arrangement.
Formatting containers After creating a container, you can further customize it. Once the container is selected, the "Container Tools" will be available for adjusting the formatting and layout of the shapes within it.
Summary
In this guide, you have learned how to group shapes in Microsoft Visio and optimize their positioning. You can add new shapes to existing groups, use containers, and customize the arrangement of shapes according to your preferences.
Frequently Asked Questions
How do I group shapes in Visio?Right-click on the selected shapes and choose "Group."
Can I add new shapes to an existing group?Yes, select the new shape and the existing group, then use the grouping option.
How can I ungroup shapes?Select the group and press "Control + Shift + U" or right-click on the group and choose "Ungroup."
What is a container and how do I use it?A container groups several shapes together. Right-click on the shapes and choose "Container -> Add New Container."
How can I change the positioning of shapes in a group?Select the shapes, go to "Position," and use the functions for vertical and horizontal distribution.


