Working with MS Visio can sometimes be challenging, especially when it comes to the correct view and organization of your workspace. Efficiently navigating through the different task areas and precisely using the zoom feature are essential components for anyone working with Visio. This guide will provide you with all the necessary steps to make the most of these functions.
Key Insights
- The "Fit to Window" button ensures optimal adjustment of the workspace.
- The zoom can be set either through buttons or a zoom slider.
- Task areas offer important functions such as navigation, shapes, and data management that facilitate your work.
Step-by-Step Guide
1. Adjusting the Workspace
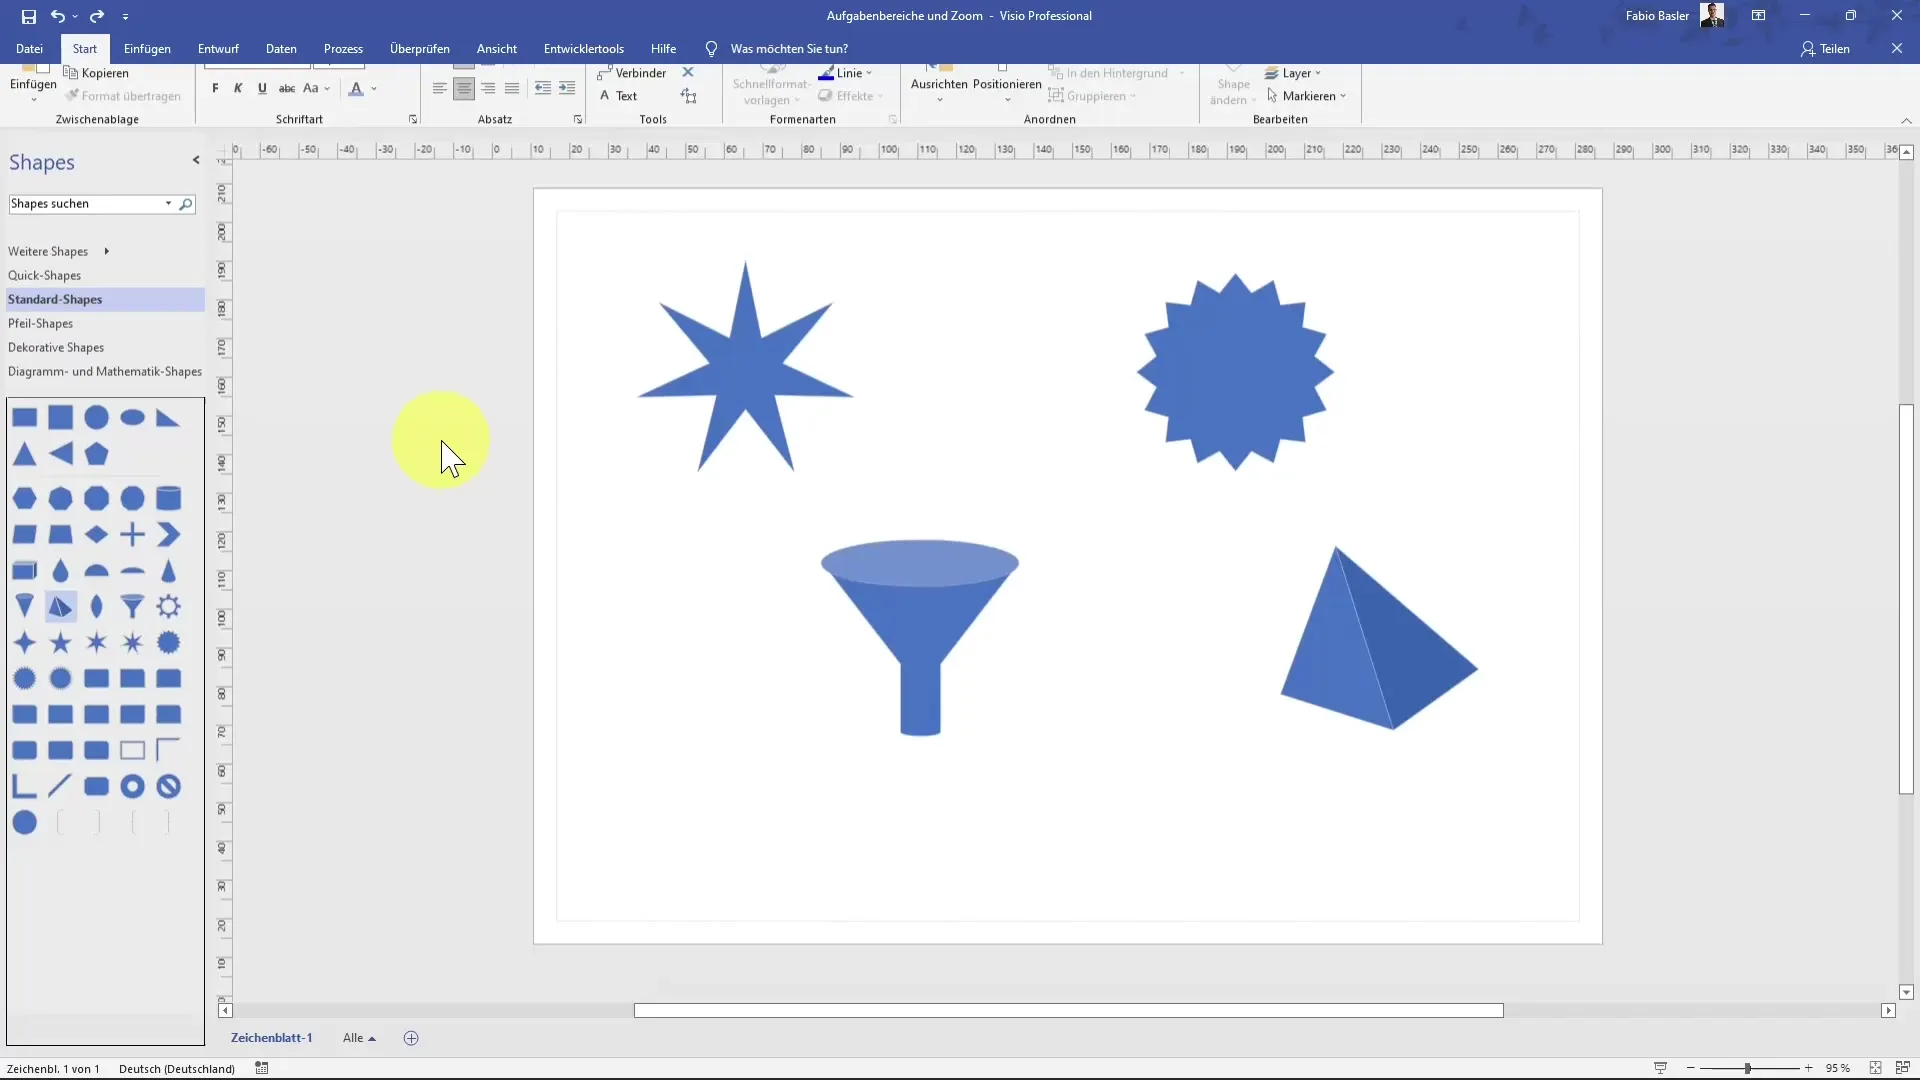
To quickly adjust your workspace, you can use the "Fit to Window" function. This is particularly useful if you have accidentally moved the view. Simply click on the "Fit to Window" button or use the shortcut Ctrl + Shift + W.
2. Using the Zoom Dialog
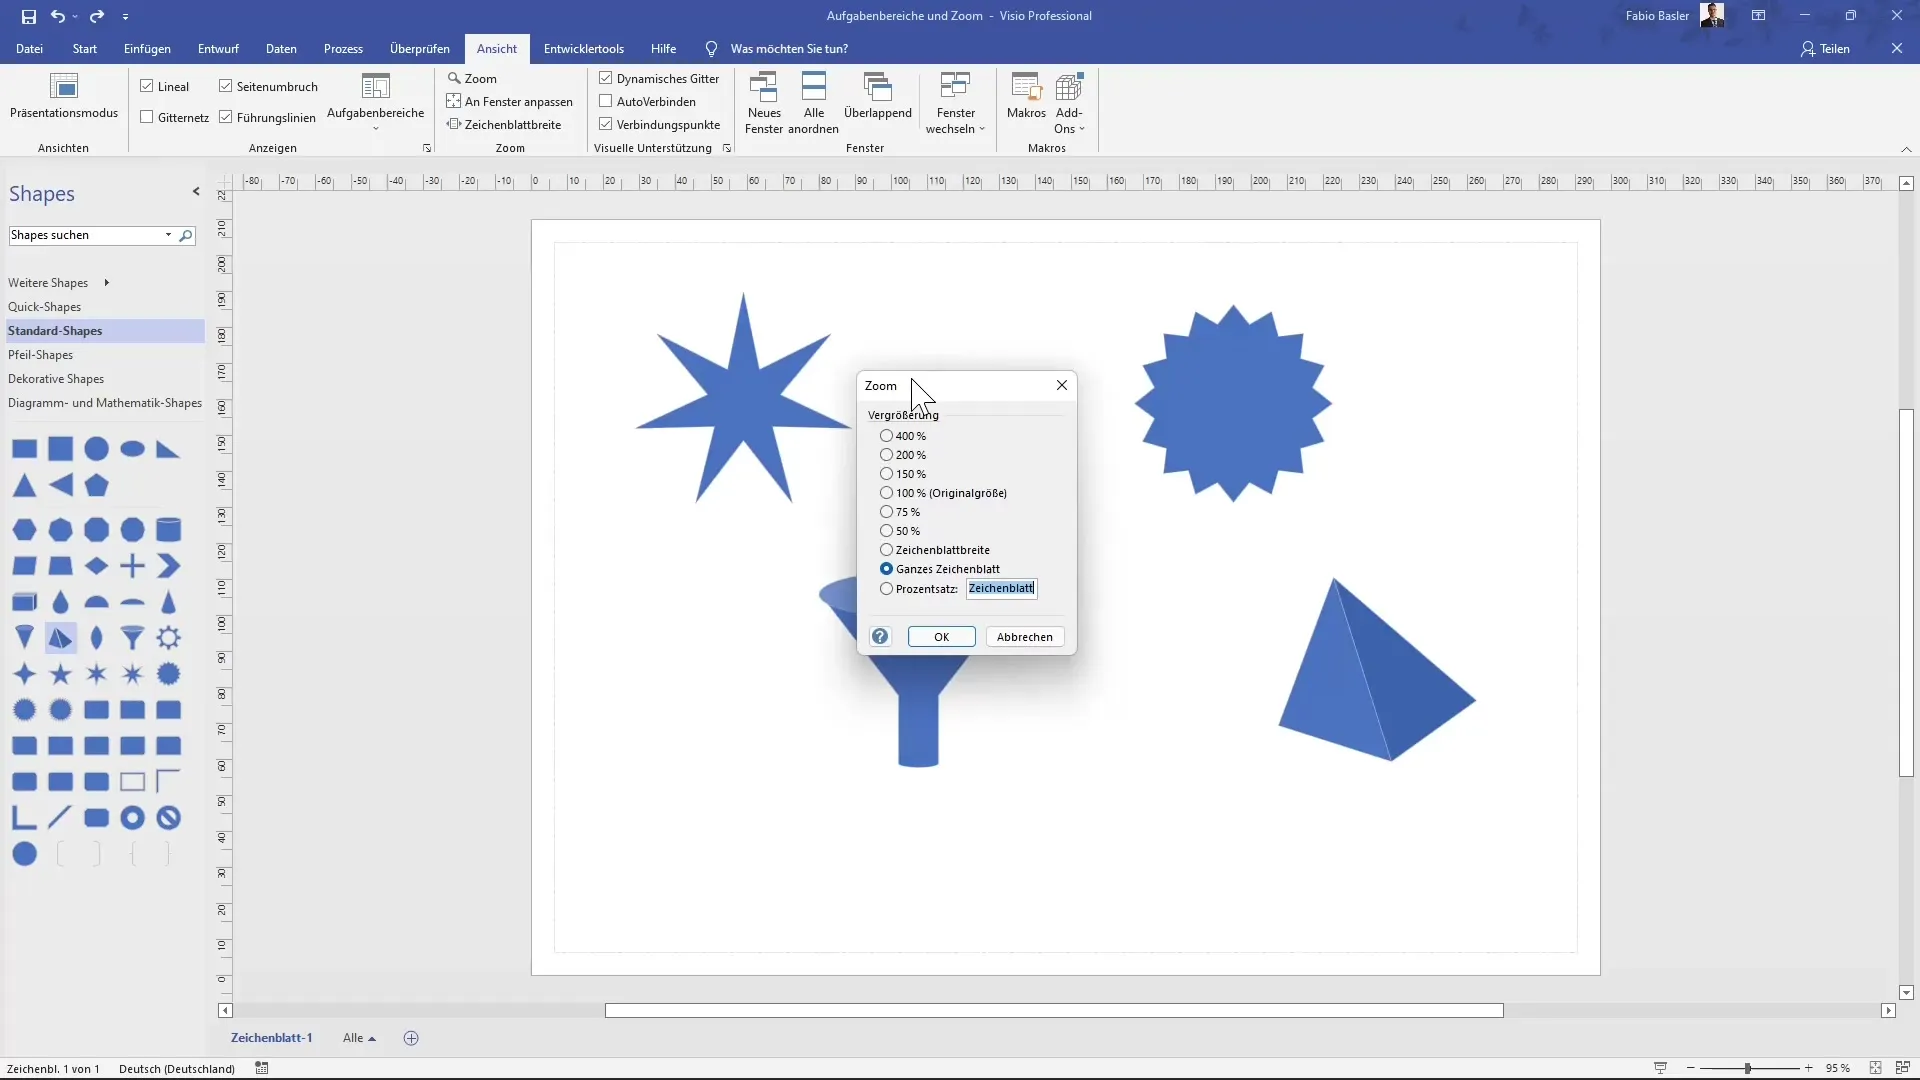
The zoom feature in Visio offers multiple options for viewing. To adjust the zoom, click on the zoom field button. In the dialog box that appears, you can set the magnification to different percentages like 50%, 100%, or for example 150%. When you make a selection, the view will immediately zoom in accordingly.
3. The Zoom Slider
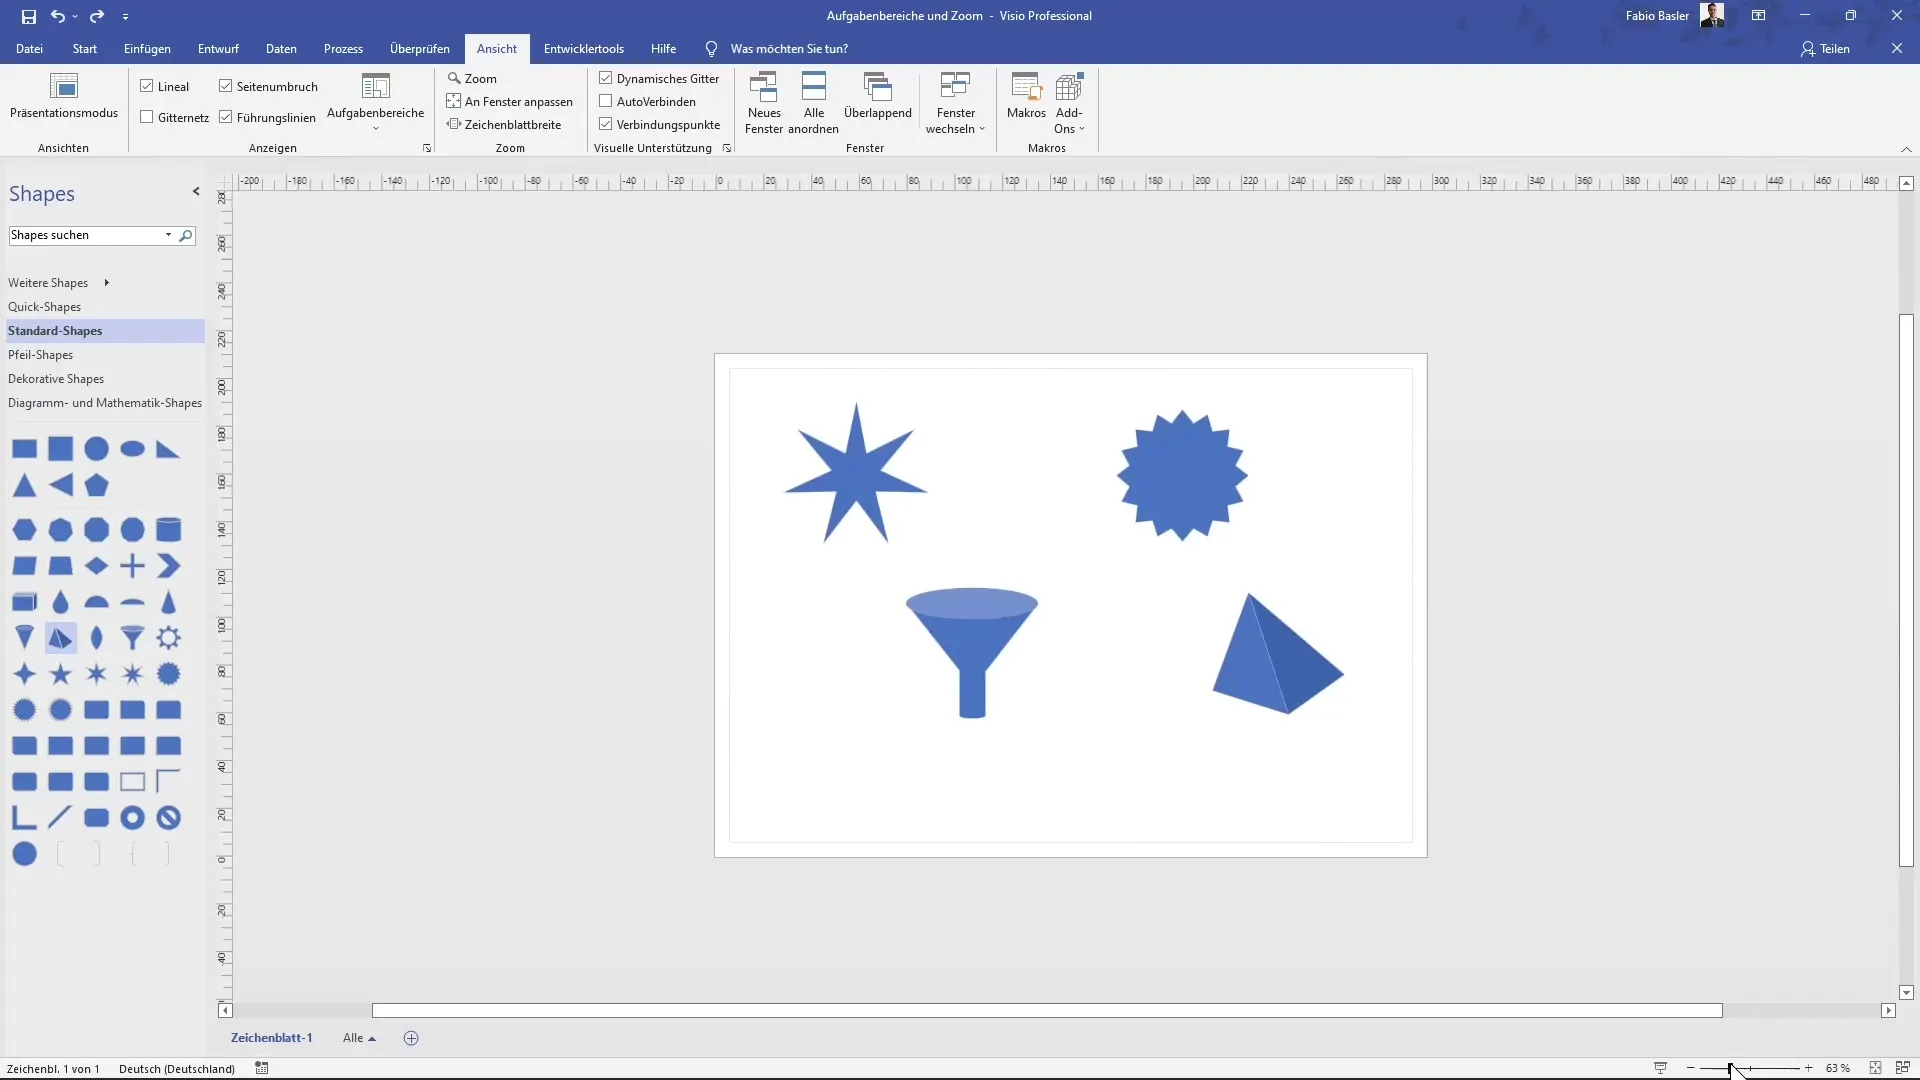
At the bottom right of the Visio window, you will find a zoom slider that you can also use. Here, you can move left to zoom out and right to zoom in. Next to the slider, the current zoom factor is always displayed, allowing you to see exactly how much you are zooming in or out of the view.
4. Sheet Width and Reset
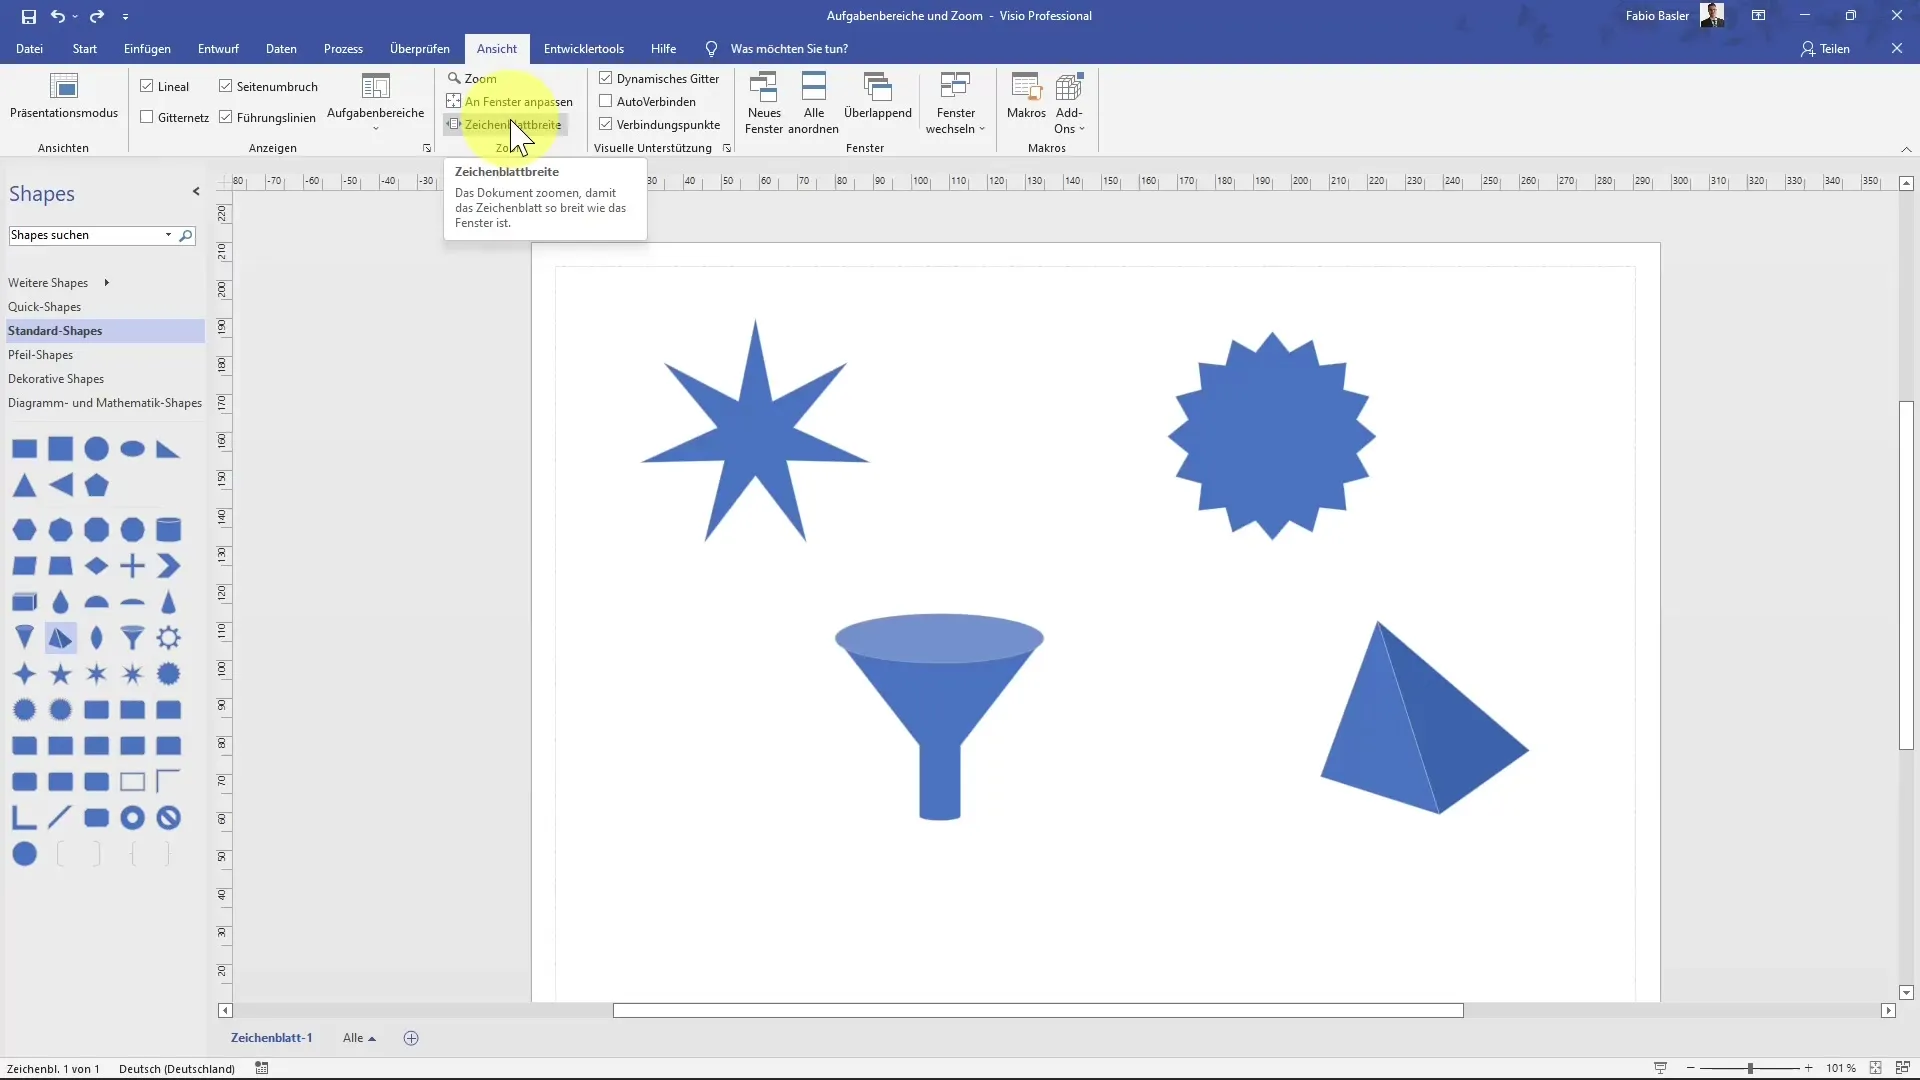
Do you want to make the entire document as wide as the window visible? Thanks to the sheet width, you can simply zoom into the document for that purpose. If you want to reset the view to the default, use again the "Fit to Window" button or the shortcut Ctrl + Shift + W.
5. Understanding Task Areas
The task areas on the right side of your screen display various functions. Clicking on "Pan and Zoom" will bring up a new window that helps you better control the view and navigation in your workspace.
6. Customizing Task Areas
You can pin the task pane window by activating the pushpin. If you remove it, the window will collapse. An active pushpin keeps the window permanently visible, giving you access to the various functionalities at all times.
7. Managing Shapes
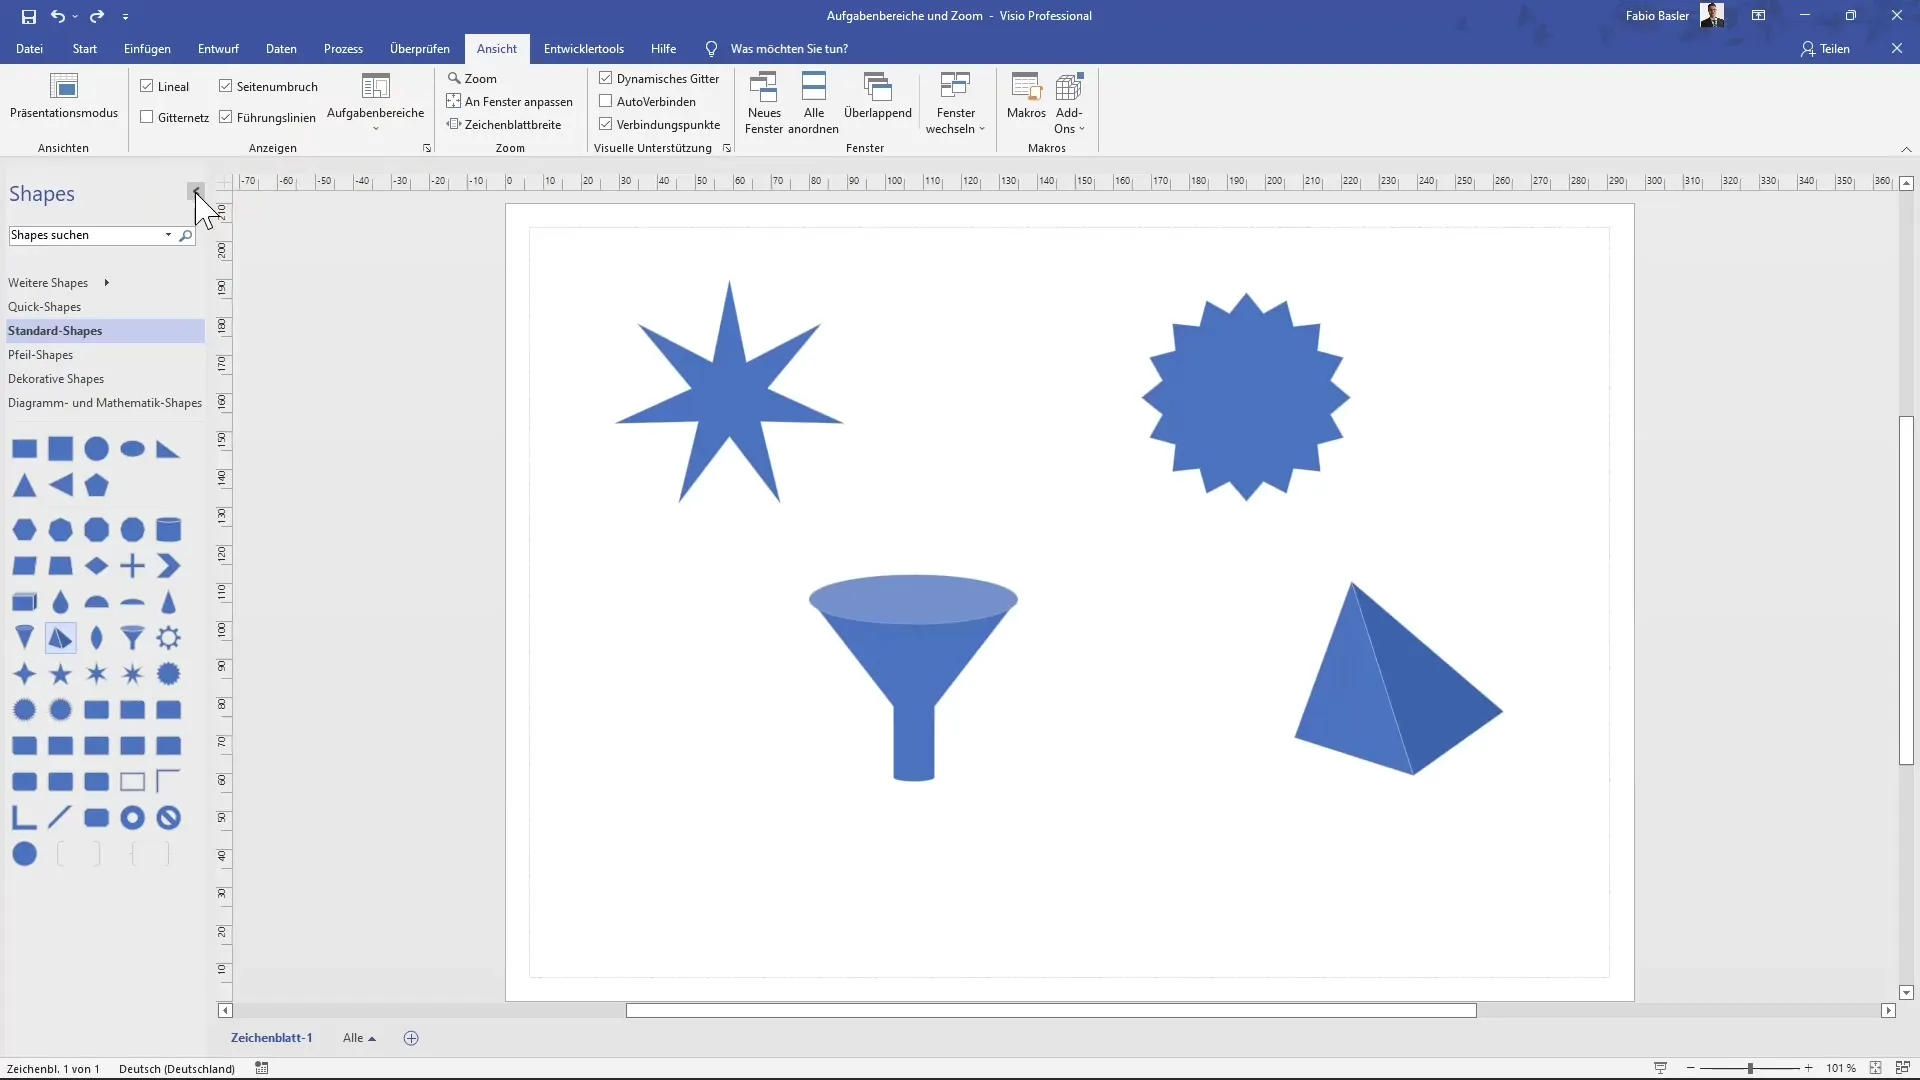
The task area allows you to show or hide shapes. By clicking on the "Shapes" button, you can minimize or completely hide the different shapes. This makes it easier to keep track of your drawing.
8. Viewing Shape Data
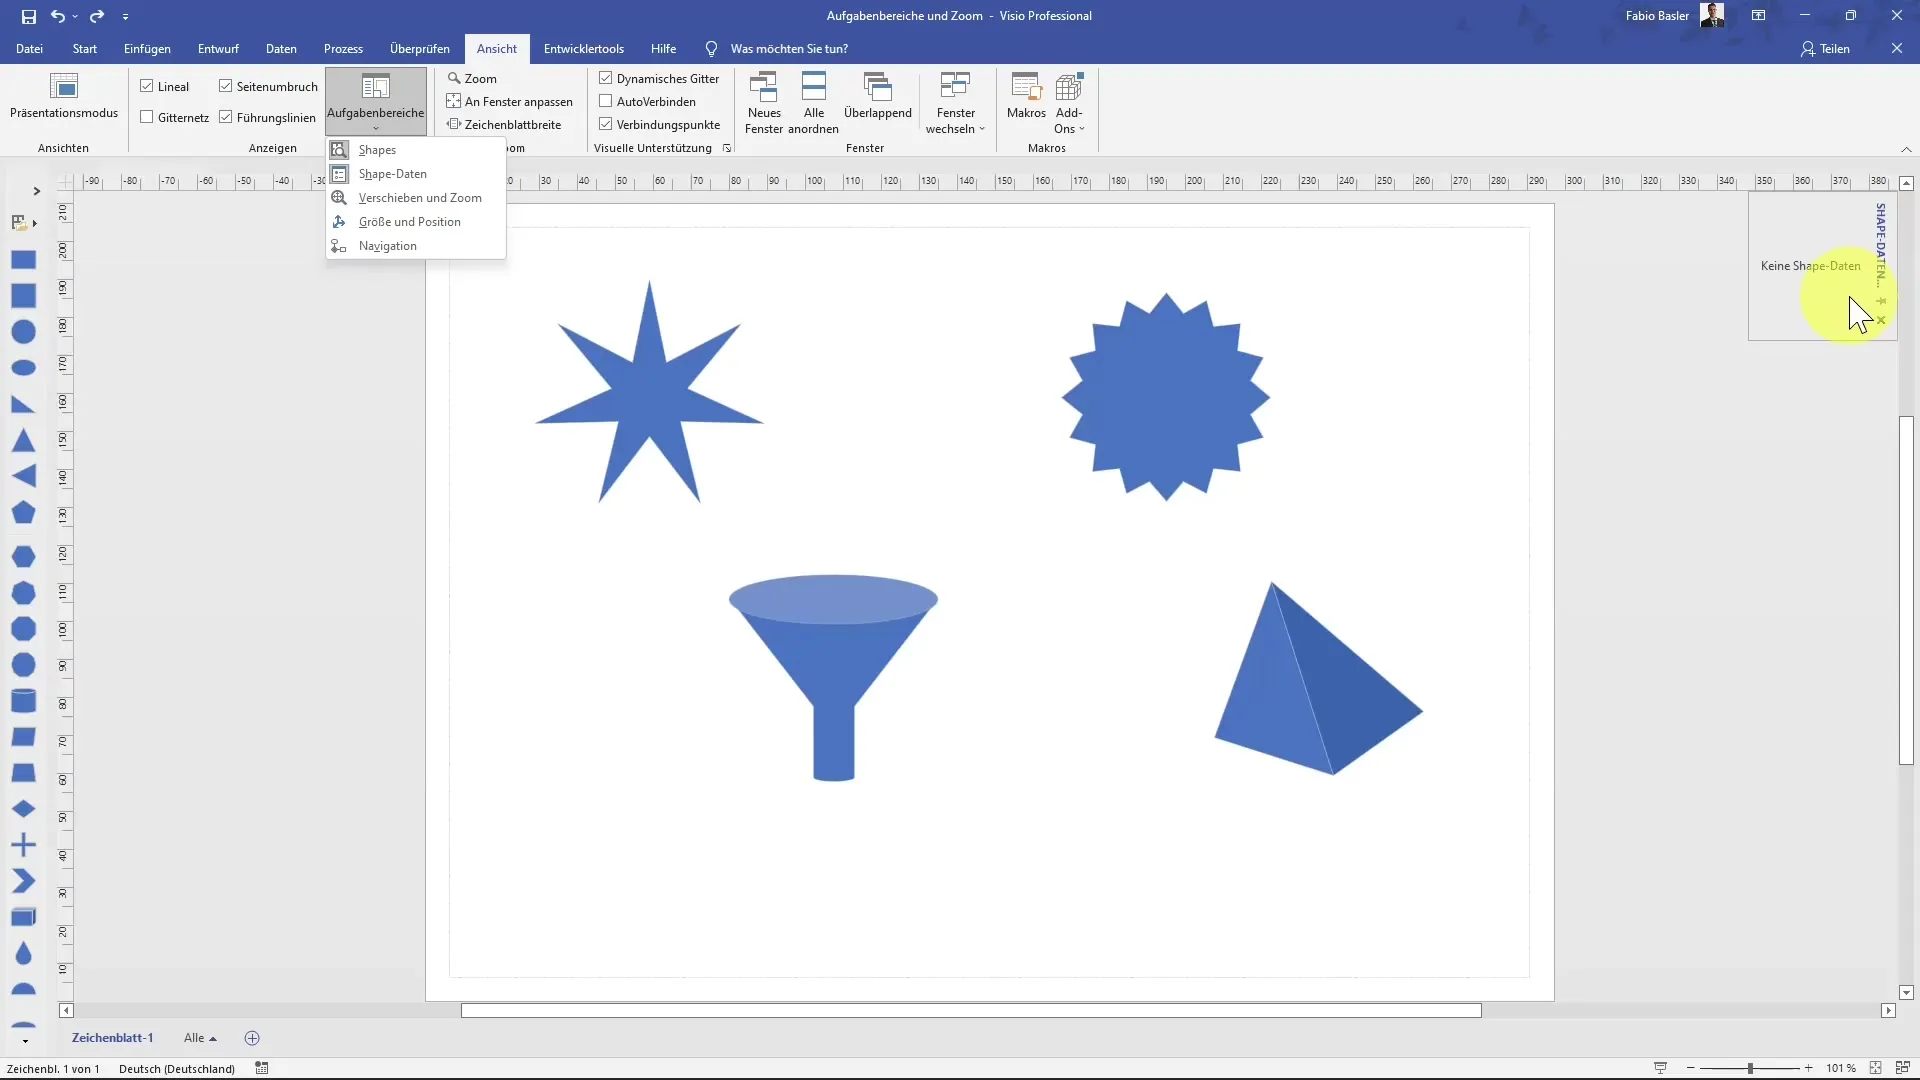
Through the task area, you can also view the shape data. This function will be particularly interesting if you want to import various data sources like Excel or CAD files later on in the "Data" tab.
9. Adjusting Shape Size and Position
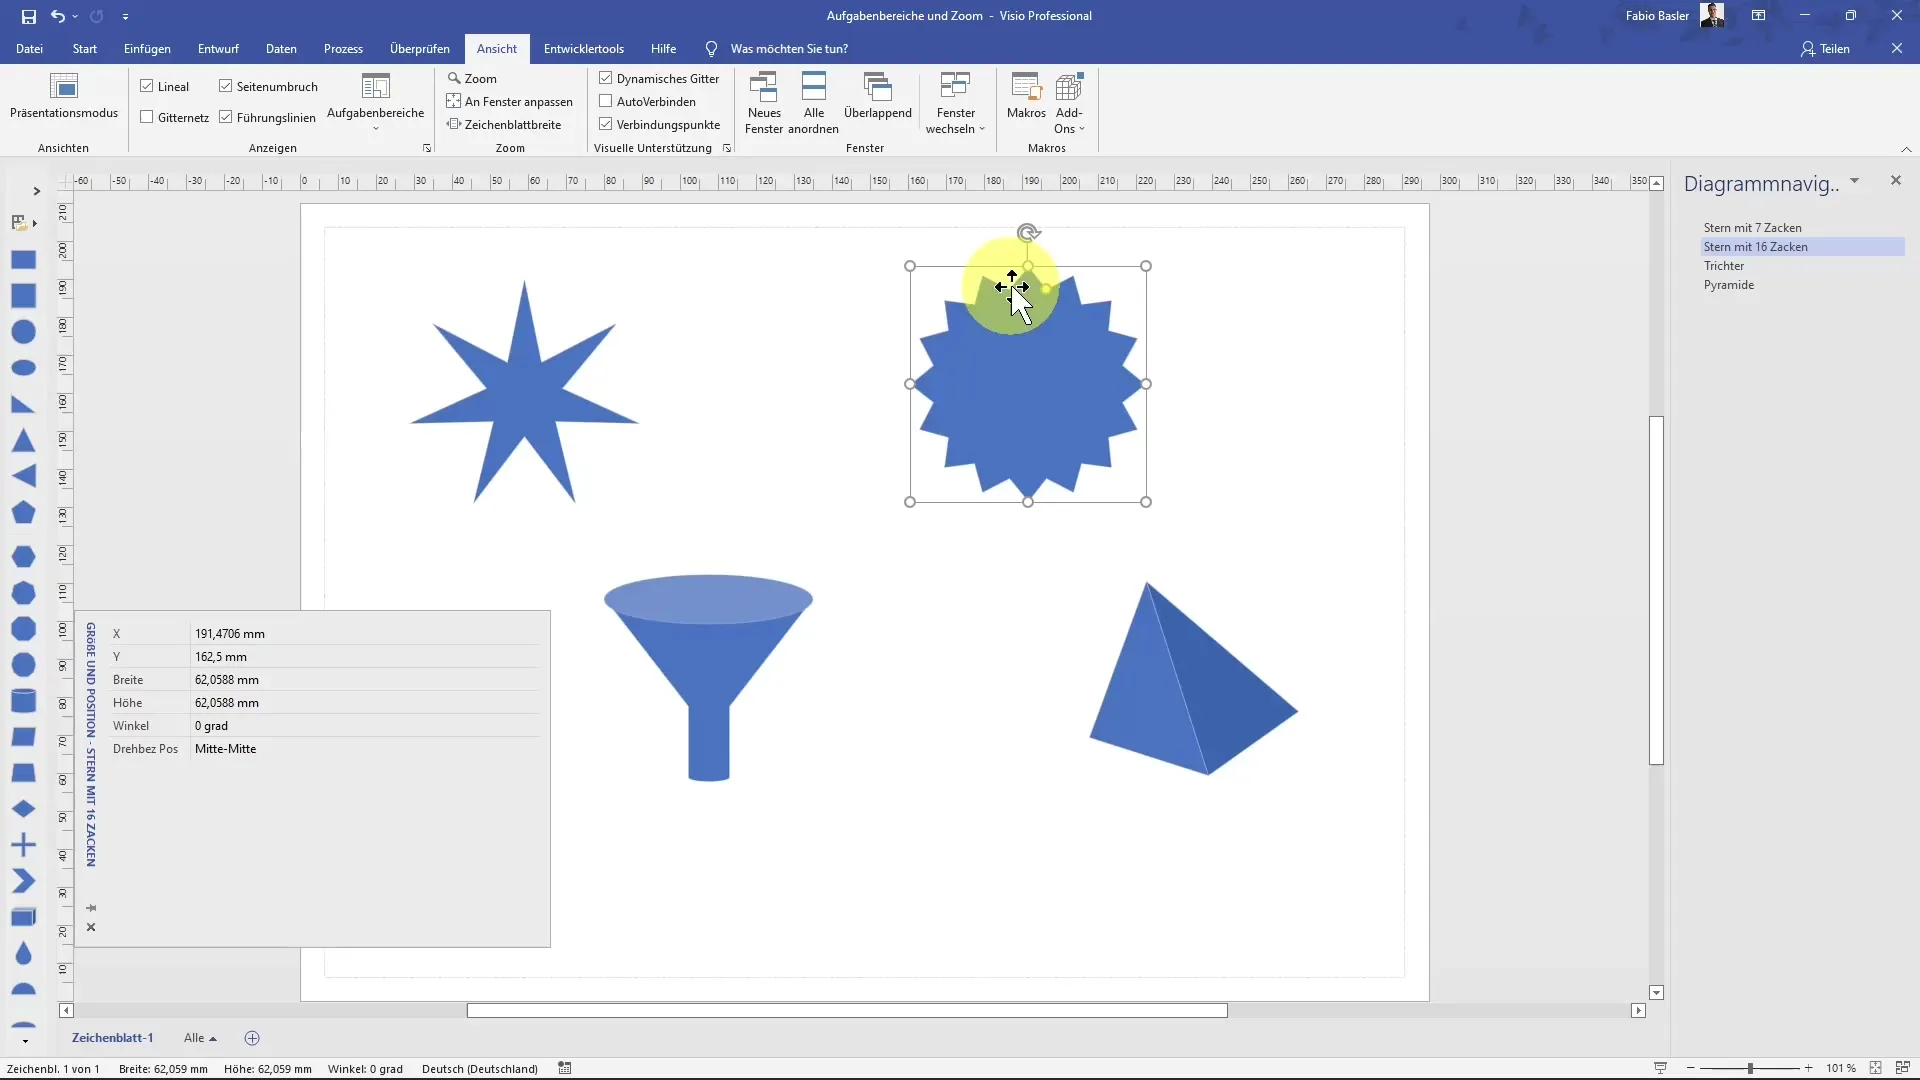
When selecting a shape, you can adjust the size and position in the task area. Here you can see details such as width, height, and the rotational angle in millimeters. This way, you can ensure that your shapes have the correct dimensions.
10. Navigation in the Workspace
Navigating in the right menu area is crucial to always keep an overview of the selected shapes and their quantity. This helps you organize your drawing and quickly update the project to the latest version.
11. Configuration of Ruler and Grid
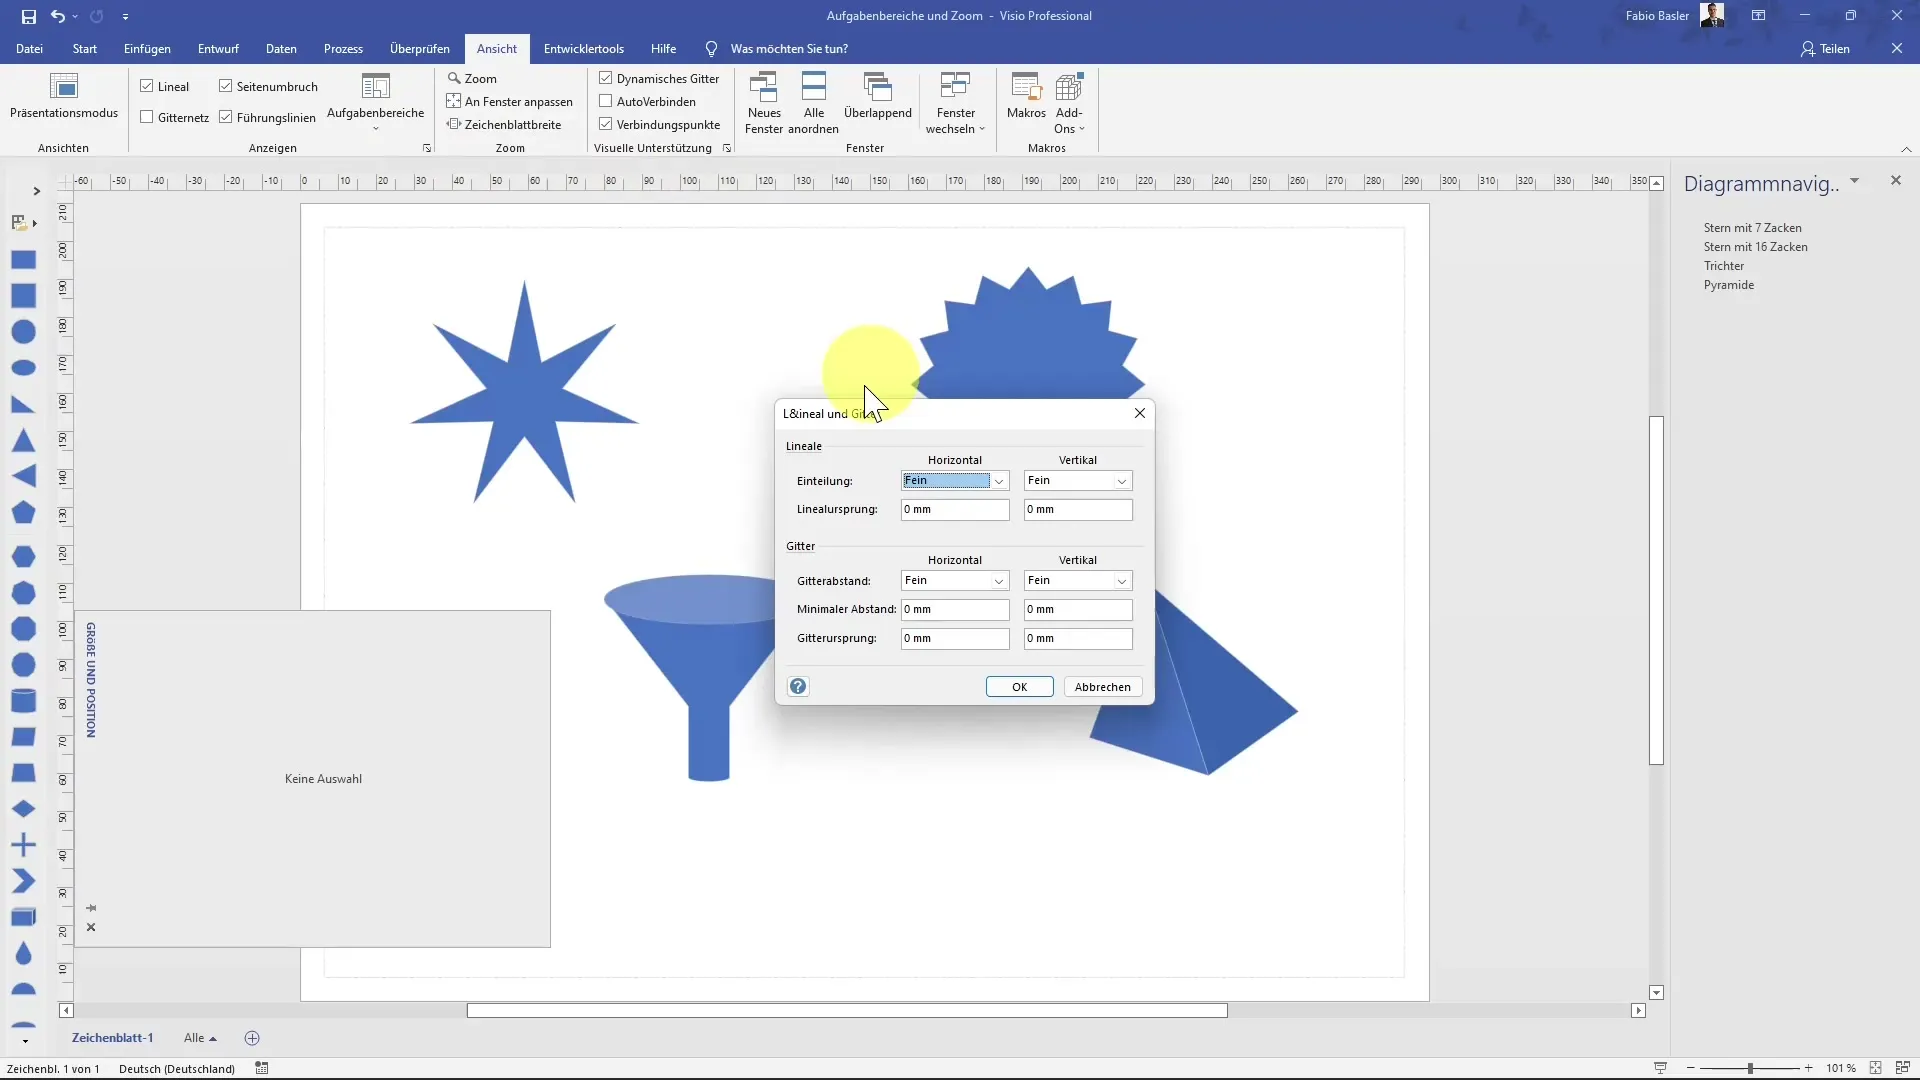
To ensure precise work, you can adjust the ruler and grid settings. Click on the "Ruler and Grid" icon to enter another dialog box. Here you can determine the millimeter origin, the grid subdivision, and the minimum distance for the grid.
Summary
In this tutorial, you have learned how to effectively customize your workspace in MS Visio and make optimal use of the zoom feature. With the various task areas, you can not only control the view but also efficiently manage your shapes and data. The clarity gained will significantly streamline your workflow.
Frequently Asked Questions
What is the "Fit to Window" function?The "Fit to Window" function optimally brings your entire workspace back into the visible area.
How can I adjust the zoom in Visio?The zoom can be adjusted either through the zoom field button or the zoom slider at the bottom right of the window.
What task areas are there in Visio?In Visio, there are task areas such as navigation, shapes, and data management that assist you in your work.
Can I show or hide shapes in the task area?Yes, you can adjust the visibility of shapes in the task area via the "Shapes" button.
Where can I find the settings for Ruler and Grid?You can find the settings for ruler and grid by clicking on the corresponding symbol in the task area.
