Working with headers and footers in MS Visio can help you make your diagrams look more professional and organized. In this tutorial of a video course, we will show you how to effectively use these elements in your flowcharts. Customizing headers and footers can not only enhance the design aspect but also provide important information for printing, such as the file name or creation date.
Key Takeaways
- Headers and footers can be easily customized in Visio.
- You can insert dynamic information like file names and drawing numbers.
- The formatting offers you numerous options to adjust the font style and size.
Step-by-Step Guide
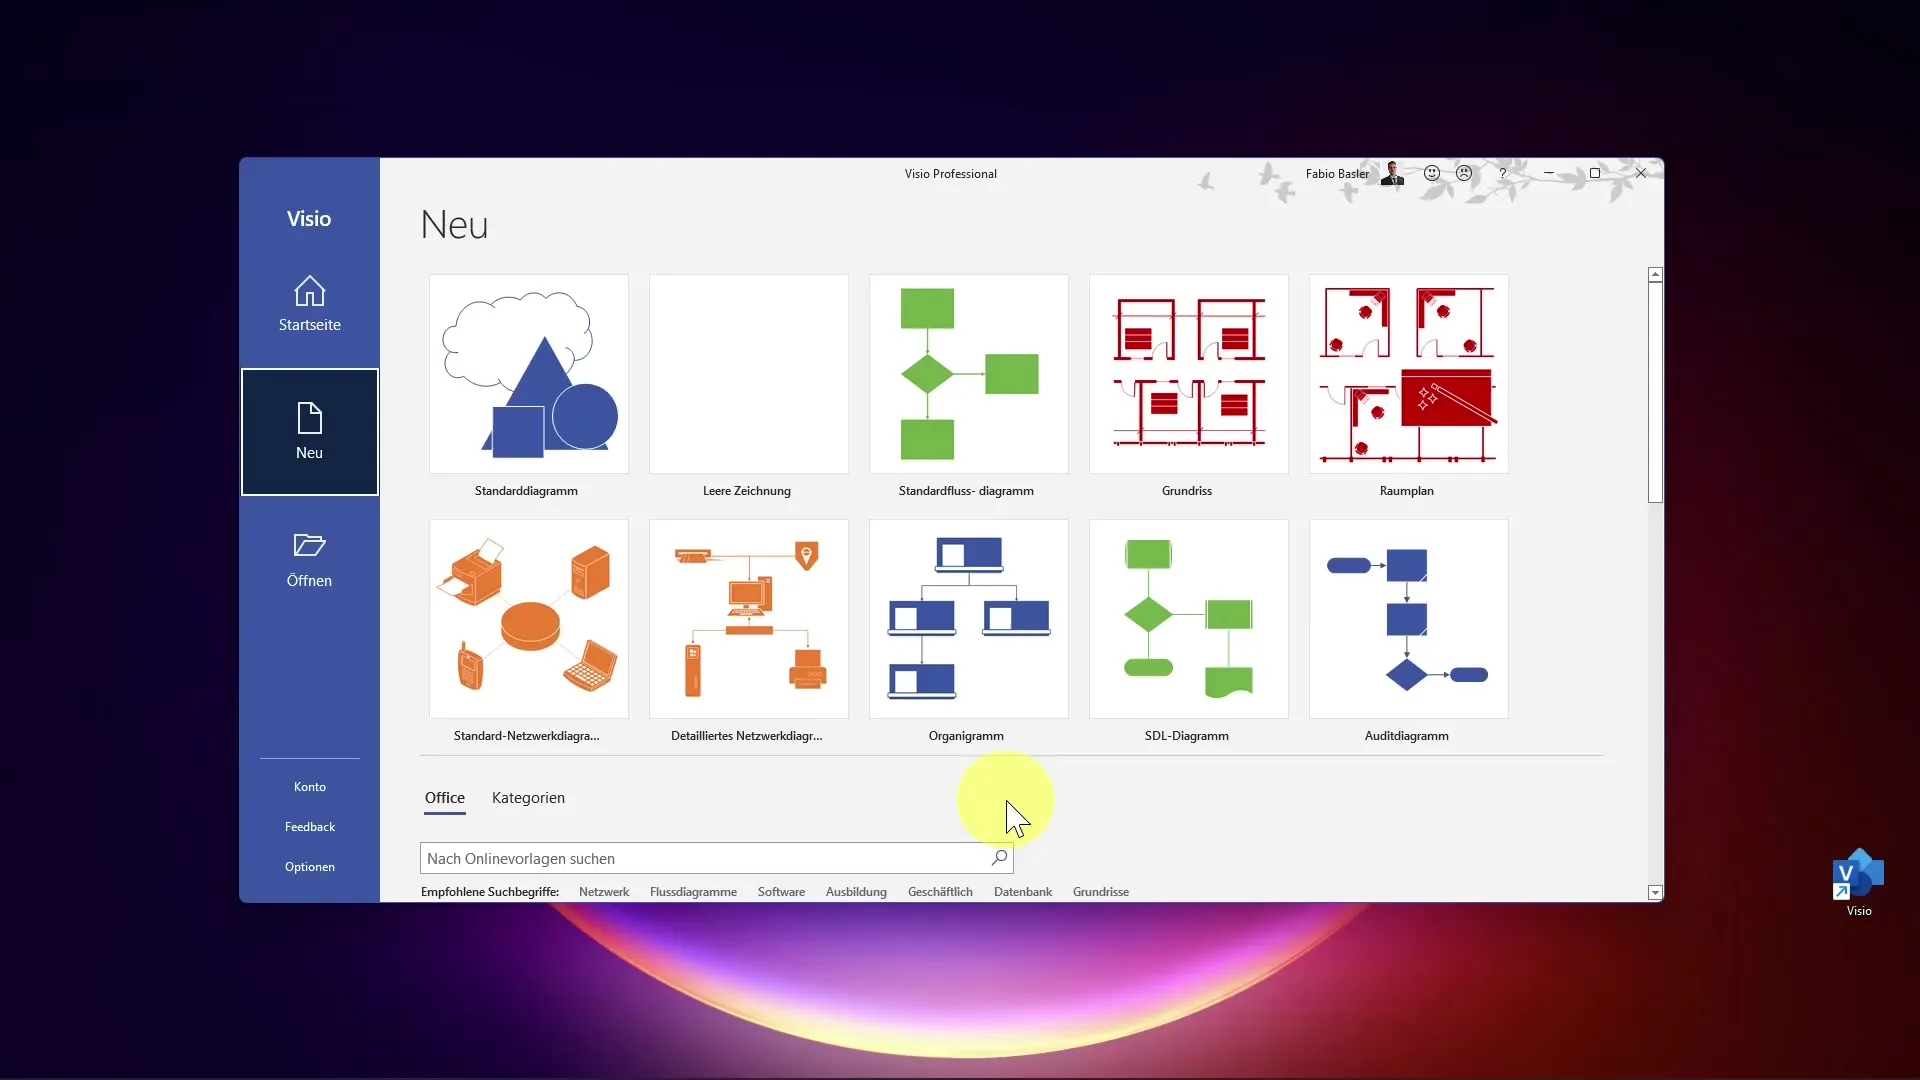
First, you need to select a template to edit your headers and footers. In our example, we are using a simple flowchart. Choose an appropriate diagram if needed to get started.
Once you have created your diagram, it's important to enter print mode to edit the headers and footers. You can do this by typing "Print" in the top search field or using the corresponding toolbar. Alternatively, the shortcut "Ctrl + P" is also a quick option.
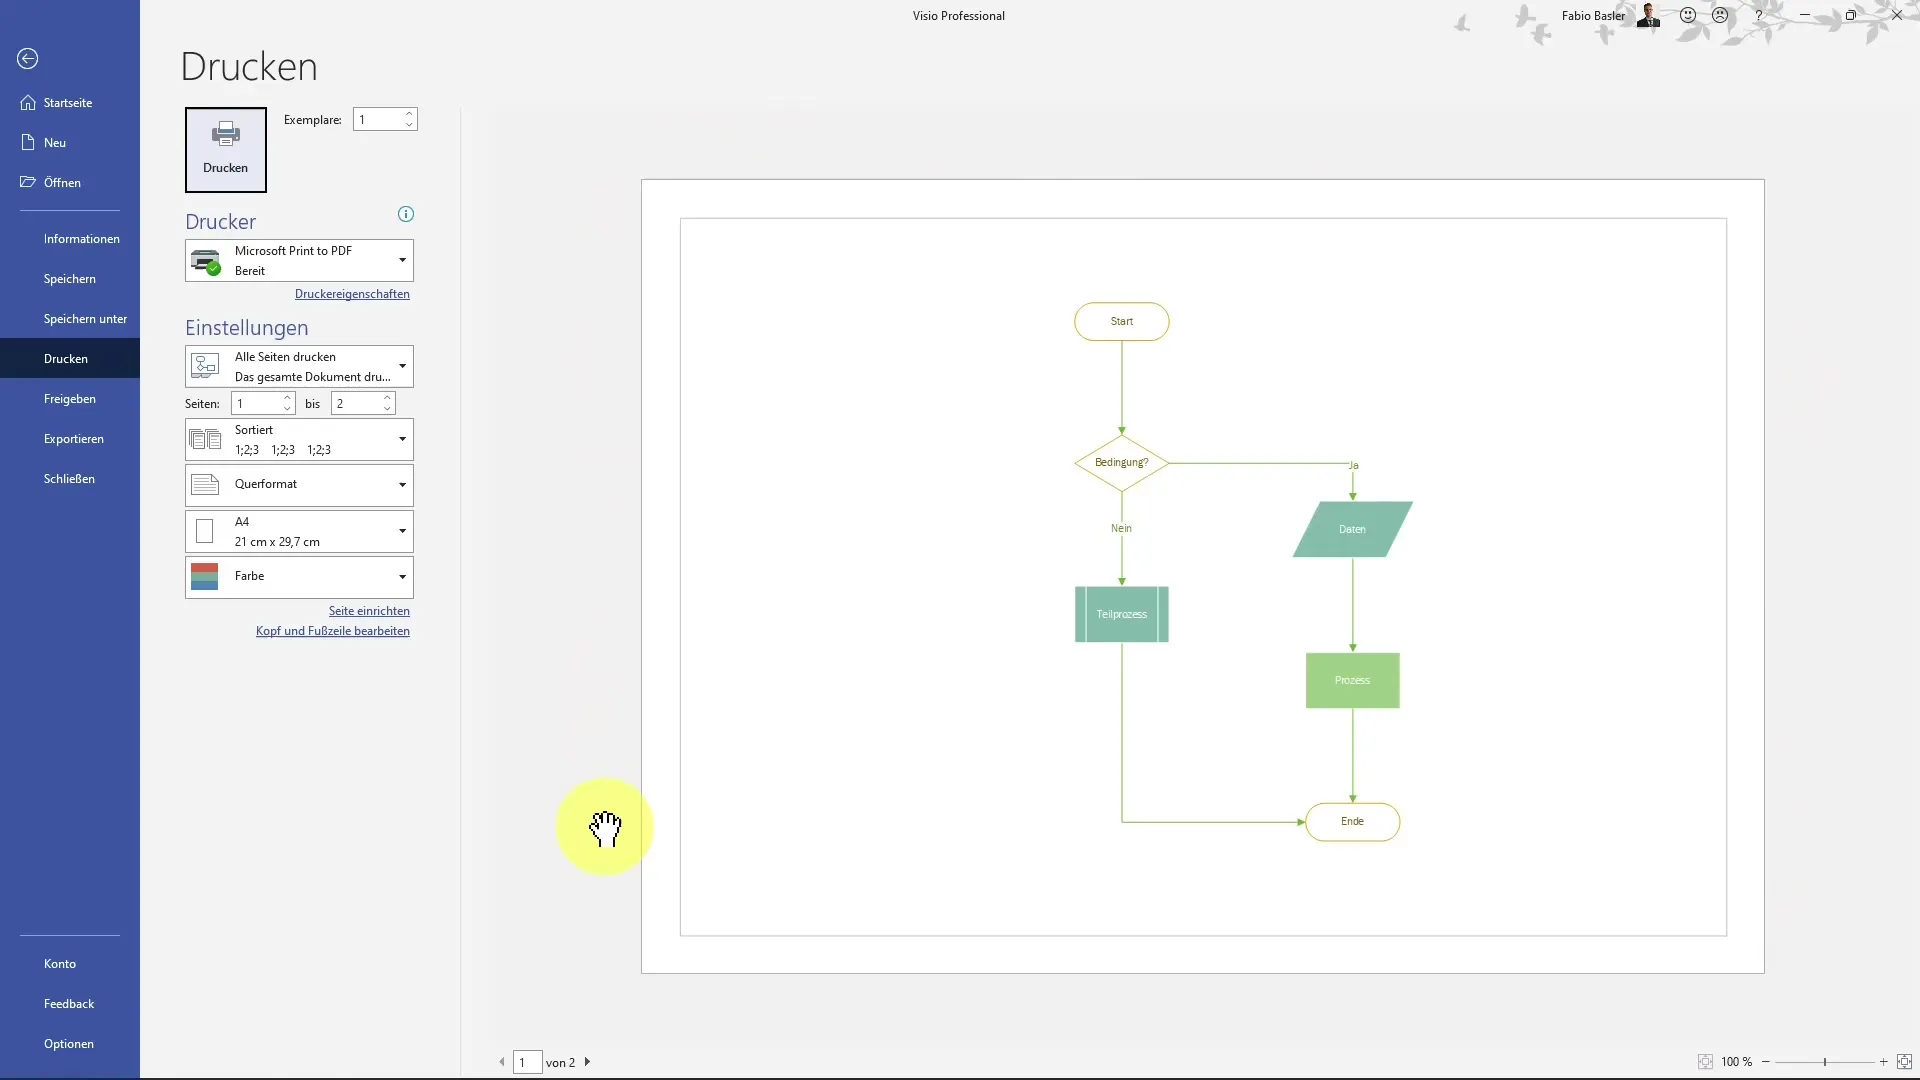
In print mode, you will get a preview of how your sheet would look on paper. If needed, you can change the format to portrait or landscape to optimize the display.
To edit the headers and footers, click on the corresponding option in the menu and open the editing dialog. Here, you have the possibility to add specific details, either in the header or the footer.
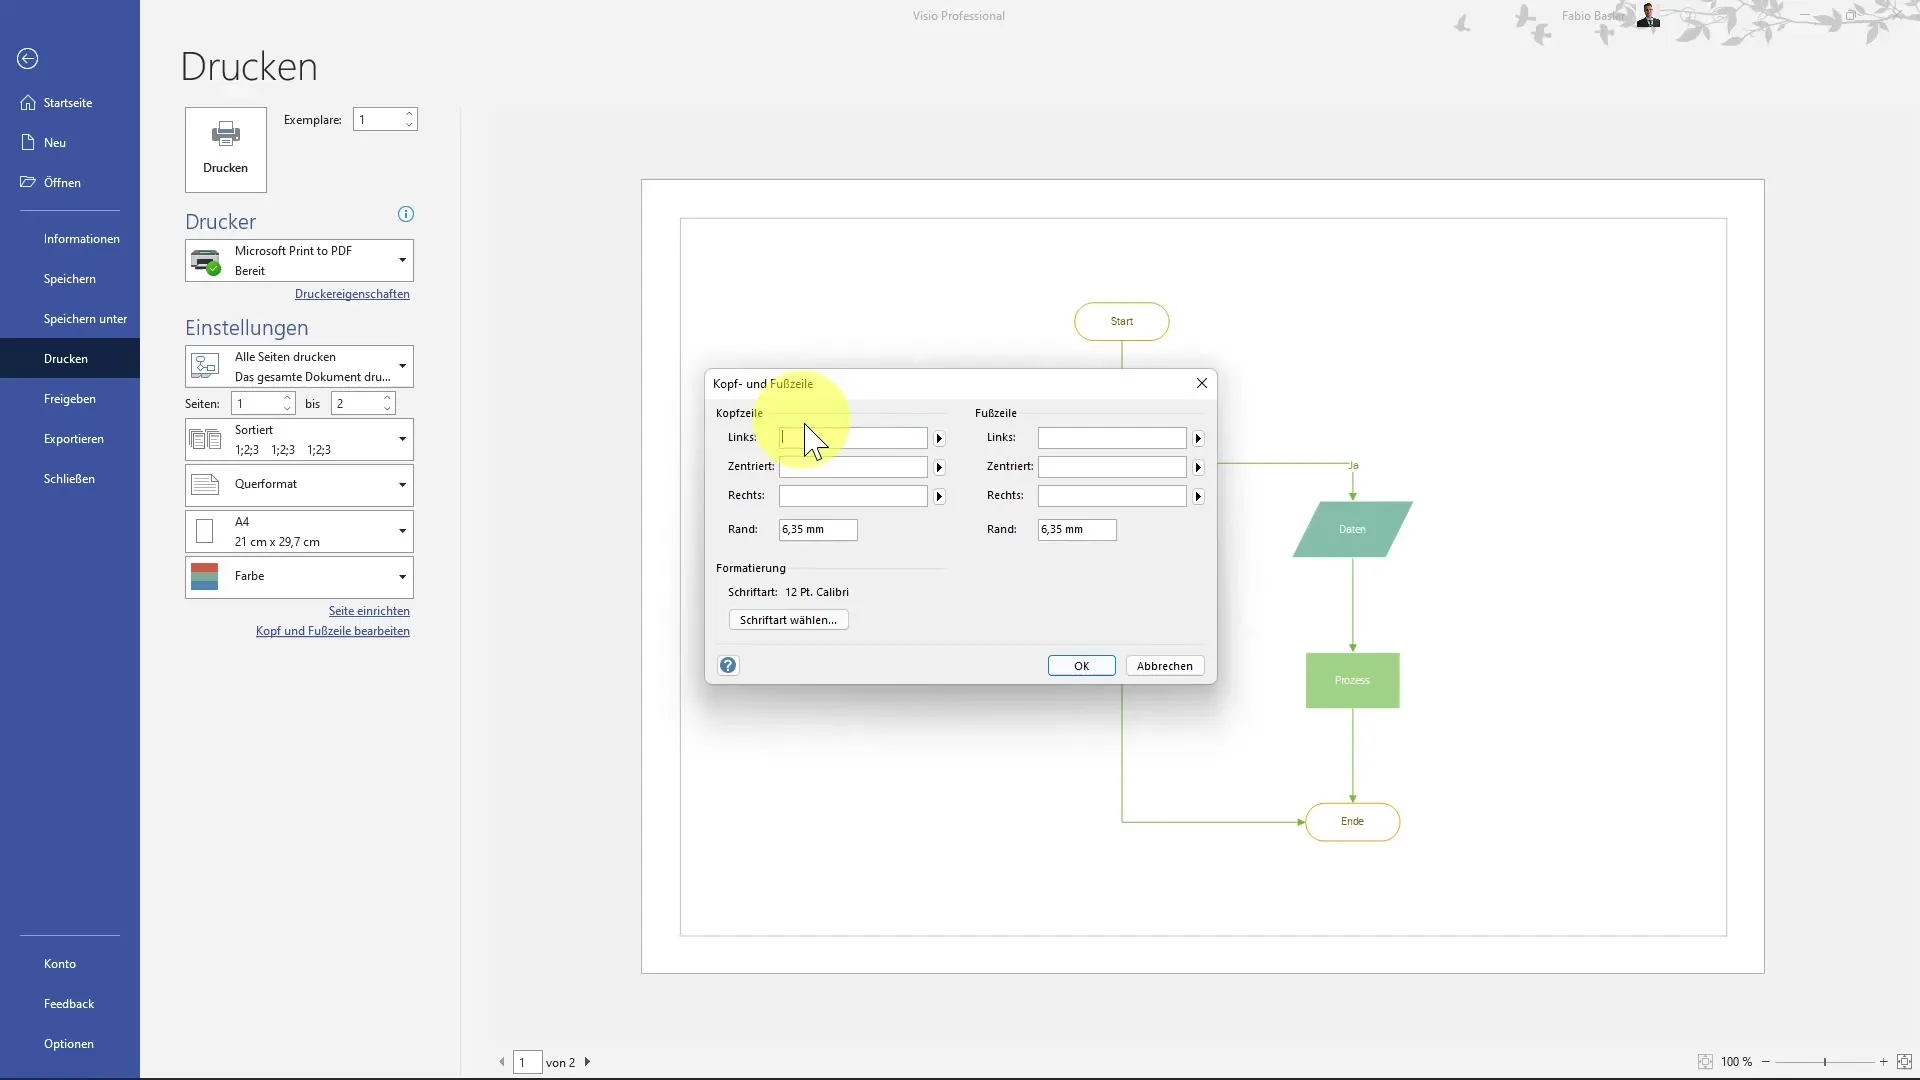
In this dialog, you can enter specific information. For example, you can insert static text like "Drawing 1" in the header. This information will then appear dynamically on every page.
Furthermore, you can also insert dynamic information like the file name. Use the syntax "&[FileName]" to automatically include the file name. If you rename the file, this text will update automatically.
To provide additional context information, you can also insert the sheet number in the center of the header. This is useful for clearly labeling multiple pages in a document.
For the footer, you also have various options. You can specify the current date and time or insert information about the total number of printed pages. This significantly enhances the professionalism of your documents.
One customization option is also editing the margins in the header and footer. For instance, you could increase the top margin to 6.45 mm to create more space for your text.
The font style and size are also adjustable. Ensure it remains legible by choosing an appropriate font size. You can use 12 pt or even 14 pt, depending on preference. Additionally, the font style itself can be customized, whether it's Calibri or Cambria.
Get creative with colors! Aside from black, you can also use dark gray tones or other colors to visually enhance your headers and footers.
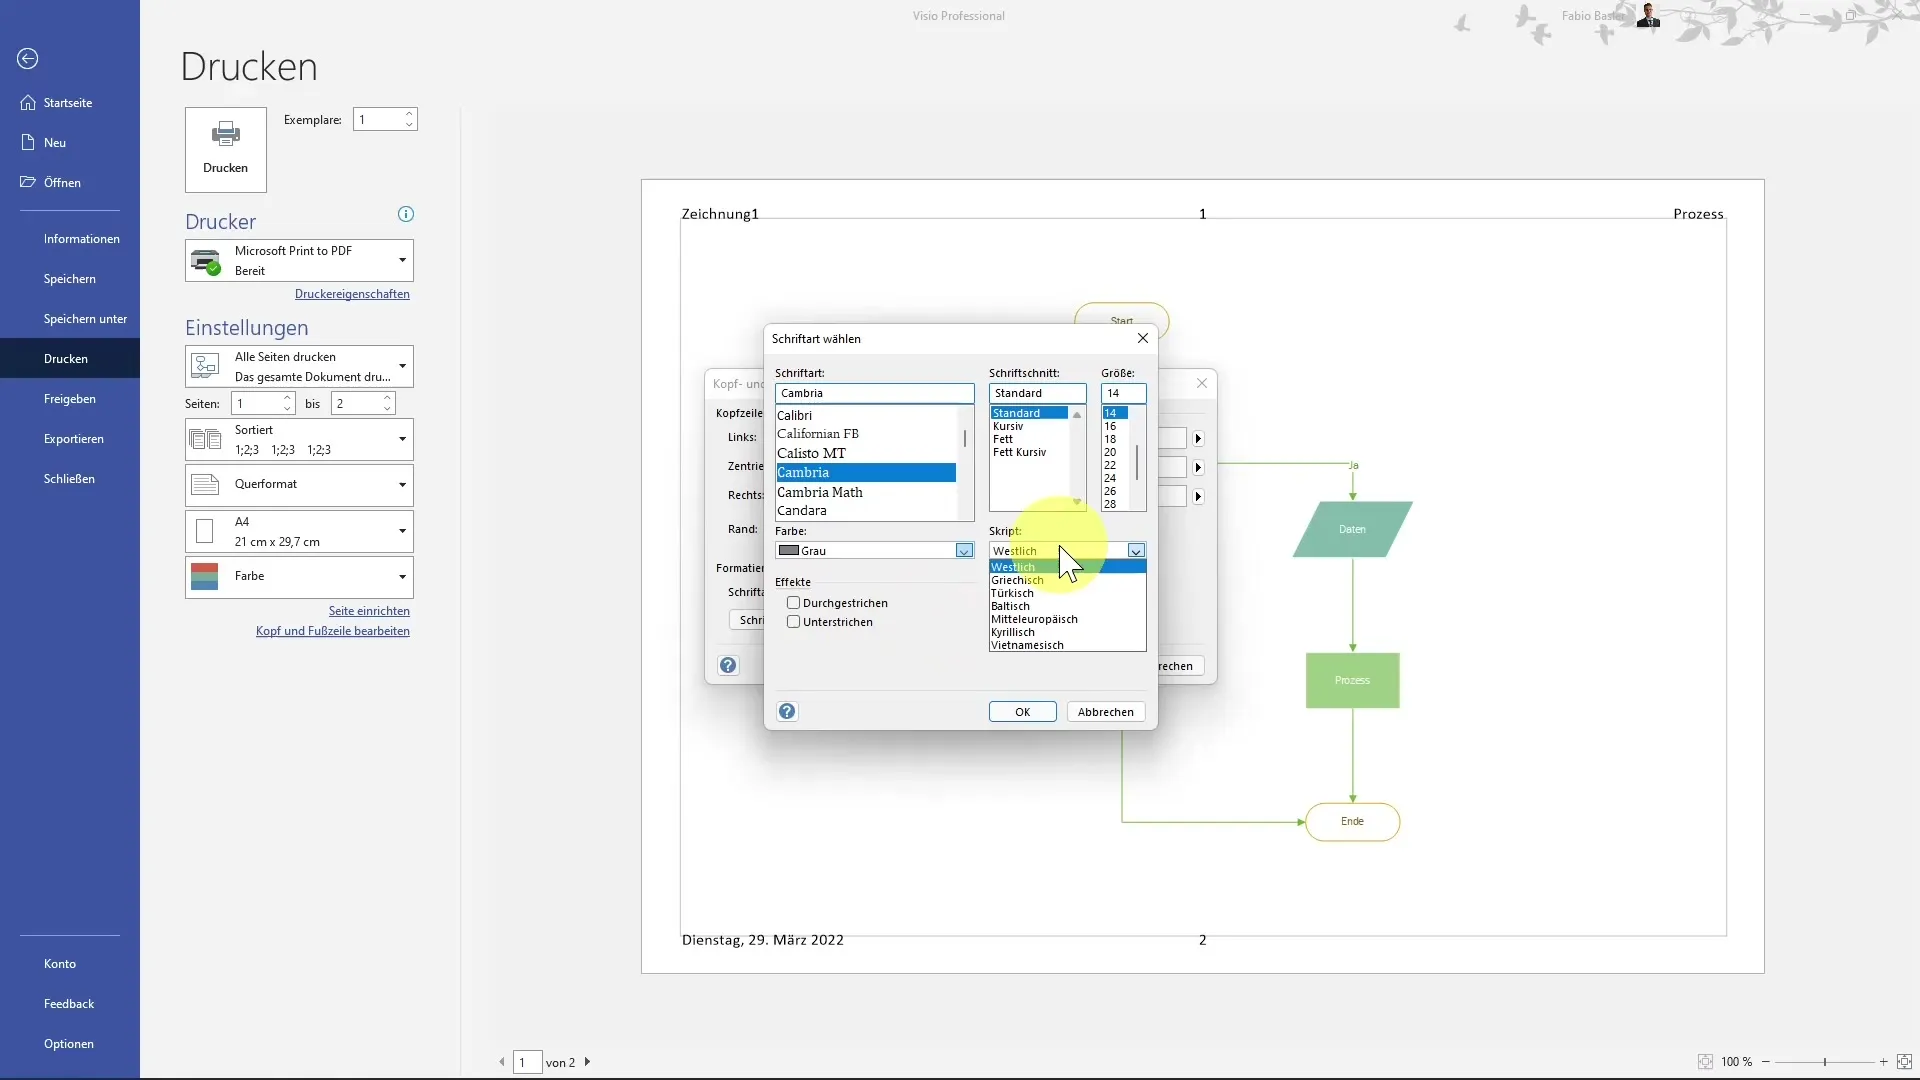
Once you've made all the settings, confirm your changes by clicking "OK." You will immediately see the information updated in the headers and footers, now displayed in your print layout.
Summary
Customizing headers and footers in MS Visio is a simple yet effective way to make your documents look more professional. By adding dynamic and static information, as well as making adjustments to font style and size, you have the opportunity to optimize your presentations.
Frequently Asked Questions
How do I insert dynamic information into the footer?You can insert information like the date or file name using the corresponding codes.
Can I change the font style of the header?Yes, you can select and adjust the font style accordingly.
How do I edit the margins of the headers and footers?In the editing dialog, you can adjust the margins to your preferences.
Can I change the format from portrait to landscape?Yes, the format can be changed at any time in print mode.
How do I save my changes in Visio?The changes are automatically saved when you save the file.
