A network diagram is an important tool for visualizing network structures. With Microsoft Visio, you can easily create such diagrams to depict your network components and their relationships. In this guide, you will learn step by step how to create a network diagram in Visio.
Main Insights
- You can choose from various templates to customize your network diagram.
- It is possible to display labels under icons to convey additional information.
- Visio allows you to insert numerous different shapes and their connections, enabling a more flexible visualization.
Step 1: Open Visio and Select a Template
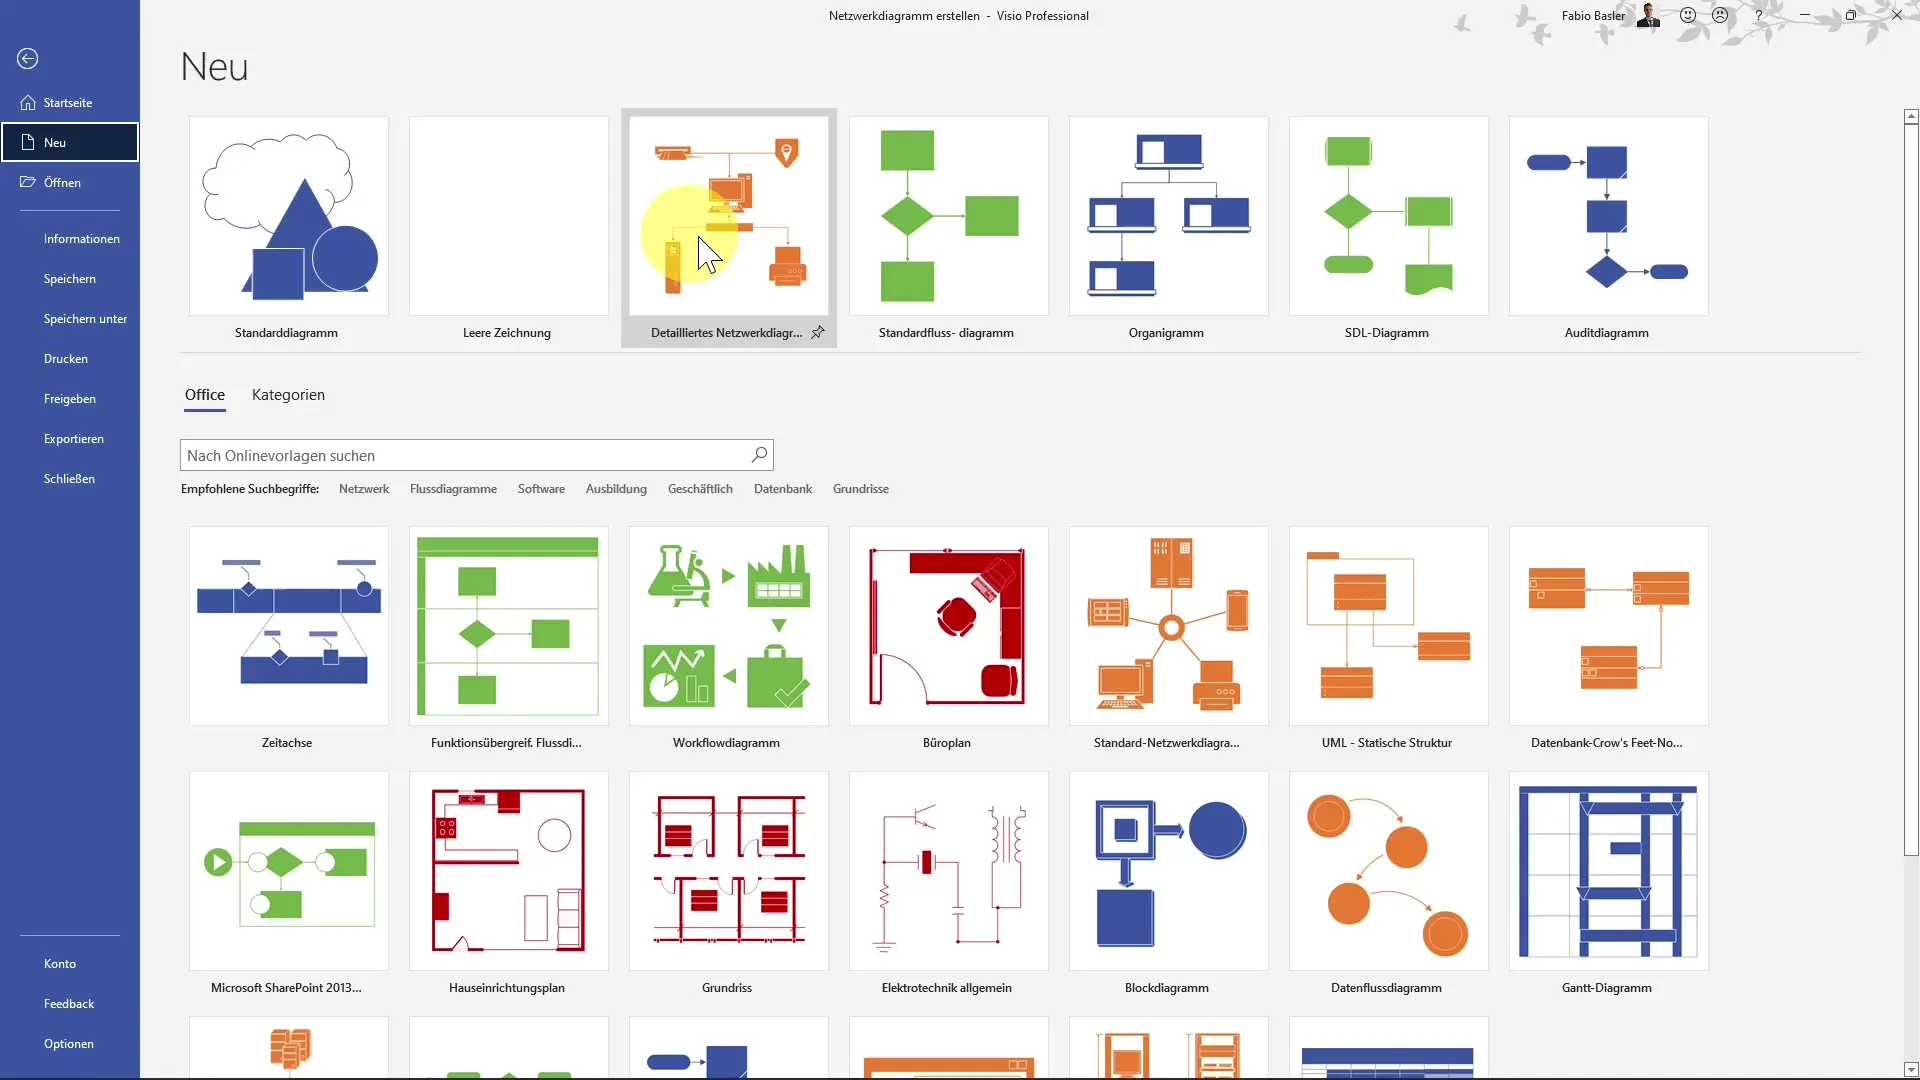
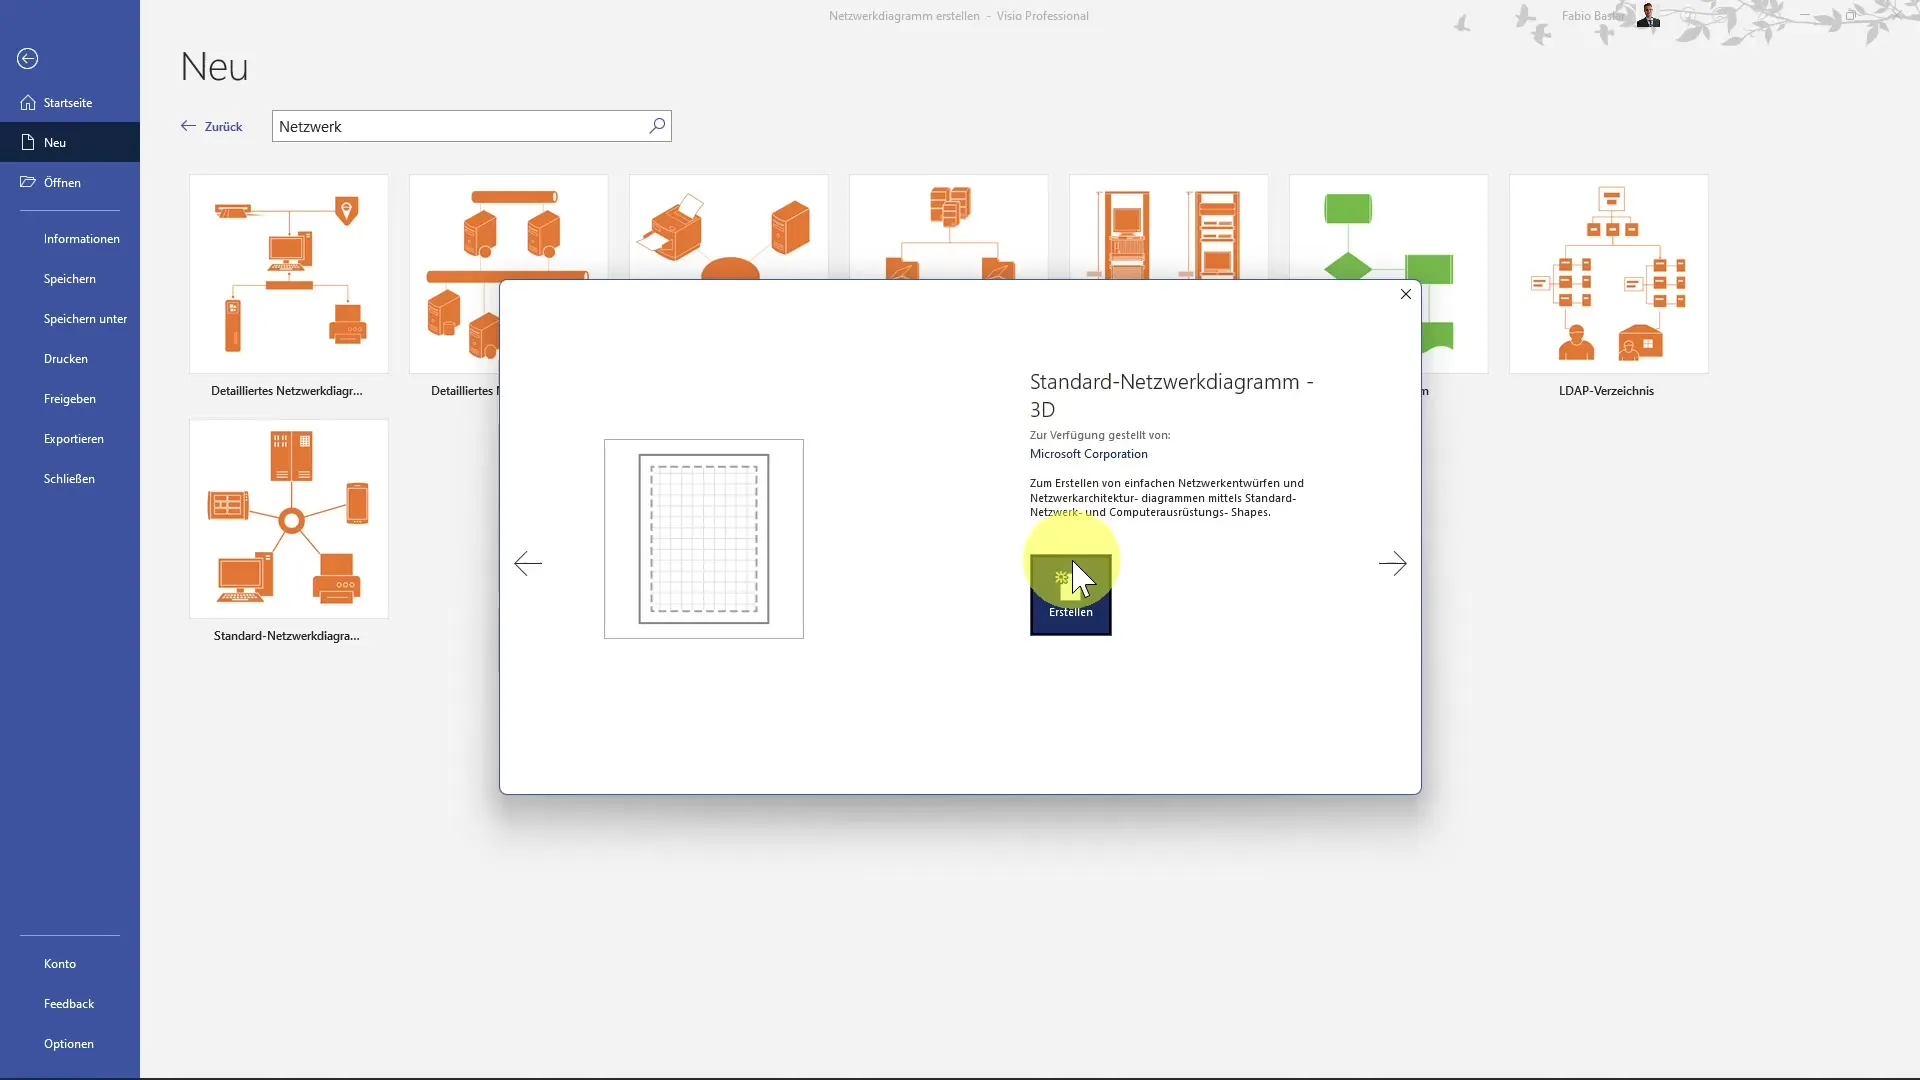
Start by opening Microsoft Visio. Upon startup, you should see the option to choose from various templates. Search for "Network Diagram" and select the desired template, for example, "Standard Network Diagram 3D." Click on "Create" to begin creating your diagram.

Step 2: Add Shapes
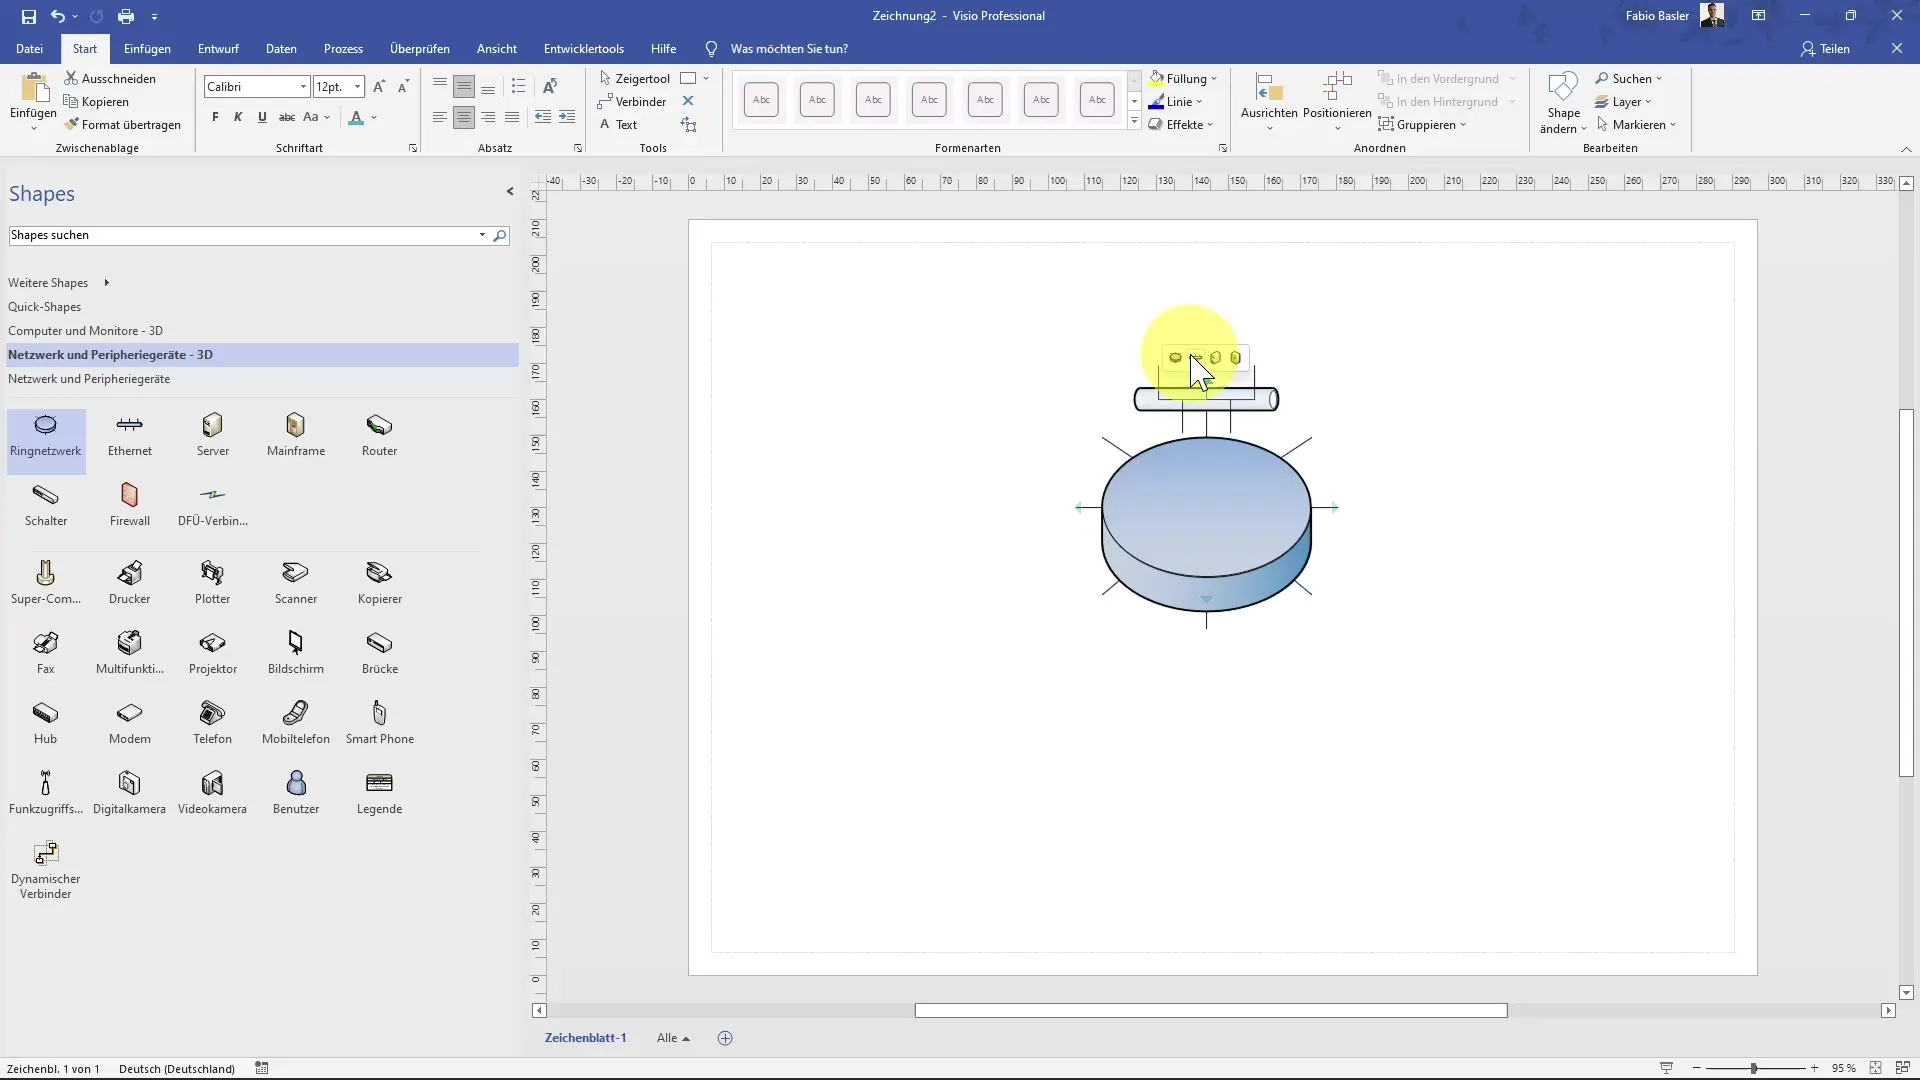
After creating the template, you may have arrived at your diagram without shapes. To add your network components, navigate to the "More Shapes" area in the menu. Here, you can browse through the different categories and select the shapes you need. For example, you can add a ring network or specific server icons.

Step 3: Position Shapes
You can easily drag the added shapes to the desired locations using the mouse. For example, you can position a ring network in the center of your diagram. Hovering over the blue arrows with the mouse will show you how you can further adjust the shapes. You can enlarge them or connect them with other symbols by clicking and dragging them directly.

Step 4: Establish Connections
To represent the structures of your network, you need to establish connections between the ring network and other shapes. Choose the connection tool from the menu and draw lines between the respective shapes. For instance, you could connect a server with a user and visualize its devices like computer, fax machine, or scanner.
Step 5: Display Labels
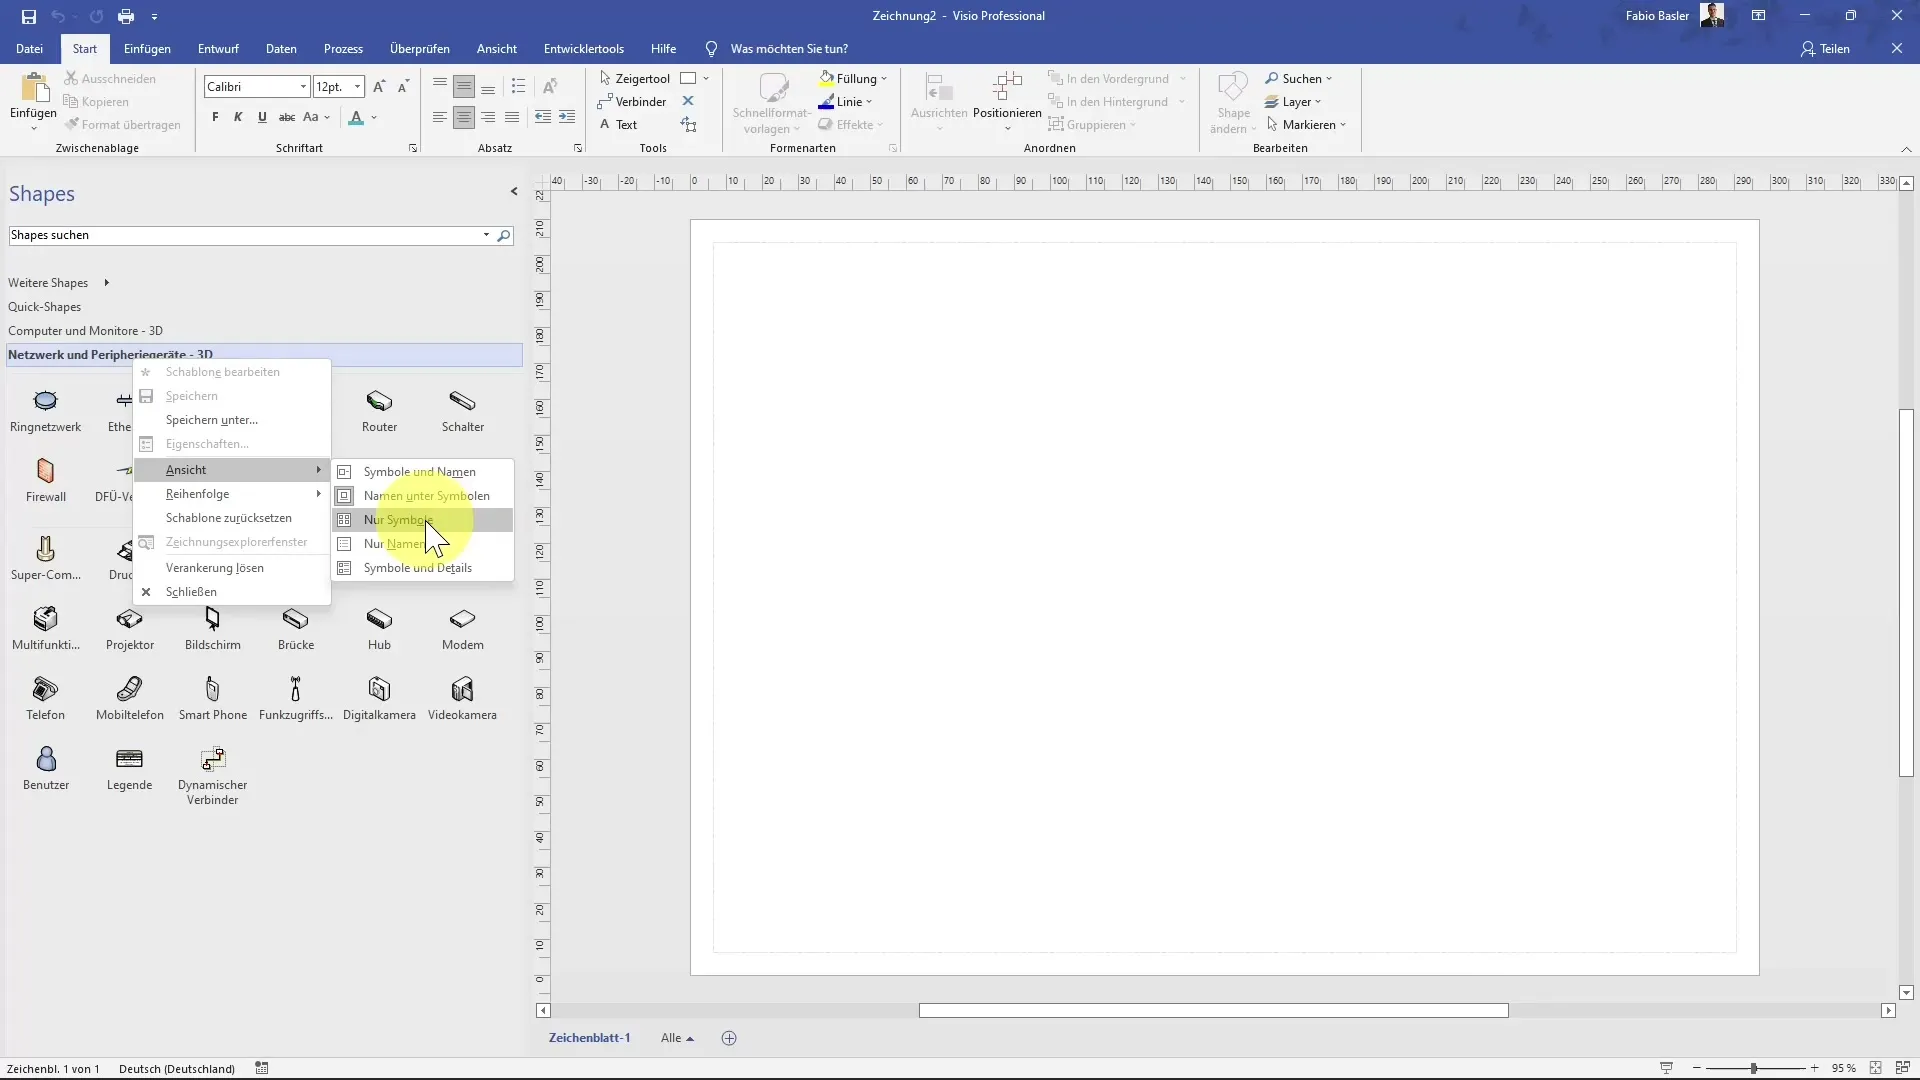
To make your diagram more informative, you can activate the labels of the icons. Right-click on a shape and select the option to display the name beneath the symbol. This makes it easier for other users to understand the meaning of each symbol.

Step 6: Add More Elements
Utilize the option to add additional elements to your network diagram. Under the "More Shapes" menu item, you will find numerous options, including network addresses, standalone racks, and mounted servers. These expand your diagram and illustrate specific network details.
Step 7: Finalize the Diagram
Once you have added all the desired components, go through the entire diagram again to ensure everything fits and is correctly connected. Check the structure and similar elements to ensure everything looks good and cohesive.
Summary
In the above guide, you have learned how to create a network diagram in Microsoft Visio. You have gone through various steps, from selecting the template to adding and positioning shapes, creating connections, and displaying labels. Visio provides a user-friendly way to effectively visualize complex network structures.
Frequently Asked Questions
How do I choose the right template in Visio?At the start of Visio, you can choose from various templates, including specific network diagrams.
How do I add labels under icons?Right-click on the desired shape and enable the option to display the names below the symbols.
Can I add different types of network components?Yes, Visio offers a variety of shapes that you can select from different categories.
Do I have to manually establish connections?Yes, you have to manually draw connections between different network components to represent the structure.
Where can I find additional shapes for my network diagram?You can search for categories under "More Shapes" in the menu and select suitable shapes.


