Creating room plans and floor plans can often be perceived as challenging, especially when trying to familiarize oneself with the software MS Visio. In this guide, I will show you how you can effectively and accurately create room plan overviews and floor plans in MS Visio. Let's dive right in.
Main Insights
- MS Visio offers various templates for creating room plans and floor plans.
- You can precisely define which shapes you need to optimize your plan.
- The ability to set scales is crucial for the accuracy of your plan.
Step-by-Step Guide to Creating a Room Plan
1. Start MS Visio and select a template
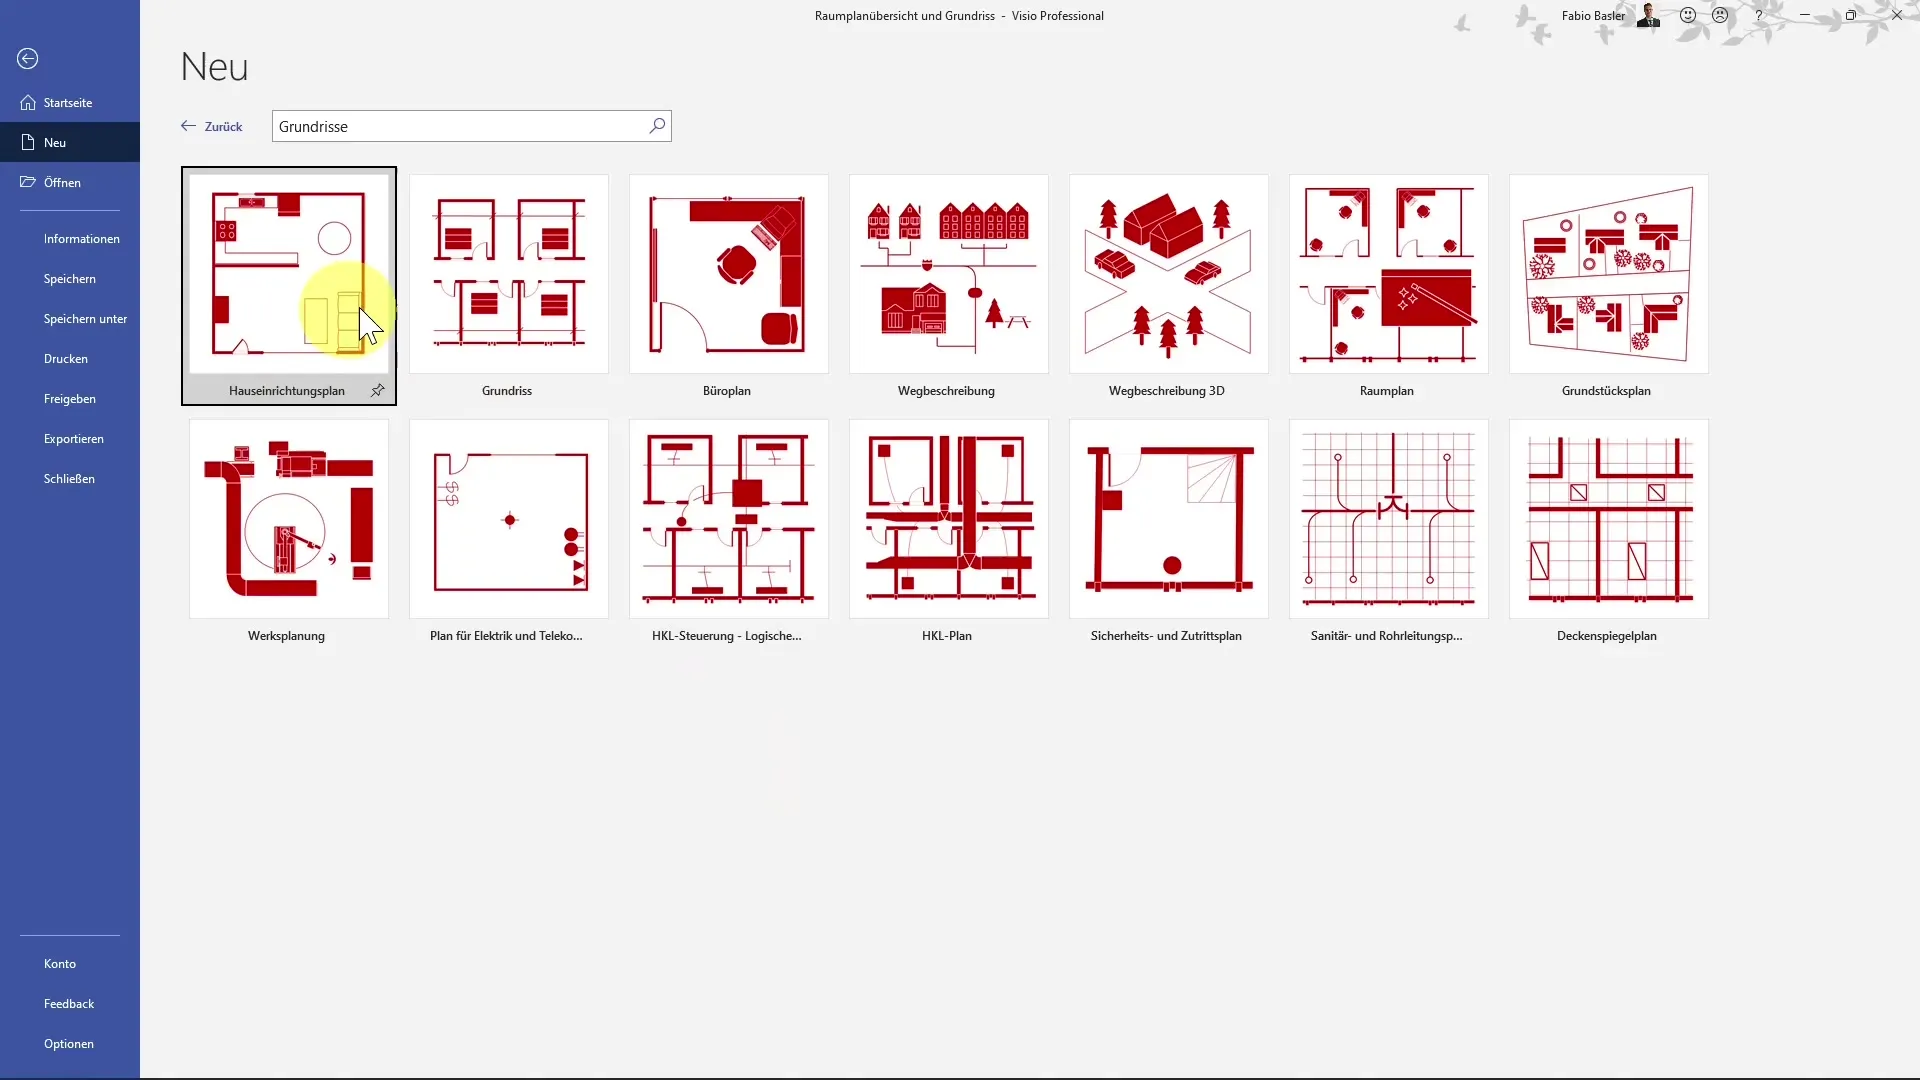
To create your room plan, open MS Visio and go to the "Floor Plans" category. Here you will find a variety of templates to help you get started. Choose a template that best suits your requirements.
2. Selecting the Shapes
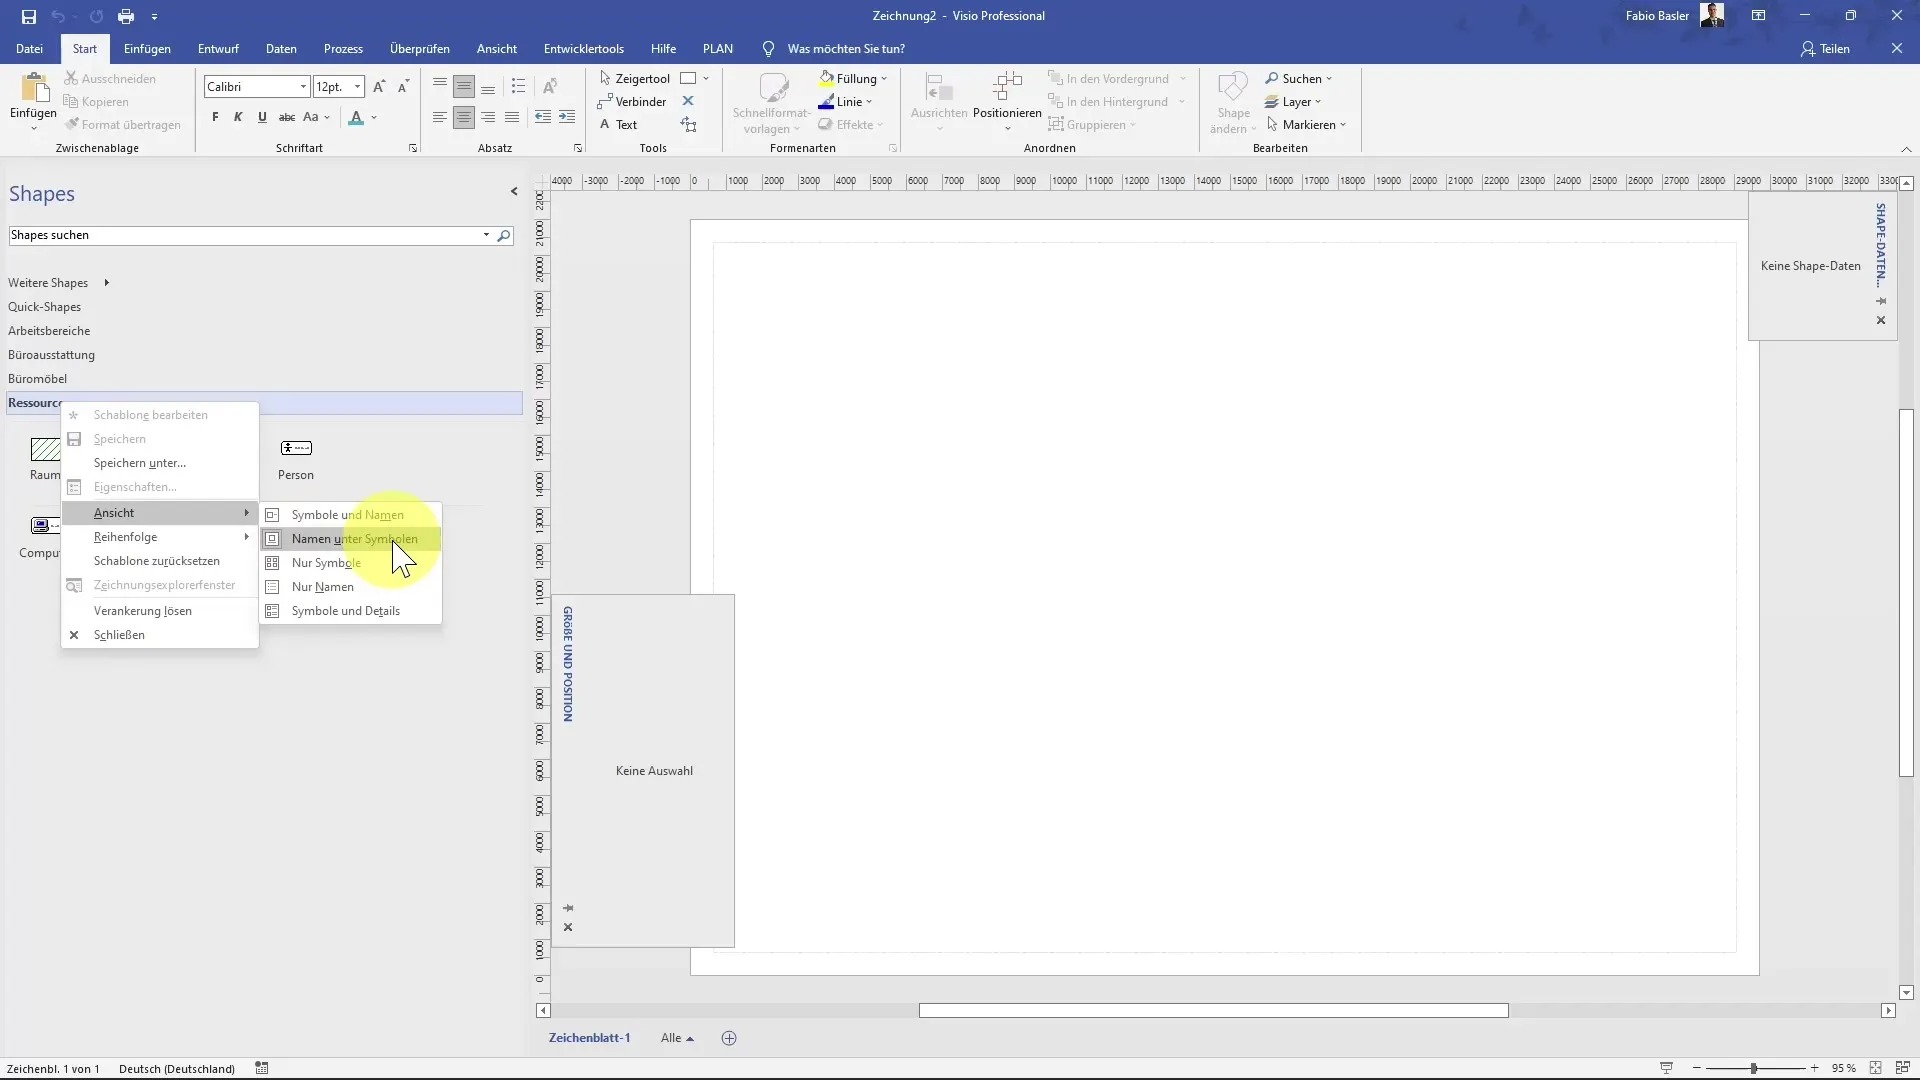
After selecting the template, you will see an overview of various shapes on the left side. These can be used for your room plan. Make sure to configure the view so that both the names and symbols are visible. This will help you find the required shapes more quickly.
3. Position the Room Shapes
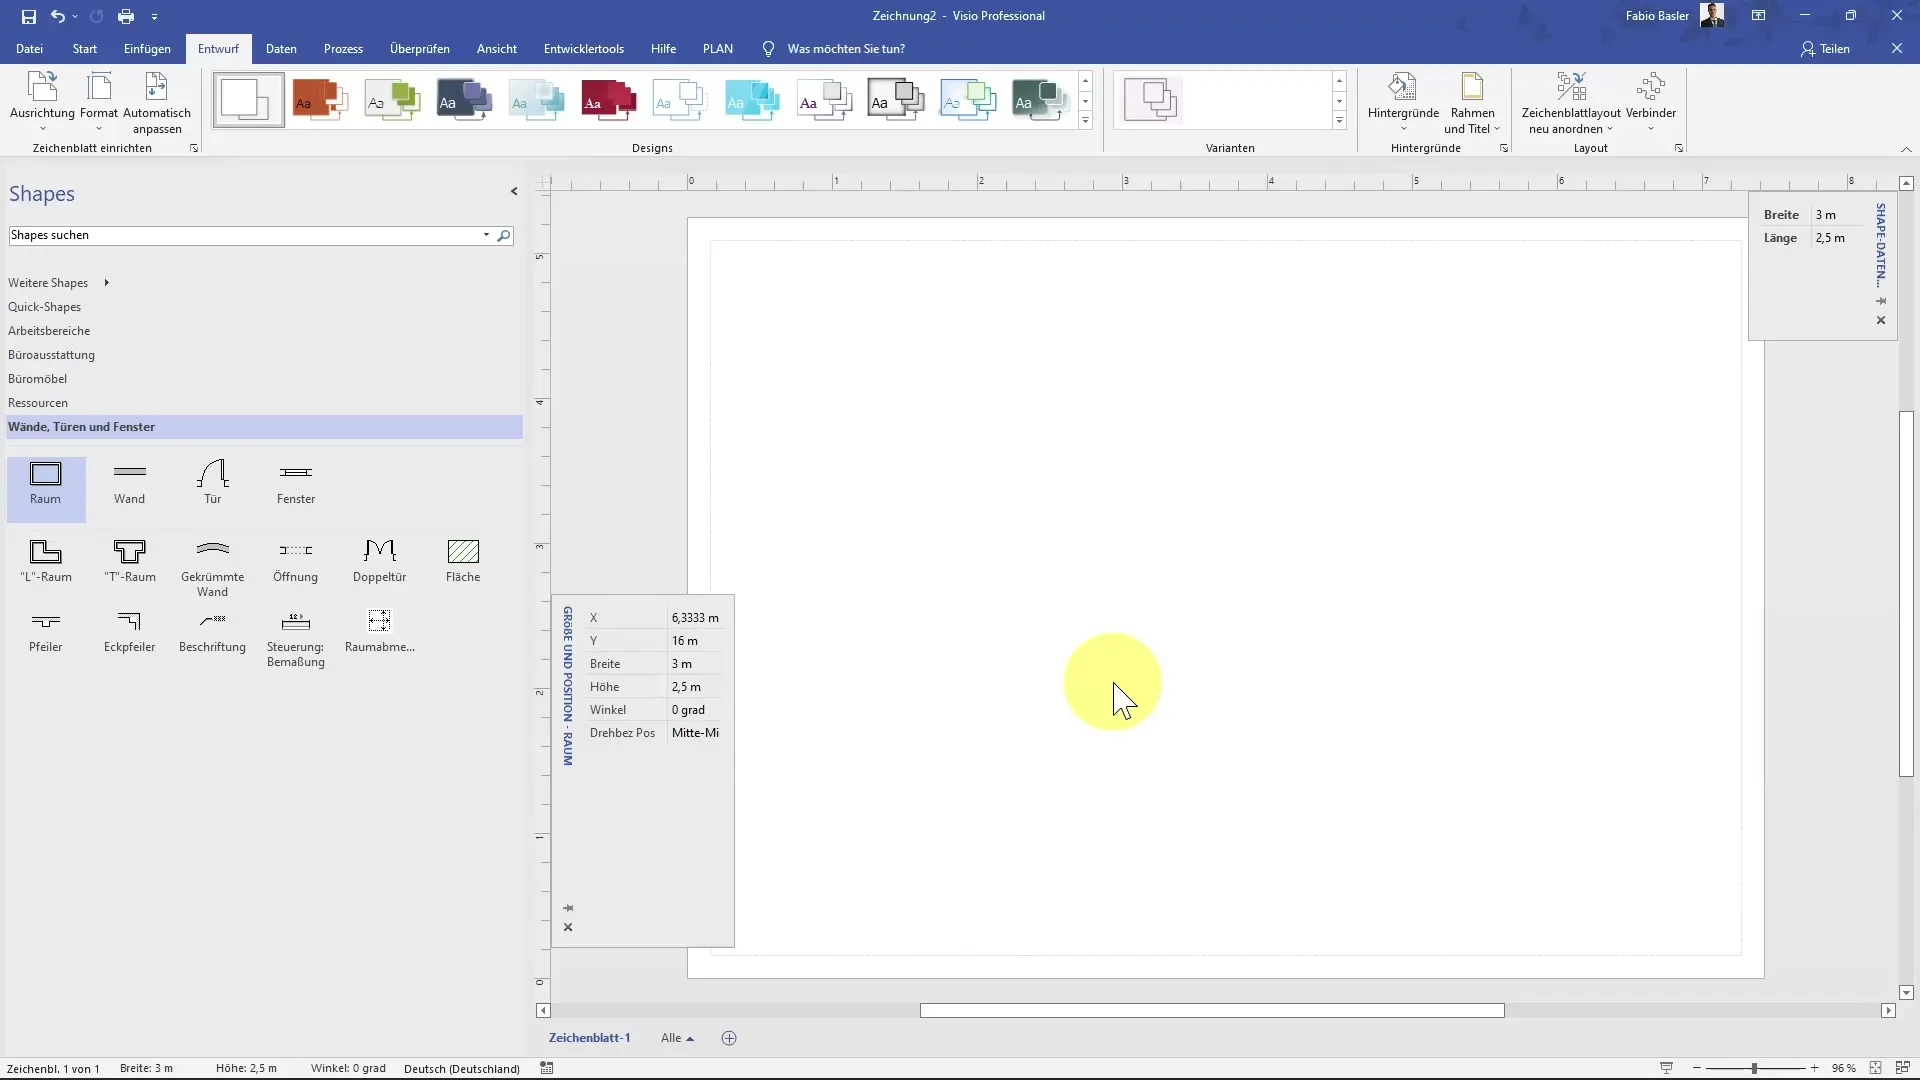
Start by positioning shapes for your rooms. Select a room shape and drag it onto your canvas. Use the "Design" mode to set up your canvas accordingly. Here you can also define the scale – for example, metric with a ratio of 1:25.
4. Create Different Rooms
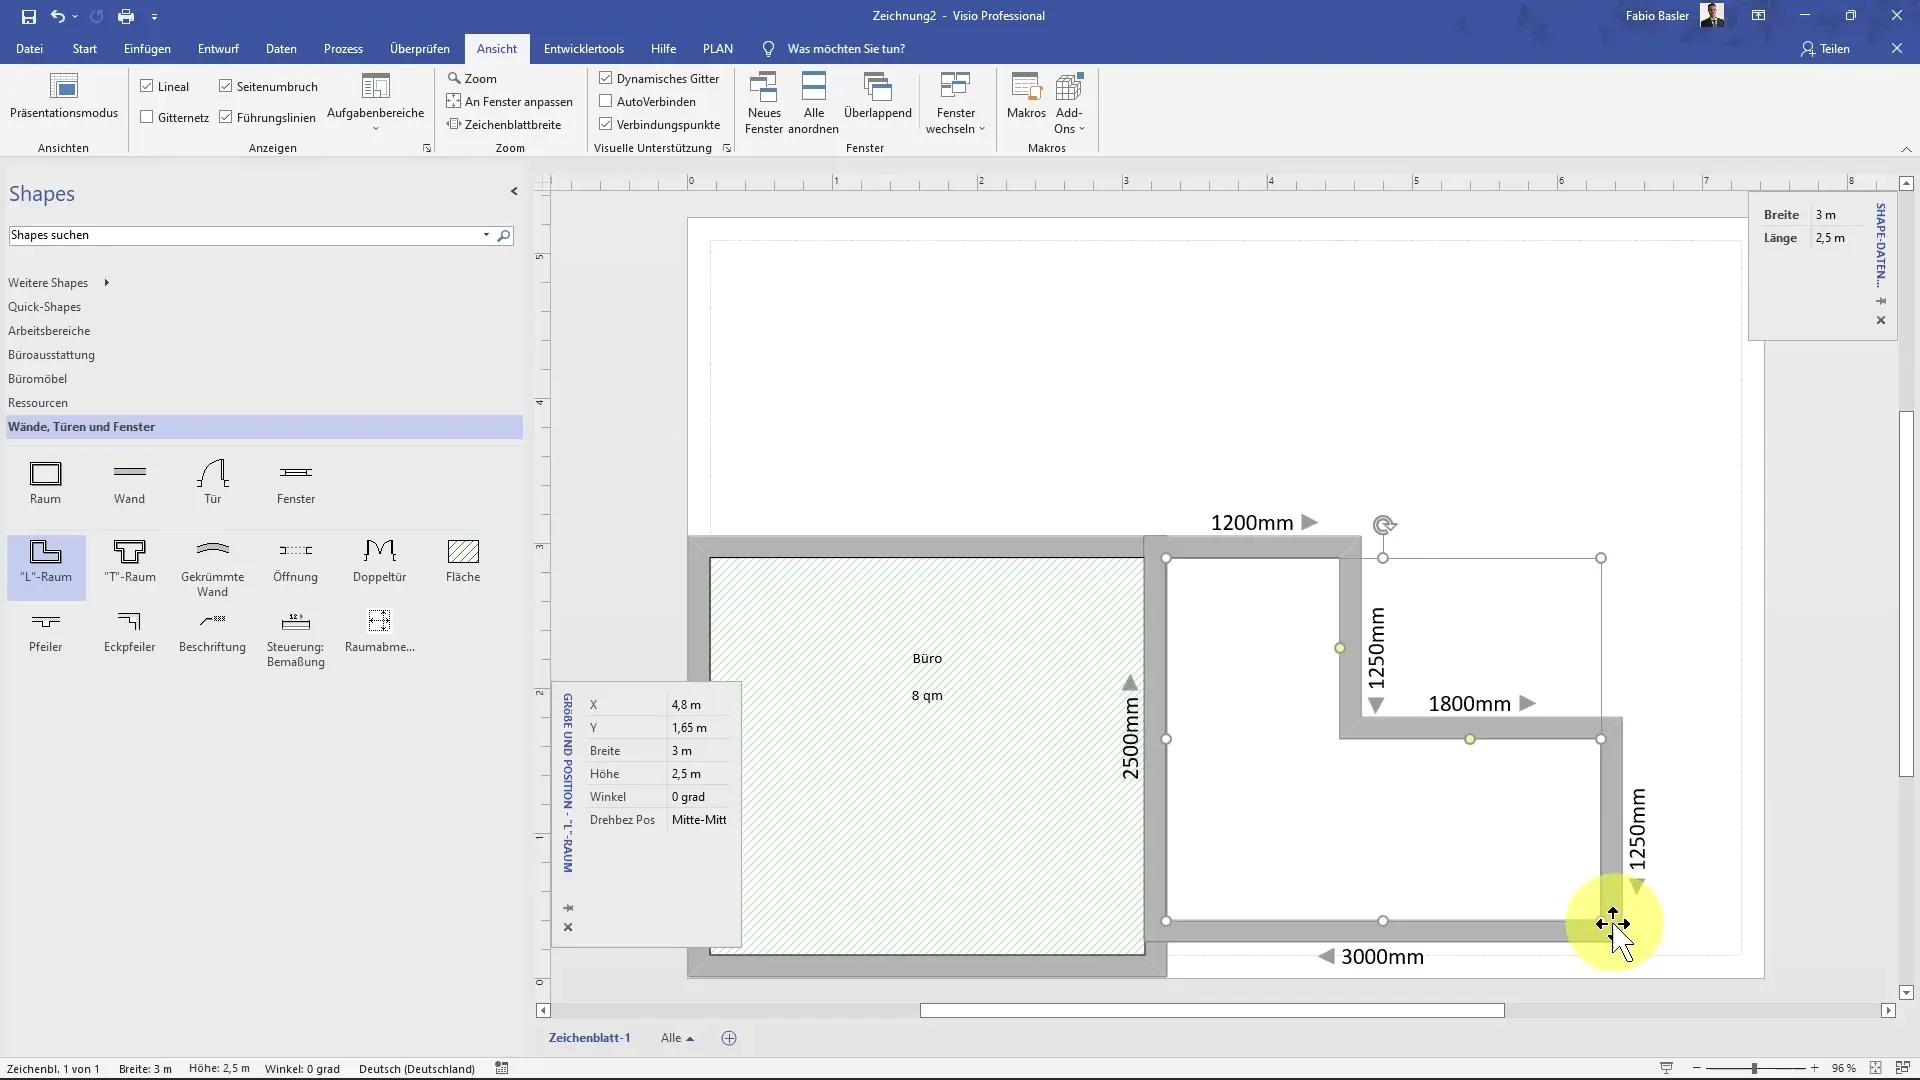
Start adding more shapes to create different rooms. For example, you can choose an L-shaped room shape and position it next to your first room. Pay attention to the proper synchronization of the walls to ensure your room plan looks cohesive.
5. Add Doors and Windows
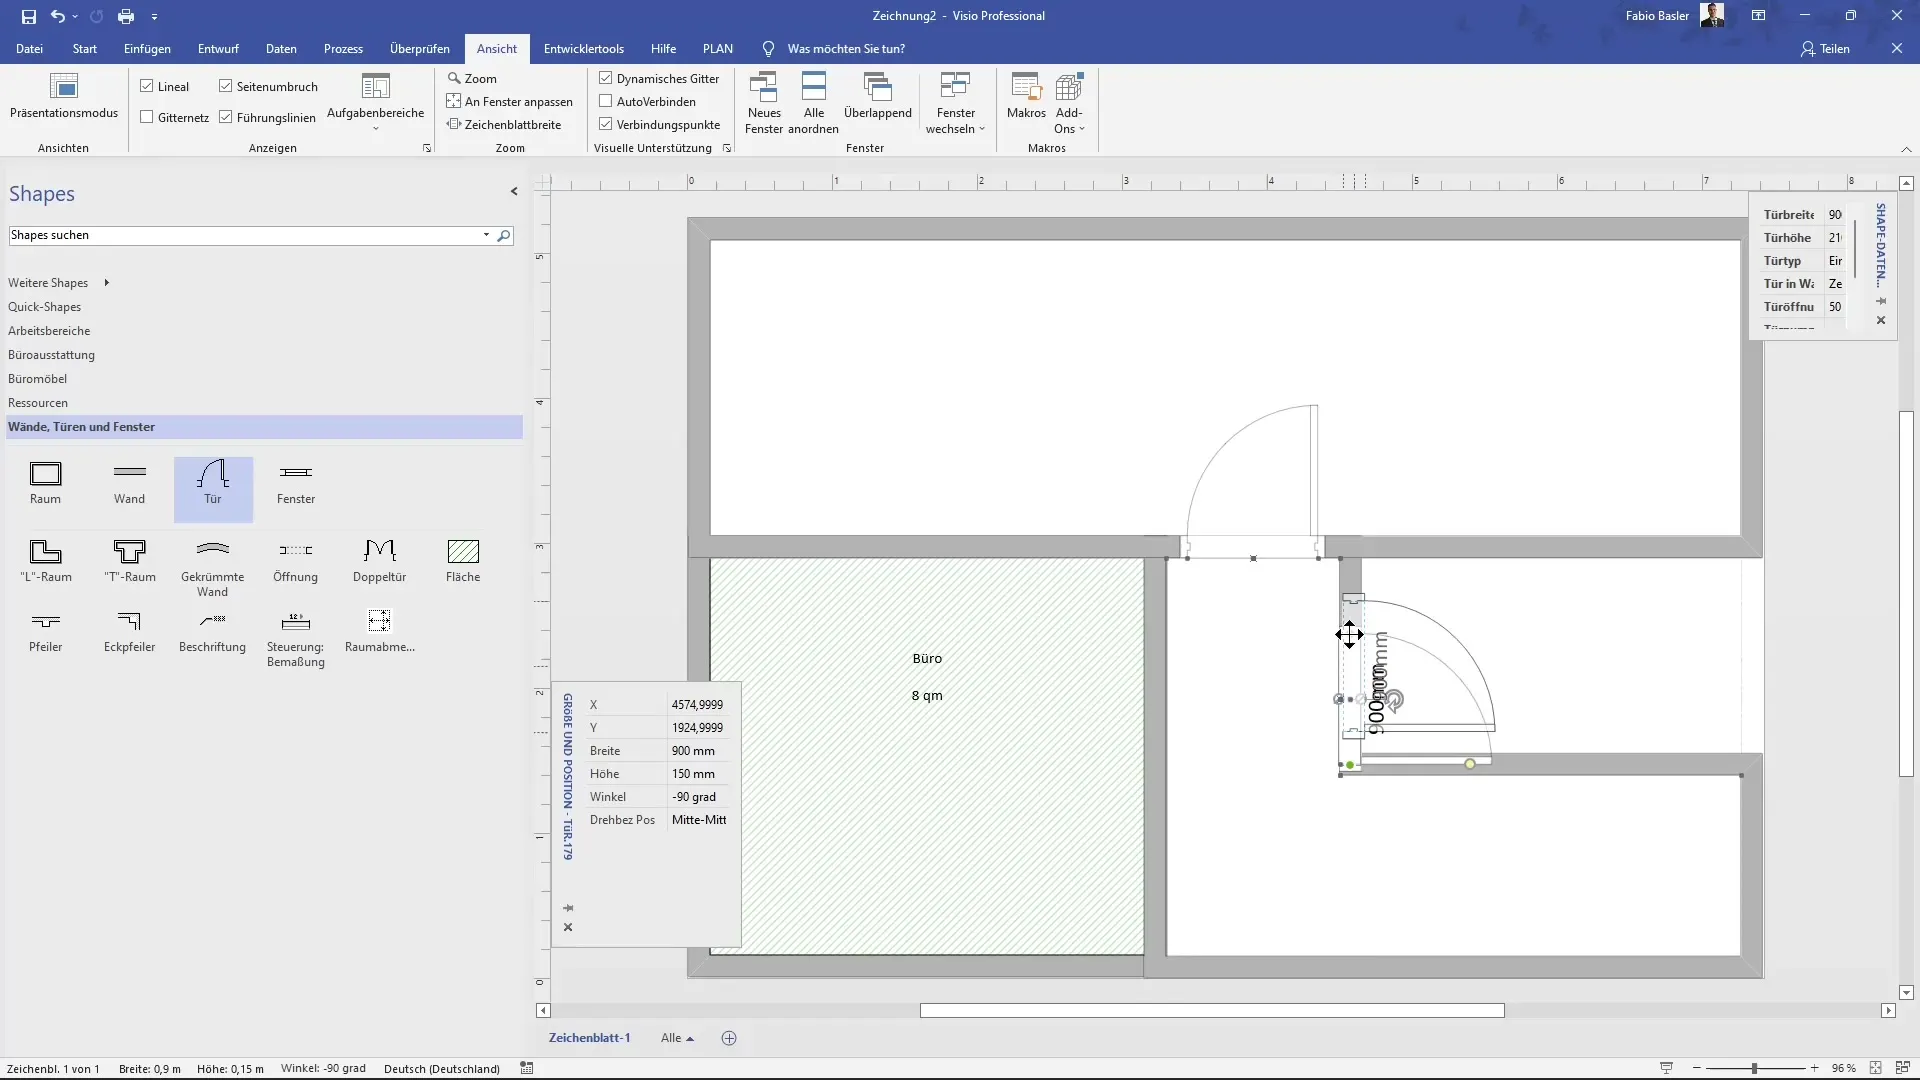
To make the plan more realistic, add doors and windows. Select a door shape and position it within the wall accordingly. You can adjust the orientation of the door to open inwards or outwards. Pay attention to maintaining proportions in the room.
6. Label the Rooms
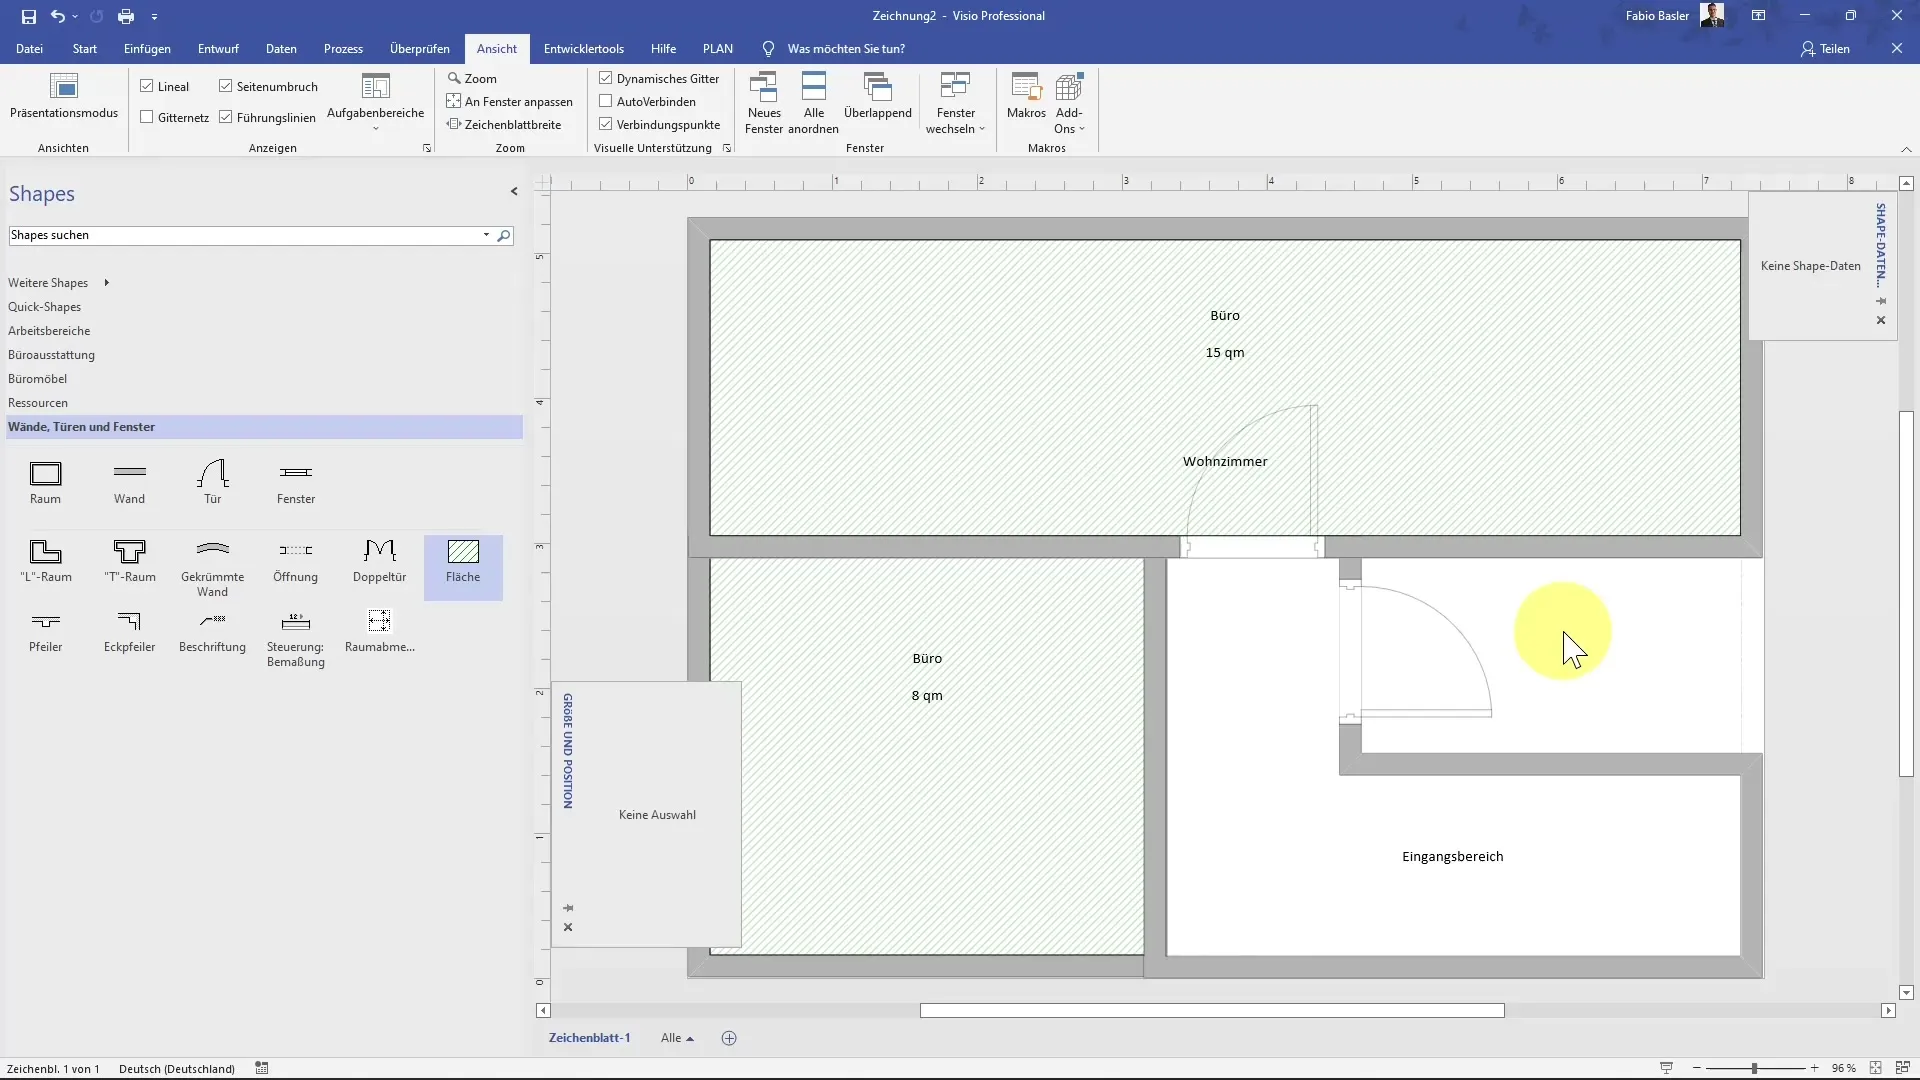
To make your plan clearer and more understandable, you should name the individual rooms. Click on the respective shape and add text that describes the function of the room. This could be, for example, "Office" or "Living Room".
7. Calculate the Areas
Once you have defined the shapes in your room plan, you can calculate the areas. Drag an area shape onto the canvas to display the square footage. This is particularly useful to ensure that your planning corresponds to the actual dimensions.
8. Configure Size and Position
Use the size and position field to make precise adjustments to the shapes. For example, when you add a window or a door, you can also define the width and height directly in the properties area. This ensures that everything is to scale.
9. Duplicate Shapes for Consistency
If you need the same shape multiple times, such as windows or doors, you could do this manually, but it's faster to hold down the control key and simply drag the shape to the desired location. This way, everything remains proportional and the planning stays consistent.
10. Finalize the Plan
After you have inserted all necessary shapes, windows, and doors, do a final check to ensure everything is correct. Check measurements and positions, and make sure your floor plan is clear and organized.
Summary
Working with MS Visio to create floor plans requires precision and a keen eye for details. There are numerous tools and shapes to help you design your plan. With the steps mentioned above, you have a solid foundation to successfully carry out your planning and create floor plans according to your vision.
Frequently Asked Questions
How do I start with MS Visio?To start with MS Visio, open the software and select the "Floor Plans" category to choose a suitable template.
Can I customize the shapes in the floor plan?Yes, you can customize shapes in terms of size and position to ensure they fit your space.
How can I perform area calculation?You can use an area shape to automatically calculate the square footage when defining the room sizes.
Is it possible to duplicate multiple windows or doors?Yes, by holding down the control key, you can quickly and easily duplicate shapes like windows or doors.
Which unit of measurement can I use?In MS Visio, you can use metric units and adjust the scale accordingly to enable precise planning.
