MS Visio offers you a powerful platform to create diagrams and drawings that visually represent your ideas and processes. While the built-in templates already provide many useful formats and symbols, you can add a particularly individual touch with your own templates. This guide will teach you how to create and customize your own templates to make your workflows more effective in Visio.
Key Takeaways
- You can create and customize your own templates in MS Visio.
- It is possible to manually add shapes to a template.
- Various methods allow you to define and save your own drawing objects.
Step-by-Step Guide to Creating Your Own Templates
To create your own template in MS Visio, follow these steps:
1. Start a Blank Drawing
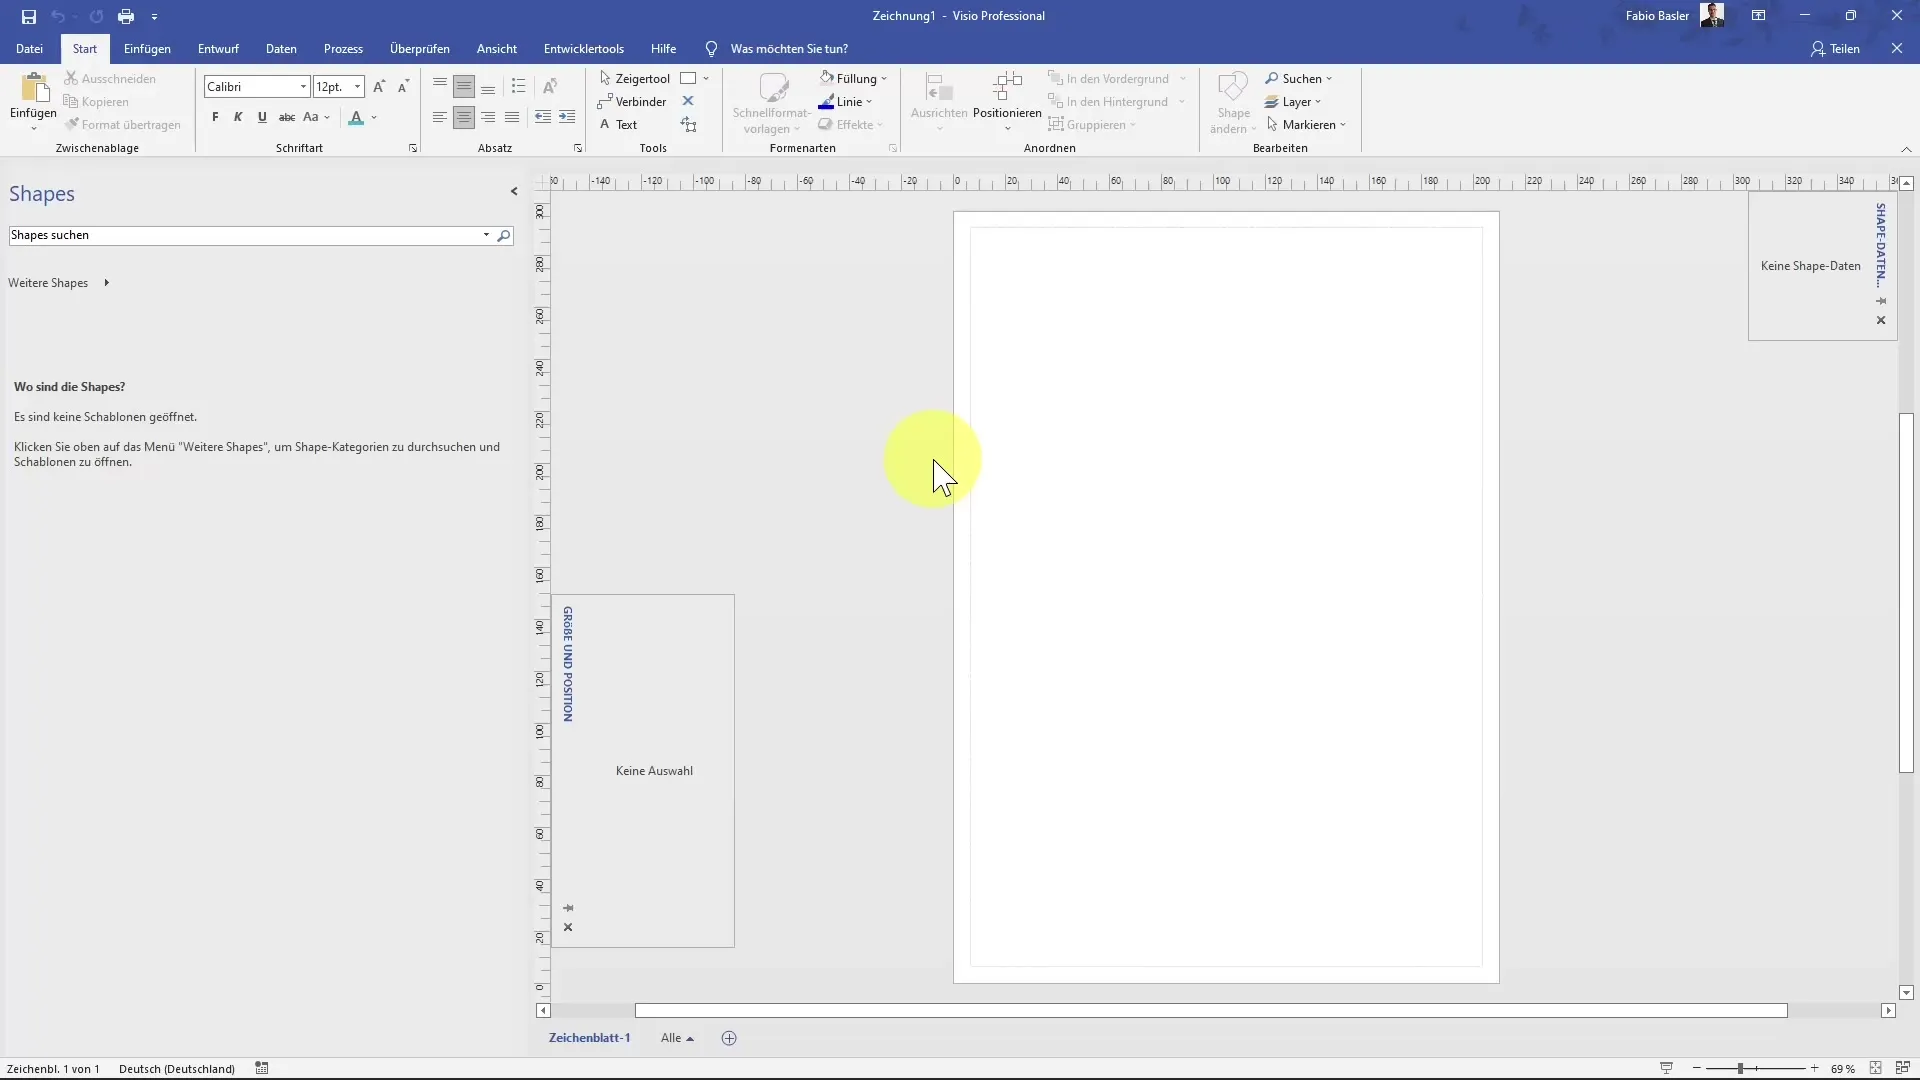
First, create a blank drawing. This is the starting point to add your own shapes. Simply go to "File" and select "New Drawing".
2. Add Shapes
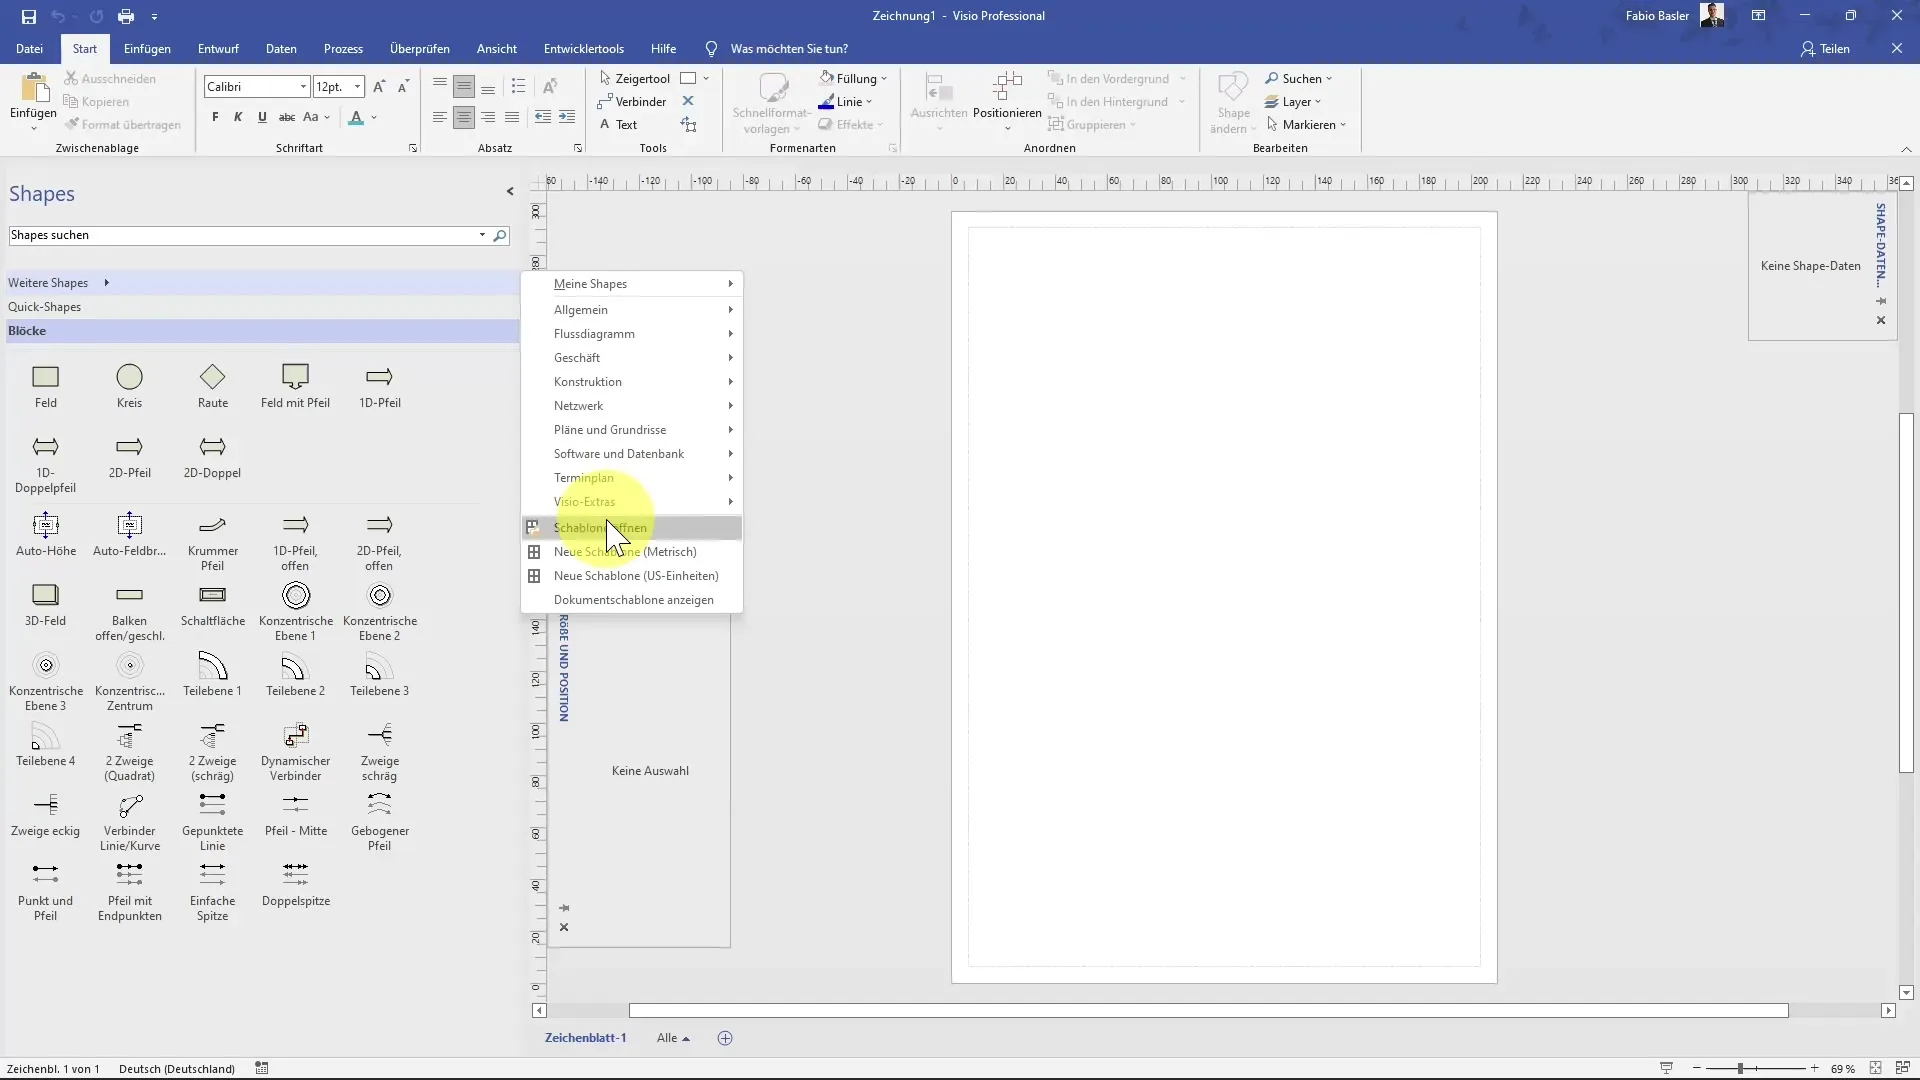
In the initial drawing, you won't have any shapes available. This is normal, as you need to add them yourself. You can do this by going to "More Shapes" and, for example, adding blocks under the "General" category. This is just an example, but you can choose any desired shape.
3. Template Management
Now let's see how you can create Custom Templates. Again, go to "More Shapes" and select the "New Template" option. Here you can create a new category for your own template.
4. Define Template Properties
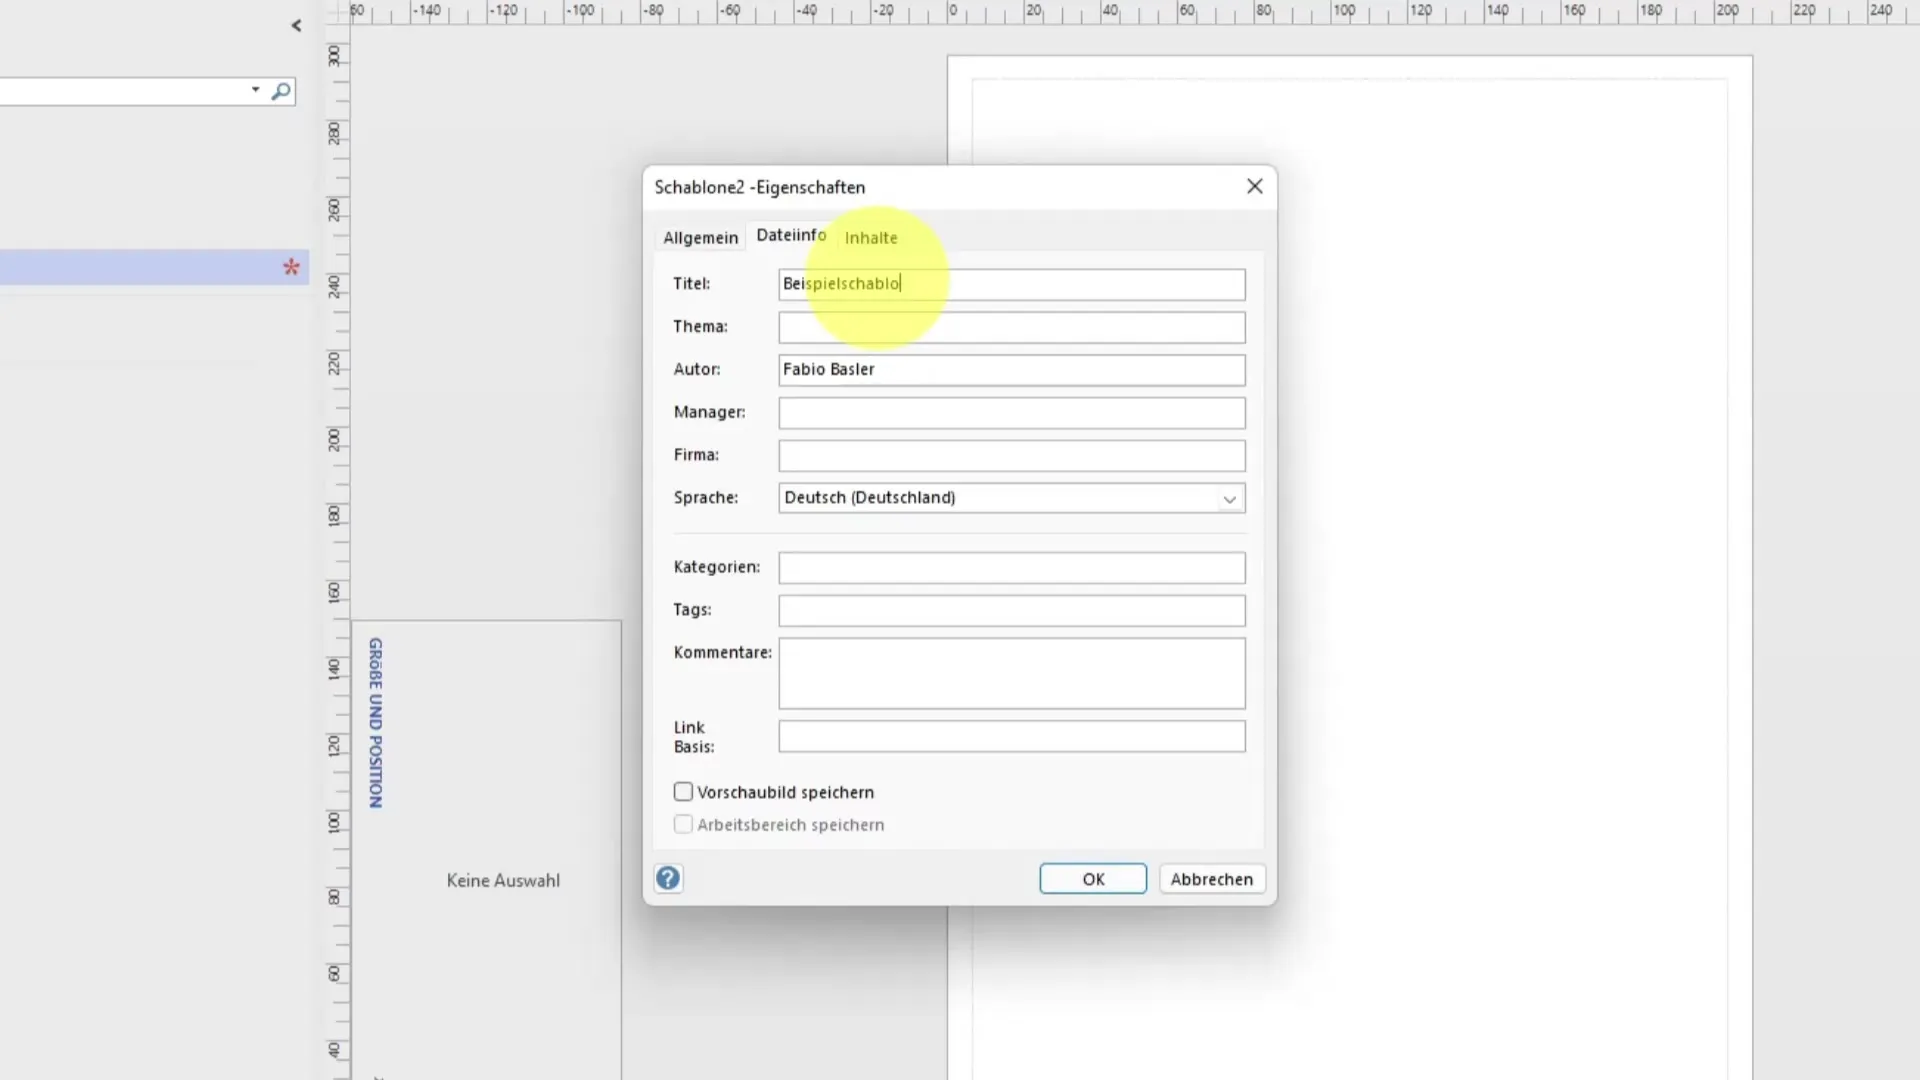
When you click on "New Template", you will see a window where you can edit the properties of the template. Name your template, for example, "Example Template". Properties like author, language, categories, tags, and comments can also be customized.
5. Save Template
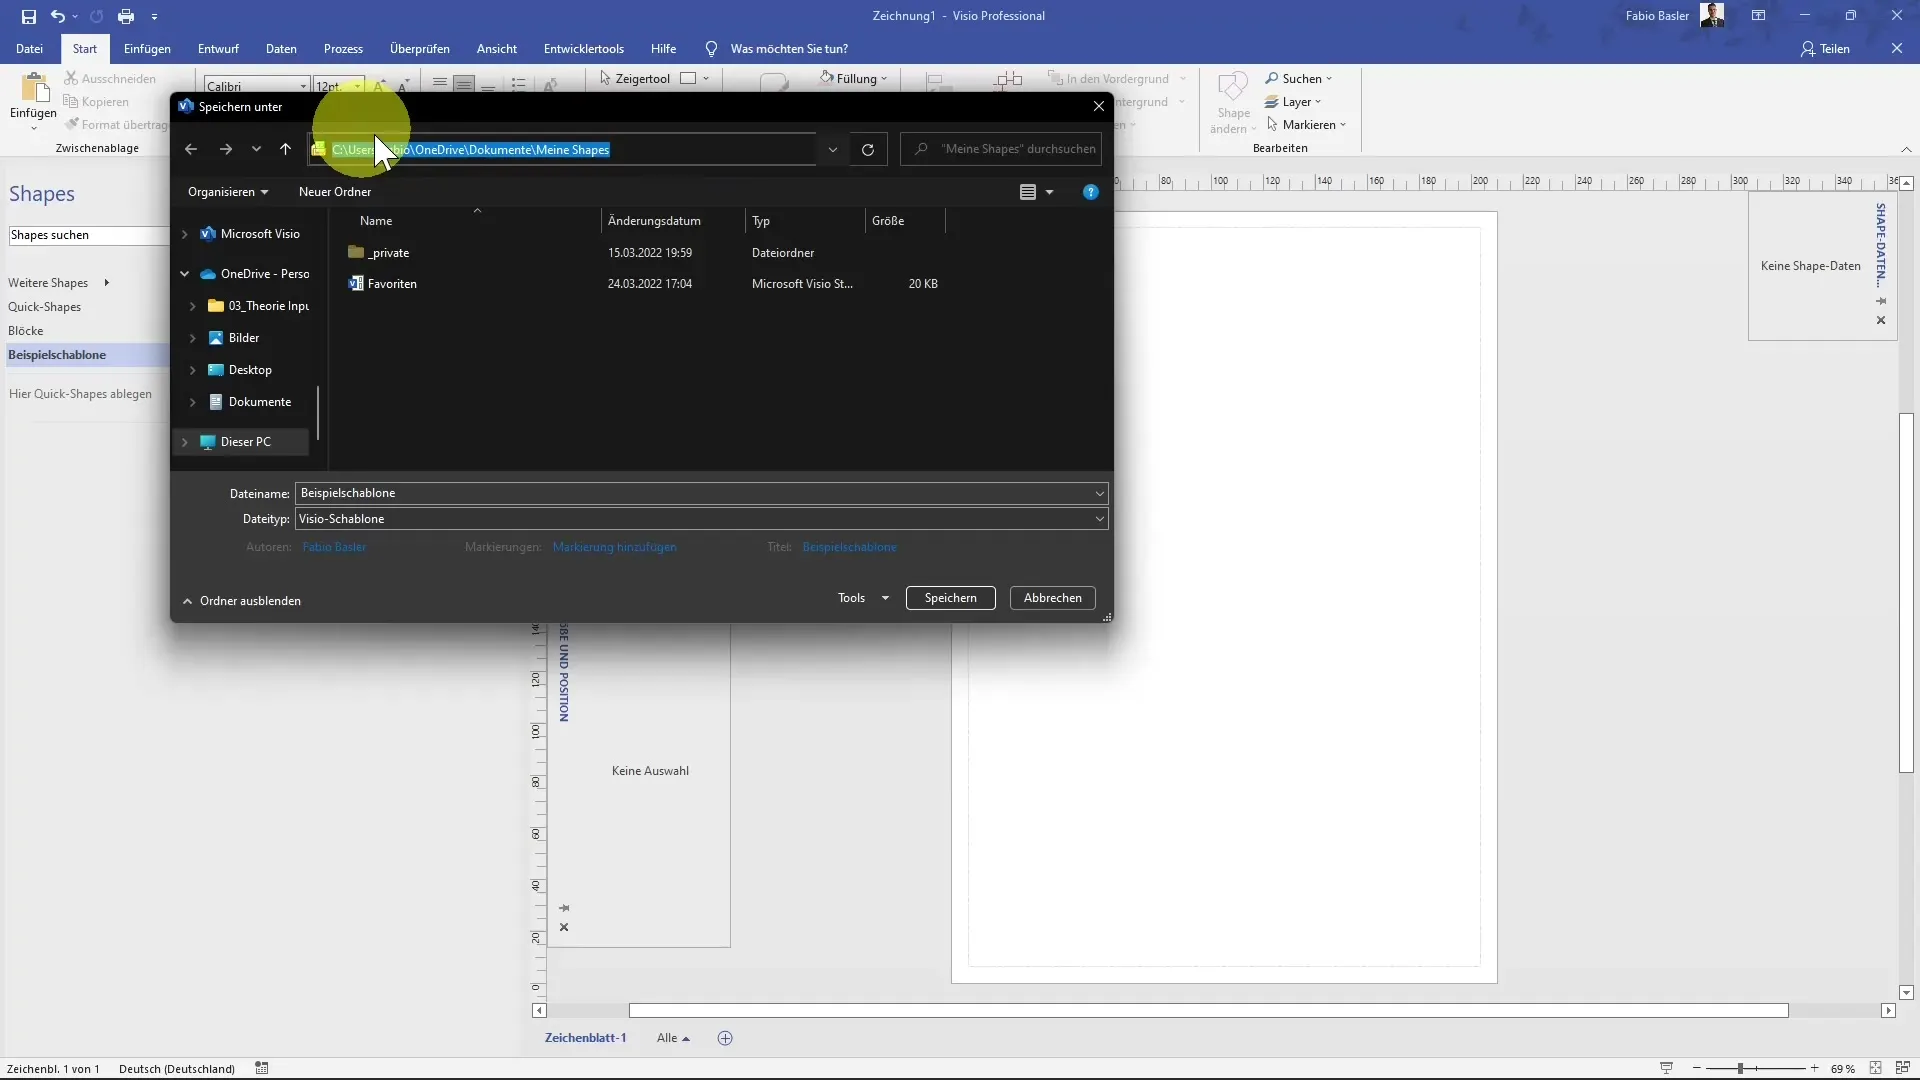
After defining the properties of your new template, you can save it. Click on the save icon and choose the path where your template should be stored. This typically happens in your OneDrive or a local folder.
6. Add Shapes to the Template
Now it's time to add specific shapes to your template. Simply go to the shapes library, such as under "Blocks", and add the desired shape to your sample template by right-clicking. You can also drag a shape directly onto the drawing.
7. Create Master Shapes
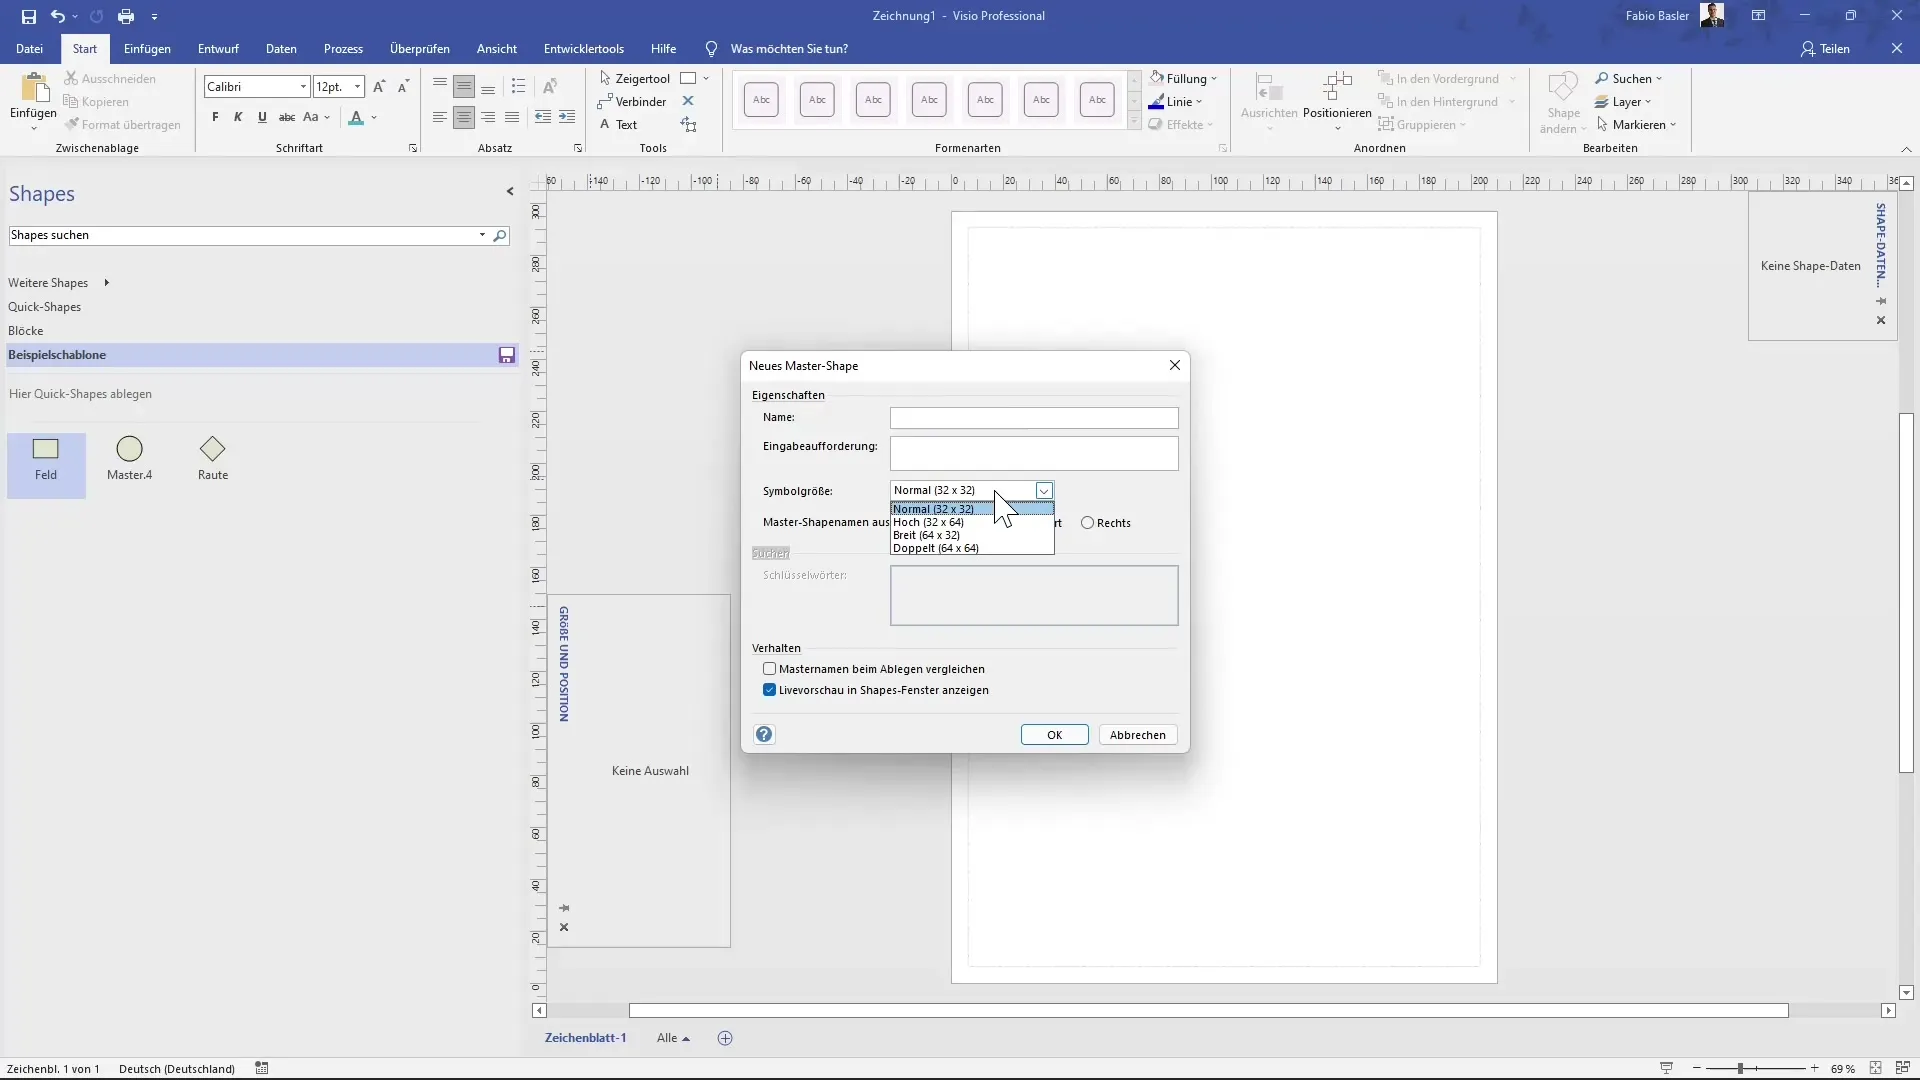
Another option is to create so-called Master Shapes. Go to "New Master Shape". Here you can define the name, a prompt, as well as the symbol size and orientation. This way, you create your own custom drawing objects.
8. Save Changes
Remember to save the changes regularly! Your sample template will now remain in edit mode. This way, you ensure that all shapes and master shapes you have added are saved.
9. Use Template
Once you create and save your own template, you can use it in any new drawing. Simply open "Open Template" and select your "Example Template". The shapes you have created are then always available, making your work easier.
Summary
By creating your own templates in MS Visio, you can significantly improve the creative process of drawing. From structuring your shapes to using specific master shapes, each of these steps will help you customize your projects individually.
Frequently Asked Questions
What is a VSSX file?A VSSX file is the file format for Visio templates.
How do I save a template in Visio?Click on the save icon and choose the desired location for saving.
Can I create custom shapes?Yes, by using Master Shapes, you can create your own shapes.
Where can I find my saved templates?You can find saved templates in the folder you selected when saving.


