The print production tools can be found under the category name of the same name in a complete tool palette. One of the most important of these is the output preview.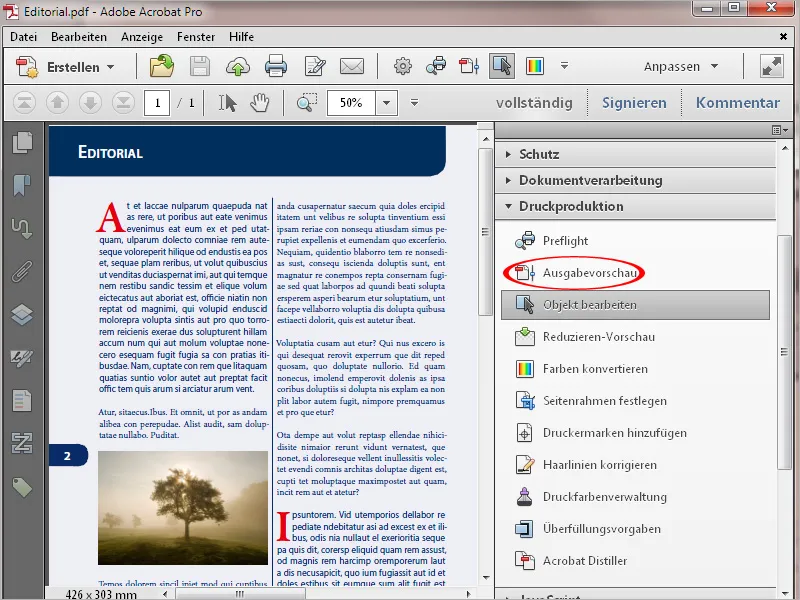
Clicking on it opens a separate window with various control options.
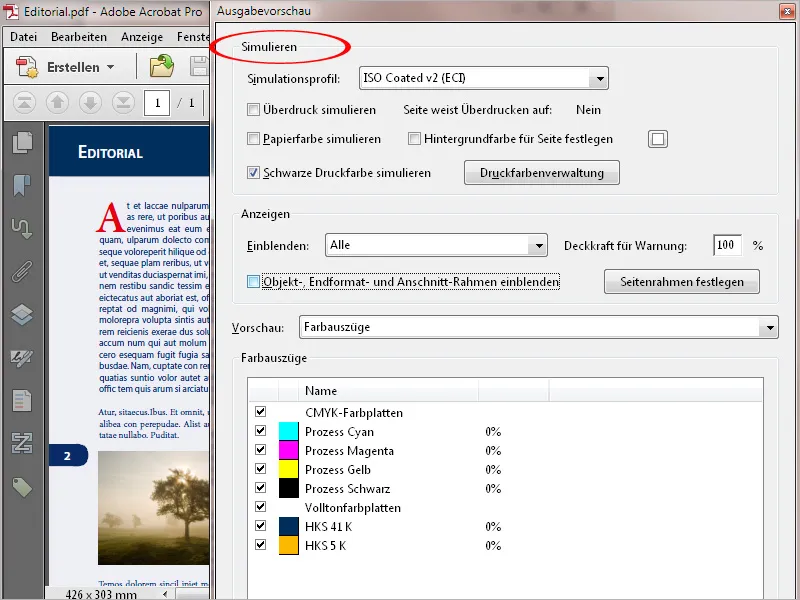
In the Simulate area, you can see the profile used for the output condition during PDF export - depending on the printing process and substrate. By clicking on the small arrow on the right-hand side of the currently set simulation profile, you can display a list of other output profiles and simulate the expected print result directly on the monitor.
Below this, you can tick the checkbox to simulate overprinting (i.e. the overlaying of black printing ink - especially in the case of black text - on colored elements underneath). To the right of this, you can see whether the currently displayed page contains such elements (Page has overprinting: Yes/No).
A better approximation of the later print result is also achieved by activating the two checkboxes for simulating the paper and black print color.
Especially for printing on colored paper, a corresponding background color can also be defined for the page for visual control
Click on the Print color management button to open a new window. This lists the color channels contained in the document. In addition to the four Euroscale channels (cyan, magenta, yellow and black), the example also shows two spot color channels from the HKS scale (HKS 41 and HKS 5).
In the event that the subsequent print output is only to be four-color Euroscale, you can convert these spot color channels to the Euroscale by clicking on the icon in front of them.
If the file is to be printed with spot colors later, you can reverse the process with the same click.
A typical application example for this would be a corresponding print product with a company's corporate colors, which were taken from the HKS or Pantone color scale due to their higher purity and luminosity. Now perhaps a smaller quantity is to be produced at short notice for a trade fair using digital printing, in which the spot colors cannot be printed and therefore have to be converted to the Euroscale. For offset printing, the two channels are then simply converted back to spot colors.
To be on the safe side, if things get confusing, you can also tick the Convert all spot colors to CMYK colors checkbox at the bottom.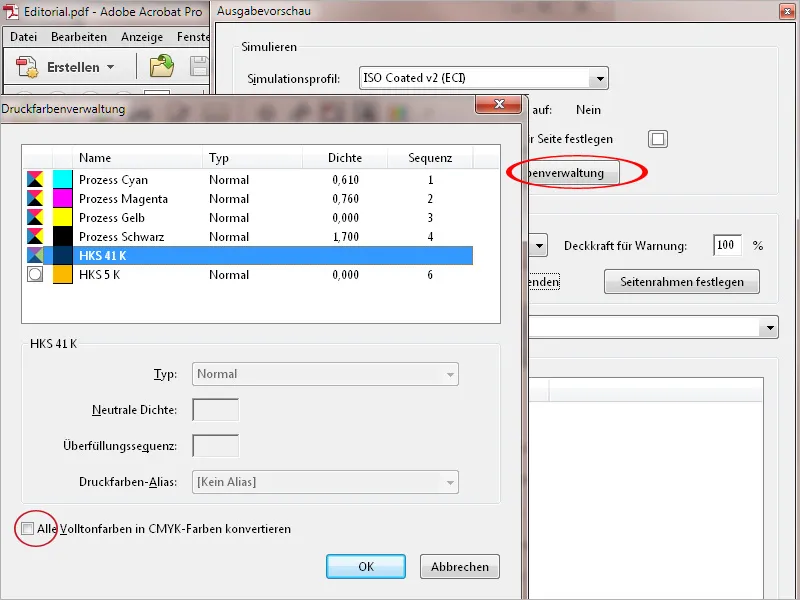
To display specific elements on the page, you can expand a list in the Display area in the middle of the output preview in the Show line, in which both color spaces and object categories such as text, images, vector graphics, gradients or color areas can be selected. By clicking on RGB, for example, you can check whether there are still elements in this color space on the print sheet. This is particularly interesting when transferring external data.
By clicking in the checkbox below, you can show the bleed frames and check once again whether all bleed objects are placed correctly.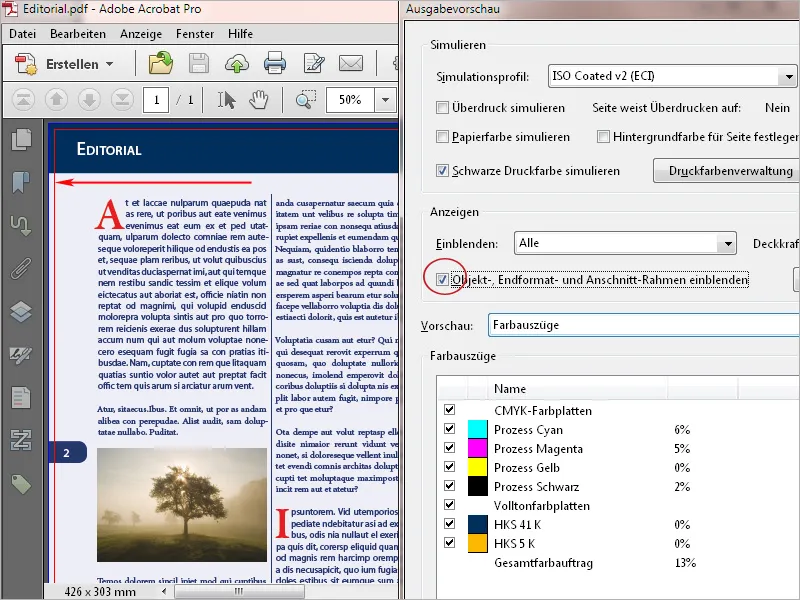
In the Preview field, the colour separations - i.e. the colour channels used in the document - are initially selected for viewing and visualized in the field below. By removing and setting the checkmark in the checkbox in front, these can be shown or hidden. You can use the mouse pointer to read off the color composition of selected elements and the total color application at this point as a percentage.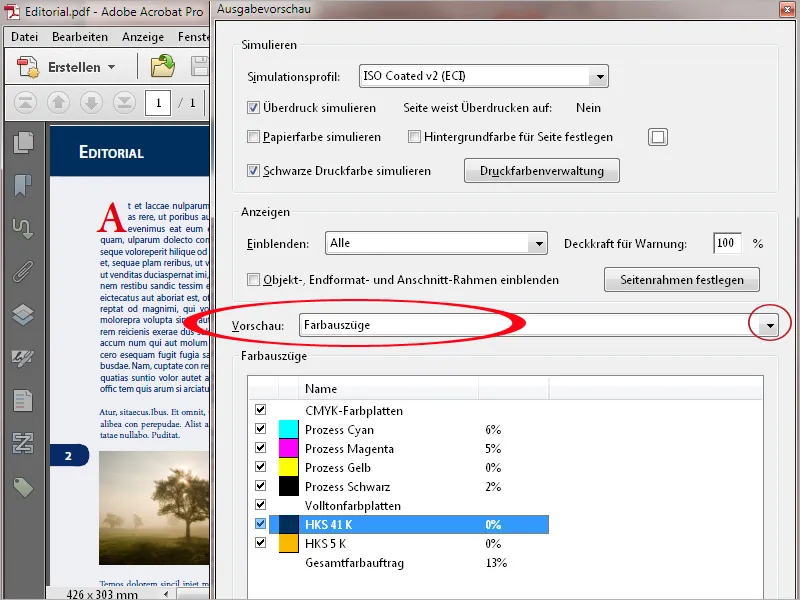
By clicking in the Total ink application checkbox, you can have the areas on the page that exceed a critical value marked with a signal color. This maximum value depends on the printing process and the paper and should be requested from the print shop beforehand.
In newspaper printing, for example, 240% should not be exceeded, while values of 300 - 320% are still possible in commercial sheet-fed offset printing. As the ink application also has an important influence on ink drying and therefore subsequent further processing on the folding and cutting machine, overnight productions, for example, can only be realized with a reduced total ink application.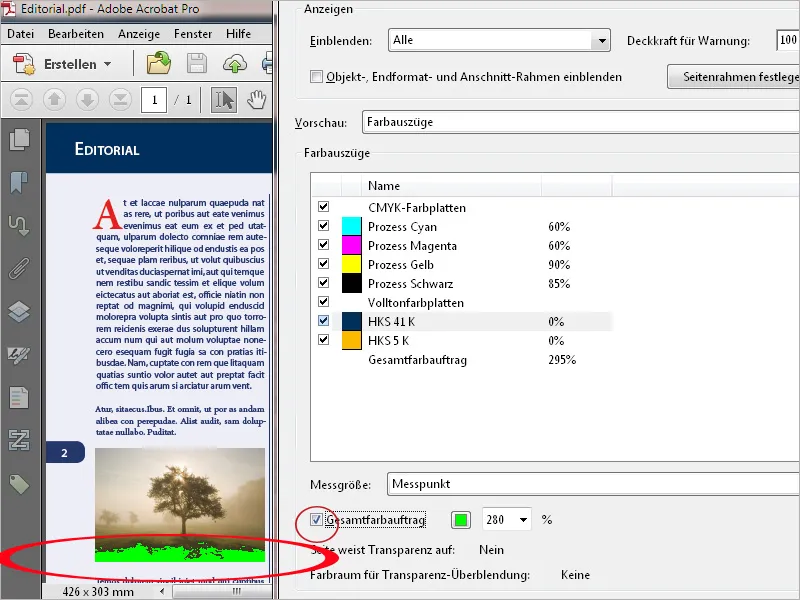
If you select the object inspector in the Preview field, you can display details on the color space, values etc. by clicking on a specific element. If an element is faulty, holding down the Shift key (when clicking) will transfer these details to a note at this exact point, making communication between the print shop and customer easier and faster.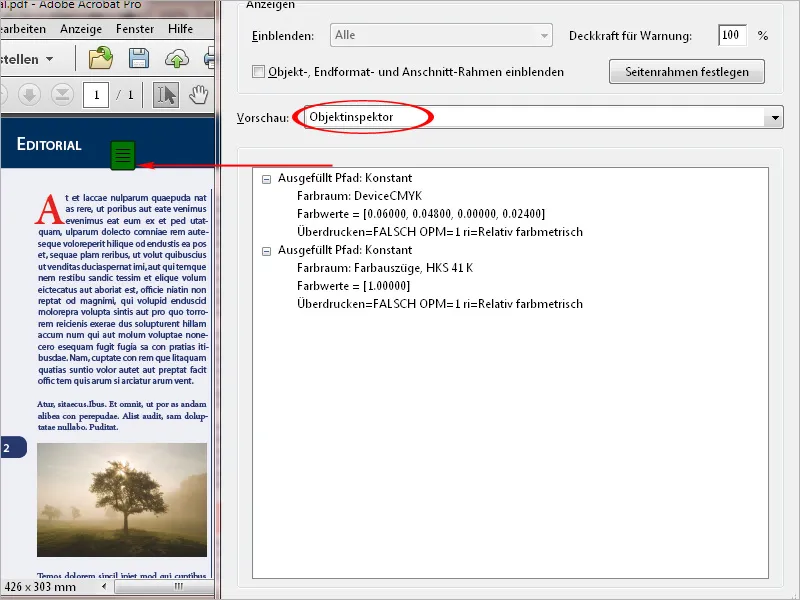
You can use the Edit object tool to select individual objects and then move or resize them. The selection (e.g. a graphic) can also be saved separately as a PDF file using the right mouse button context menu.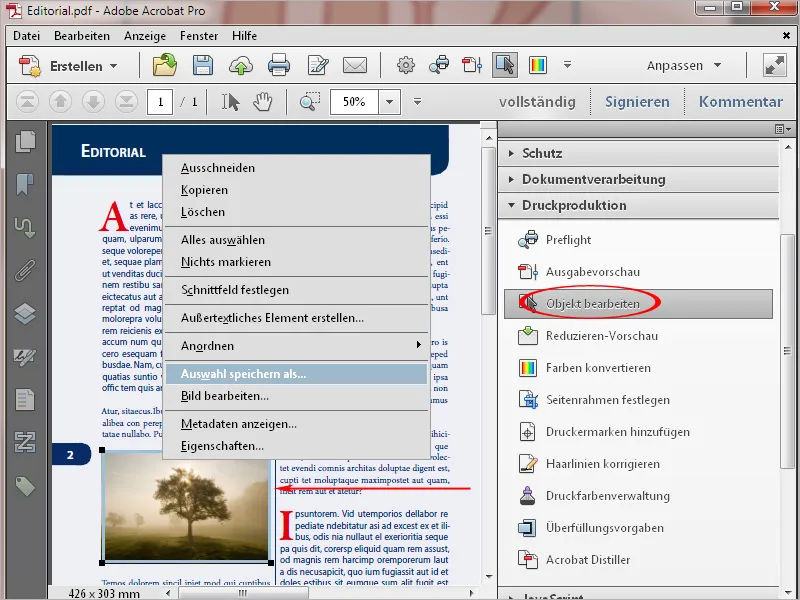
Especially in PDF files created with Office programs such as Word, PowerPoint or Publisher, the text is output in RGB color mode. This leads to partial quantities being split across all 4 color channels of the Euroscale and then printed on top of each other, which can lead to register differences and an unclean appearance. This problem can be solved with the Convert colors tool in Acrobat 11.
To do this, set the Text object type in the Criteria area. As the color type in the field below, select Any color space from the drop-down list.
Set Dot Gain 15% as the conversion profile.
The Keep black and Enable grayscale in CMYK black checkboxes in the conversion options below must be activated.
After clicking OK, the text is converted to 100% black.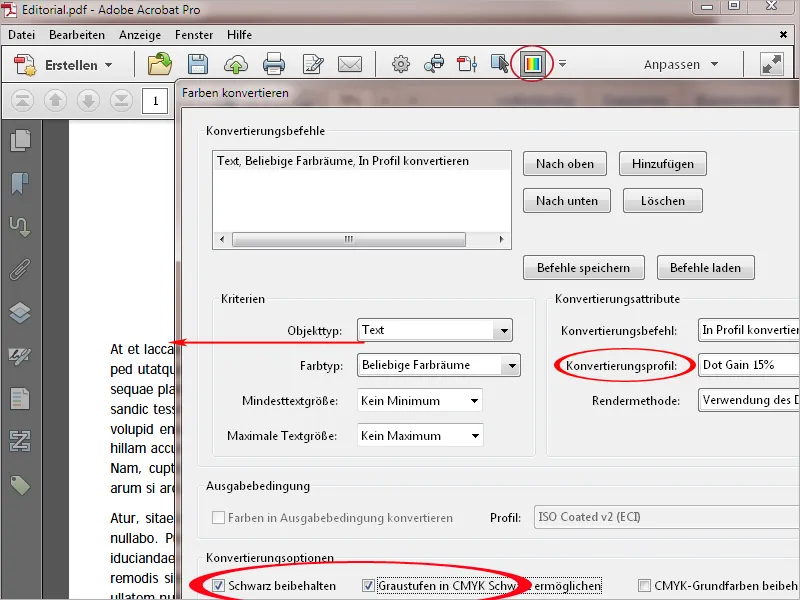
Another problem for output in offset printing are very fine lines with a thickness of less than 0.2 points. These break away during exposure and are then no longer visible in print. In digital printing, they can be unintentionally printed thicker than intended. For this reason, a value of at least 0.5 points should be set in the layout file.
To solve such a problem in Acrobat 11, open the Correct hairlines tool. Enter 0.3 point in the field Narrower than or equal to and a value of at least 0.5 point in the Replace with field. Click OK to correct the hairlines to this value.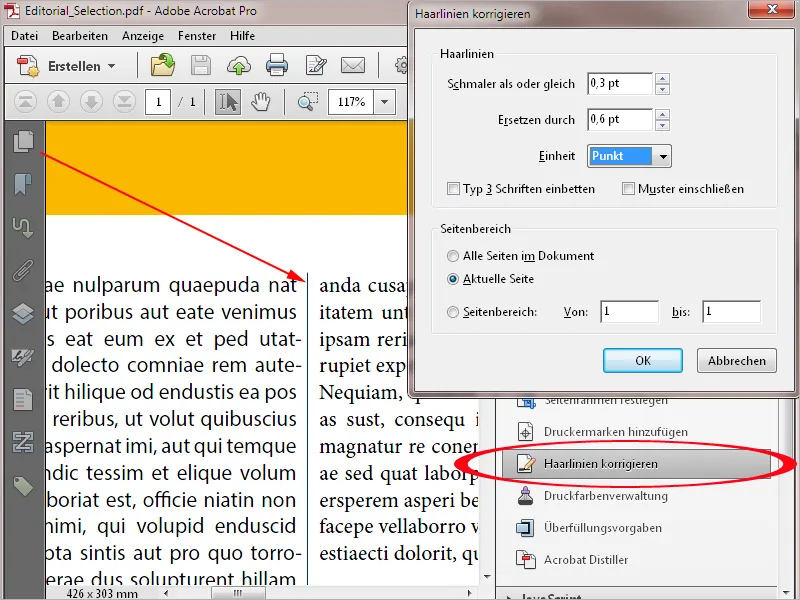
Office programs such as Word, Excel or PowerPoint cannot create printer's marks. However, PDF documents from this environment can be subsequently equipped with them in Acrobat if required. To do this, it is usually necessary to redefine the page frame in order to create the required space for the marks. To do this, click on the Define page frame tool and then activate the Custom option in the Change page size area. Now enter a sufficient value for the page width and height - preferably 10 mm on each page - and then click OK.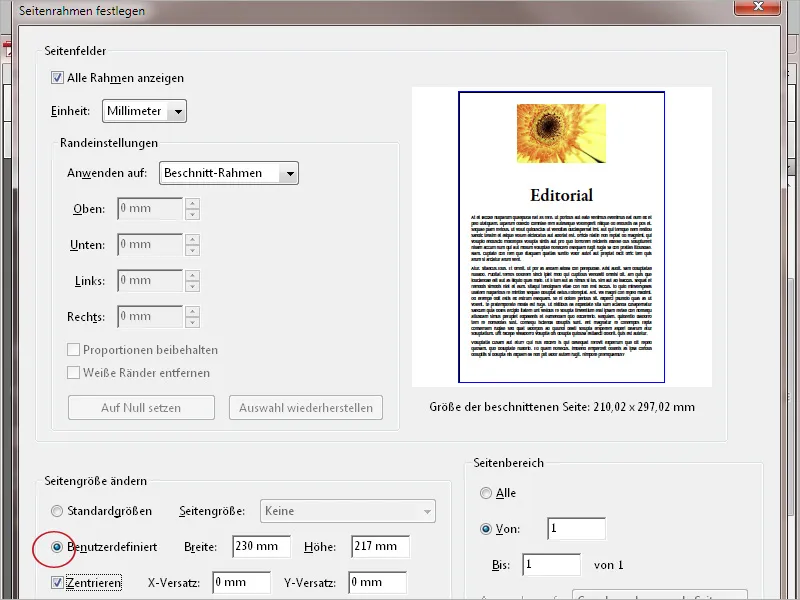
The document will now be enlarged accordingly. Then click on Add printer's marks in the toolbar and select the desired marks, registration marks or color control strips.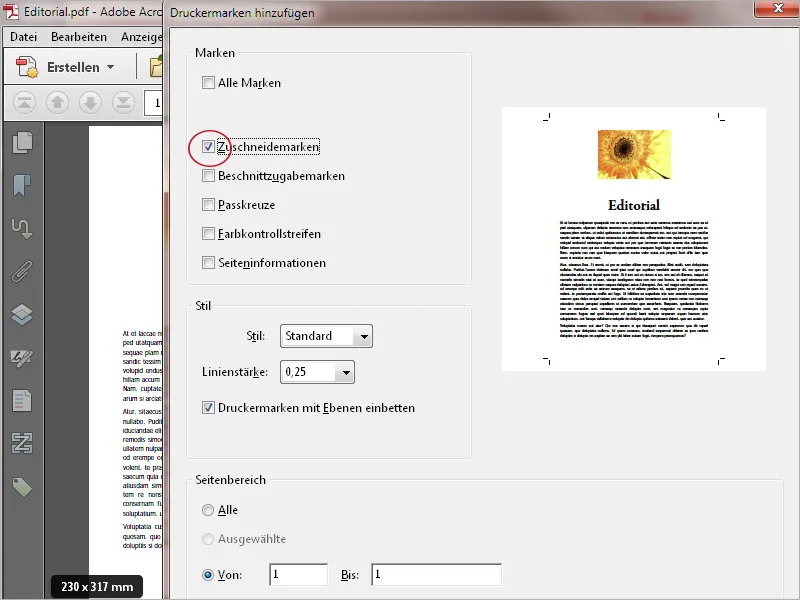
After clicking OK, the printer's marks or crop marks are added to the document.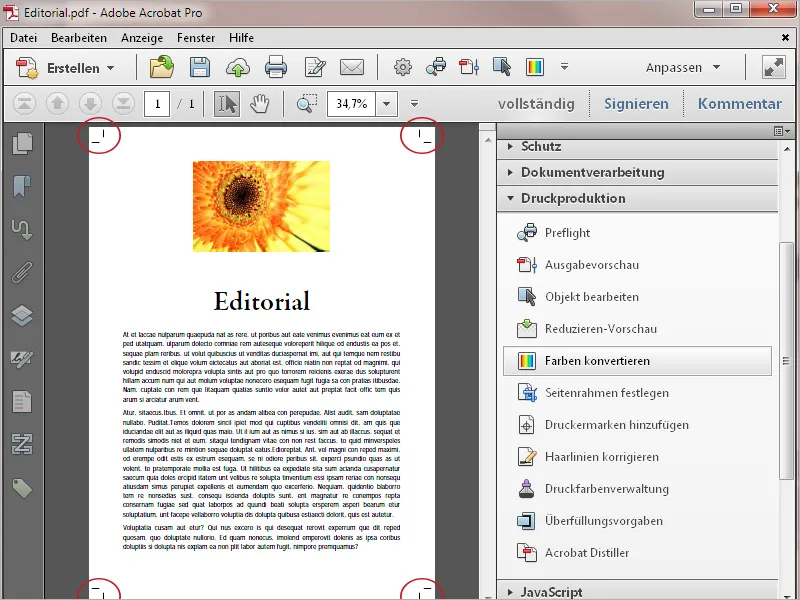
Acrobat also offers the option of reducing transparencies contained in the document in order to obtain predictable results for the print output. It may be that you receive certain files for printing from other users who may have exported with PDF version 1.4 or higher. To check whether these files contain transparencies, open the flatten preview in the print production tools palette. Acrobat now calculates a preview and then opens a new window with various setting options and a preview of the current page.
Now check or edit the following settings:
- The Highlight field must contain the entry Transparent objects or All affected objects.
- Resolution of vector graphics and text is set to 1,600 ppi and
- Resolution of gradient and grid is set to 400 ppi.
- Retain overprint
- The transparency blending color space is set to the output intent, e.g. ISO Coated v.2 ECI or the corresponding output condition (as with the PDF export of the InDesign file) or to DeviceCMYK.
If you have made changes to the settings, the view must be updated by clicking on the button of the same name.
With a final click on the Apply button, the transparencies are then reduced and no more elements are marked in the preview.


