Microsoft Visio is a powerful tool that helps you create visual representations of processes, organizational charts, networks, and many other diagrams. It is ideal for visualizing complex information and promotes clear communication within teams. In this tutorial, you will learn how to start the application, create a new file, and save, open, and close your drawings.
Key Takeaways
- The application can be started from the taskbar or the search bar.
- You can create desktop shortcuts to open Visio quickly.
- Files can be saved locally, in SharePoint, or OneDrive.
- The main shortcuts for working with Visio are Control + S, Control + O, and Alt + F4.
Step-by-Step Guide
To effectively use the Microsoft Visio application, follow this step-by-step guide.
Start Visio
To start Microsoft Visio, you need to ensure the application is installed. First, go to the taskbar and look for the Visio icon. If you see the application there, simply click on it to open. This should take you directly to Visio's interface. Alternatively, you can also enter "Visio" in the search bar at the bottom left of your screen to start the application.
There is also a way to create a shortcut. Right-click on the application, go to "Send to," and choose "Desktop." This allows you to quickly start Visio in the future by double-clicking on this icon.
Create New File
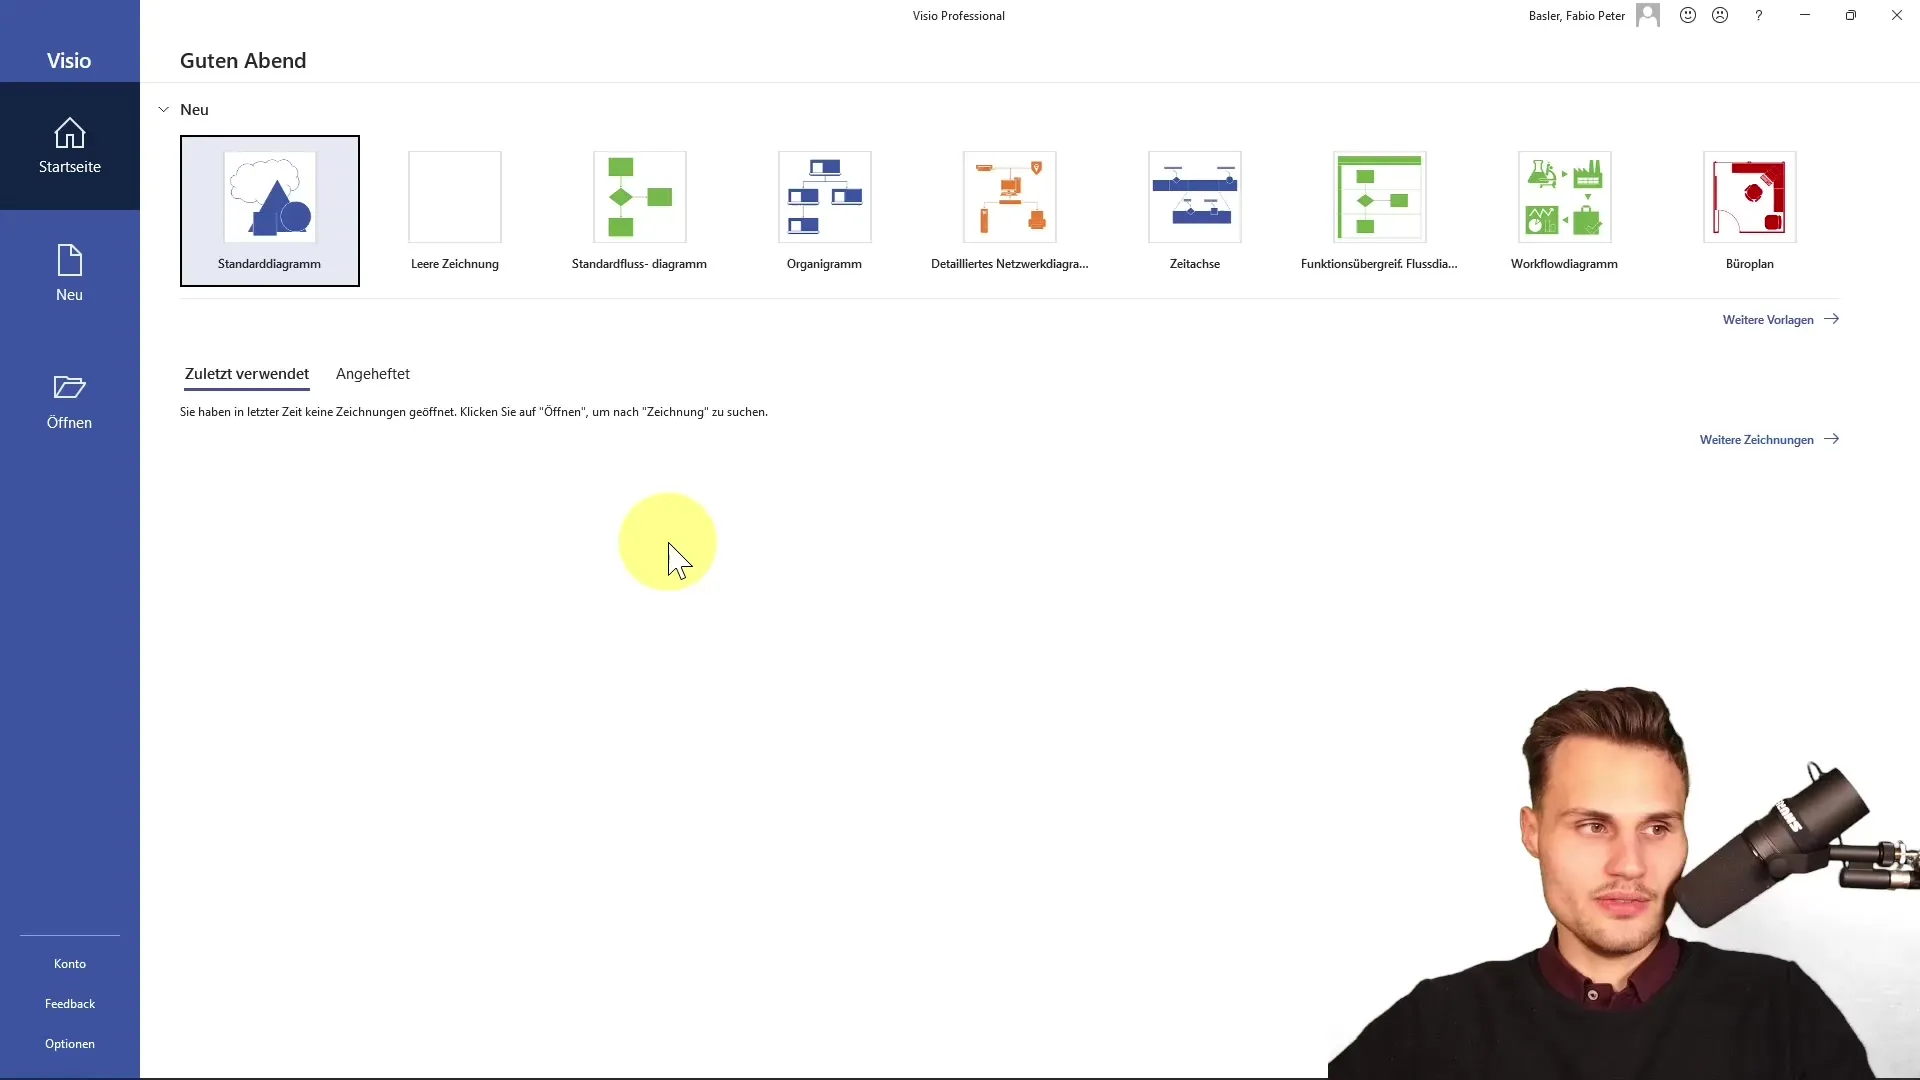
Once you are in the Visio interface, you will notice that you have not opened a file yet. To create a new file, choose one of the available templates. For example, you can select a standard flowchart, organizational charts, or network plans and then click "Create."
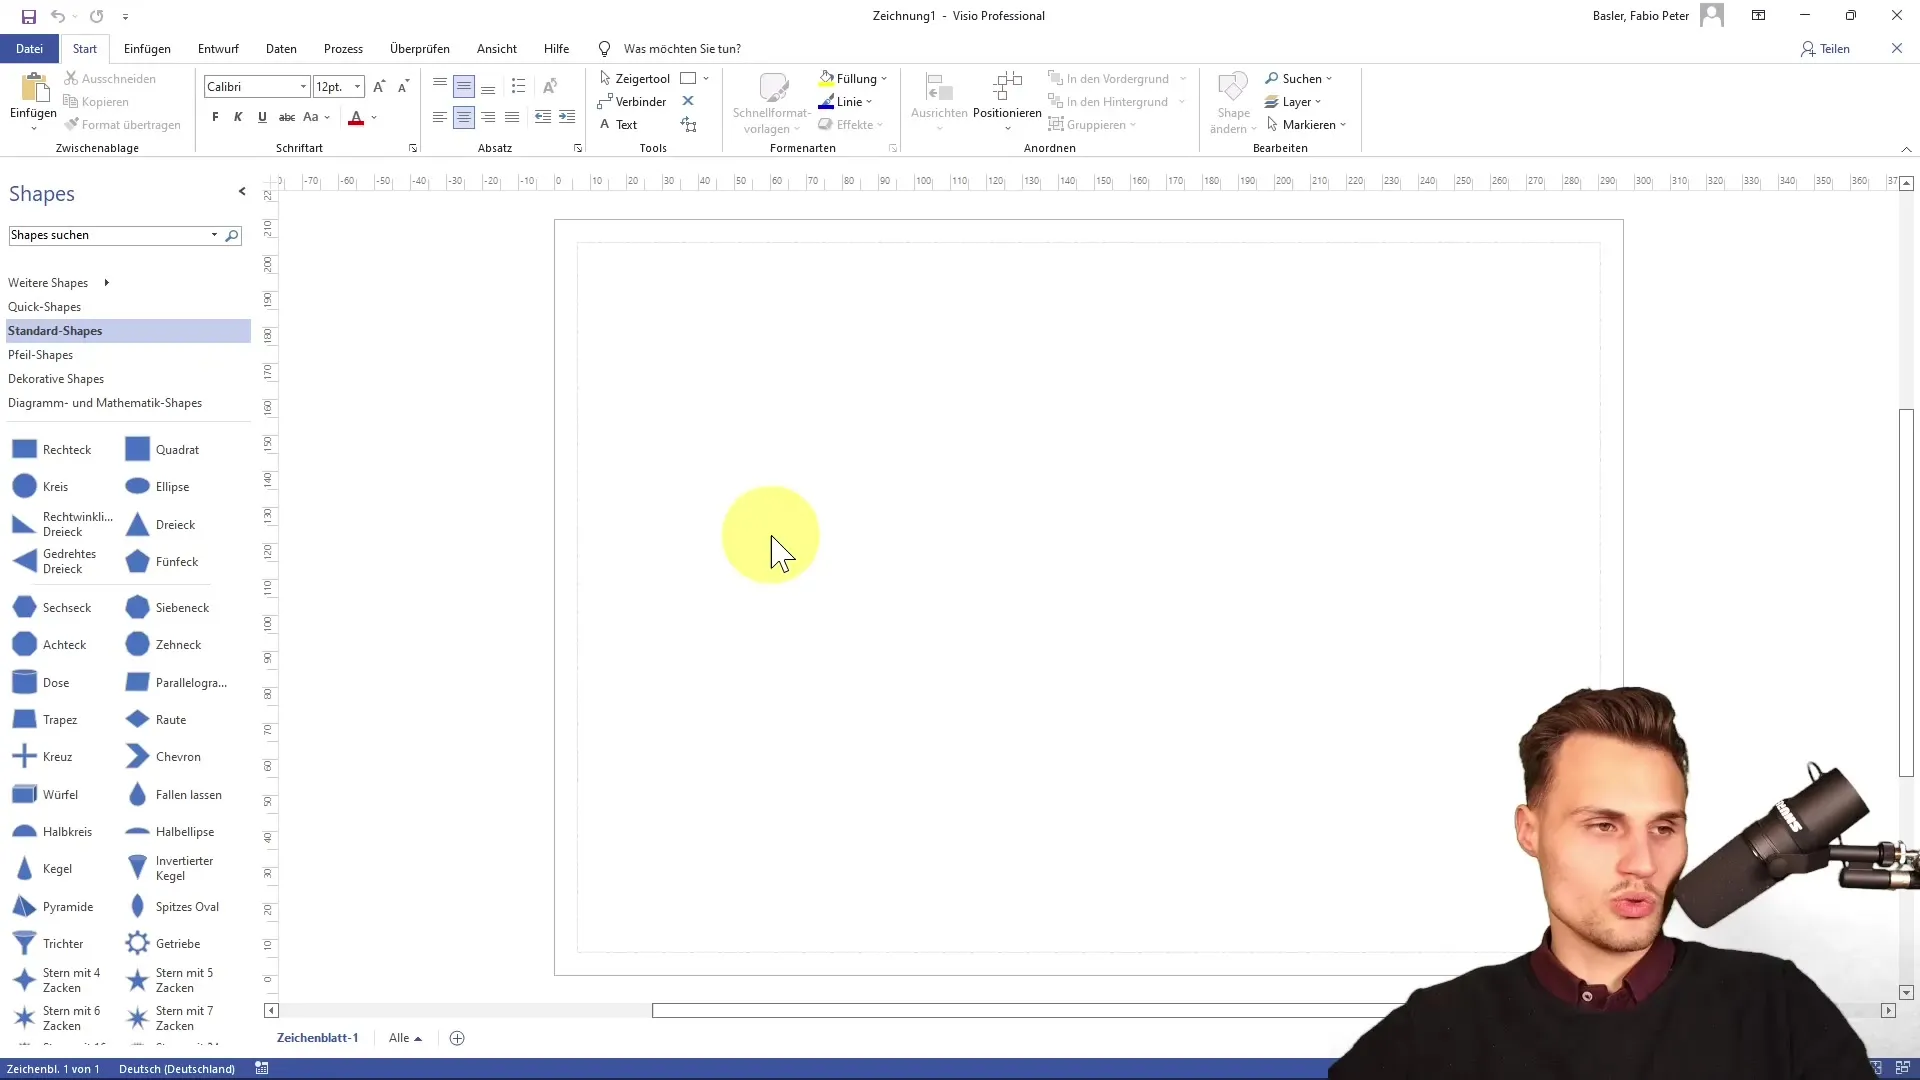
Now you are in editing mode where you can create your drawing. Here, you can use the various tools in the tabs to design your drawing. There are many options available—however, for the first step, focus on the basic elements.
Save file
After making some changes to your drawing, you need to save the file. Click on the floppy disk icon at the top left or use the shortcut Control + S to initiate the saving process. Since the file has not been named yet, you will be prompted to choose a location and a filename.
You can save the file locally on your computer by selecting the desired folder and specifying the filename. Make sure the filename is not longer than 255 characters and does not contain special characters like slashes or asterisks. It is advisable to save the file in "Visio Drawing" format.
Additionally, you can also save a copy through the "Save As" option under File or store the file in the cloud, for example, in OneDrive or SharePoint, where you may also collaborate with colleagues in Teams.
Open file
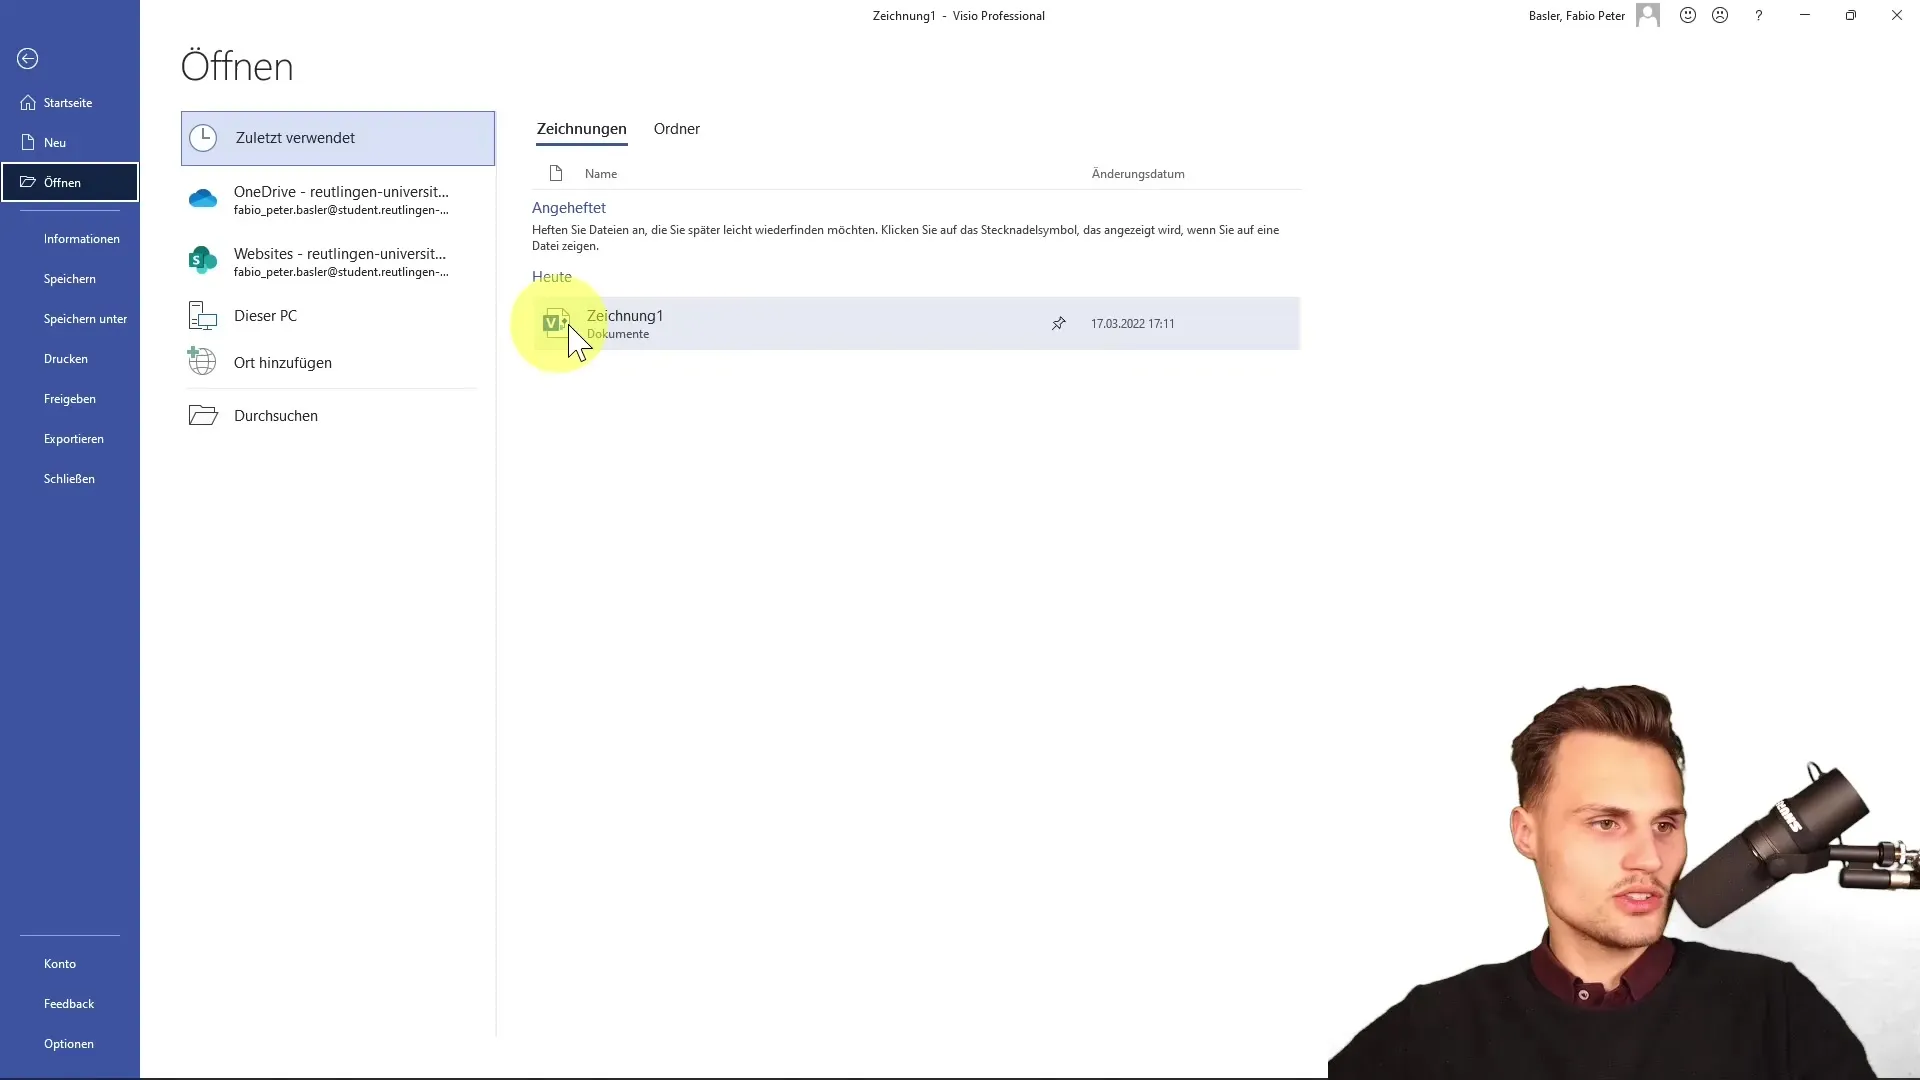
To open a previously saved file, simply click on "Open," or use the shortcut Control + O. This opens the File Explorer, and you can select the desired drawing. If you frequently use the file, you may also find it in the "Recent" list.
Close file
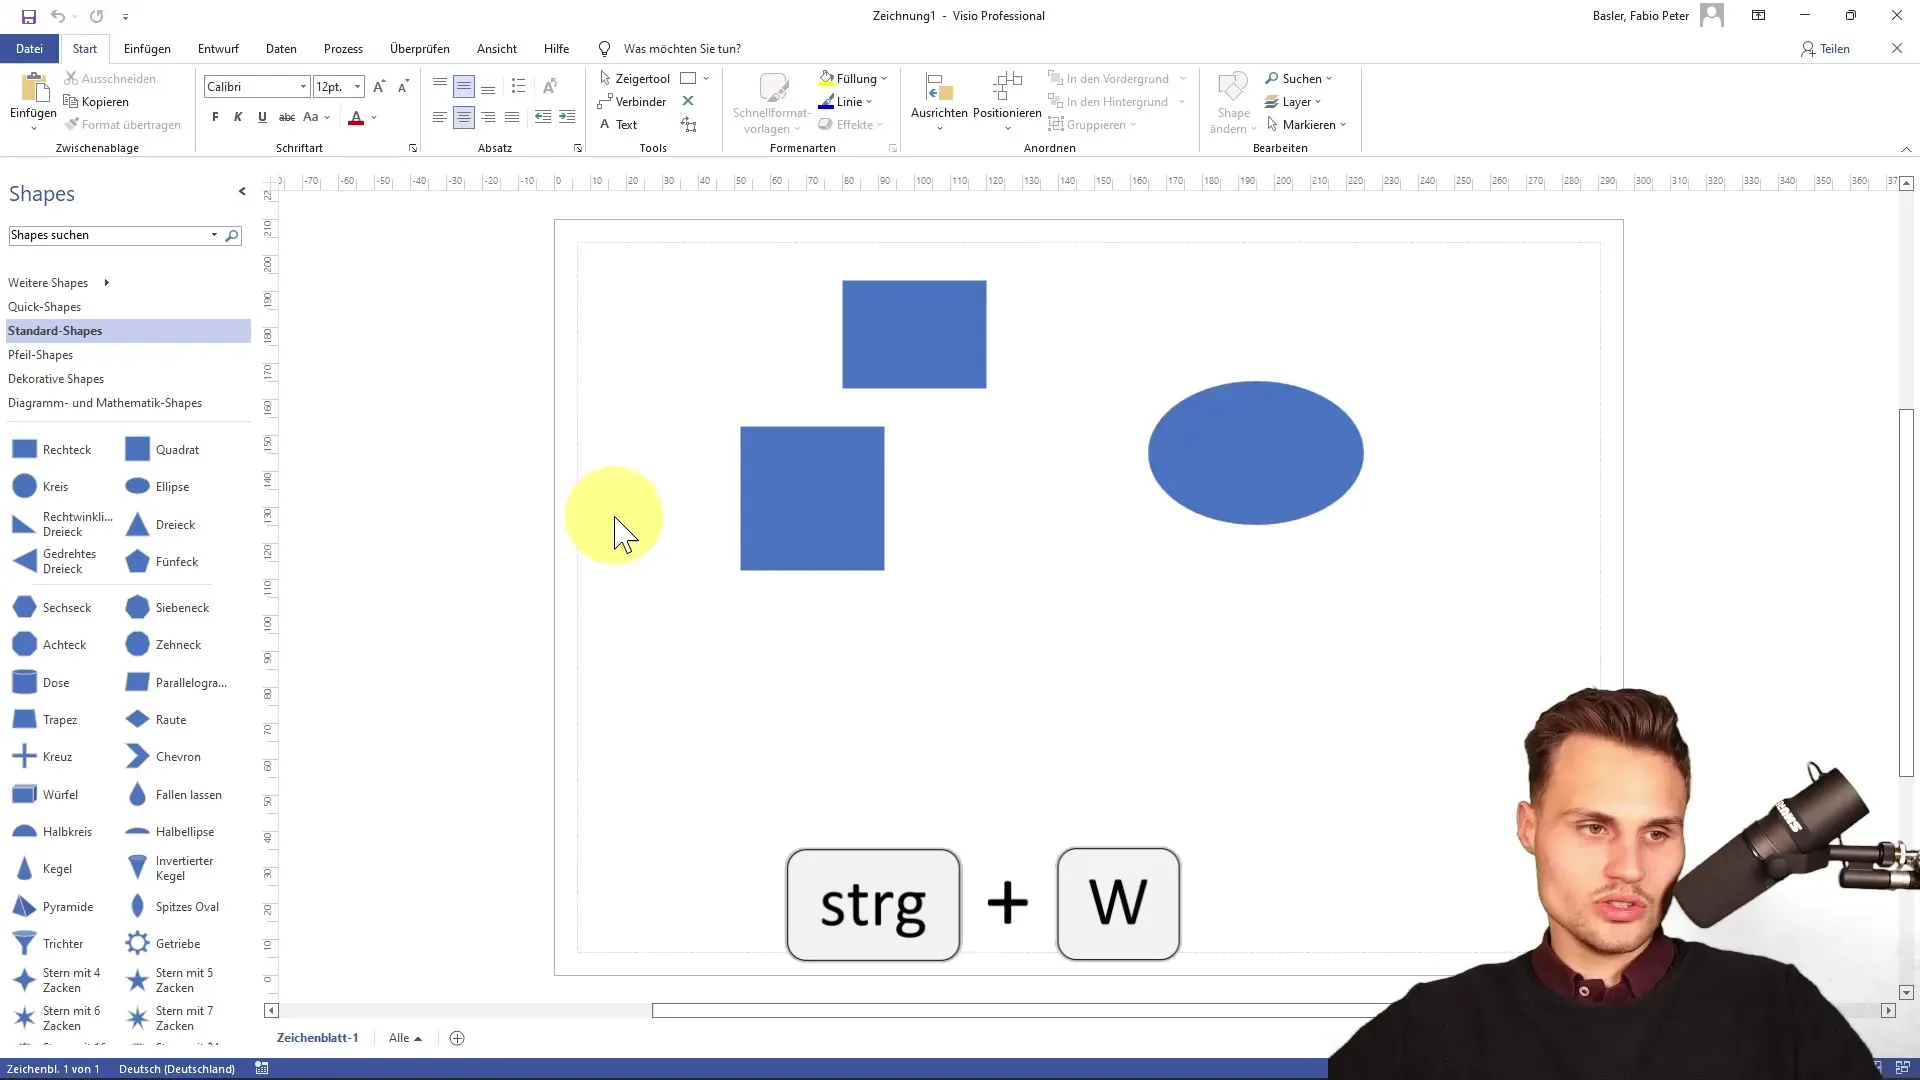
Once you have finished your work, you can close the drawing. Simply click on the red X in the upper right corner of the application. Note that this only closes the drawing, not the entire application. If you also want to close the application, you can press Alt + F4.
Alternatively, you can also go to the "File" menu and select "Close." This step ensures your changes are saved before you exit the application.
Summary
In this tutorial, you have learned how to effectively start Microsoft Visio, create a new file, save it, and reopen it. With these basics, you are well equipped to create your first drawings and work efficiently.
Frequently Asked Questions
How do I start Microsoft Visio?You can start Visio through the taskbar or the search bar.
How do I create a new file in Visio?Select a template and click on "Create".
How do I save my drawing?Use the floppy disk icon or press Control + S to save.
Can I save Visio files in the cloud?Yes, you can save files in OneDrive or SharePoint.
How do I close the application?Press Alt + F4 to close the entire application.
