The user interface of Microsoft Visio is designed to provide you with an intuitive and efficient work environment. In this guide, you will work your way through the various elements of the interface step by step and learn how to make the most of them. Get ready, as we dive into the possibilities of Visio!
Main Insights
- Microsoft Visio has a user interface that is structured similarly to other Microsoft Office applications such as Word and Excel.
- The interface consists of a Quick Access Toolbar, a ribbon with tabs, and an editing area.
- The different tabs offer specific tools and functions for creating and editing diagrams.
Step-by-Step Guide to the Visio User Interface
To understand the user interface of Microsoft Visio, we start with an overview of the key areas of the application.
1. The Visio Start Area
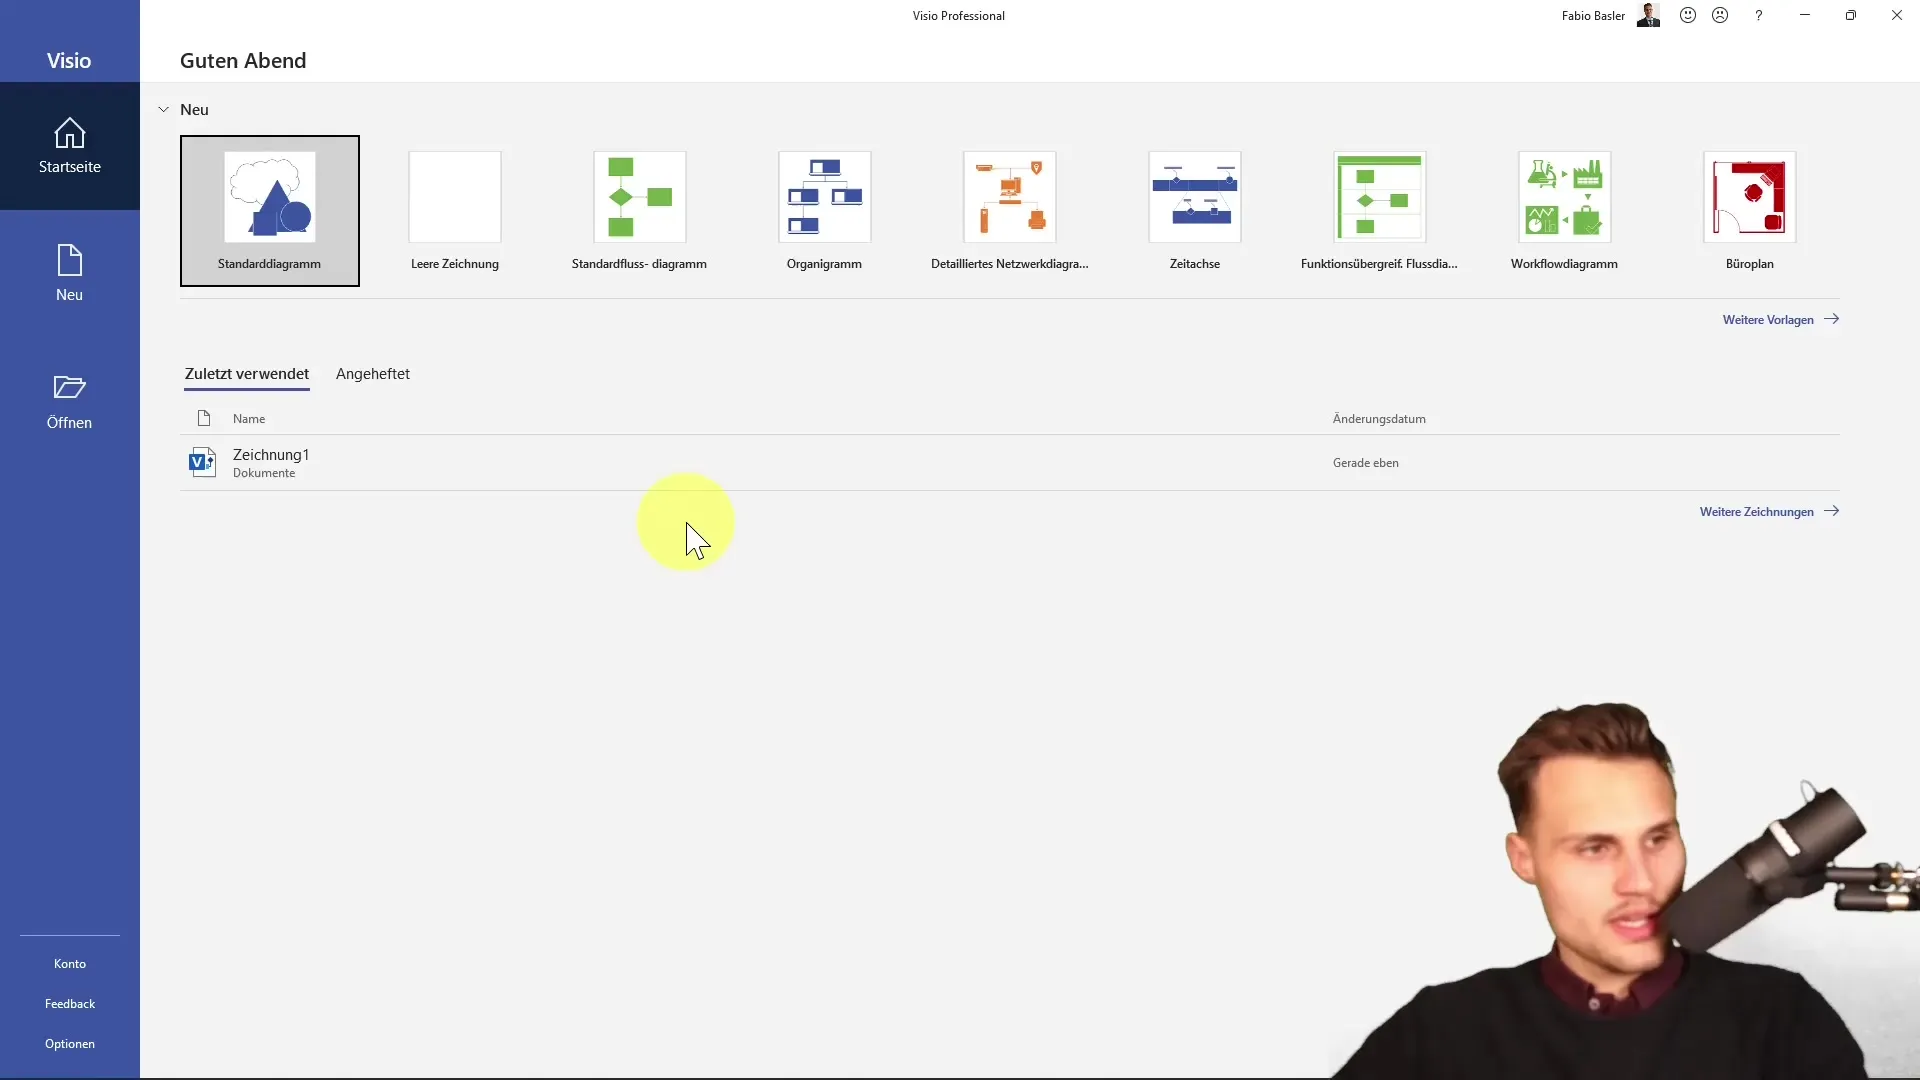
When you start Microsoft Visio, you land in the start area. Here you can see previously created drawings and start new projects. Make sure to start with an existing drawing or create a new one.
2. The Editing Area
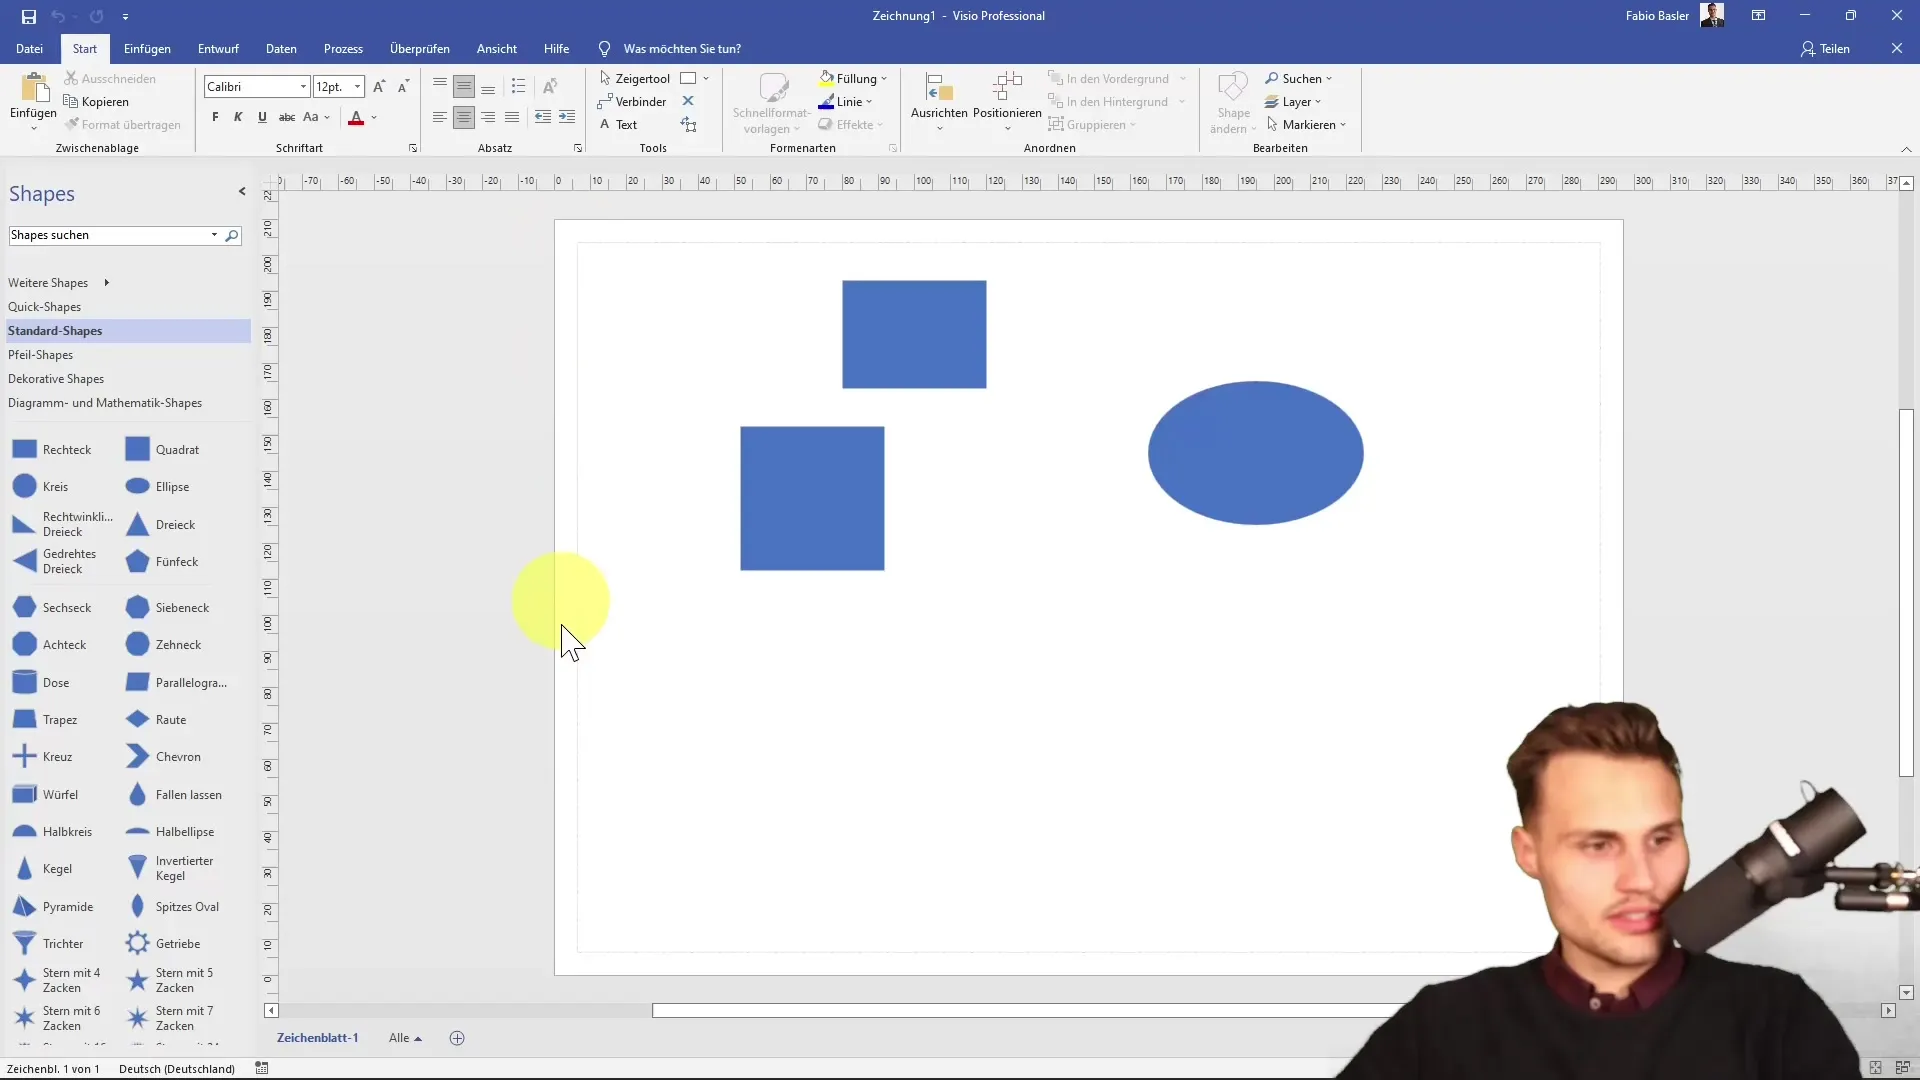
The central area of the user interface is the editing area. This is where you work with your diagrams. Here you can add, edit, and position shapes. It is the place where your ideas come to life.
3. Quick Access
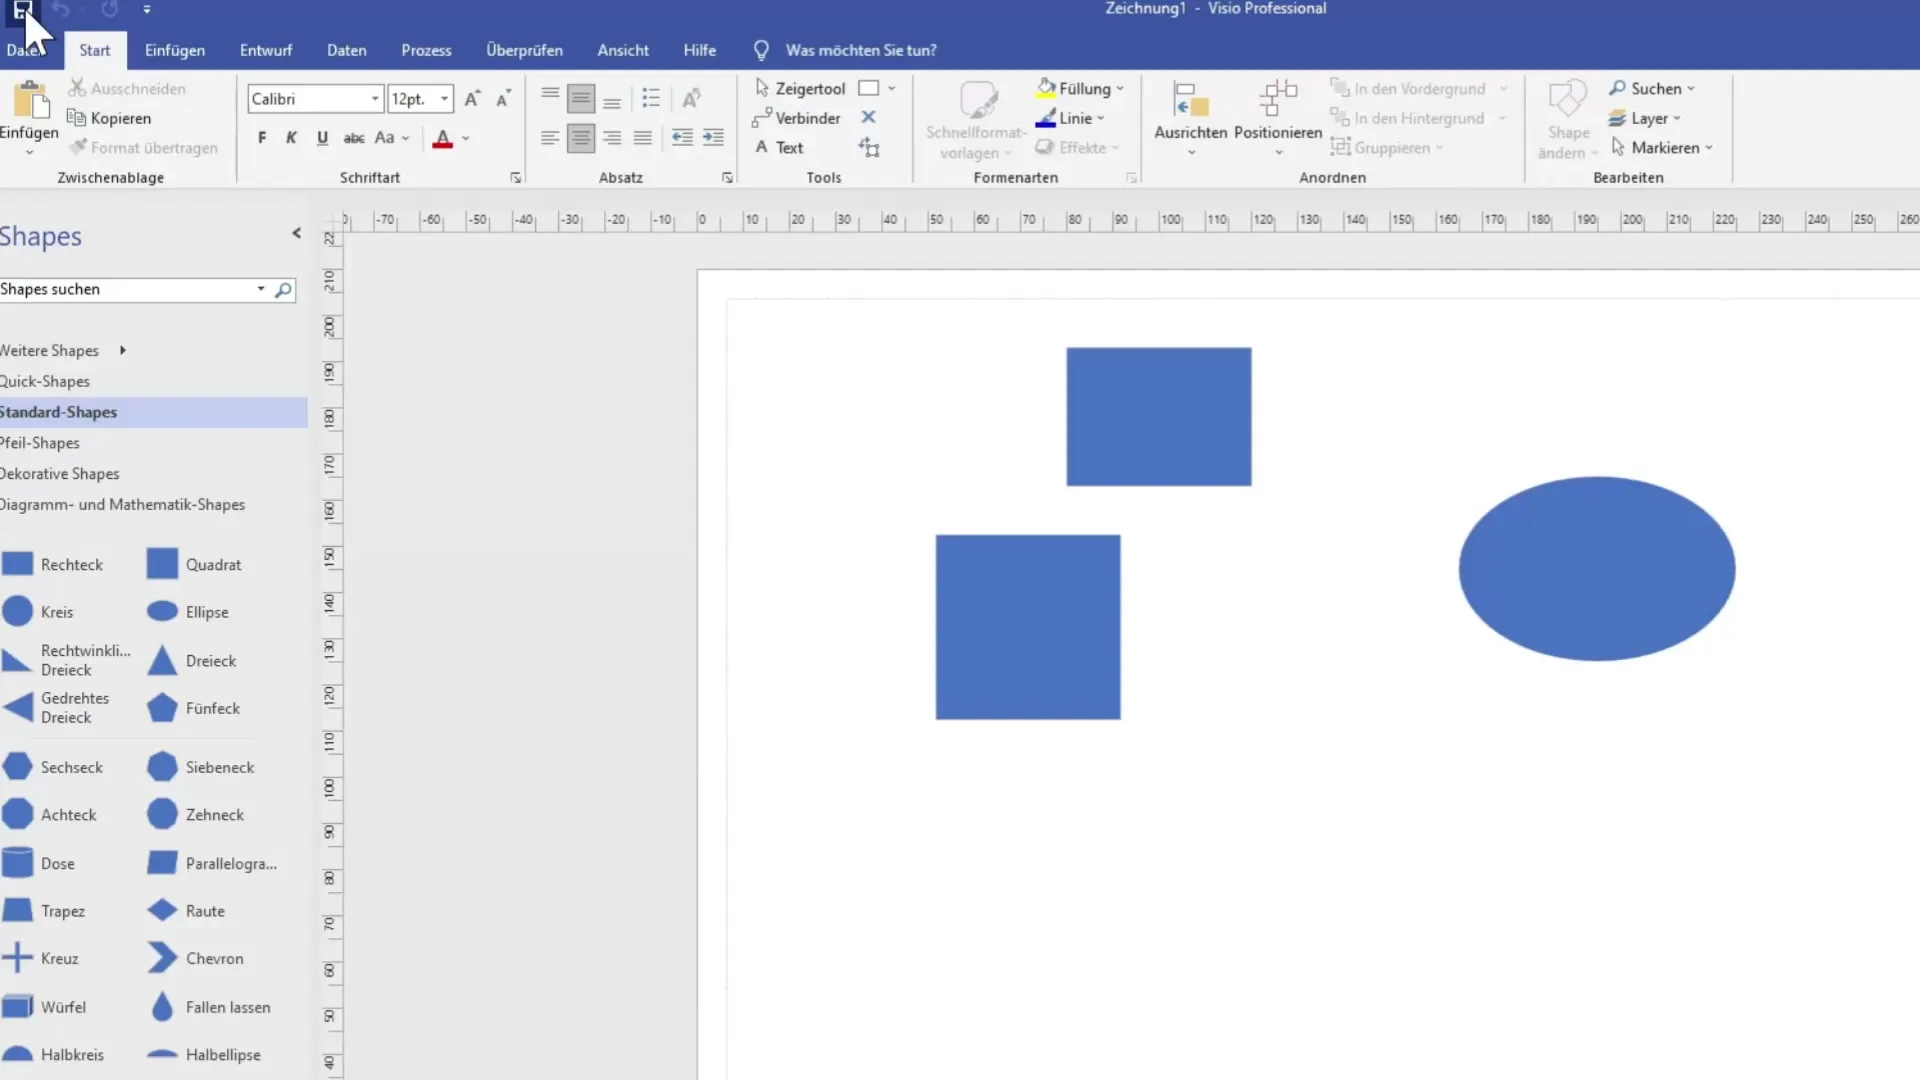
One of the first things you will likely notice is the quick access toolbar. It is located in the upper left corner and allows quick access to basic functions like saving or opening a new document. You can also add more actions to customize the user interface to your needs.
4. Ribbon with Tabs
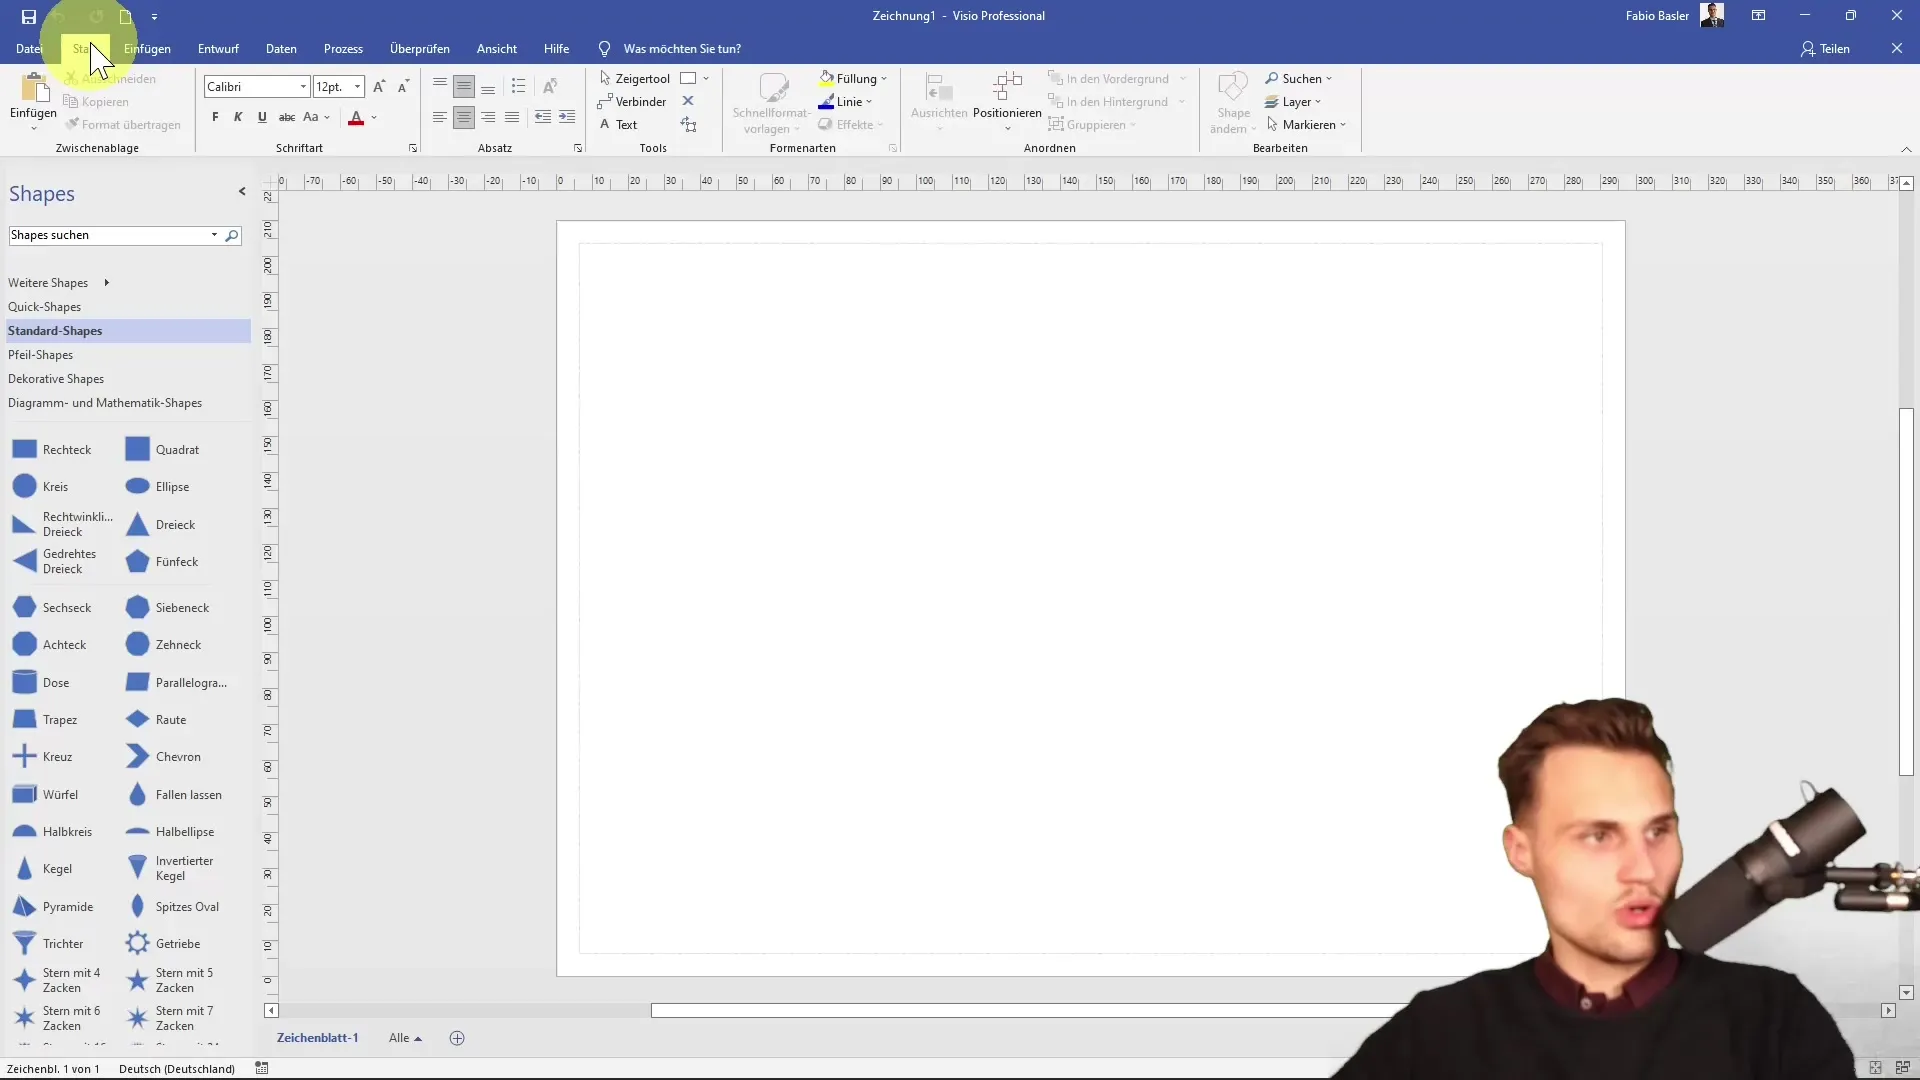
The ribbon hosts the different tabs like "Home," "Insert," and "Design." These are structured similarly to other Microsoft programs. The tabs are the main place where you have access to the commands and tools you need for your drawings.
5. Command Groups in the Ribbon
Within each tab, you will find command groups that bundle related functions. For example, the "Home" tab offers groups like "Clipboard" and "Font" that allow quick adjustments and edits.
6. The Insert Tab
The "Insert" tab is particularly useful when you want to integrate new elements into your diagram. Here you can insert images, diagrams, and other objects. The possibilities are diverse, ranging from general shapes to specific types of diagrams.
7. Design Area
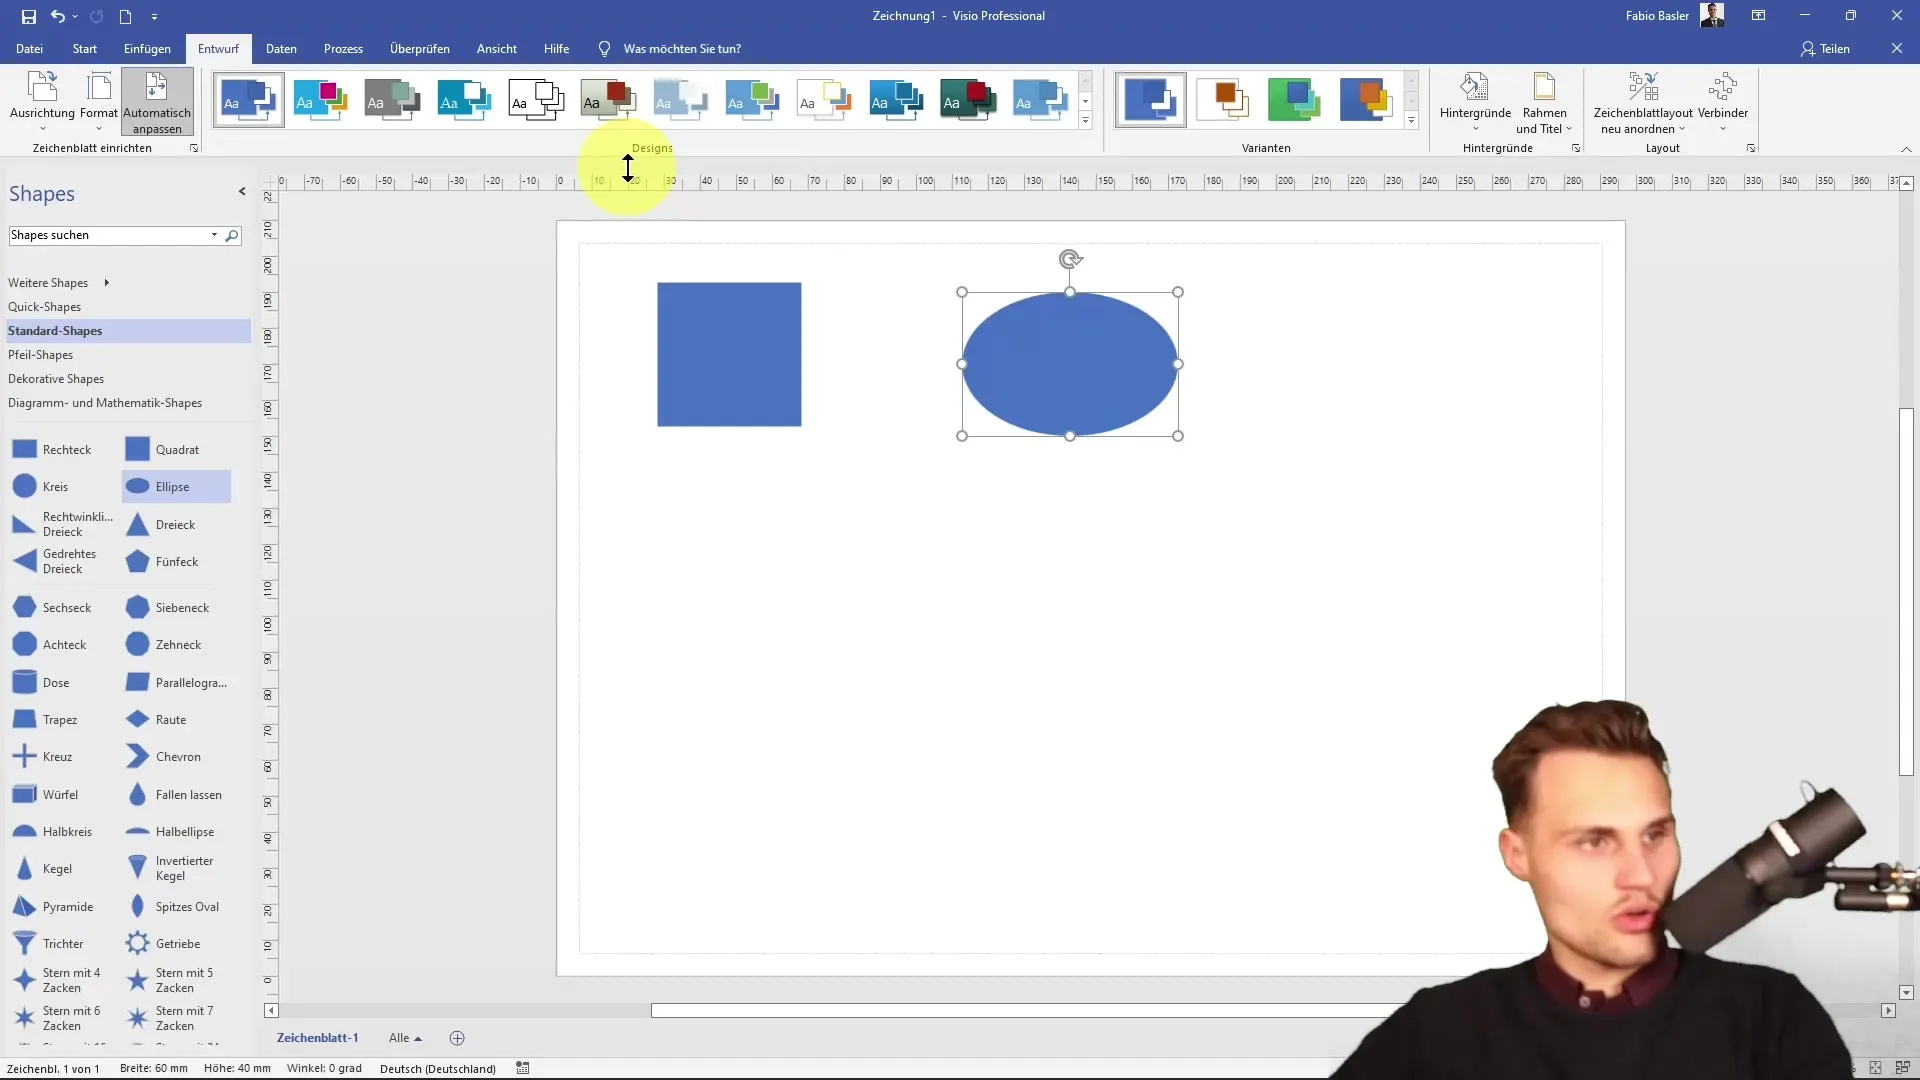
The "Design" tab allows you to change the layout and appearance of your shapes. You can adjust colors and design to match your requirements. Additionally, you have the option to import data from external sources.
8. Data-Related Functions
Visio allows you to import data sources such as Excel or Access. This integration is particularly useful when you want to create diagrams based on real data sets. You can find these options under the "Data" tab.
9. Process Organization
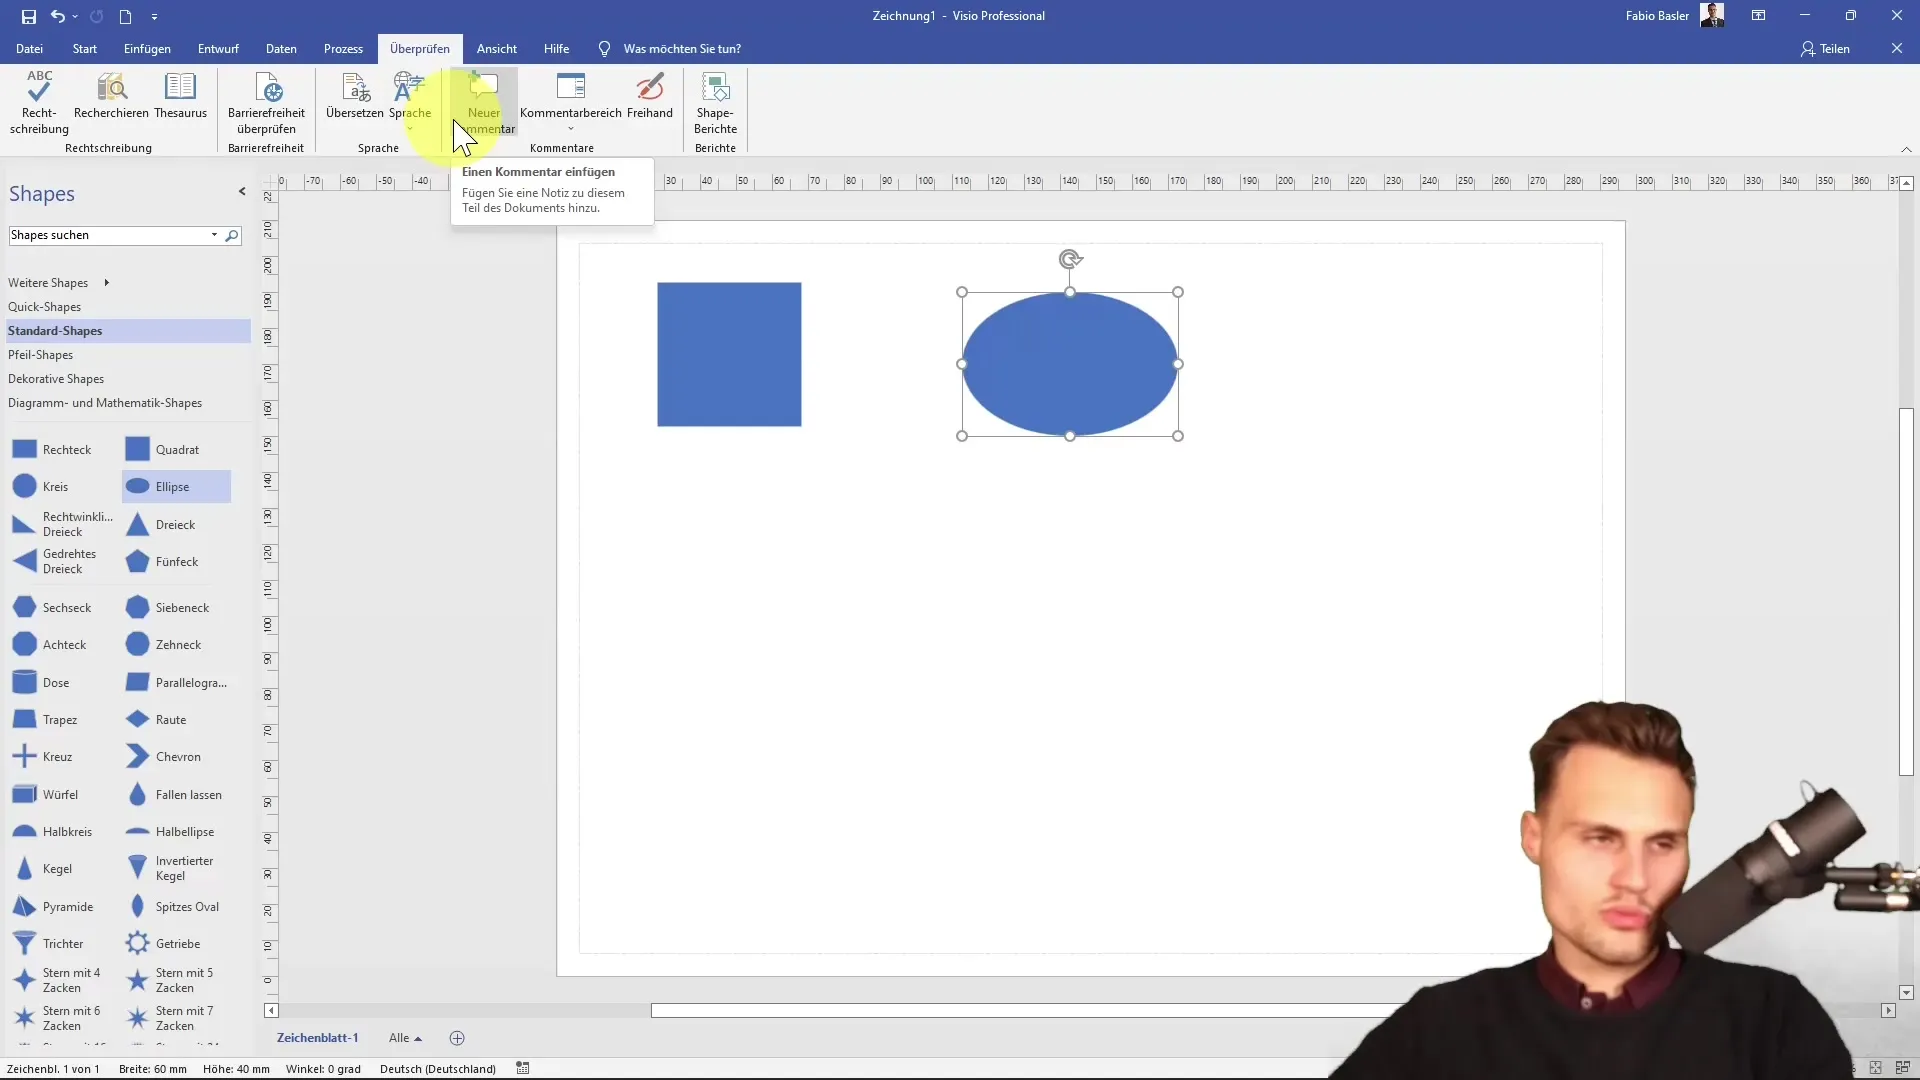
In addition to basic functions, you can also visualize processes in Visio. With the "Review" tab, you can check your diagrams for accuracy and completeness.
10. Viewing Options
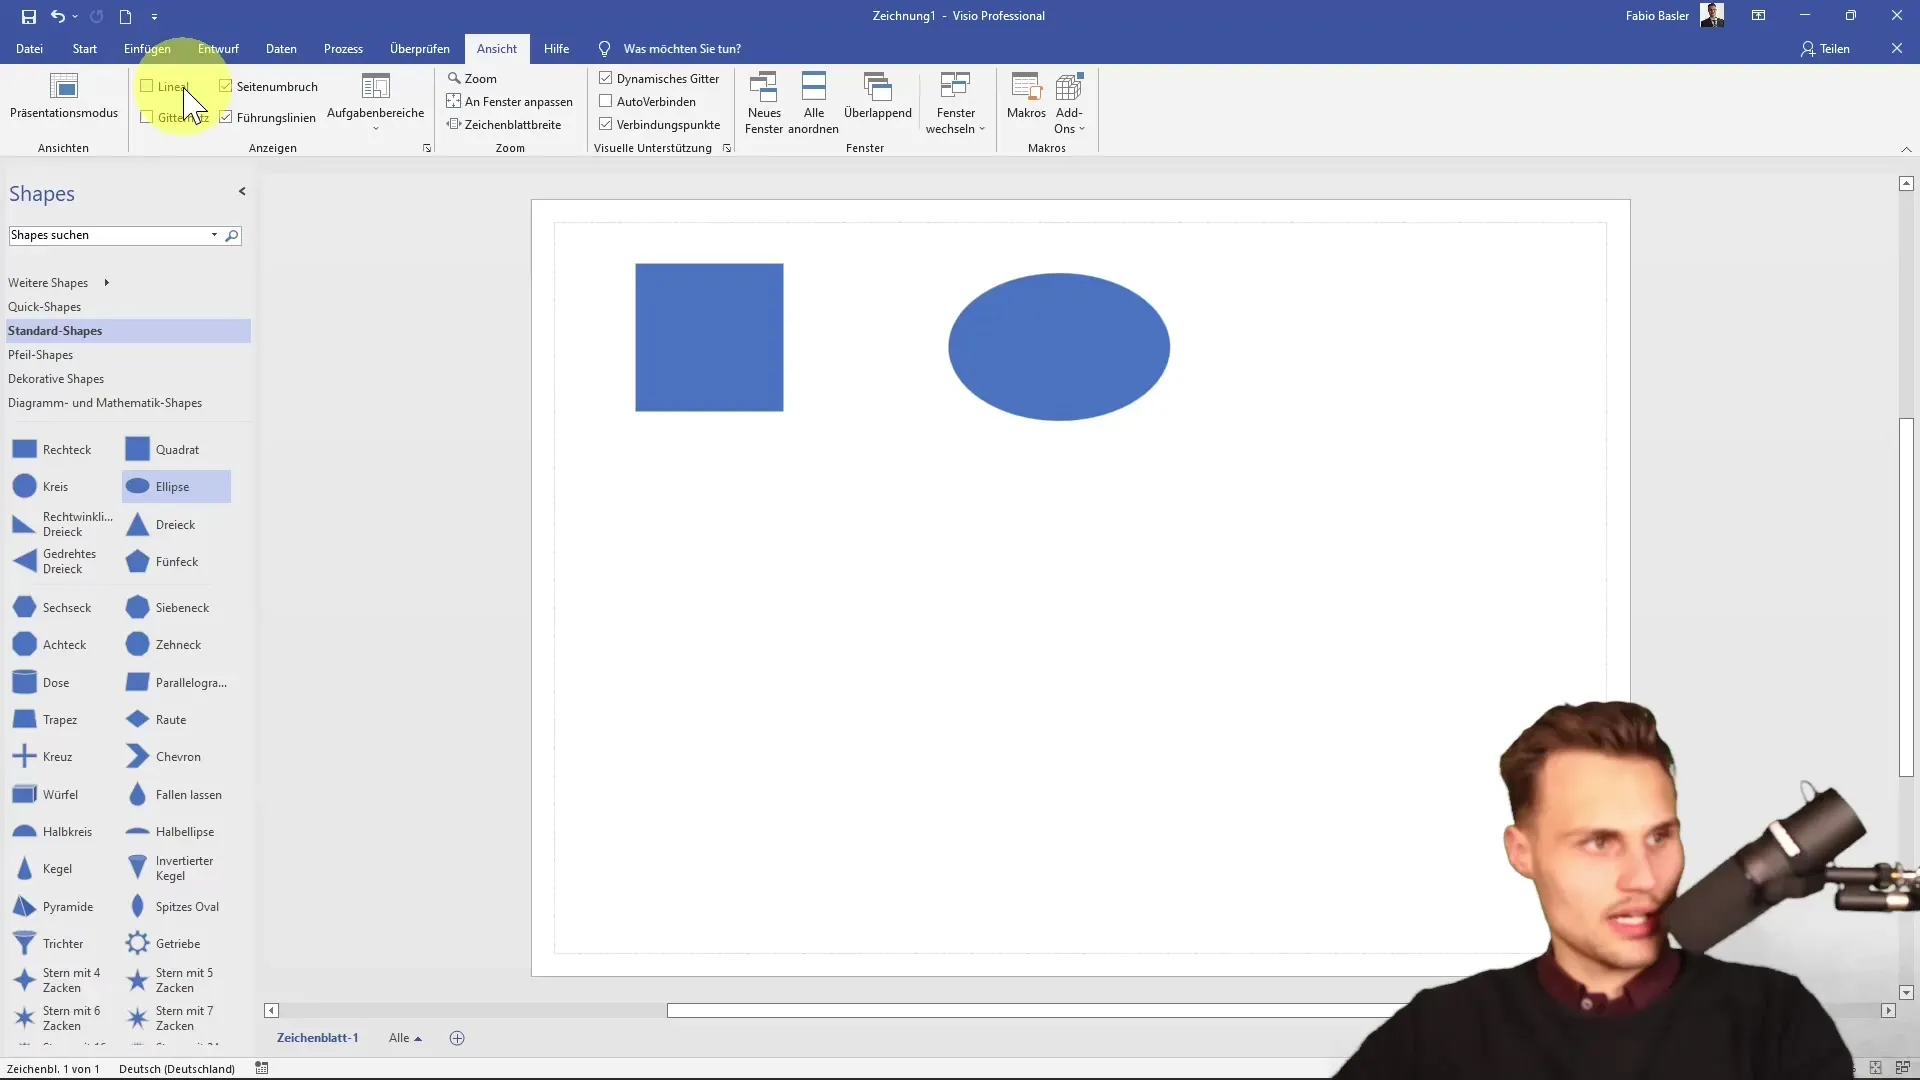
Visio offers various viewing options, such as using gridlines to help position your diagrams precisely. You can use the View menu to toggle these features on or off.
11. Help and Search Function
If you still can't find what you're looking for despite all the hints, you can access the help function by pressing F1. The search bar at the bottom is also a useful feature for quickly finding specific commands or actions.
12. Working with Shapes
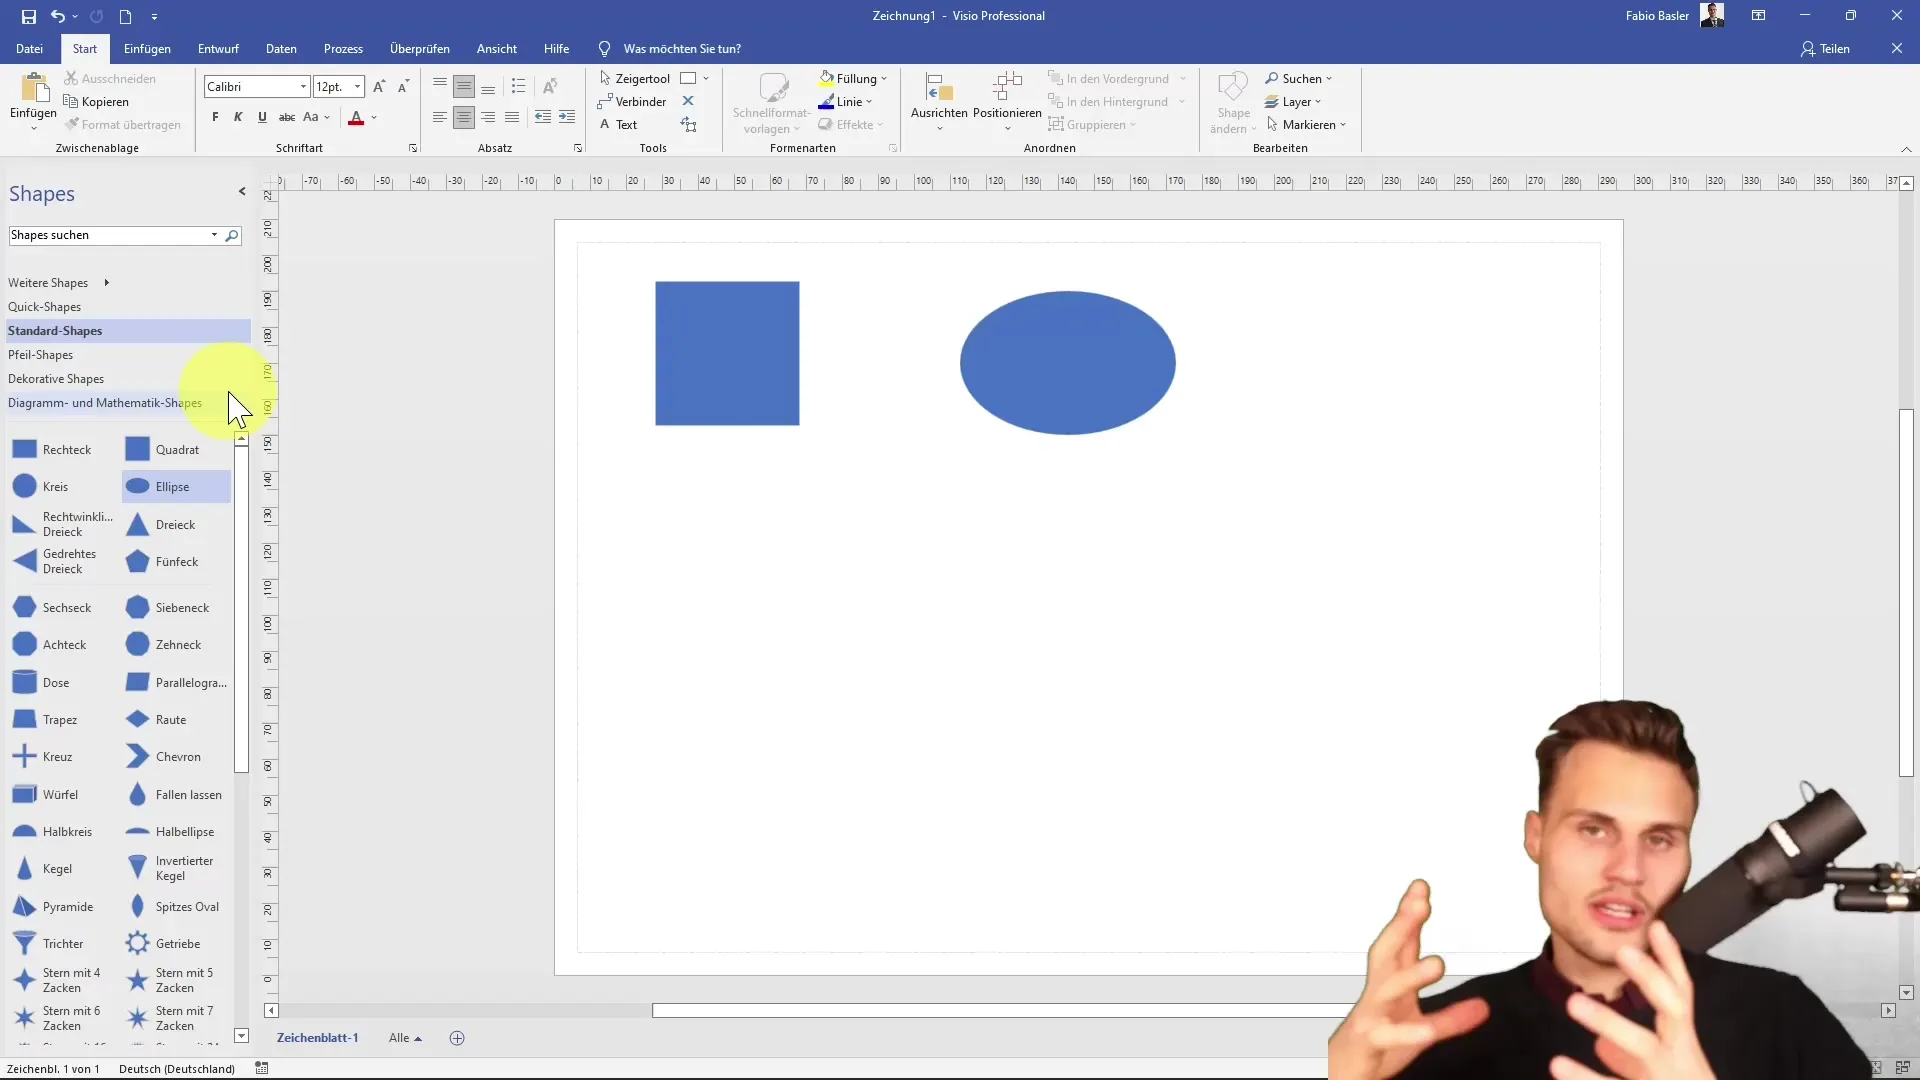
Another essential aspect of Visio is the shapes. These are organized in templates and are available to you at all times to use in your work. You can easily drag and customize shapes in your workspace.
13. Working with Blank Drawings
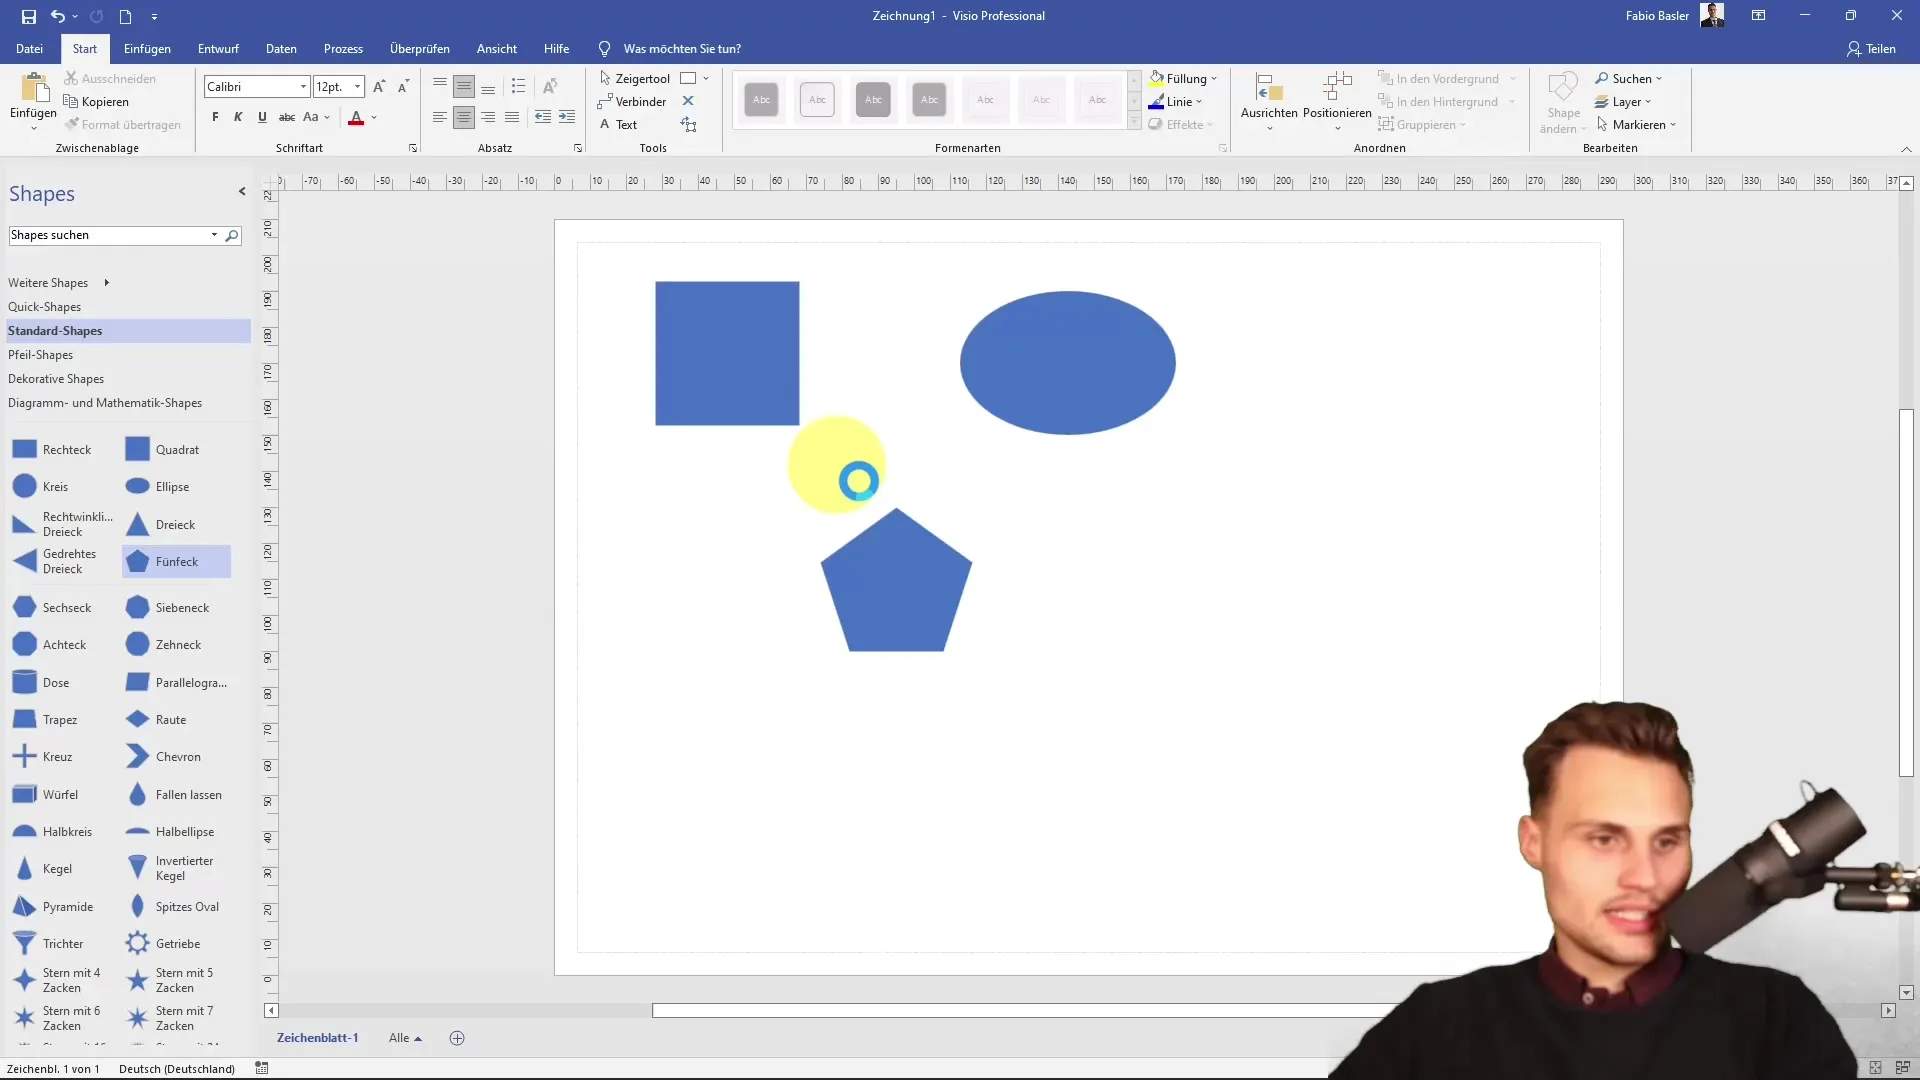
It is possible to create a blank drawing. However, in this case, no shapes will be displayed initially. To find accessible shapes, you must access the preview for General and Standard Templates.
14. Ribbon Options
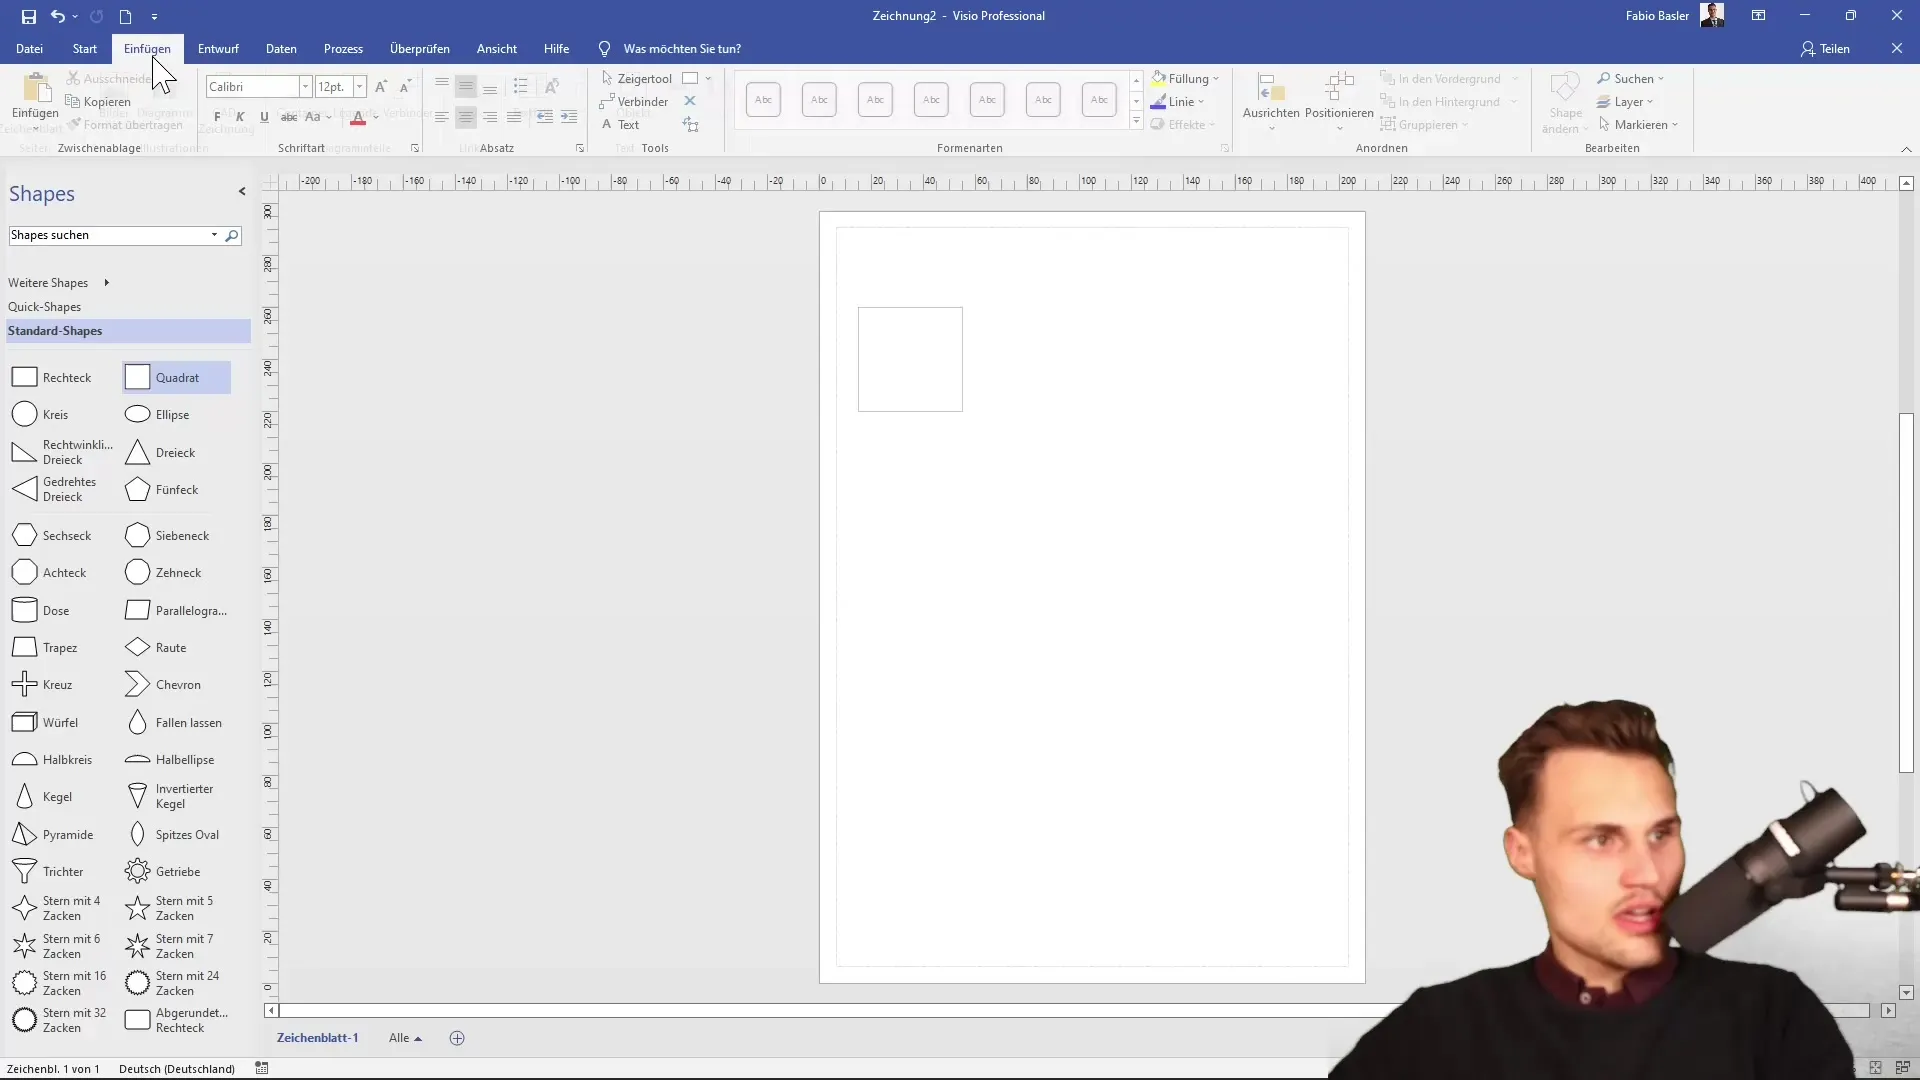
An interesting feature is the ability to show or hide the ribbon. Double-clicking on the tabs allows you to save space when producing presentations.

15. Custom Dialog Boxes
Some command groups also offer you the possibility to open specific dialogues. Here you can make deeper customizations, such as learning more about fonts or paragraphs.
Summary
You have now become familiar with the key areas and functions of the Microsoft Visio user interface. The clear structure and organization of the tool makes your work and diagram creation much easier.
Frequently Asked Questions
How do I start a new project in Visio?You can start a new project by clicking on "New" in the Start area.
What is the editing area in Visio?The editing area is the central area where you position and edit your diagrams with each shape.
Can I customize my Quick Access Toolbar?Yes, the Quick Access Toolbar is customizable. You can add frequently used actions.
How do I import data from Excel into Visio?You can import data via the "Data" tab by selecting the appropriate options.
Is there a function to save templates?Yes, you can save your diagrams as templates to reuse them later.
