Efficiently sharing drawings and documents in MS Visio is crucial for team collaboration. Once you have created a Visio drawing, you may want to share it with your colleagues to receive feedback or work on it together. In this guide, I will show you how to effectively share files in MS Visio so that collaboration runs smoothly.
Key Takeaways
- There are several ways to share Visio files, including via OneDrive, SharePoint, and email.
- You can control access by choosing whether others can edit the file or only view it.
- Using sharing links can expedite the file-sharing process.
Step-by-Step Guide
To share your Visio drawings, follow these simple steps:
Step 1: Use the Share Function
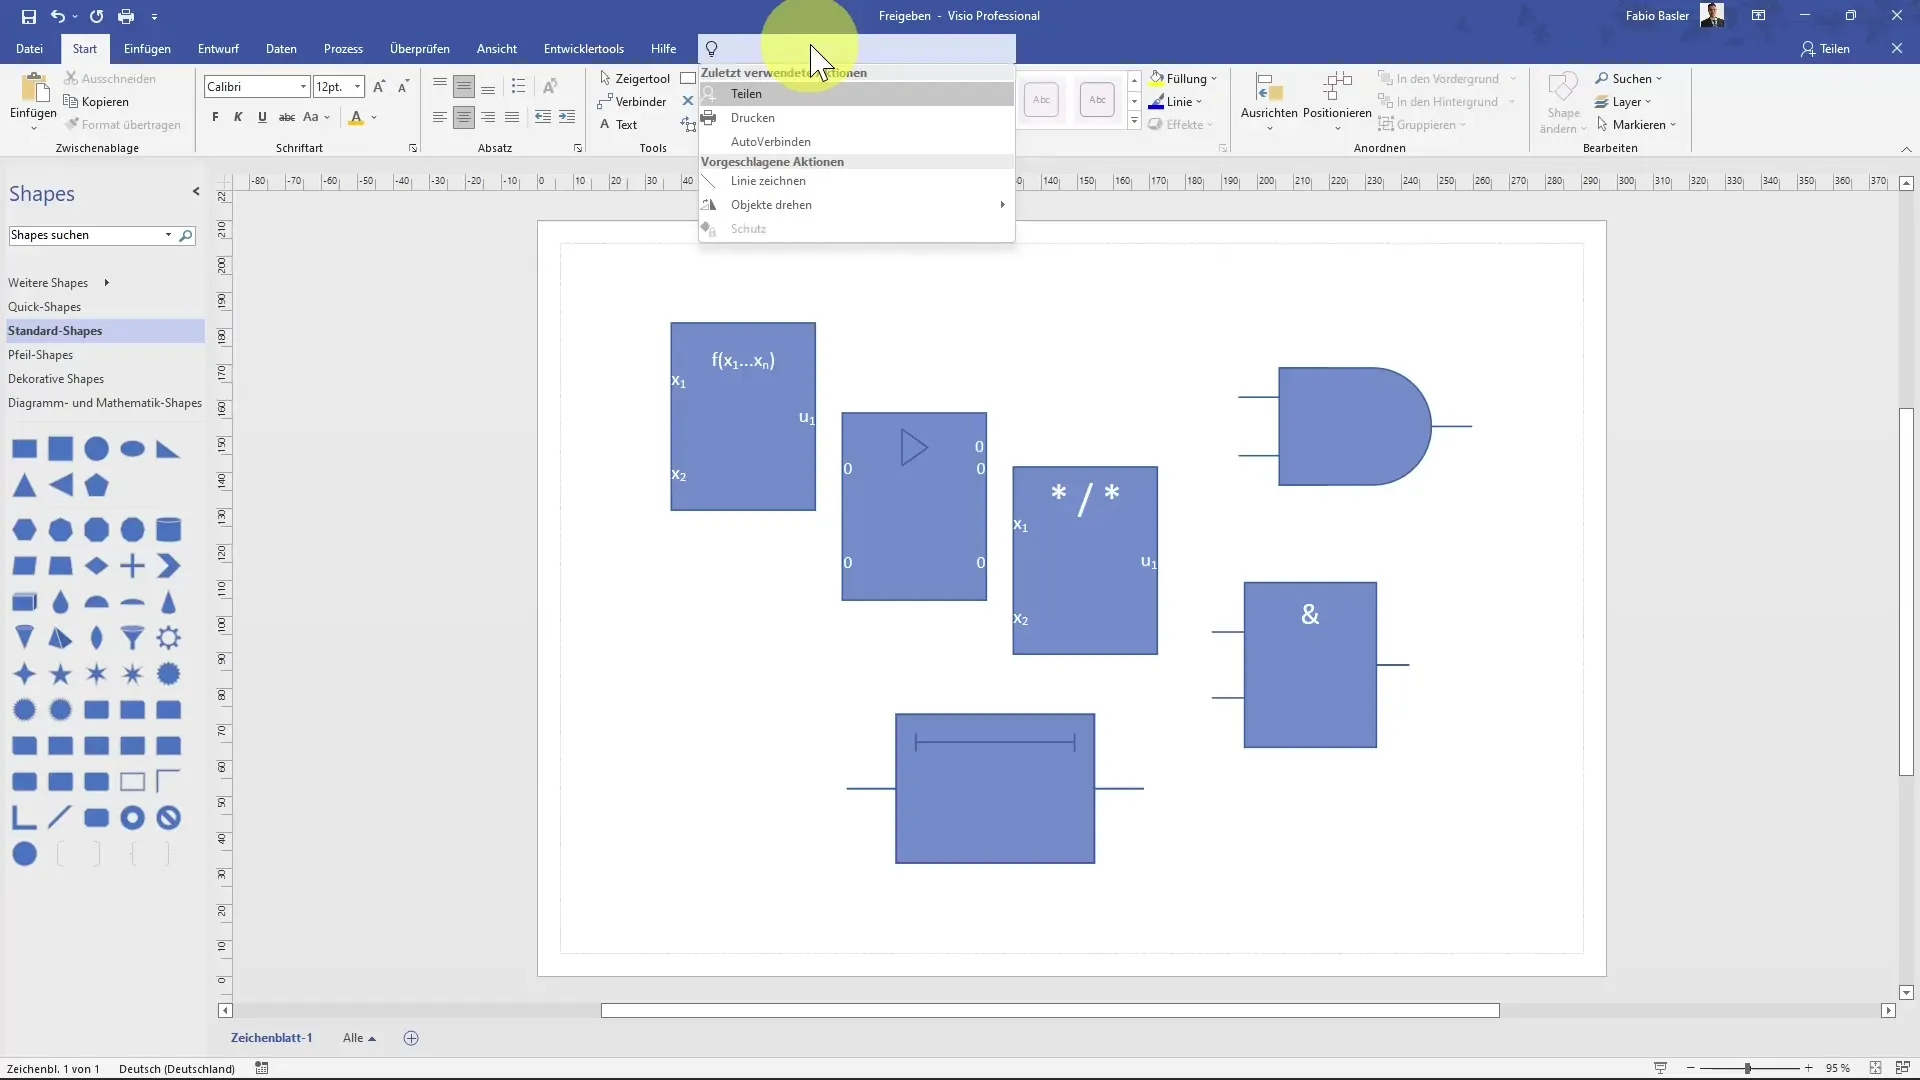
First, you should have the Visio document you want to share open in the program. Use the search bar and type in "Share." You will be presented with the best action to share your drawing.
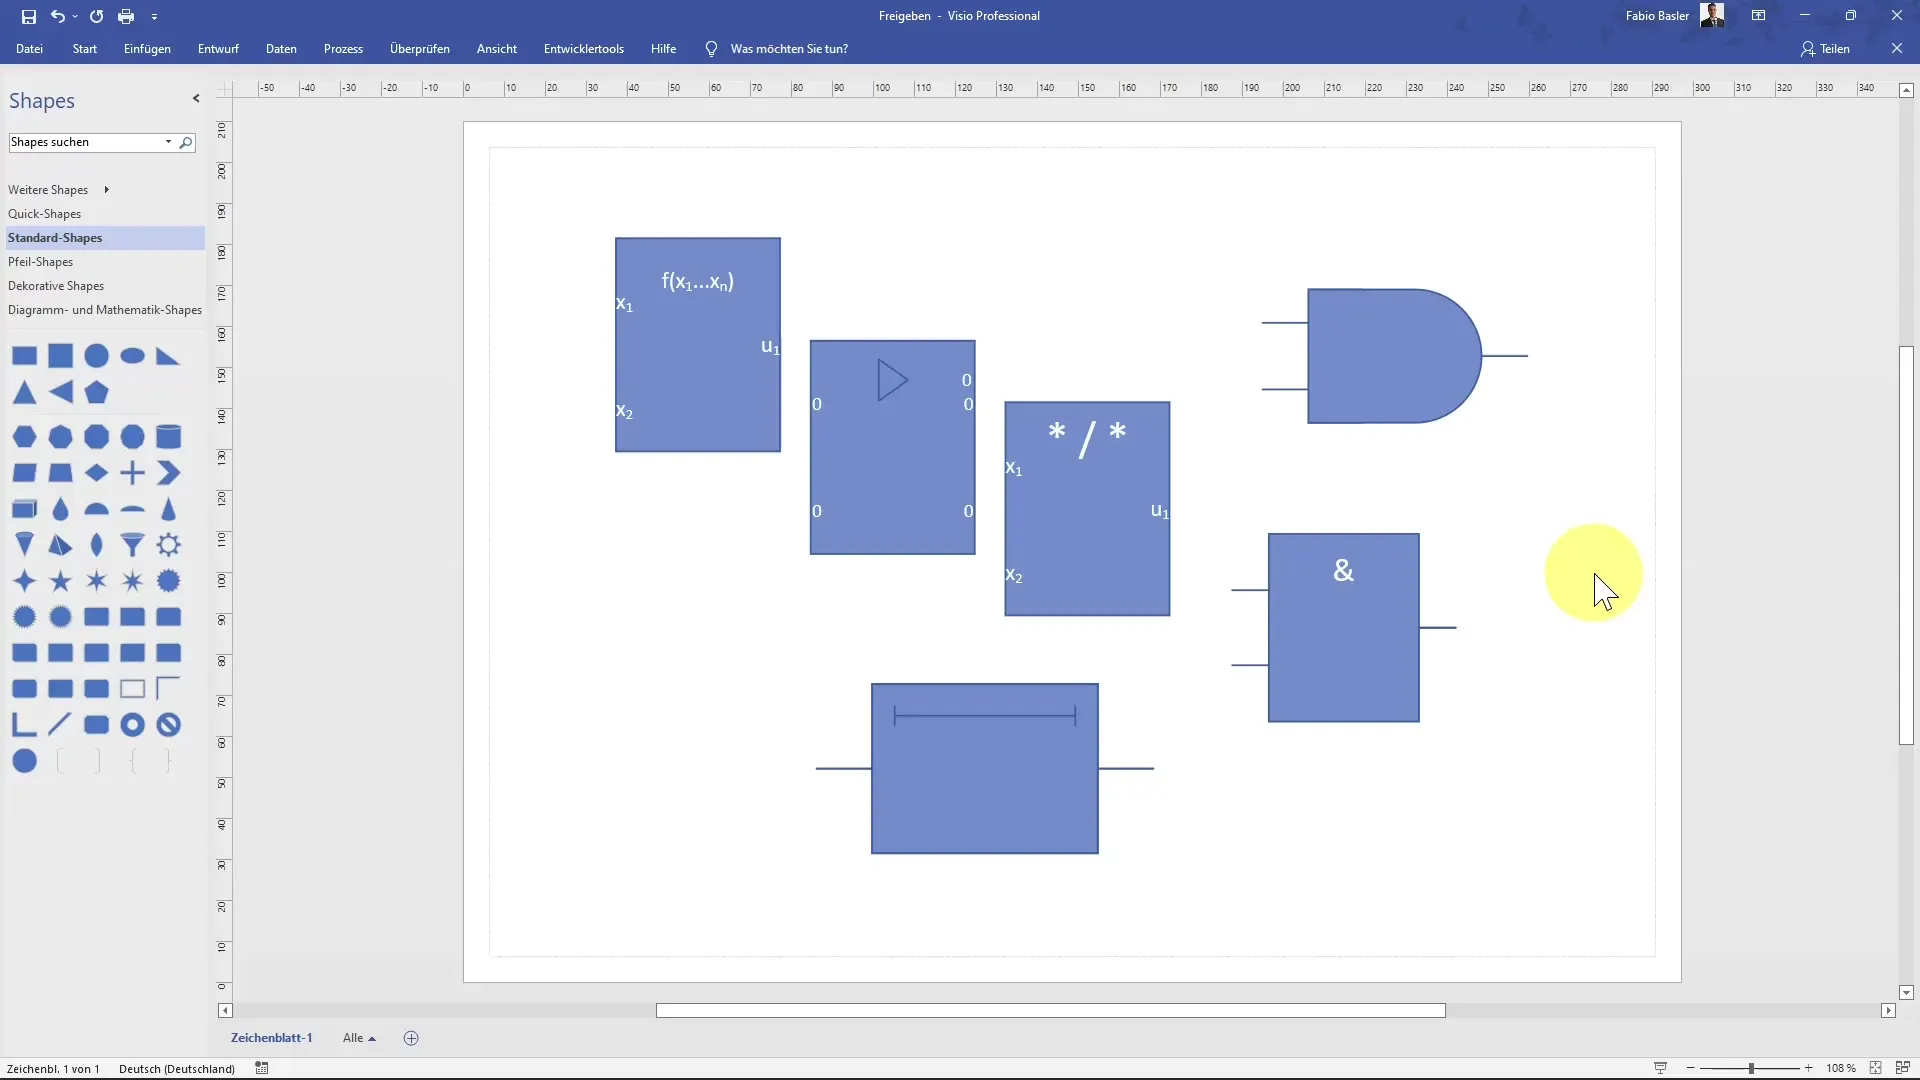
Step 2: Access the Share Menu
To directly access the Share menu, click on the "Share" button on the far right of the program. The right sidebar with sharing options will appear. The main goal is to collaborate with others by storing a copy of your file in an online location.
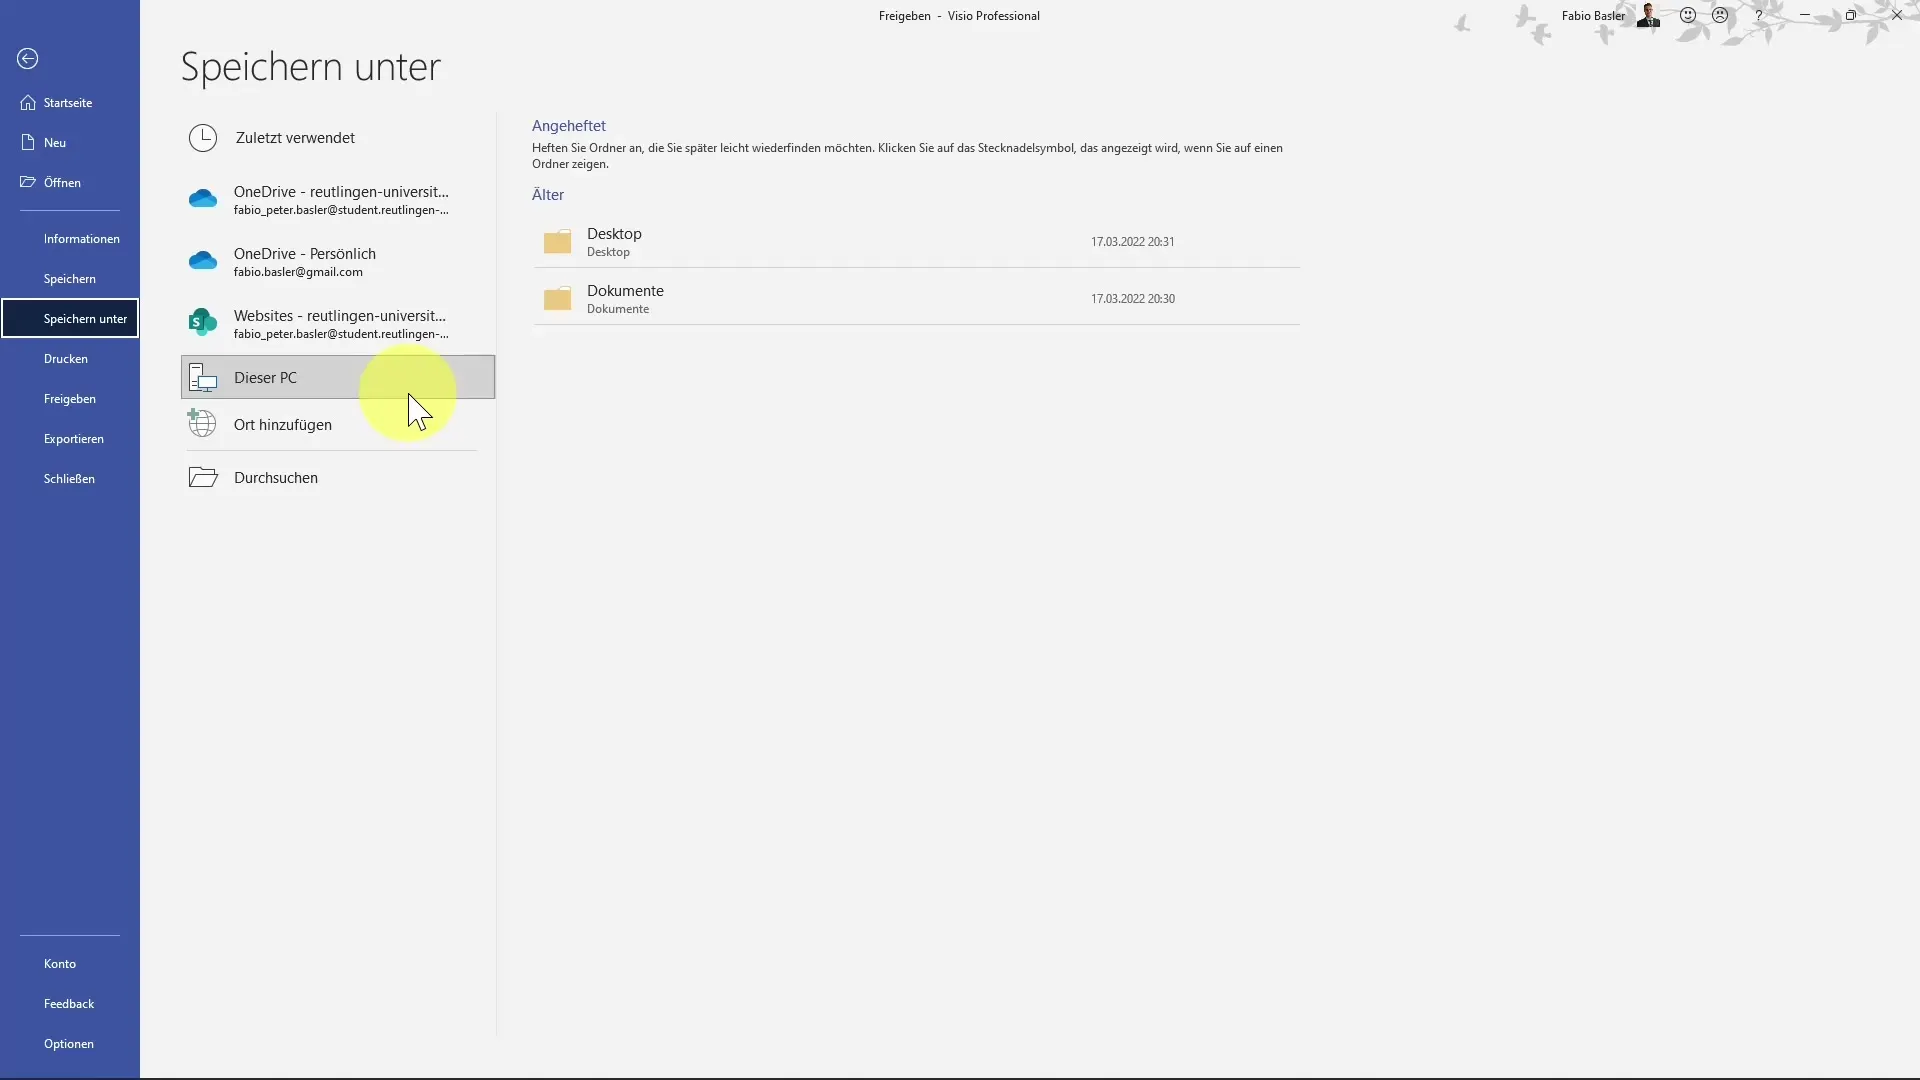
Step 3: Choose a Location
You have the option to choose the location where you want to store the file. Options include saving to your computer, SharePoint, or OneDrive. You can also directly connect to OneDrive to store your file there.
Step 4: Save File and Invite People
Once you have selected the storage location, you can save the drawing. During this process, you have the option to invite different people who should have access to your Visio file. You can add a message and specify whether people can edit the file or simply view it.
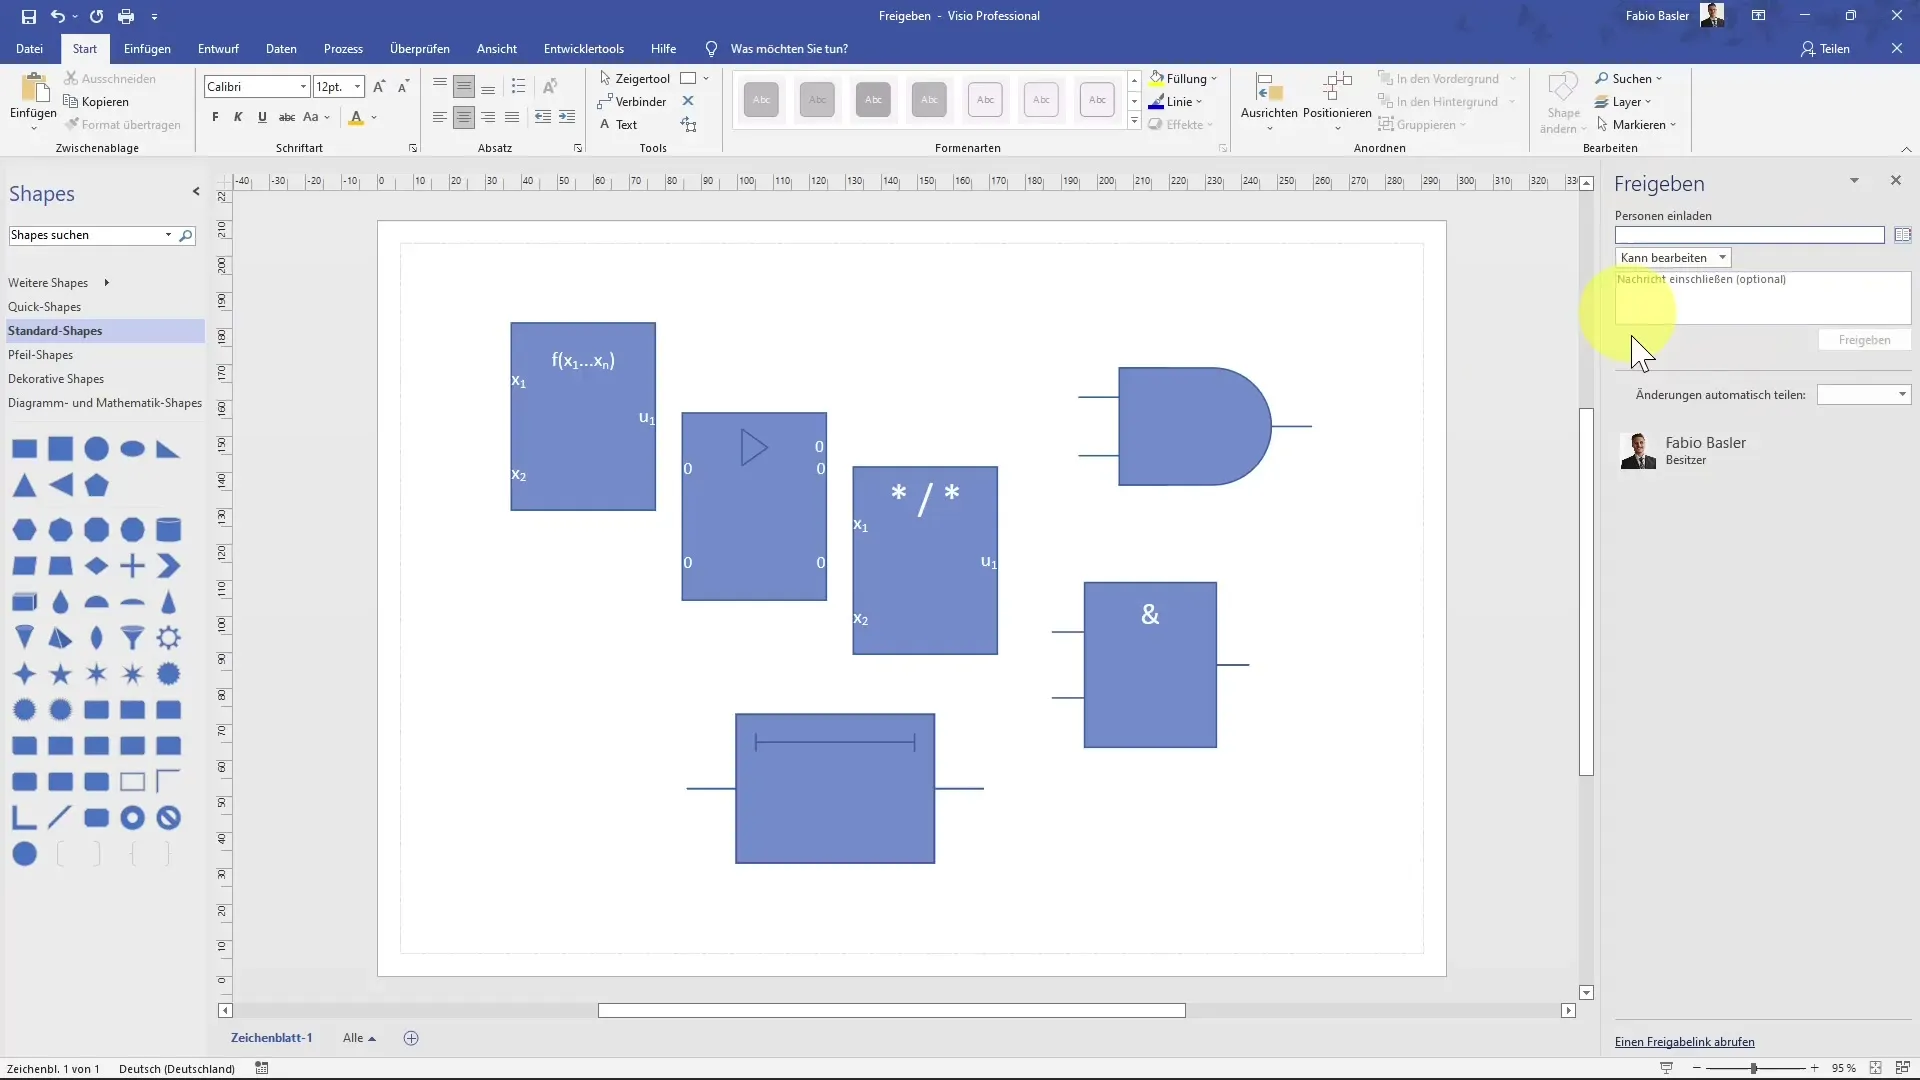
Step 5: Control Changes
There are options to control how changes to the document are handled. You can choose whether changes should be automatically shared or if you always want to be asked as the author.
Step 6: Create a Sharing Link
A very useful feature is creating a sharing link. Click on the area for the sharing link to copy it. You can then paste this link into other documents or send it directly to your colleagues.
Step 7: Edit Online
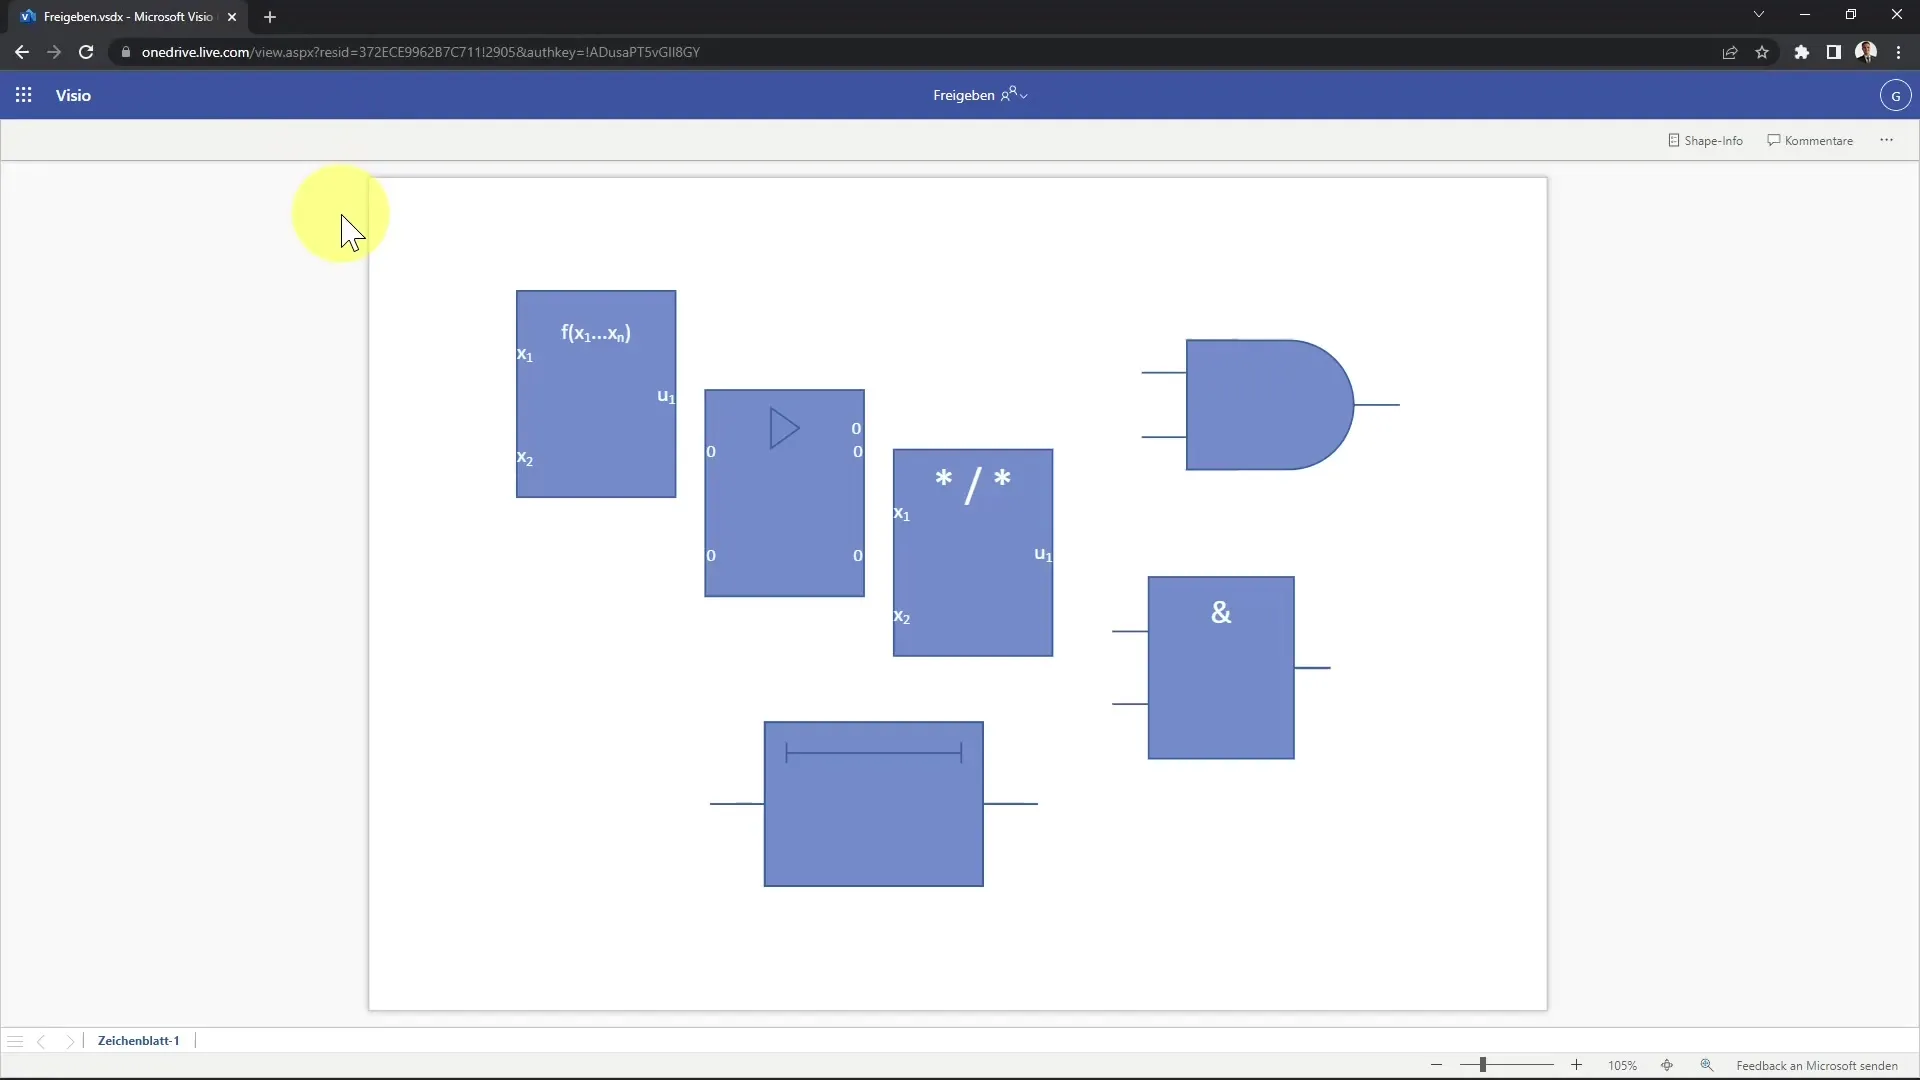
Now you can also edit the drawing in Visio Online. Your colleagues will access the online area through the link you created, where they can edit the documents and add comments.
Step 8: Send Files via Email
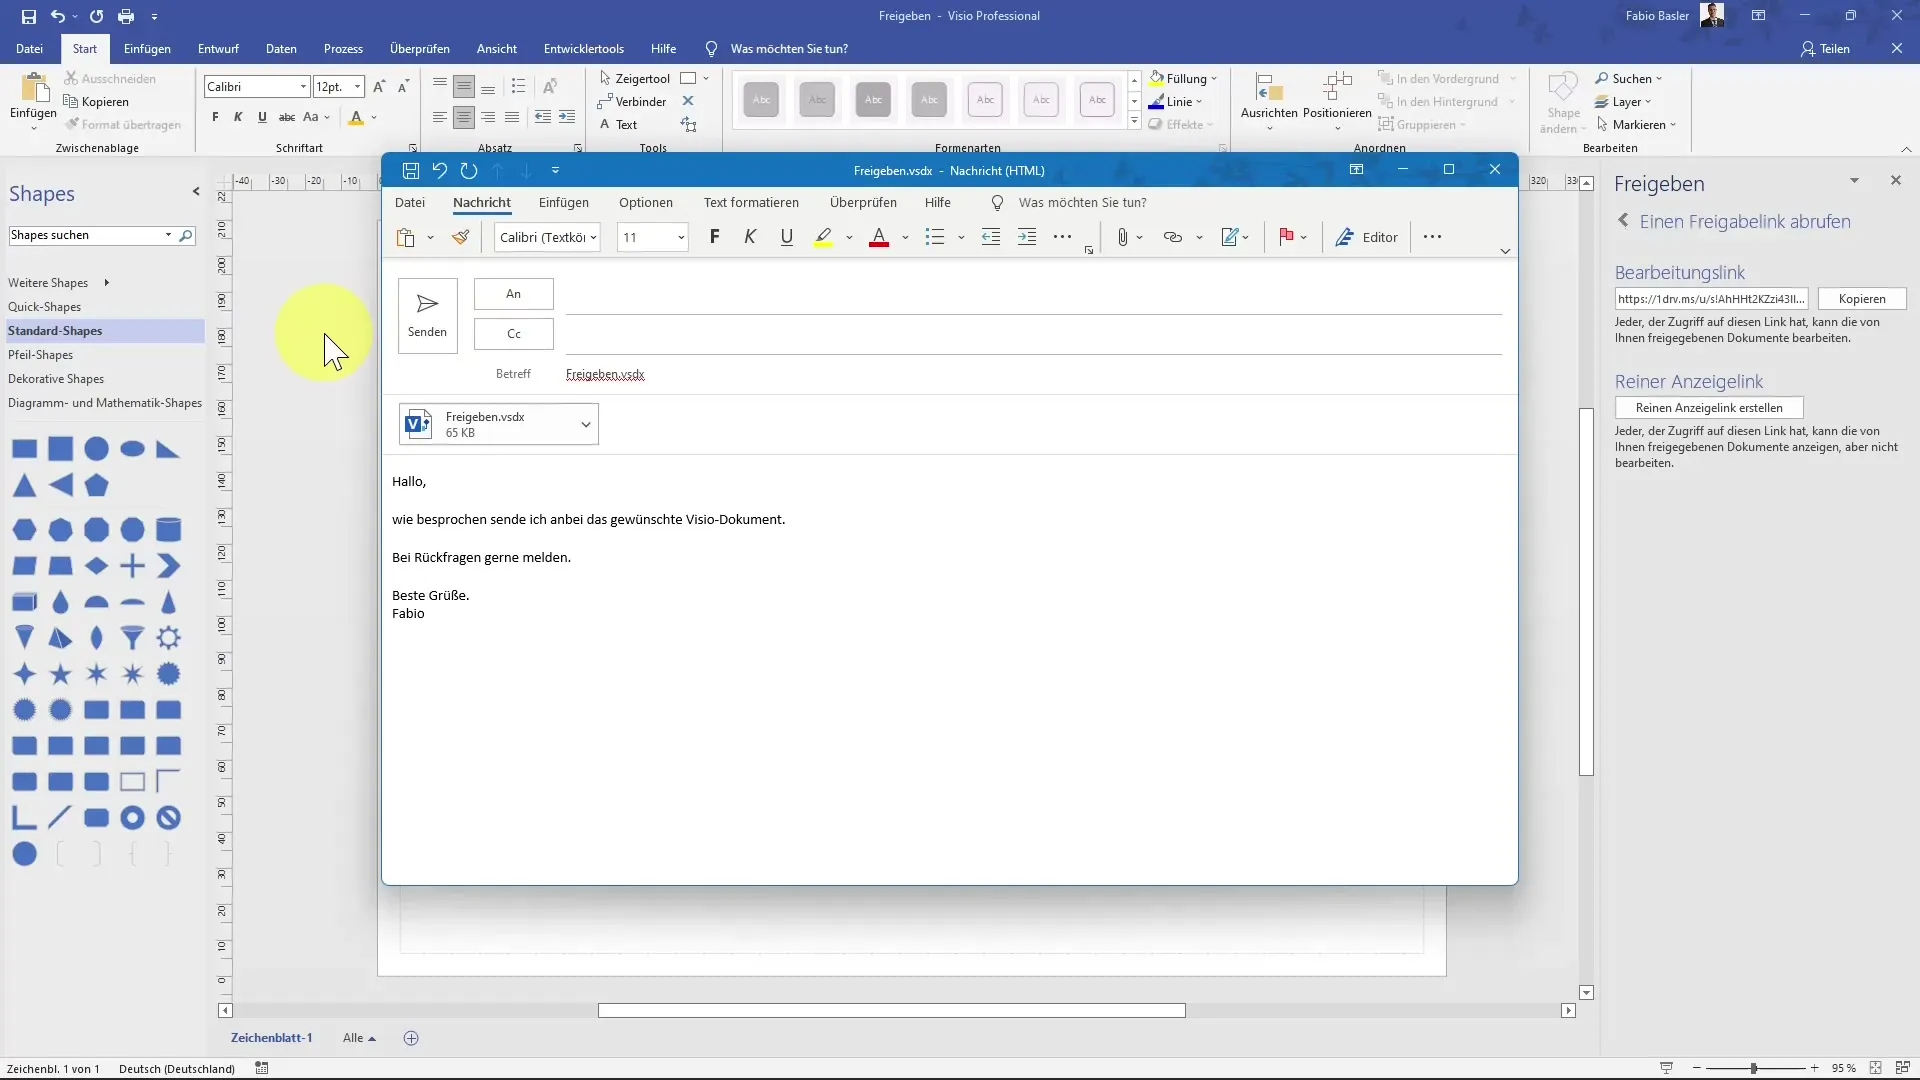
If you prefer, you can also send the Visio files directly via email. Go to "File" and select "Share." Here you have the option to send the file as an attachment or link.
Step 9: Send Email
In the email dialogue, you can add the recipient's address and customize the subject and message. Once everything is set, click "Send," and your file will be sent.
Summary
In this guide, you learned how to easily and efficiently share your Visio drawings. Whether through OneDrive, SharePoint, or email, the possibilities are diverse and enable good collaboration with your team. By selecting the right sharing options, you can ensure that your colleagues have the desired access to your files and can effectively work on projects.
Frequently Asked Questions
Which storage locations can I choose for sharing my Visio files?You can save your files on the local computer, SharePoint, or OneDrive.
Can I specify whether others can edit the file or only view it?Yes, you have the option to control access so that people can either edit the file or just view it.
How do I create a shareable link for my file?You can create a shareable link in the sharing menu and copy it to the clipboard.
Can I send my Visio files directly via email?Yes, you can send your files via email attachment or link using the sharing function.
Will I be automatically notified of changes made to my file?You can configure in the sharing options whether you want to be informed of changes or not.


