Layers in MS Visio not only allow you to create a clearer structure in your diagram, but also provide an efficient way to manage different objects. When working on a complex project where many elements are visible at the same time, layers help you maintain clarity. You will learn how to create, customize, and utilize layers to make your work in Visio even more effective.
Key Takeaways
- Layers allow you to hide and edit objects.
- You can adjust colors and transparencies for layers.
- With layers, you can control the print view and selectively lock or unlock elements.
Step-by-Step Guide
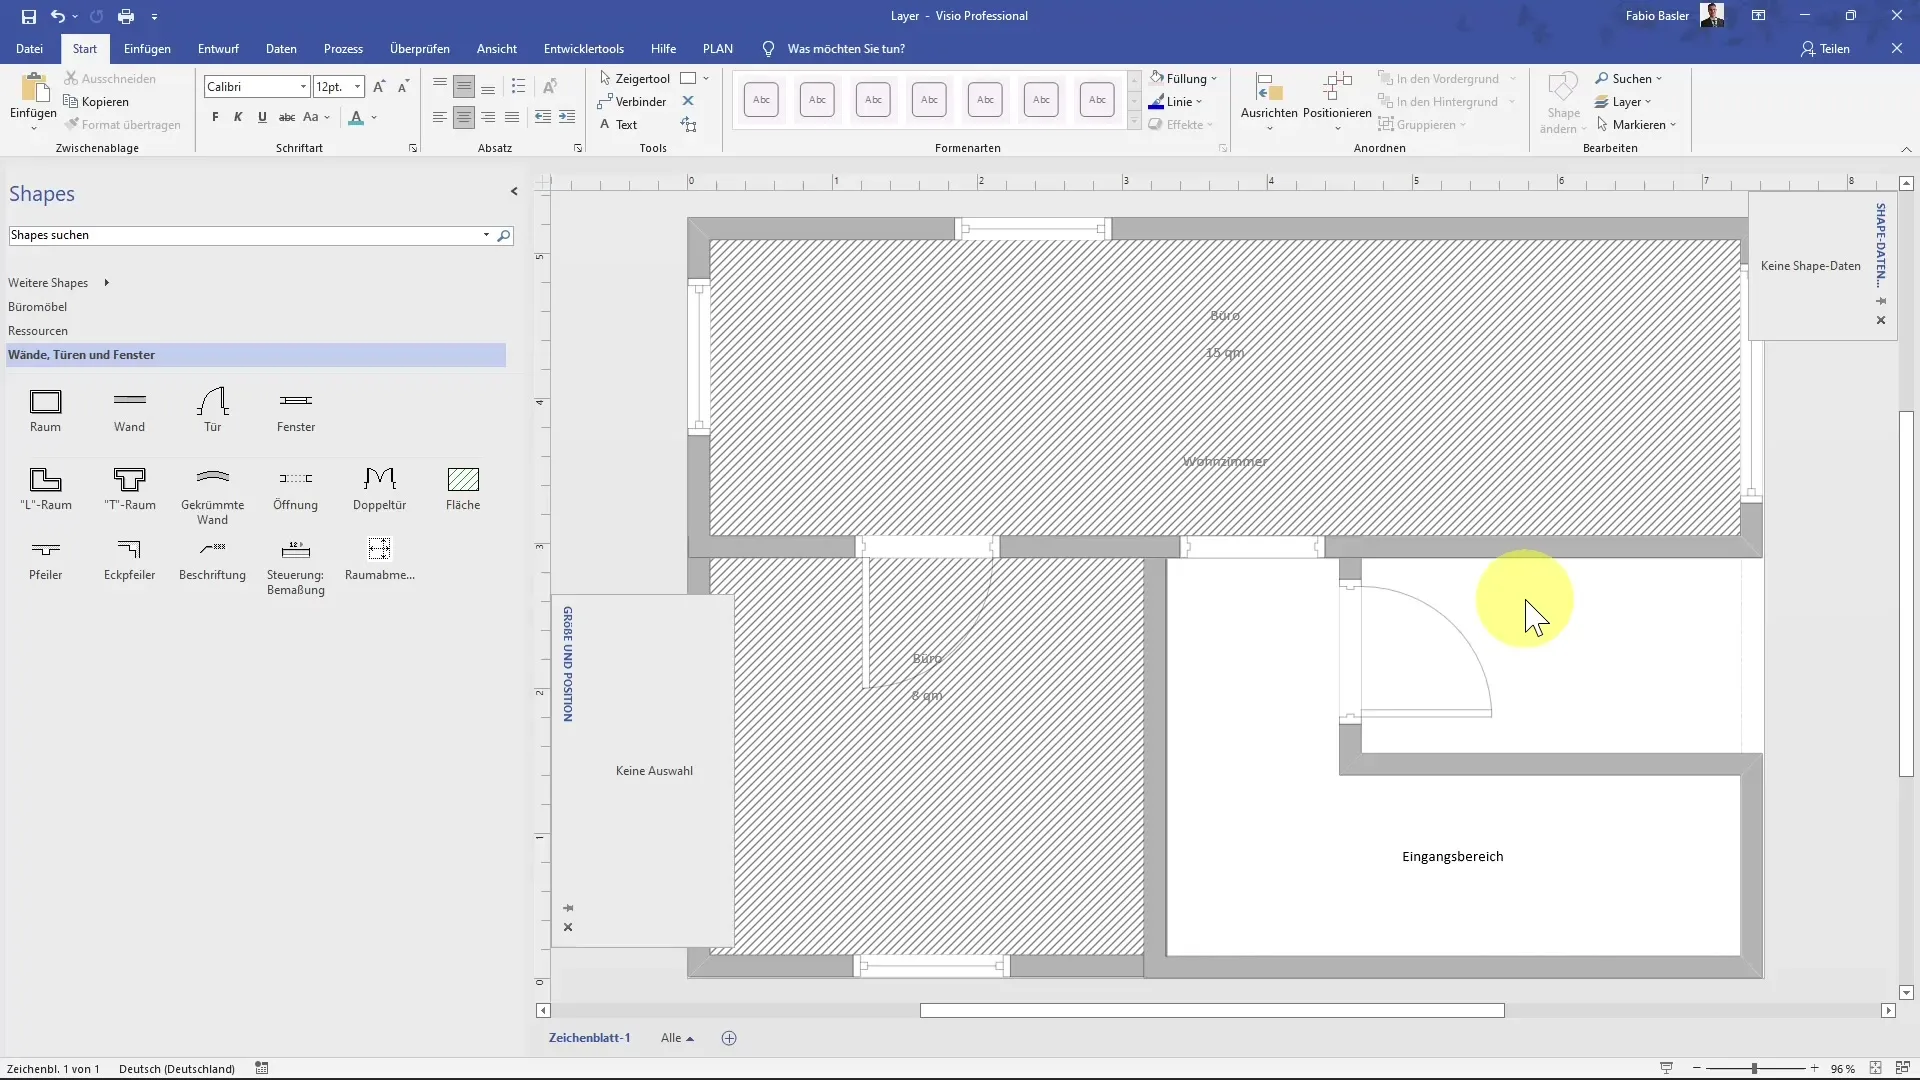
First, you should open an existing floor plan in Visio to experience the functions of layers in a practical application. We have already created a small floor plan with different elements such as living room, office, and entrance area.

Open Layer Properties
To use layers, you need to open the layer properties. This can be done through the menu, where you'll see a new dialog box showing all active layers in the document. These layers are in a hierarchy and consist of multiple drawing objects.
Assign Elements to a Layer
If you want to adjust specific elements in your diagram, you can simply assign them to a layer. For example, if you want to hide all windows, you can select them and do not need to select each window individually. With just one click through the layer properties, you can hide all windows simultaneously.
Adjusting Properties
Once you have opened the layer properties, you will see more customization options. Here, you can change the color for your layers. For example, if you have set a layer to gray, you can quickly change it to green and also adjust the transparency.
Control Visibility for Printing
Another important point is visibility when printing. If you want to ensure that certain elements like rooms are not displayed when printing, you can set them in the layer properties to not appear in the print preview.
Restricting Layer Editing
Layers also offer you the option to restrict edits specifically. For example, by checking "Lock," you can configure a layer so that you can no longer edit the objects within it, providing additional security when sharing your work.
Removing and Renaming Layers
If you decide that certain layers are no longer needed, you can also quickly remove them. This can also be done through the layer properties. Here, you can also rename existing layers to better understand what they contain.
Adding New Layers
If you want to insert new elements or structures that require their own organization, you can create new layers. This helps you categorize and manage specific objects more effectively.
Configuring Layer Colors
You also have the option to configure colors for individual layers. This way, you can ensure that certain elements in your diagram can be identified more quickly.
Summary
In this tutorial, you have learned the basic functions of layers in MS Visio. Layers make it easier to hide, adjust, and manage various components in your diagram, significantly increasing your productivity. Use these functions to make your work clearer and more structured.
Frequently Asked Questions
What are layers in MS Visio?Layers allow for the management and adjustment of objects in Visio by assigning multiple elements to a group.
How can I show or hide layers?Layers can be quickly shown or hidden via the layer properties by simply clicking on the corresponding checkbox.
Can I lock layers?Yes, layers can be locked so that the contained elements cannot be edited.
How do I change the color of a layer?The color of a layer can be easily adjusted through the layer properties.
Can I control the print view for layers?Yes, you can set up layers to not be visible in the print view.


