Designing advertising banners offers an exciting opportunity to combine creativity and design skills. Particularly eye-catching are Skyscraper Banners placed on the side edges of web pages. In this tutorial, you will learn how to create a Skyscraper with a fascinating Melting effect in Photoshop that will catch everyone's attention. By using a modern Long-Color effect and the right fonts, you will create a banner that not only looks appealing but also does proper advertising.
Key Insights:
- The dimensions of the banner snippet are flexibly adjustable.
- A targeted selection and masking are crucial for the effect.
- Shadows and color gradients give the banner depth and dimension.
- Choosing an appropriate font is important for readability and effectiveness.
Step-by-step Guide
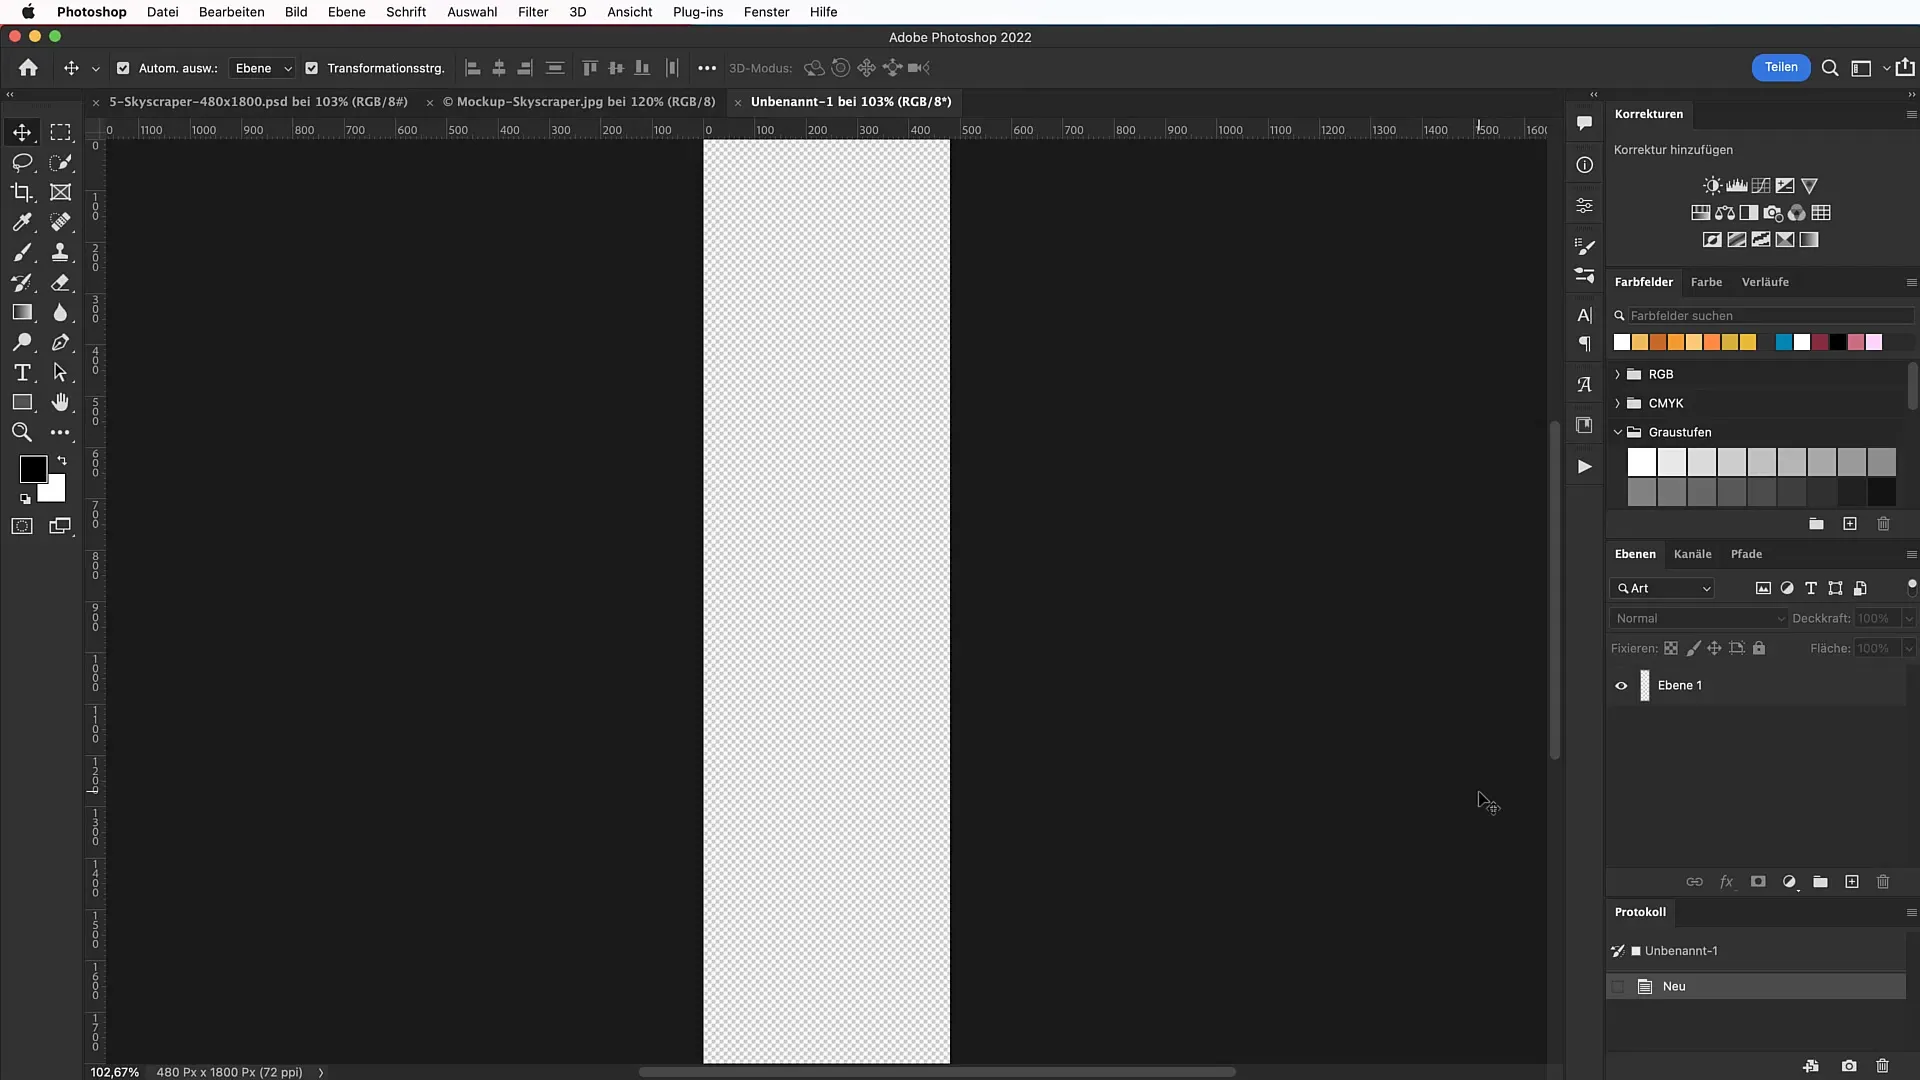
First, open Photoshop and create a new file by using the keyboard shortcut "Command + N" or "Ctrl + N". Set the dimensions to 480 pixels width and 1800 pixels height. These dimensions are suitable for the Skyscraper, although you can vary them to suit your needs.

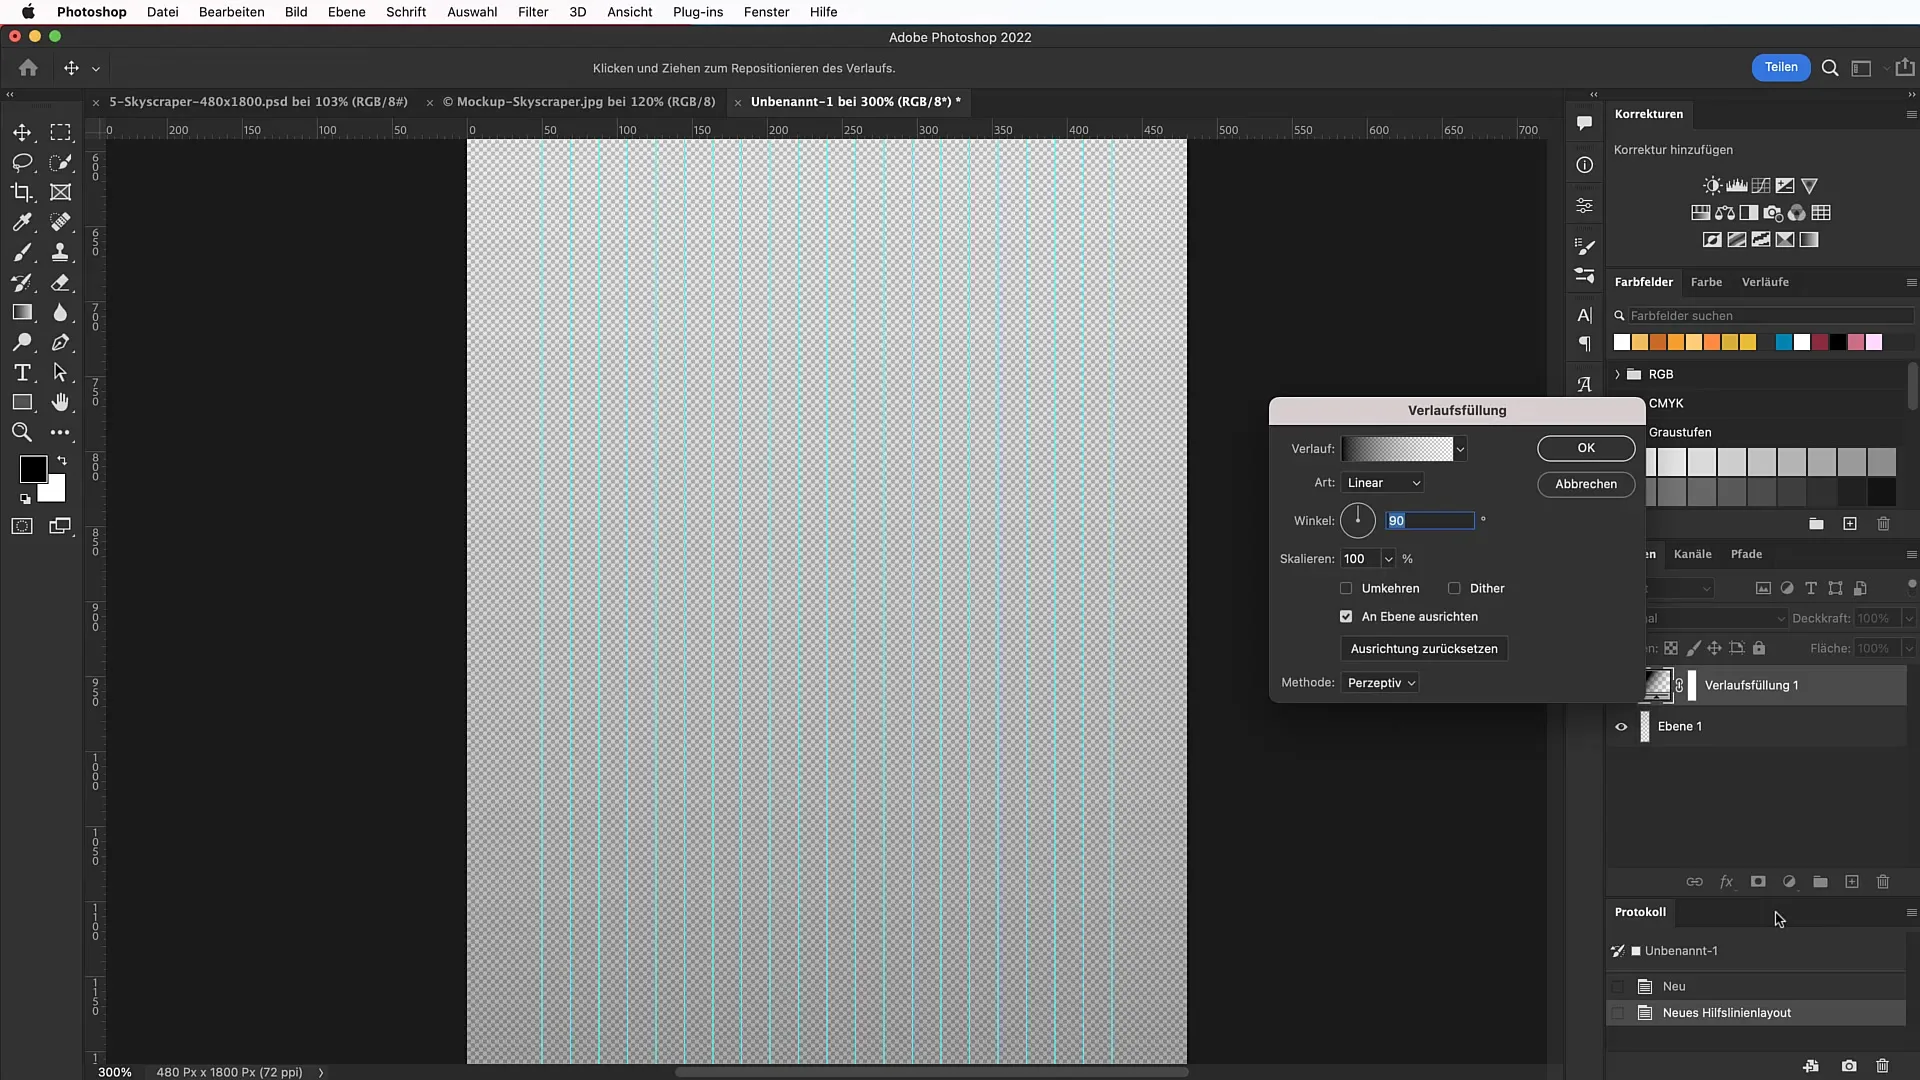
Before starting the design, create a guideline layout. Go to "View" and select "Guideline Layout". Activate the margin options and specify that there should be 50 pixels of distance each from the top, left, and right. Also, activate 20 columns counting from the left edge of the frame.
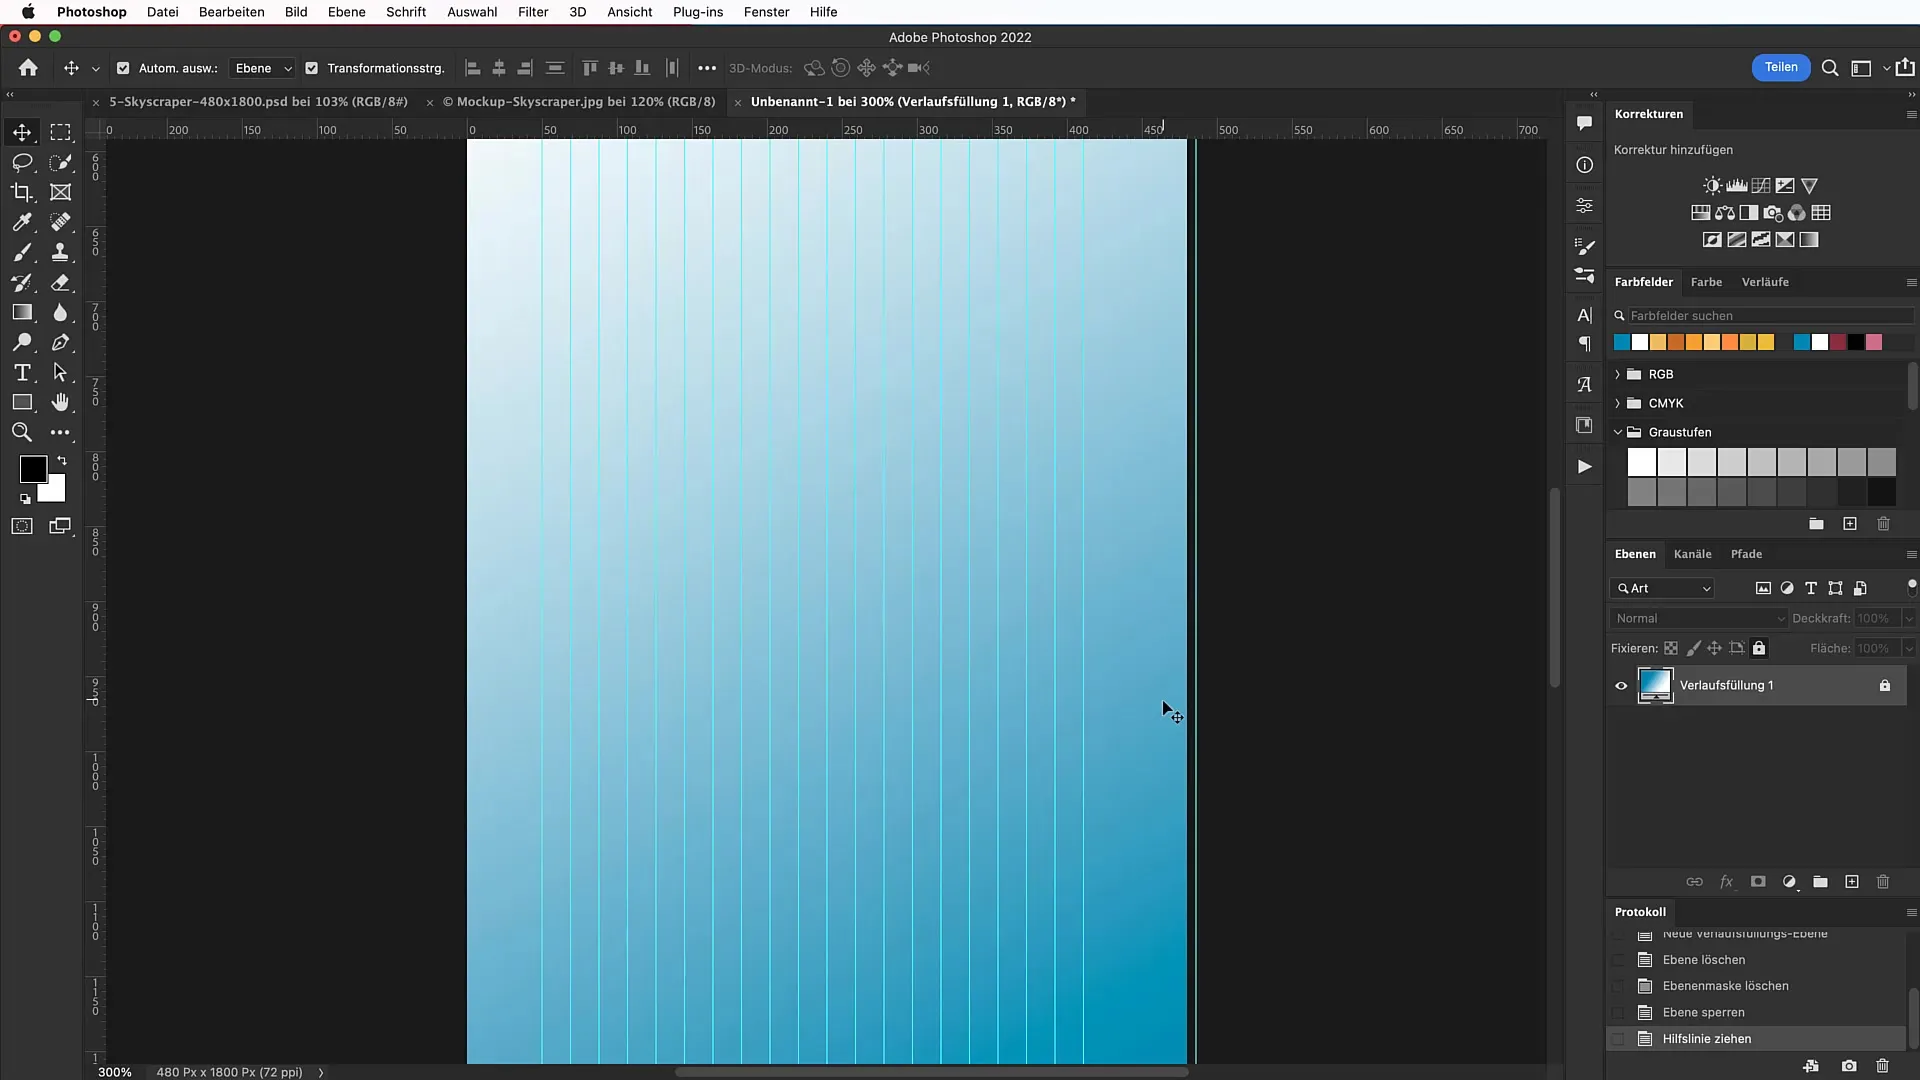
Now, create a gradient to give more dimension to your background. Open the gradient panel and choose the color code 0885b1 for a soft blue on the left and pure white on the right. Set the gradient angle to 120° to create an interesting look.
To prevent the guidelines from being accidentally moved, go to "View" and activate the "Lock Guides" function. This will help you avoid frustrating situations while designing.
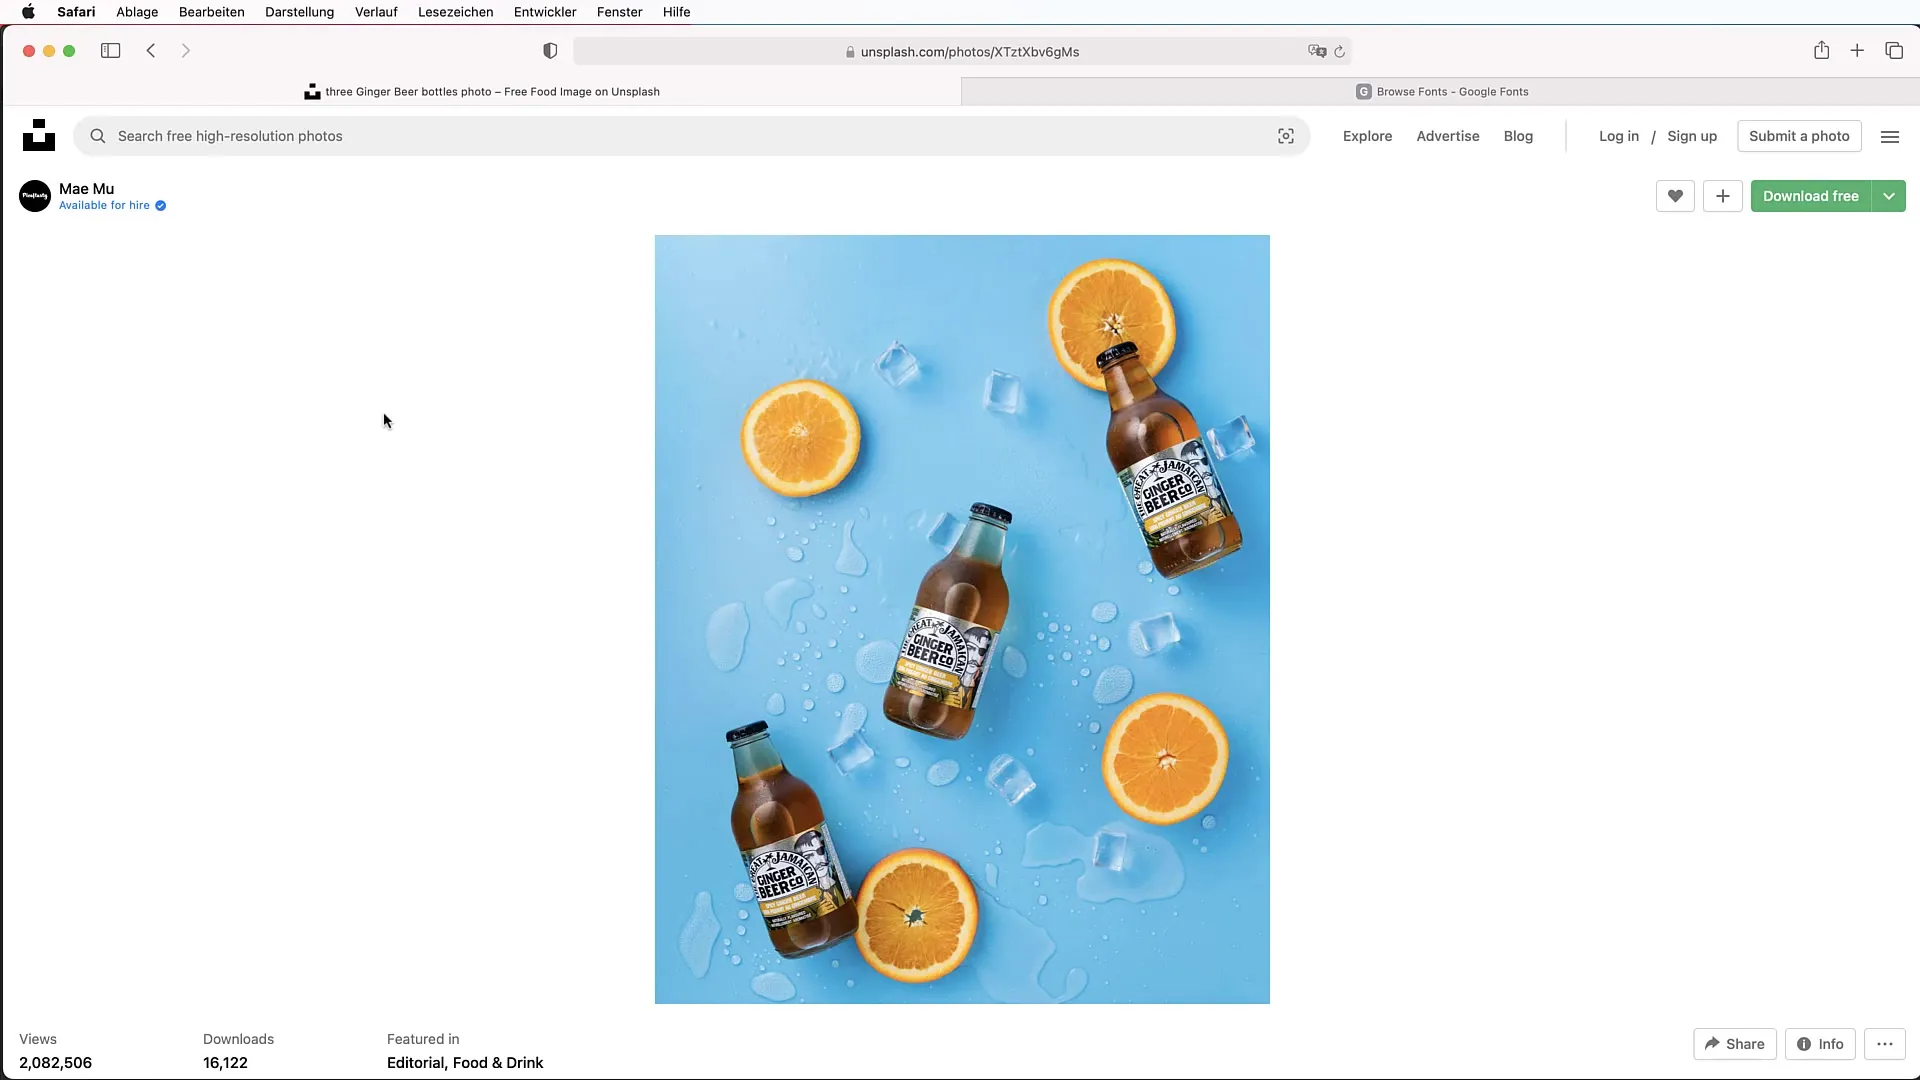
Next, you need a striking motif. Find an attractive image on unsplash.com or another platform. Download the image and open it in Photoshop. Use the quick selection tool to select the desired object. To match it well with your Skyscraper, choose a bottle or another object.
After using the selection tool, go to "Select and Mask" to refine the selection. Remove unwanted parts by selecting the minus icon and hovering over the area you do not want. To optimize the edges, set the feather and contrast to about 10%.
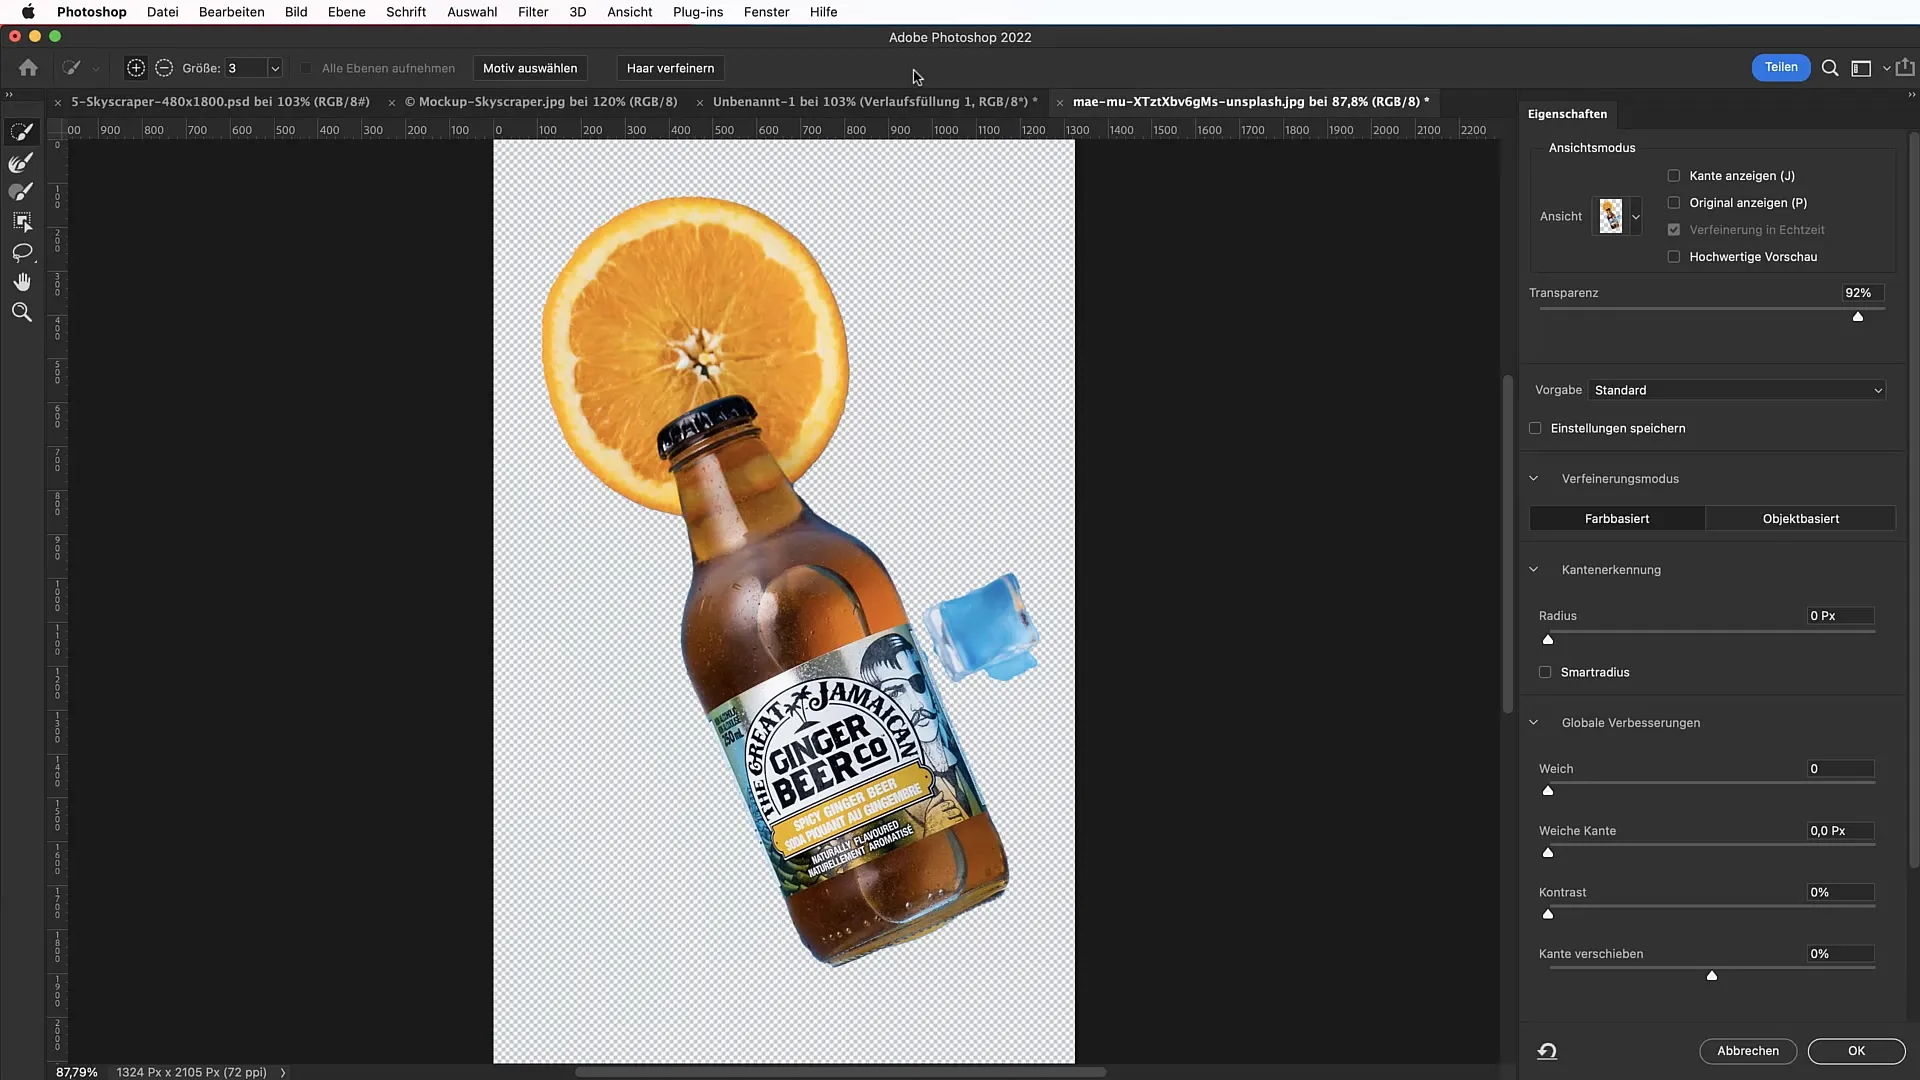
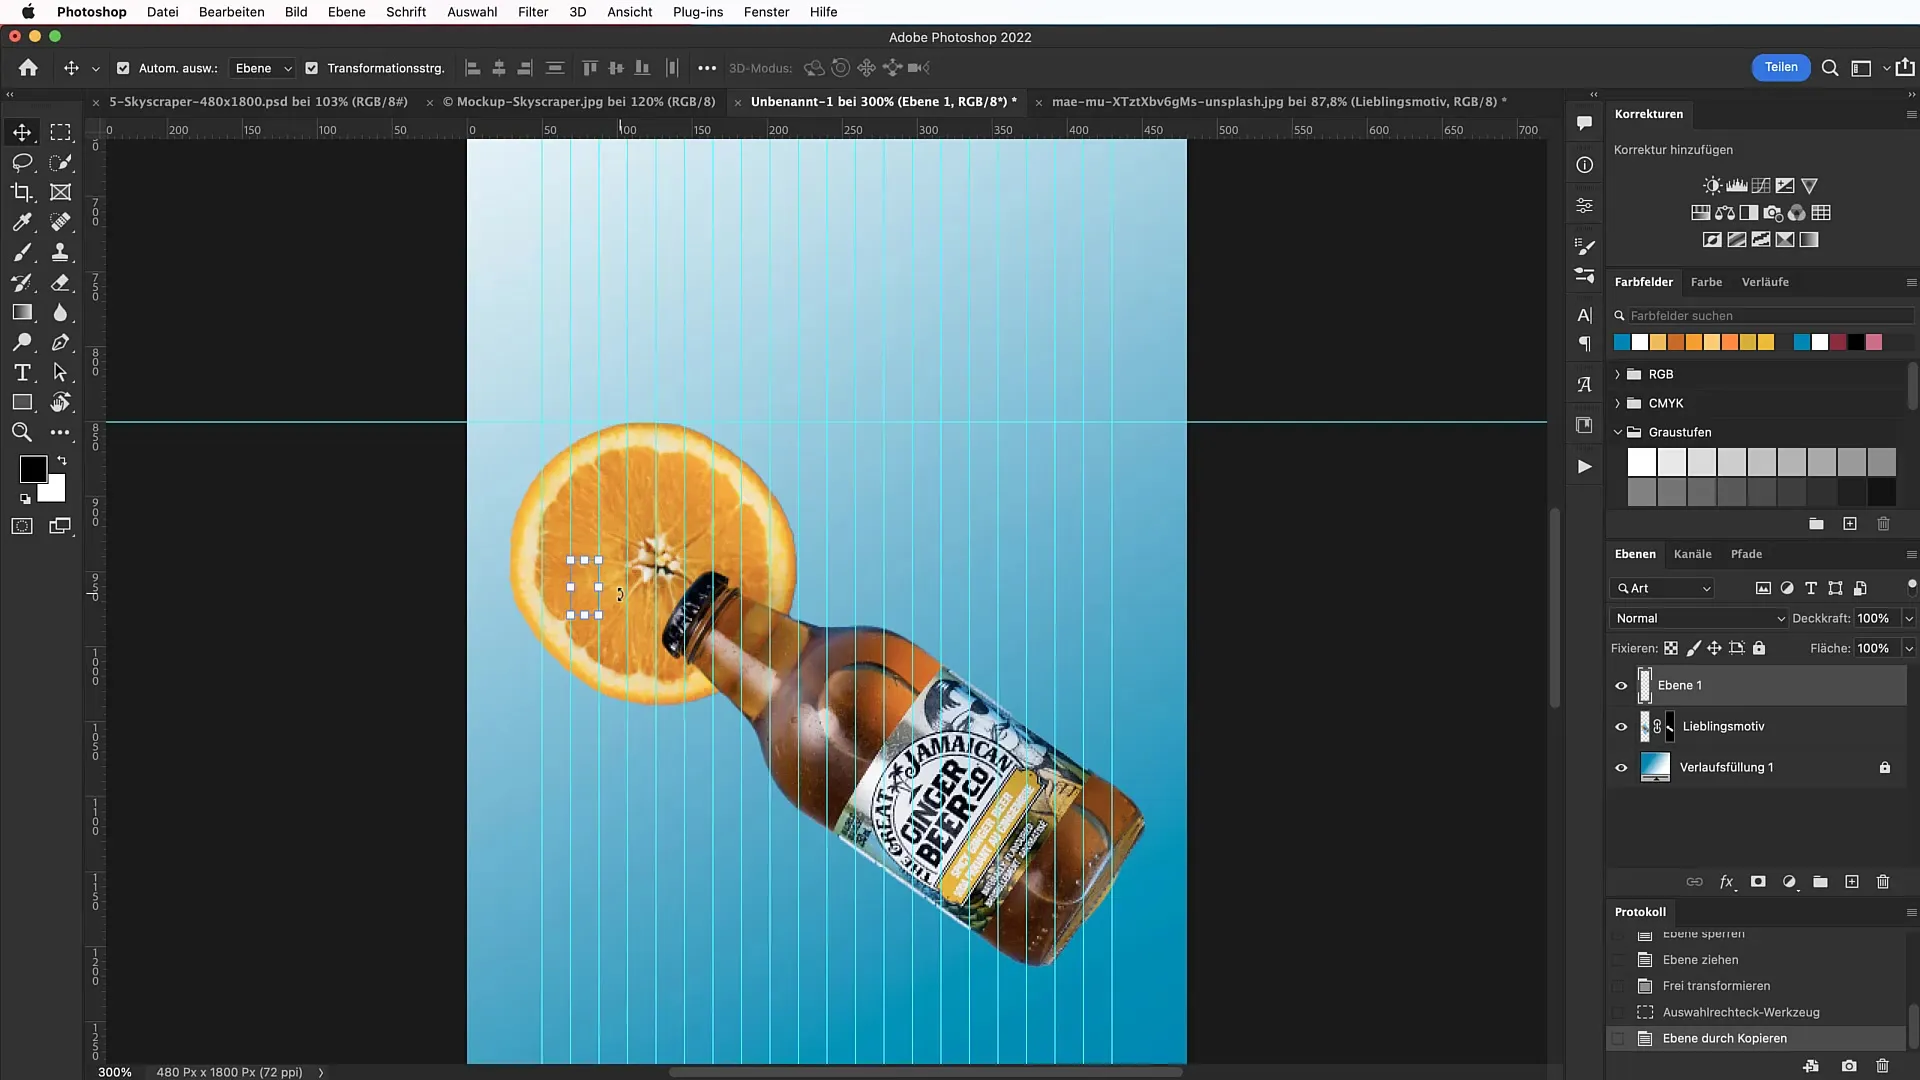
Once you are satisfied with the selection, click on "Layer Mask" and drag the cut-out motif to your new workspace. Hold down the Option and Shift keys to scale the motif proportionally. Position it to look appealing and overlap sufficiently with the guidelines.
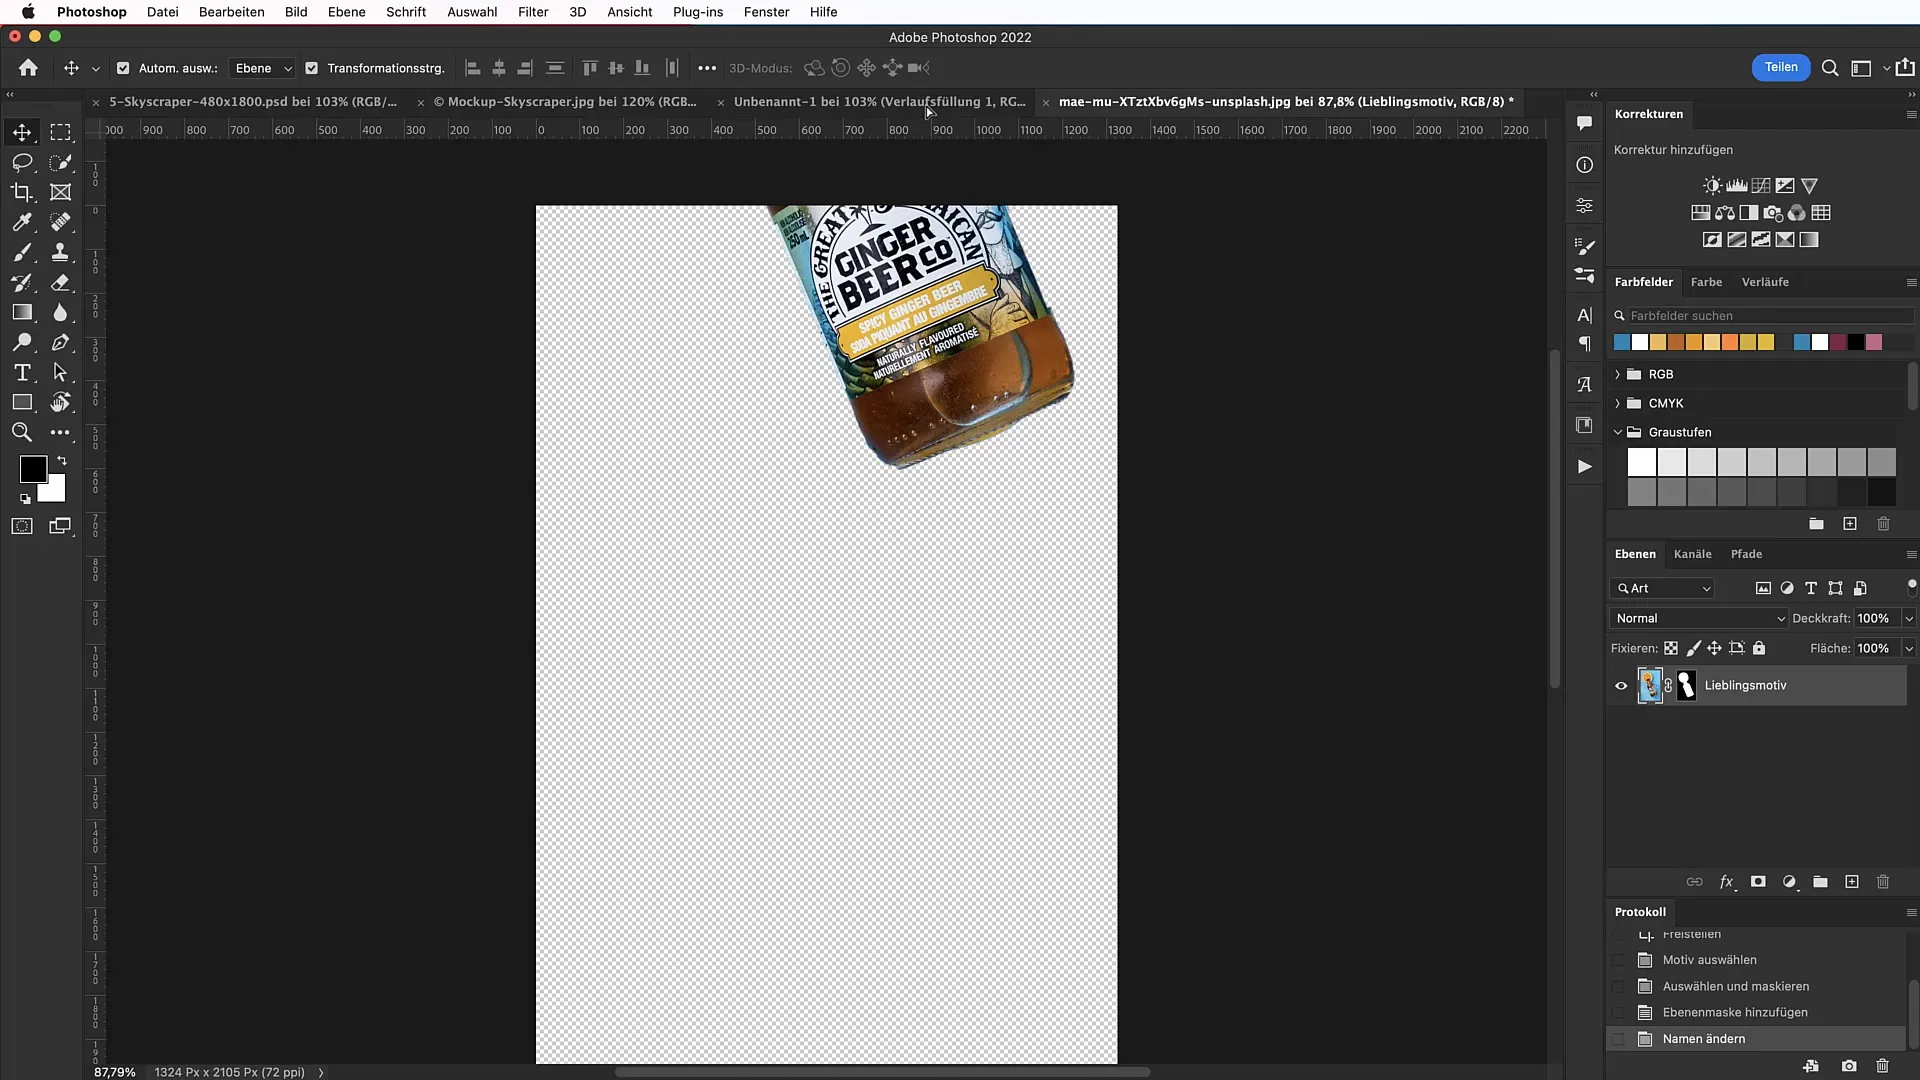
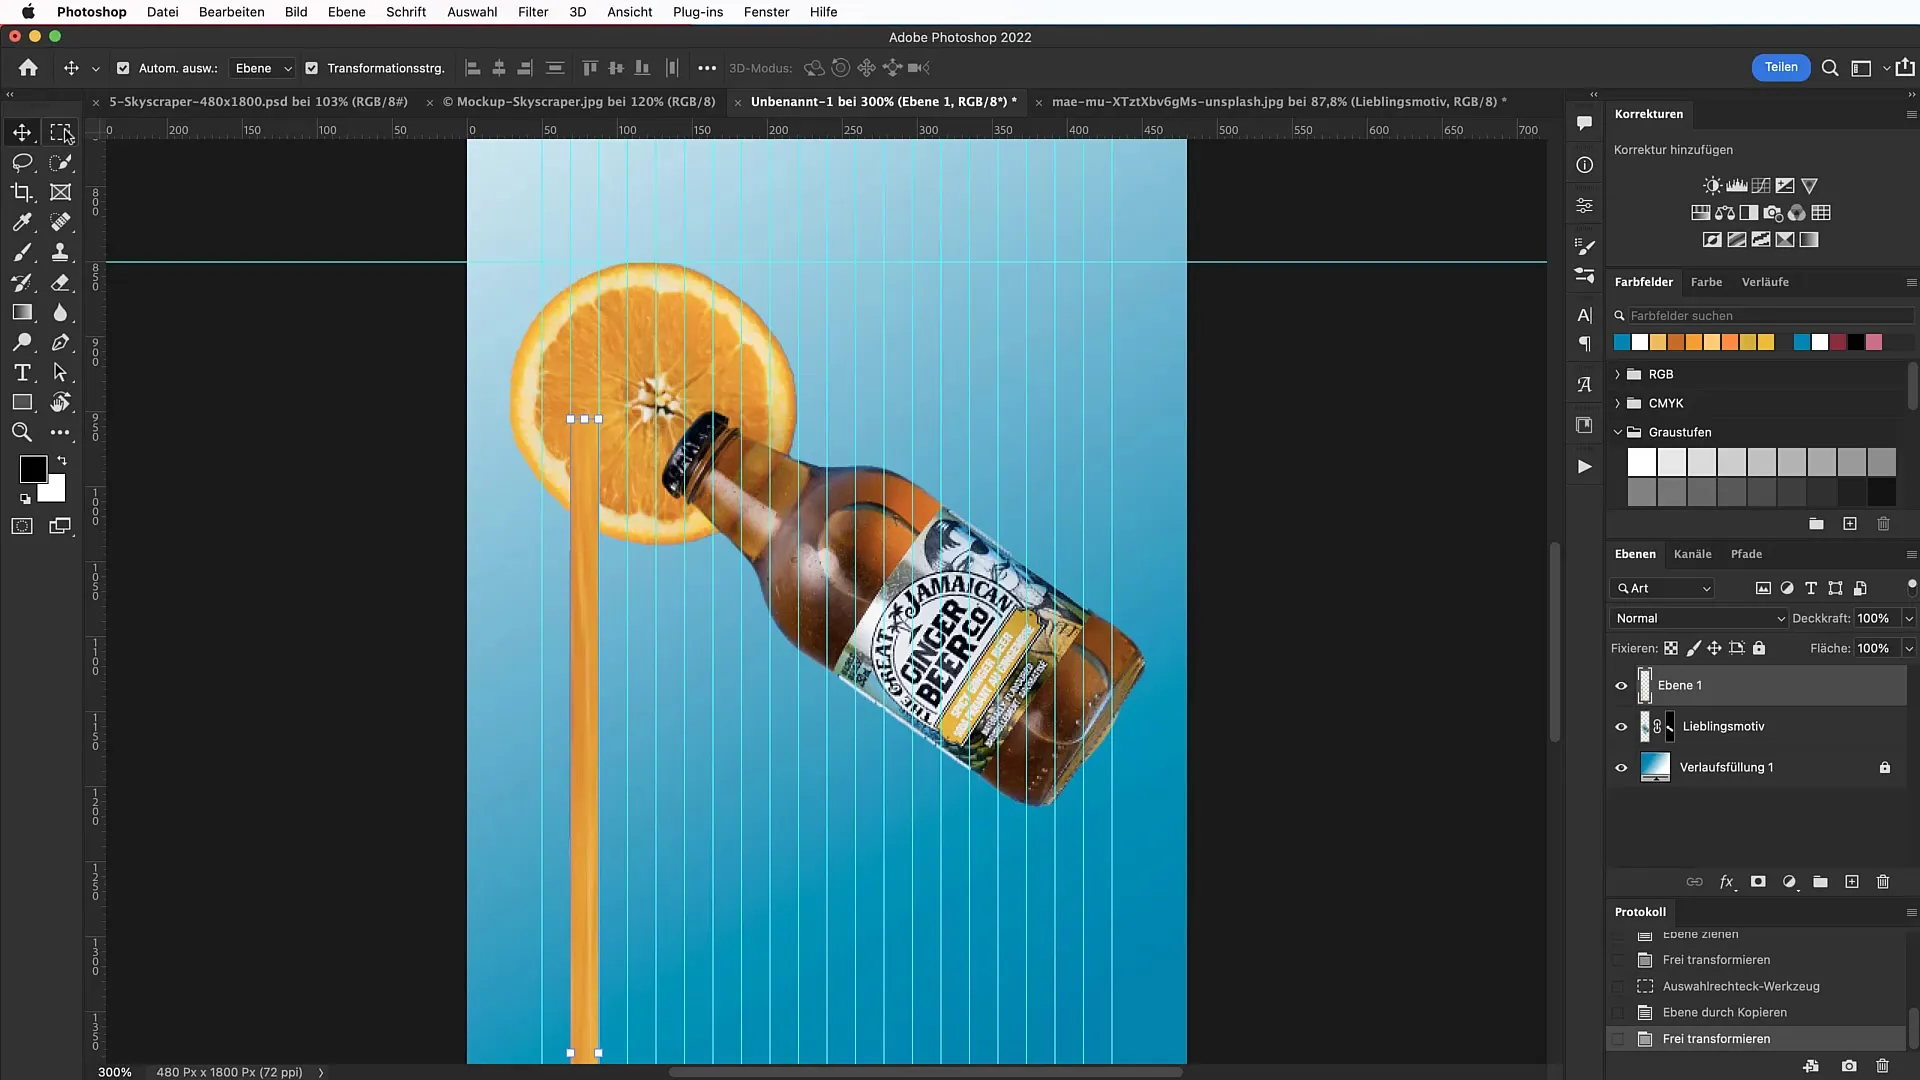
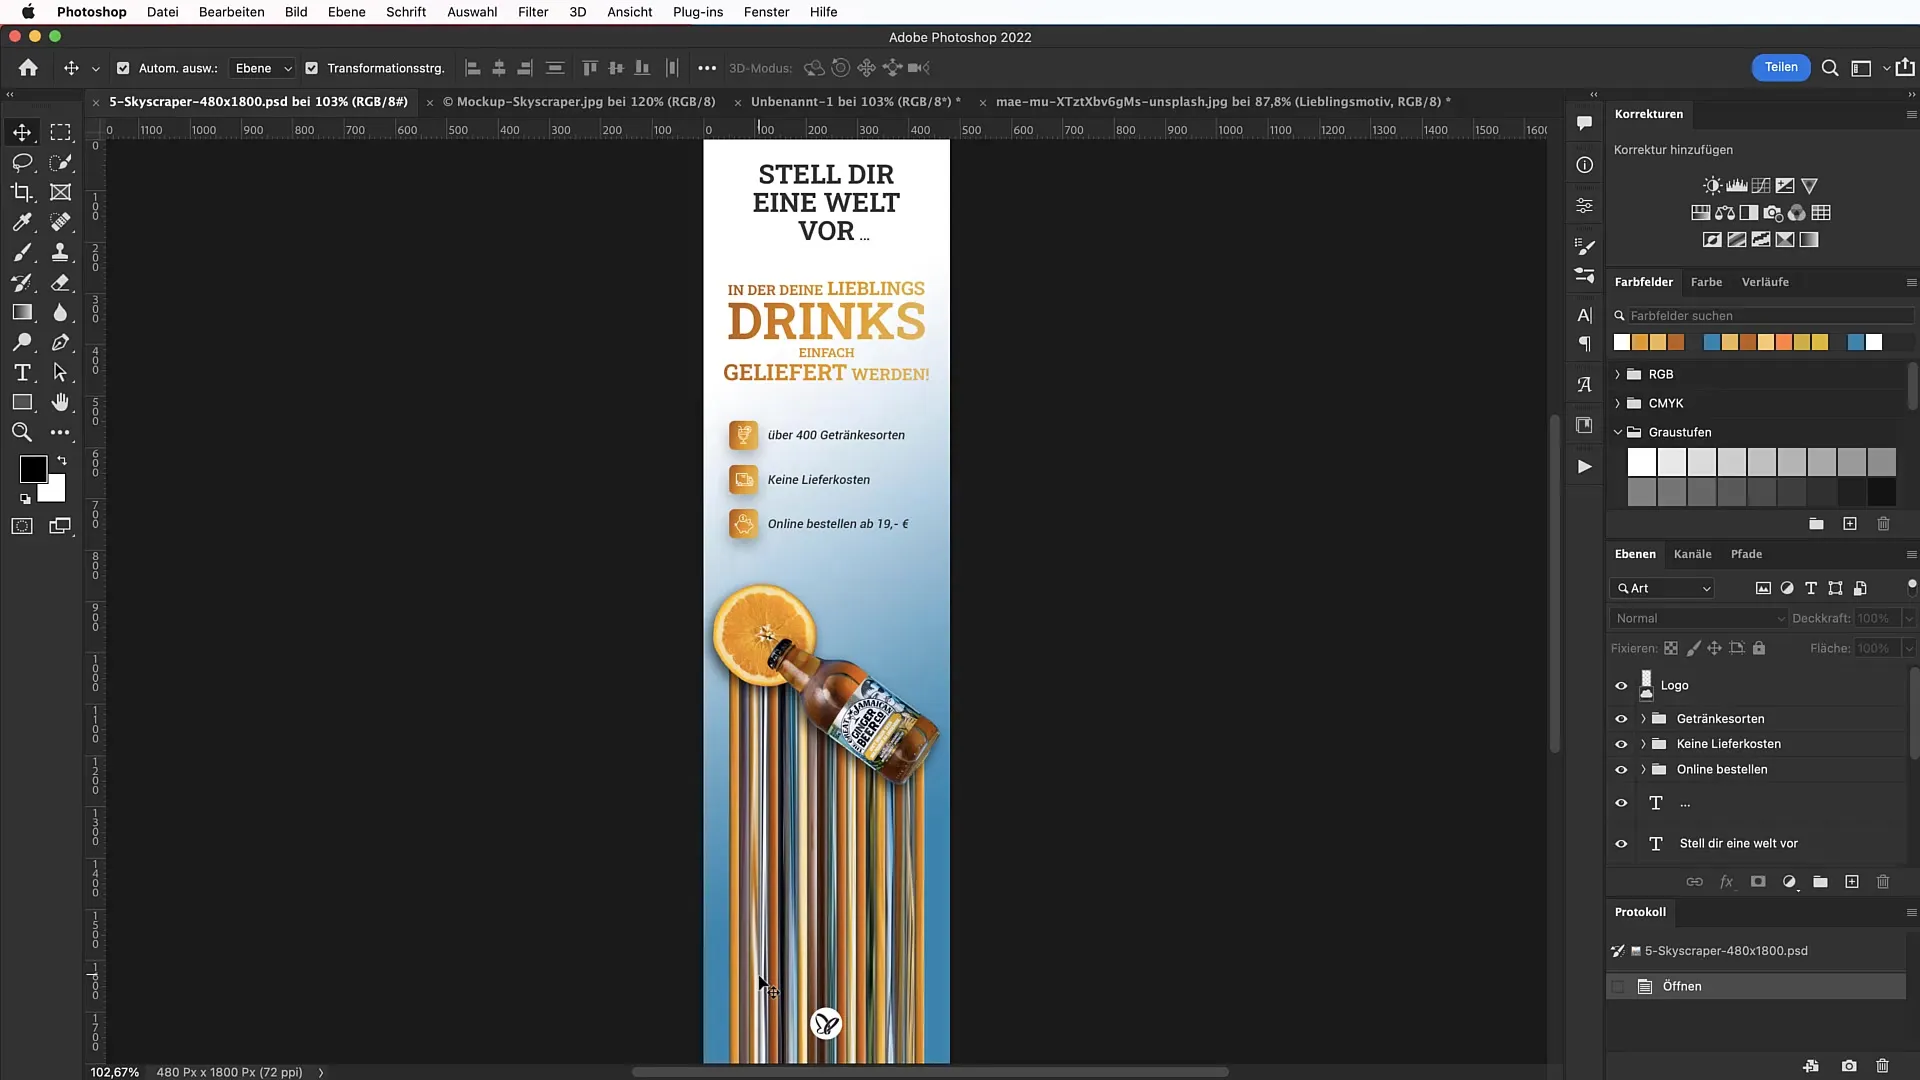
Now, you will create the characteristic melting effect. Select the rectangle selection tool and draw a rectangle over the motif. Use the copy function "Command + J" to move this area to a new layer. Use the move tool to drag the bottom edge of the rectangle down to achieve the melting gradient.
To refine the effect, try different color selections and add different rectangle selections. Always follow the same steps in a rhythm to ensure consistent transitions. Adding multiple overlapping layers will enhance the rich look.
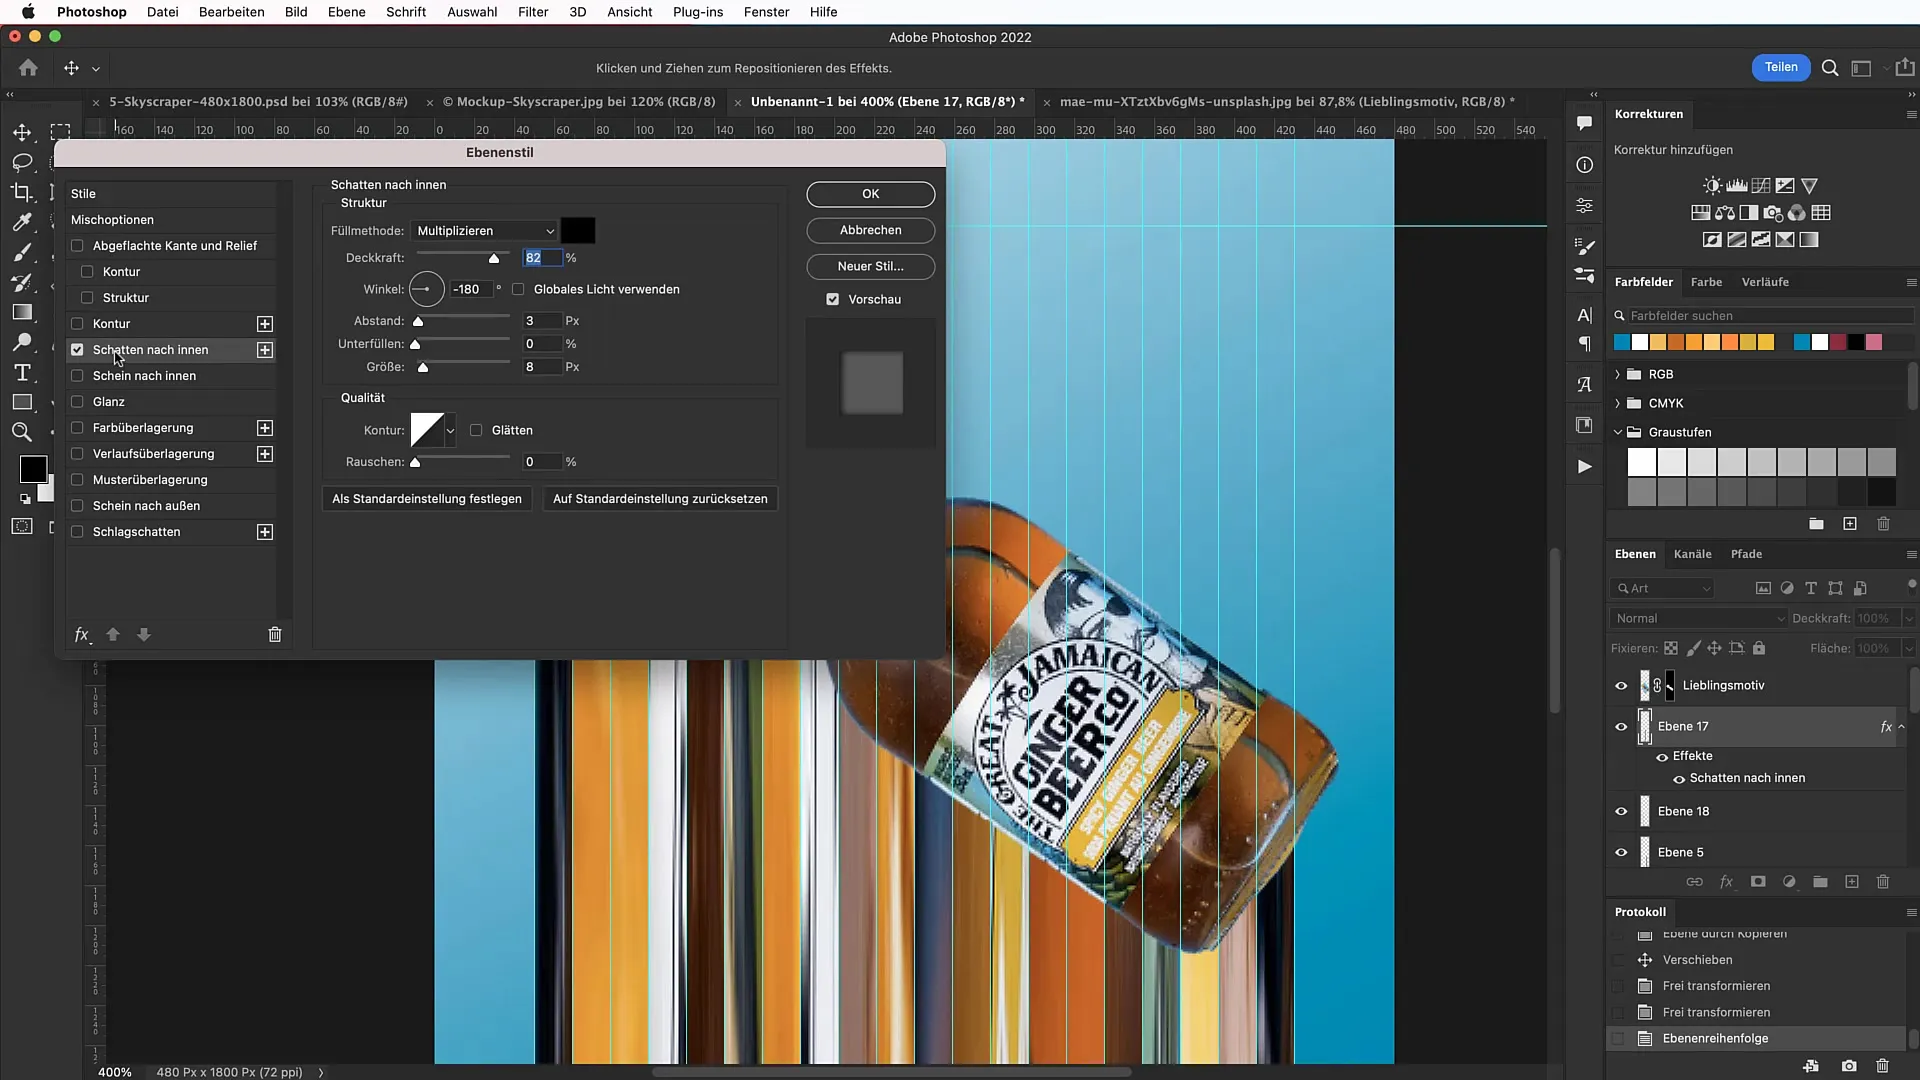
Once you are satisfied with the result, you can adjust the shadows and fill options. Go to the fill options for your top layer and activate the inner and outer shadow depth. Optimize the values to achieve the desired effect and make your banner look more vibrant.
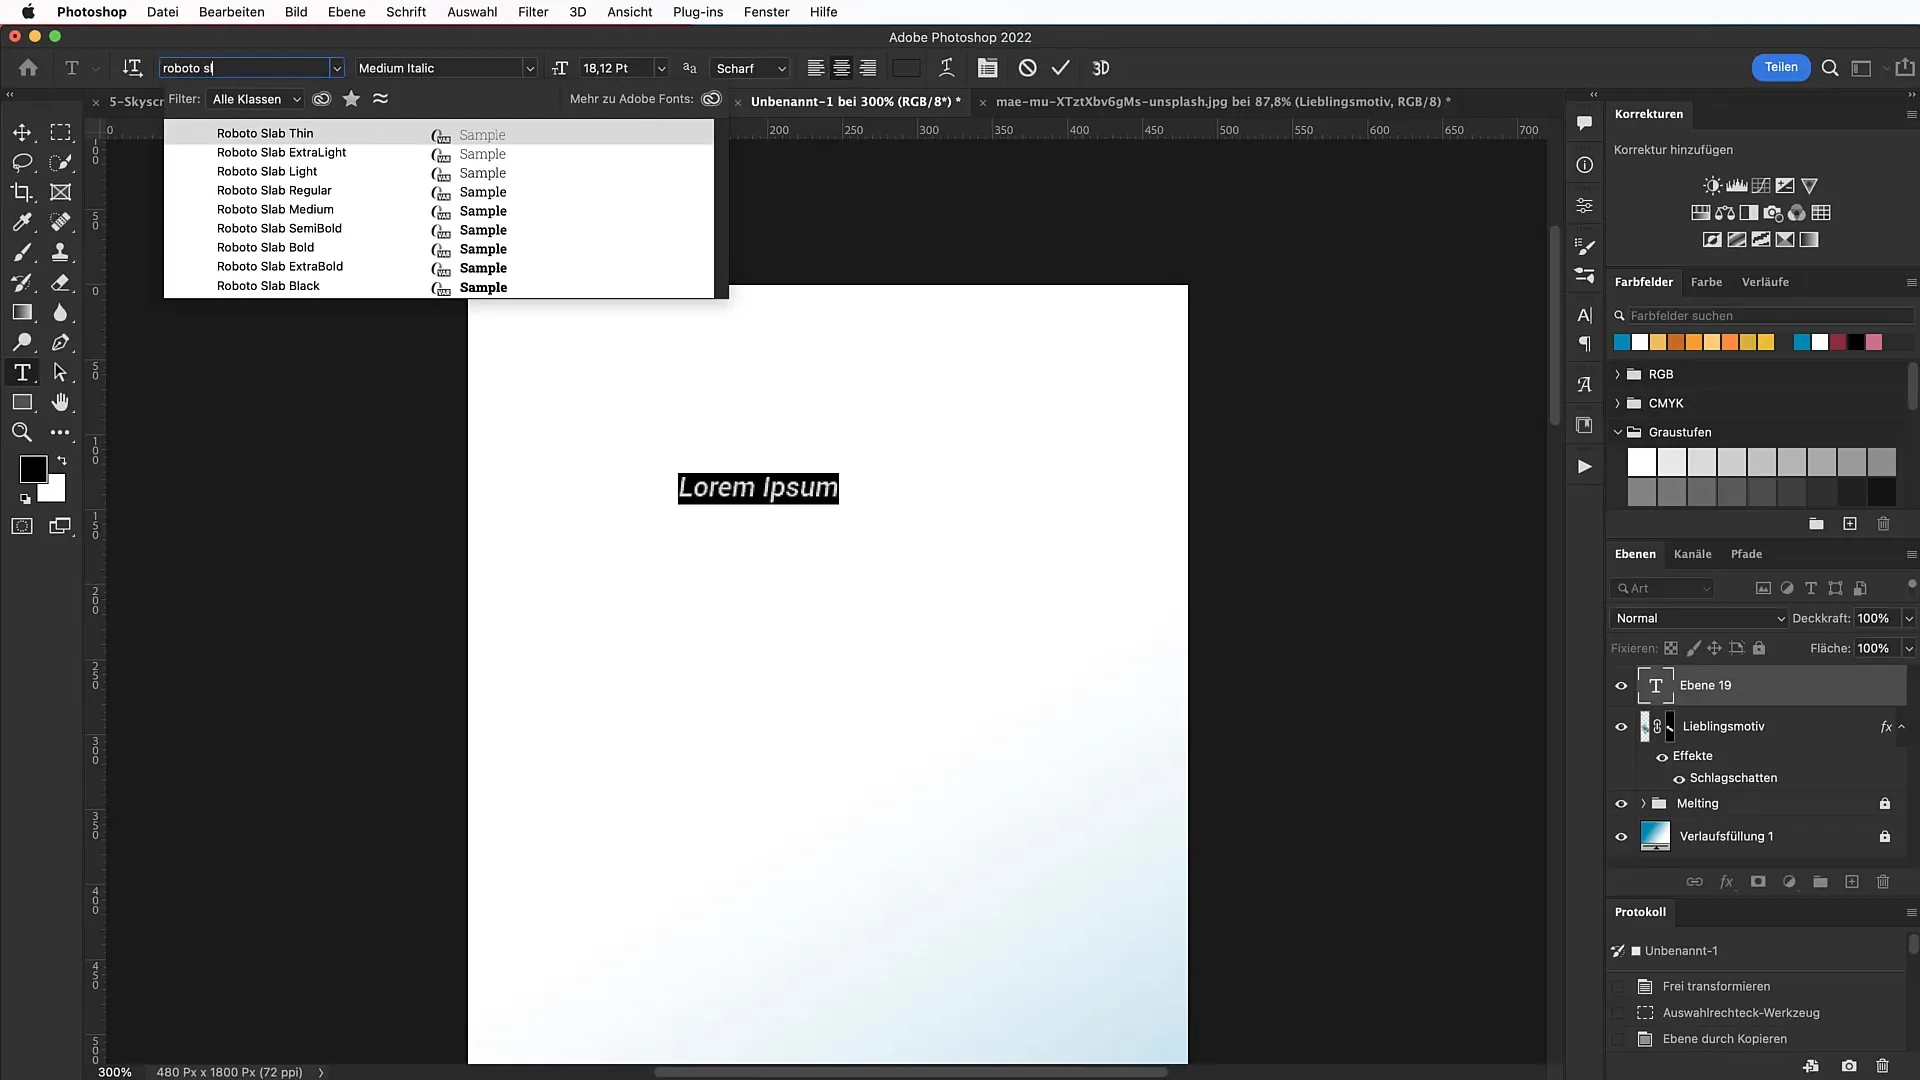
In the next step, the text comes into play. If you use the font Roboto Slab, which you can find on Google Fonts. Click with the text tool on the area you want to design, and choose the font as well as the size. Remember that the font size should match the readability and overall appearance of the banner.
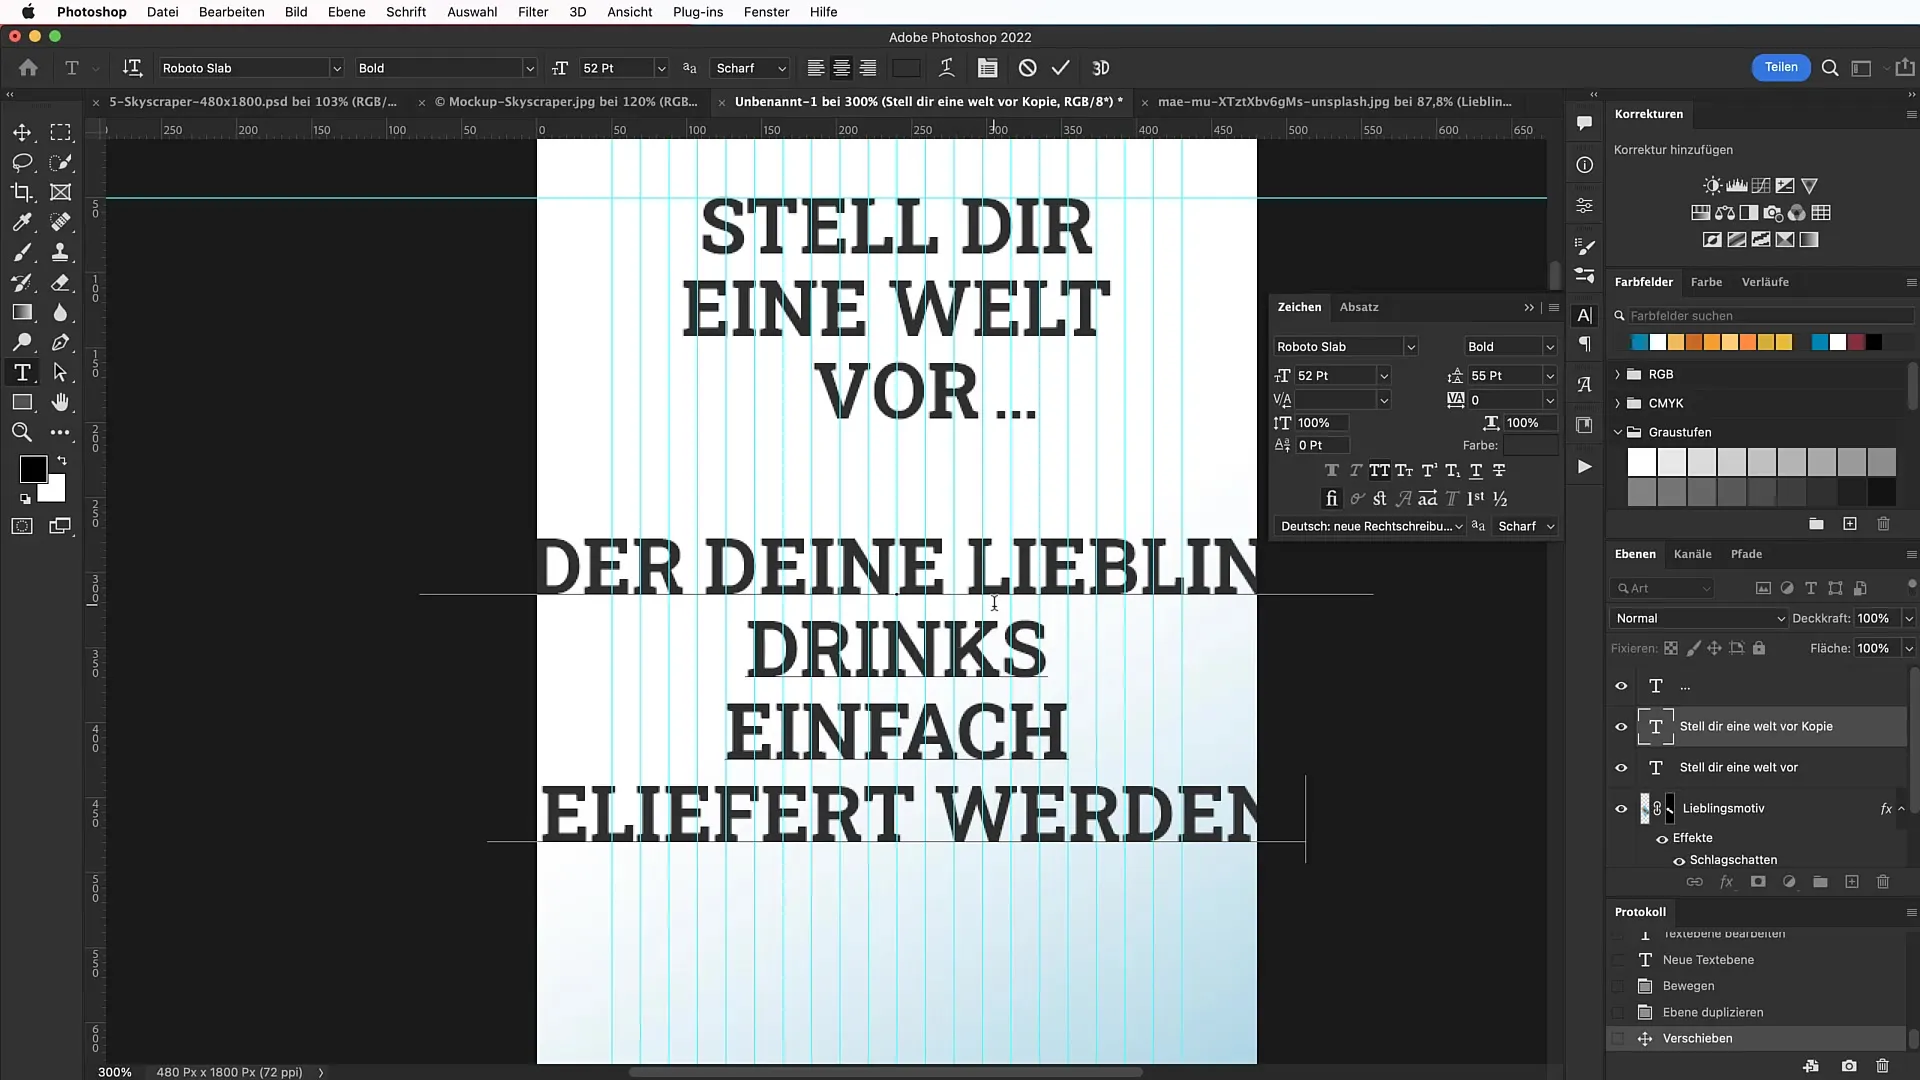
To make the design a little more lively, add different types of text. Adding an eye-catching slogan or a call to action can significantly improve the effectiveness of your banner.
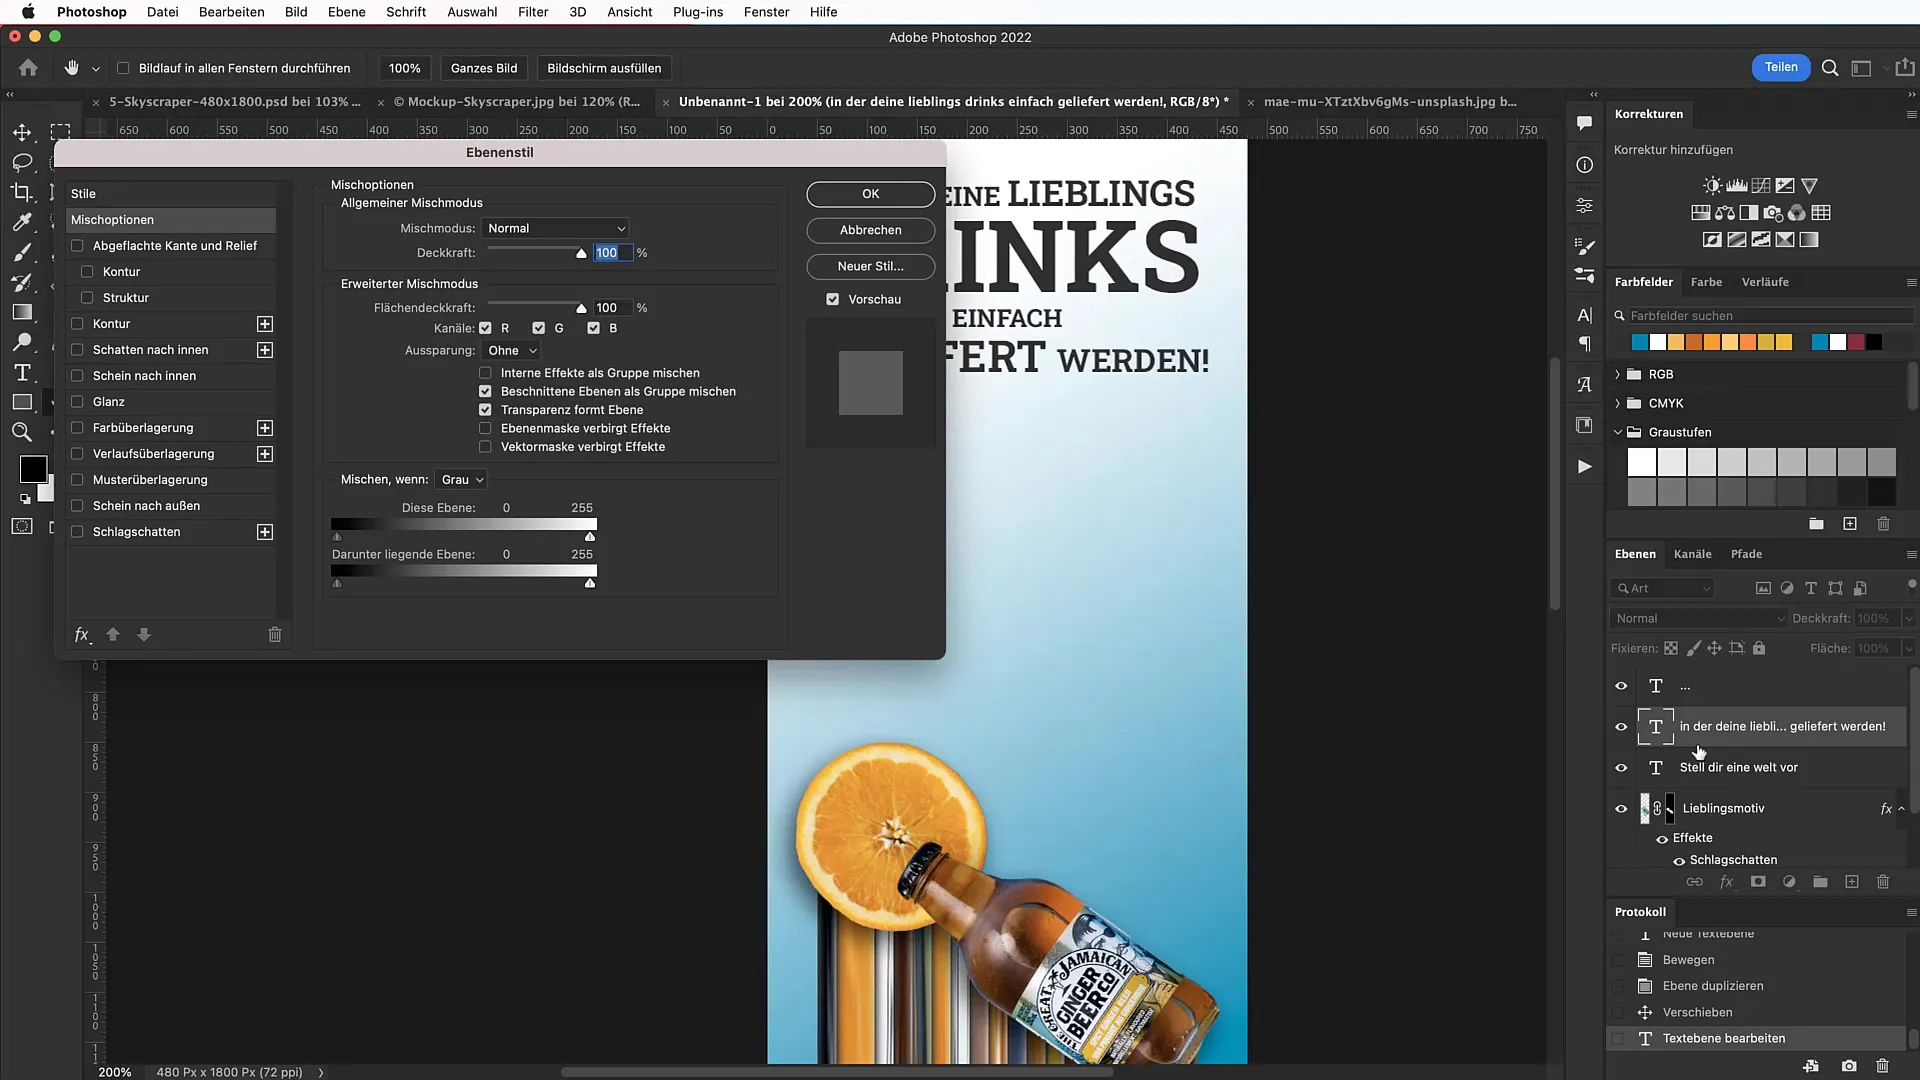
Remember that the colors of the text should harmonize with the colors of your motif. A nice color gradient on the text can highlight it and make it look dynamic.
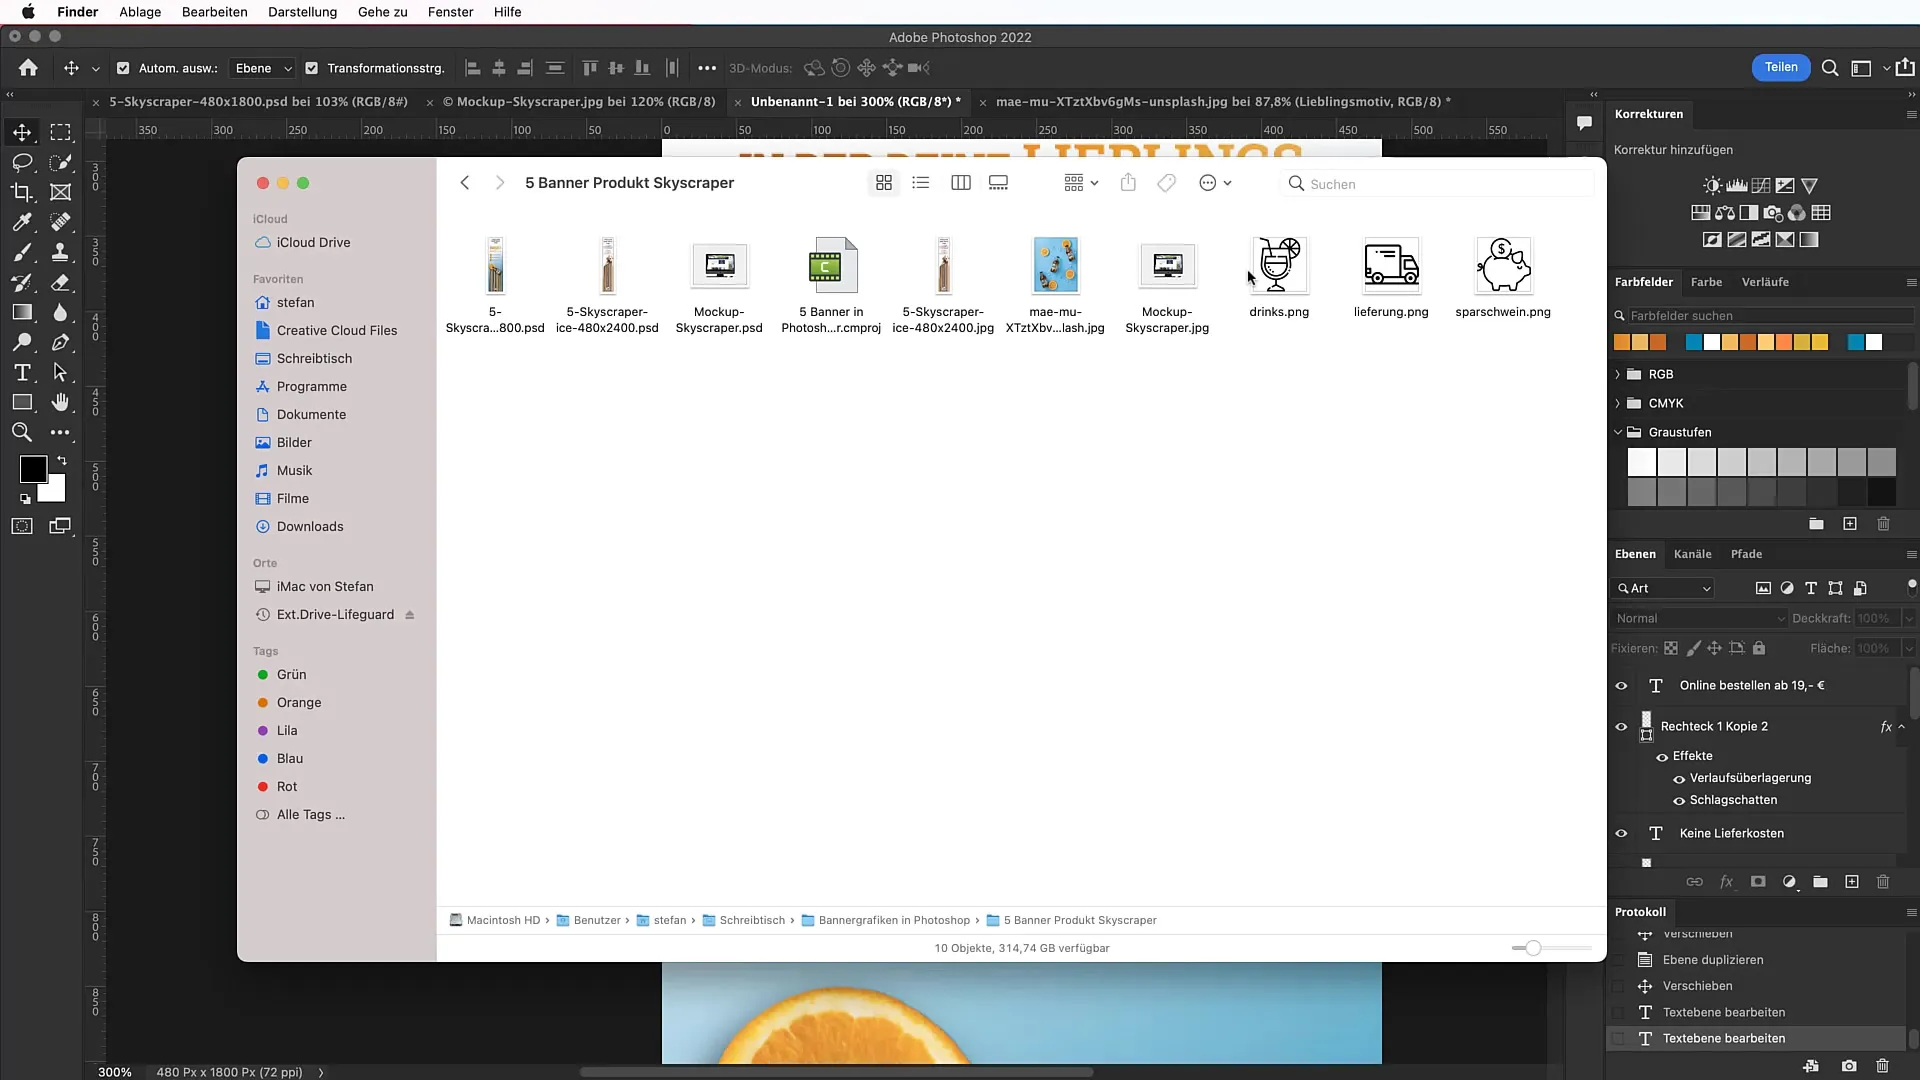
The final touches include the icons. Use websites like tutkit.com or flaticon.com to find suitable icons. Download them, scale them, and strategically place them around your text to support the message.
Summary
With these steps, you have learned how to create an impressive skyscraper banner with a melting special effect. Remember to tailor your creative considerations to the principles of design to achieve the best possible result.
Frequently Asked Questions
How can I adjust the banner size?You can adjust the width and height of the banner file at any time, as long as you ensure that the product is well integrated into the design.
Where can I find free images for my banner?Websites like unsplash.com offer free images that you can use for commercial purposes.
How can I apply shadow to my text?Select the layer with the text, go to the fill options, and activate the shadow. Adjust the opacity and size as needed.
Which font is recommended for banners?The font Roboto Slab is a good choice as it is bold and easy to read.
How can I harmoniously combine text and icons?Make sure that the colors of both your text and icons harmonize with each other and do not cast shadows to keep the design structured.


