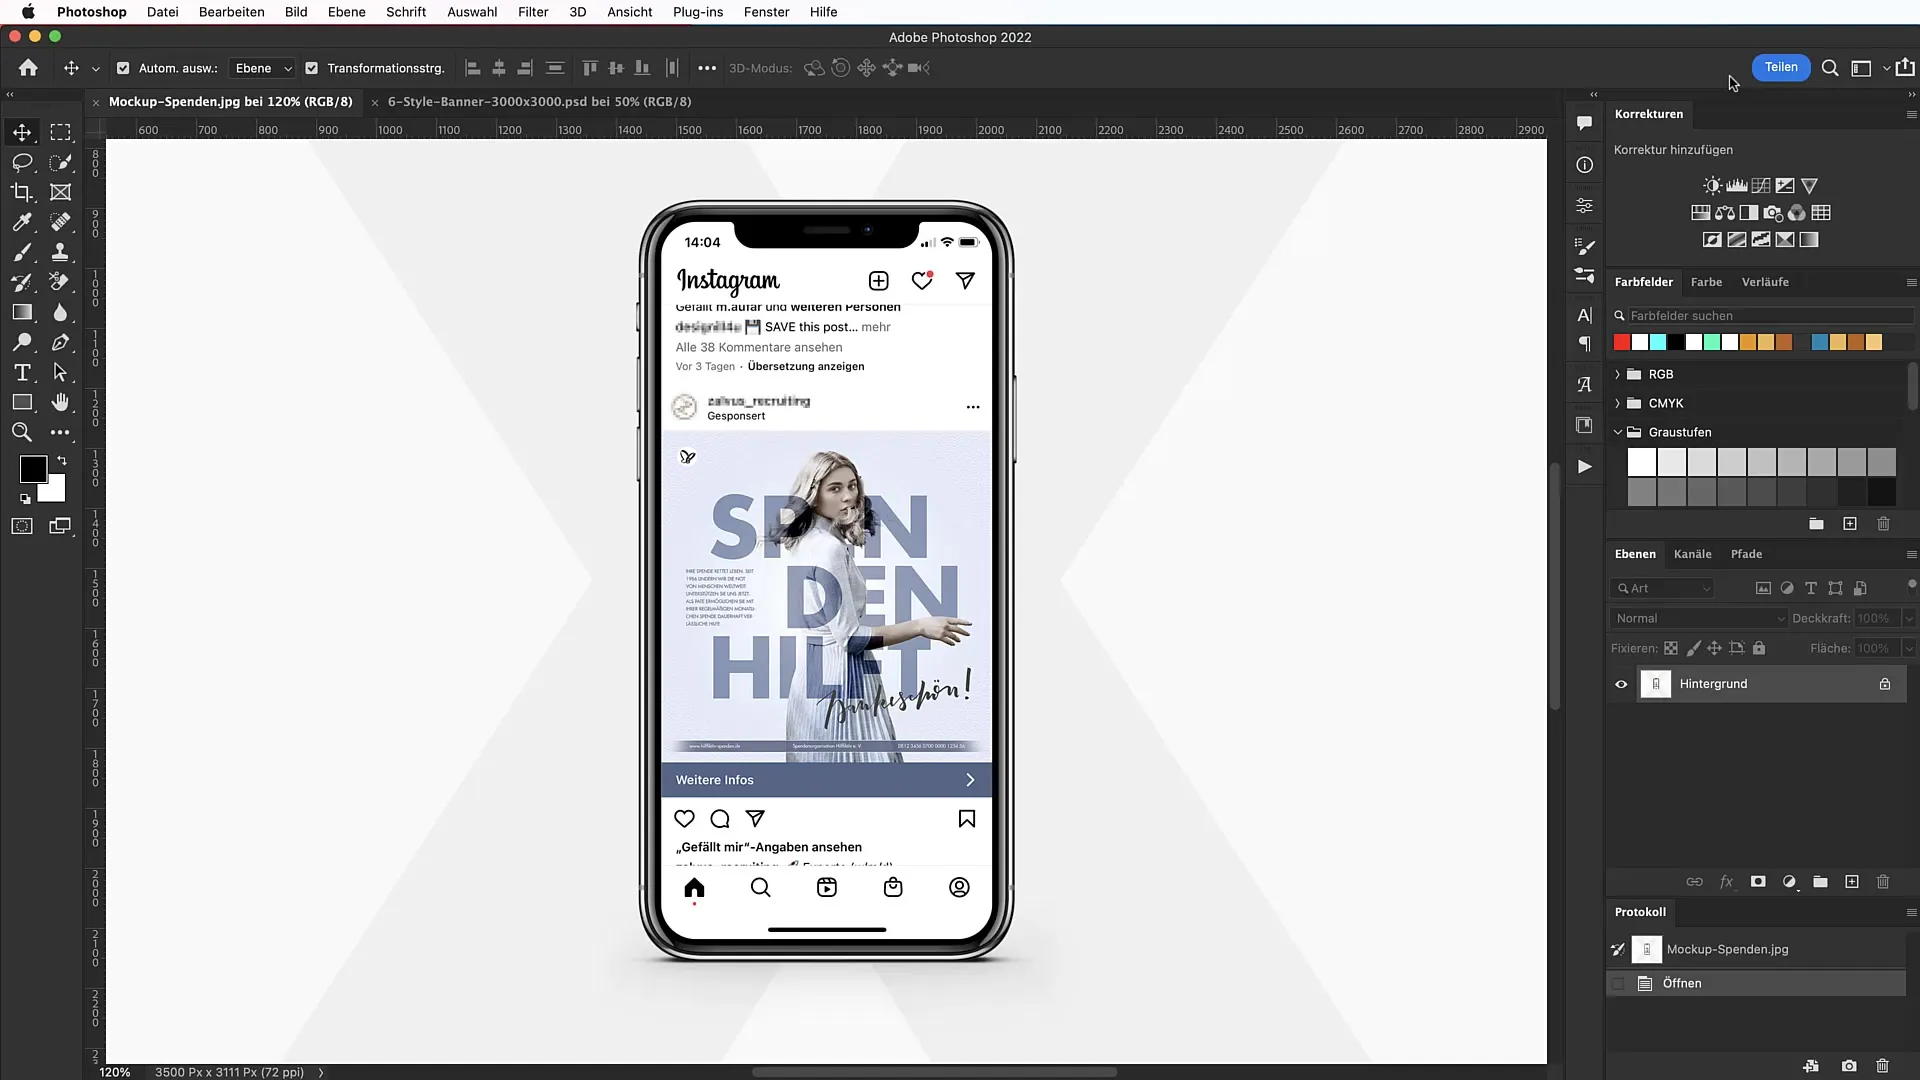
As impressive as an image may be, the right font can add a distinctive character. By strategically using typography in your design, you not only achieve a visual impact but also leave a message that lingers in memory. In this tutorial, I'll show you how to create an appealing banner with a big typography effect using Photoshop.
Main Takeaways
- Efficient use of clipping techniques
- Combination of blending modes and layer masks
- Use of hand lettering and geometric patterns
- Ideal for campaigns, fundraising, or advertising
Step-by-Step Guide
Step 1: Create a New Project
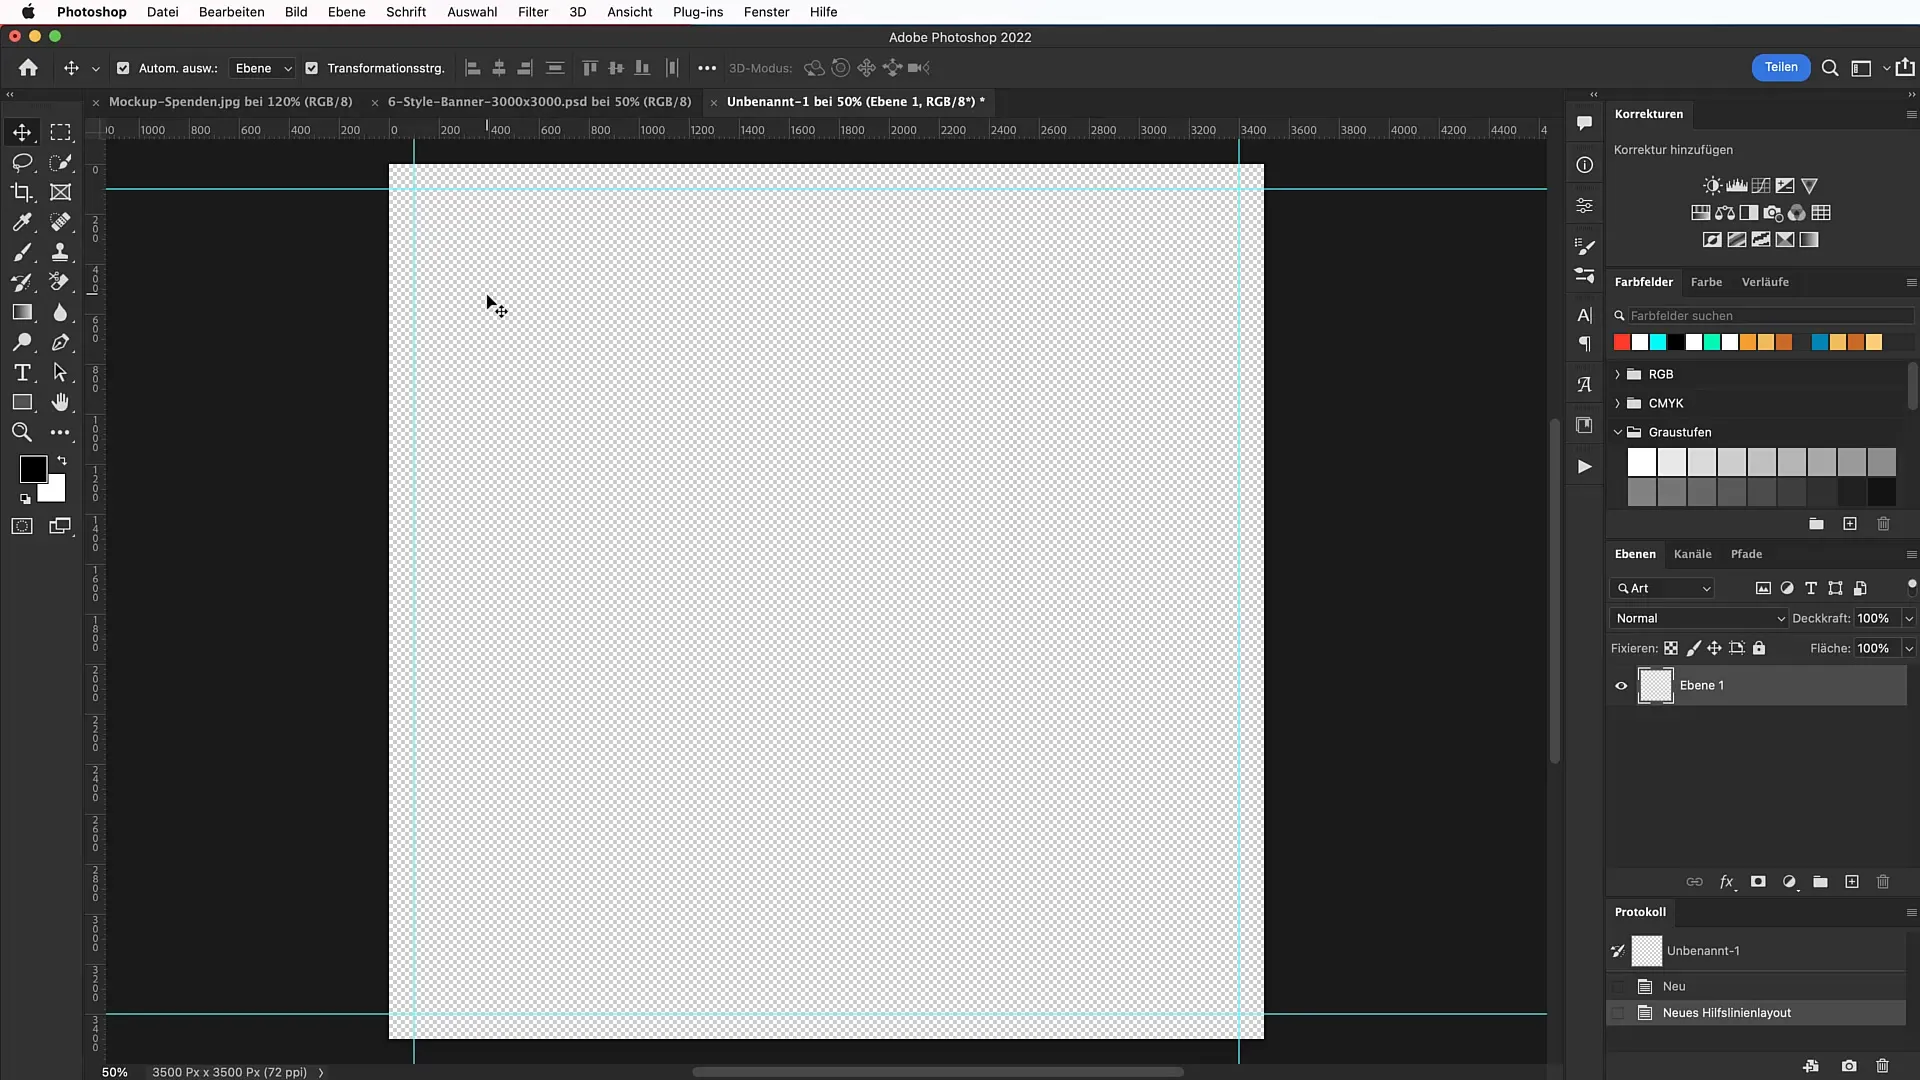
Start by opening Photoshop. Press Ctrl + N (Windows) or Cmd + N (Mac) to create a new workspace. Set the dimensions to 3500 x 3500 pixels for a square format.
Step 2: Add Guides
To facilitate the design, add guides. Go to the "View" menu and select "New Guide Layout". Check the box for margins and set a distance of 100 pixels everywhere.
Step 3: Create a Background
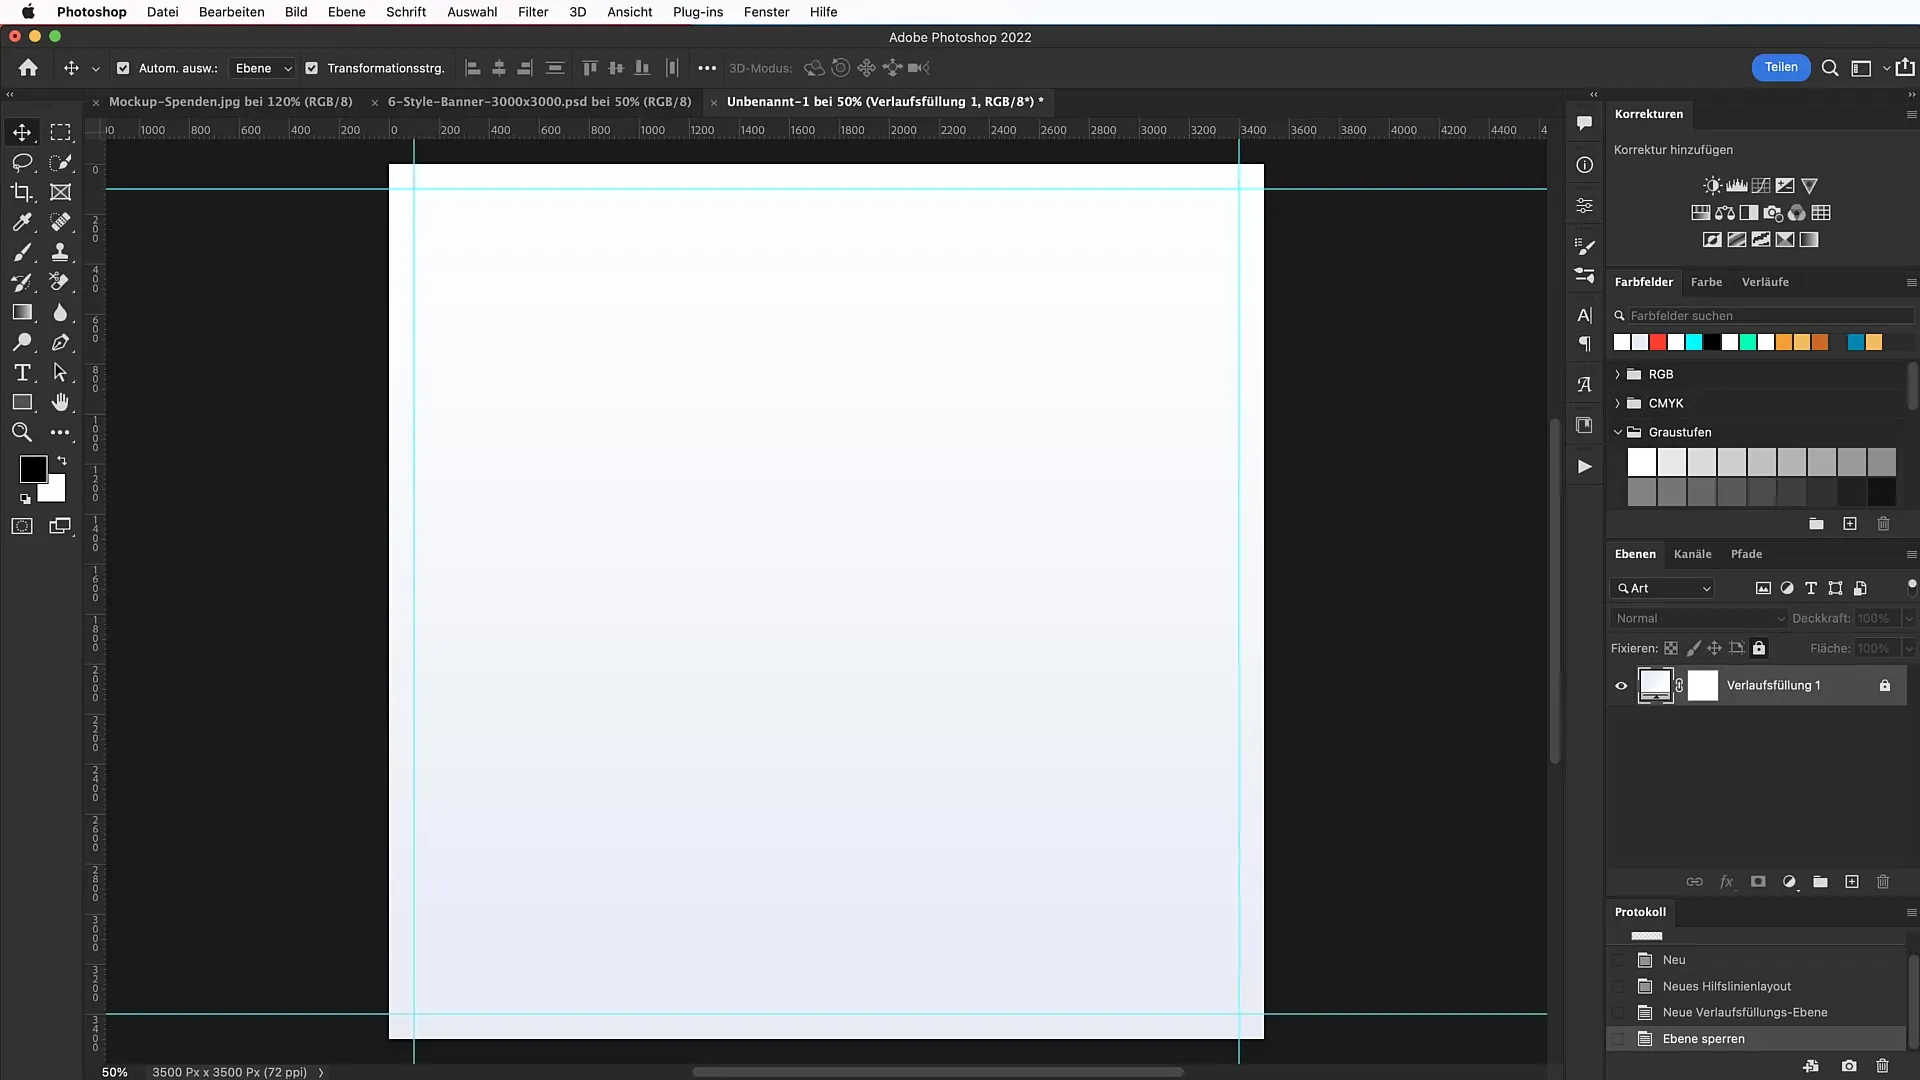
Now choose a soft gradient as the background. Go to your adjustment layer, select "Gradient", and open the gradient dialog. Set a hex code for a subtle color shade like #E7F4F8.
Step 4: Add Patterns
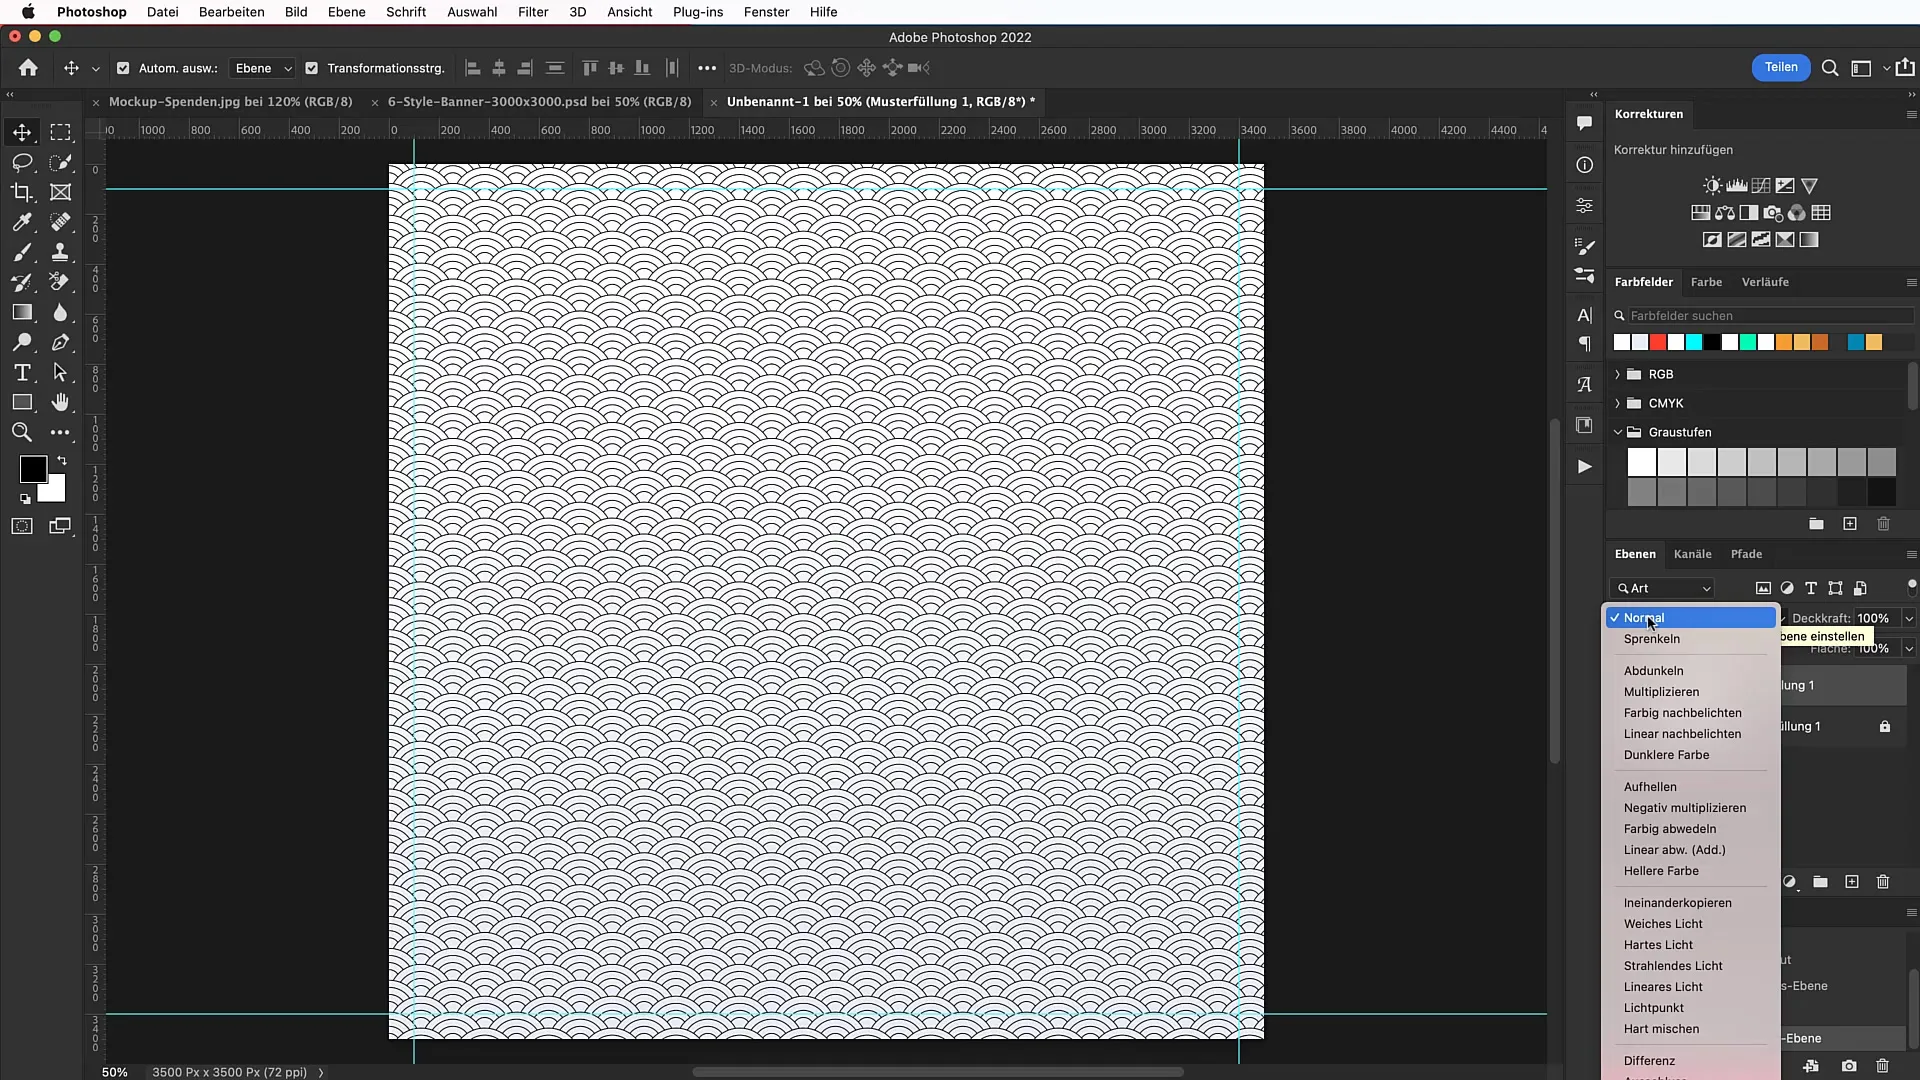
Now comes the creative part! You need a background-based pattern that you want to incorporate into your design. Visit www.tutkit.com to find geometric patterns that bring the design to life. Download your pattern and import it into Photoshop.
Step 5: Apply Patterns
Select the blend or adjustment layer again and click on "Patterns". Navigate through the preselection until you find the gear symbol, select "Import Patterns". Choose your downloaded pattern. Make sure to use the correct scaling, for example, 15%. Set the blend mode to "Divide" to achieve a clean effect.
Step 6: Create a Vignette
Now you want the pattern to be visible only at the edges. Choose the "Ellipse" selection tool and set a soft edge of 200 pixels. Create a selection and press Alt + Backspace to create a vignette.
Step 7: Mask the Subject
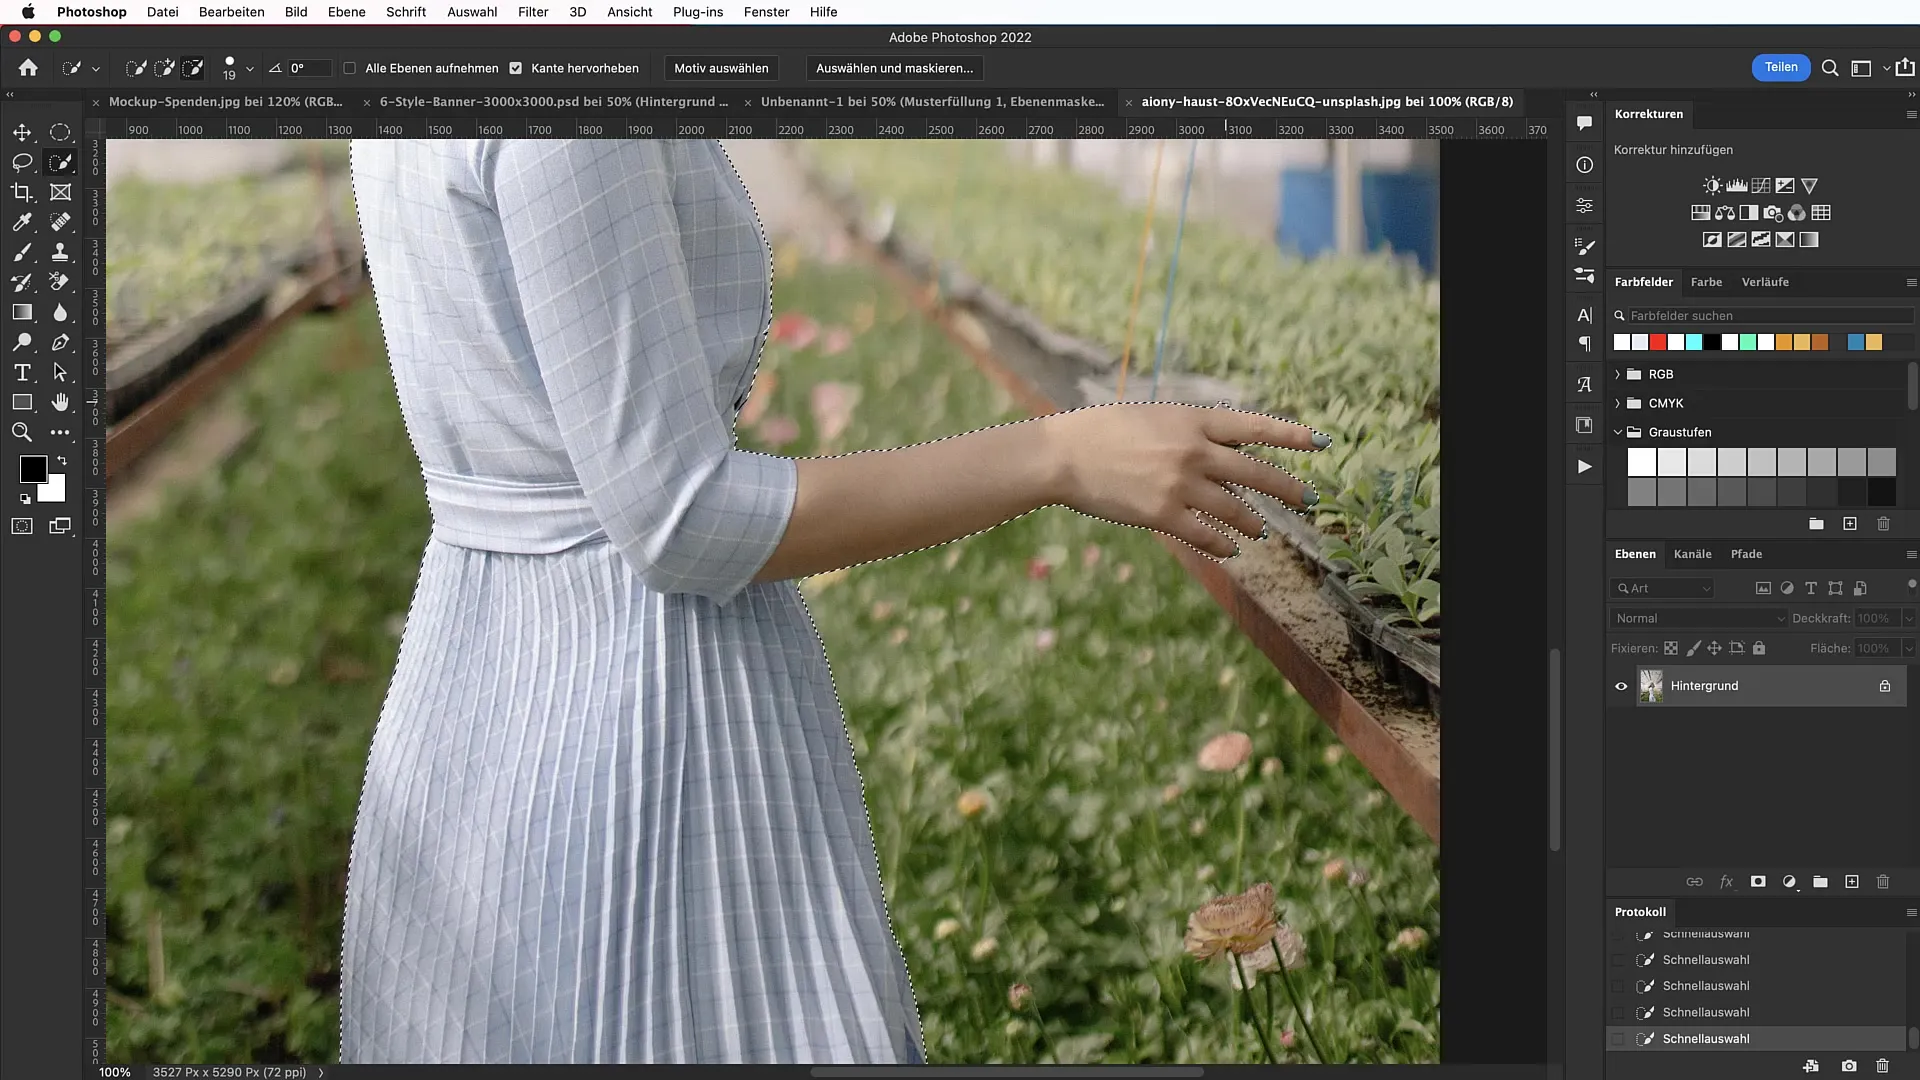
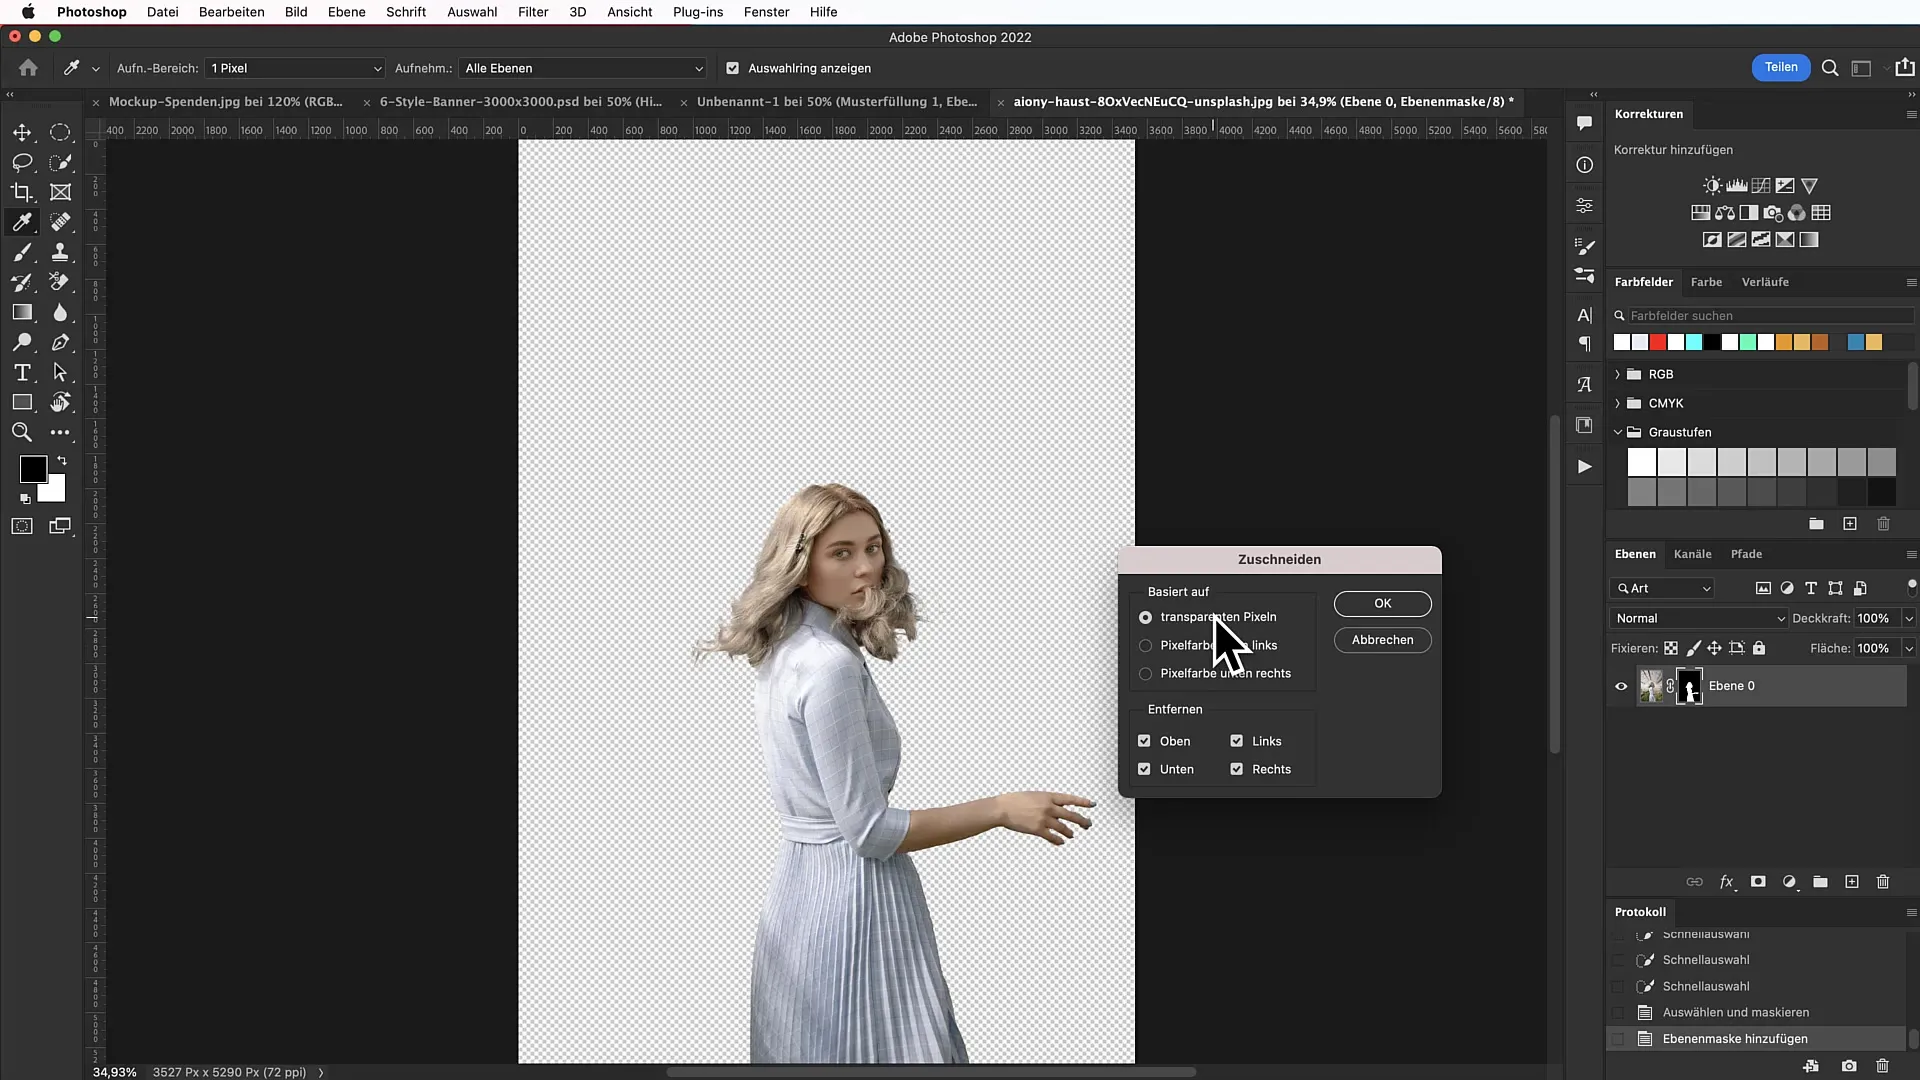
The next goal is to add a main subject. Choose a suitable image from Unsplash, download it, and open it in Photoshop. Use the Quick Selection tool to select your subject. Working carefully is crucial here!
Step 8: Adjust Colors
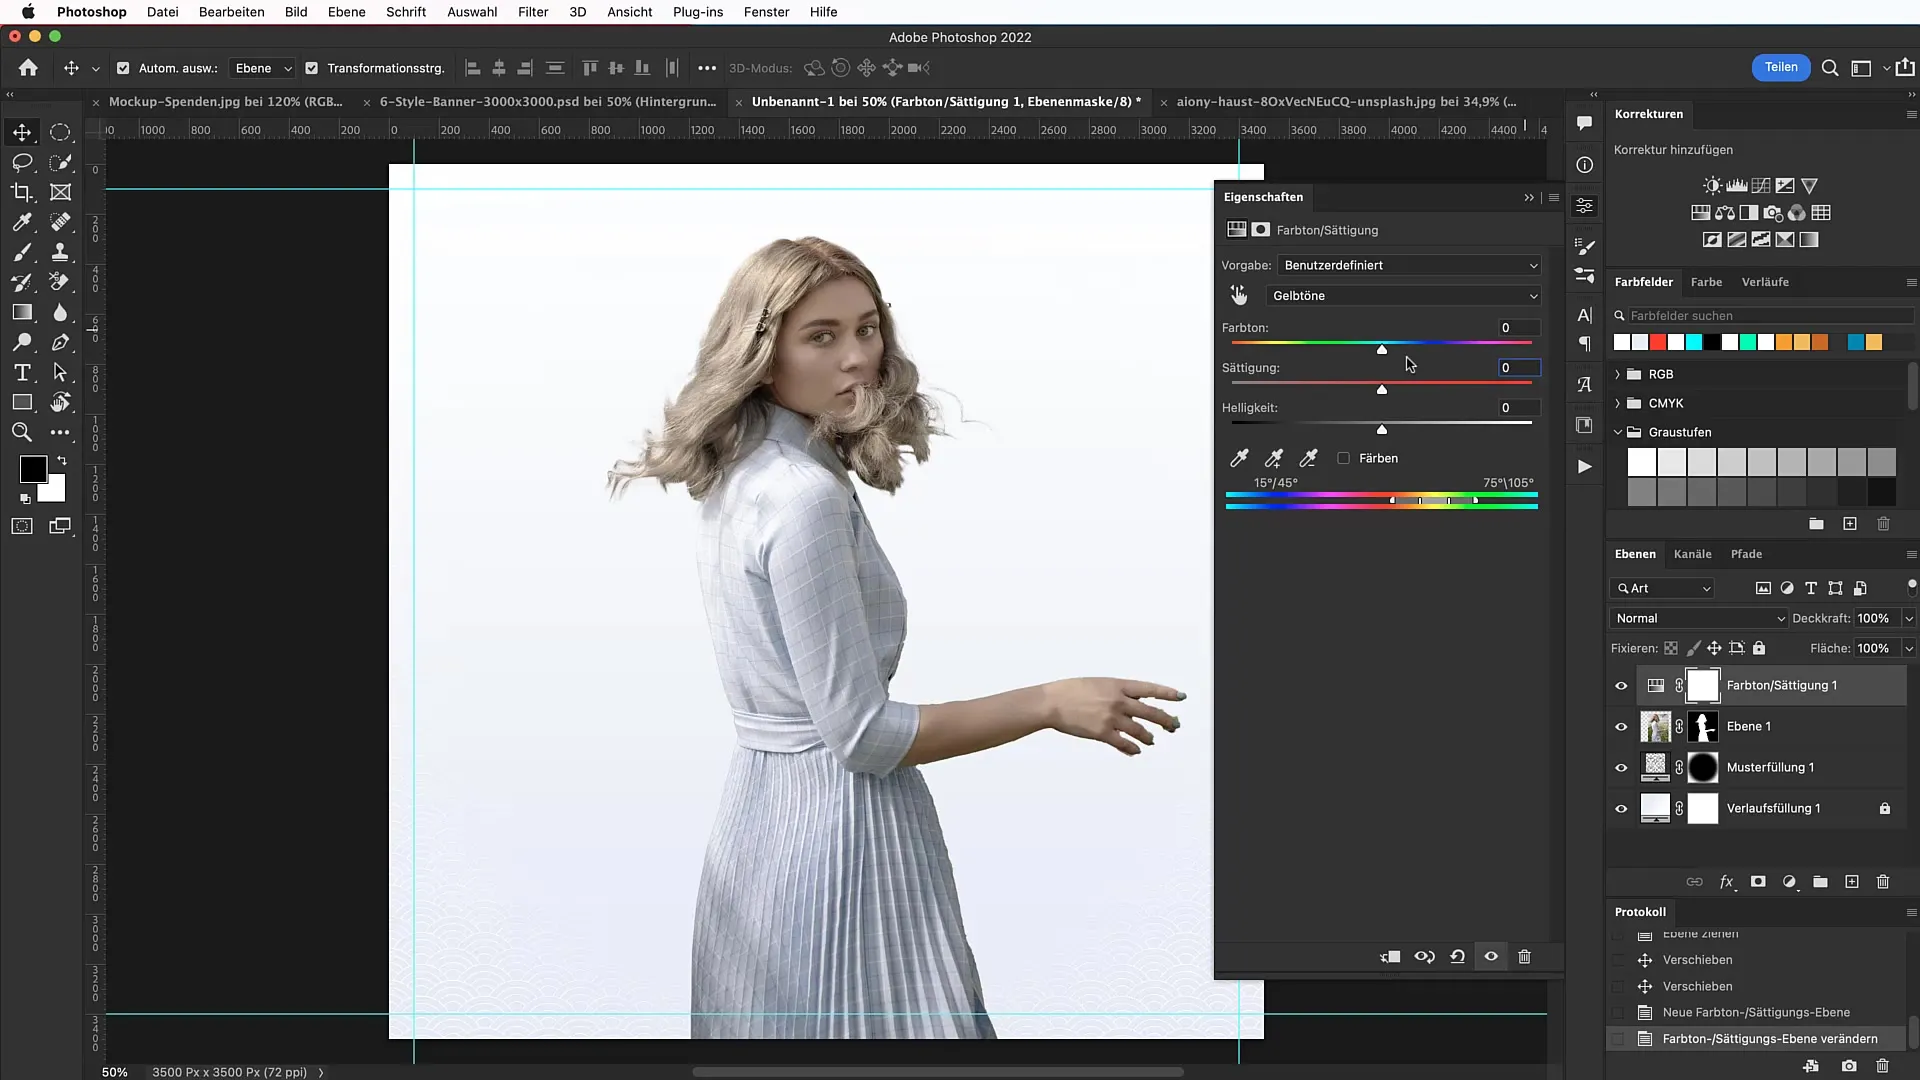
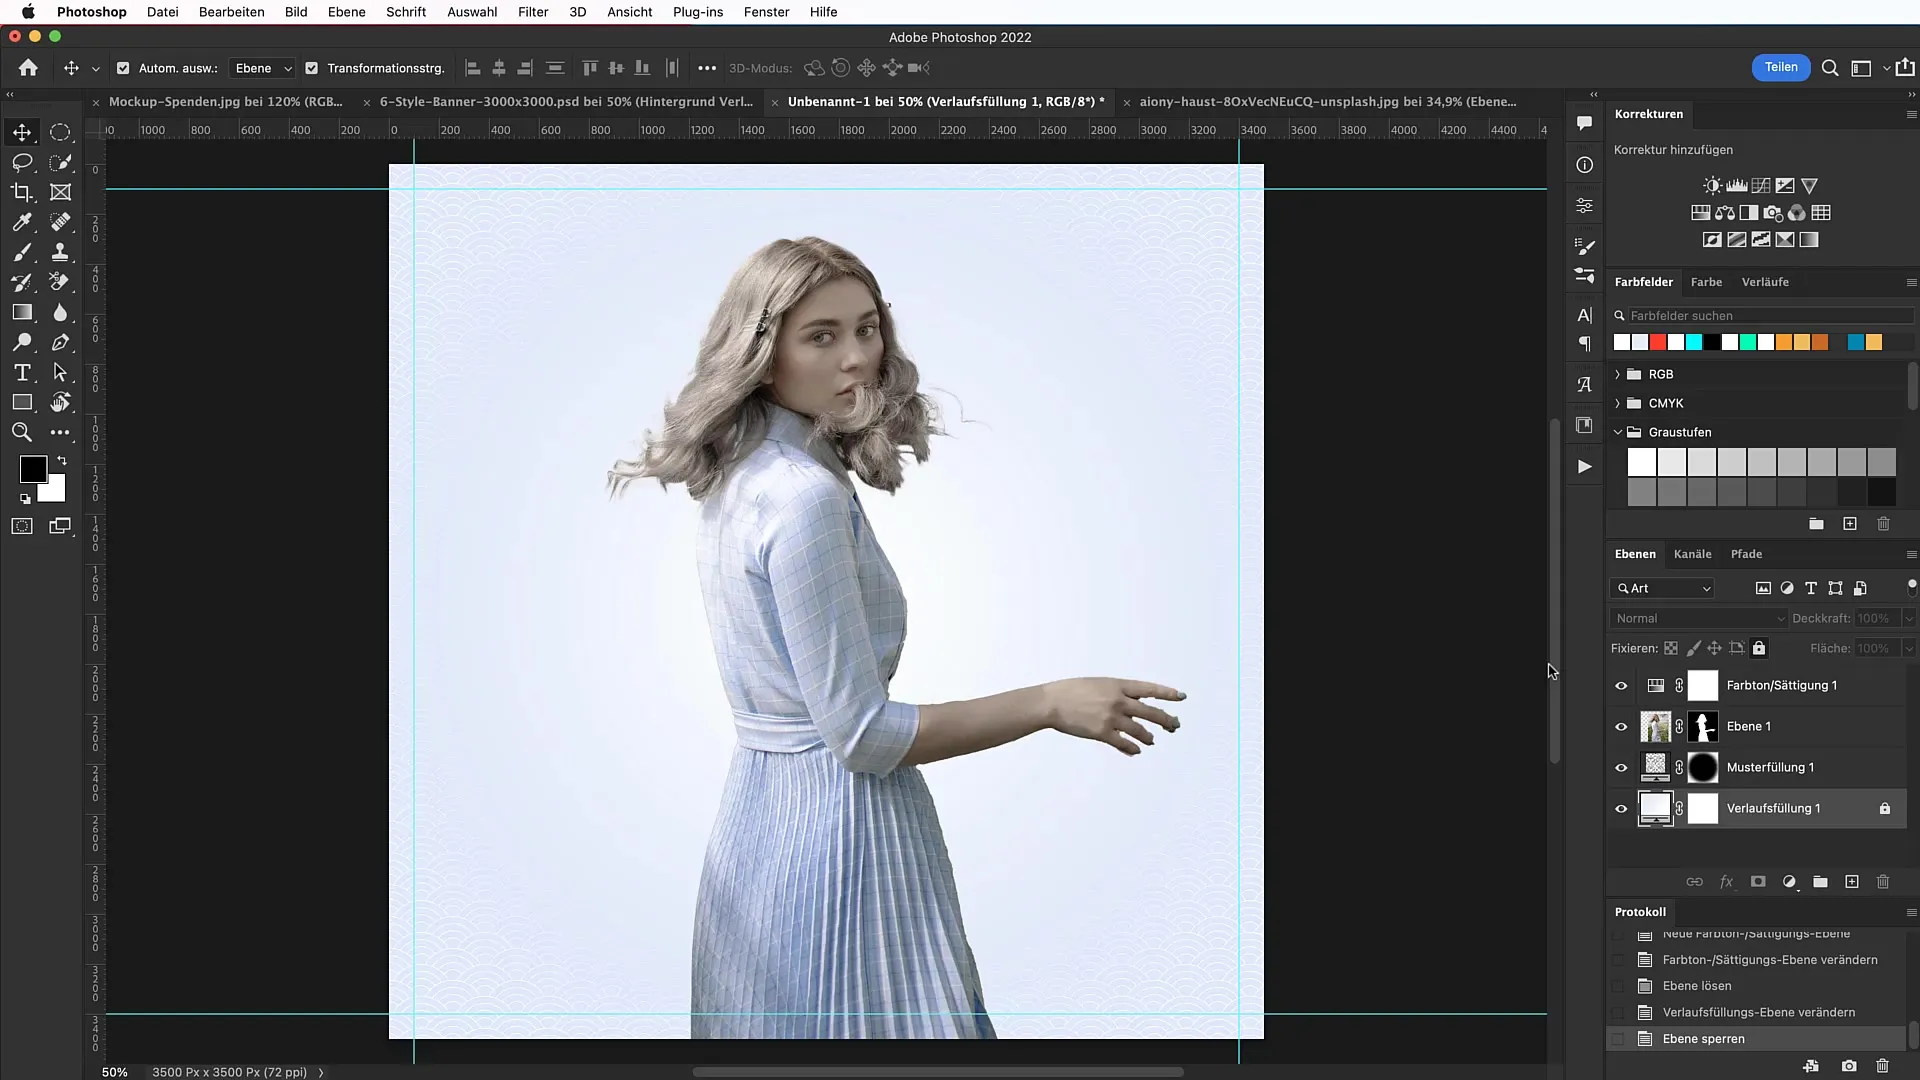
To harmonize the image look, adjust the colors of the subject. Go to "Hue/Saturation" and decrease the saturation of reds by -32 and yellows by -61, while increasing blues by +54.
Step 9: Add Text
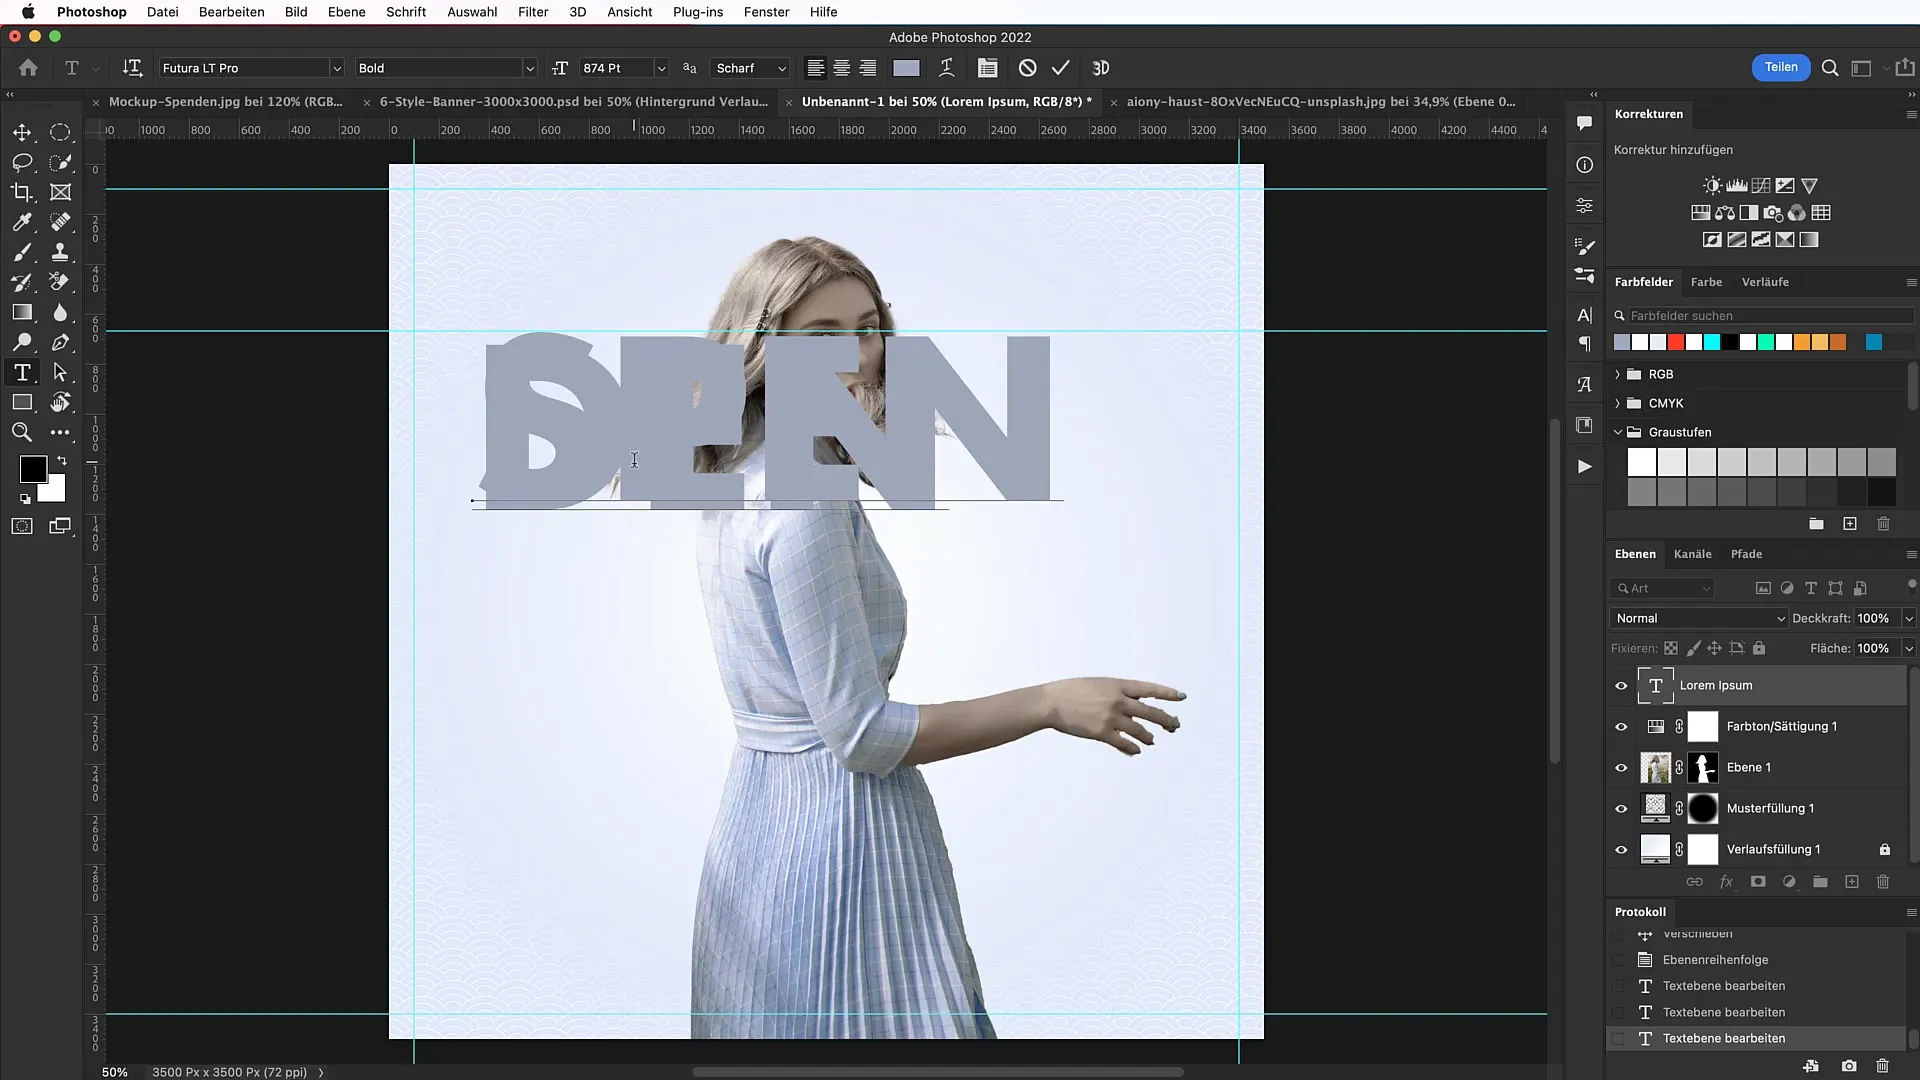
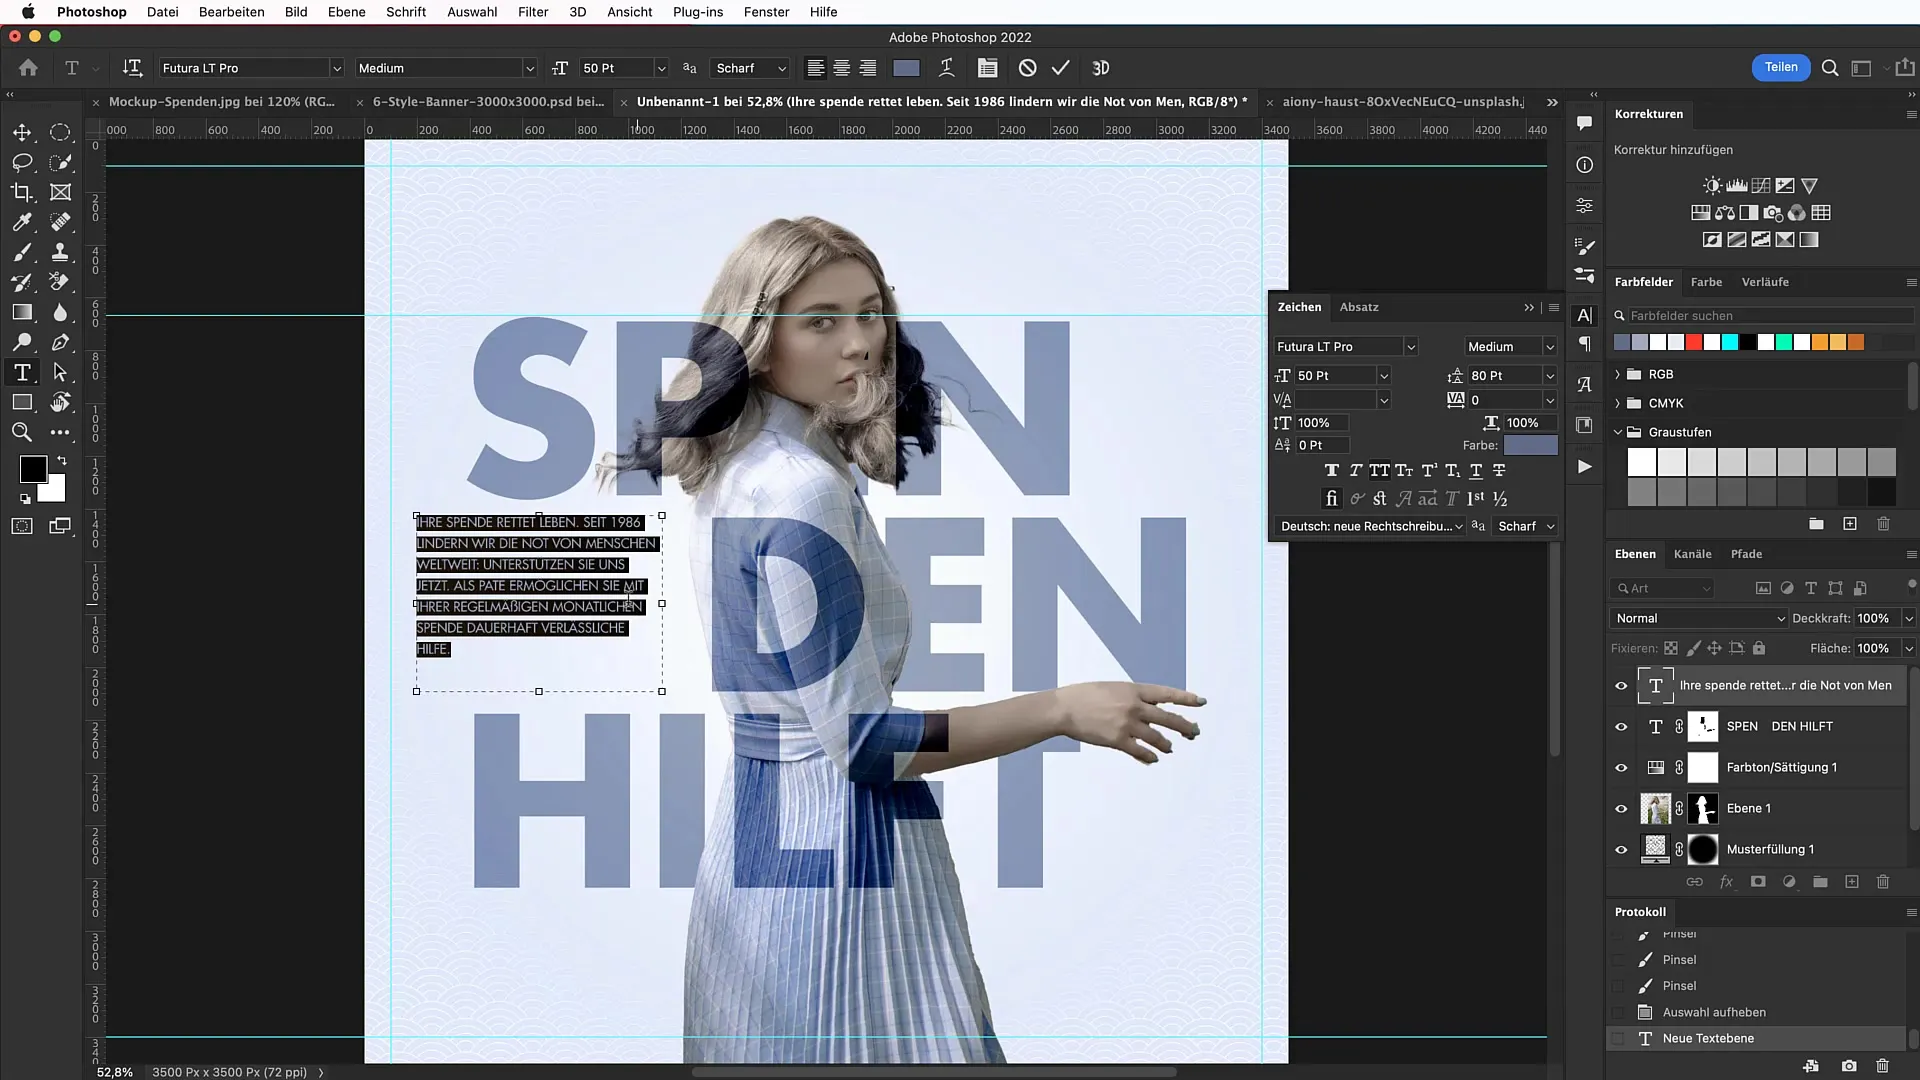
Now comes the typography part. Choose the text tool, set the font to "Futura Bold", and adjust the size to 874 points. Add your text like "Donating Helps" and customize the color (e.g. #9D5B9A).
Step 10: Mask Letters
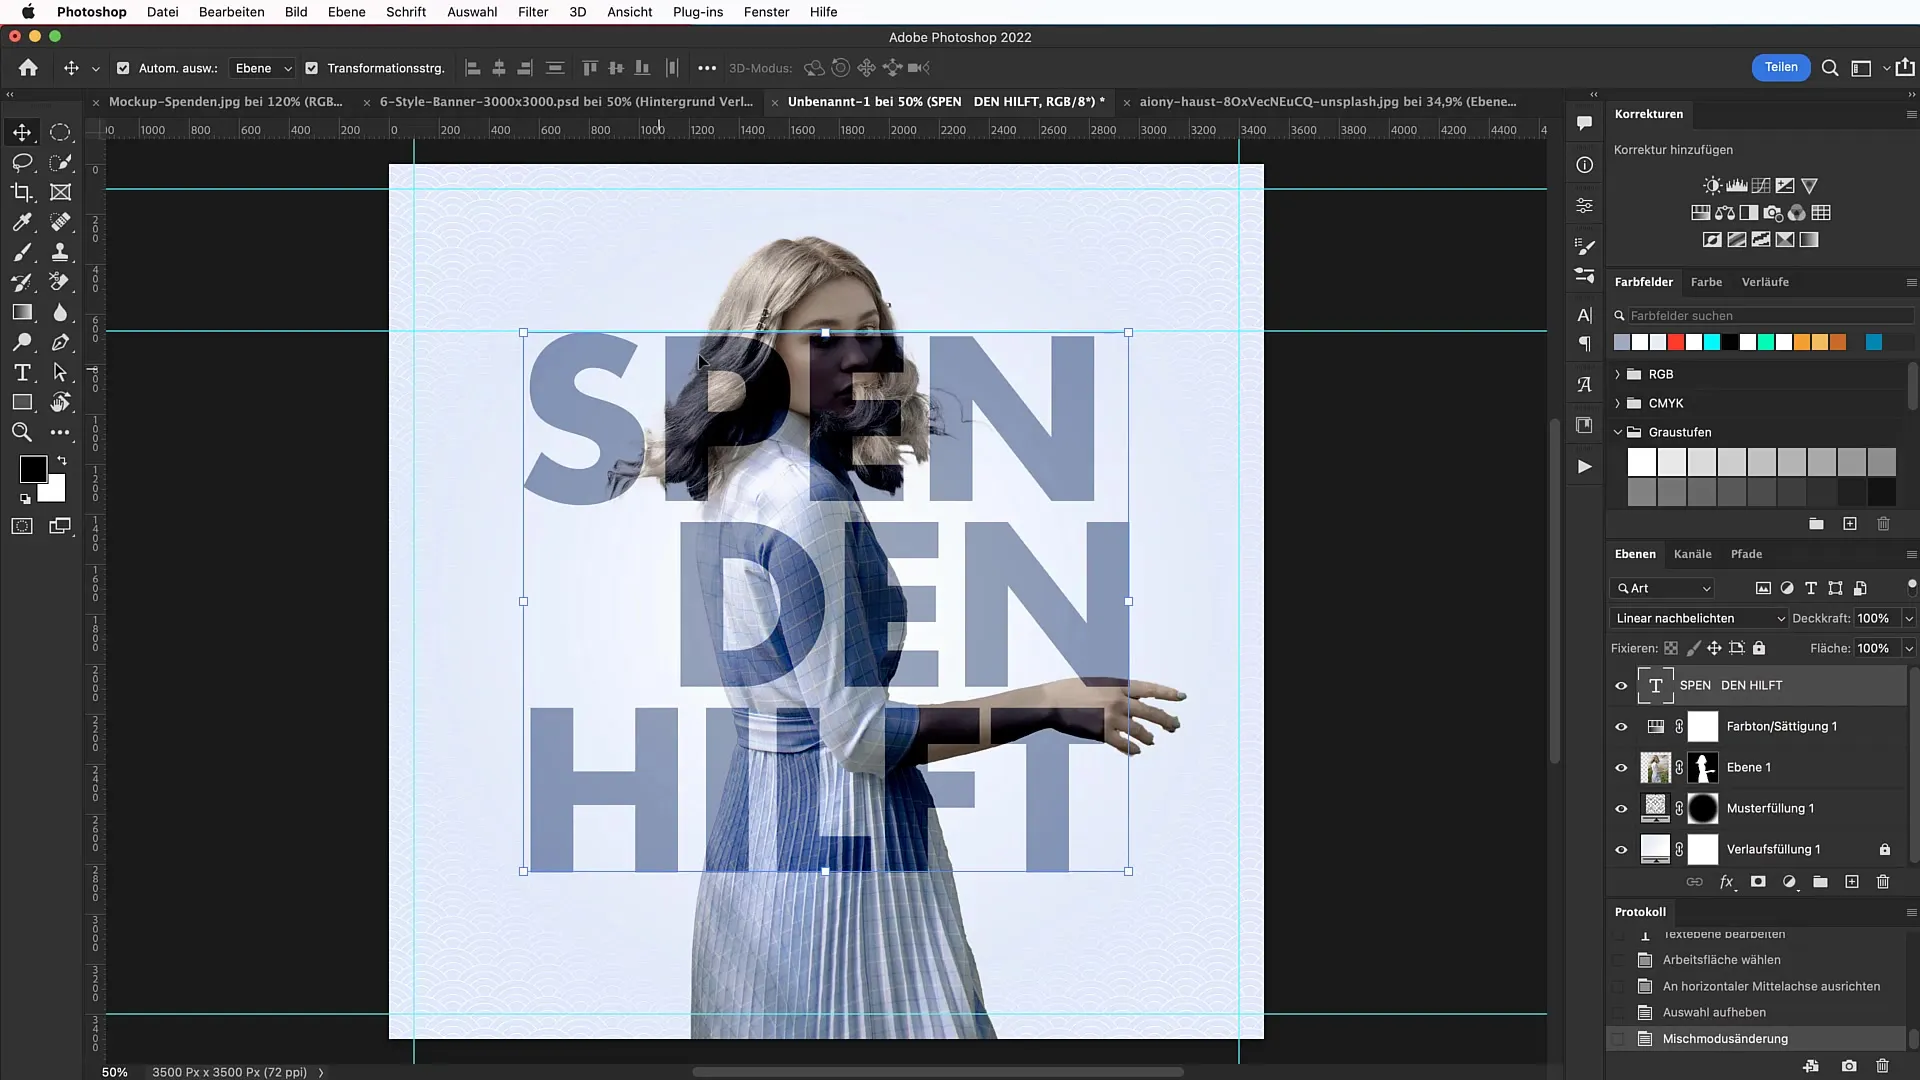
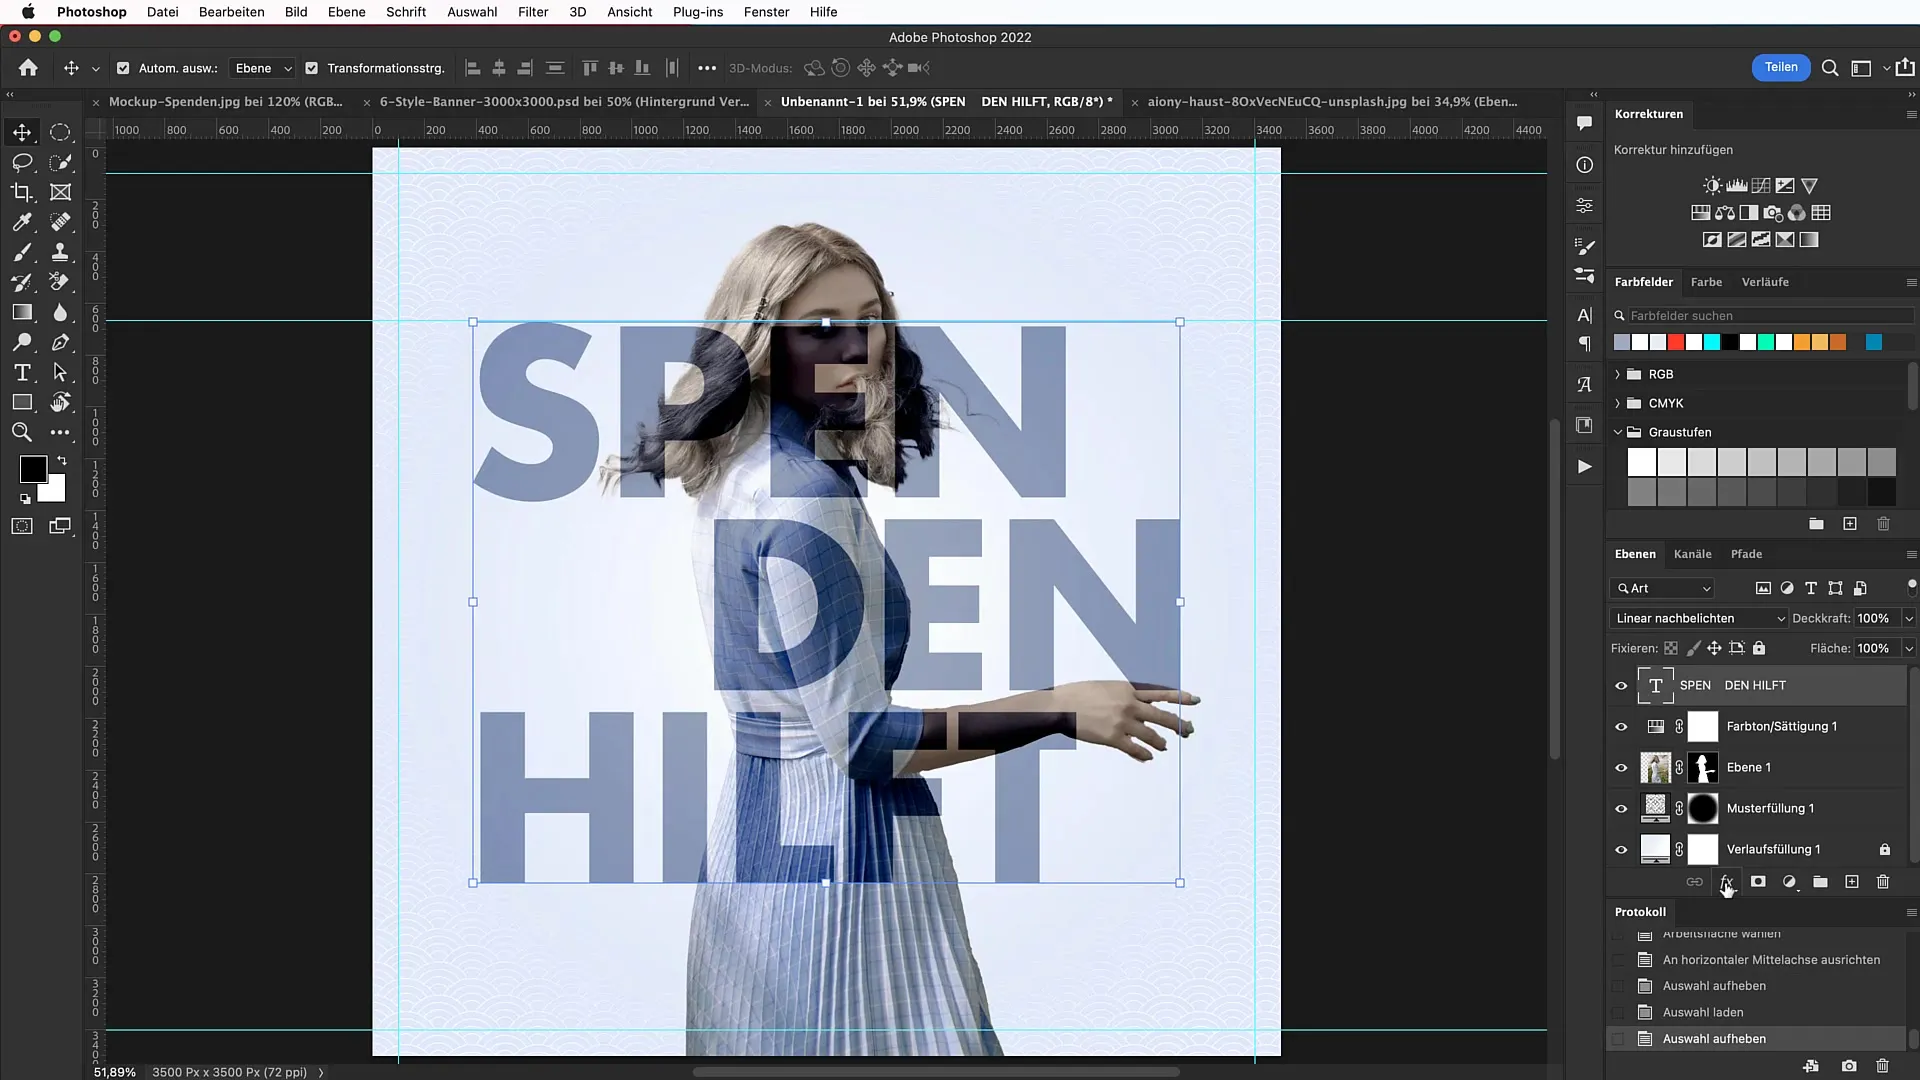
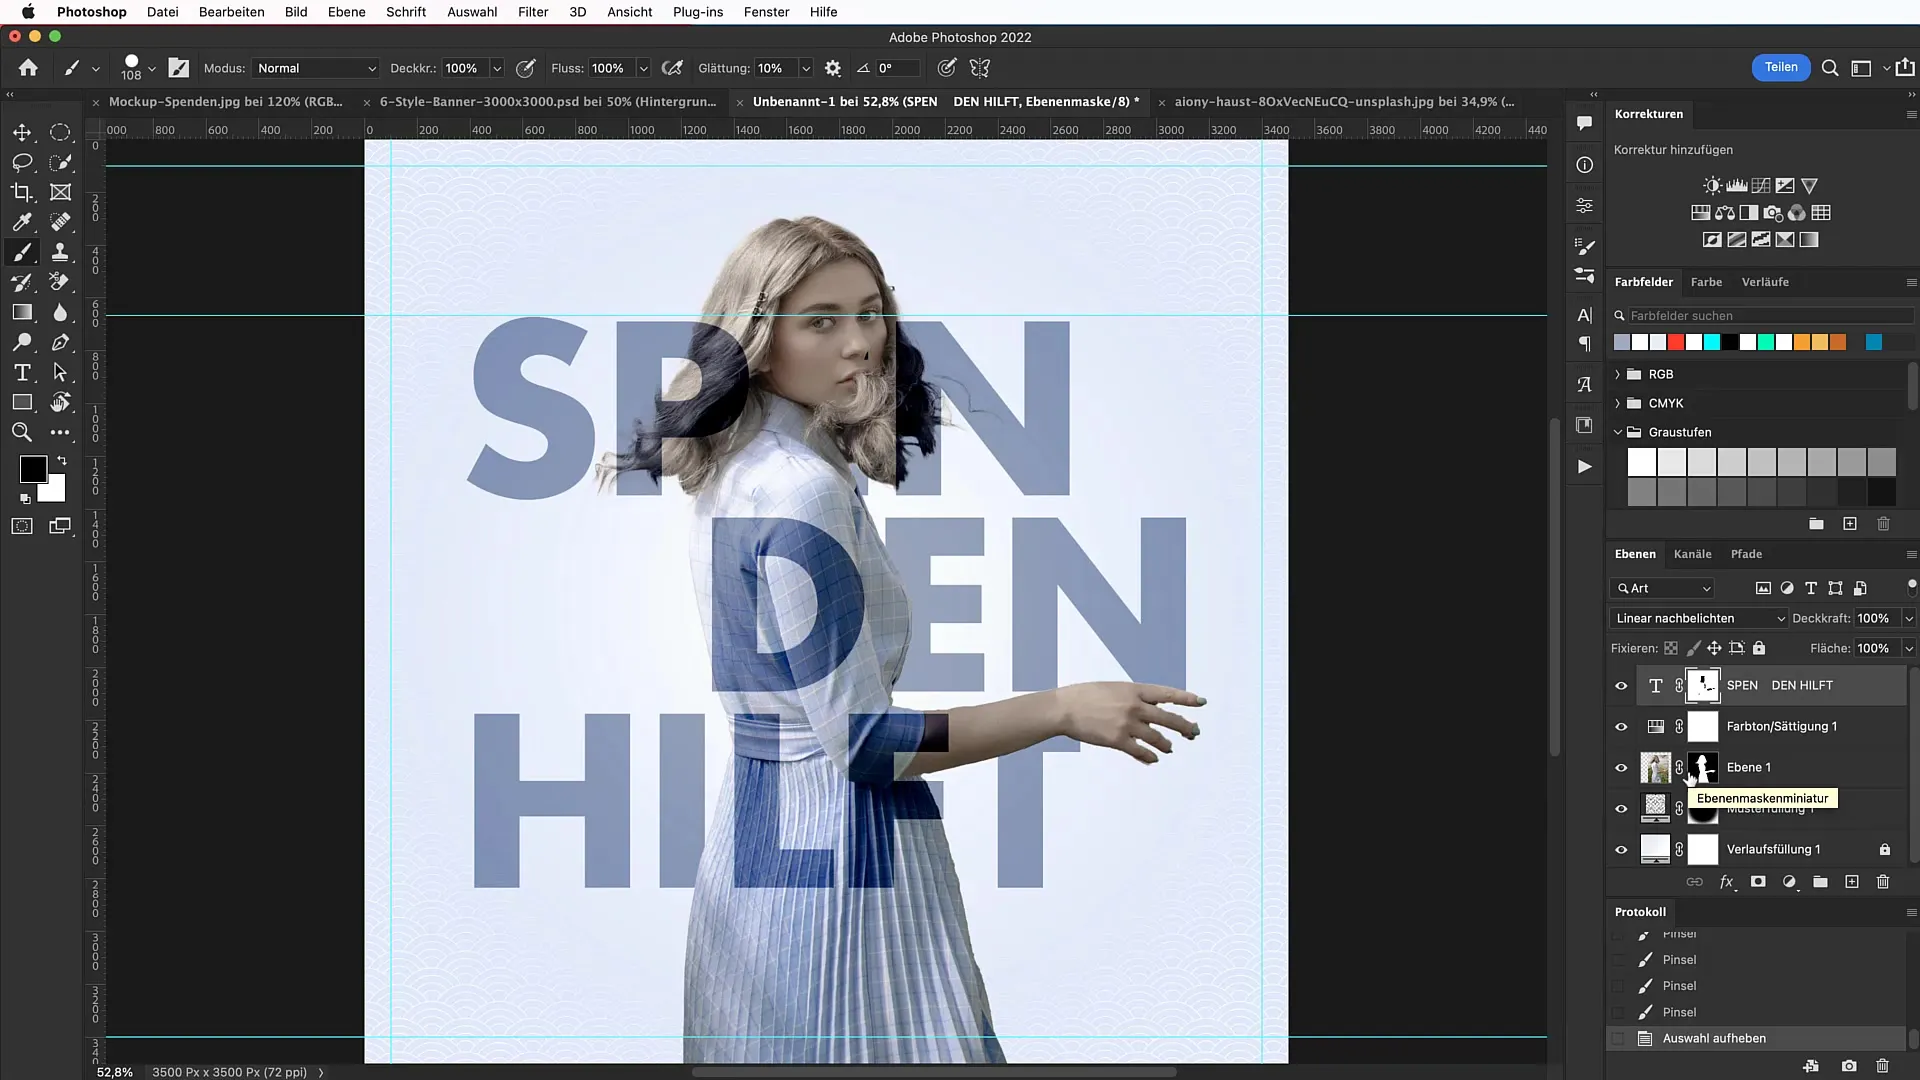
To further enhance your text effect, mask certain letters. Focus on masking mostly vowels (e.g. "E" and "I"). This increases readability and dynamic effect.
Step 11: Create a second text box
Add another text box and set the font size to 50 points and the color to a lavender tone, matching your theme. Here you can also include a different message.
Step 12: Add a baseboard
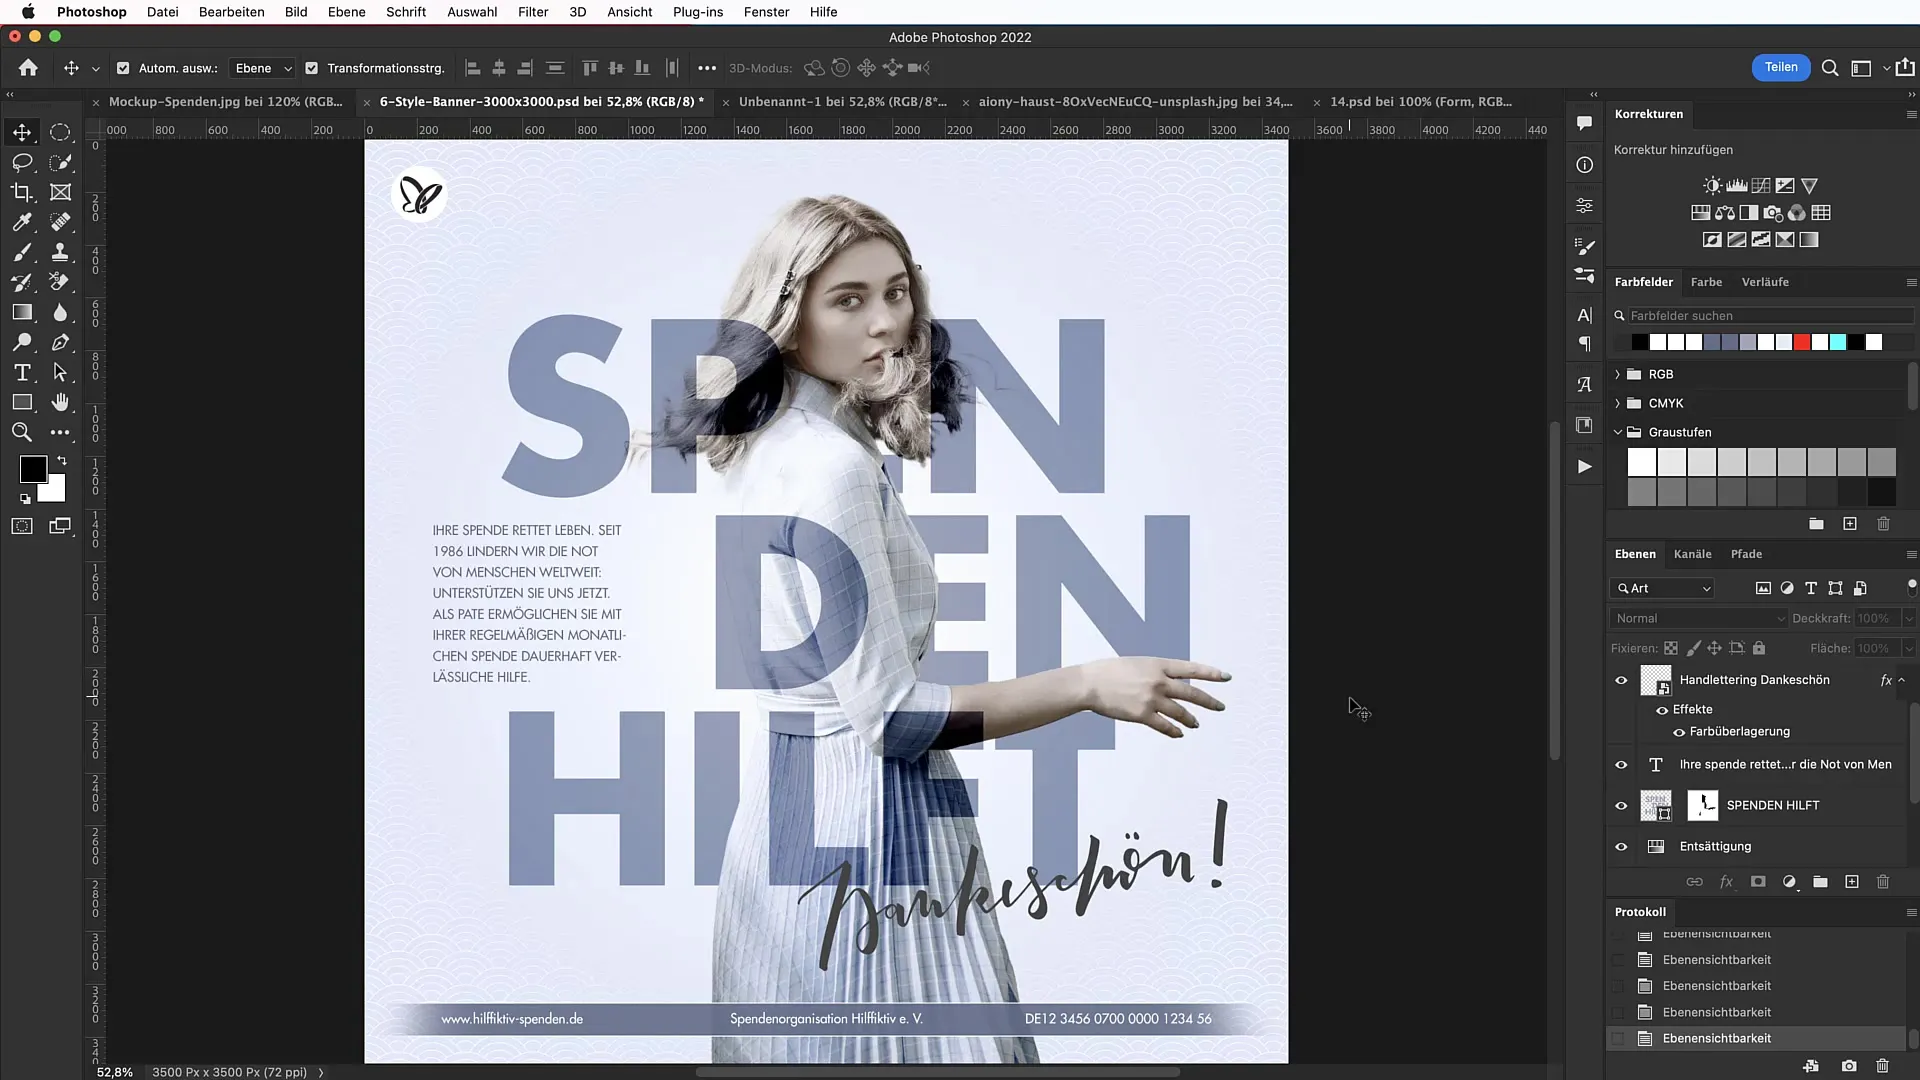
To complete the design, create a baseboard using the rectangle tool, supporting the entire banner at the bottom edge. Set the height and color of the baseboard in the chosen shade of blue and add a contour.
Step 13: Final touches
To refine, you can apply a 90% opacity reduction to your baseboard to create some transparency.
Step 14: Add hand lettering
Finally, add hand lettering. Look for a suitable hand lettering graphic, copy it, and paste it into your document. Make sure to scale and position it well.
Step 15: Finalize the banner
Place your logo in the top left corner for a professional touch. You now have an impressive banner that you can use for your campaigns!
Summary - Designing a Typography Banner in Photoshop
In this tutorial, you have learned how to effectively create a banner in Photoshop that stands out with its appealing typography design. You have learned techniques for clipping, using patterns and blending modes, as well as adding hand lettering. Whether for donation appeals or advertising strategies, these skills are universally applicable.
Frequently Asked Questions
How can I create a background pattern?You can download patterns from websites like tutkit.com and import them into your Photoshop project.
How do I choose the right font?For geometric designs, Futura is a good choice; alternatively, you can use Google Fonts like Railway.
Can I use my own images?Yes, you can use images from platforms like Unsplash for your designs, as long as you comply with the licensing terms.
How do I adjust the color of a motif?Use the "Hue/Saturation" adjustment to change specific color values and harmonize your image.


