Christmas is just around the corner and with the contemplative season comes the opportunity to create creative advertising banners. An attractive banner can significantly help to attract customers' attention and highlight your offer. In this guide, I'll show you how to create an elegant and festive Christmas banner in Photoshop that is suitable for the Advent season, special sales, or simply for the new year. Let's get started!
Key Findings
- The use of appealing color gradients and fonts is crucial for a festive look.
- By using layers in Photoshop, you can customize and adjust the banner individually.
- Text fields and the right font choice significantly contribute to the overall impact of the banner.
- Effects such as overlays and color changes create a special appearance.
Step-by-Step Guide
1. Create a New File
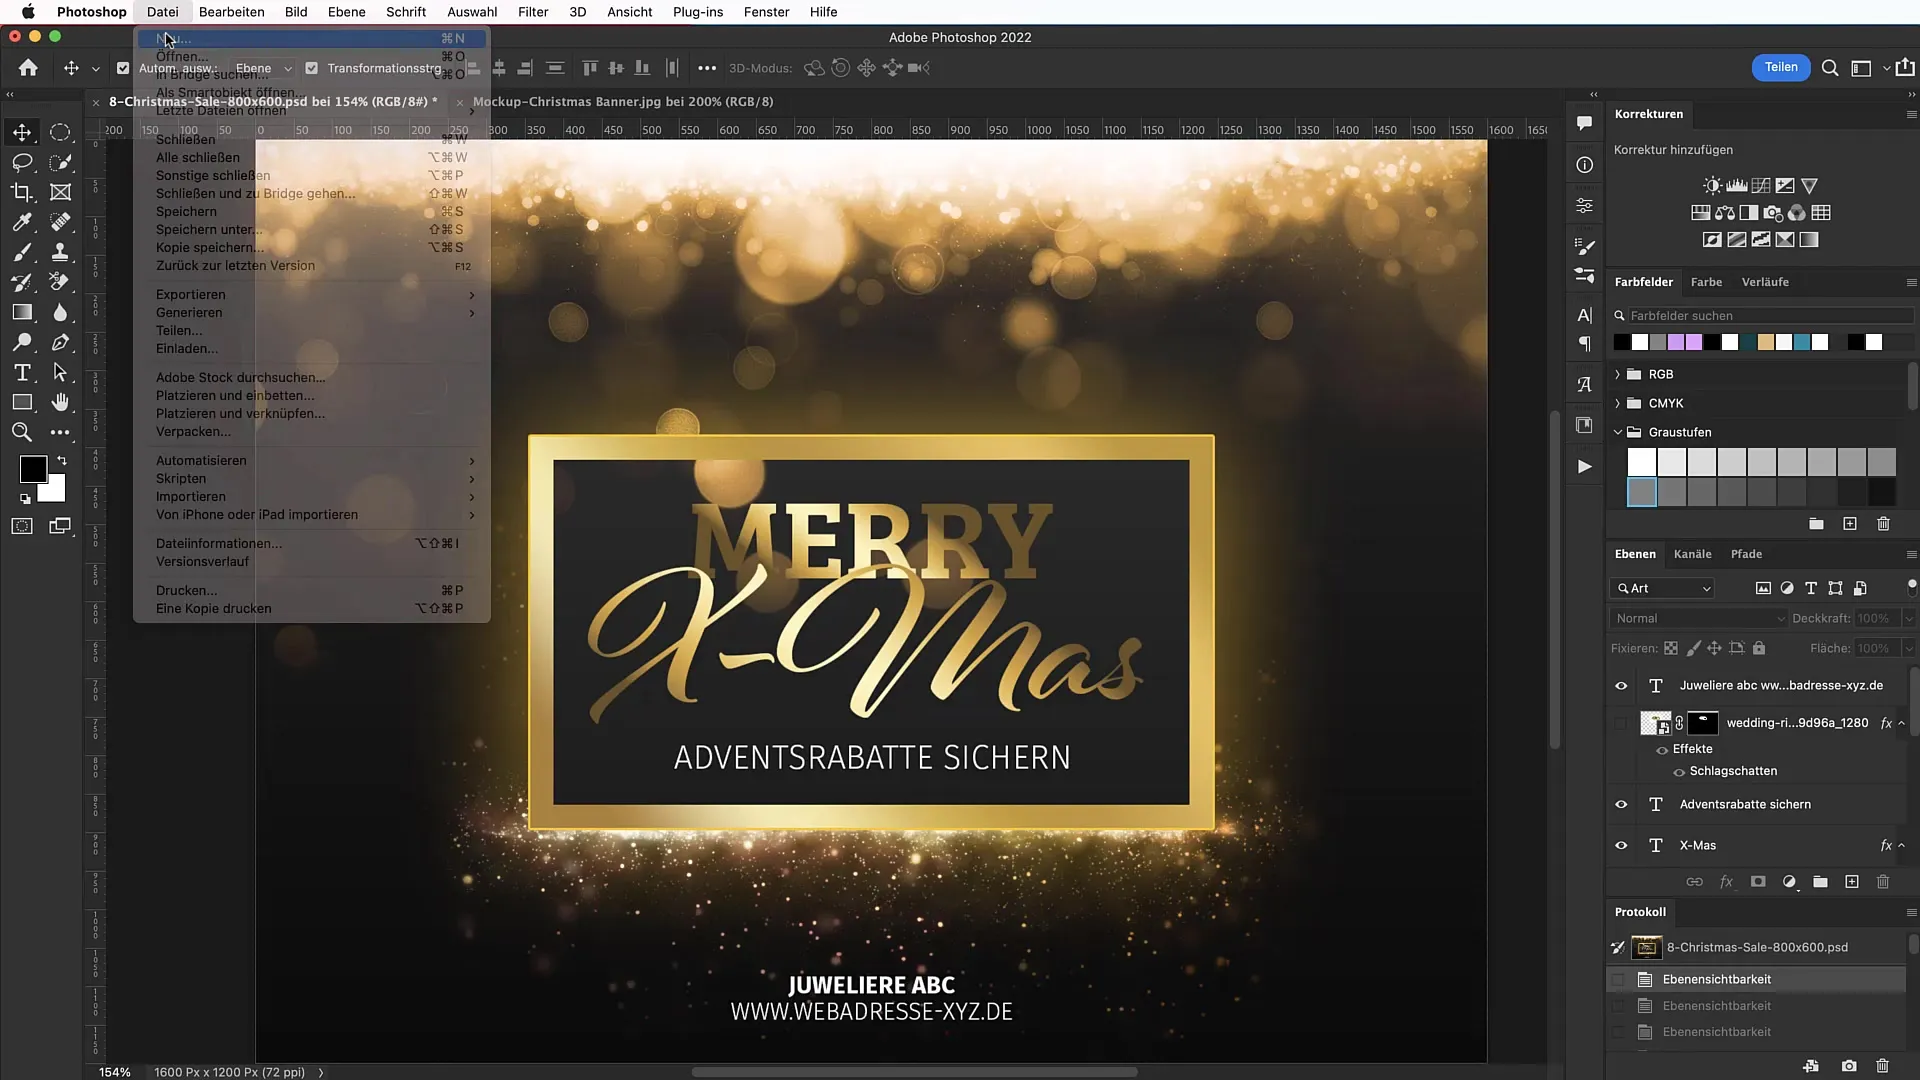
Start Photoshop and create a new file with dimensions of 1660 x 1200 pixels. This format is ideal as it doubles the classic 800 x 600 format. It provides enough space for your banner design.
2. Create a Color Gradient
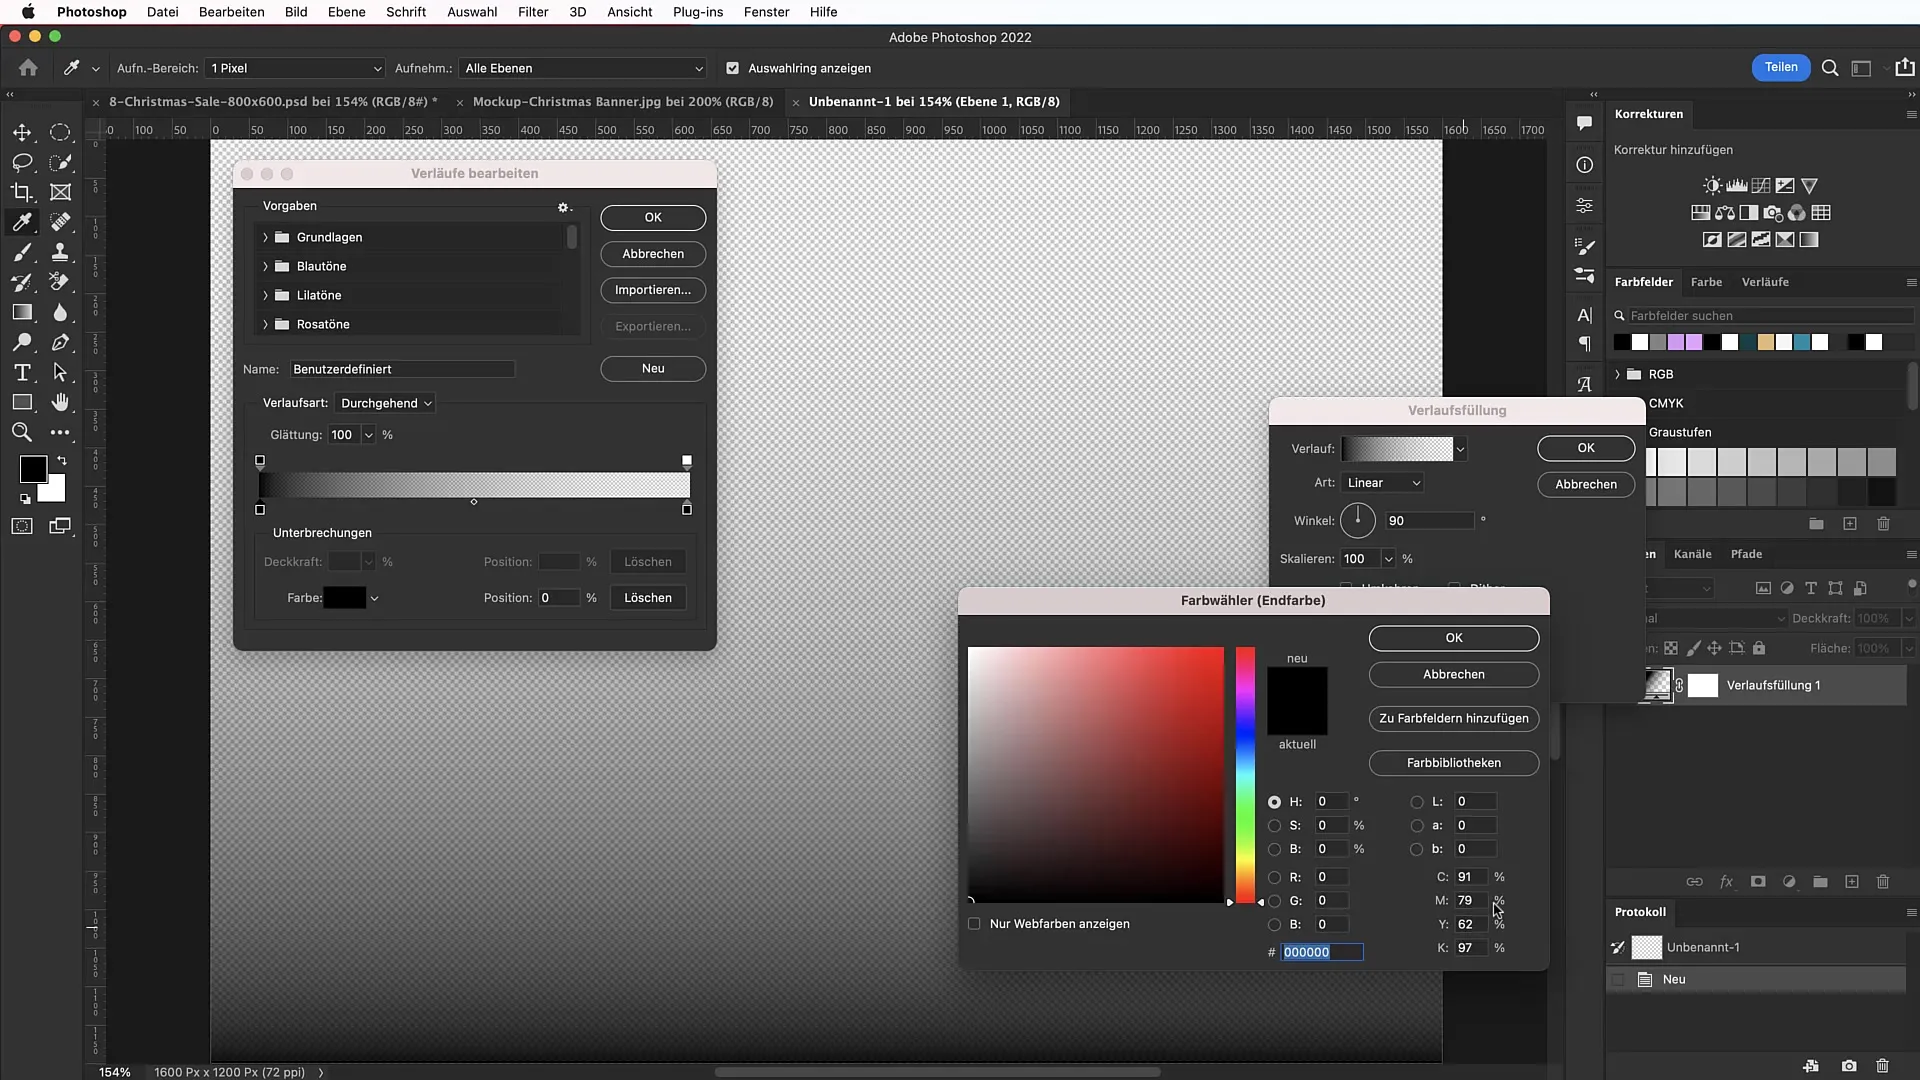
Get ready to start with a gradient. Go to "Layers" and select "New Adjustment Layer" followed by "Gradient". Here you can customize the gradients. Select the left color picker and enter the value for black (00 00 00) to set a dark shade at the very bottom.
3. Add a Second Gradient
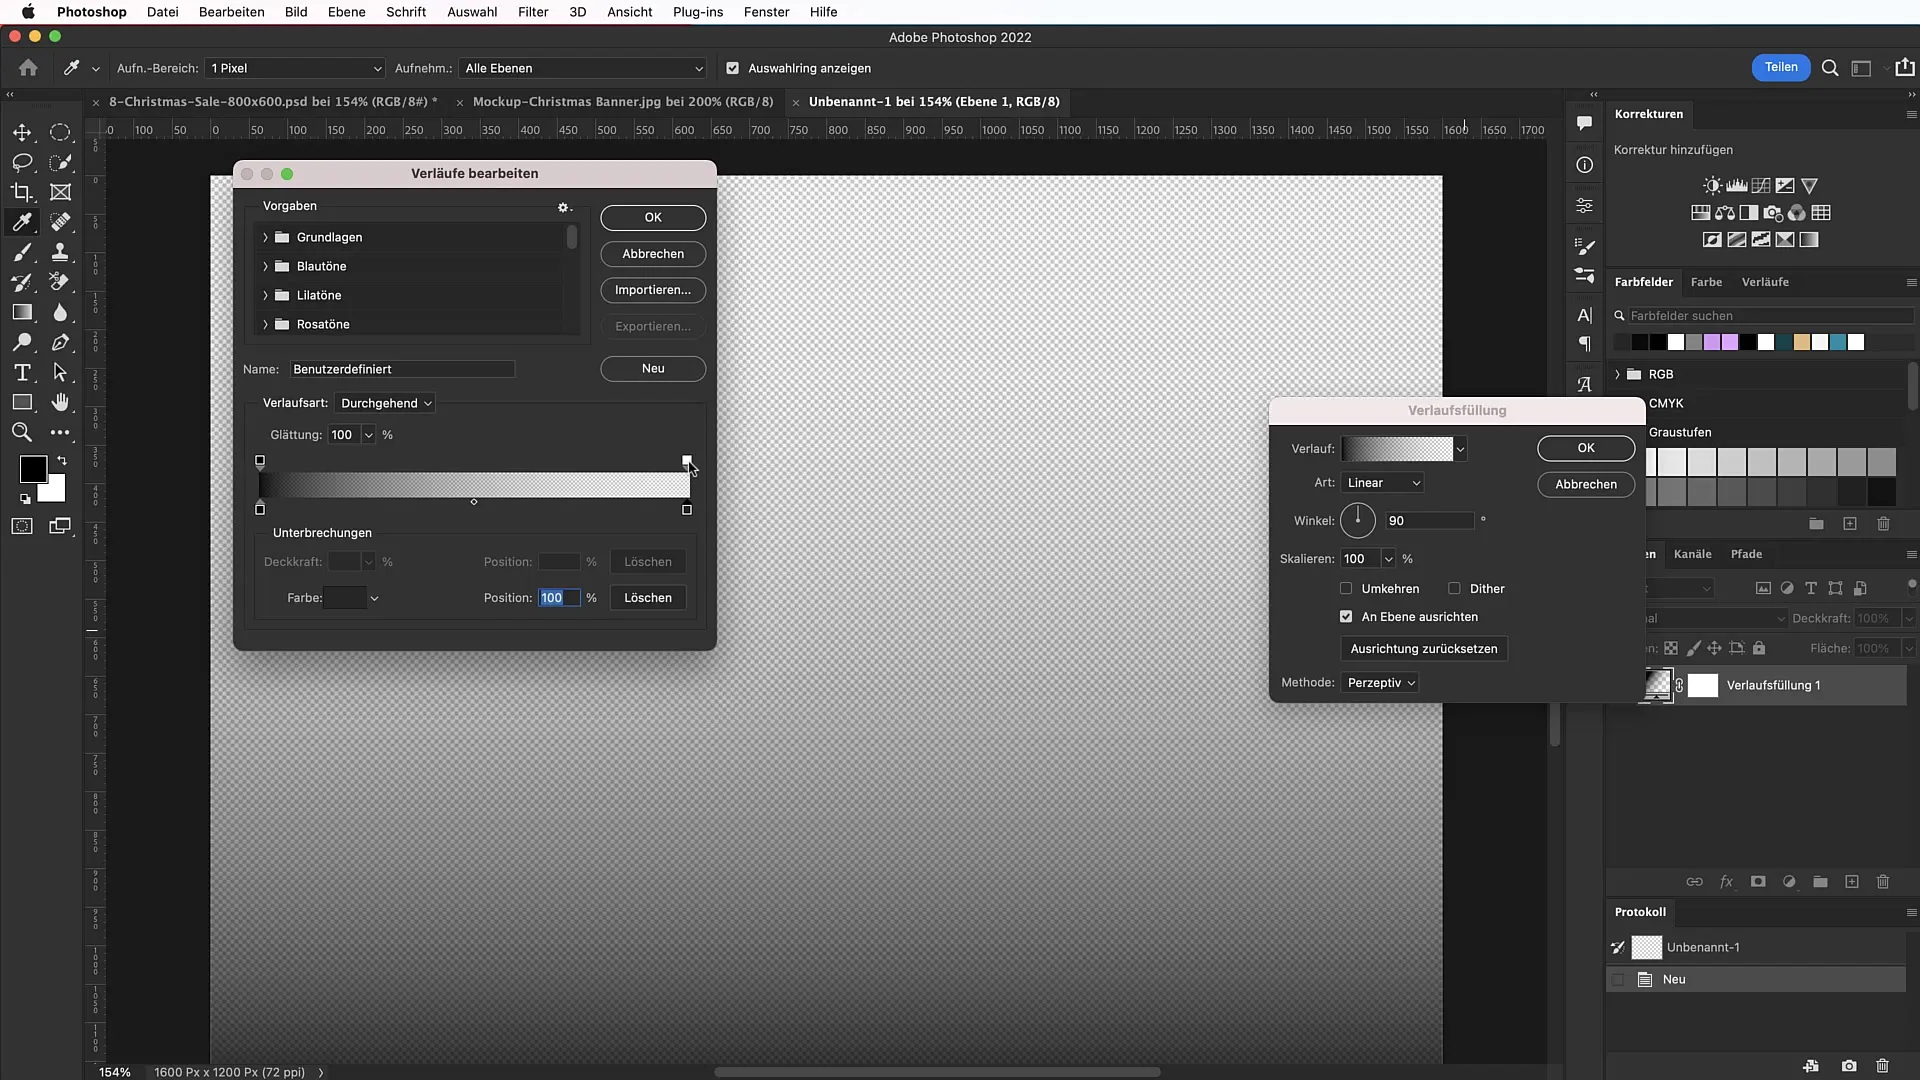
Repeat the process for the right side of the gradient by entering the value 26 26 26. Make sure to set the opacity to 100% if the gradient has a transparent representation.
4. Create a Rectangle for the Text Box
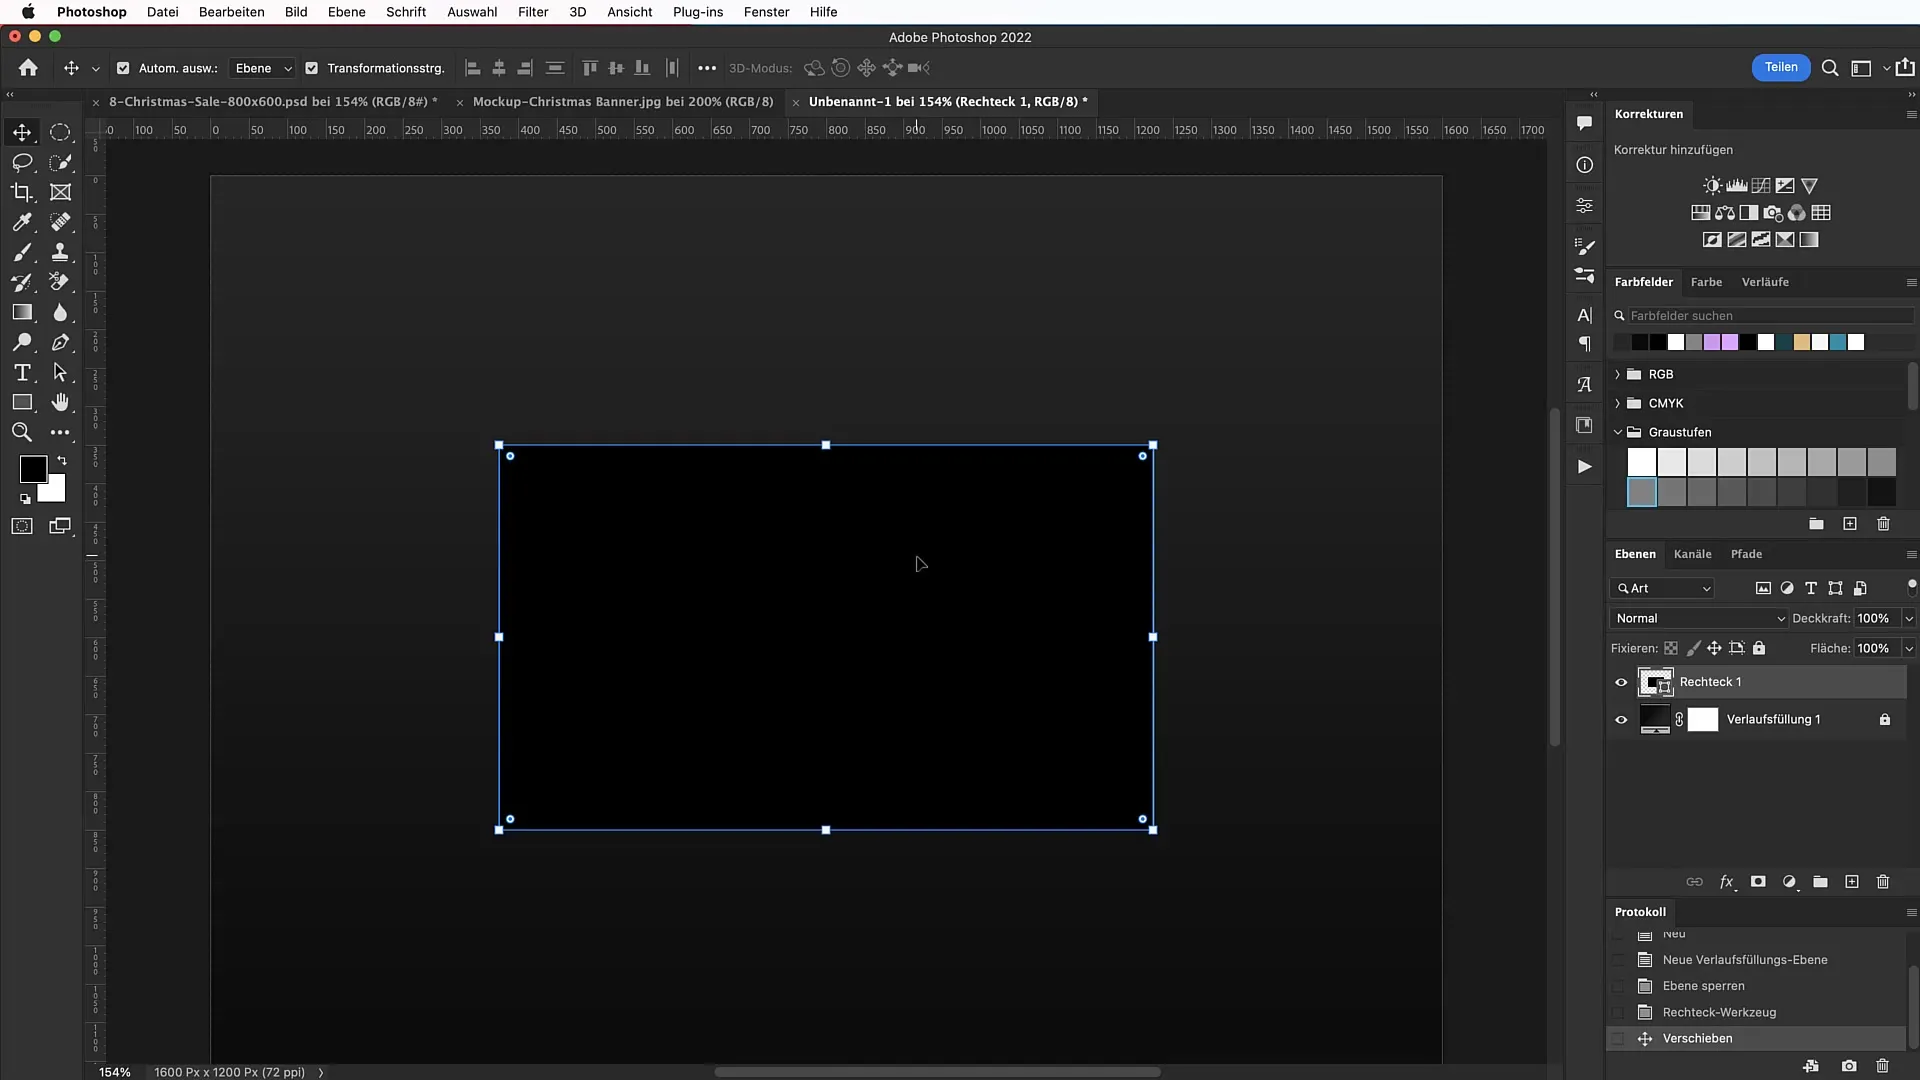
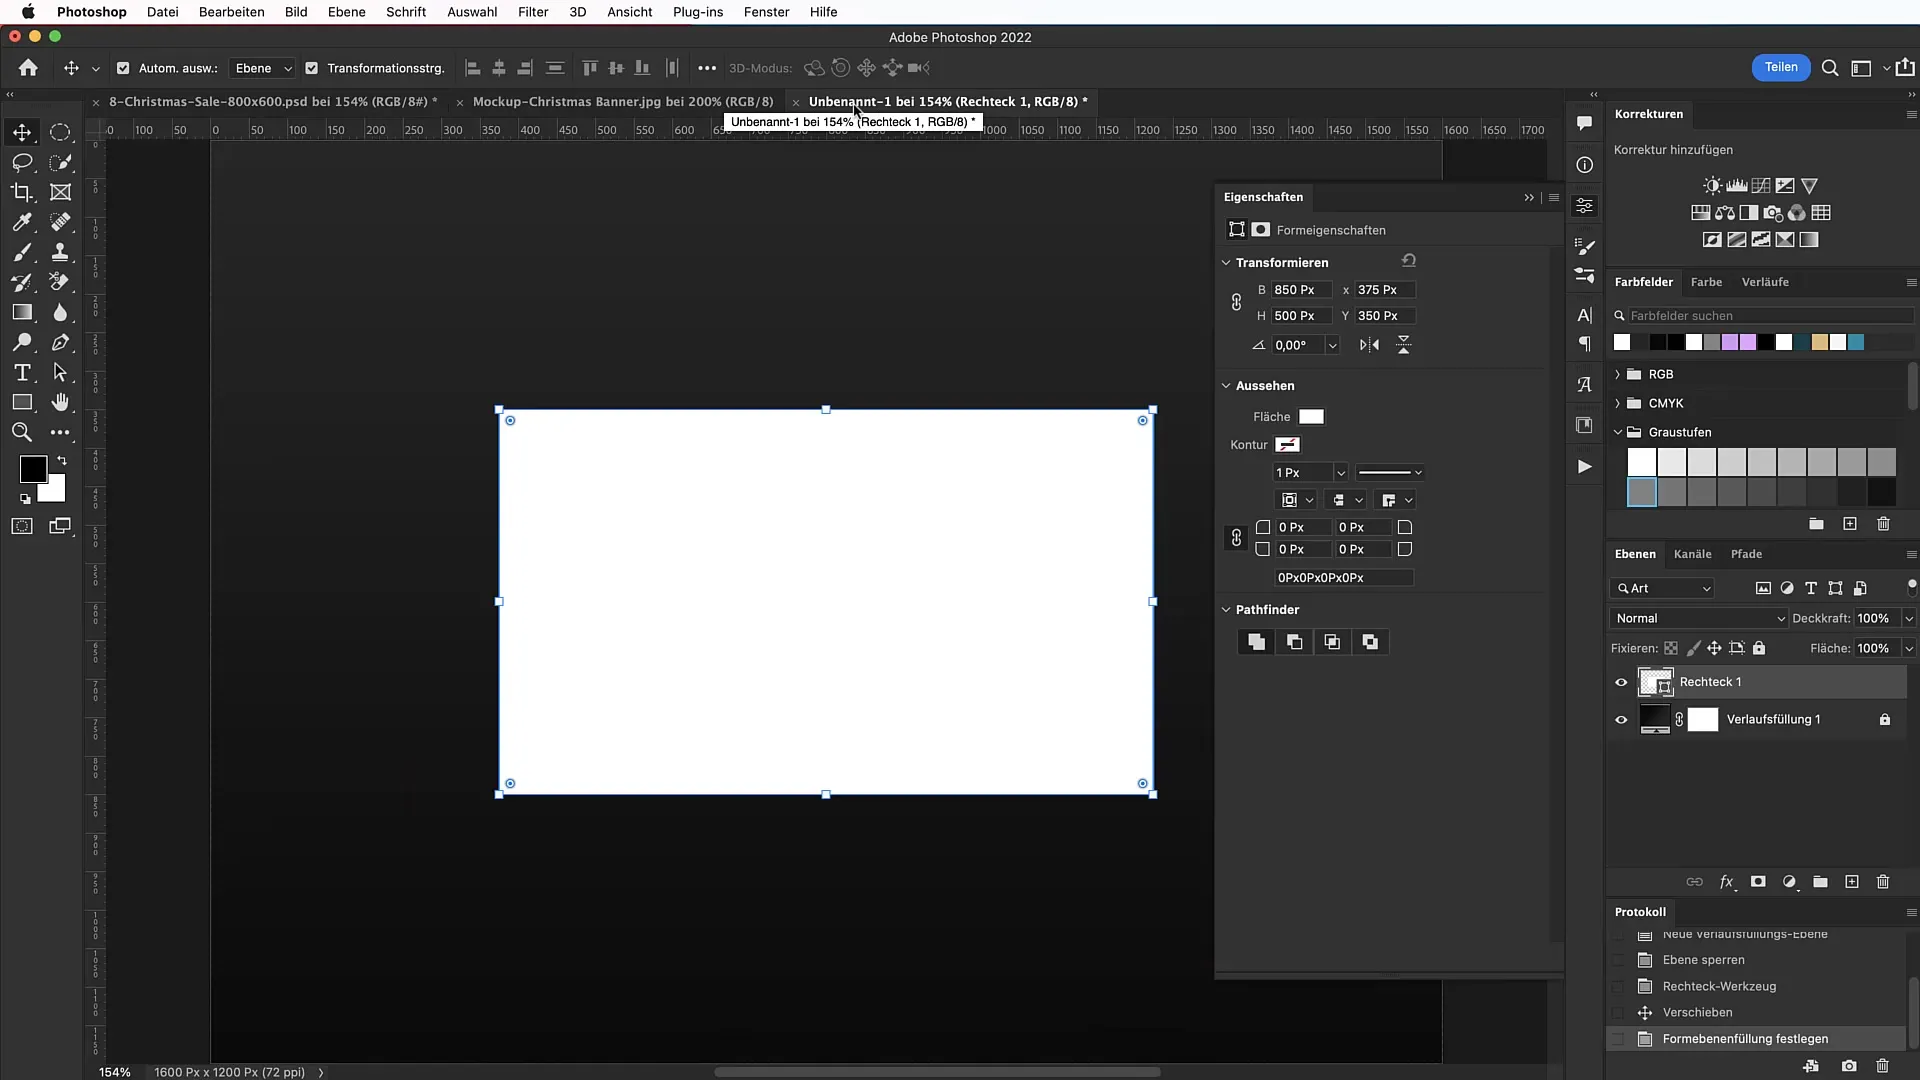
Use the Rectangle Tool and create a rectangle with a width of 850 pixels and a height of 500 pixels. Position it centrally on the workspace.
5. White Background and Outline
Set the fill color of the rectangle to white and add an outline. Choose a golden outline through the "Blending Options" menu and make sure the outline has the appropriate thickness and color.
6. Gold Gradient for the Outline
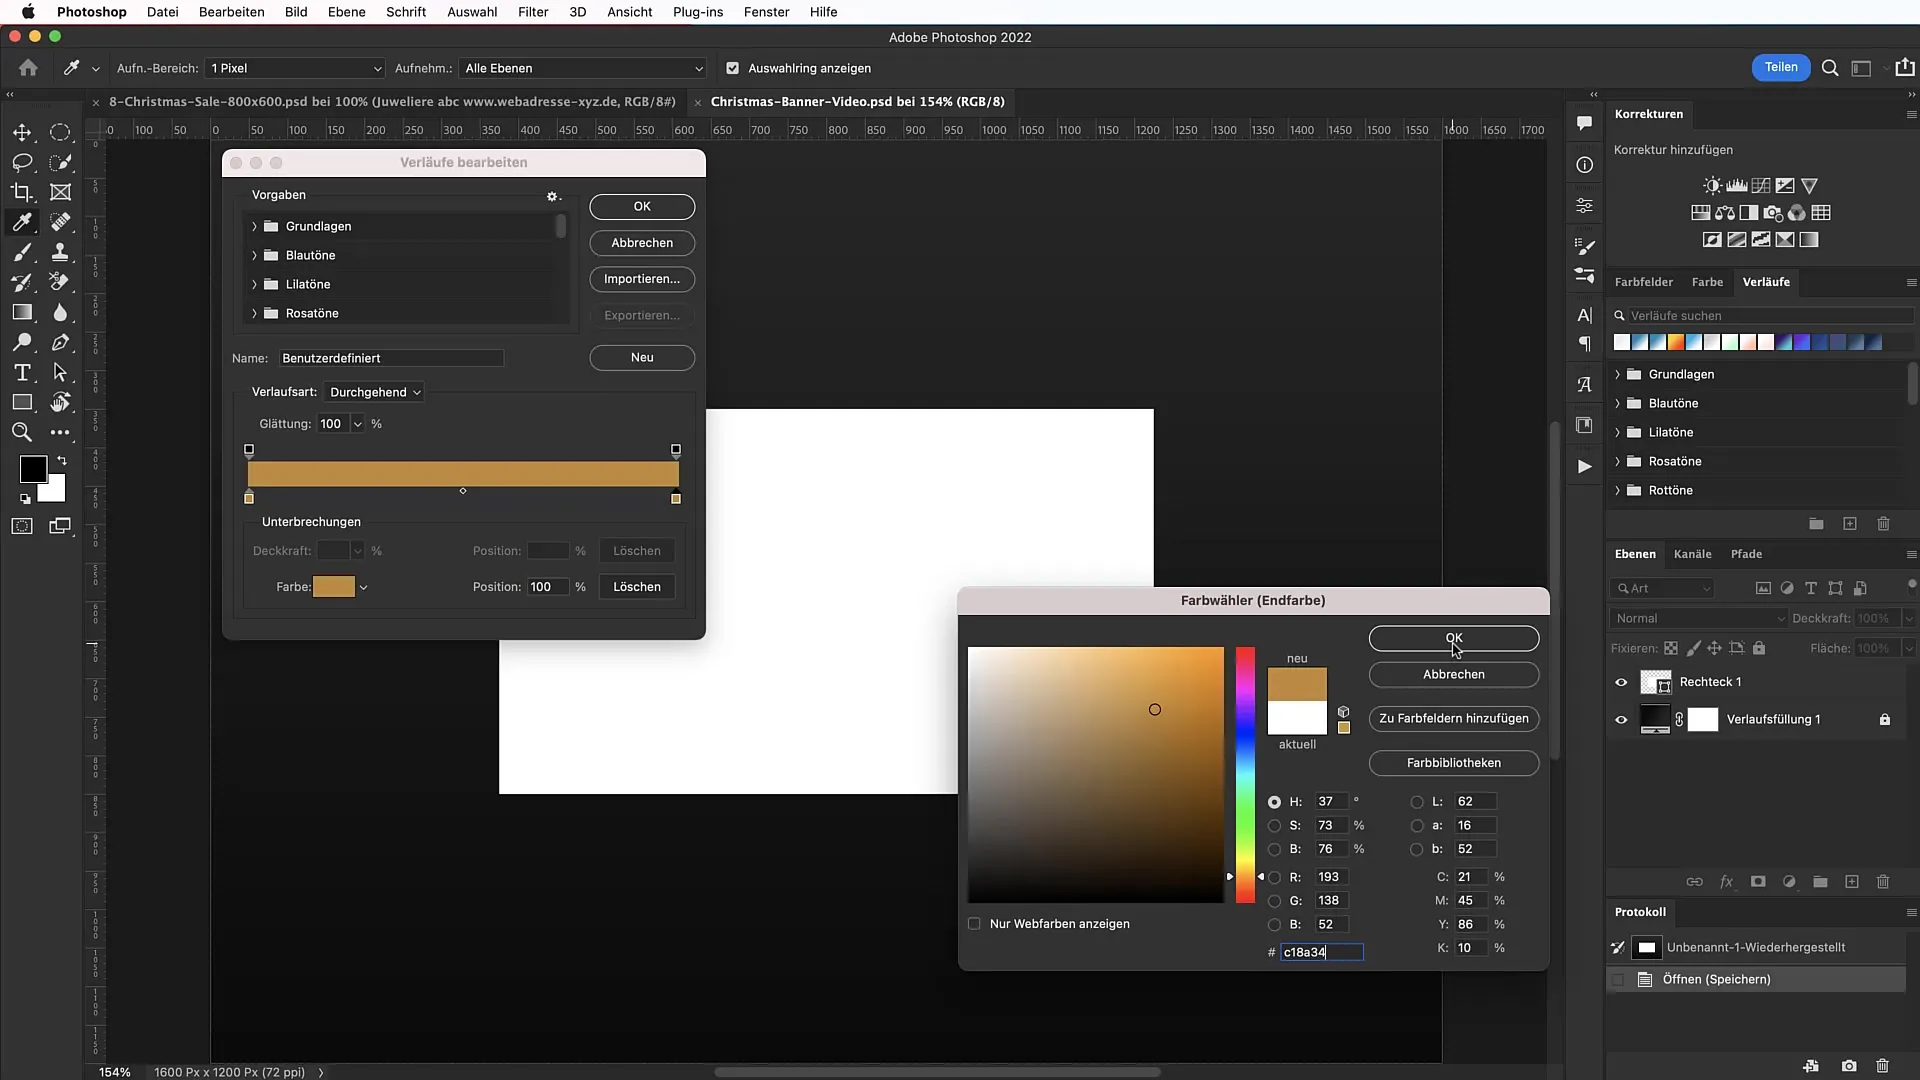
To really make the banner shine, create a gold gradient. Go back to the "Gradient Tool" and create a new gradient with the specific color values you will need.
7. Additional Outline with Shine Effect
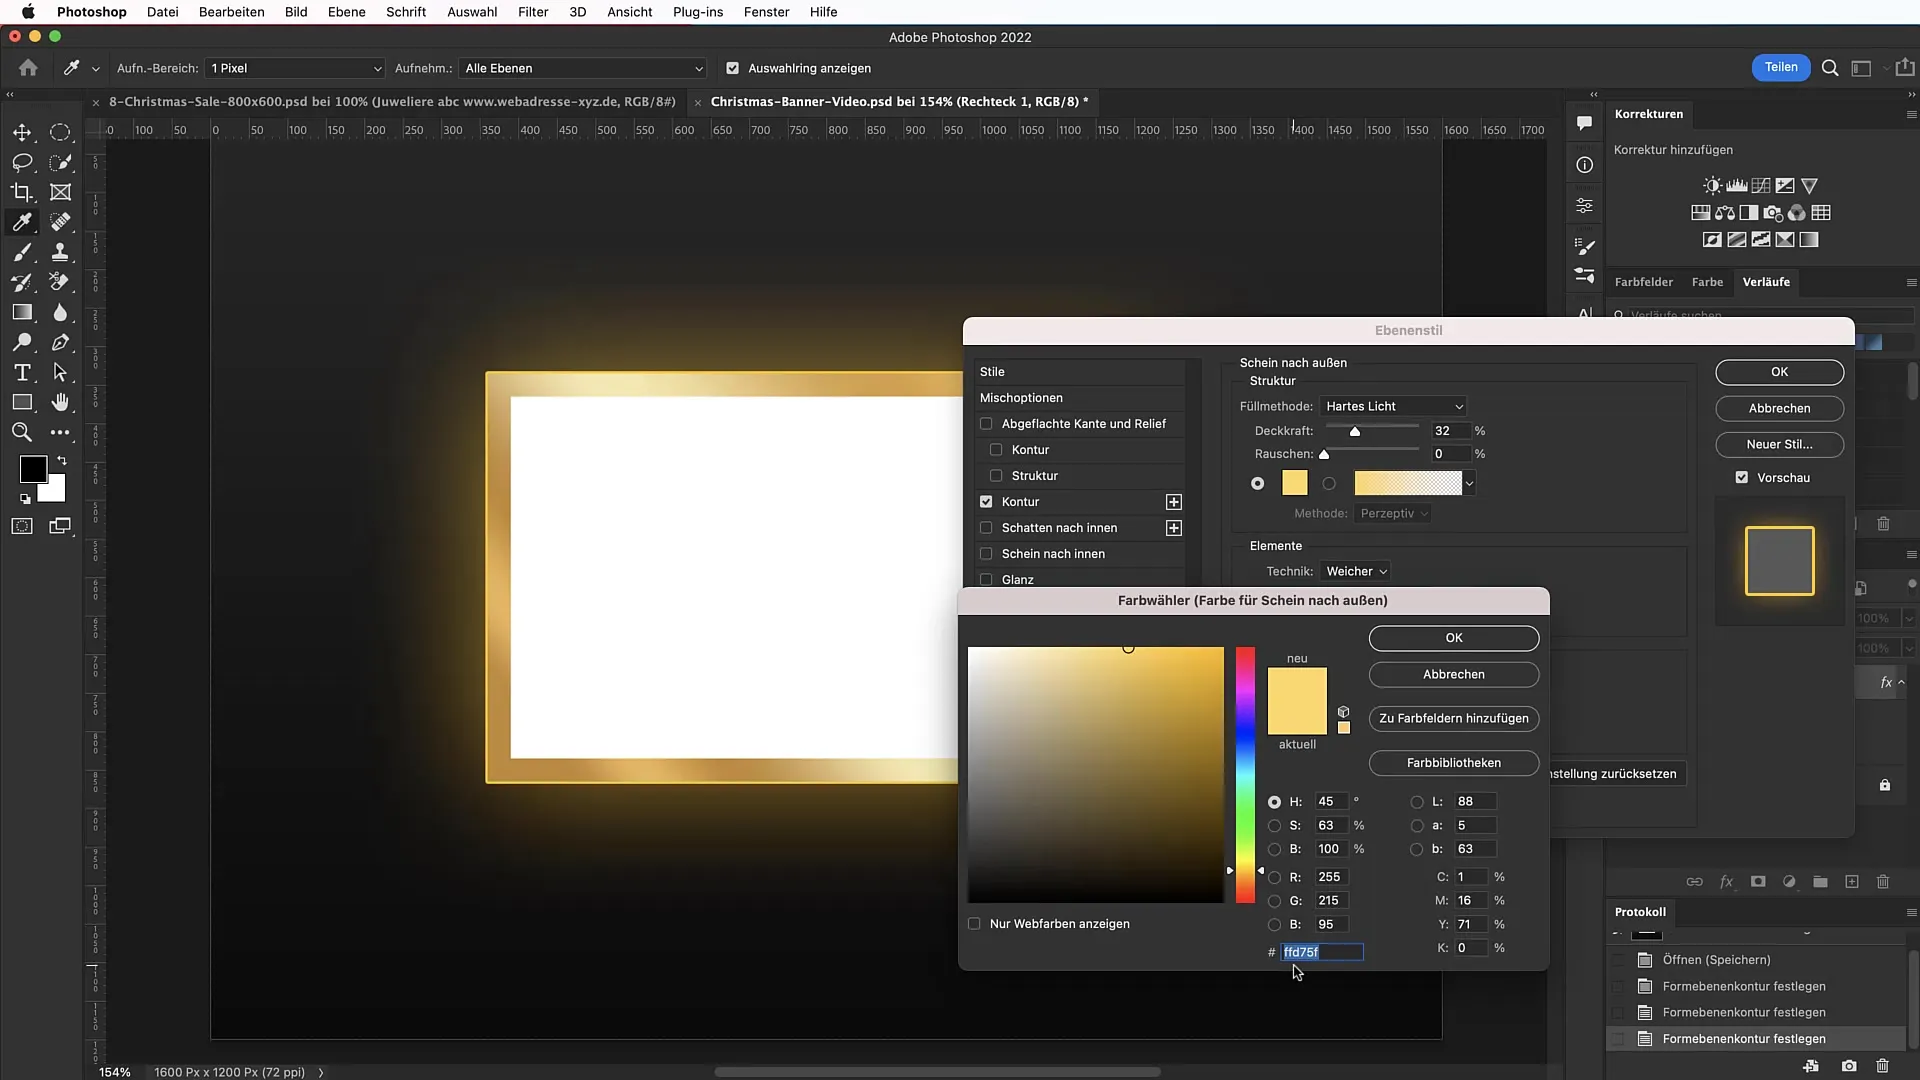
You can add an additional outline to the rectangle by opening the Blending Options and choosing a new color. Be sure to adjust the size and opacity of the shine effect to achieve a glossy look.
8. Add Text
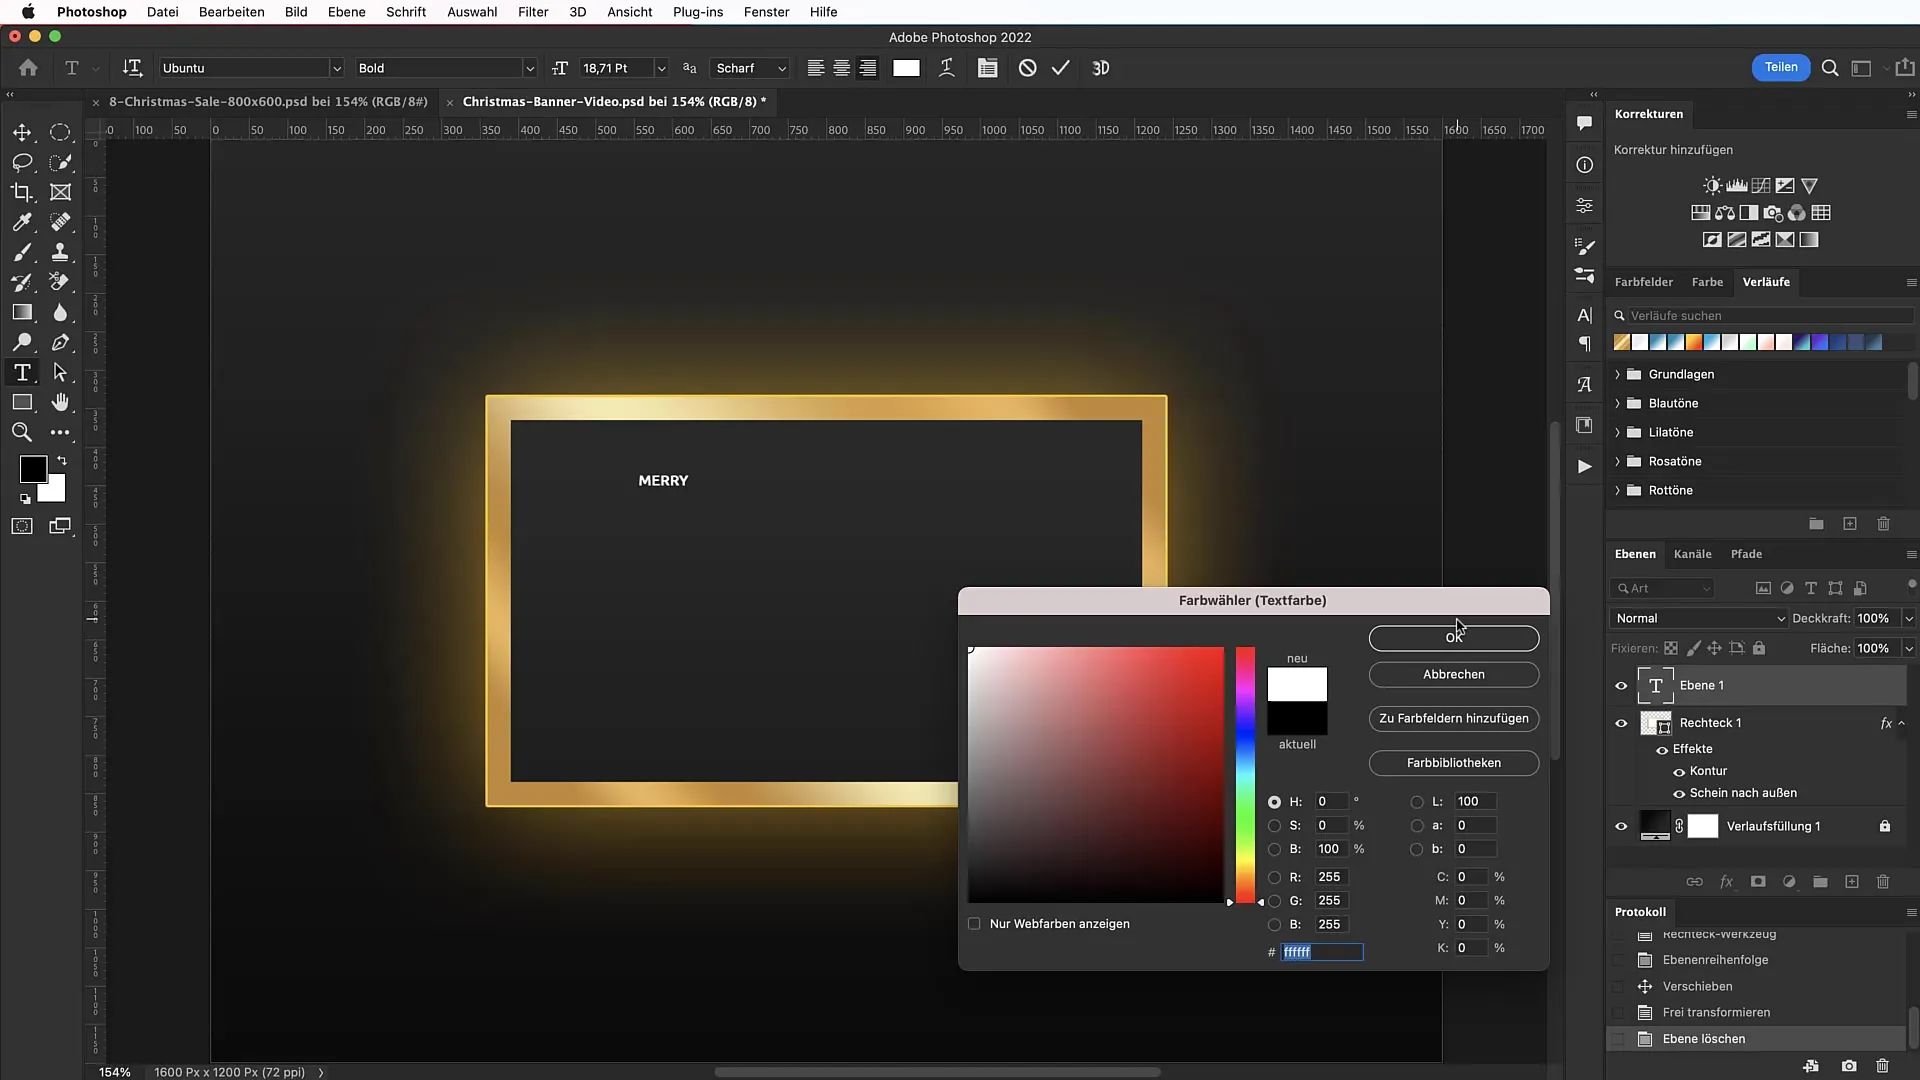
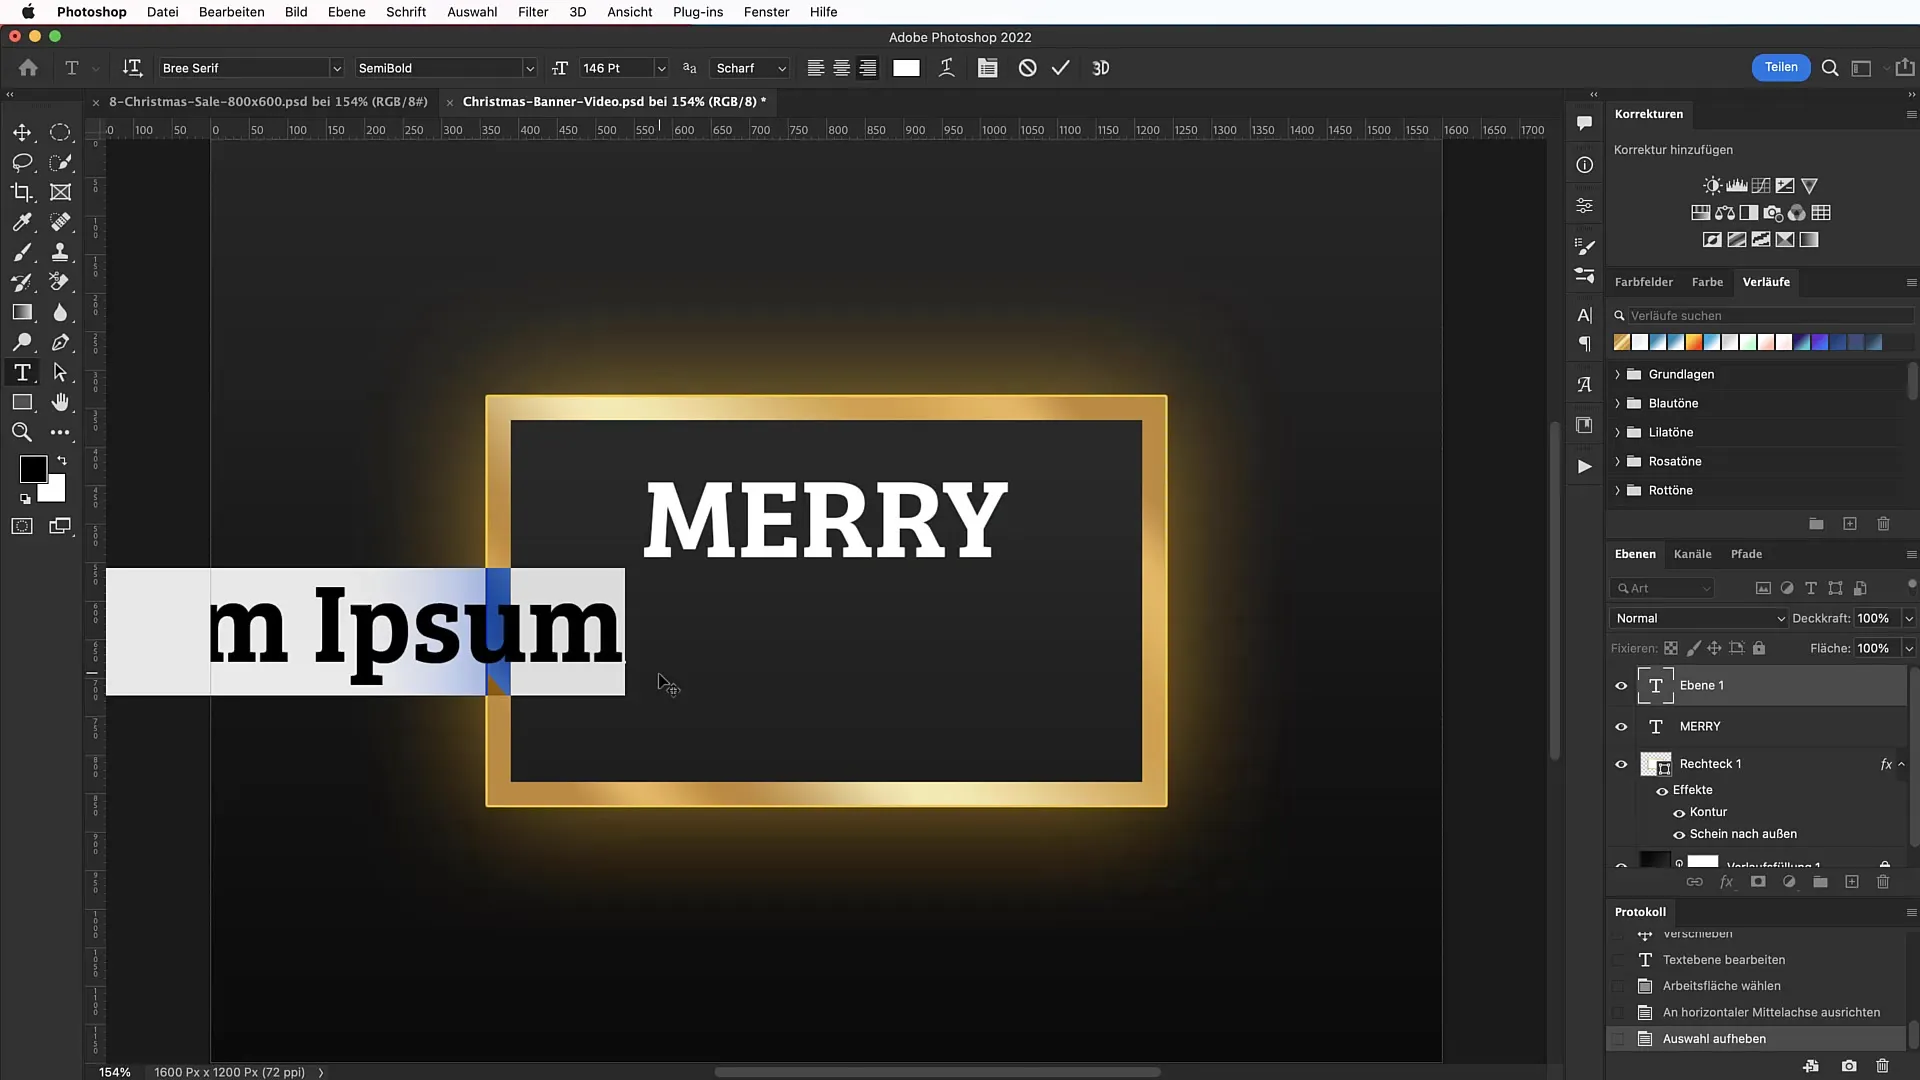
Once the rectangle has been created and adjusted, it's time to add text. Use the text tool to place "Merry Christmas" or similar in an appropriate font underneath. A good choice is the Bree Serif font.
9. Font Size and Text Alignment
Set the font size to 146 points and ensure the text is centered. You can also create a second text layer for a subheadline that indicates the space for offers or discounts.
10. Text color and gradient
Add a golden gradient to the text to round off the appearance and make it festive. Pay attention to the correct orientation of the gradients to ensure they fit the overall composition.
11. Refining the font
To ensure readability, choose a sans-serif font for the subtitle in the appropriate sizes. Make sure the font is less dominant than the main text to create a harmonious overall image.
12. Adding overlays
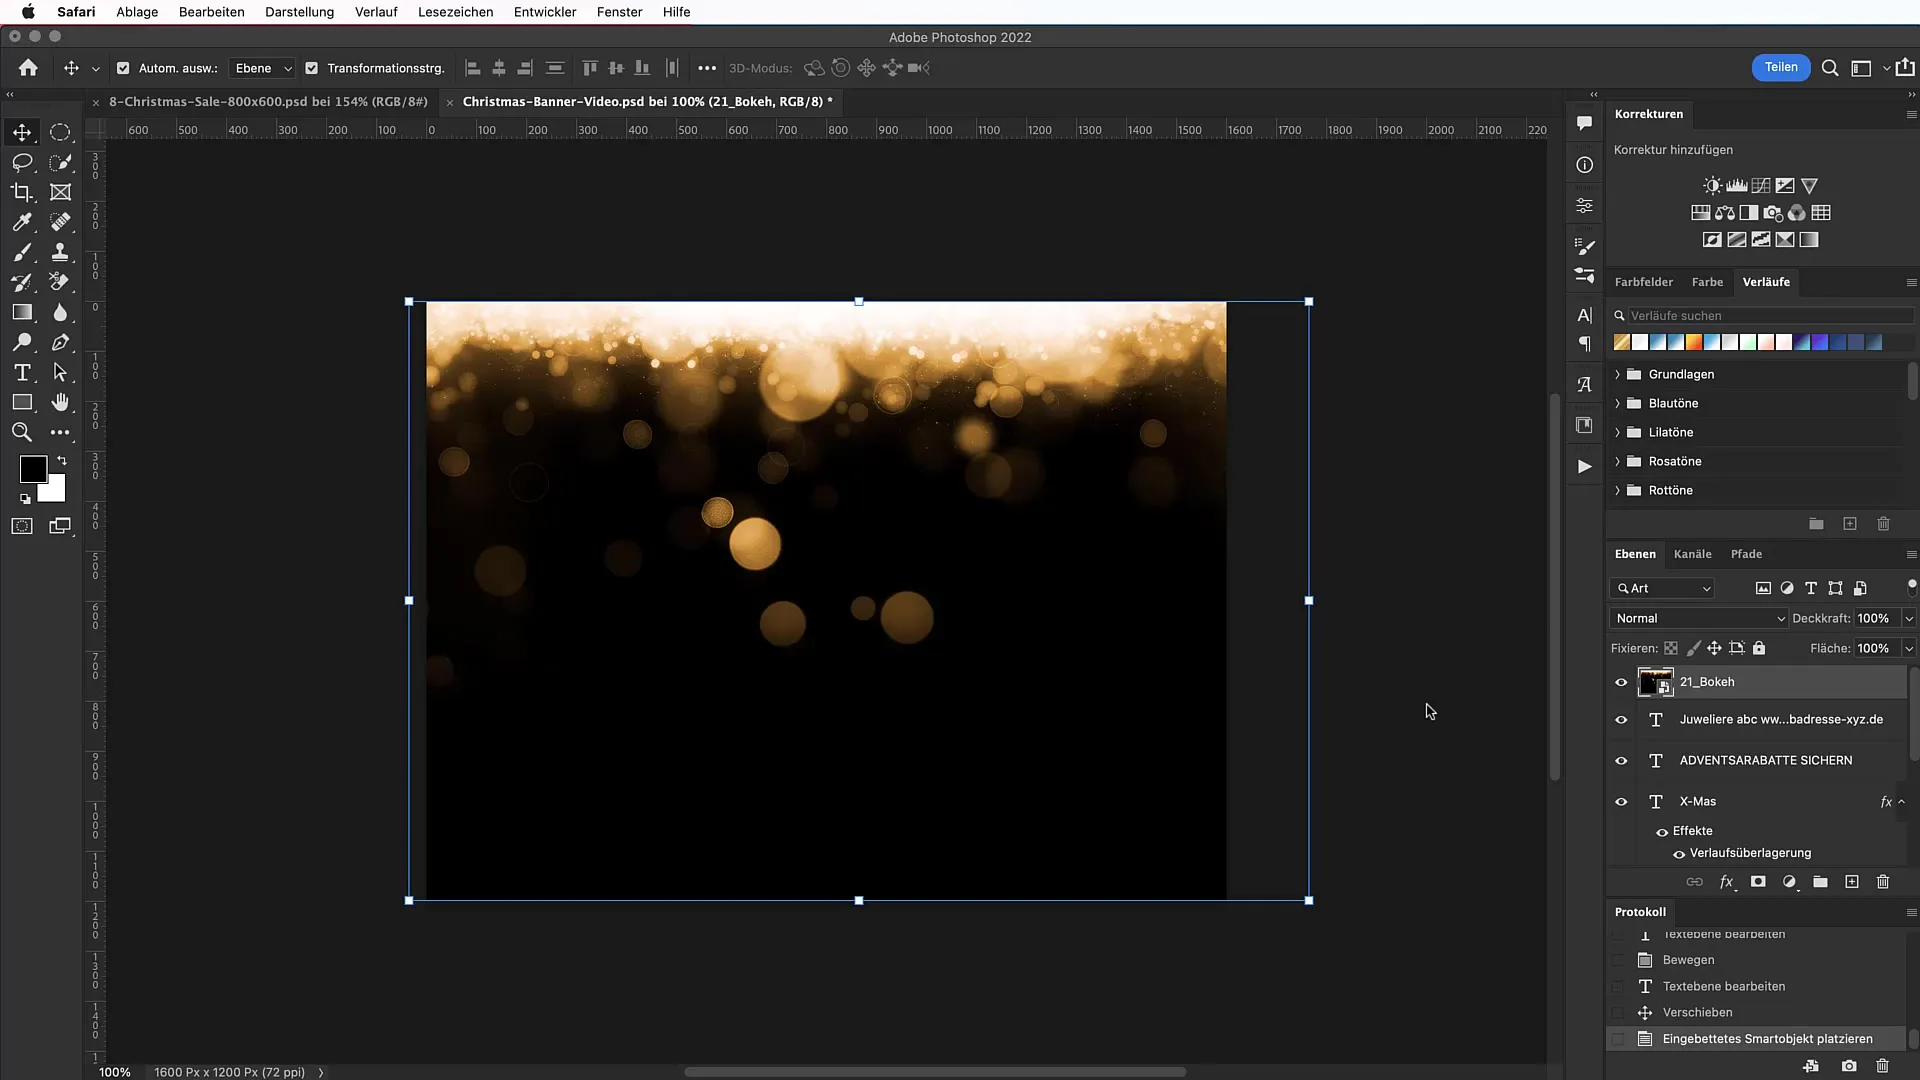
To enhance the design further, you can work with overlays. Download a bouquet set or glitter effects for this purpose and place them over your banner. Set the blending modes in a way that harmonizes with the image.
13. Adjusting the colors of the overlays
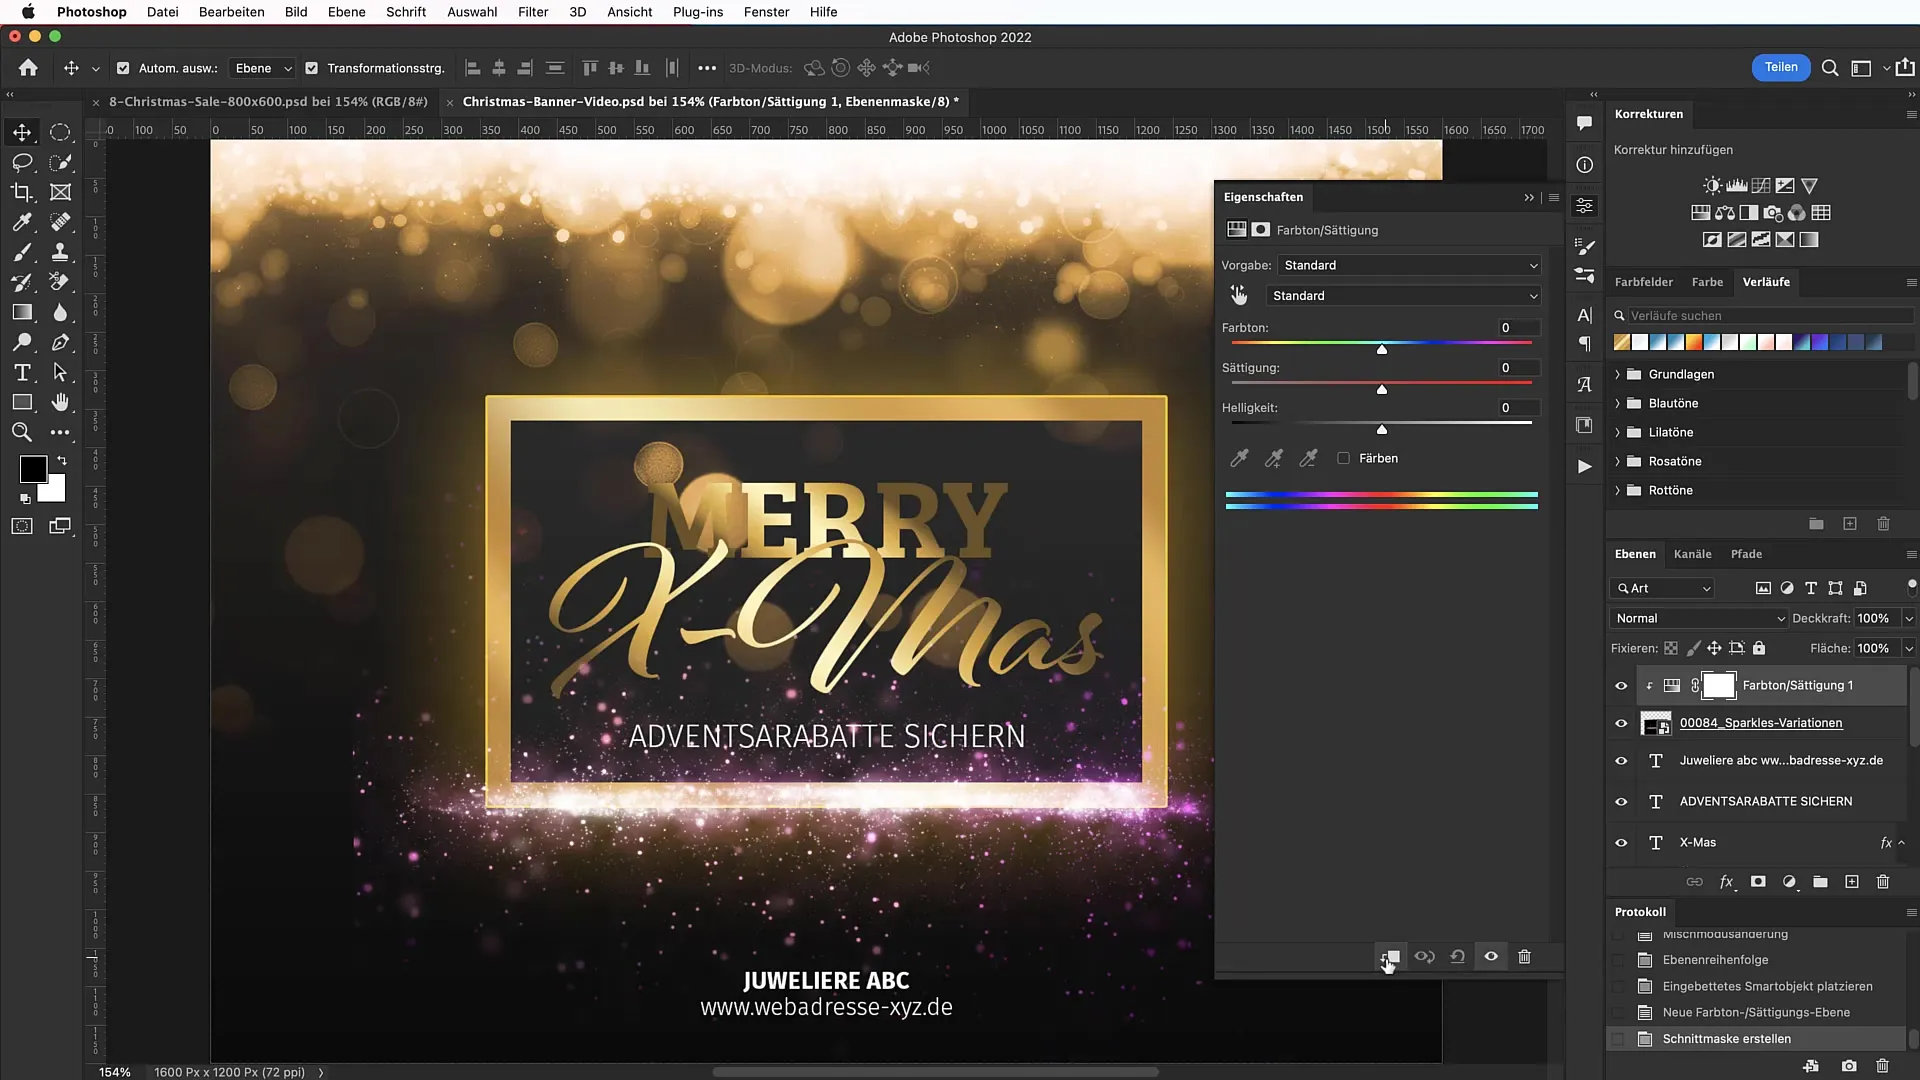
Use a hue/saturation adjustment effect to ensure that the colors of the overlays match the rest of your design. A diversified color palette is beneficial in this case.
14. Final editing and fine-tuning
Make the final adjustments by adjusting the edges of the overlays with a layer mask. This way, you can soften harsh edges and further enhance the overall impression of the banner.

Summary
In this tutorial, you have learned how to create a festive Christmas banner in Photoshop. From creating a new document to using gradients, text, and effects, you have the tools for an impressive design that can be used during the Advent season or at the end of the year.
Frequently Asked Questions
How do I create a gradient in Photoshop?Open the "Gradient Tool" and adjust the colors in the gradient settings.
What fonts are suitable for a Christmas banner?In general, serif fonts and handwritten fonts work great. Bree Serif and Alfresco are good options.
How can I add overlays to my design?Download the overlays, drag them into your document, and set the blending modes to achieve the desired effects.
Can I use a pre-made gold gradient set?Yes, if you have a paid subscription, you can download gold gradient packs that offer you additional options.
In which file formats should I save?Save your banner as PNG or JPEG to ensure the highest quality when publishing.


