Working with Paint.NET offers a variety of creative possibilities, but understanding how to handle image and canvas sizes is essential to achieve optimal results. Often, one realizes that the size of the image placed on the canvas does not meet their own requirements. In this guide, I will show you how to efficiently manage image size and canvas size. You will learn the basic steps to perfectly crop and adjust your graphics.
Key Takeaways
- Image size can be set when creating a new project.
- Canvas size only affects the available area for the image.
- Proportional adjustments help transform objects correctly.
Step-by-Step Guide
1. Create a New Image File
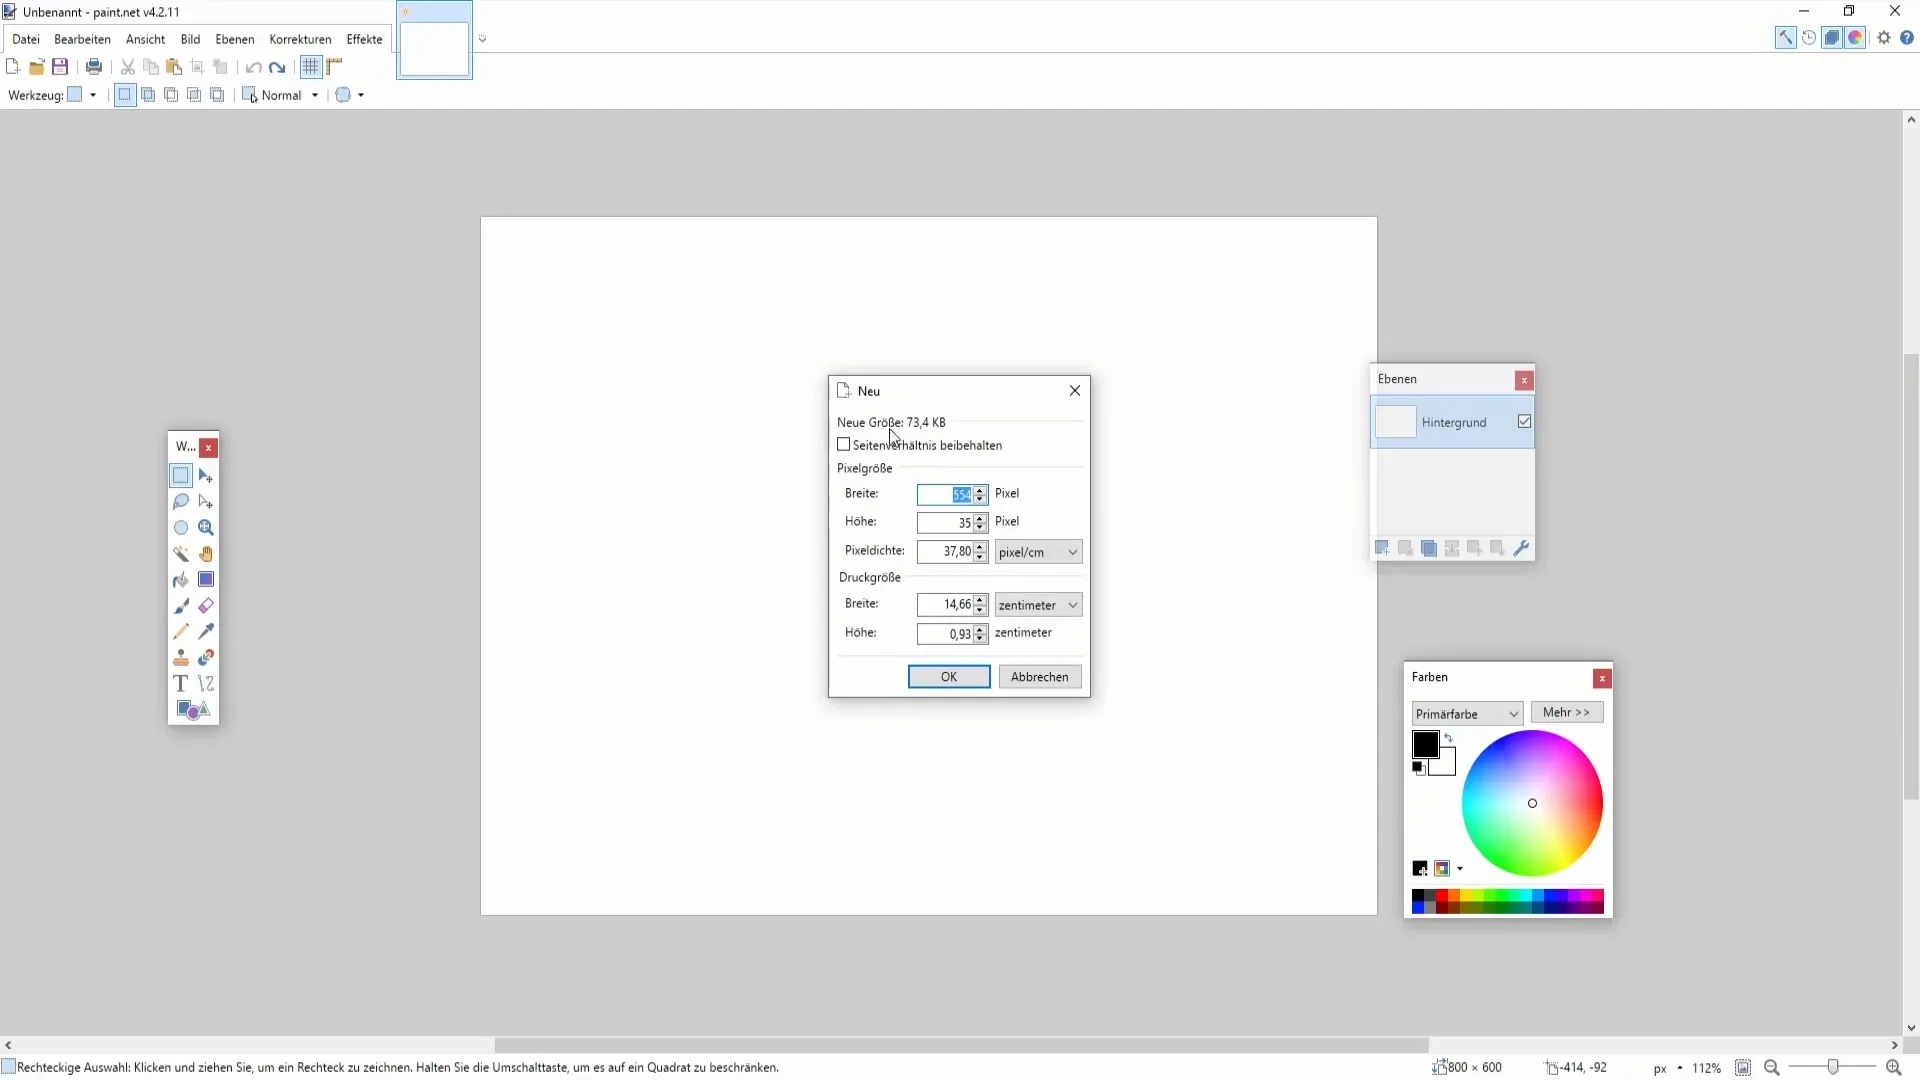
To create a new image file in Paint.NET, select the "New" option from the top menu. This will allow you to specify the desired image size. You can work in pixels or inches by manually entering the desired values.
2. Set the Image Dimensions
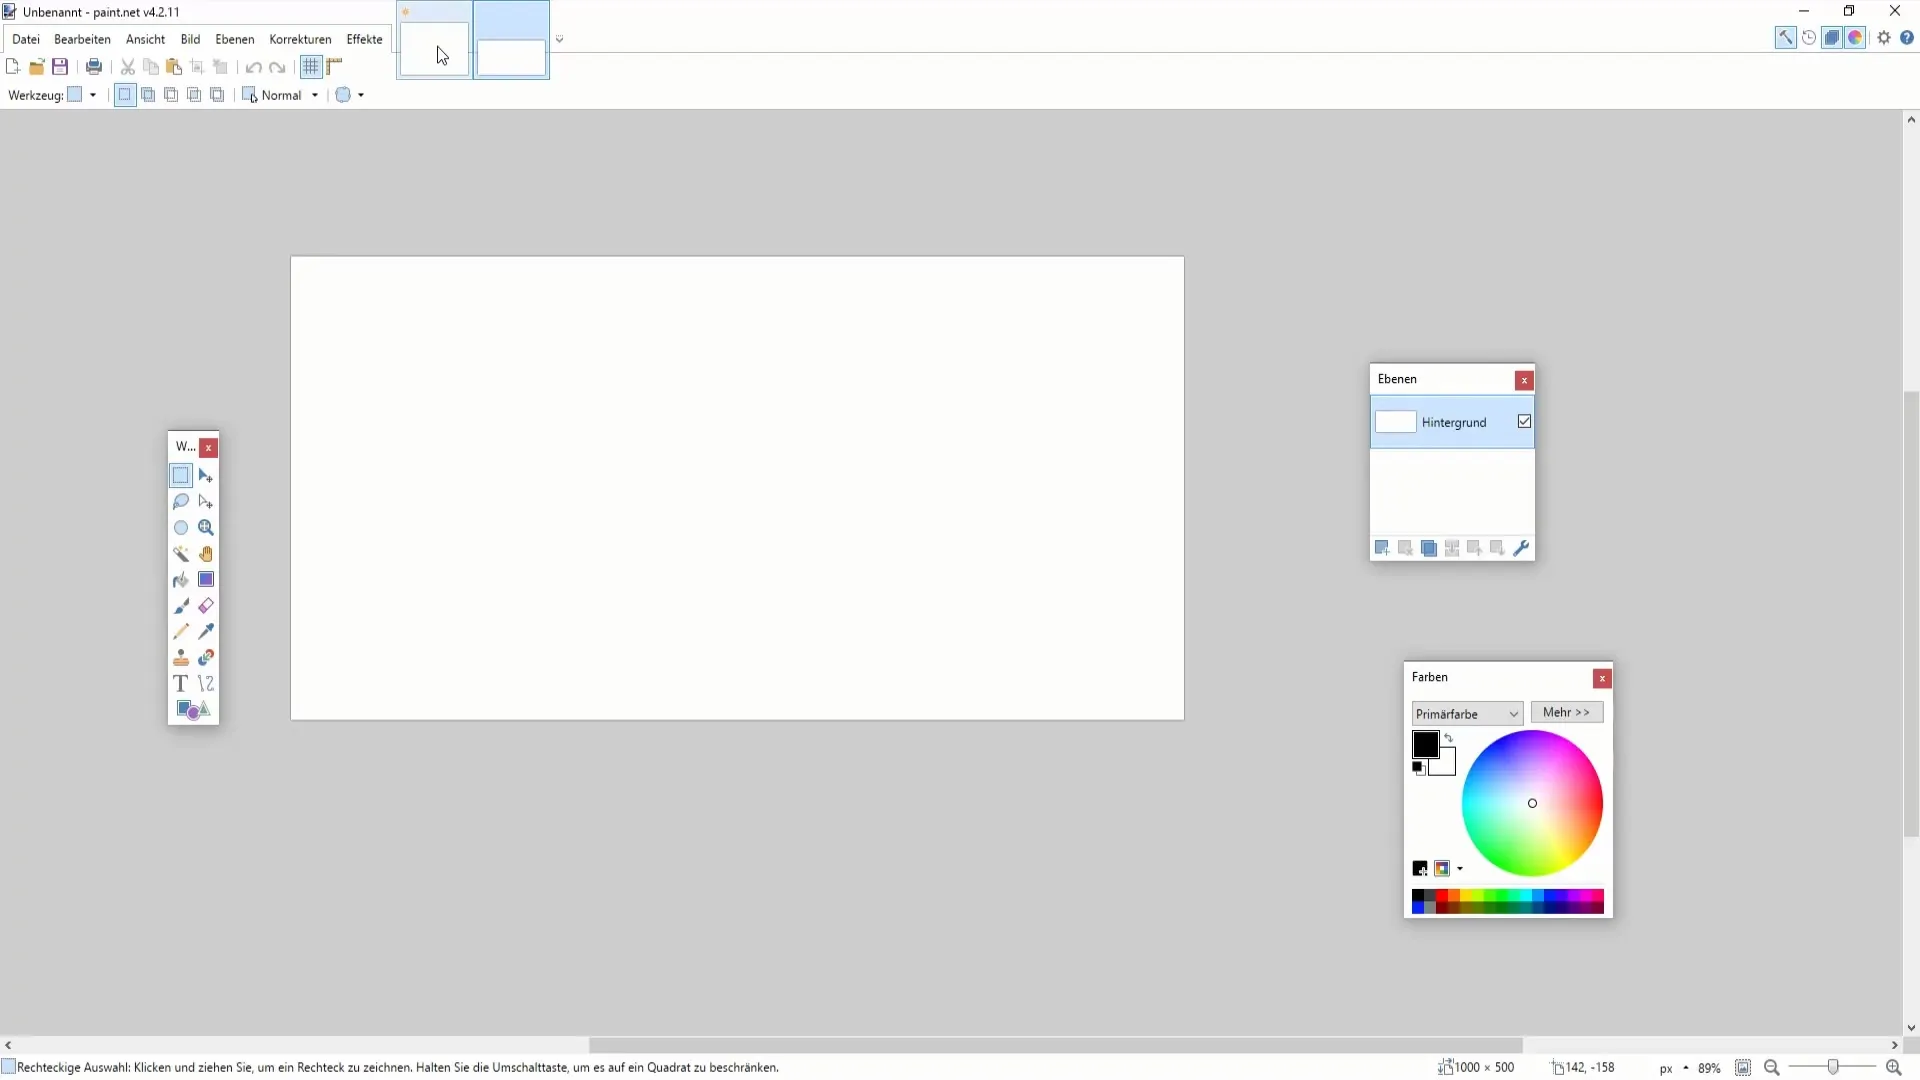
When entering the image size, you have the option to choose different formats. For example, you can set values such as 1000 x 500 pixels and confirm by clicking "OK."
3. Adjust Image Size
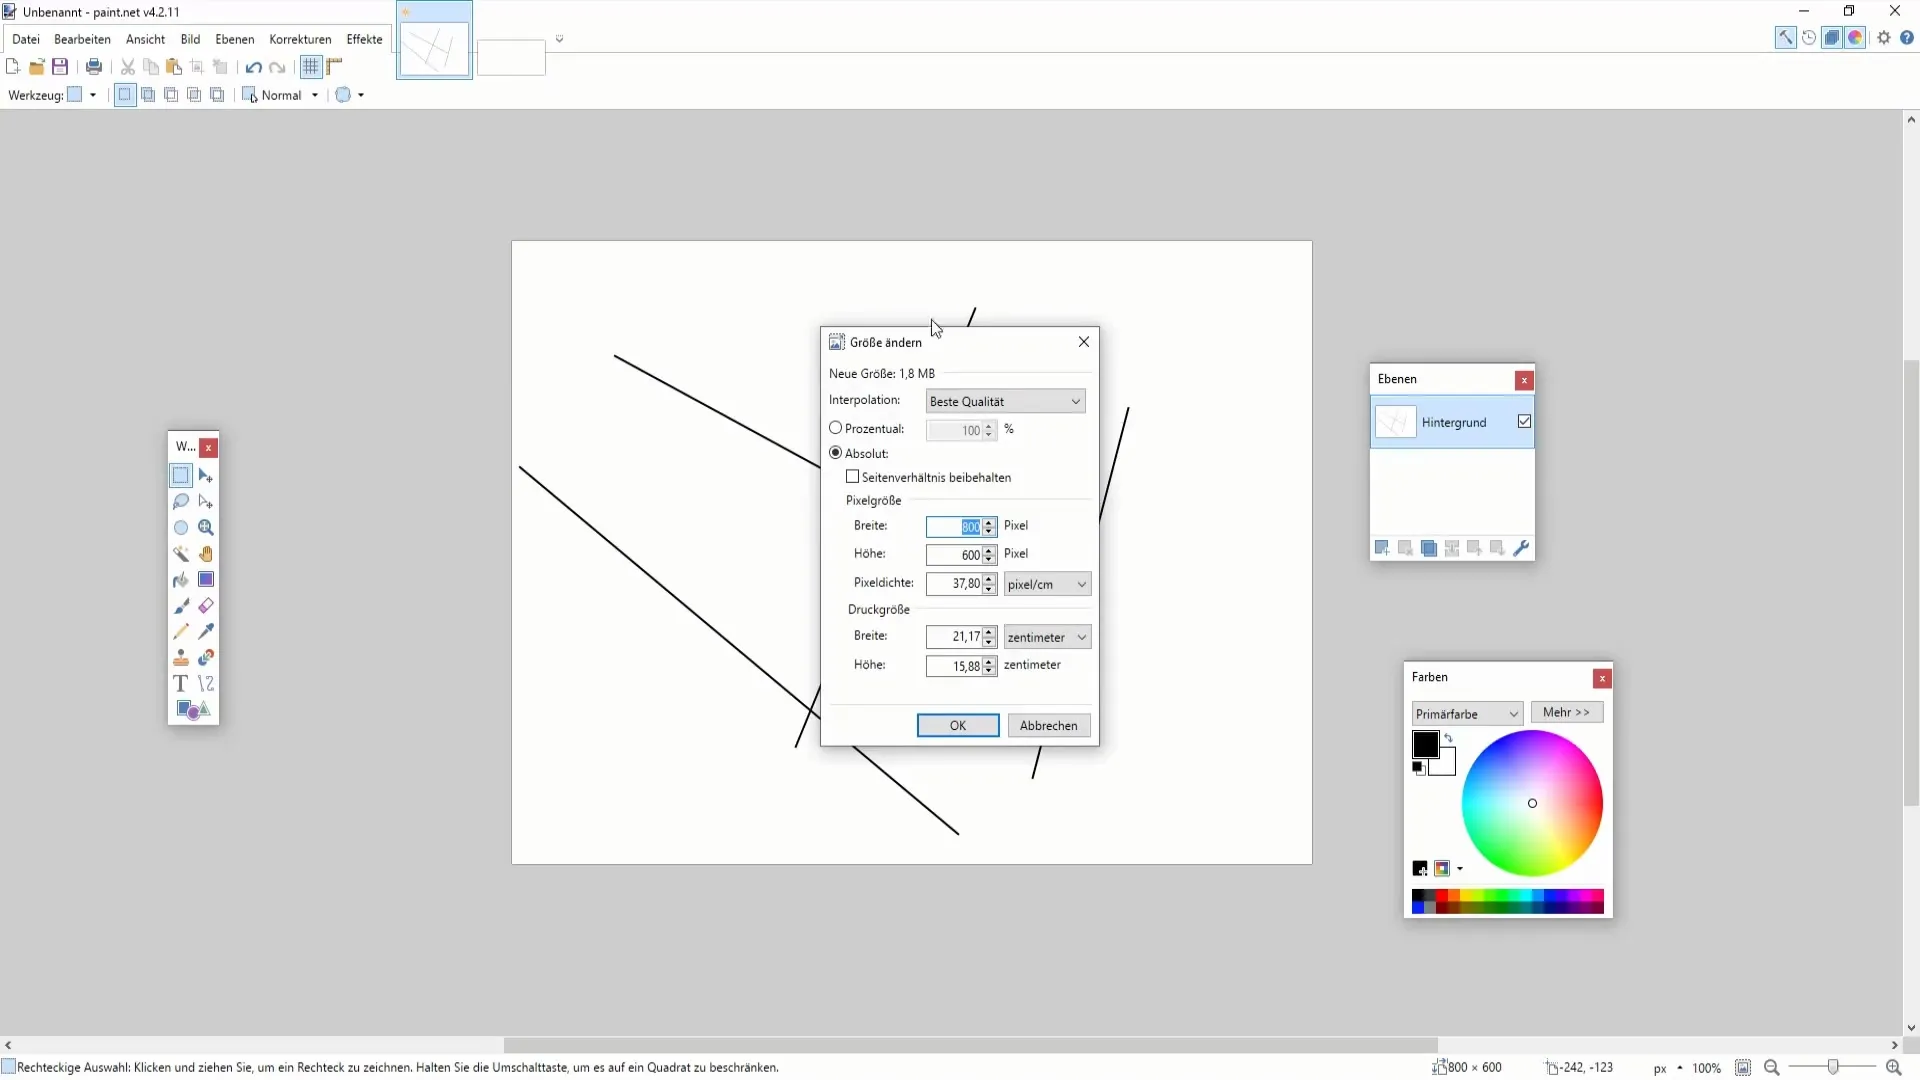
If you have already worked on an image and wish to change its size afterwards, use the "Resize" function in the menu. Alternatively, use the keyboard shortcut "Ctrl + R" to make the changes. Here, you can adjust the current size according to your needs.
4. Make Proportional Adjustments
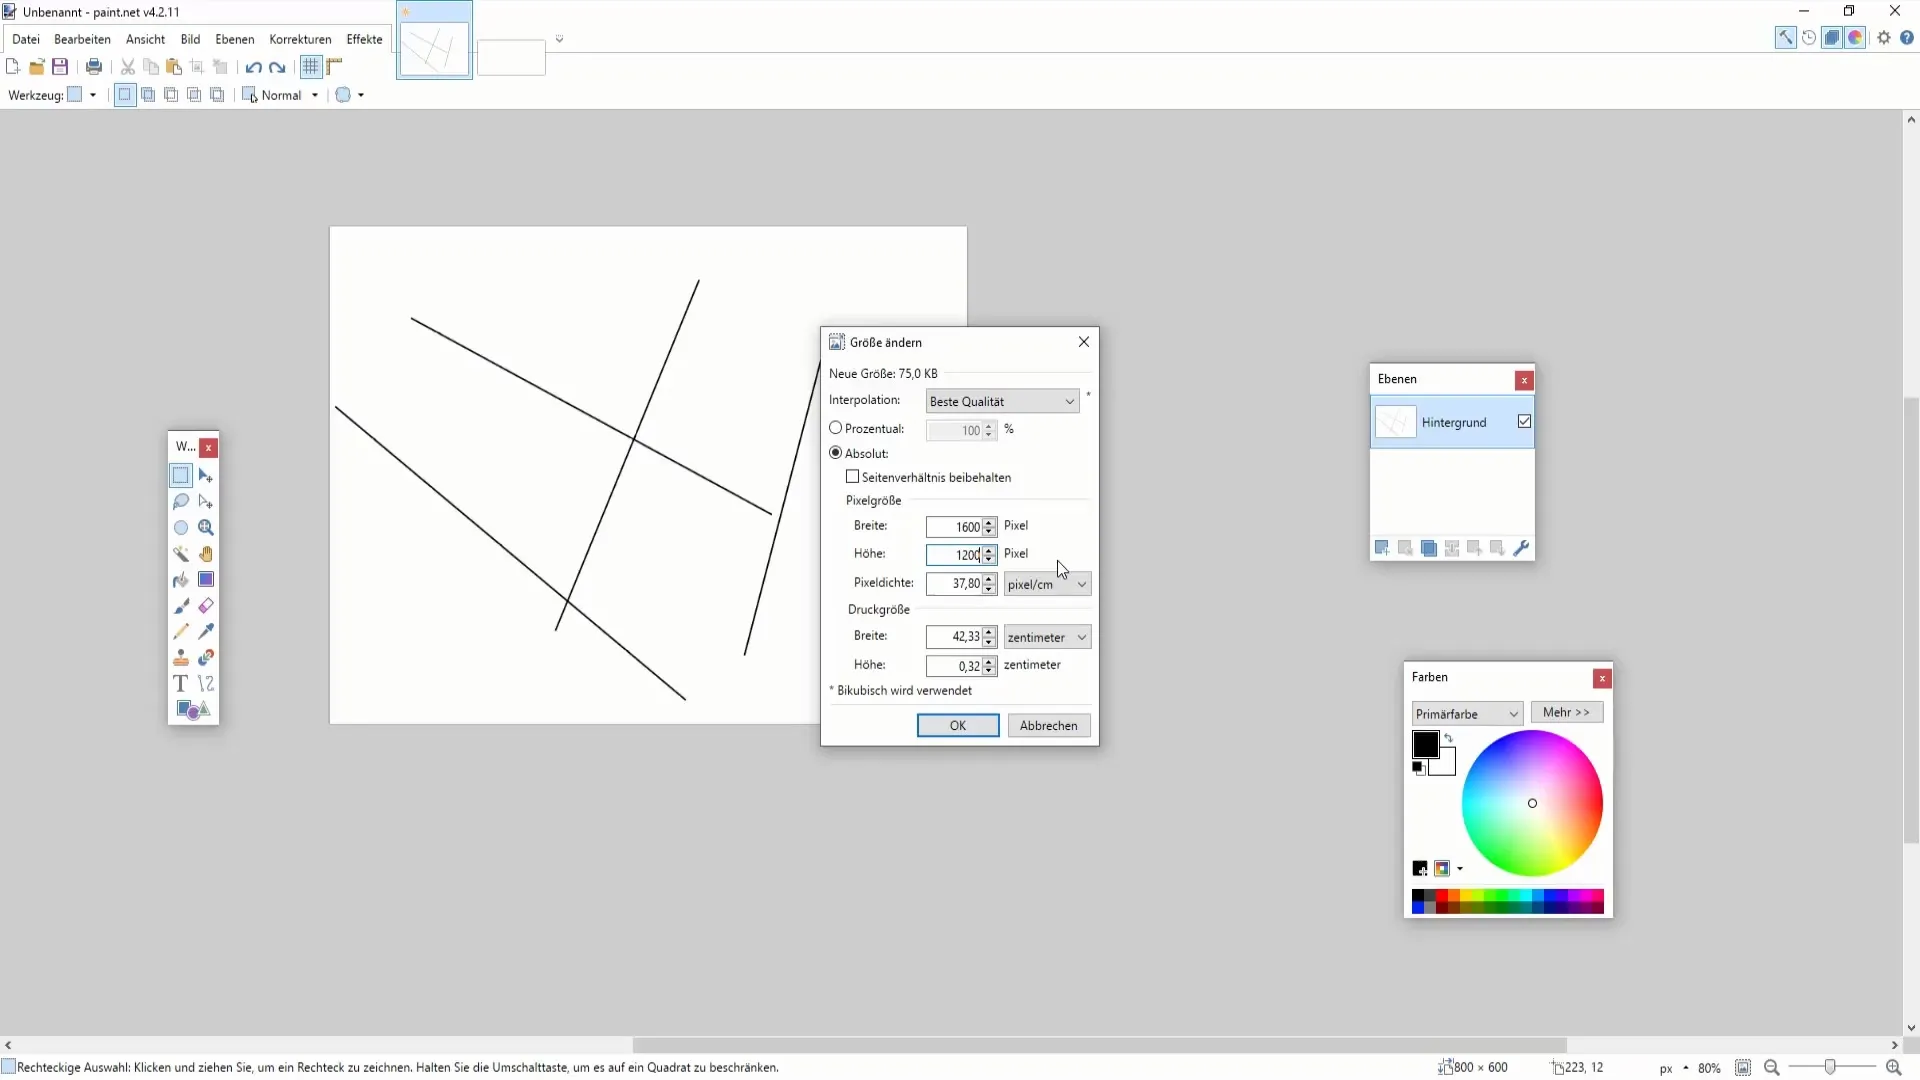
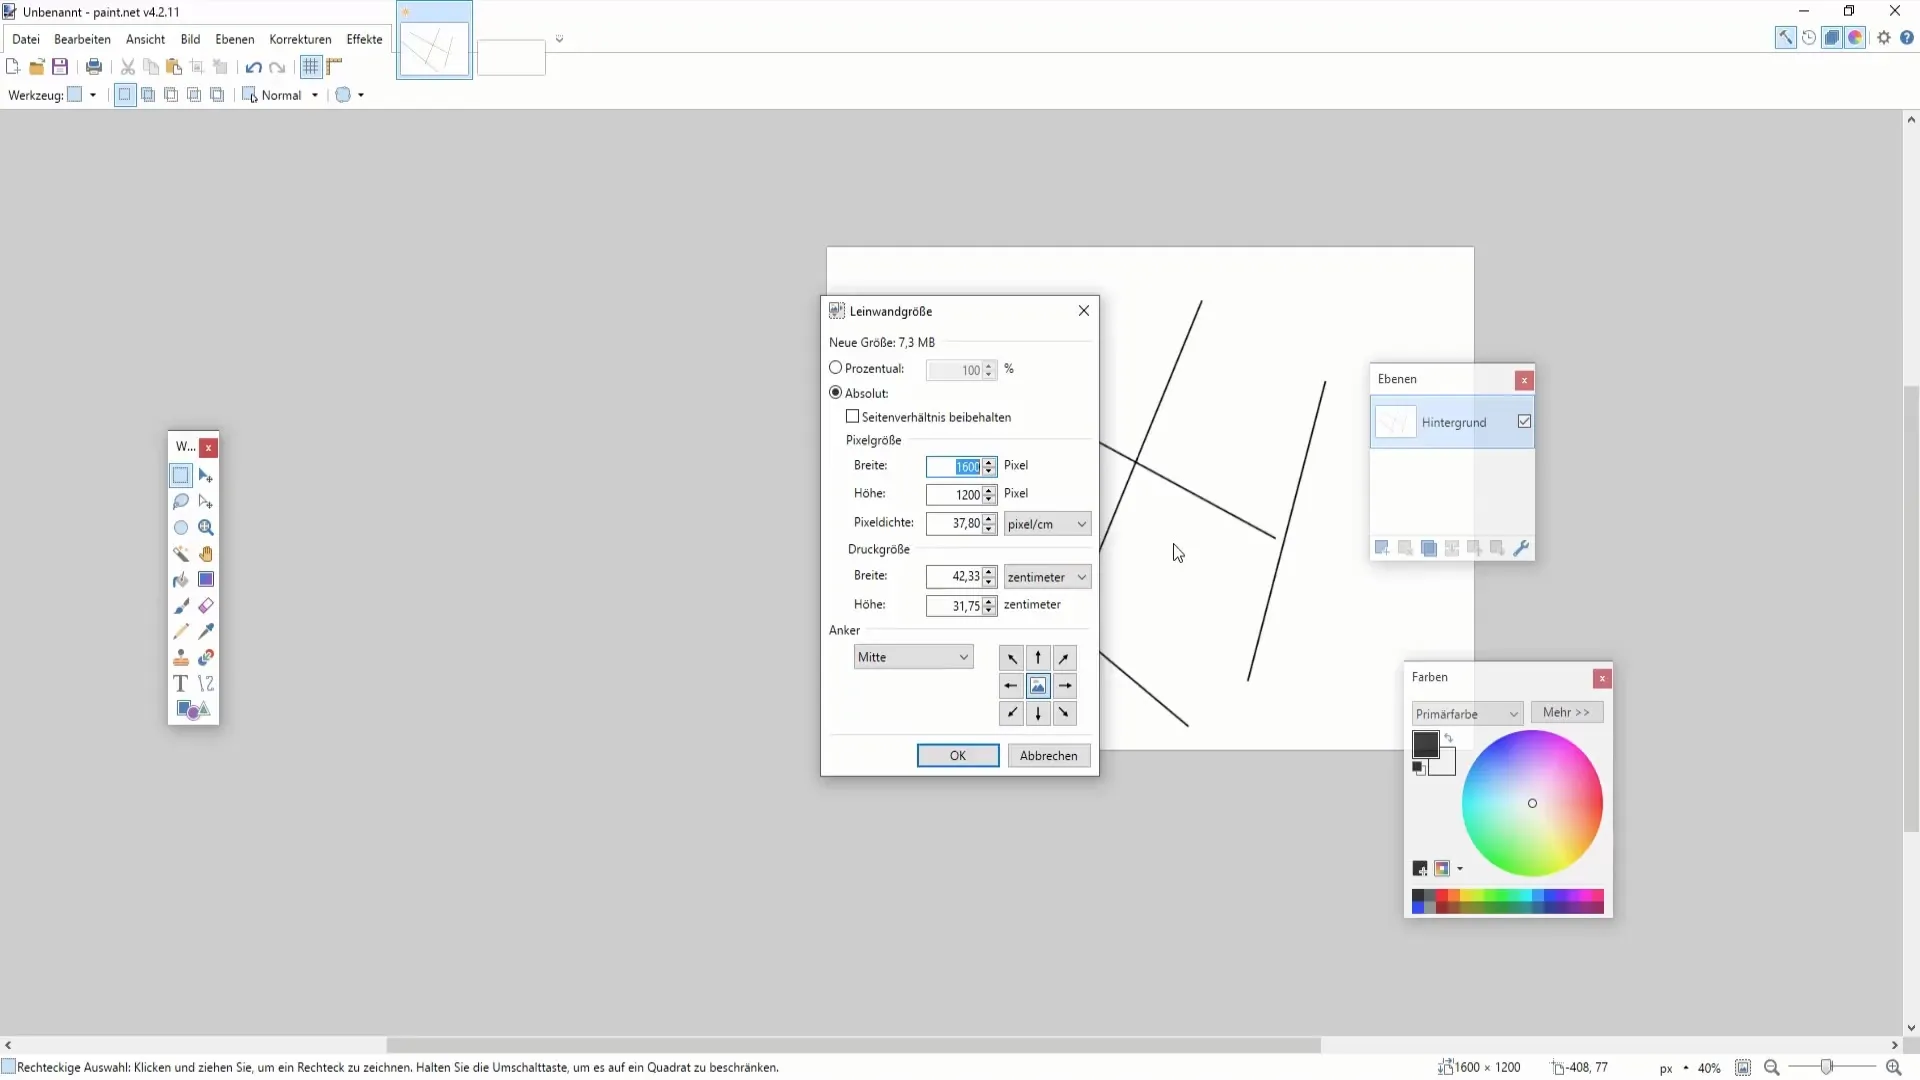
If you want to maintain the proportions of your image, make sure to enter corresponding equal ratio values. For example, you could double the values of an image from 800 x 600 pixels to 1600 x 1200 pixels to maintain the proportions.
5. Change Canvas Size
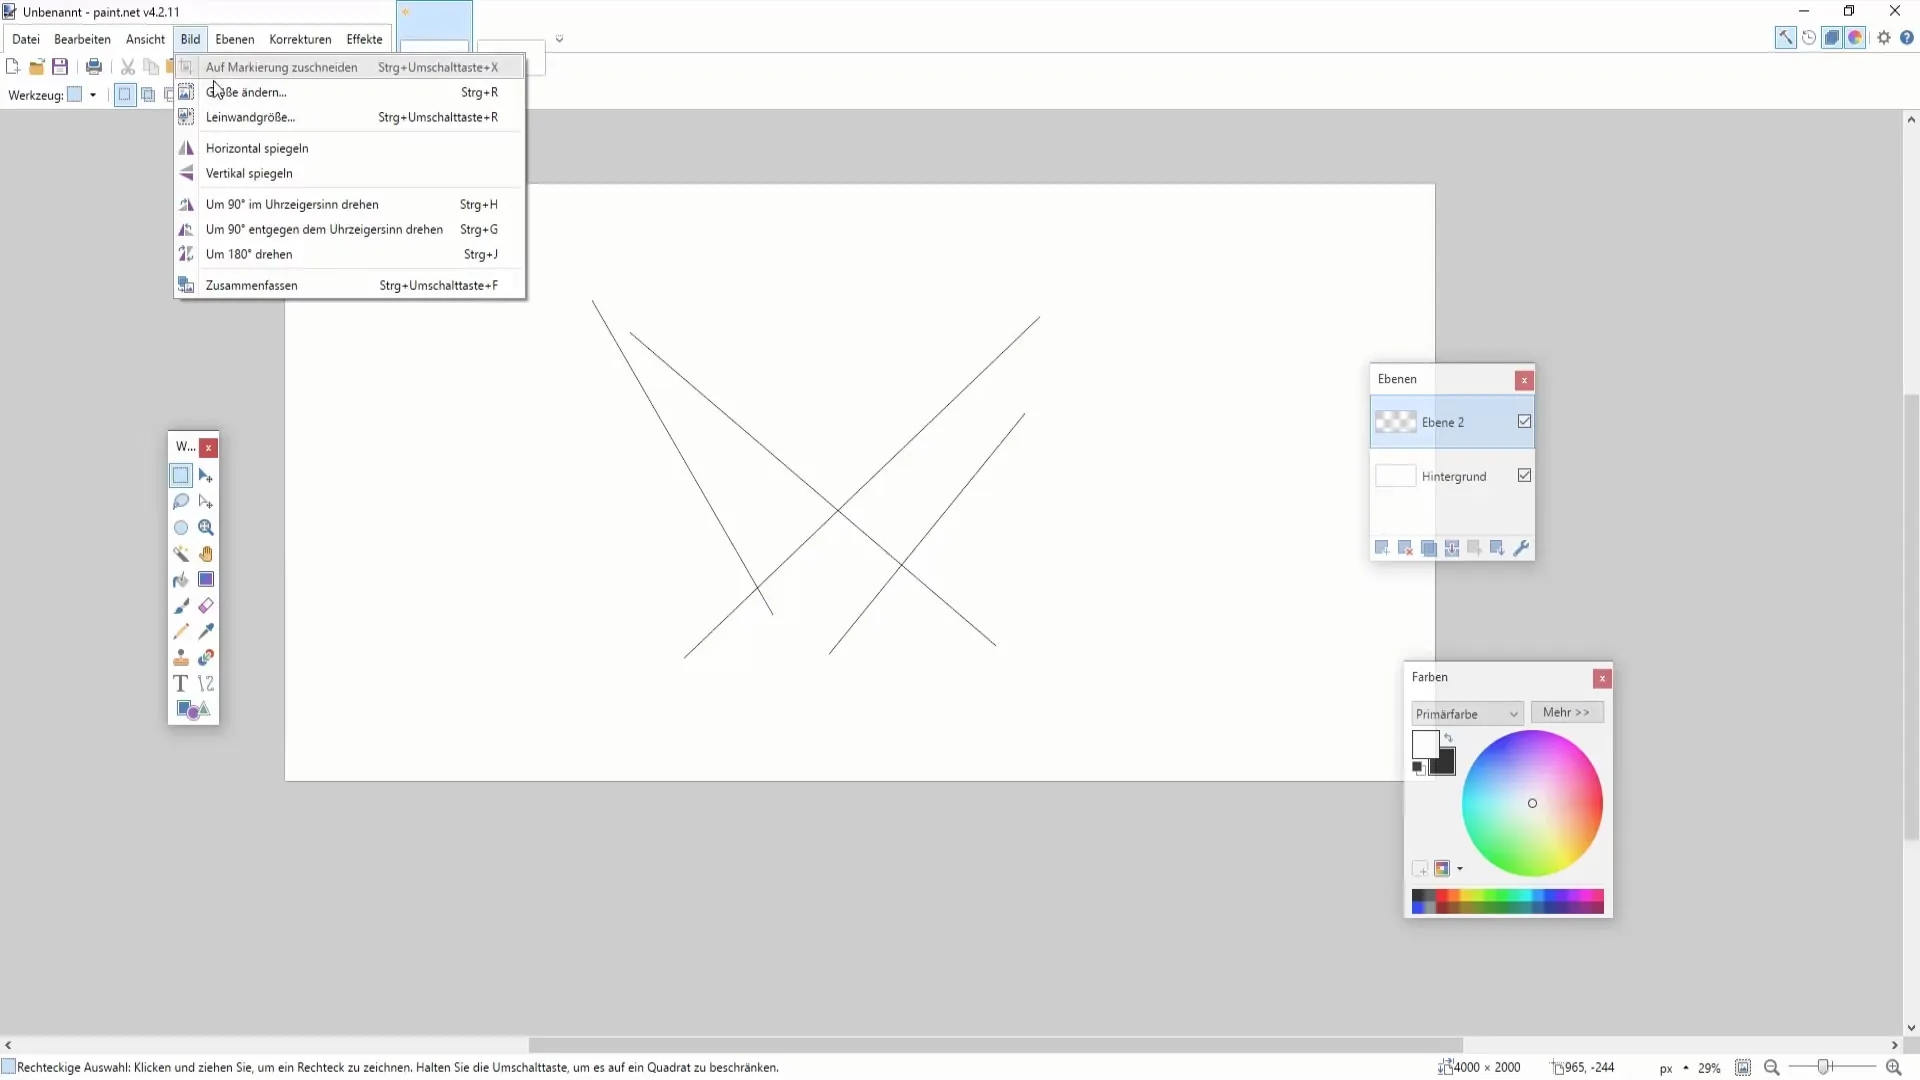
The canvas size can be changed independently of the image. If you want to adjust the canvas size, press "Ctrl + Shift + R." Choose the suitable dimensions, such as 4000 x 2000 pixels, and see how the canvas adjusts while the associated image remains unchanged.
6. Adjust Elements on the Canvas
Enlarge the canvas and adjust the elements on it. For example, adjust and reposition the lines or objects you have created. This helps to organize the image effectively and optimize its appearance.
7. Copy and Adjust Image
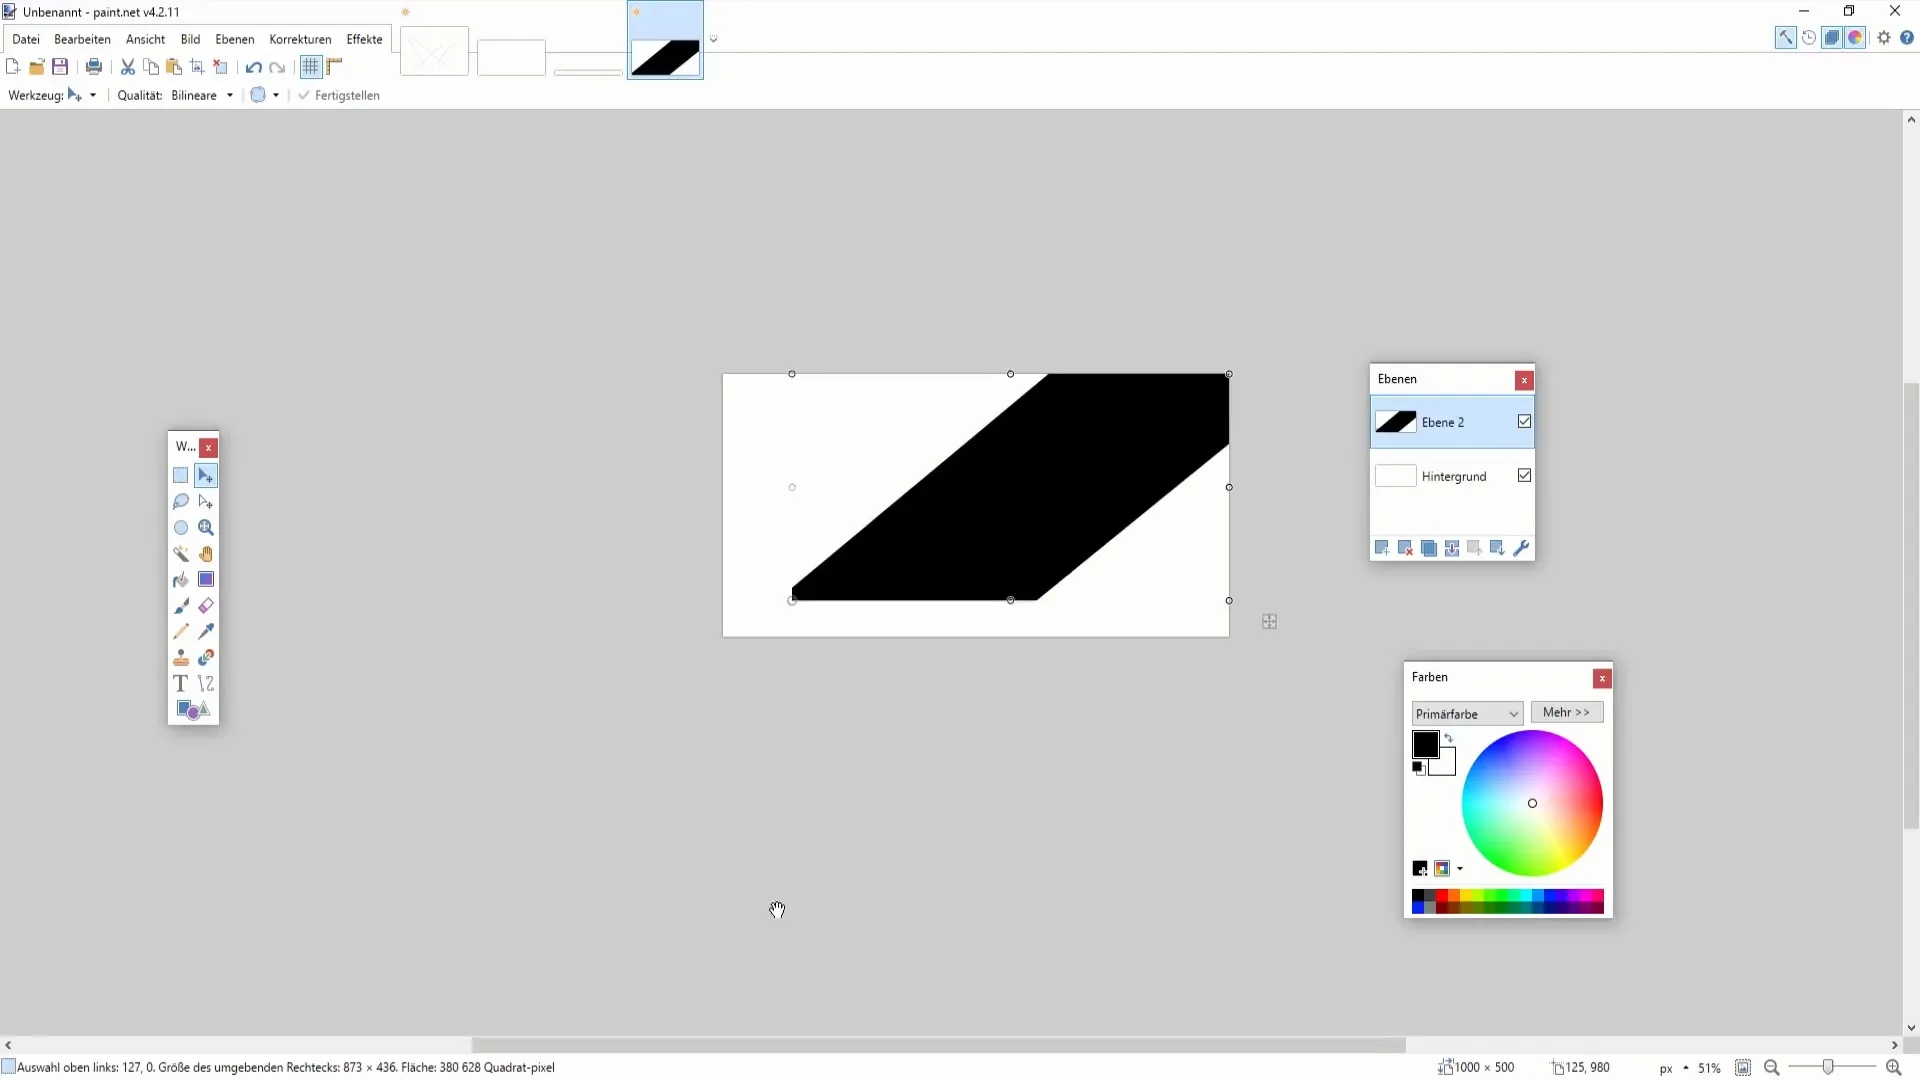
If you have already created an image and want to use it in a new project, you can copy the desired elements. Create a new layer and paste the copied objects. Make sure you can further process them with image editing afterwards.
8. Implement Special Requirements
There may be situations where you need the exact image size for specific requirements. For example, you can query Google with requests for standard sizes, such as "YouTube Thumbnail Size," to use ideal values for optimal results.
Summary
In this guide, you have learned important features to efficiently manage image and canvas sizes in Paint.NET. You now know how to set sizes when creating new images and adjust existing projects. This enables you to create creative projects more specifically and professionally.
Frequently Asked Questions
How can I resize an existing image?You can resize an existing image using the "Resize" function in the menu or by using "Ctrl + R".
What happens when I change the canvas size?The canvas size changes the available space without affecting the image itself.
How can I maintain proportion when resizing the image?Maintain the ratio by doubling or halving the dimensions accordingly.
Can I move elements to the new canvas position?Yes, you can move and adjust elements after changing the canvas size.
What are common standard sizes for images online?Examples include 1280 x 720 pixels for YouTube or 800 x 800 pixels for Instagram.


