Creating with Paint.NET opens up a world full of creative possibilities for you. You can visually bring your ideas to life, whether it's simple drawings for presentations or elaborate designs. In this guide, we focus on how you can effectively draw and create objects. Dive into the features of Paint.NET and discover how you can bring your graphics to life.
Key Takeaways
- The various drawing tools - brushes, pens, and shape tools - allow you a wide range of drawing styles.
- Customizable brush and pen settings help you create the exact textures and effects you need.
- With the shape tools, you can create precise objects that can be quickly and easily integrated into your designs.
Step-by-Step Guide
1. Create a New Document
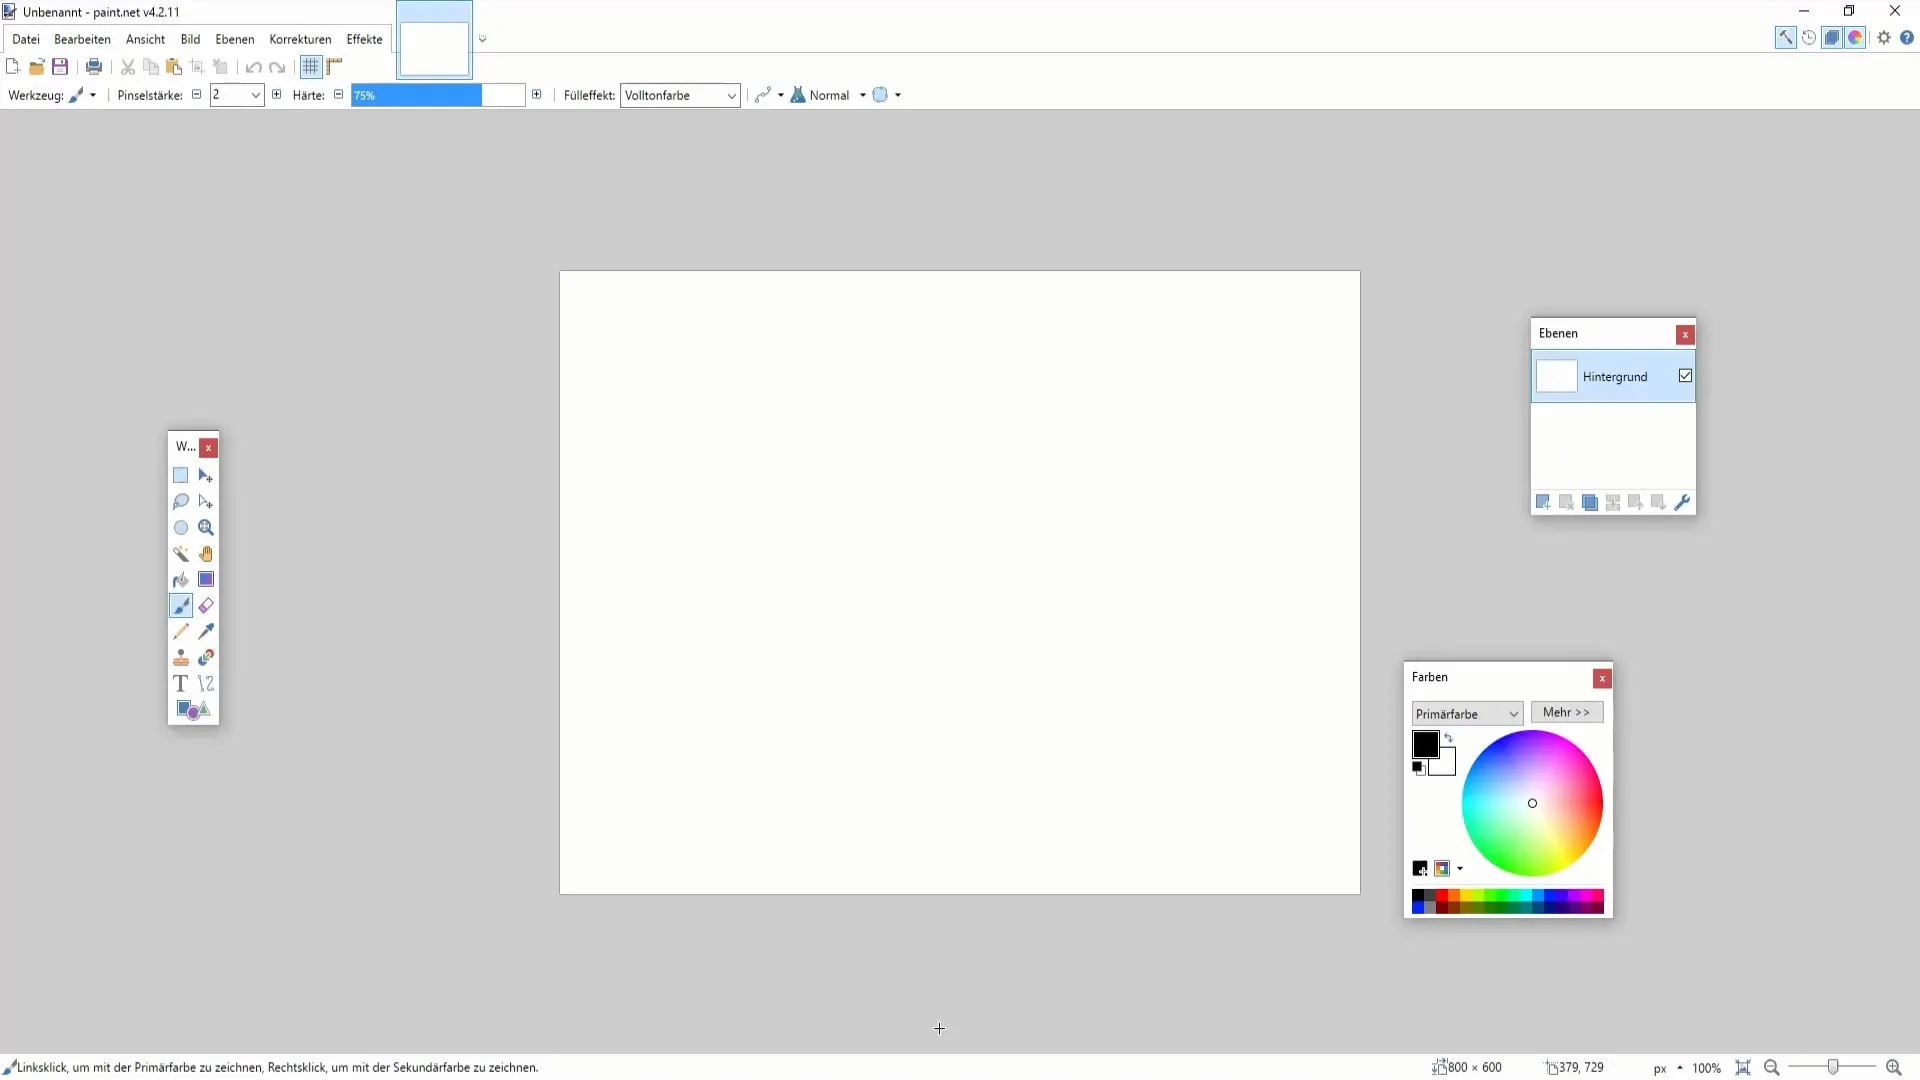
First, open Paint.NET and create a new document. This gives you a blank canvas to develop your creative ideas. You can choose different document sizes depending on what you want to create.
2. Use the Color Brush
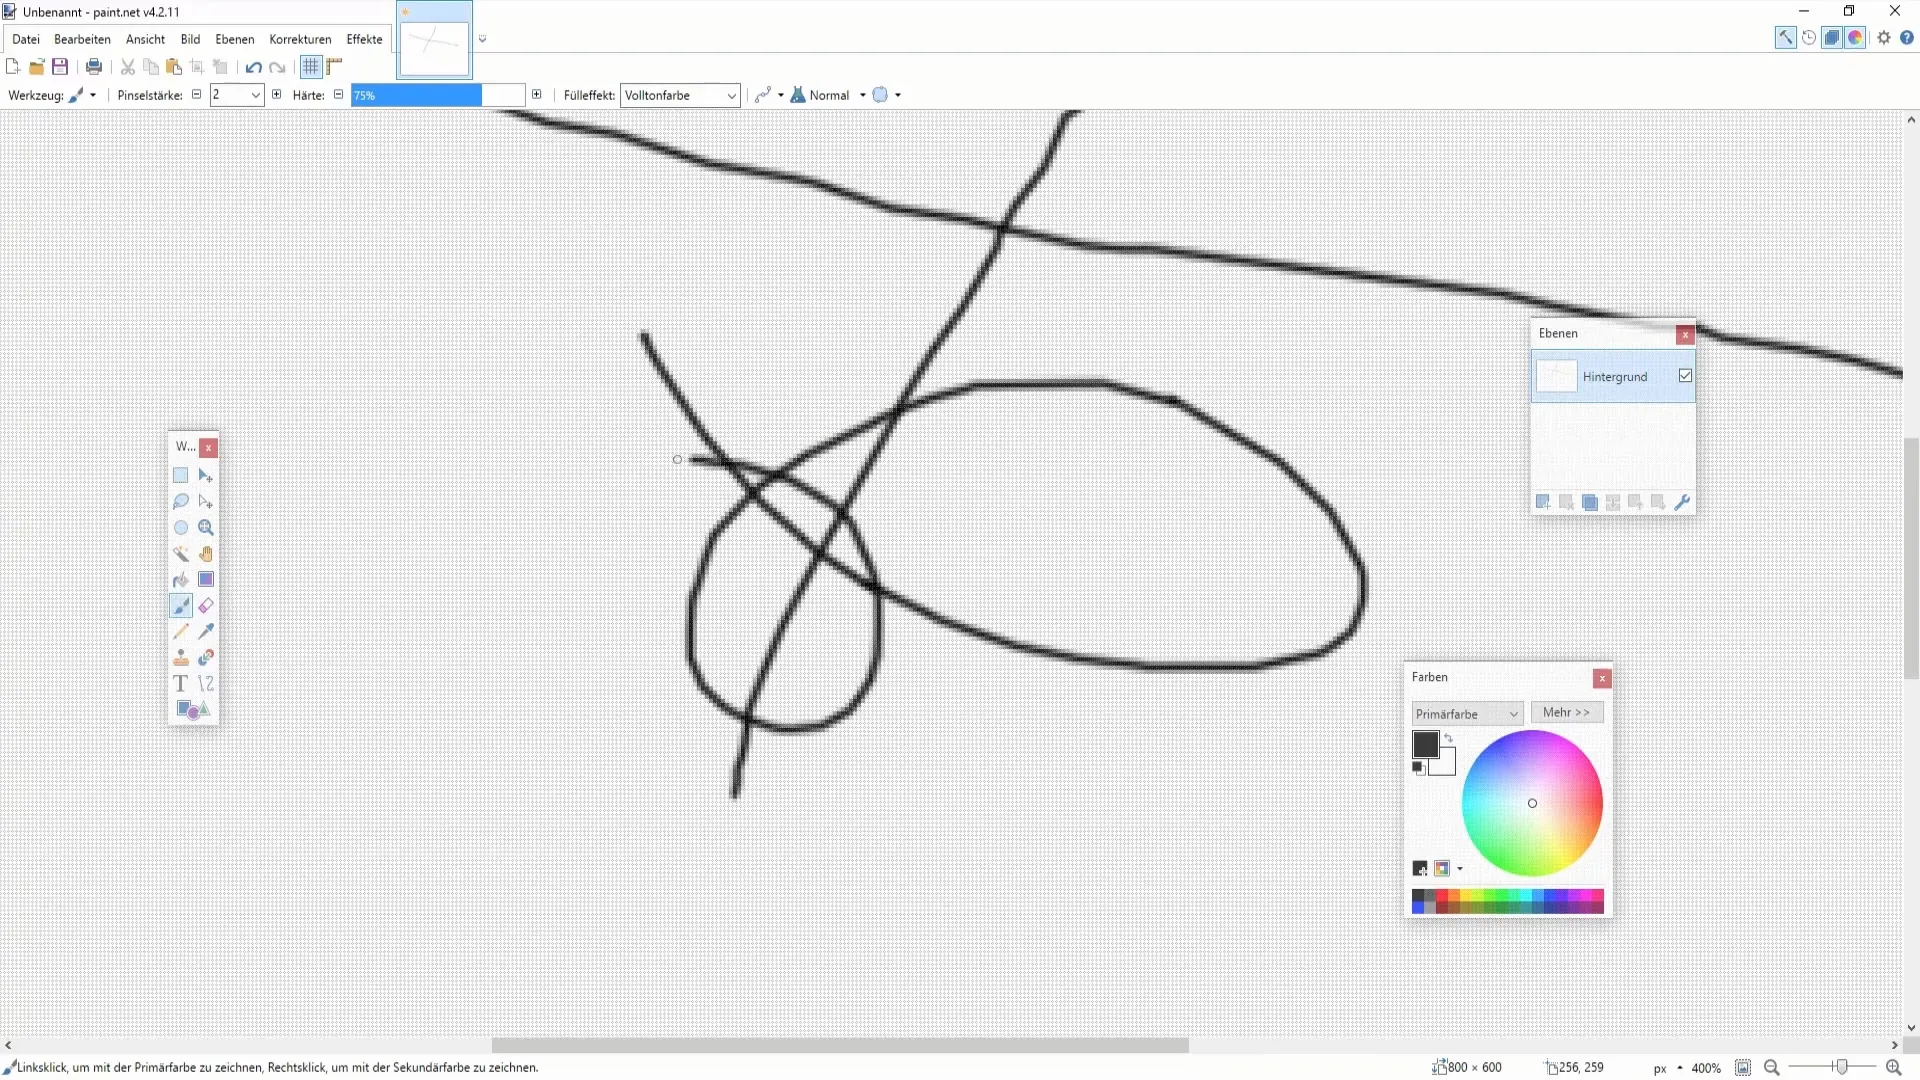
With the color brush, you can draw freehand. Whether you want to create straight lines or complex shapes, the brush allows you to design as you please. Adjust the brush thickness at the top of the toolbar. A thicker stroke width is especially suitable for bold drawings, while a thinner one allows for more detailed lines.
3. Apply the Color Pencil
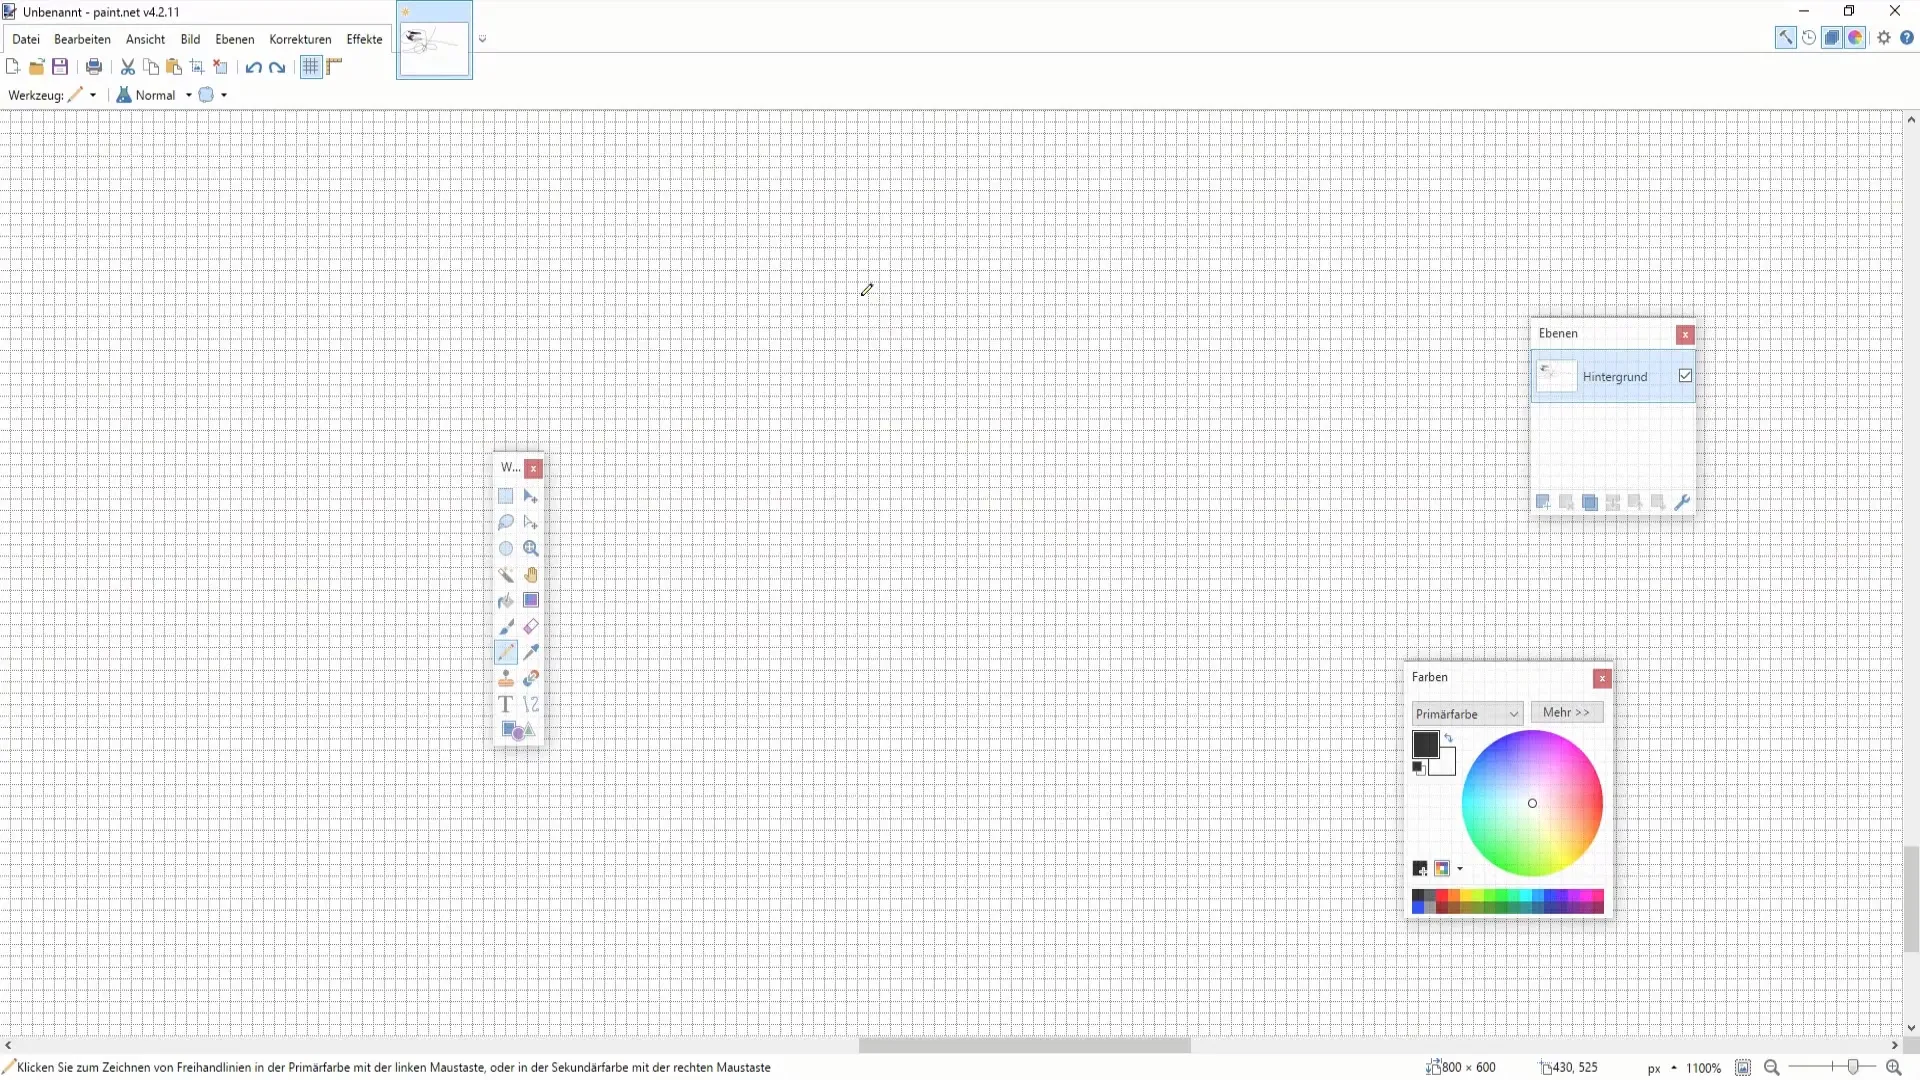
When it comes to precise coloring, the color pencil is your best companion. It is ideal for detailed work or filling small areas with a single color. Here too, you should adjust the hardness of the tool to achieve the best results depending on the effect you desire.
4. Create Shapes
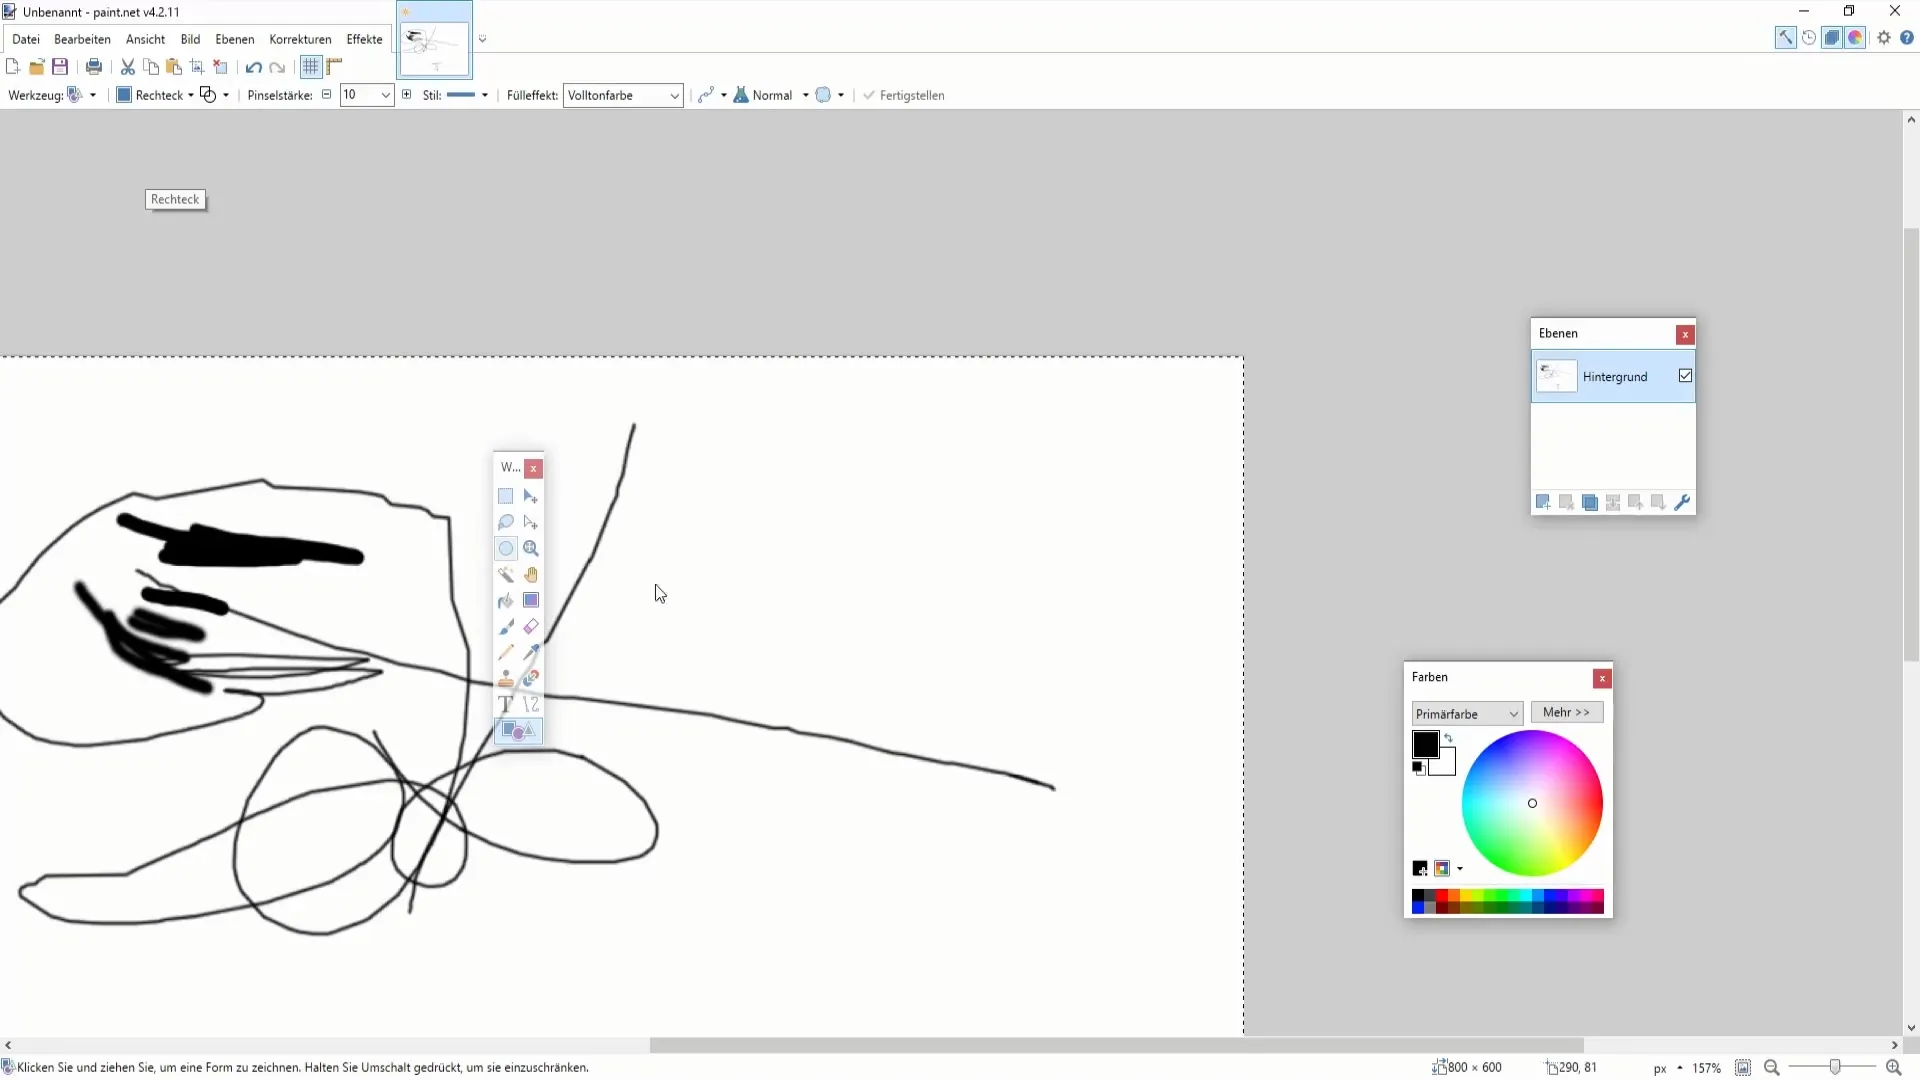
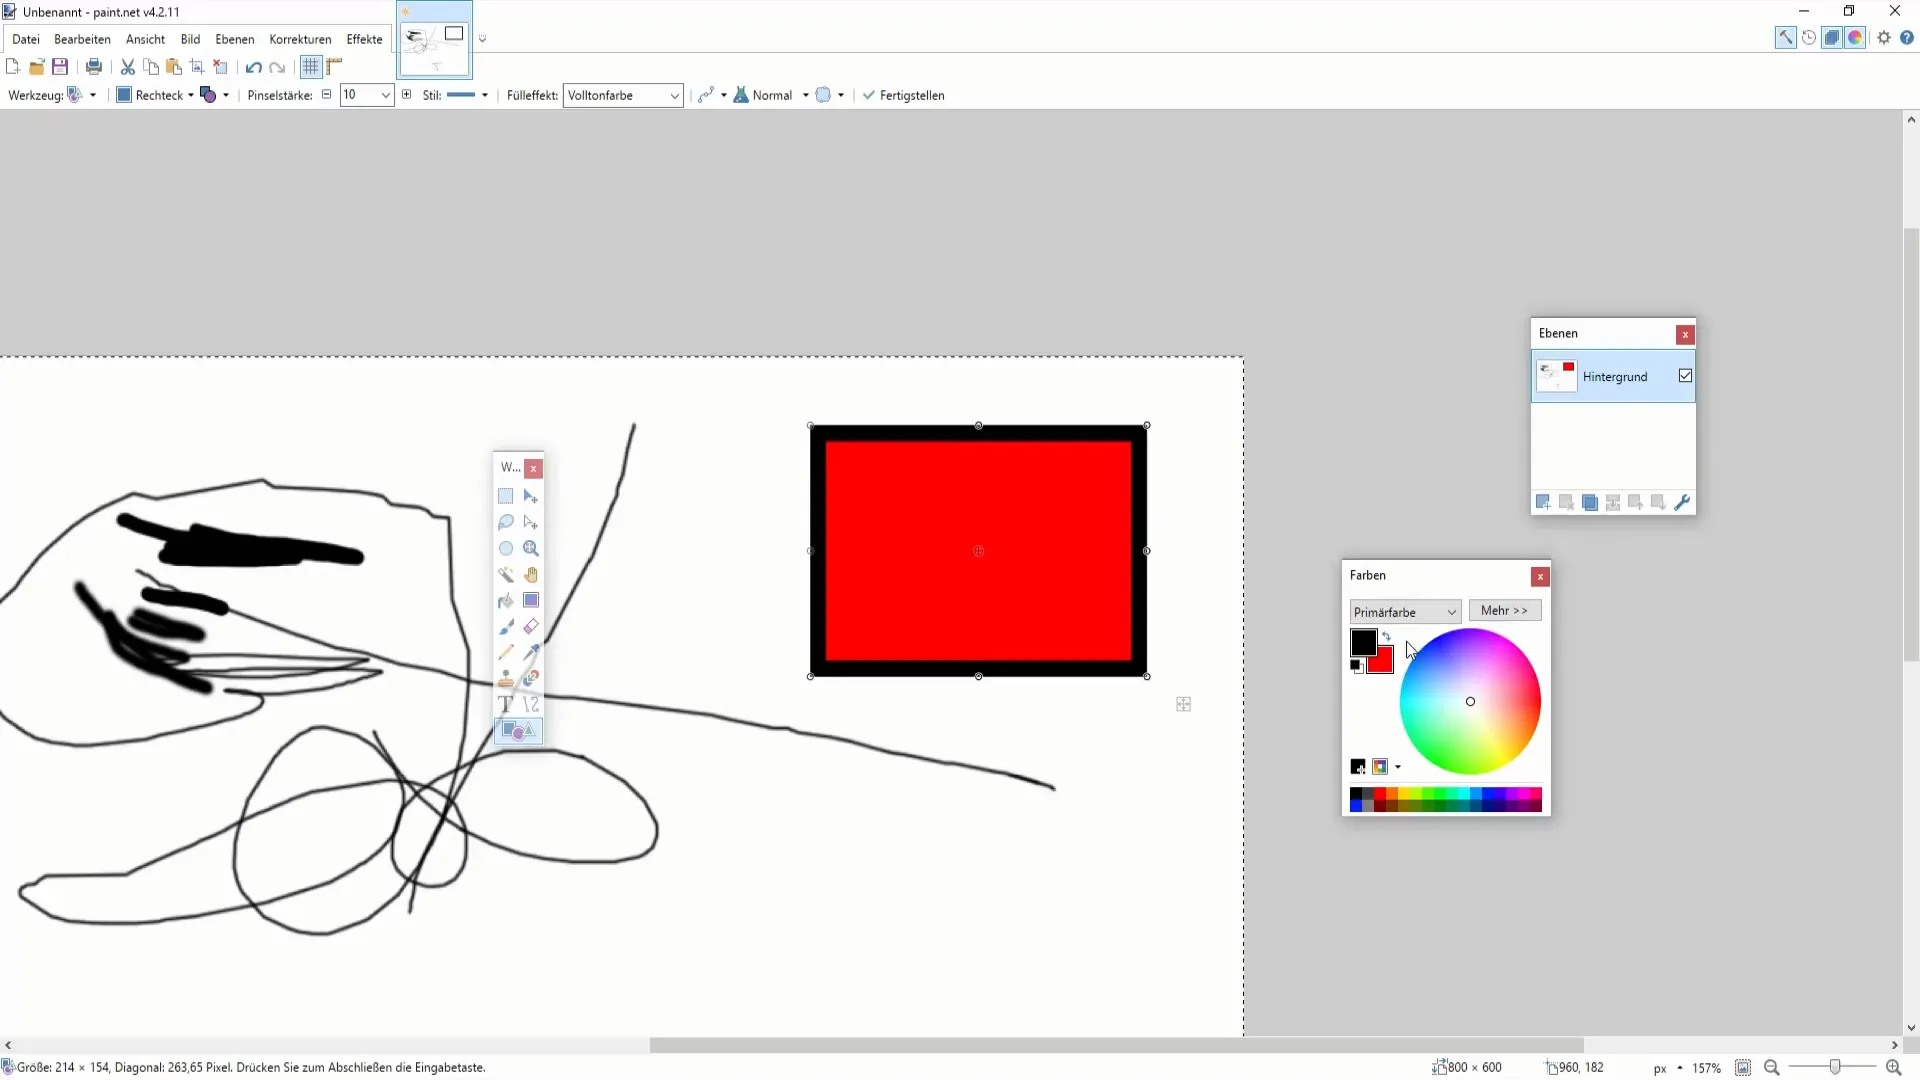
To draw shapes, select the shape tool and the desired shape from the top bar. With the mouse, you can now create a geometric figure, such as a rectangle or a triangle, by drag-and-drop. Make sure to hold down the left mouse button while drawing.
5. Select Colors for Shapes
After creating a shape, you can choose its color. Whether you want to use the primary or secondary color is up to you. To select the color, you can either use the color wheel at the top menu or right-click on the desired color.
6. Create Creative Drawings
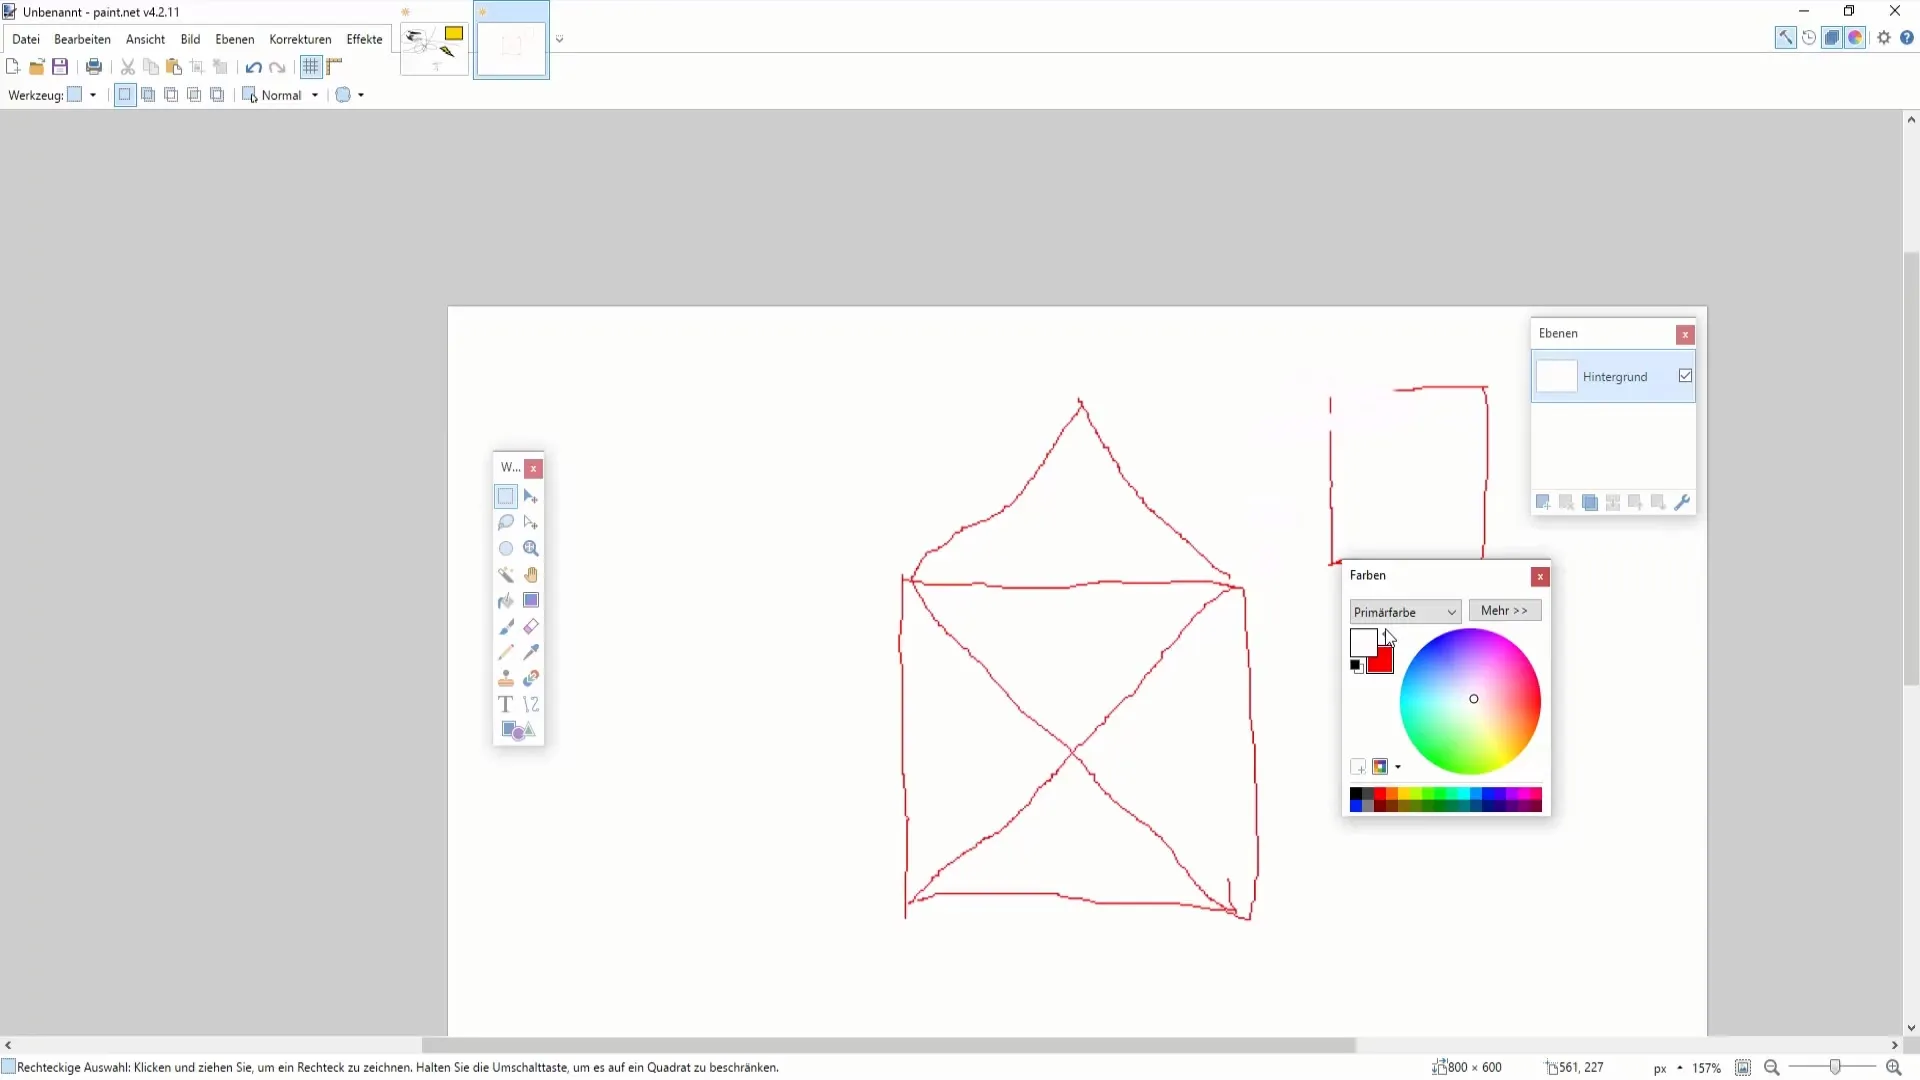
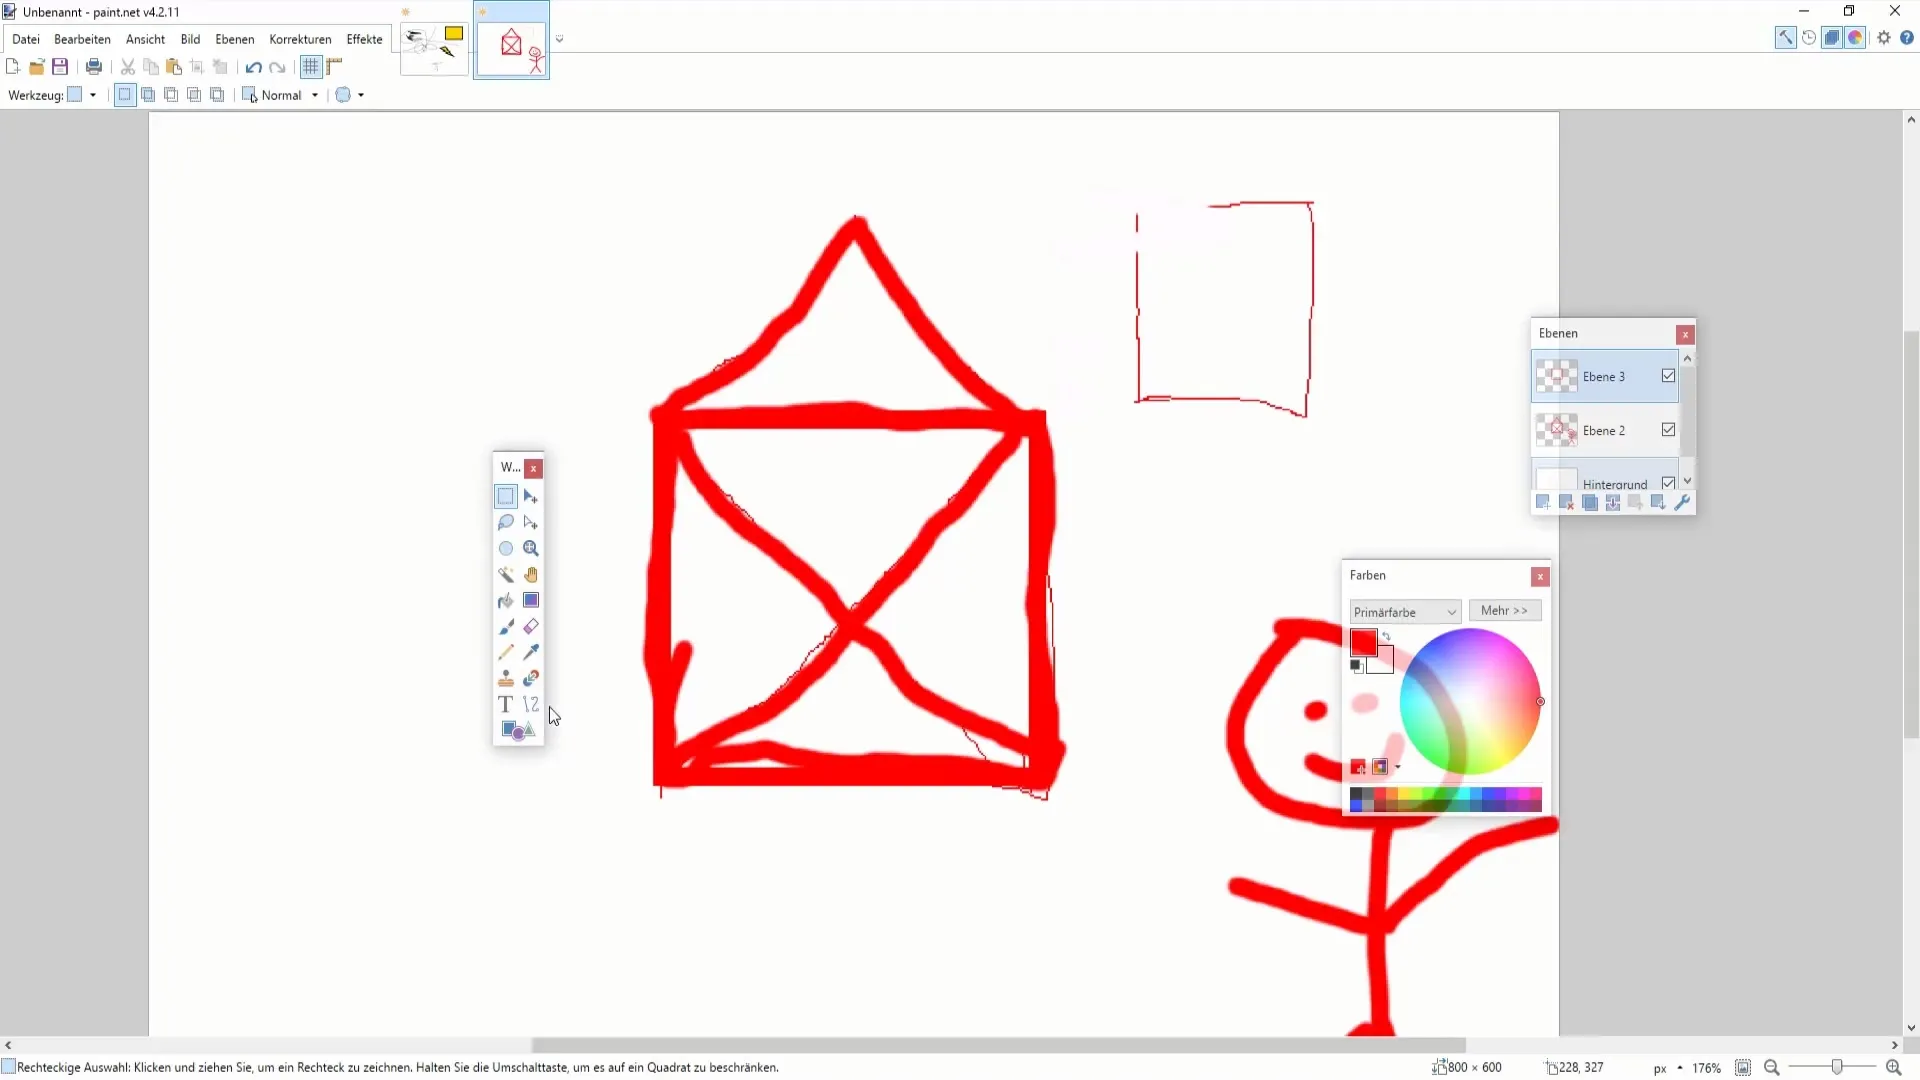
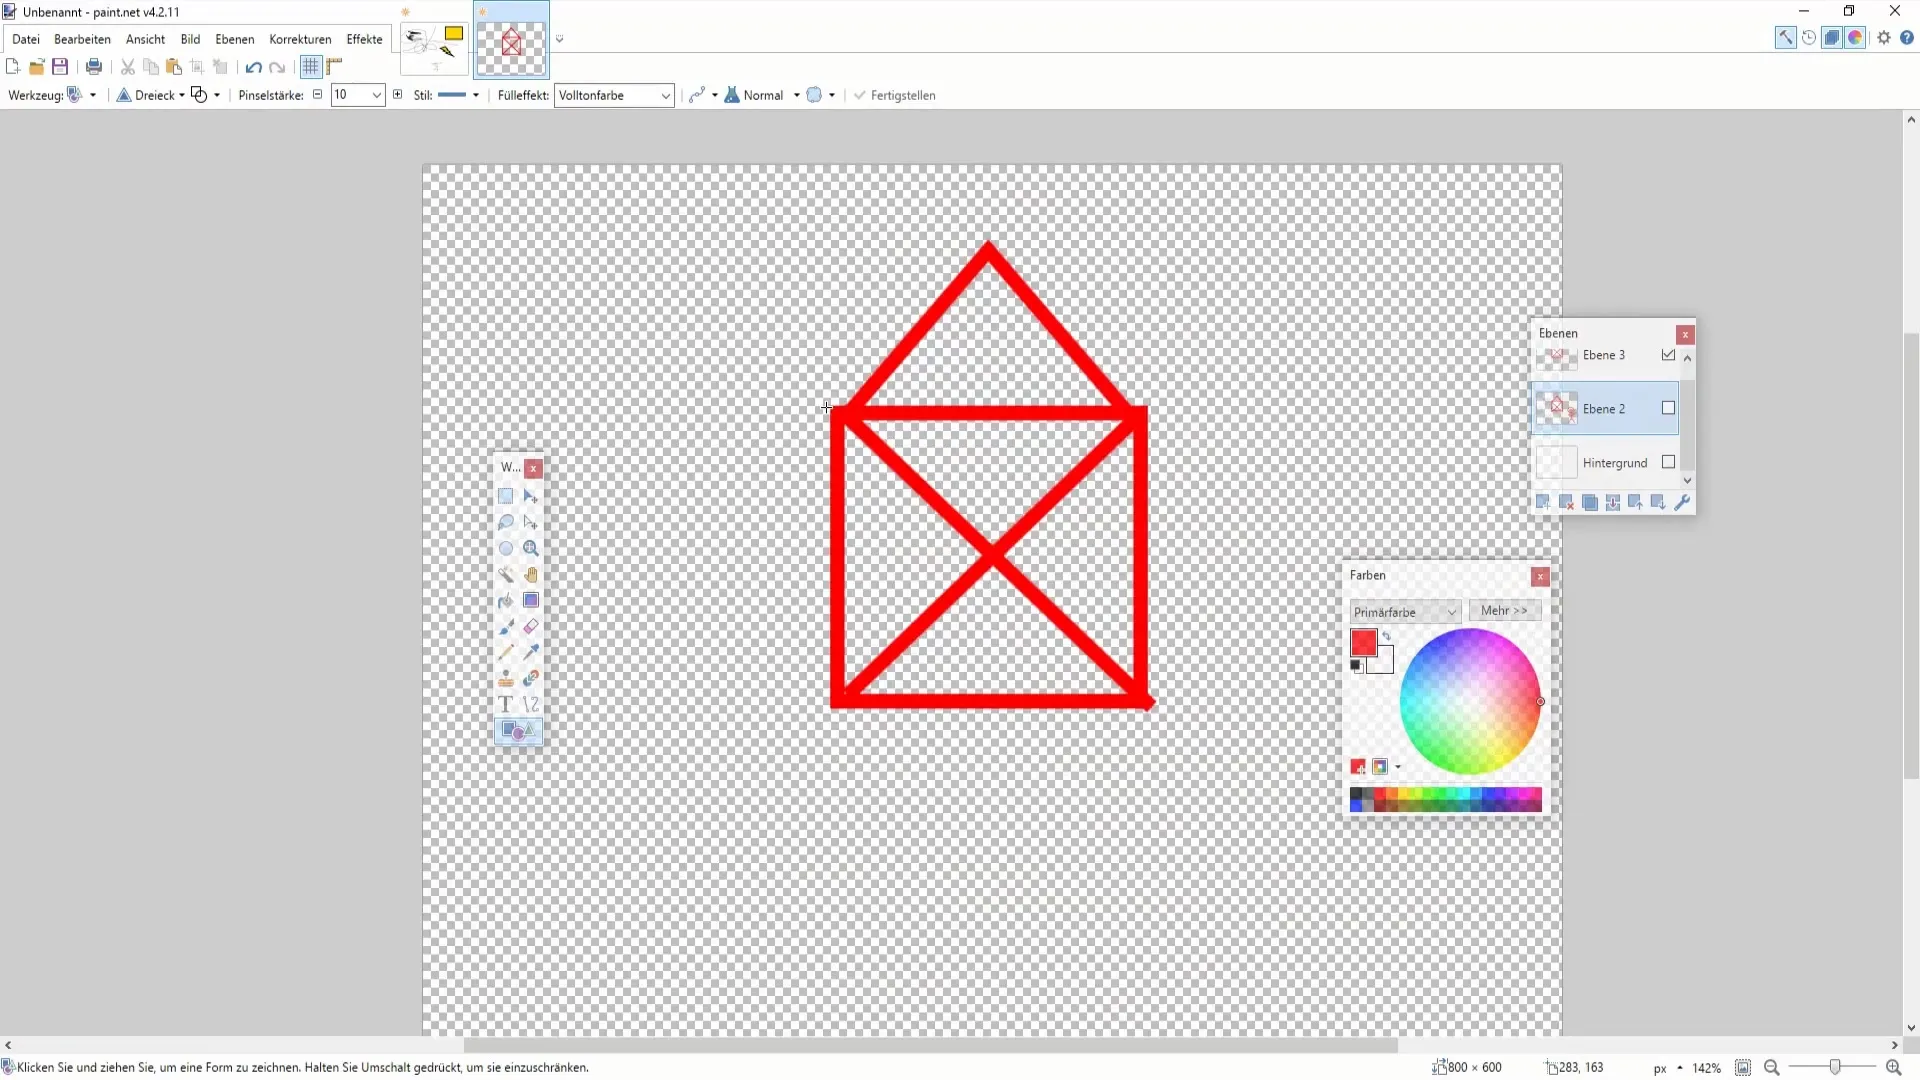
Now comes the exciting part - drawing a picture! Let your imagination run wild and try out different techniques. You can create a sketch with the brush or use shapes to create a geometric masterpiece. For example, you could draw a simple house by first drawing a rectangular body and then adding a pointed roof.
7. Perfect Drawing with Shapes
Use the curve and line tool to develop more precise and creative designs. It allows you to set points and move them to create different shapes. Here, you have the freedom to unleash your creativity and create unique graphics.
8. Check the Results
Once you have created your drawings and shapes, take a close look at your work. Have the proportions been maintained? Is the color distribution harmonious? Go back if necessary and make adjustments to optimize the final result.
9. Save and Share
After you are satisfied with your artwork, save the document. To do this, go to "File" and choose "Save as...". You can choose the format that best suits the applications in question, whether PNG, JPEG, or another format.

Summary
This guide gives you a clear idea of how you can draw and create objects using Paint.NET. Experiment with the different tools to add your personal touch to your graphics. Use Paint.NET's enormous flexibility to visually express your ideas and get the most out of your creative projects.
Frequently Asked Questions
How can I create a new document in Paint.NET?You can create a new document by opening Paint.NET and clicking on "File" > "New Document".
What tools are available for drawing?You can use the paintbrush, pencil, and various shapes to create your drawings.
How do I change the brush and pencil thickness?You can adjust the brush and pencil thickness in the toolbar at the top before you start drawing.
How do I add colors to my shapes?Simply select the shape and go to the color palette to choose either a primary or secondary color.
Can I save my drawings?Yes, you can save your drawings by clicking on "File" and then "Save as...".


