Whether you want to create an exciting thumbnail for your YouTube video or simply edit your images, cropping images can be an important skill. This guide shows you how to do this efficiently with a free online tool and then edit the result in Paint.NET.
Main Insights
- Cropping images works best with an online tool for background removal.
- Detailed adjustments in Paint.NET help perfect the end result.
- Download the edited image with a transparent background to use it in your projects.
Step 1: Remove Background Online
First, you need to select an image that you want to crop. It is often easier to edit complex objects or people, as they are in the foreground. I recommend uploading a picture of yourself or an interesting object.
To process the entire image efficiently, go to Google and search for "remove.bg". This site is specifically designed to automatically remove backgrounds - and it's completely free!

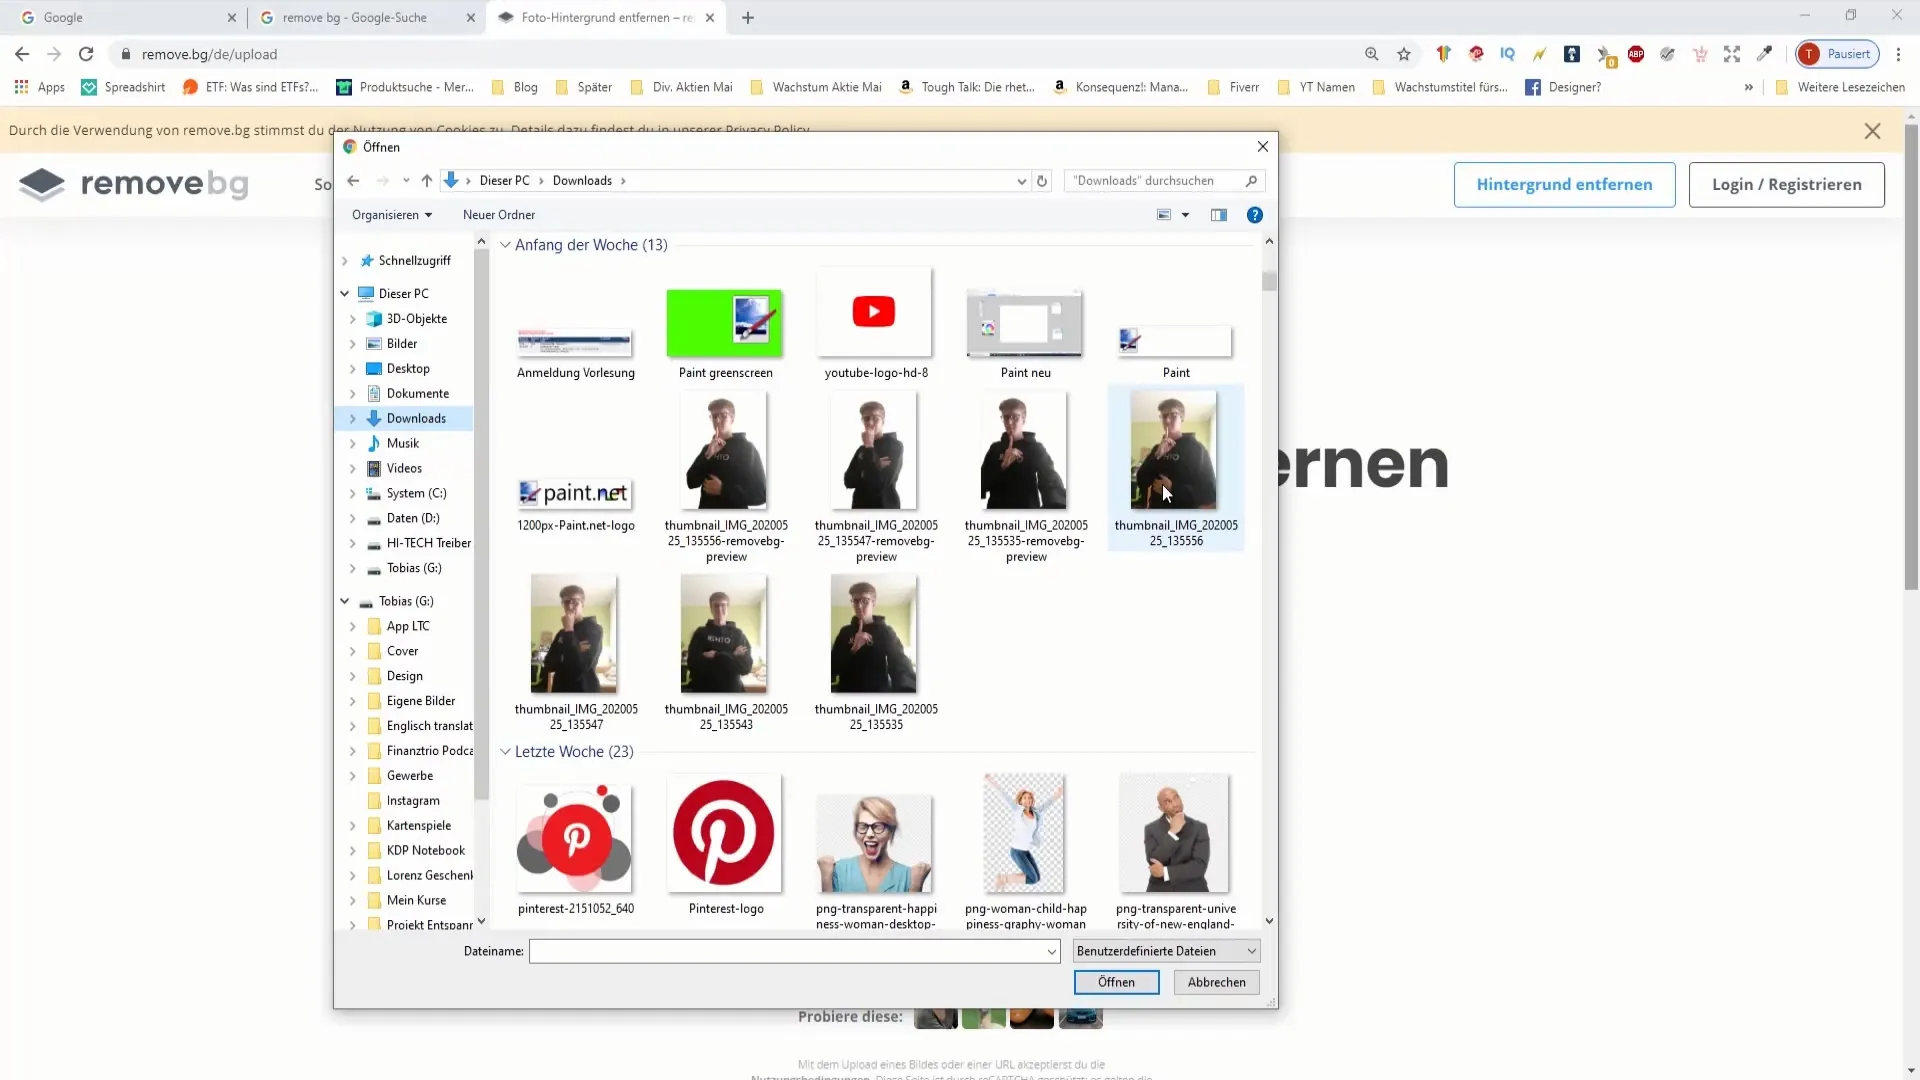
Once you are on the site, you will see a simple upload area. Here, you drag your image or click the button to choose your file. Wait until the image is fully uploaded.
Step 2: Review and Adjust the Result
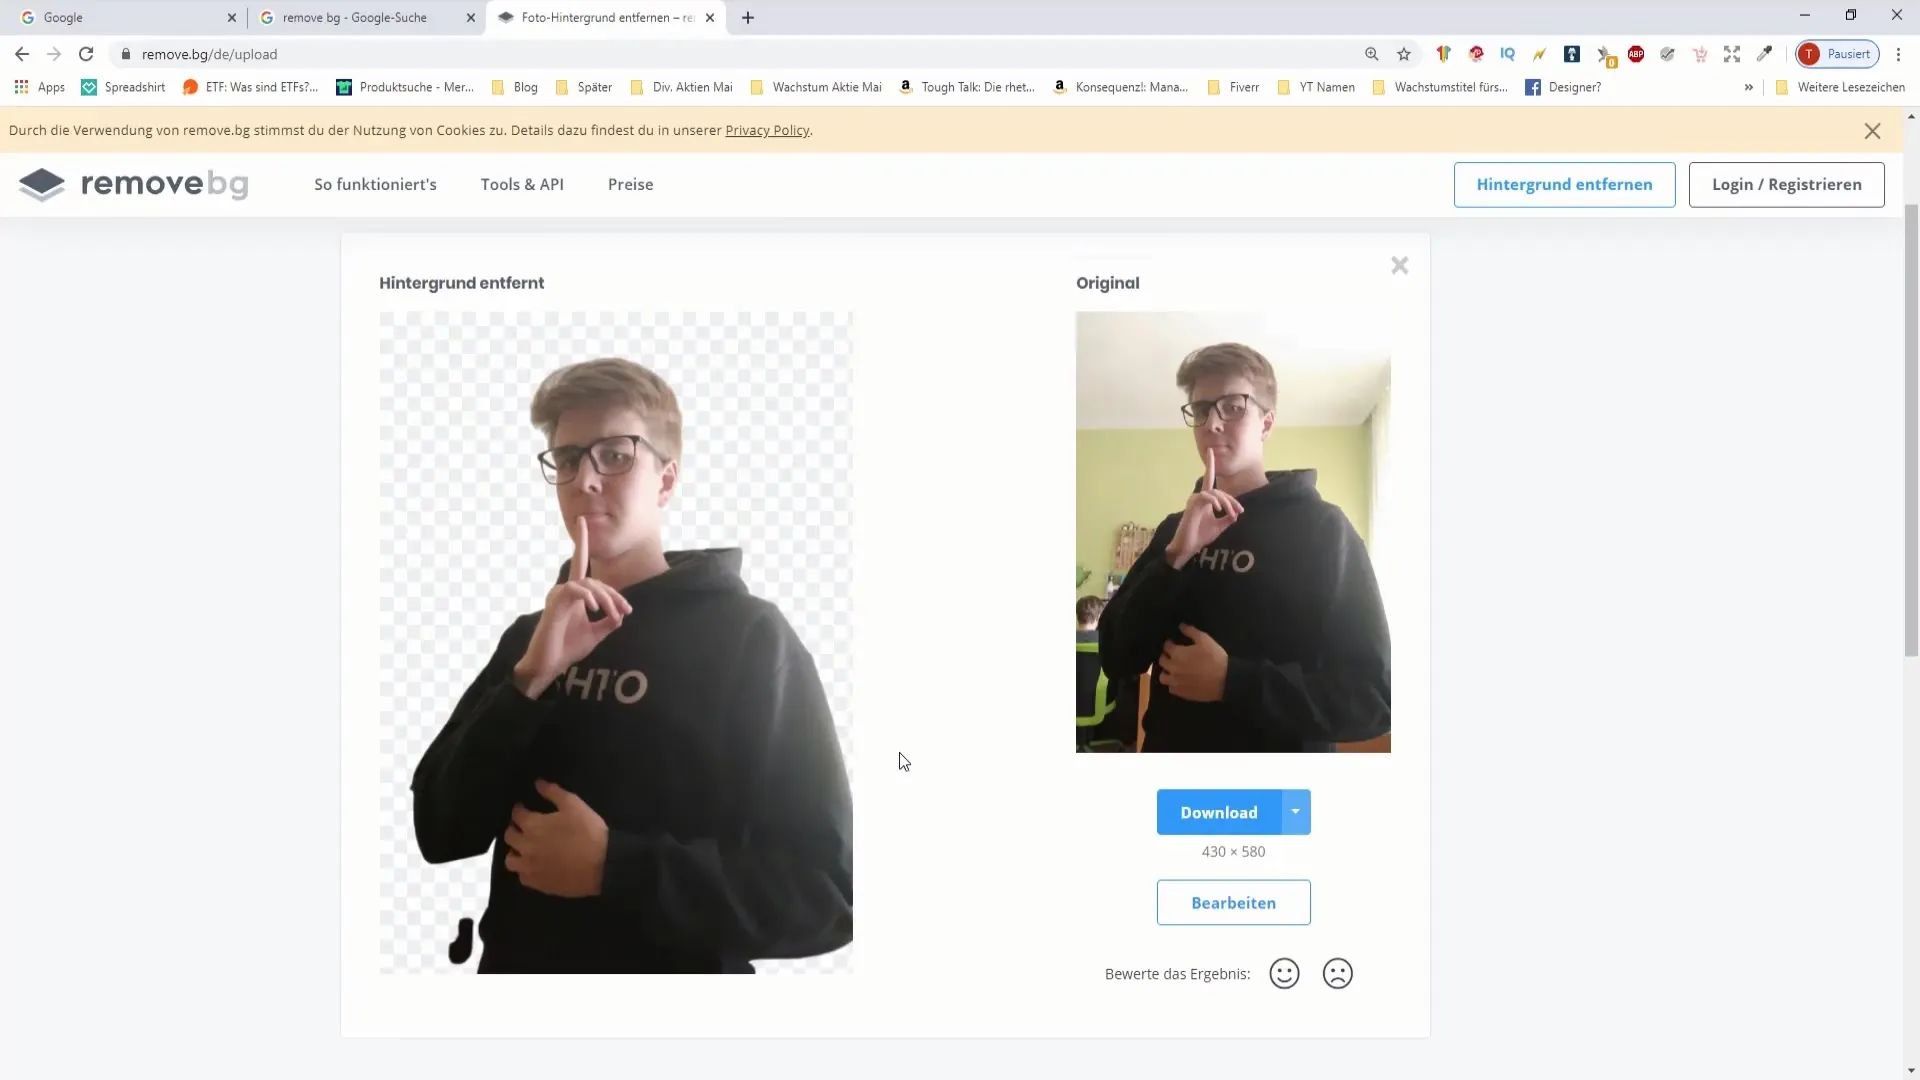
The online tool will automatically optimize your image and remove the background. Most of the time, the result is satisfactory, but sometimes there are adjustments you need to make. Check your image for errors that may have occurred during background removal, such as parts of the subject mistakenly deleted.
To fix errors, you can use the editing functions. On the website, you will find options to delete or restore areas. Make the brush size as large as possible to edit larger areas more easily.
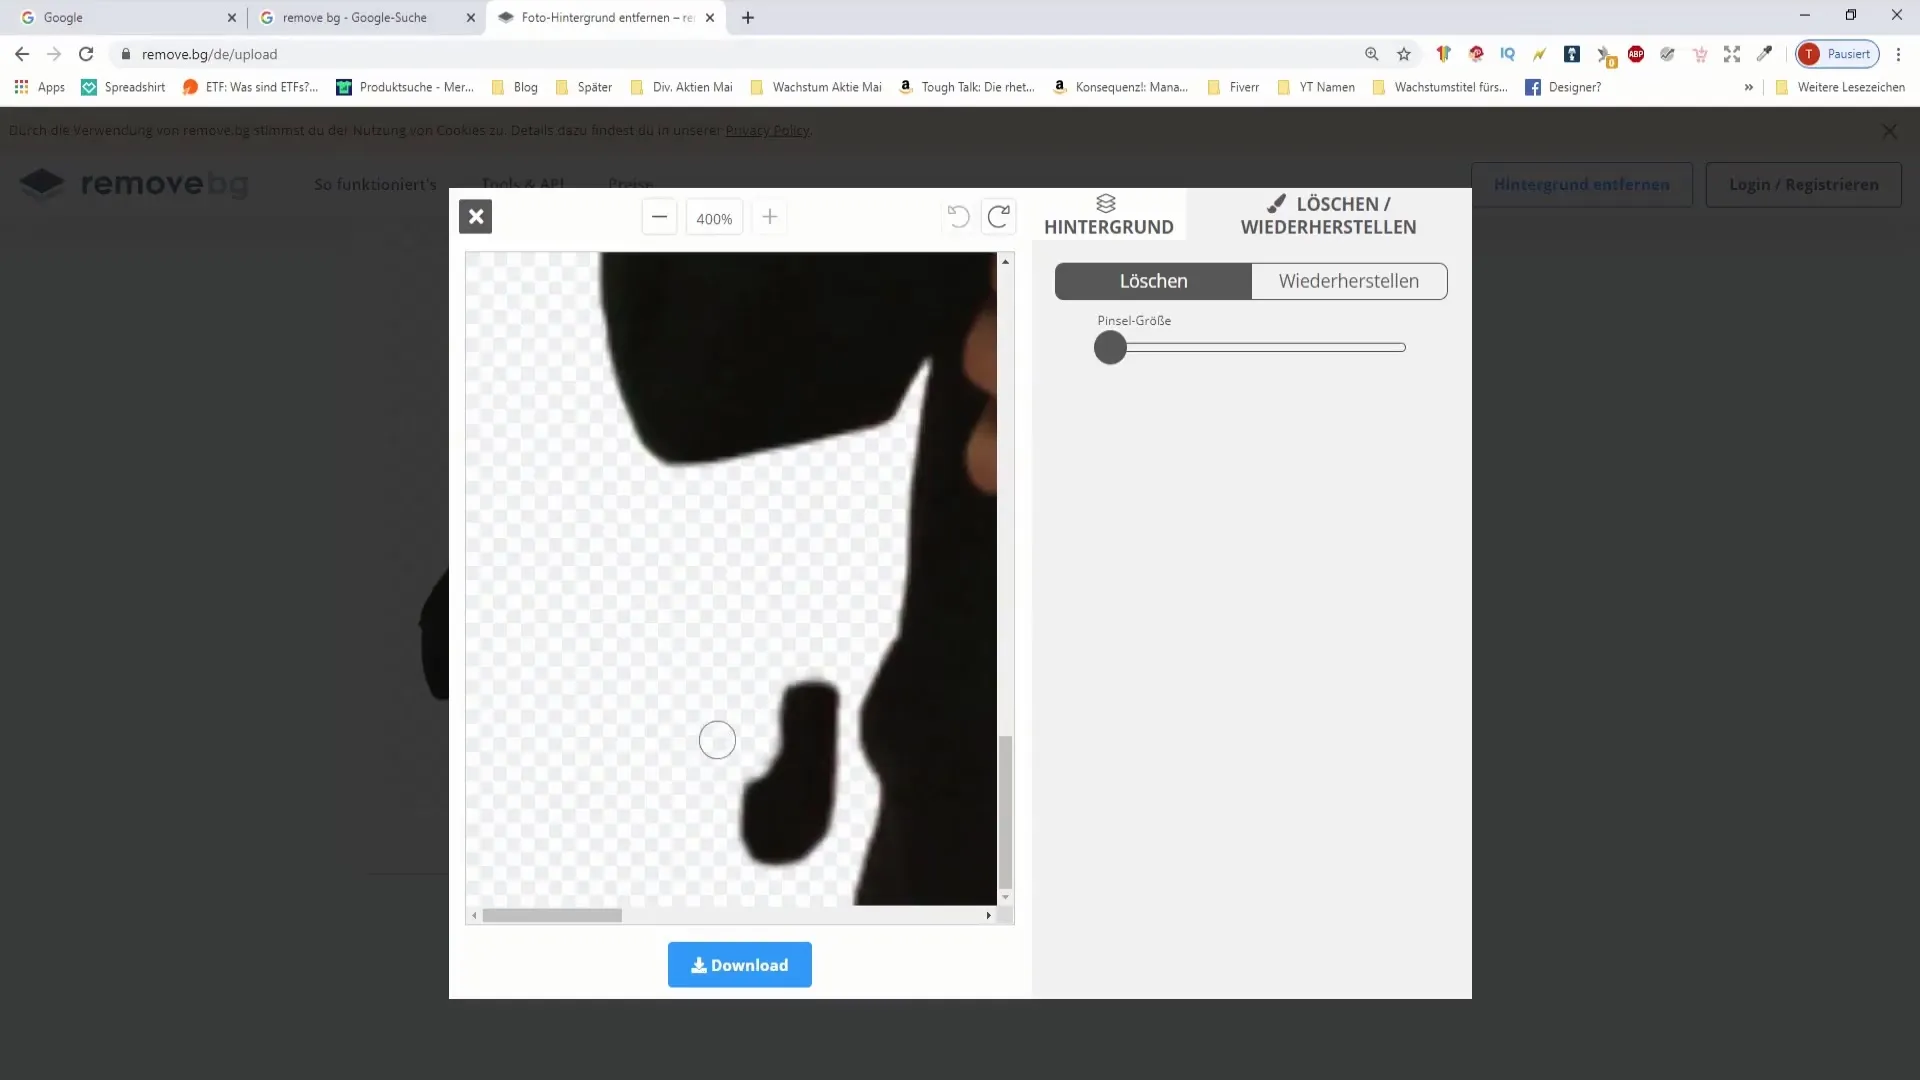
If you accidentally deleted something, you can use the restore button to bring it back.
Step 3: Fix Errors and Perfect Details
Naturally, the online tool is not perfect. Therefore, it's worth checking the edges of your cropped image carefully. Especially with complex objects, such as faces, there may be areas that are not cut out optimally.
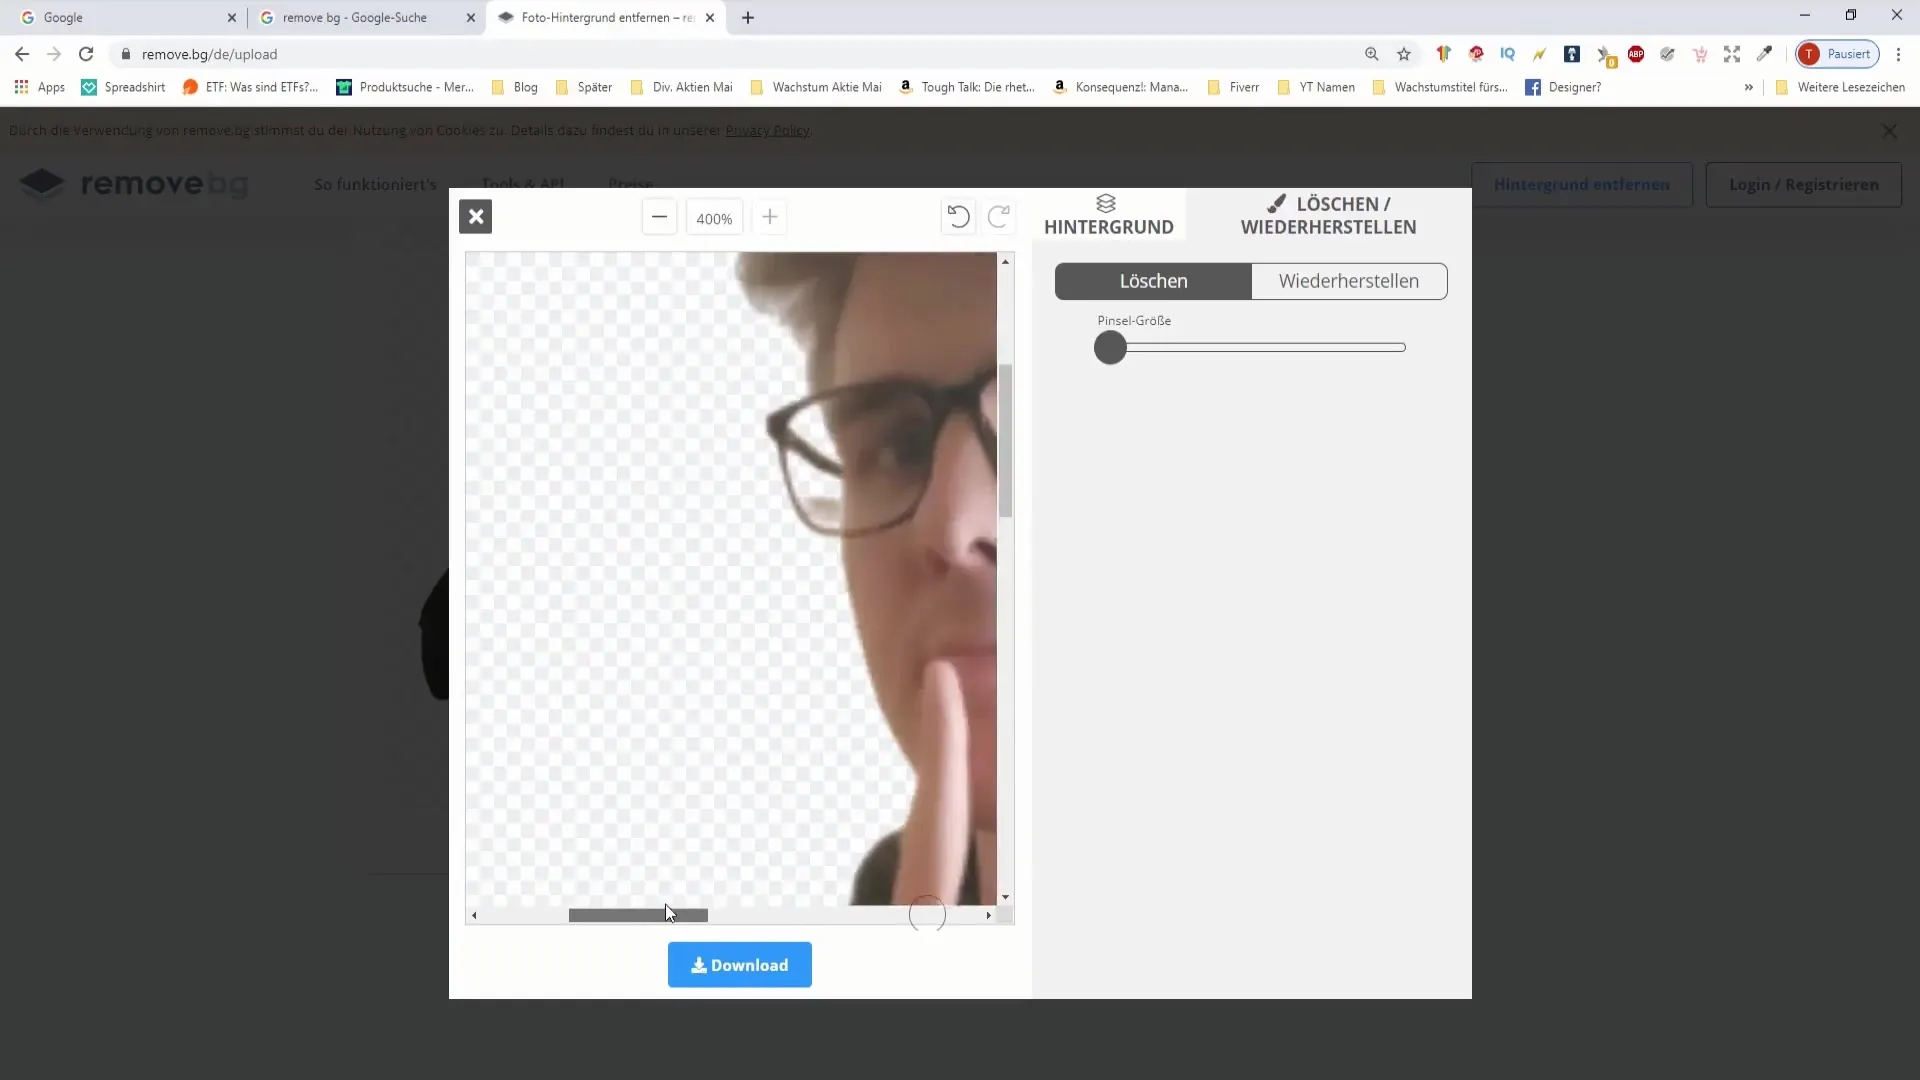
To improve the edges, carefully run a smaller brush over the affected areas. Be sure not to cut off unnecessary parts, especially with hair or other fine details.
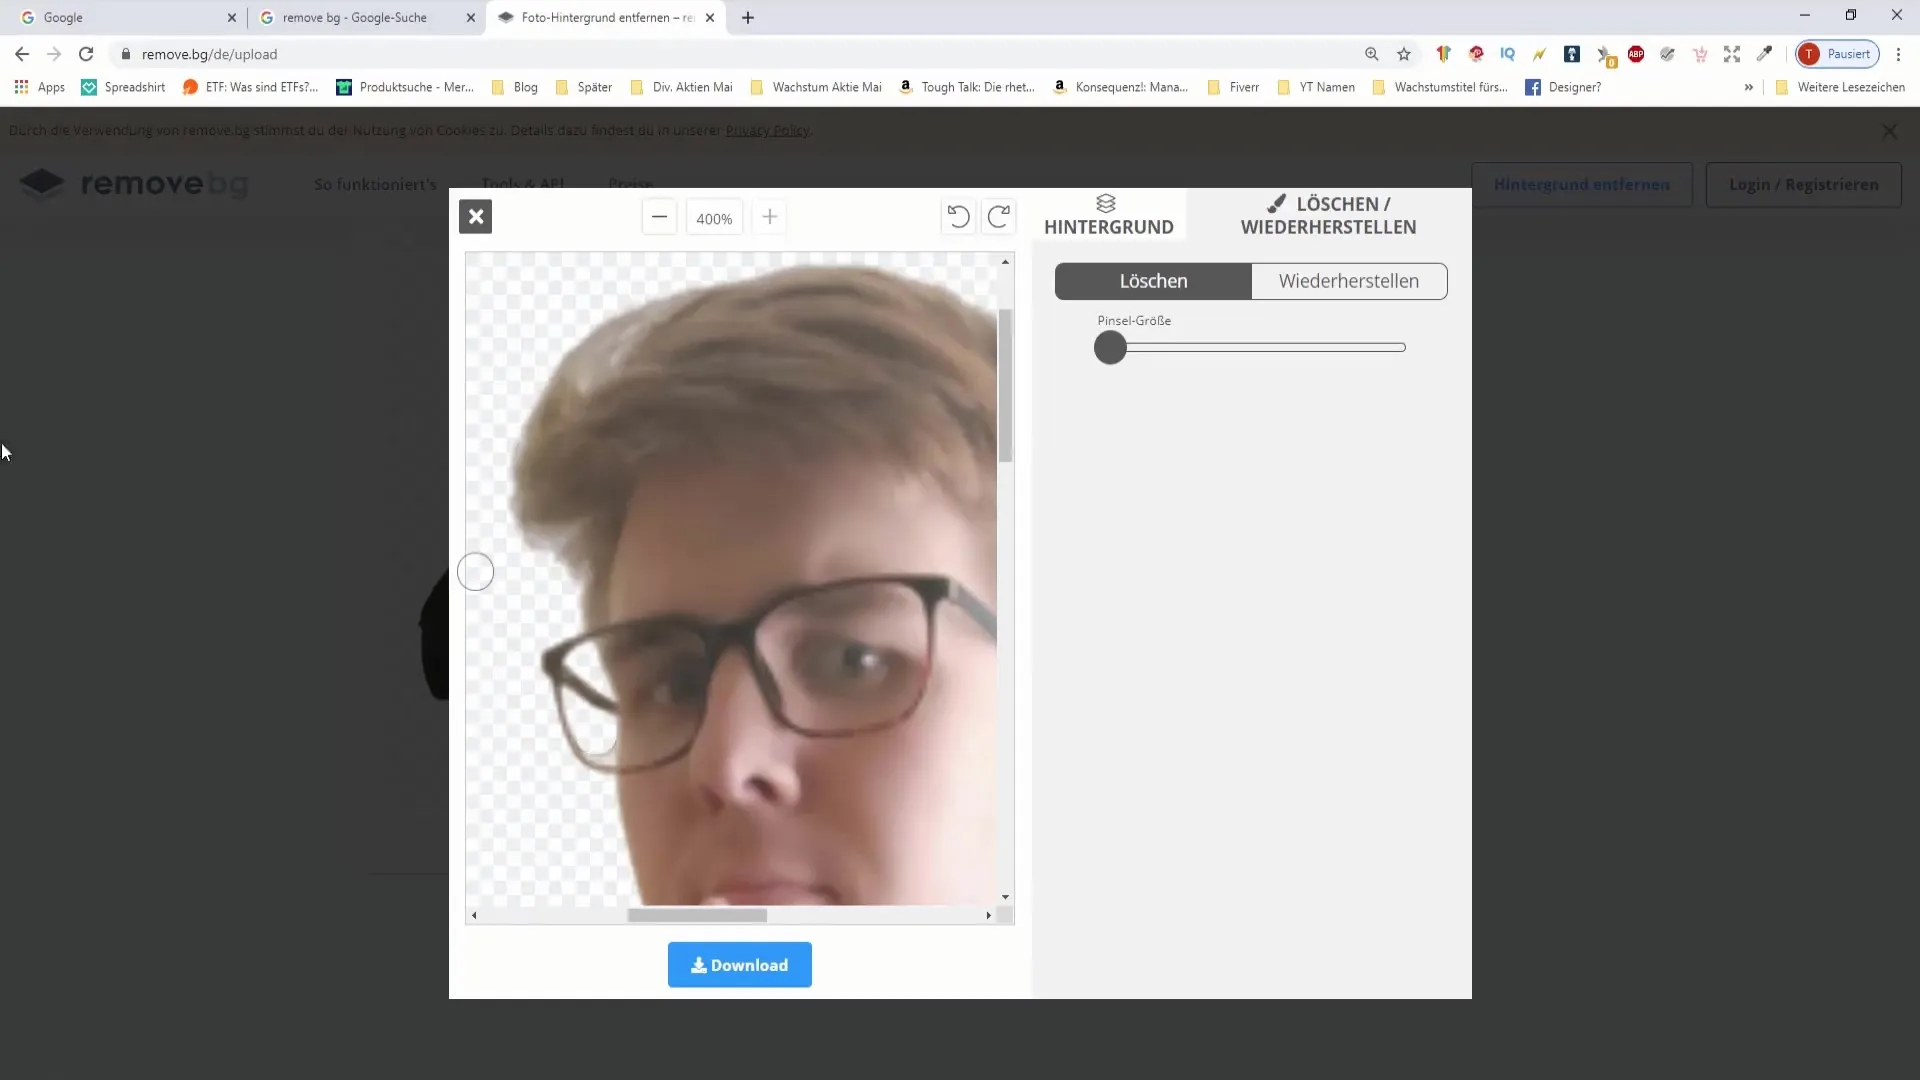
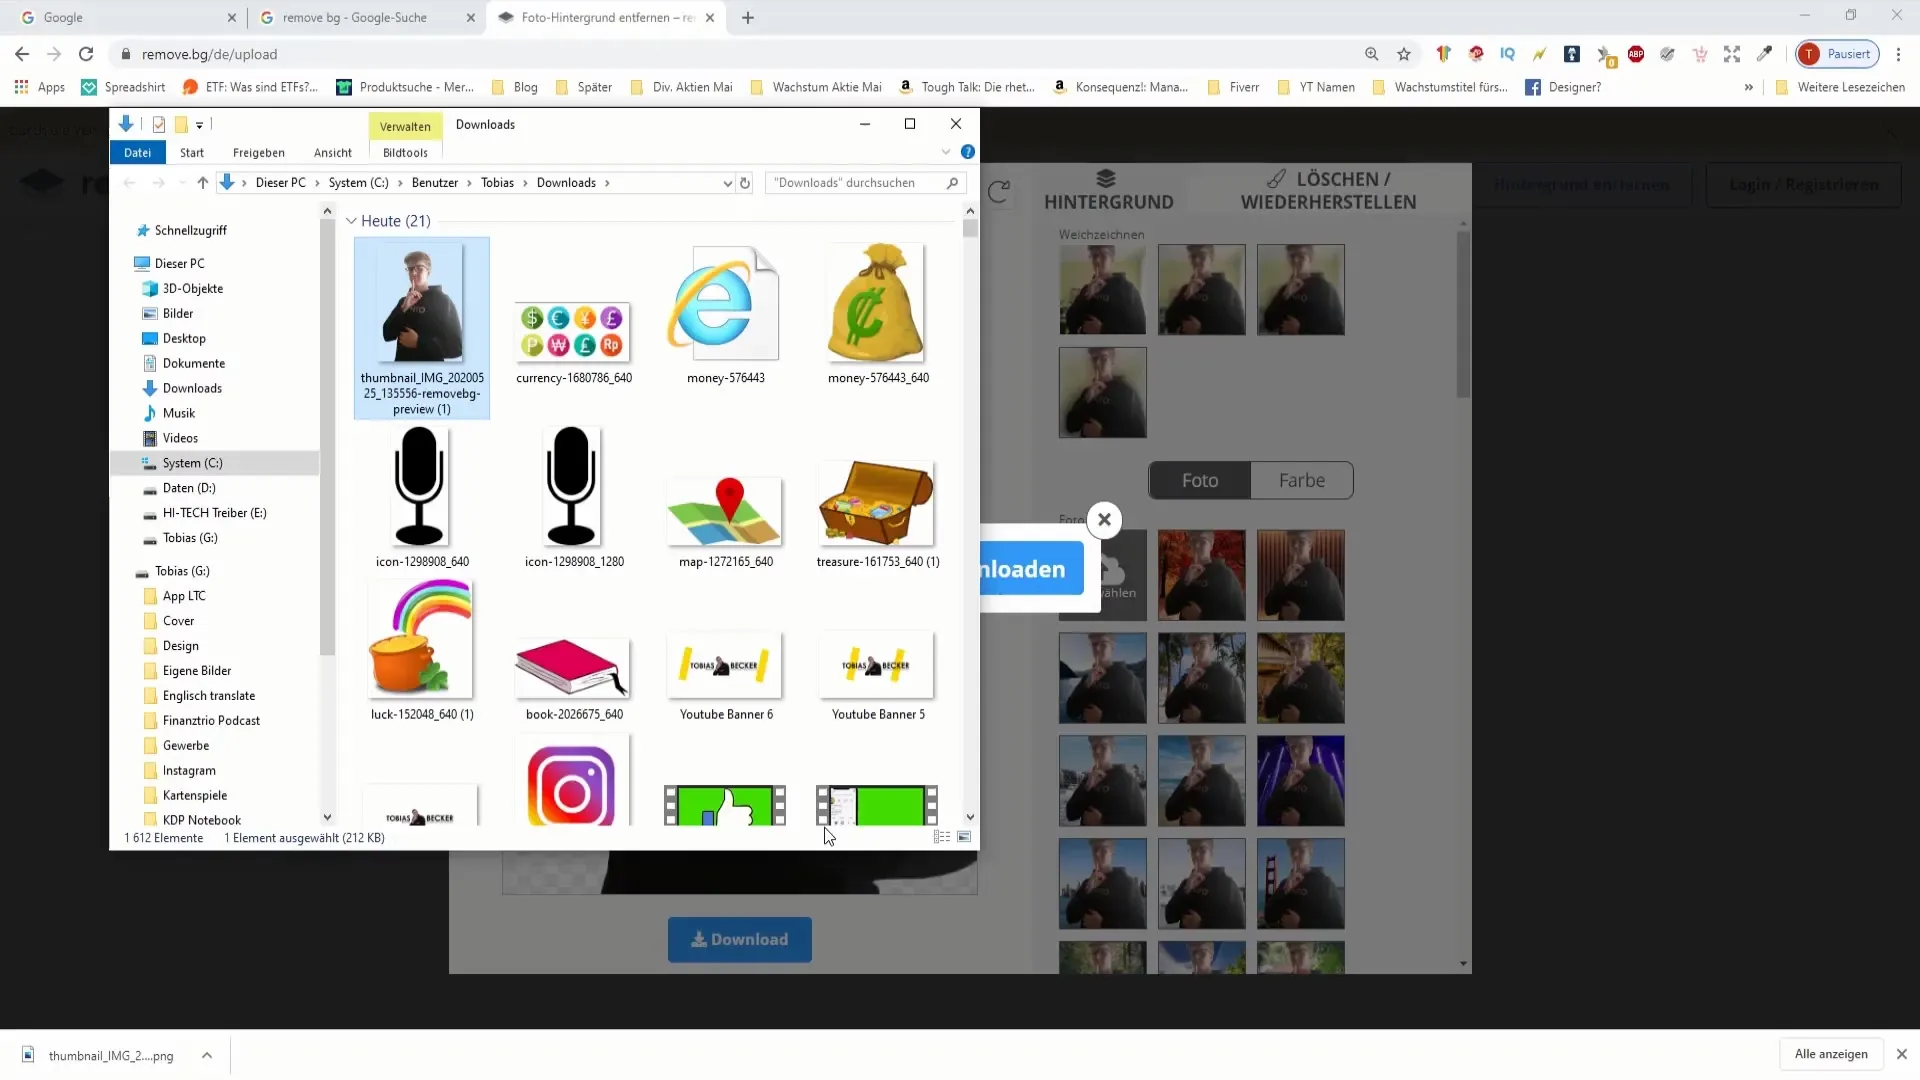
If you are satisfied with the result, you can download the edited image. Click on "Download". Optionally, you can also choose a new background or blur the image if you want to create an artistic impression.

Step 4: Open Image in Paint.NET
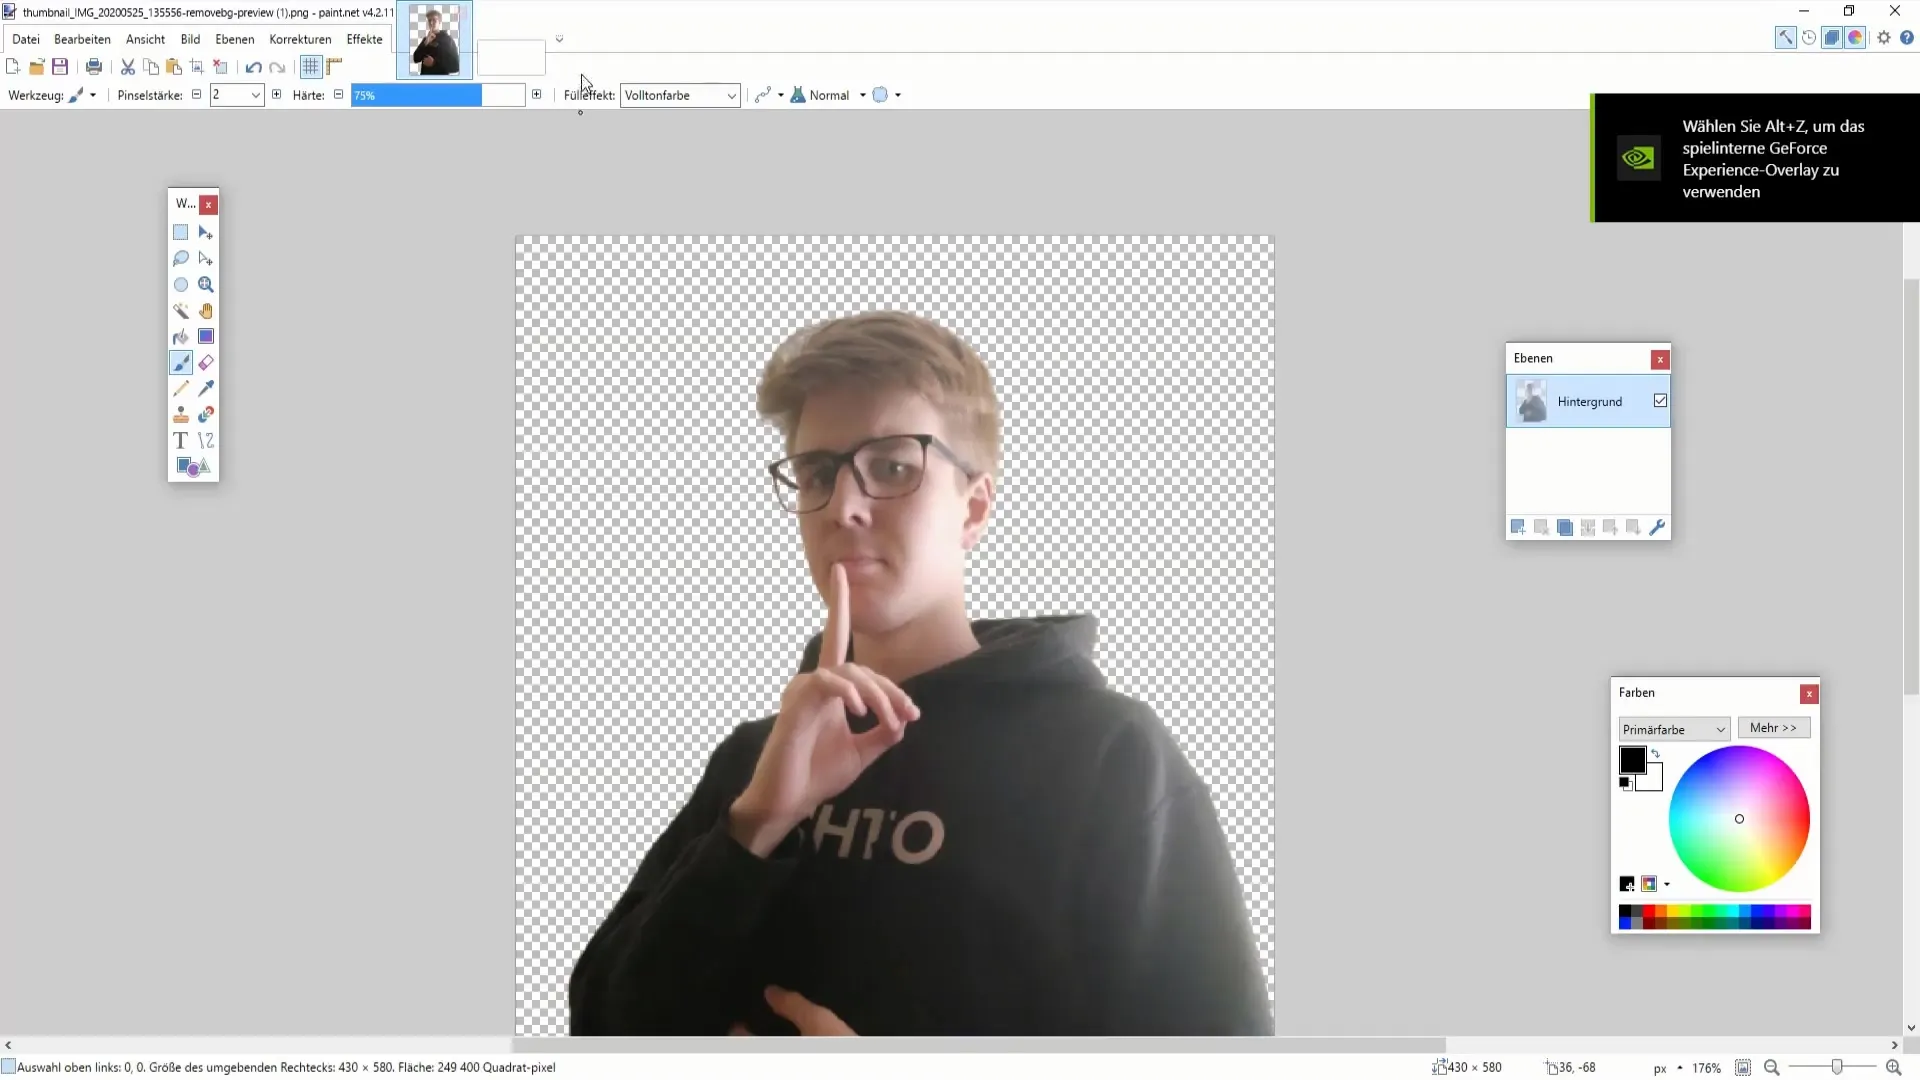
Now that you have the image with a transparent background, it's time to continue your work in Paint.NET. Open Paint.NET and drag the downloaded image into the program or click on "File" and then on "Open".
The image will now open with a transparent background, making it easy to use in higher layers and combine with other images.
Summary
By combining an online tool for cutting out and Paint.NET for final editing, you can achieve results that are both professional and appealing. Use the steps in this guide to creatively design your images.
Frequently Asked Questions
How do I get the edited image into Paint.NET?You need to download the image from the website and then open it in Paint.NET.
Are there alternatives to remove.bg?Yes, there are various online tools for removing backgrounds, such as Canva or Photoshop Online.
Can I adjust the image after opening it in Paint.NET?Yes, in Paint.NET you can use various tools to further adjust and edit the image.
Do you have any more questions?No problem, I am always available to help you!
