When you edit images, cutting out objects is one of the fundamental skills. With Paint.NET, you can do this easily, especially with the magic wand tool. In this guide, I'll show you how to effectively cut out objects by using the magic wand in combination with other tools. Get ready to take your image editing skills to the next level!
Key Takeaways
- The magic wand tool is great for cutting out objects with clear edges.
- A combination of the magic wand and rectangle tools can increase accuracy in cutting out.
- Adjusting the tolerance is crucial to cut out unwanted areas.
Step-by-Step Guide
To successfully cut out objects, follow this step-by-step guide.
First, open your image and select the desired object. An easy method is to draw a shape around the object. For example, you can draw a rectangle around the area you want to cut out. Also, consider that you may need to adjust the shape to achieve a clean result.
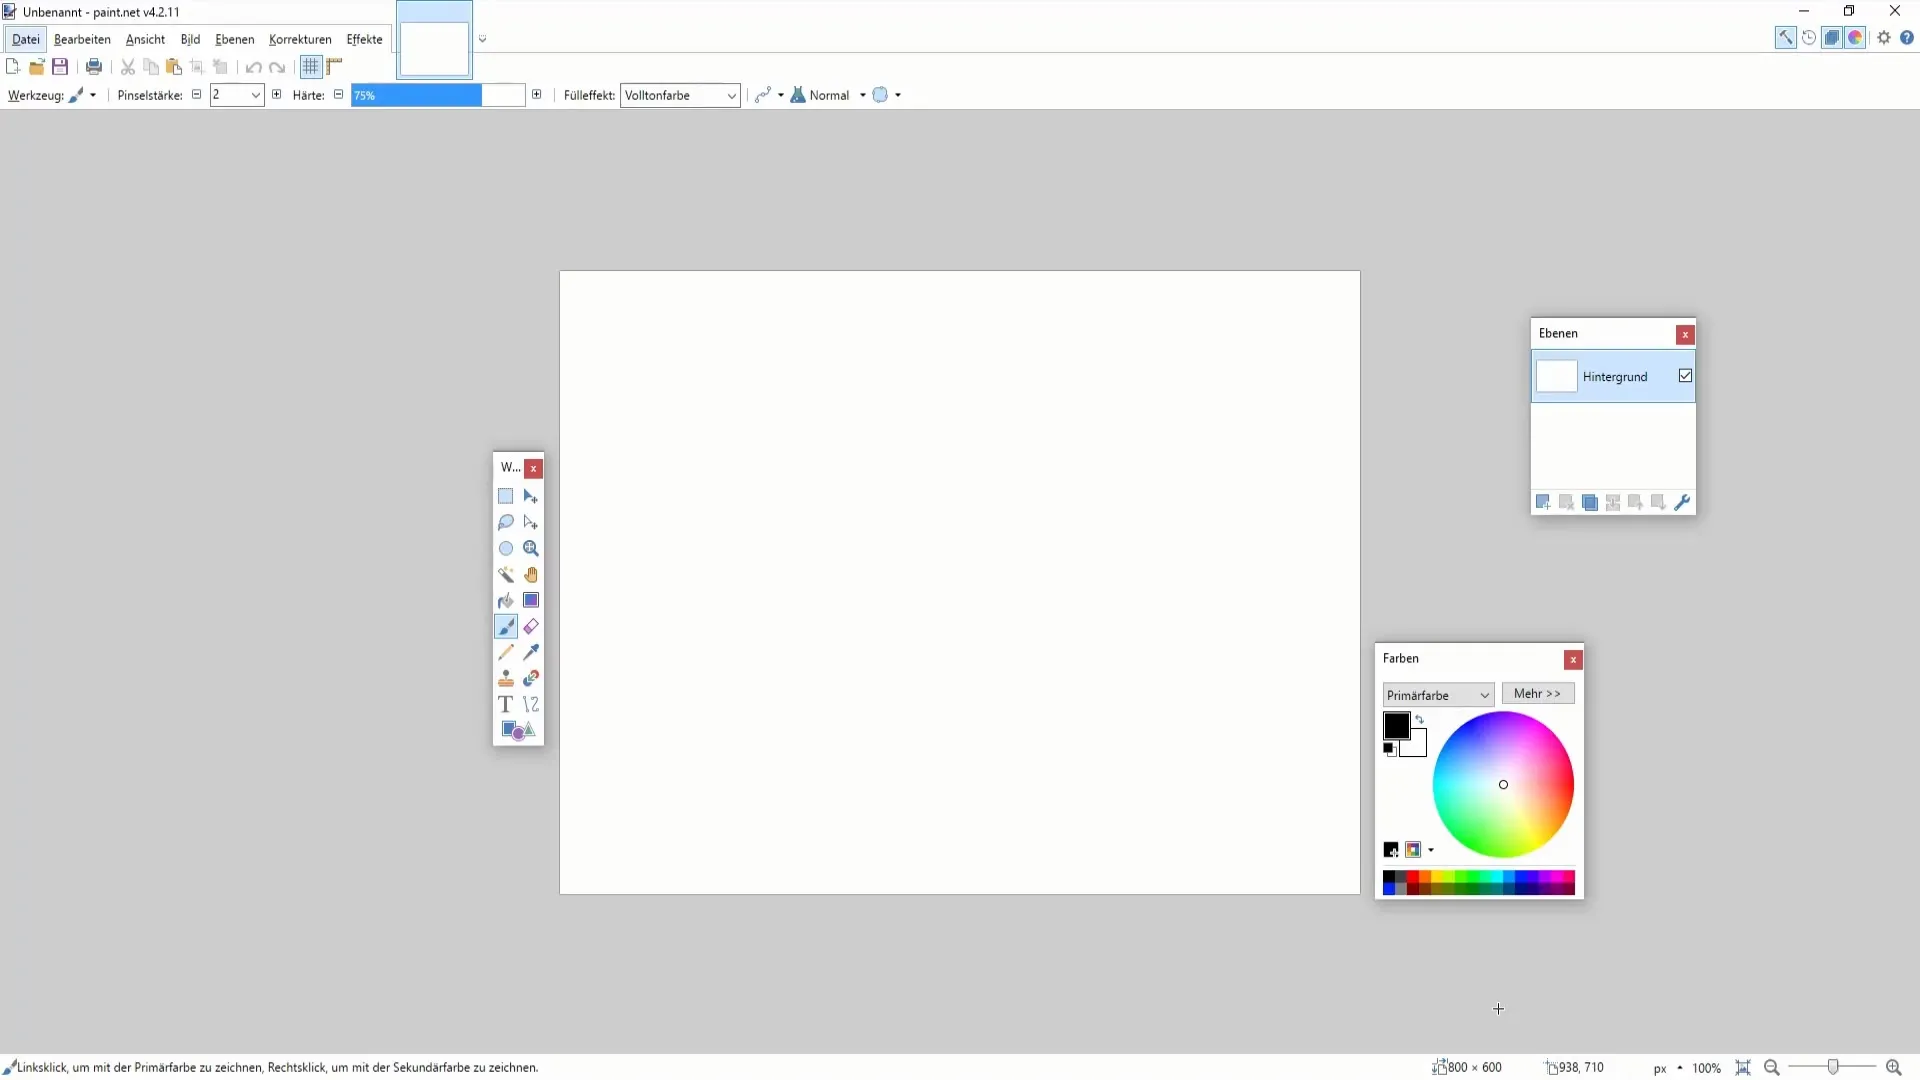
Once you have created the shape, you can use it to cut out or copy contents. Drag the edges of the rectangle to the desired size and adjust them to ensure everything important remains in focus. Good adjustment is crucial to achieve a high-quality result.
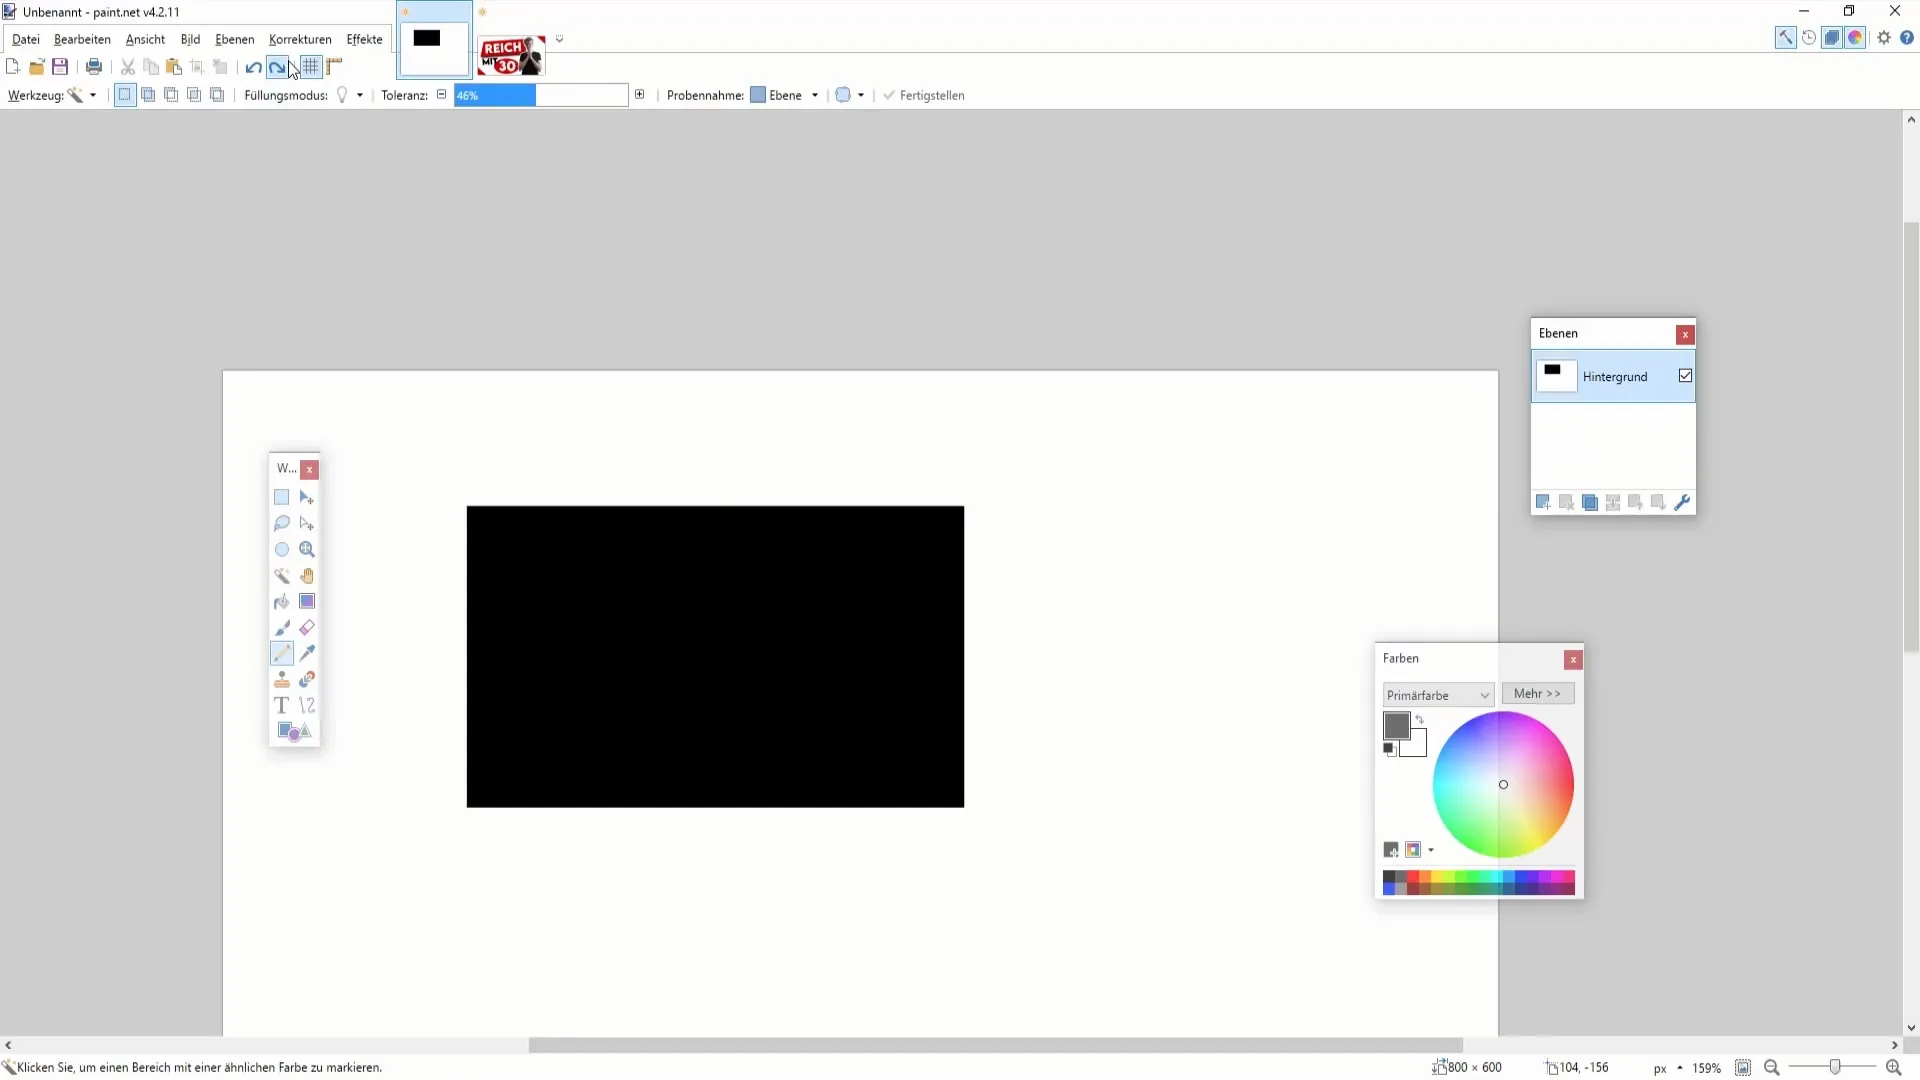
The next method you can use is the magic wand tool. Press the "S" key to select the magic wand. Your image should now be converted to a black and white image, which can help you recognize clear edges. In areas of high contrast, the tolerance of the magic wand is particularly important. If your image is multicolored, you may need to adjust the tolerance to ensure only the desired colors are selected.

When working with the magic wand, make sure to adjust your tolerance settings. Lower tolerance helps preserve more details, while higher tolerance covers more areas, sometimes including undesired elements. It's important to find a balance here so you don't cut out too much or too little.
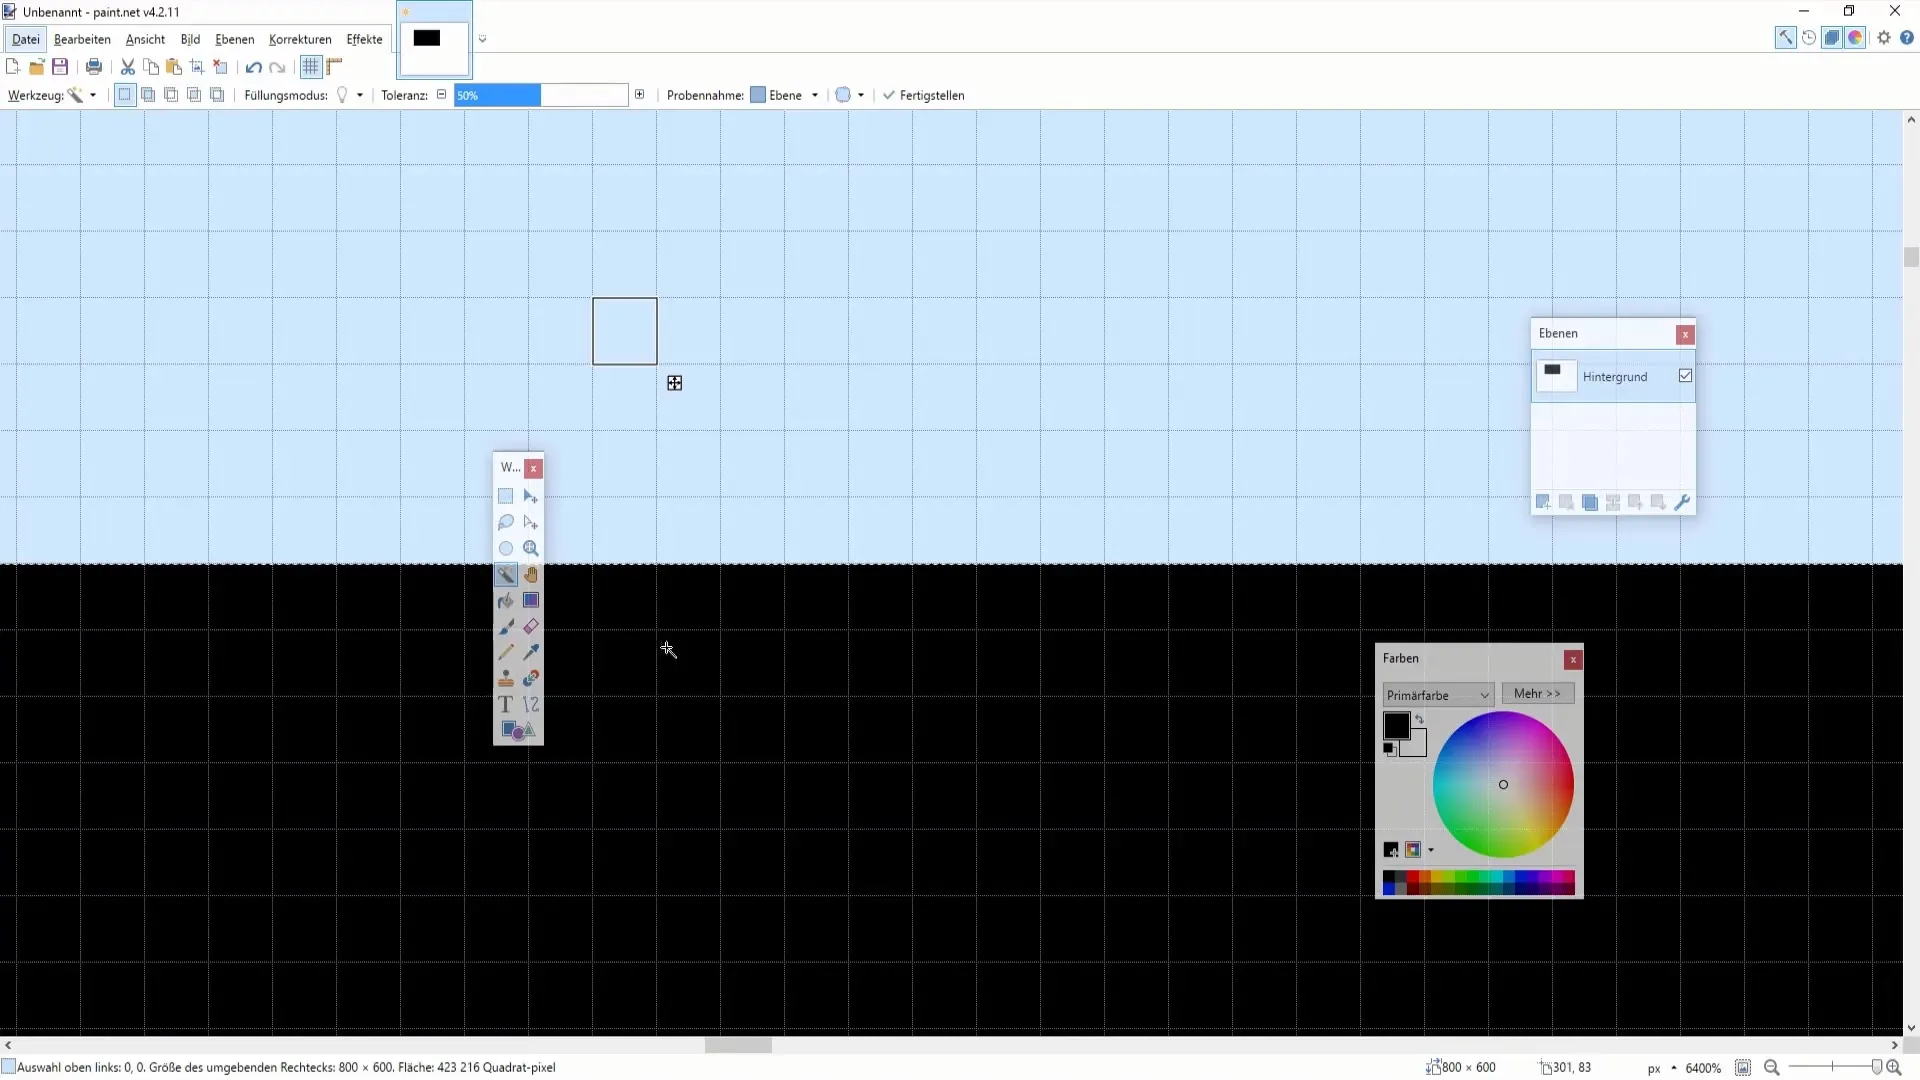
To select the object more precisely, hold down the control key and select multiple areas consecutively. This technique is useful when you want to select multiple parts of an object, which can be difficult with just one tool.
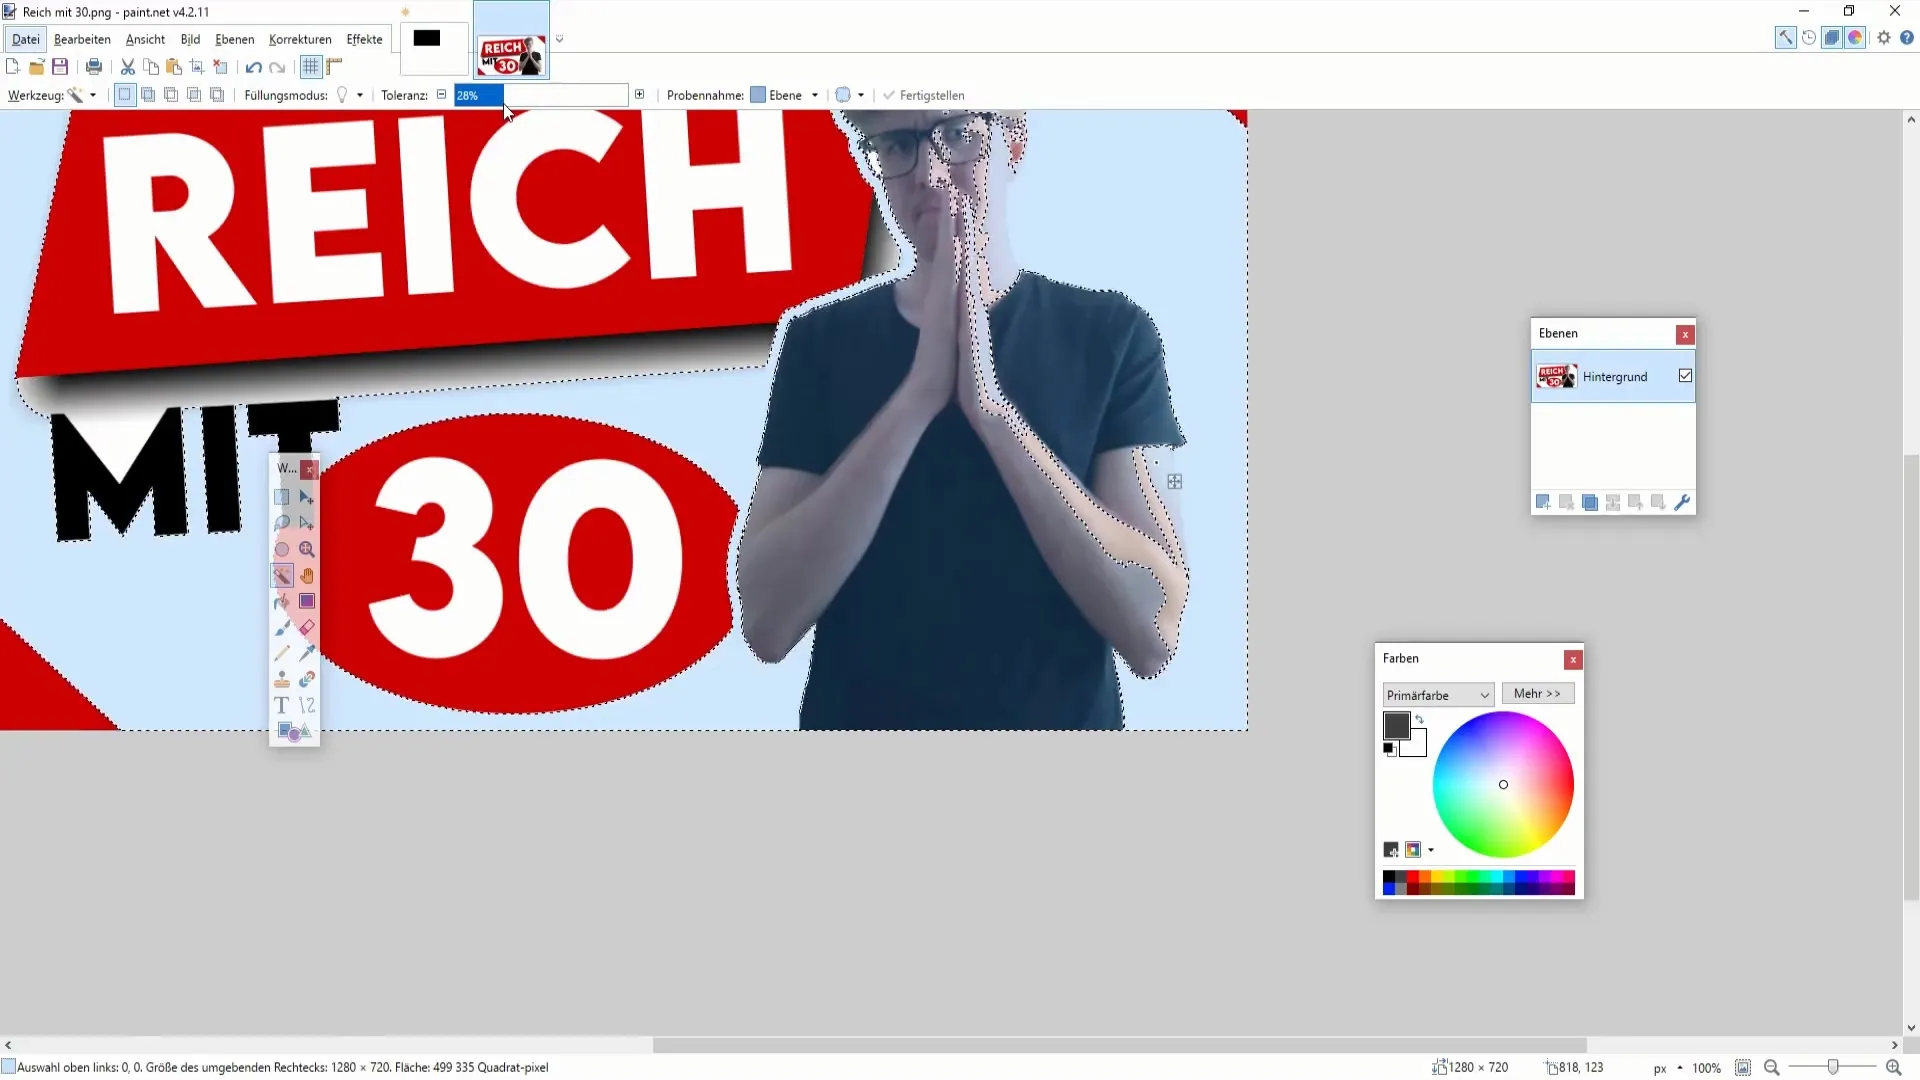
If you want to select additional details or small parts of your object, switch between the magic wand and rectangle tools. A combination of both tools is often the key to a clean and precise cutout. Keep the control key pressed while selecting parts of your image.
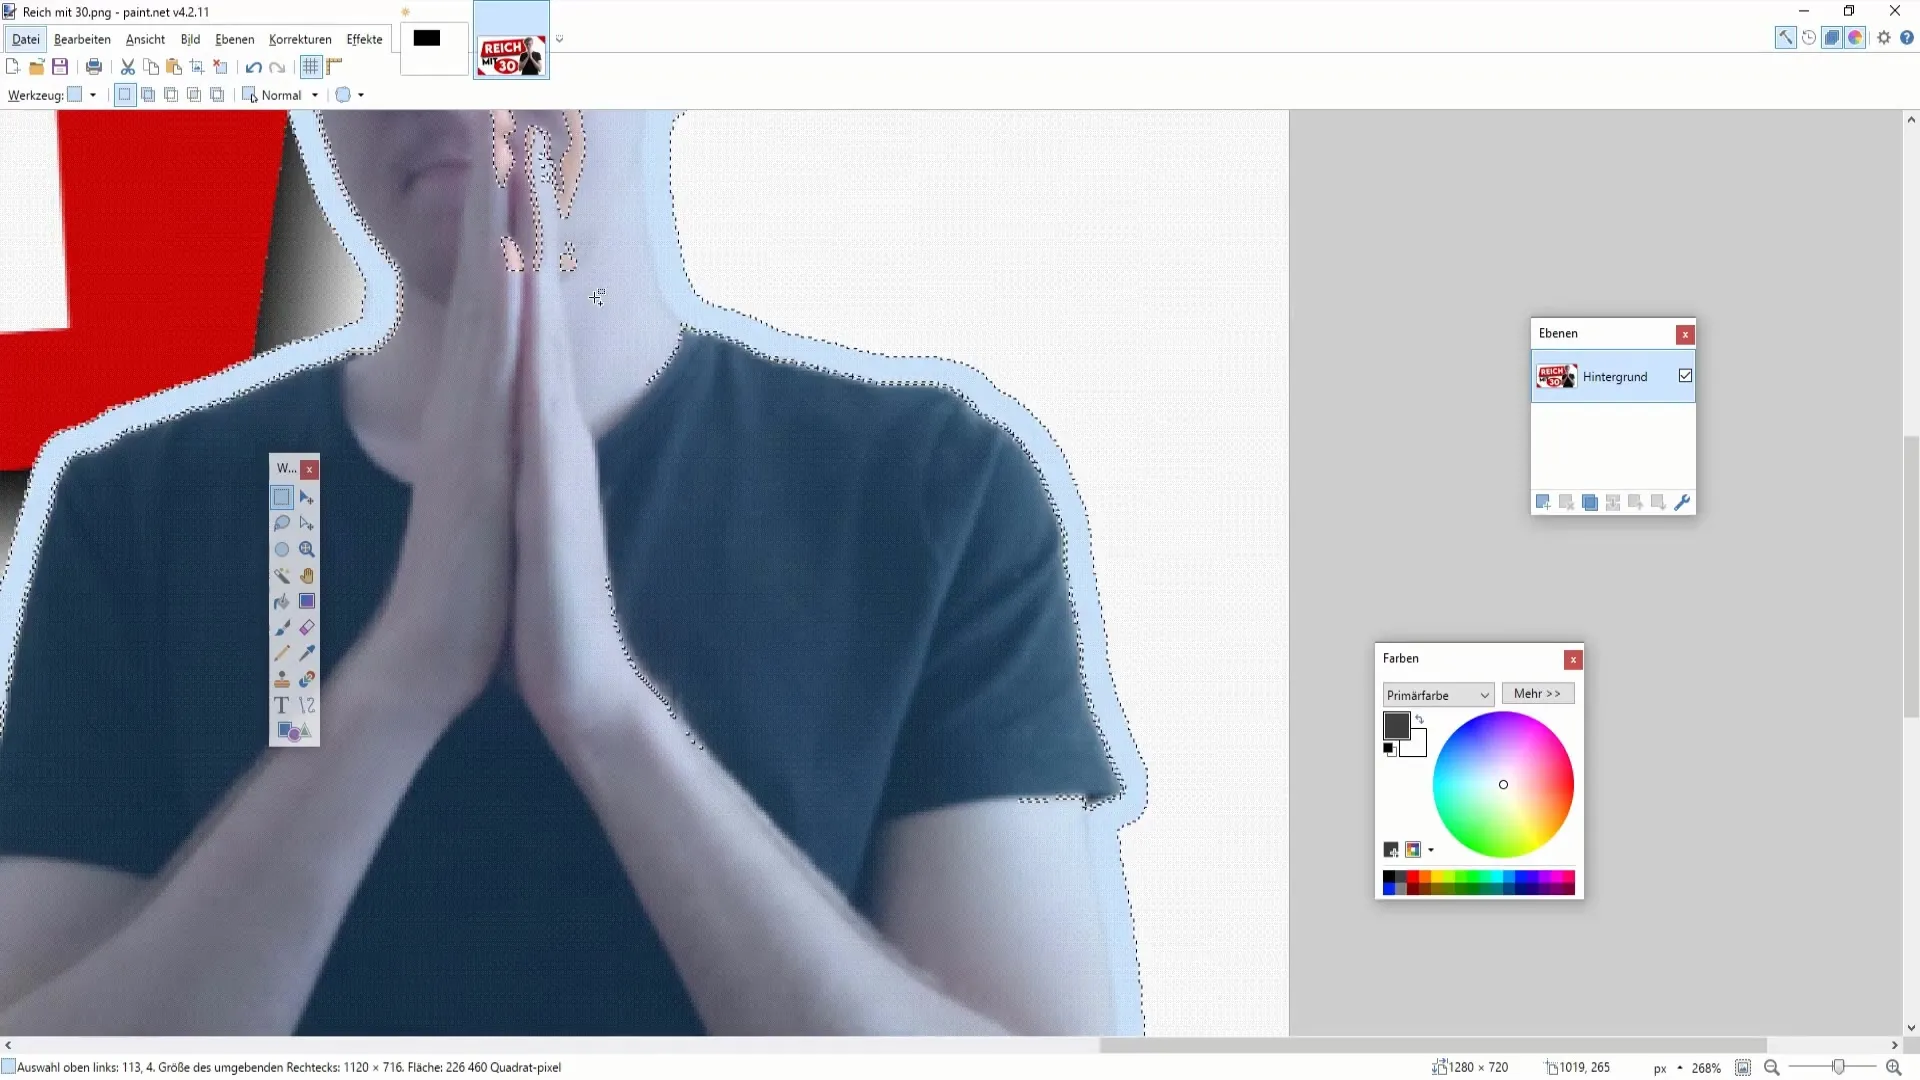
After successfully selecting the object, you can cut or copy it according to your needs. Be sure to correct any undesired areas by further adjusting tolerance settings or making additional selections.
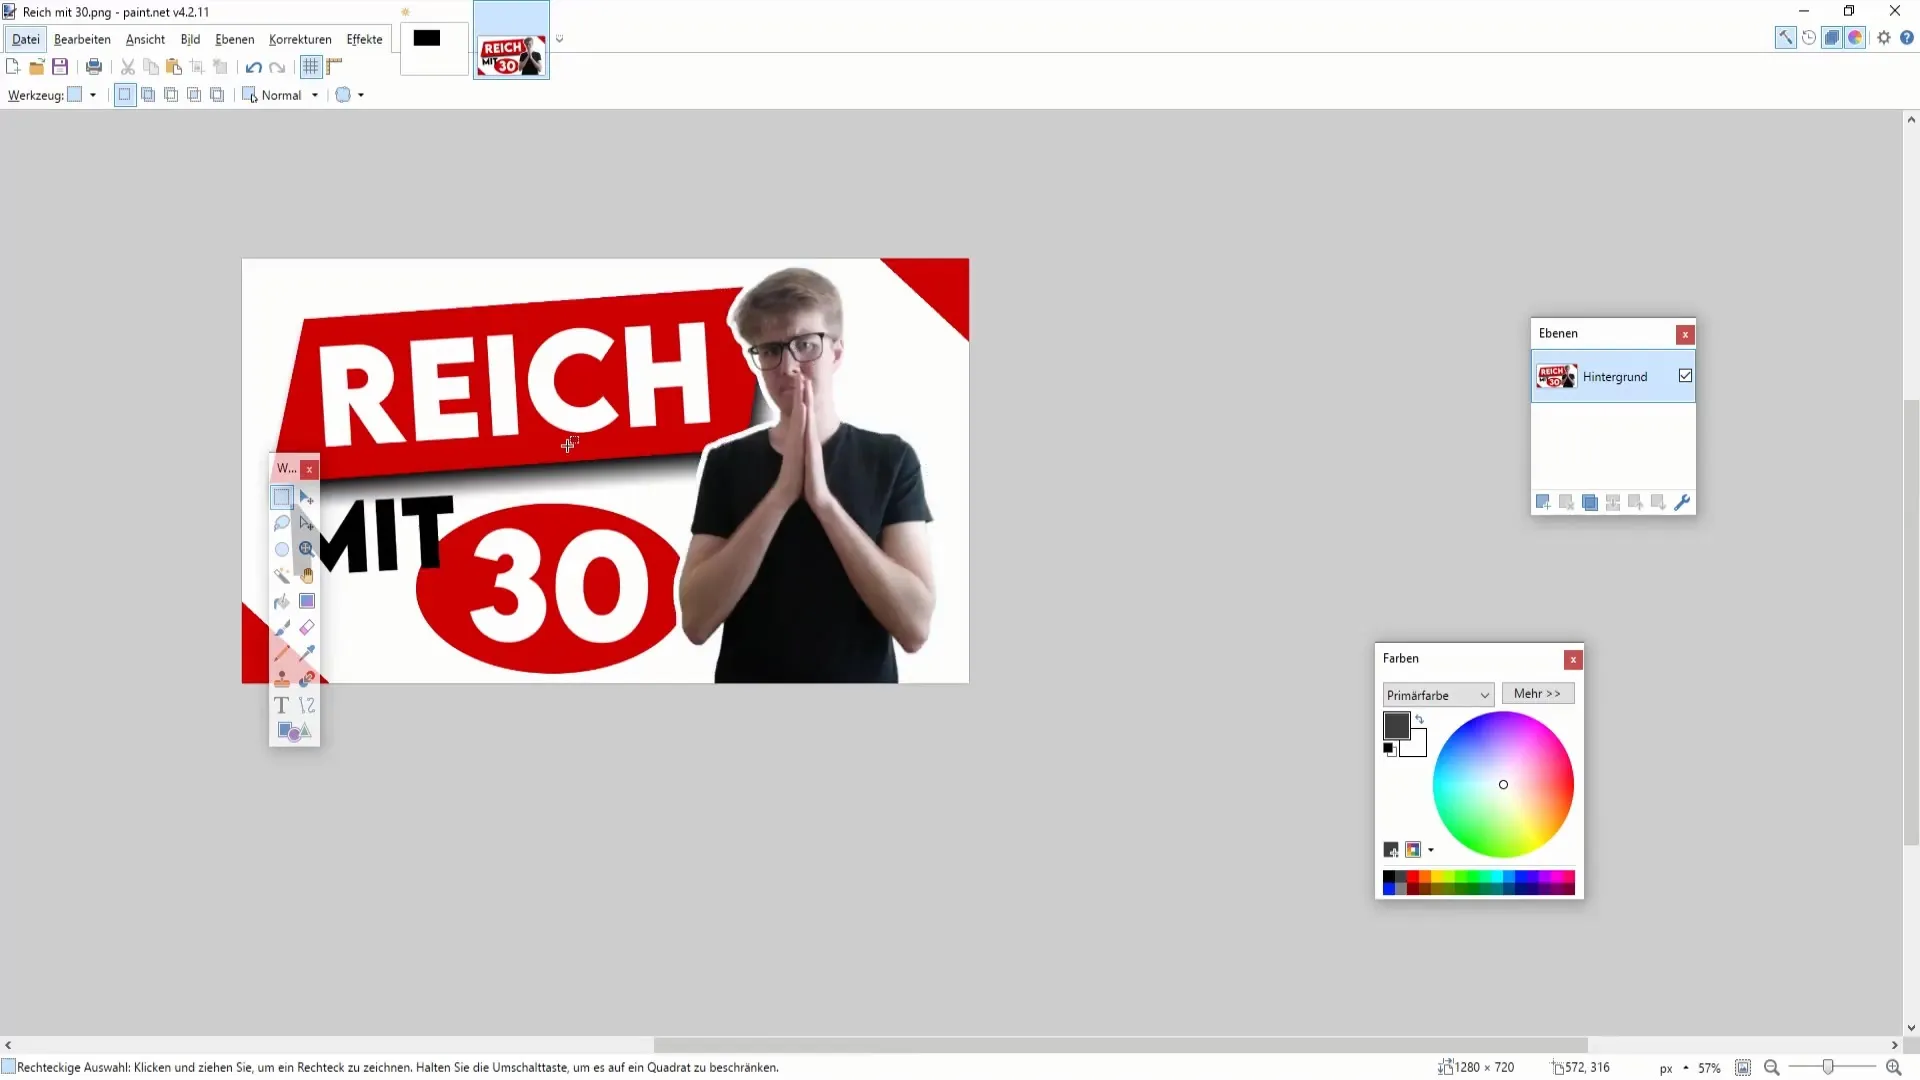
Finally, find out if you want to revert a step if the result doesn't align with your original plan. With Paint.NET, you can backtrack each step, making image editing even more flexible.
Summary
In conclusion, cutting out objects in Paint.NET is relatively straightforward when you use the right tools and techniques. The magic wand combined with the rectangle tool is particularly effective for precise results. Be sure to adjust your tolerance settings carefully to achieve the best outcome.
Frequently Asked Questions
How do I cut out an object in Paint.NET using the magic wand?First, use the magic wand tool to select the desired object. Adjusting the tolerance can help you make the right selection.
Can I select multiple areas simultaneously?Yes, by holding down the control key, you can select multiple parts of an object.
What should I do if I cut out too much or too little?You can adjust the tolerance at any time or undo the selection to have better control over the cutting process.


