For different tasks in layouting, different workspaces with the most frequently used panels and menu commands are also needed. To meet this need, InDesign already comes with a series of predefined workspaces.
There is a basic environment with only the essentials, an advanced one with a bar of the most important panels, a typography environment that provides all the important tools for working with texts, or one that has been optimized for designing interactive screen documents.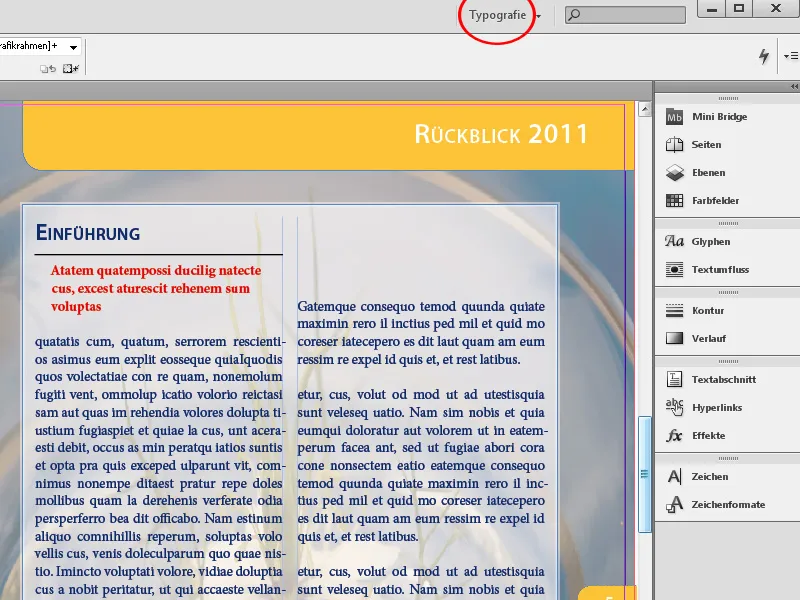
However, when working in one of the included workspaces, you will often need additional panels or you will also realize that others are just wasting valuable space and complicating the overview because they are hardly used.
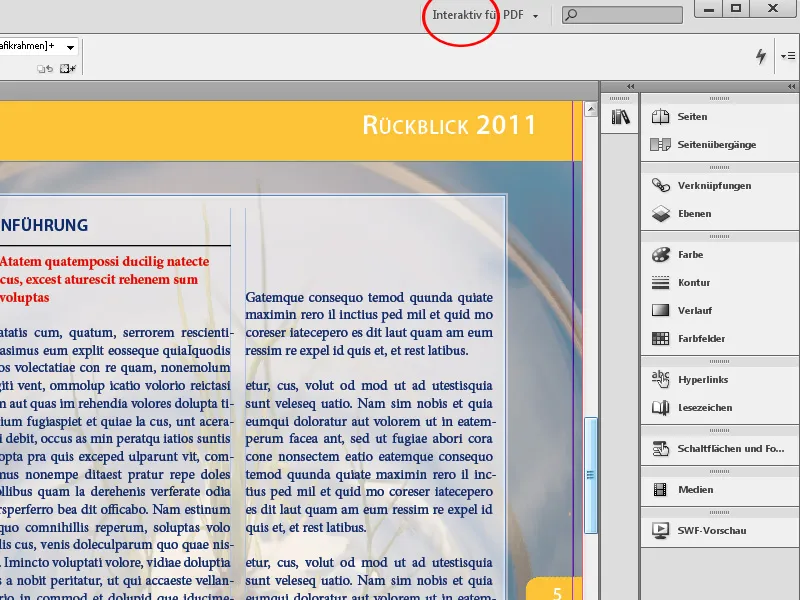
For this reason, views can be freely arranged and saved so that you can recall your exact layout and structure when needed.
A good starting point for this is the workspace Advanced. Click on the small arrow to the right of the name of the current workspace in the menu bar and choose the desired one.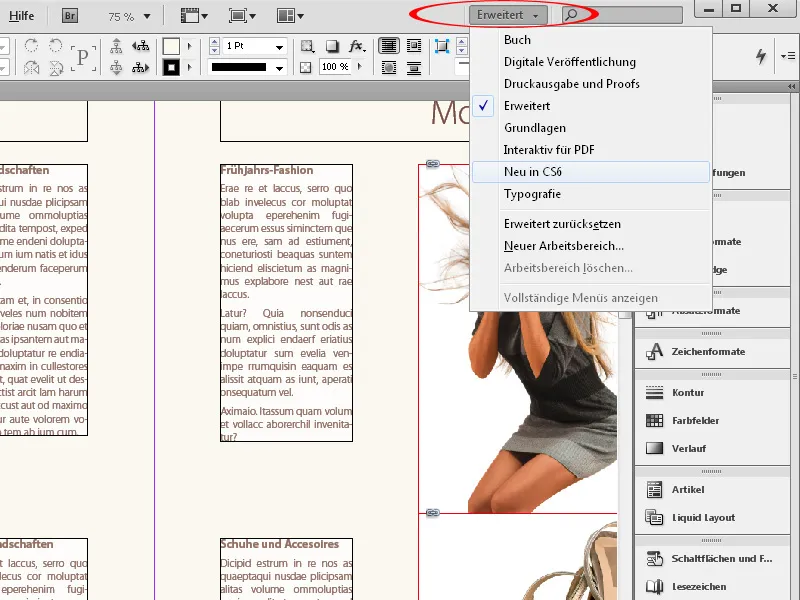
Immediately, InDesign will arrange a corresponding panel bar on the right side of the screen. If you do not need specific ones, simply drag them to the left with the mouse button pressed to remove them from the bar. Then you can close the panel by clicking on the small close cross or move it to another location, e.g., to a second monitor.
To add other panels to your own workspace, simply open them via the Window menu. Then drag them with the mouse button pressed into the panel bar on the right side of the screen, where they will dock to the other panels, or move them to your preferred location.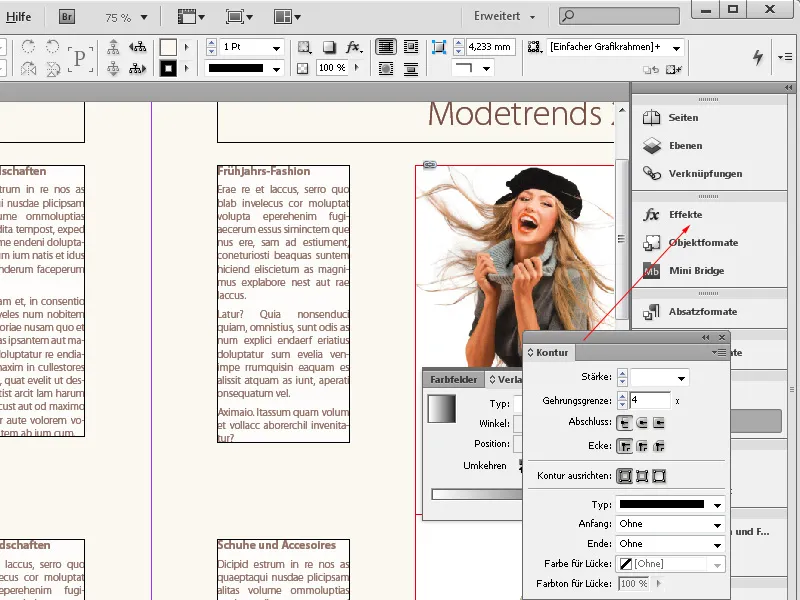
Similar to the panels, the menus can also be customized to your own working style.
Since you never need certain menu items when working on specific tasks, and the plethora of the standard view makes it difficult to overview, you can simply hide them permanently and then save the whole thing so that you can activate this layout at any time when needed.
You make the settings in the Edit>Menus menu.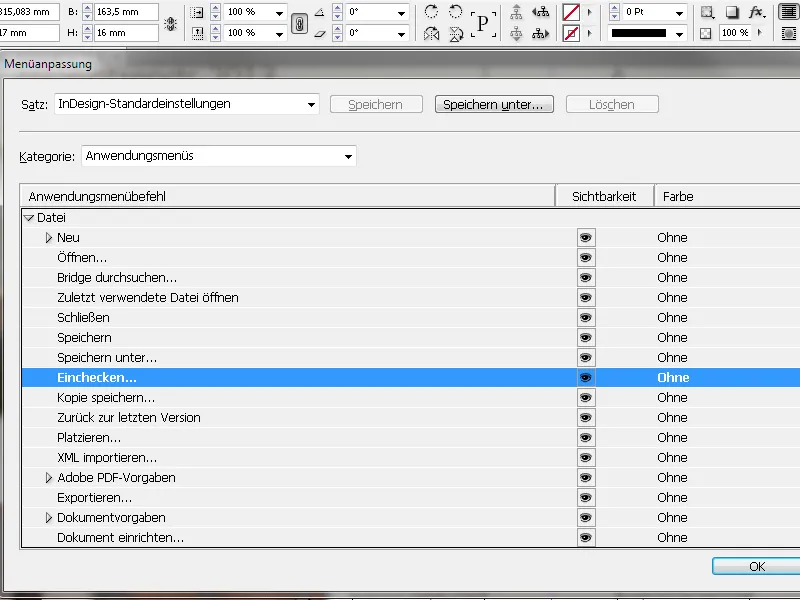
Here you can hide the unnecessary menu entries by clicking the checkbox in the Visibility column and removing the checkmark.
To make other frequently needed menu items more visible, you can color them and highlight them accordingly. Click on the Color column and then on the small drop-down arrow. Now a list of possible colors will be displayed from which you can choose one.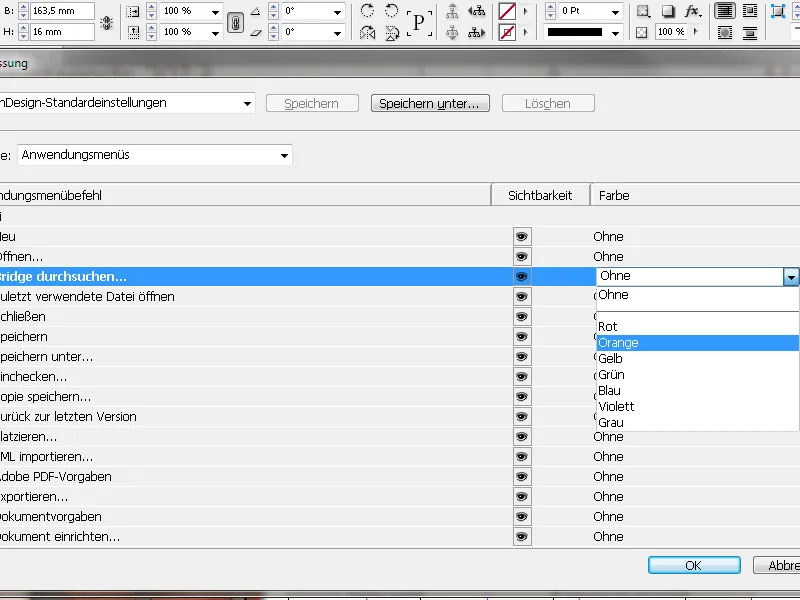
When you open a menu now, you will see your new design.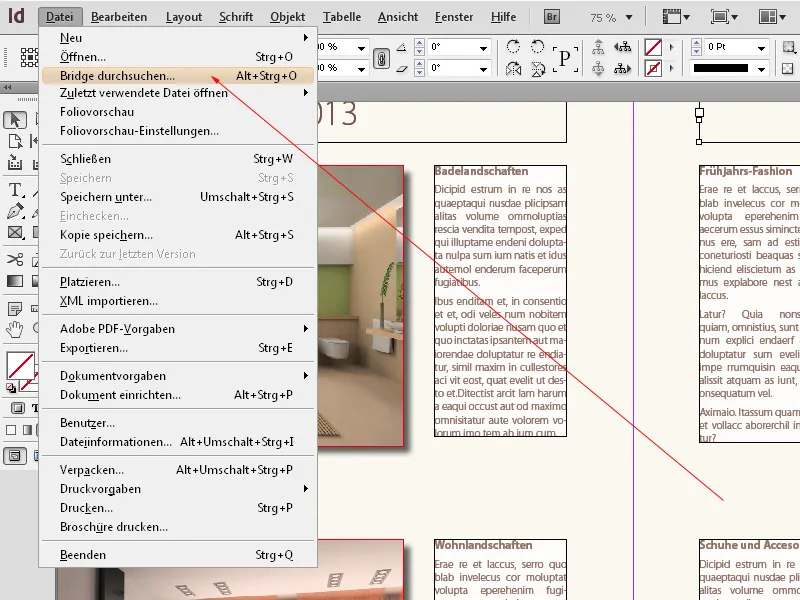
You now want to save this workspace permanently so that you can recall it next time or after interim changes in the arrangement. To do this, click on the Window>Workspace menu and select New Workspace.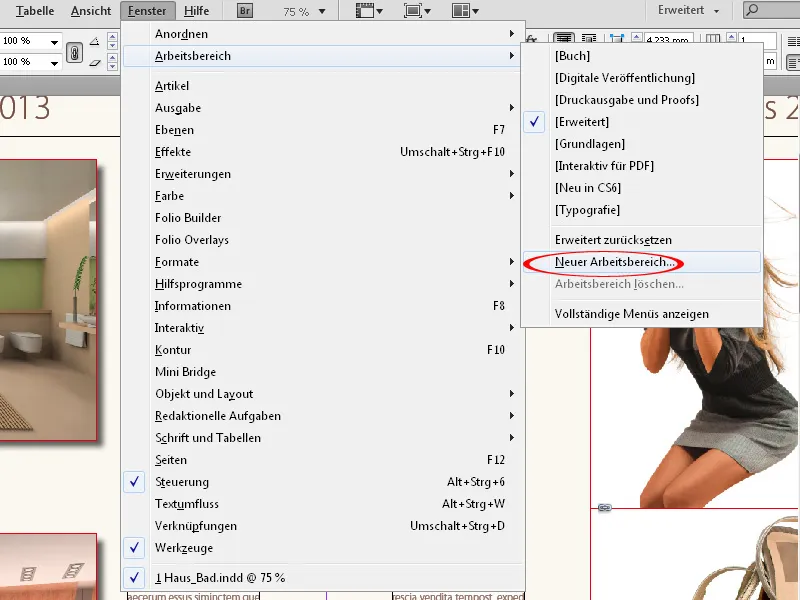
Here, give it a meaningful name for you. Then you can decide whether both the new order of panels and their positions on the monitor as well as the recently adjusted menus or just one of them should be saved under the name of the new workspace.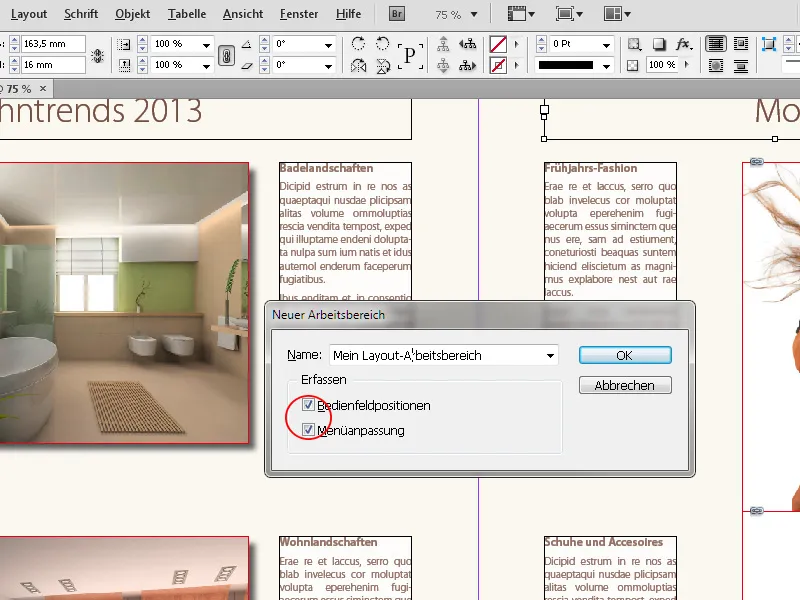
After clicking on OK, you will find it in the Drop-down menu in the top right corner of the menu bar.


