Photo editing can often make the crucial difference between a mediocre image and a truly outstanding photo. Paint.NET is a versatile software that offers many useful features for image editing, especially when it comes to corrections. In this tutorial, you will focus on the different correction tools available to you in Paint.NET, as well as how to apply them to enhance your images.
Key Takeaways
- Paint.NET offers various correction tools to enhance photos.
- While automatic correction works quickly, it is often not the best choice.
- Detailed adjustments like hue, saturation, brightness, and contrast give you more control.
- Curve adjustment allows for precise color and light control.
- Free plugins are available that offer additional features.
Step-by-Step Guide
Let's start with the basic correction functions in Paint.NET. You have the option to use various tools to improve the quality of your images.
1. Transition to Correction
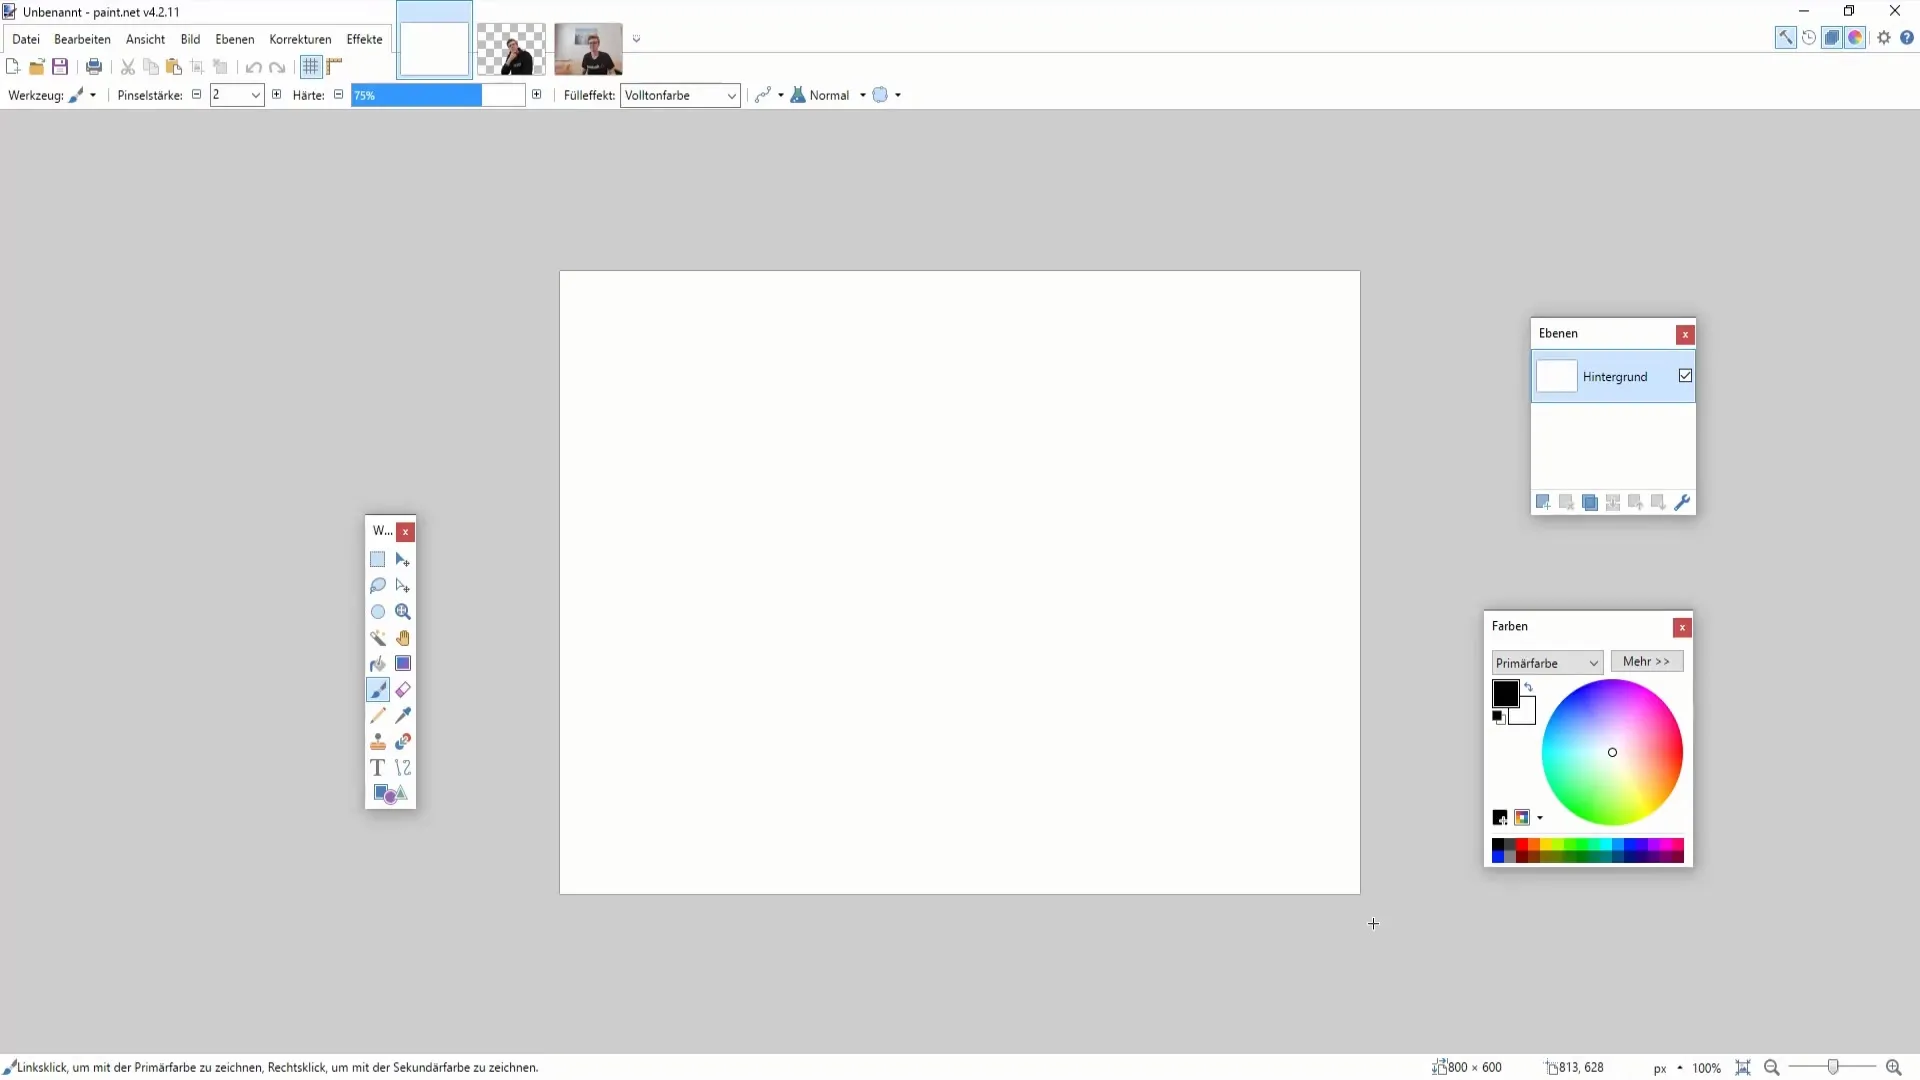
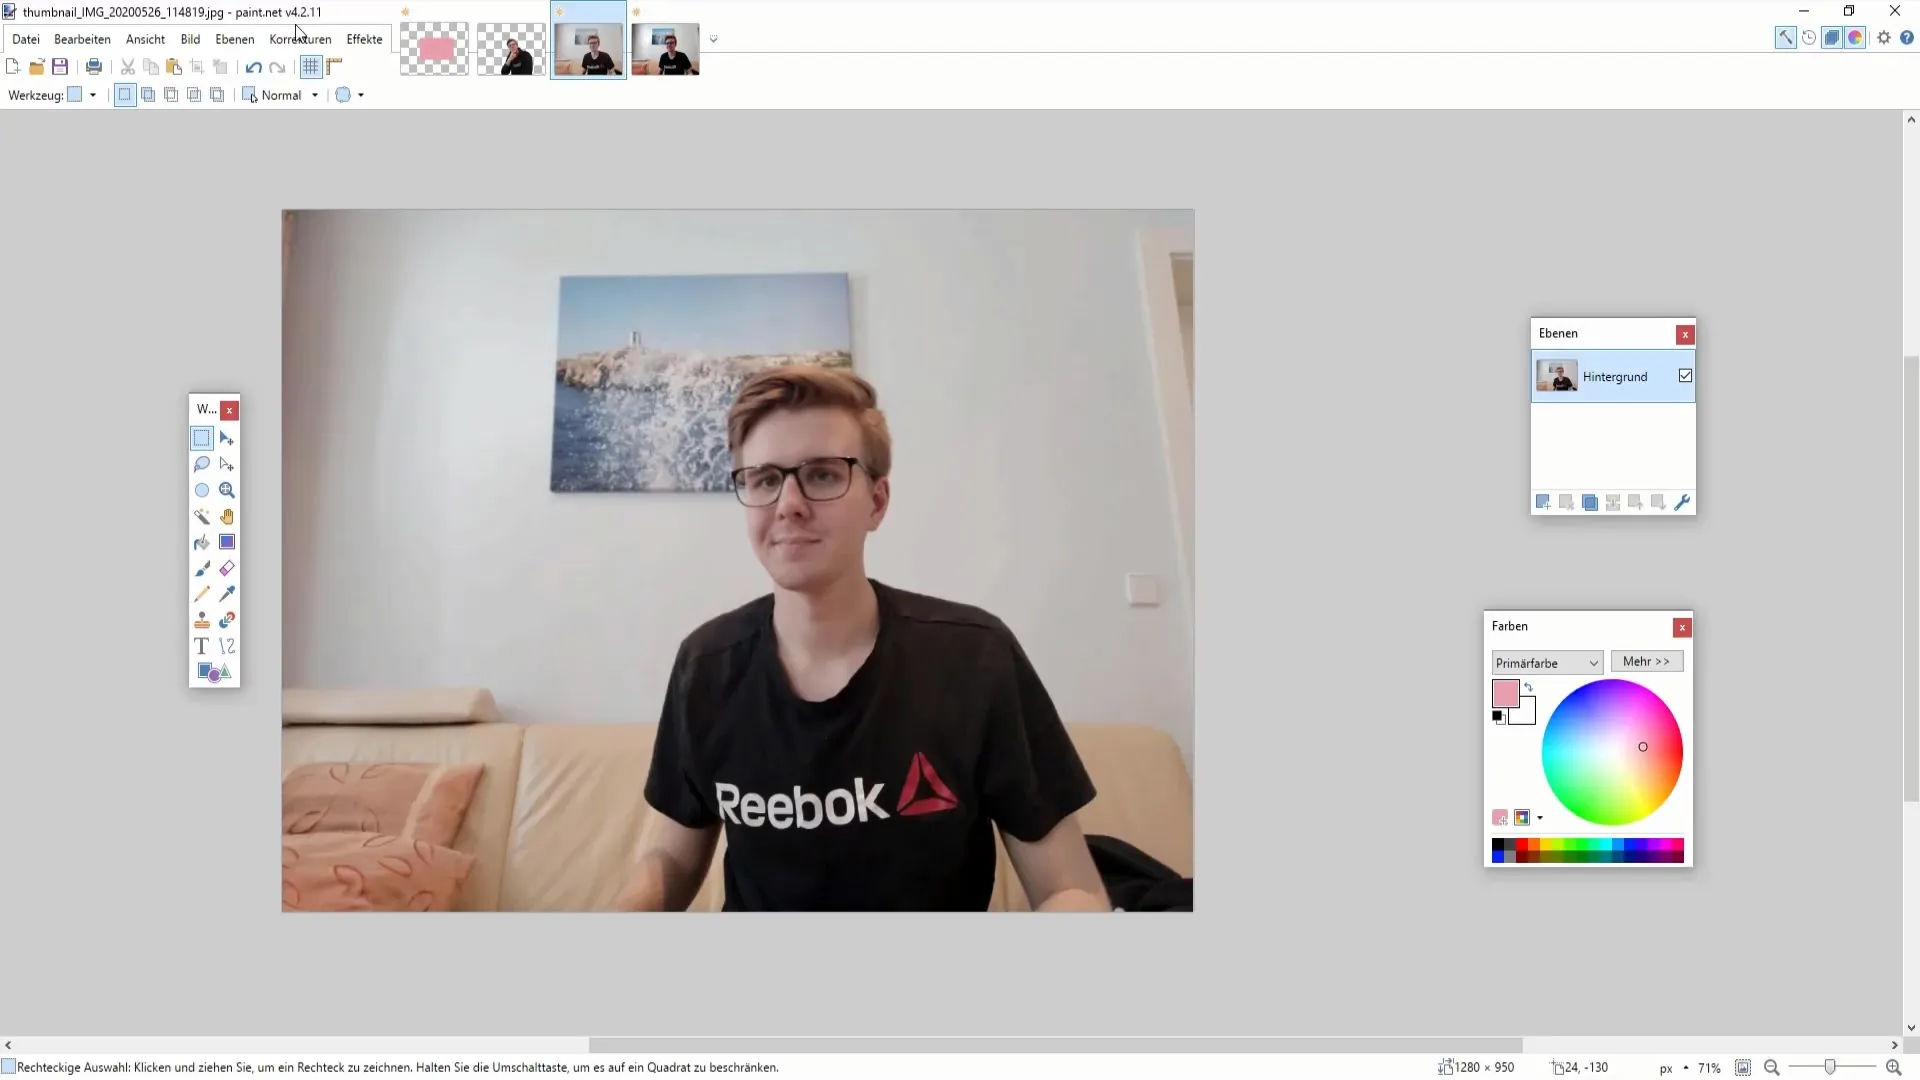
First, open Paint.NET and load the image you want to edit. To make the corrections visible, you will draw a green or red rectangle to illustrate your adjustments.
2. Automatic Correction
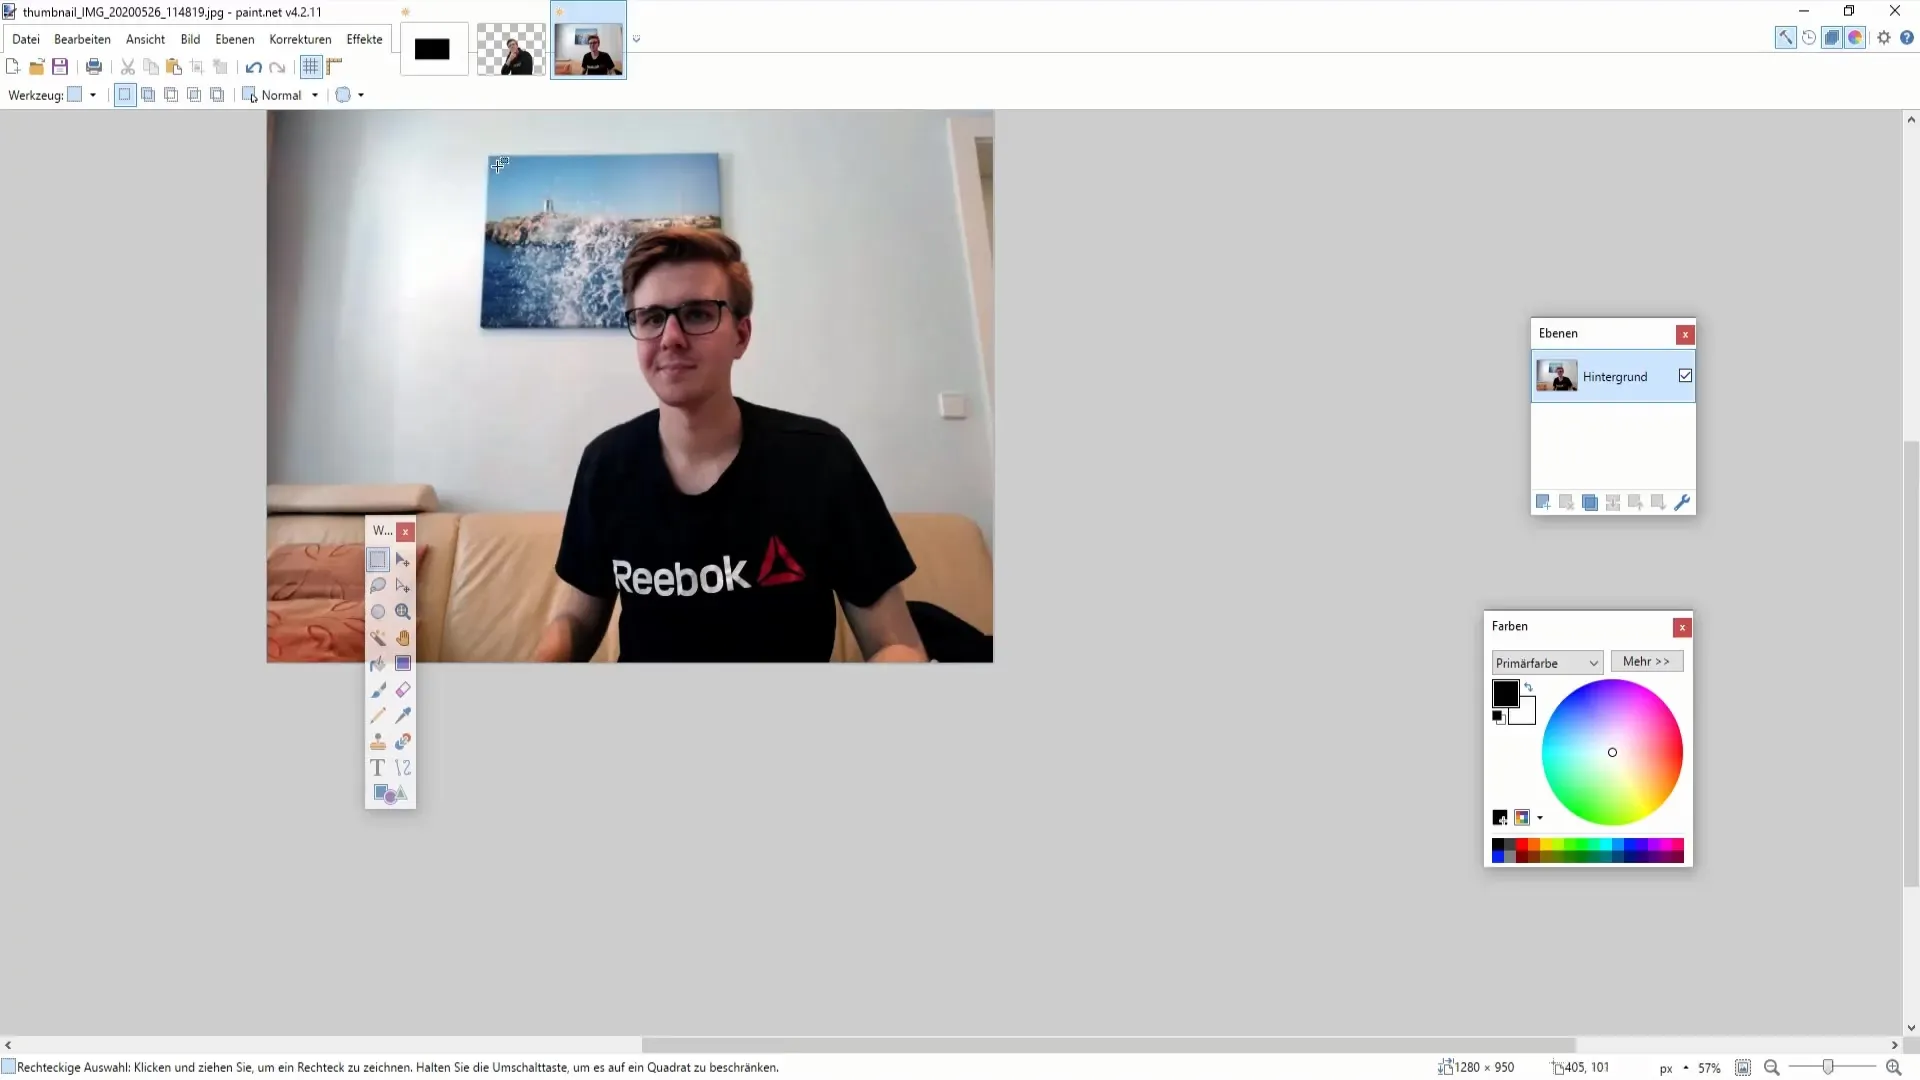
The first tool you will test is automatic correction. This feature allows Paint.NET to optimize your image without manual intervention. You can access the tool through the "Layers" menu or by using the shortcut "Ctrl + Shift + L". It is helpful when you need quick improvements.
3. Color Manipulation
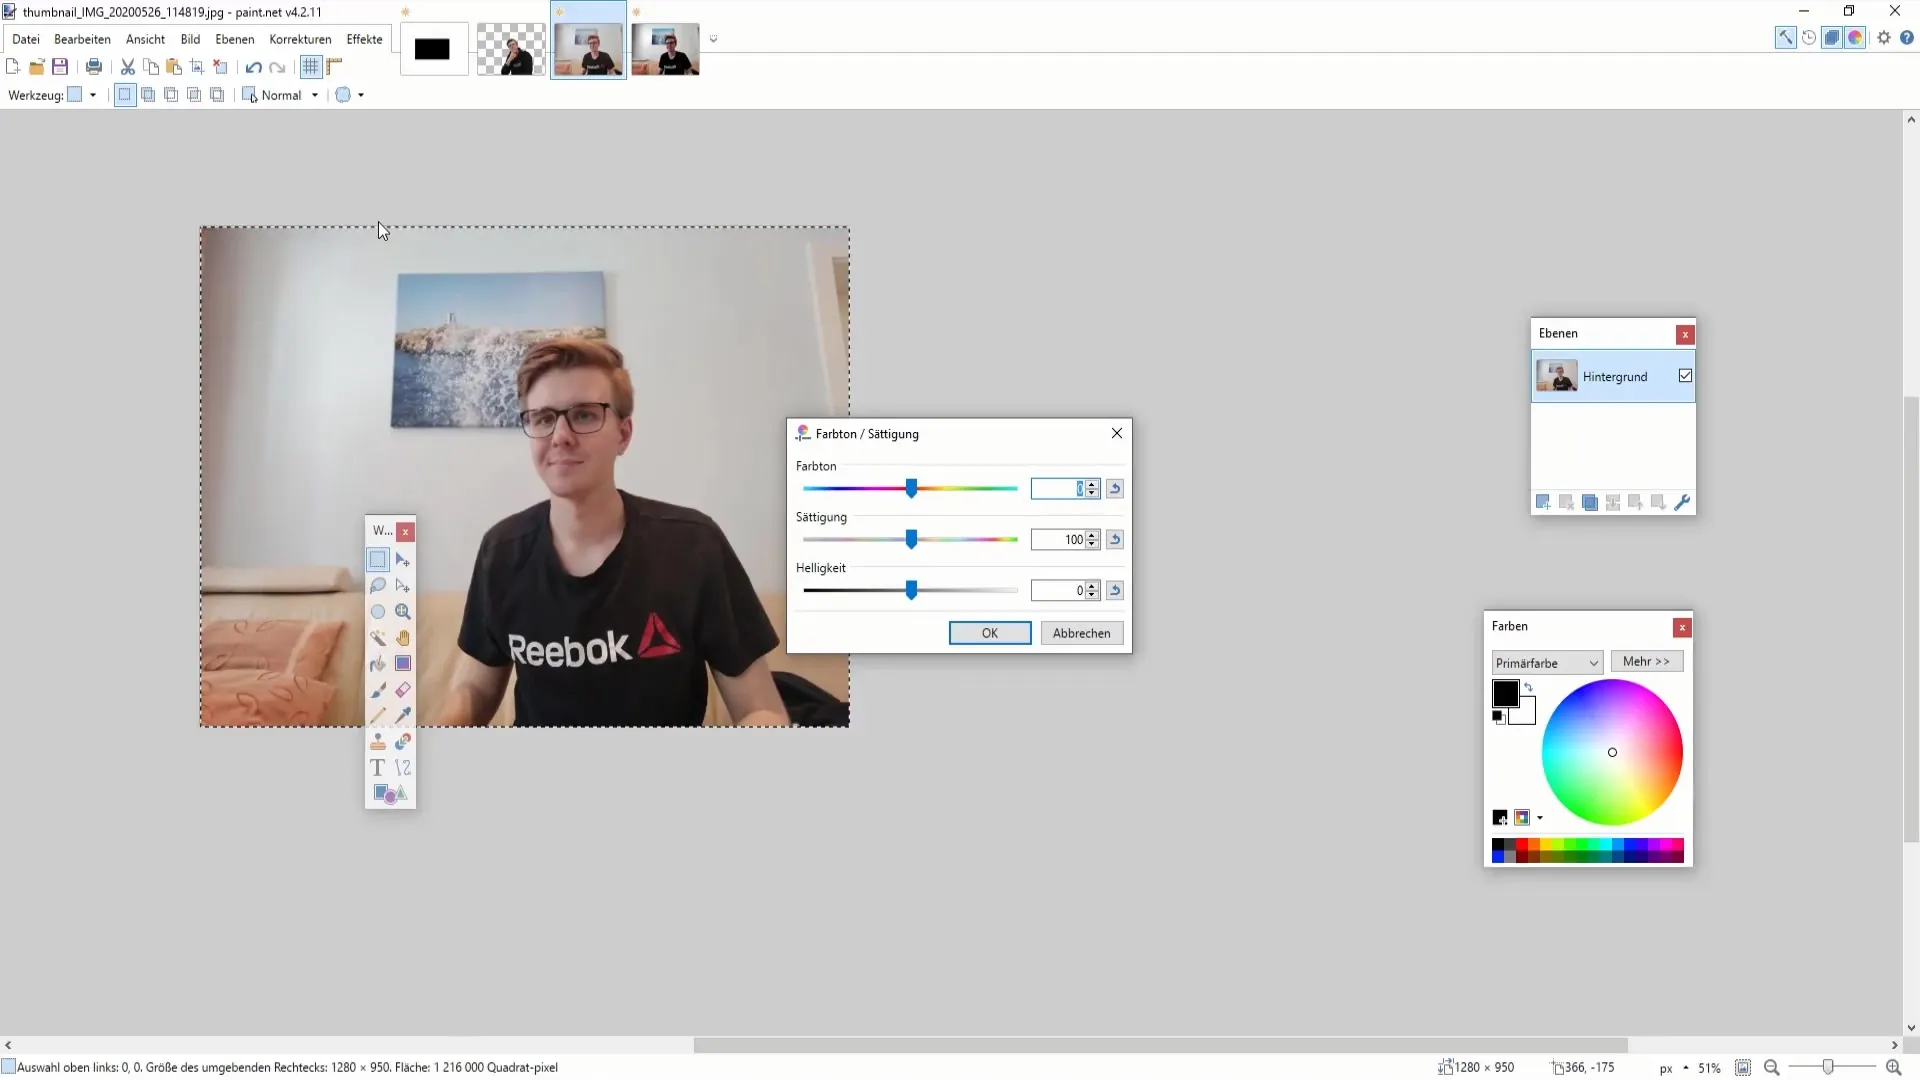
Another important tool is the color adjustment function. Through the "Adjustments" menu, you can configure both the hue and saturation of your image. This allows you to change the colors and their intensity. For example, you can decrease the saturation to make the colors less intrusive.
4. Adjusting Brightness and Contrast
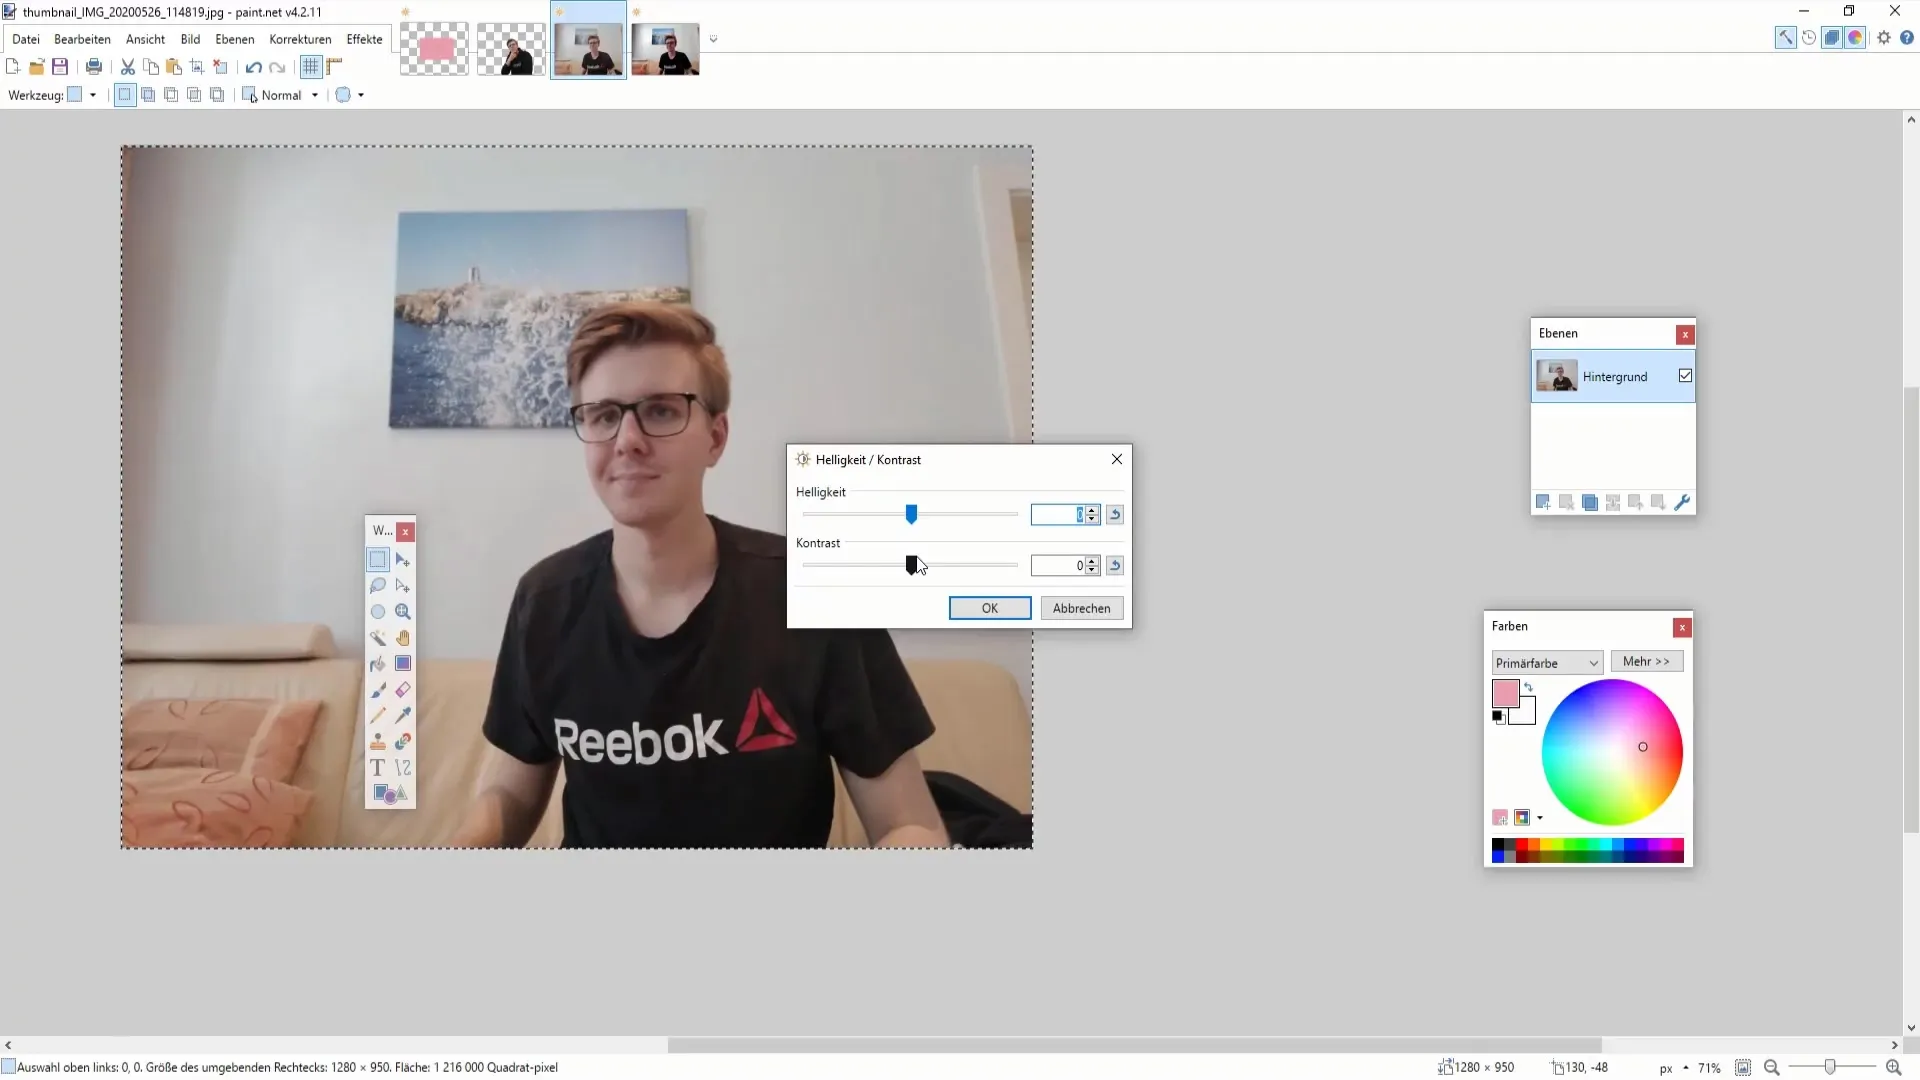
For more precise control over your images, you will now adjust brightness and contrast. You can find the corresponding tool in the adjustment options. Experiment with the sliders and observe how the image changes. Higher contrast can make the image appear more vibrant, while too much contrast can make it look "washed out."
5. Editing Curves
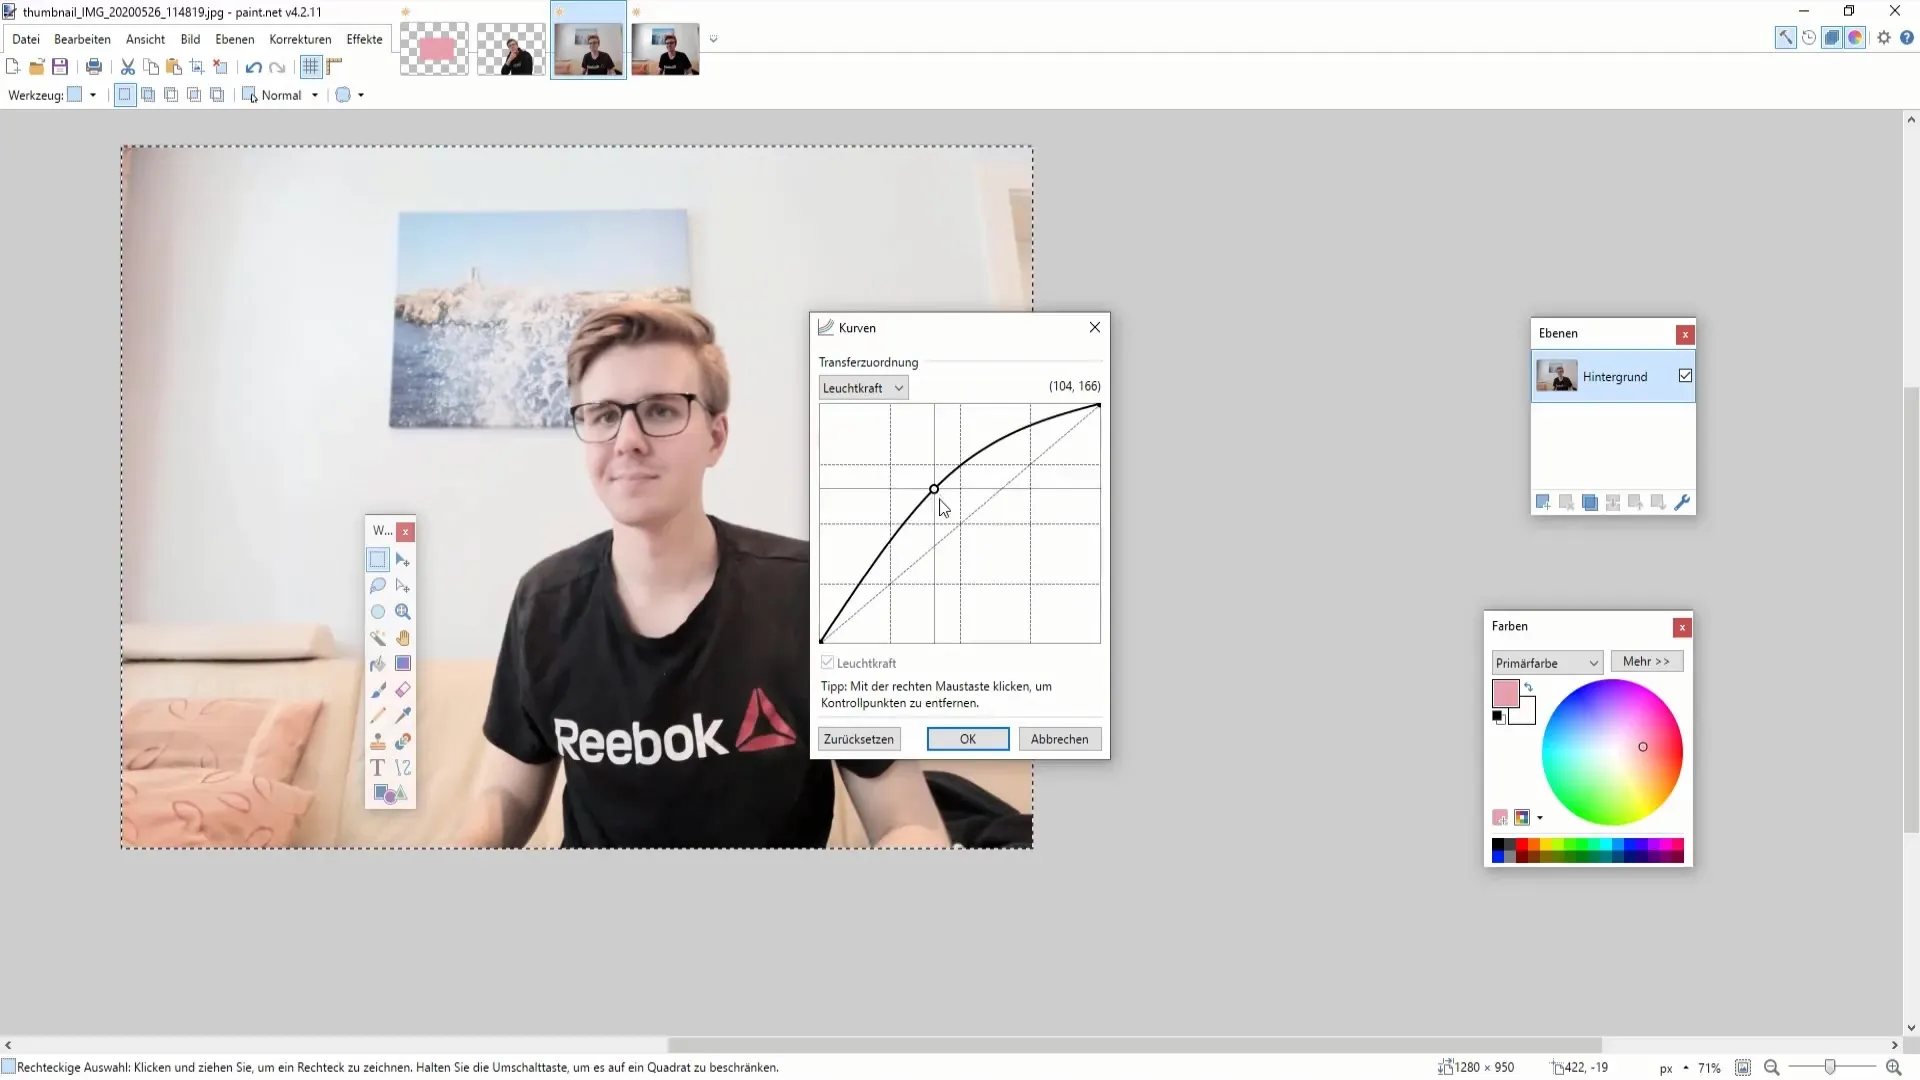
Curves are a powerful tool in Paint.NET. Here, you can adjust the brightness and the RGB values (Red, Green, Blue) individually. You can decide how your image shines in different color tones and how bright it should appear overall.
6. Manual Color Adjustment
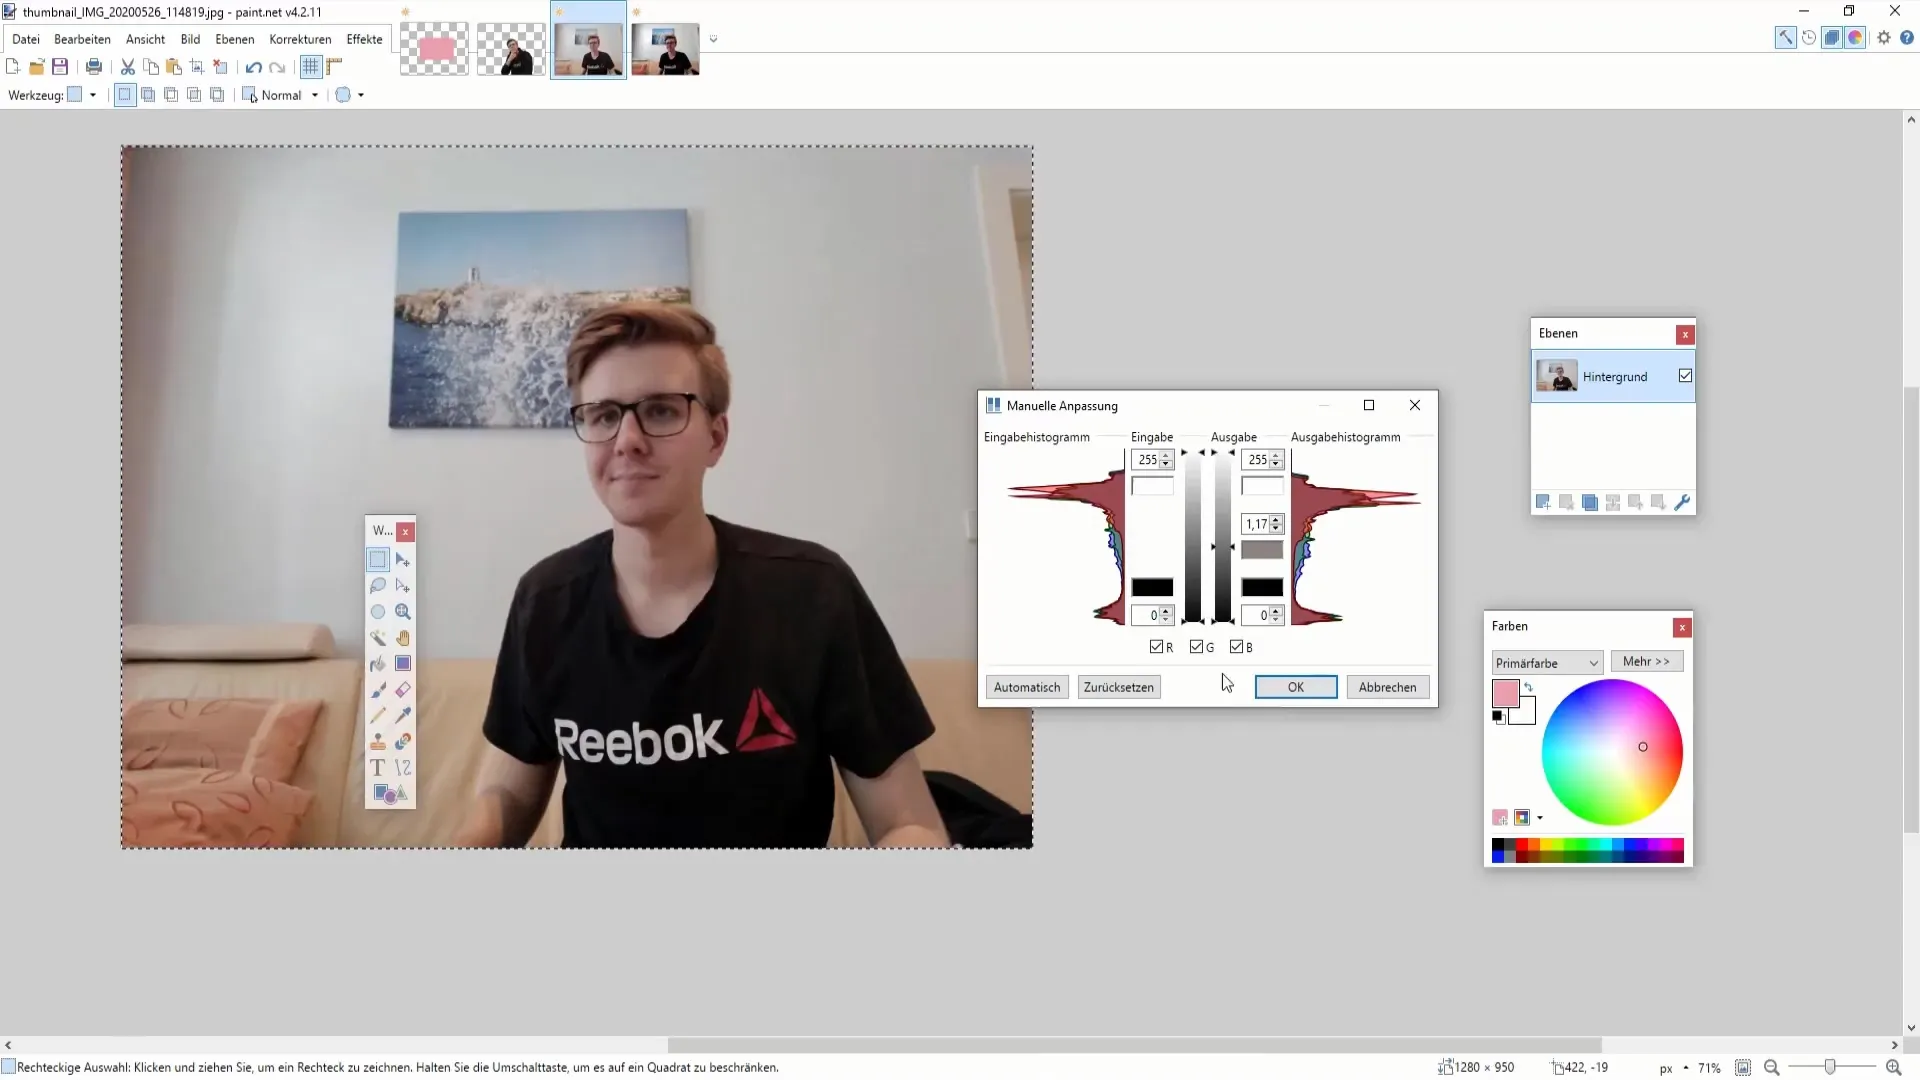
In this phase, you will make manual adjustments. If you want to change specific colors, you can do so here. This function allows you to edit only certain colors or remove them altogether.
7. Black and White and Creative Effects
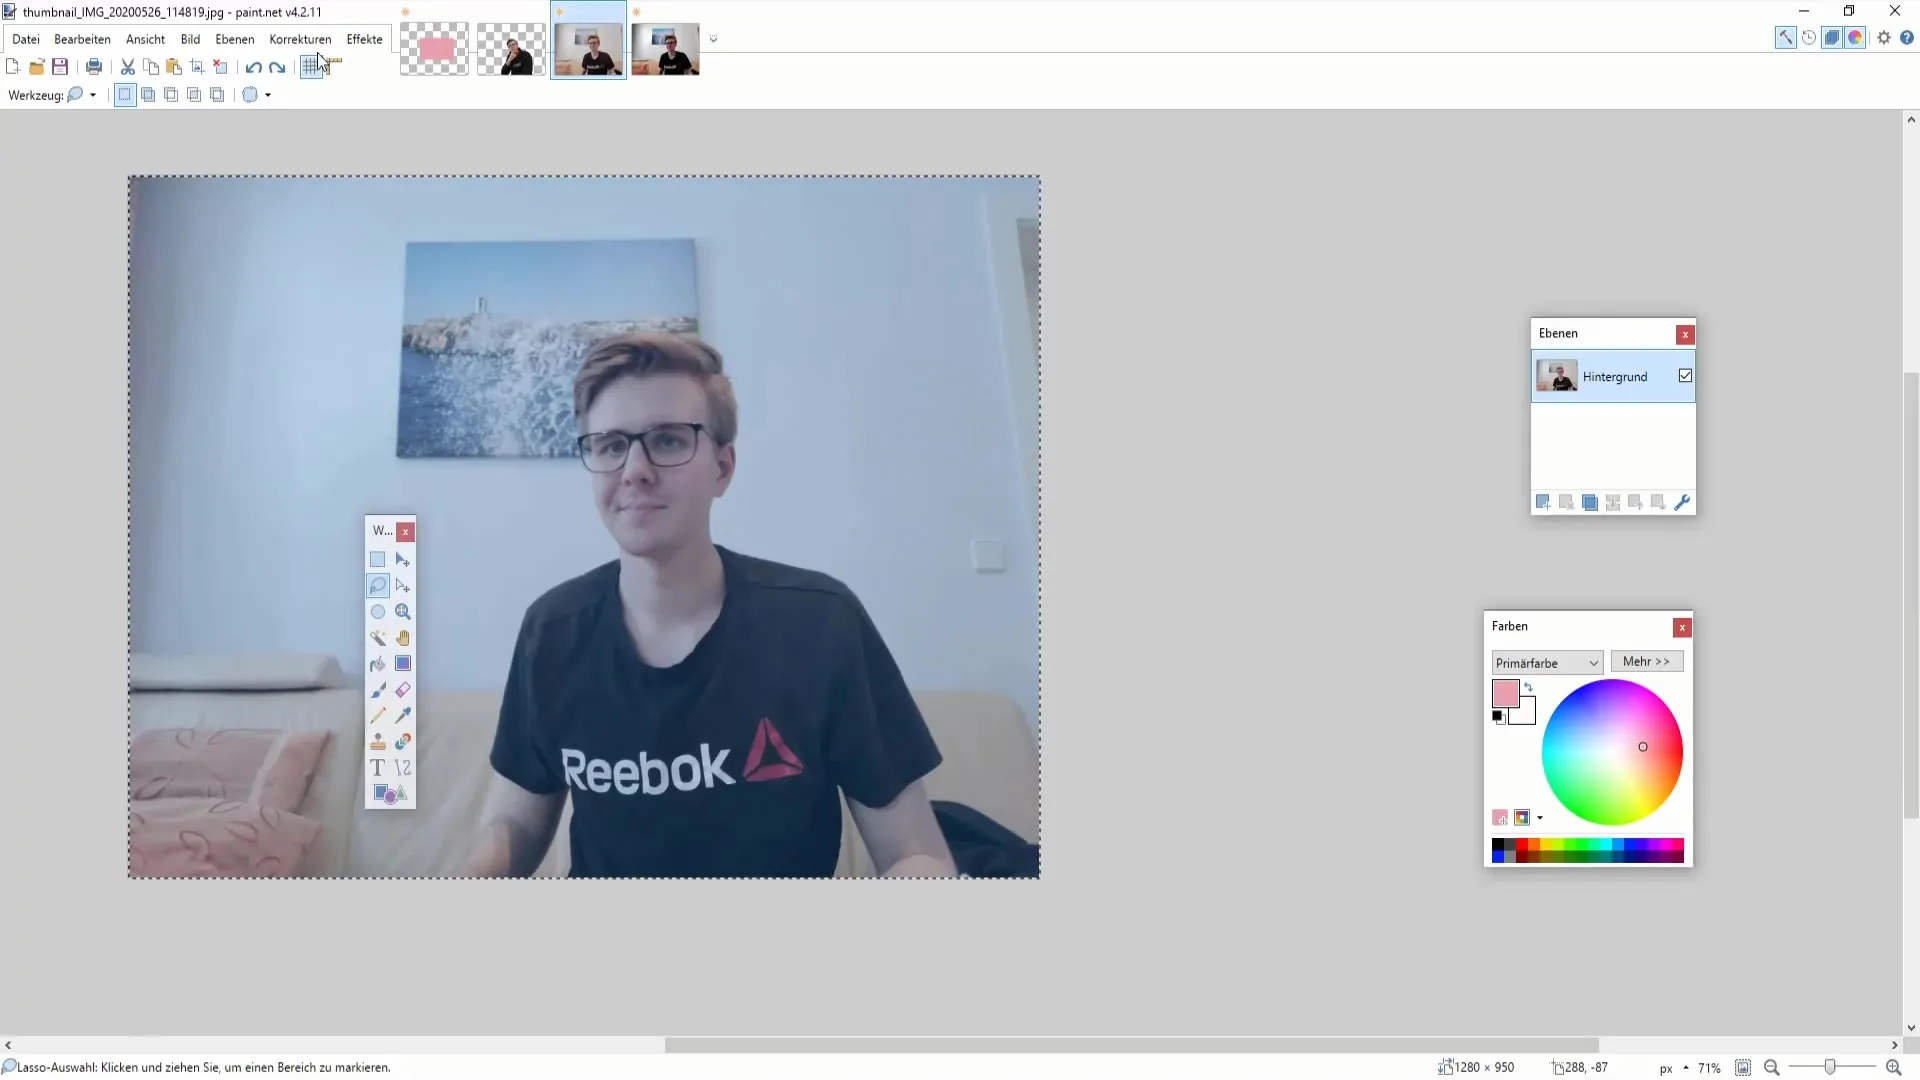
You also have the option to convert your image to black and white. This can be done through the filters under "Adjustments." While at it, you can also experiment with a sepia filter to achieve a classic look.
8. Plugin Options
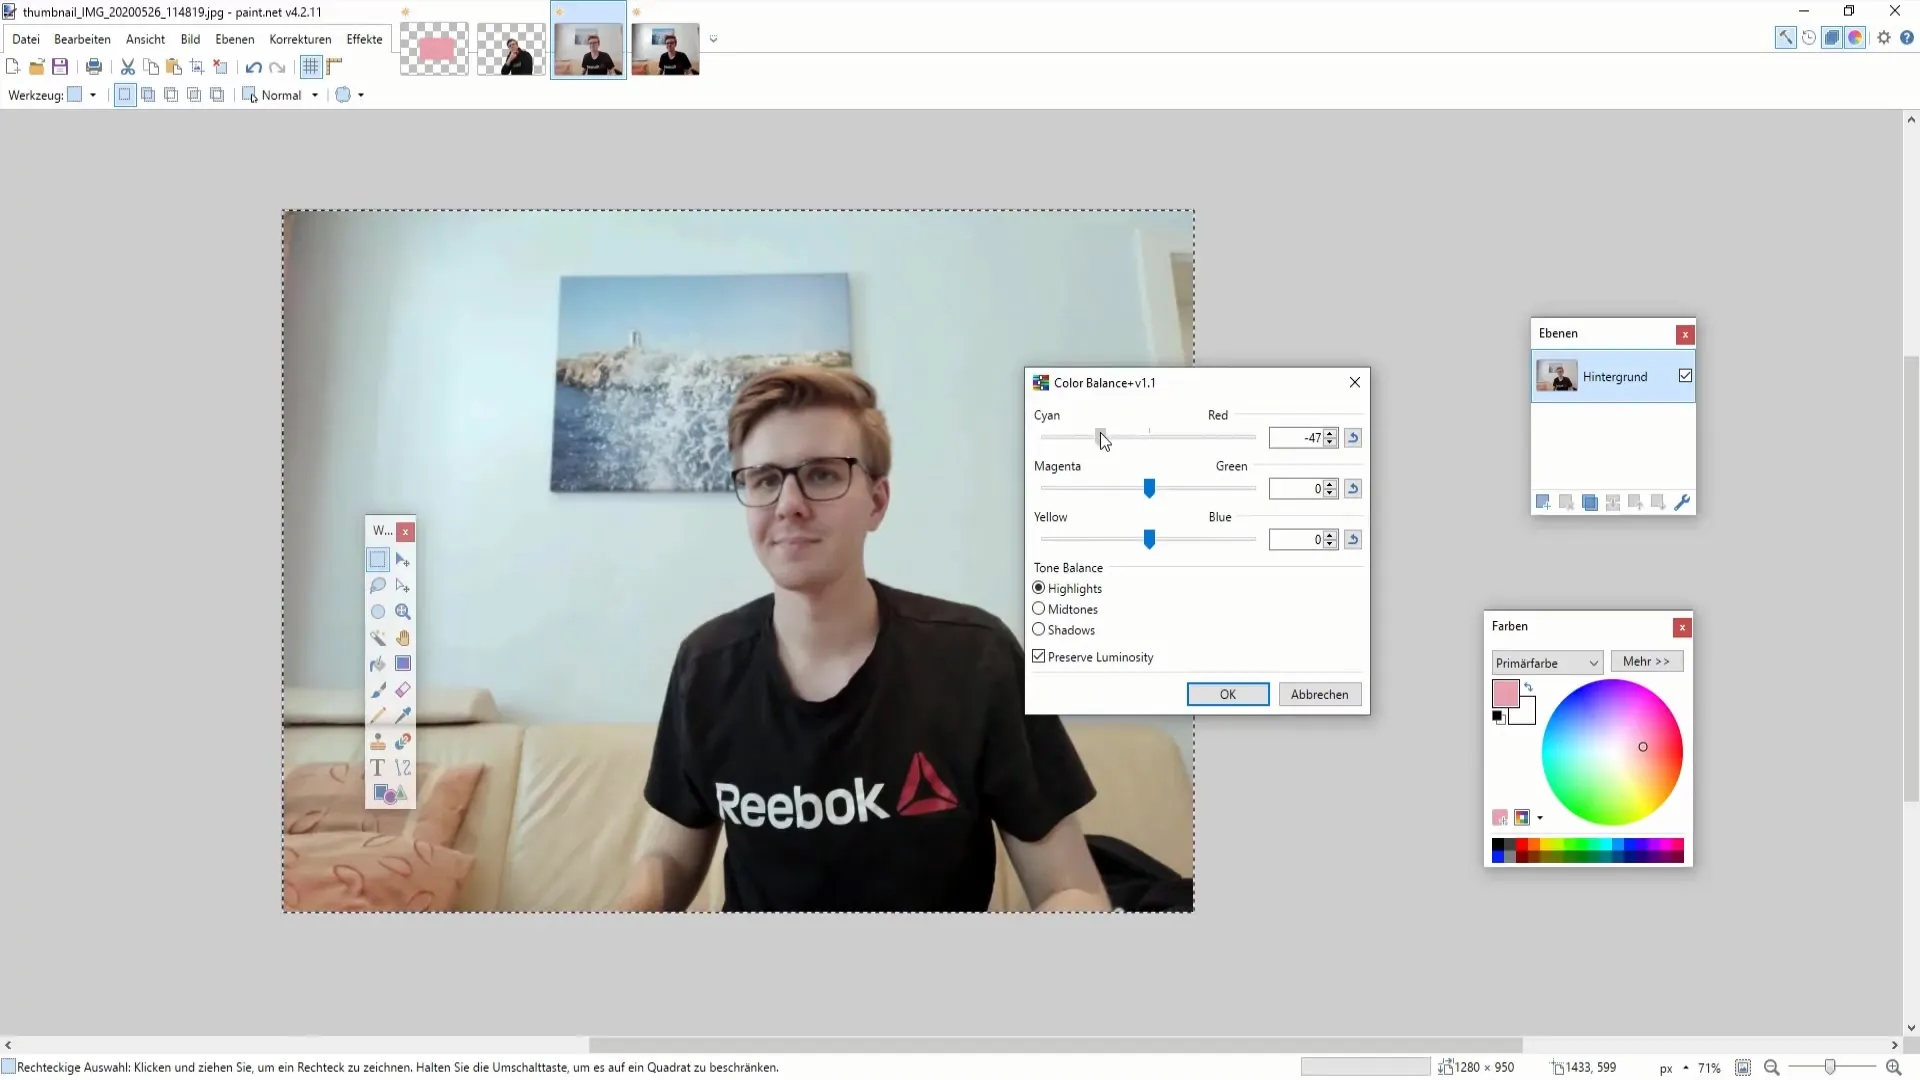
If the pre-installed functions are not sufficient, you can use external plugins like "Color Balance" or "Curves" for even more precise adjustments. These extensions offer additional control over color balance and shadows in the image.
9. Final Review
Now that you have made all the desired corrections, you should perform a final review of the image. Compare the edited image to the original and make sure you are satisfied with the adjustments made.
Summary
You have now learned the basics of corrections in Paint.NET. By effectively using the various tools and functions, you can significantly improve the quality of your images. These techniques will not only make your photo editing easier but also more creative.
Frequently Asked Questions
What is automatic correction in Paint.NET?Automatic correction in Paint.NET improves an image without manual intervention by the user.
How can I adjust saturation in Paint.NET?You can adjust saturation through the "Adjustments" menu and then "Hue/Saturation."
Can I use plugins in Paint.NET?Yes, there are numerous free plugins you can install to get additional features.
How do I convert my image to black and white?You can do this through the "Adjustments" menu and "Black & White."
What is the difference between contrast and brightness?Brightness refers to the overall amount of light in the image, while contrast enhances or reduces the difference between bright and dark areas.


