Image editing can often be a creative challenge, especially when it comes to getting the best out of your images. Paint.NET offers a variety of effects that can significantly enhance your photos. In this guide, you will learn how to use different effects in Paint.NET to achieve the most beautiful results.
Key Takeaways
- Paint.NET offers many interesting effects that can be enhanced with plugins.
- Effects like Sharpen, Blur, and Vignetting can greatly alter the perception of an image.
- A targeted use of effects is crucial to achieve a natural result.
Step-by-Step Guide
1. Open Image and Explore Initial Effects
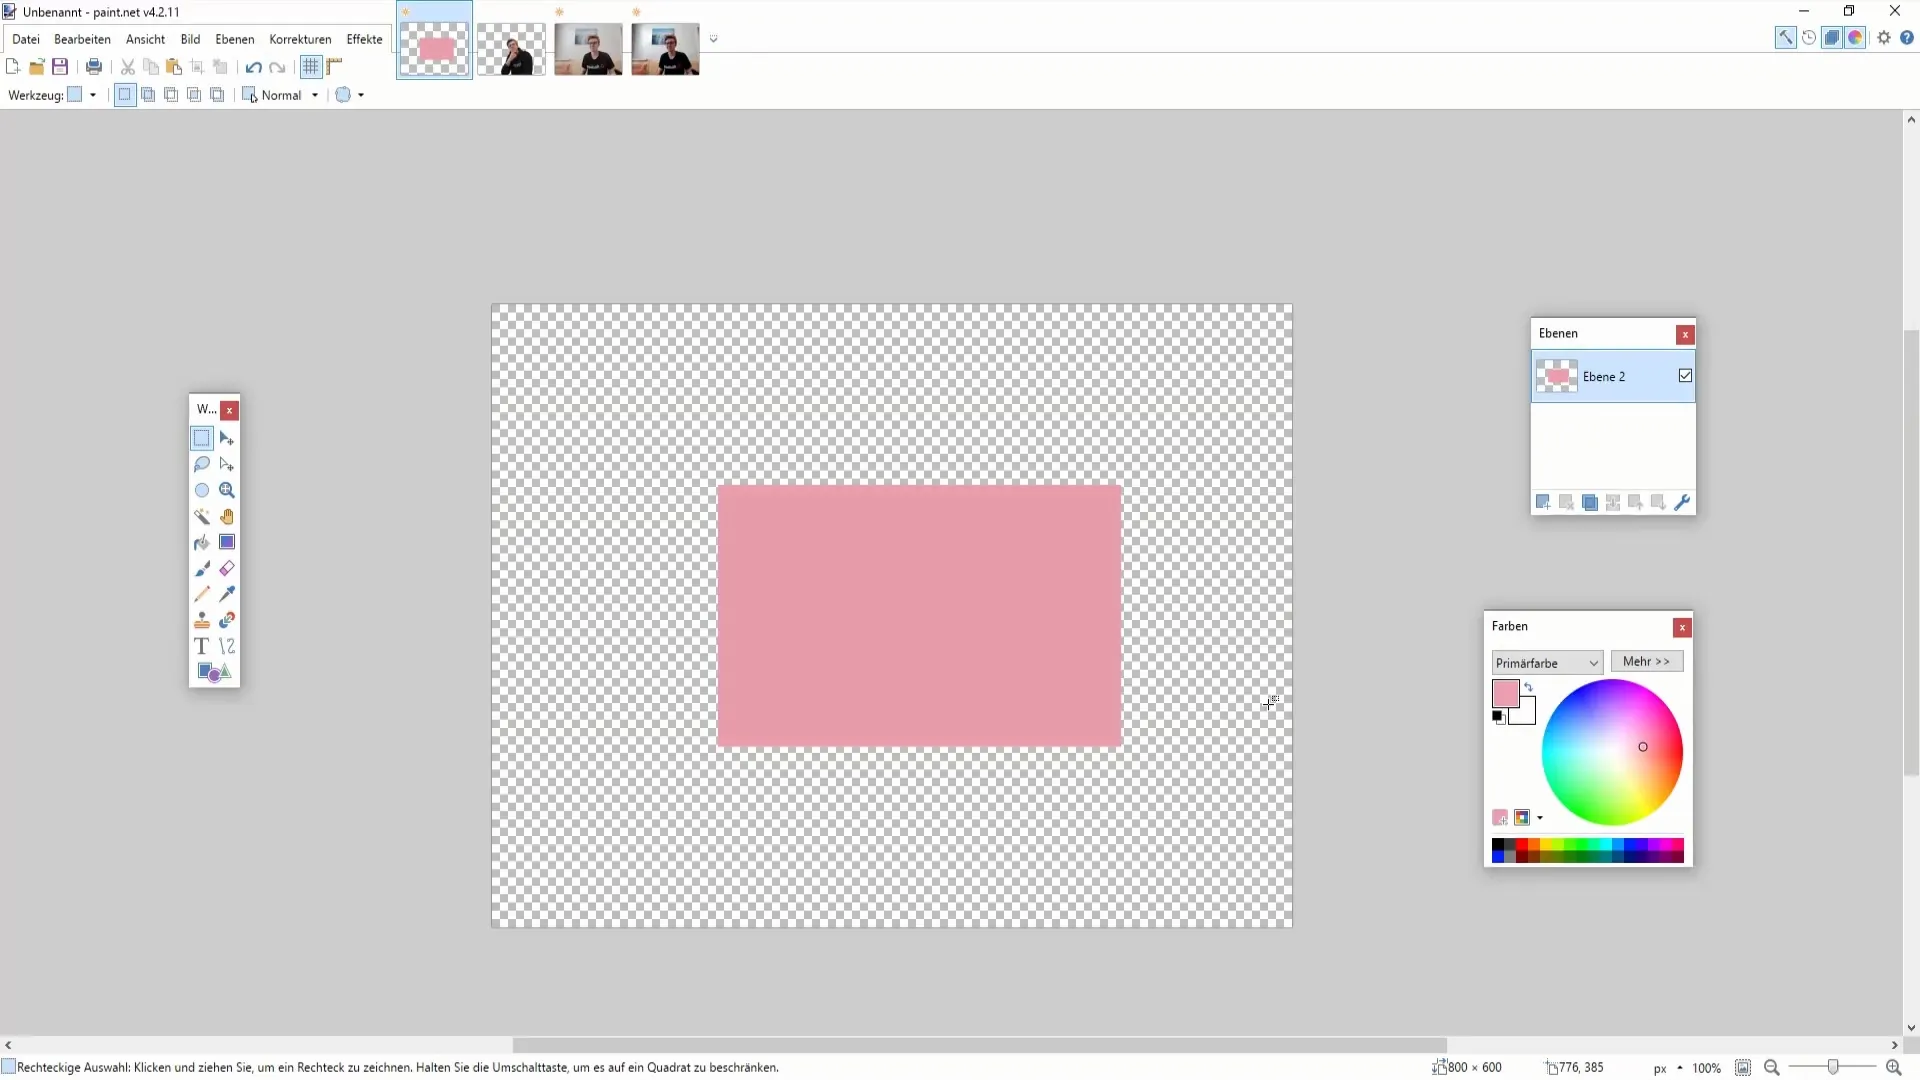
Start by opening the image you want to work on. Click on "Photo" and discover the basic effects that Paint.NET offers by default. With effects like "Glow," you can adjust the contrast and brightness to highlight specific areas of your image.
2. Adjust Portrait Glow
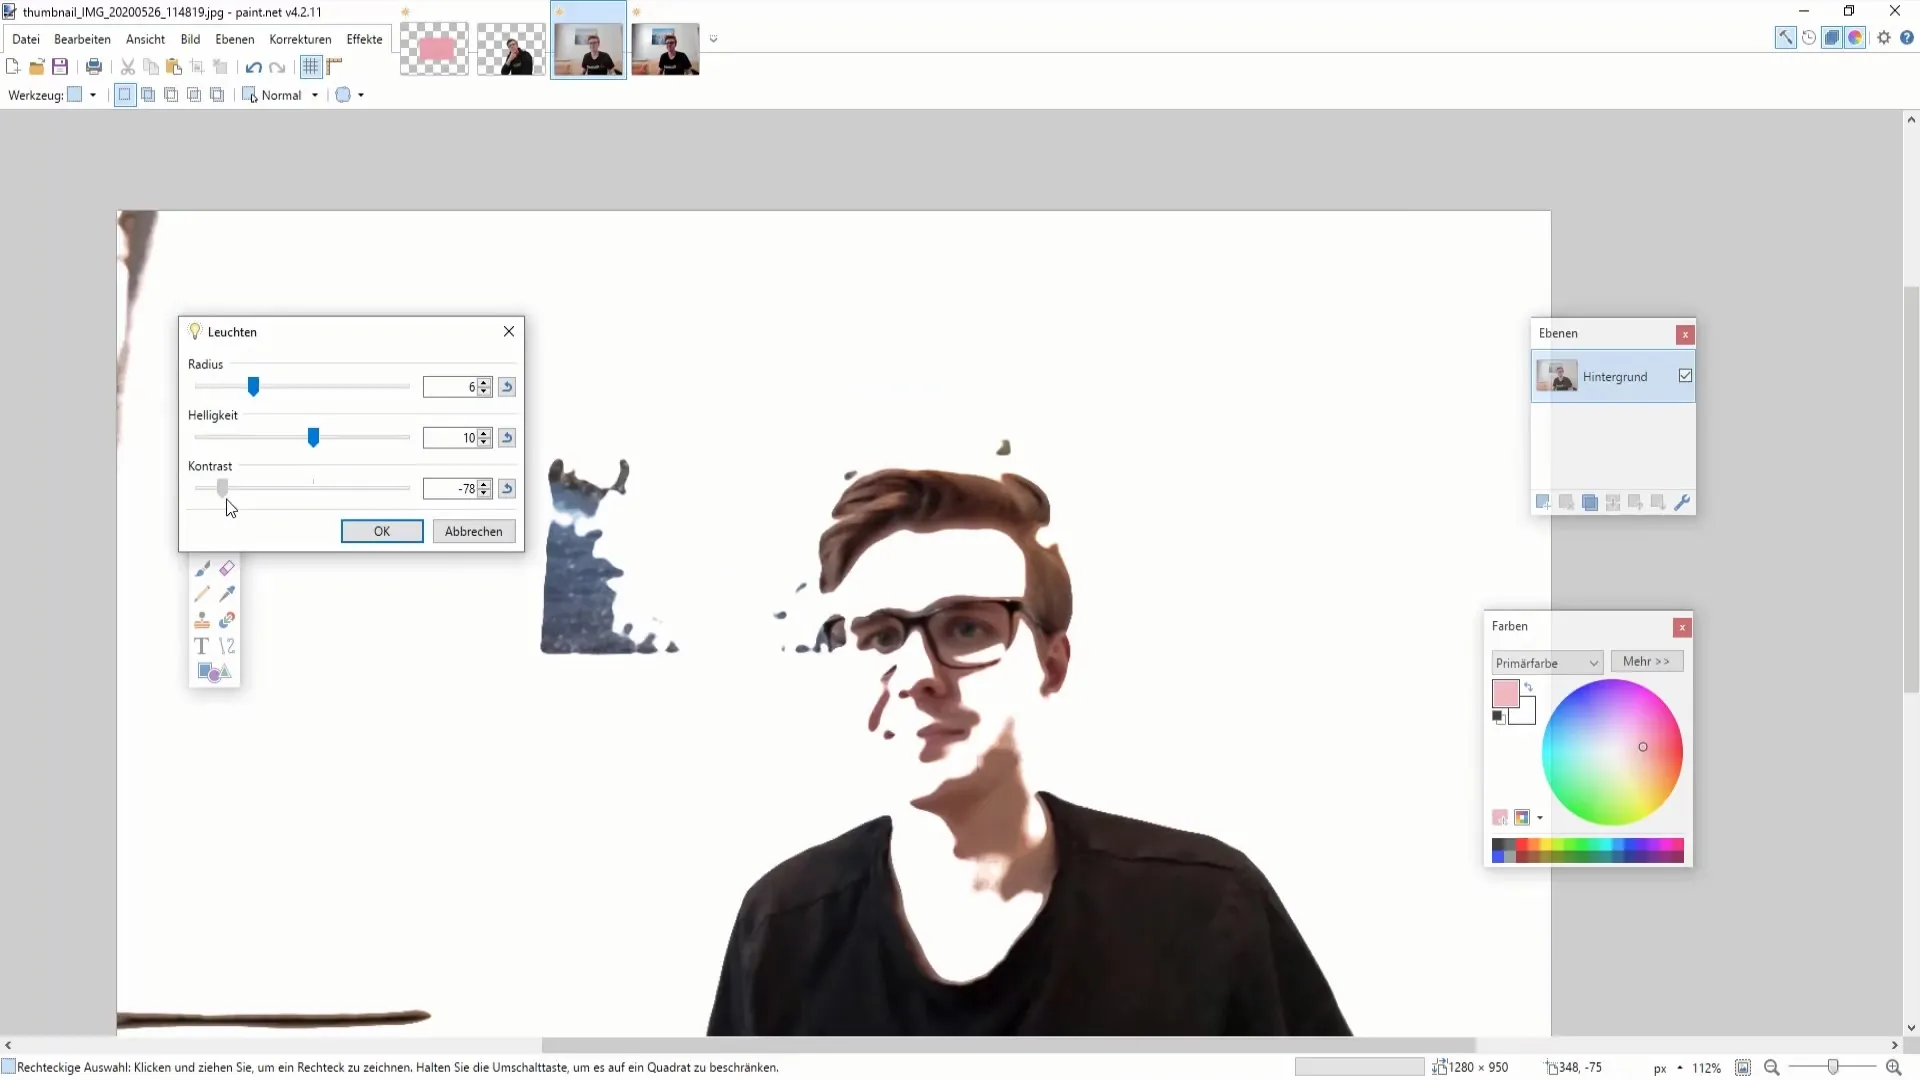
Go to "Photo" and select "Glow." Here, you can adjust the radius, which determines how harsh or soft the light appears on your image. Experiment with these values to achieve the desired glow. Make sure the effect is not too exaggerated.
3. Soften the Portrait
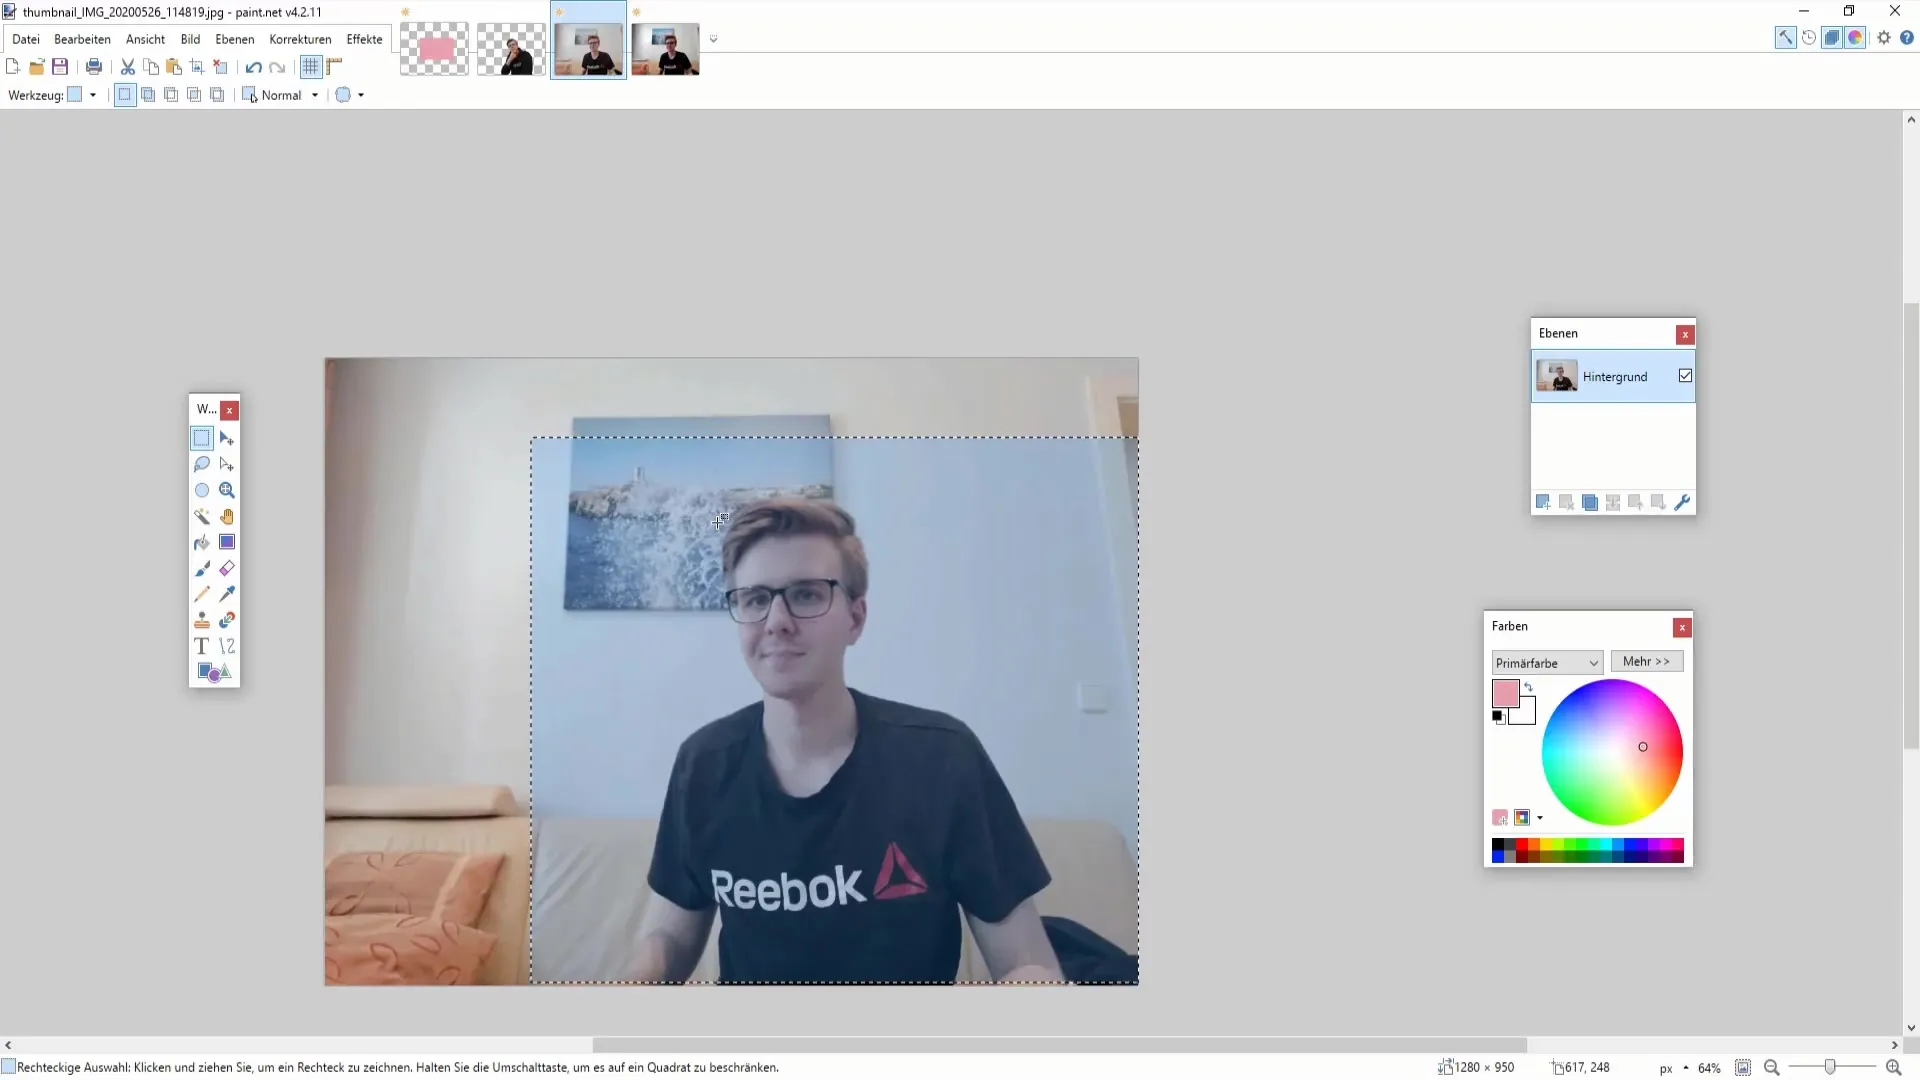
A beautiful effect for portrait images is Softening. Again, choose "Photo" and then "Soften Portrait." You can adjust the softness and lighting. Be careful not to make the effect too pronounced - a natural look is often more appealing.
4. Remove Red Eyes
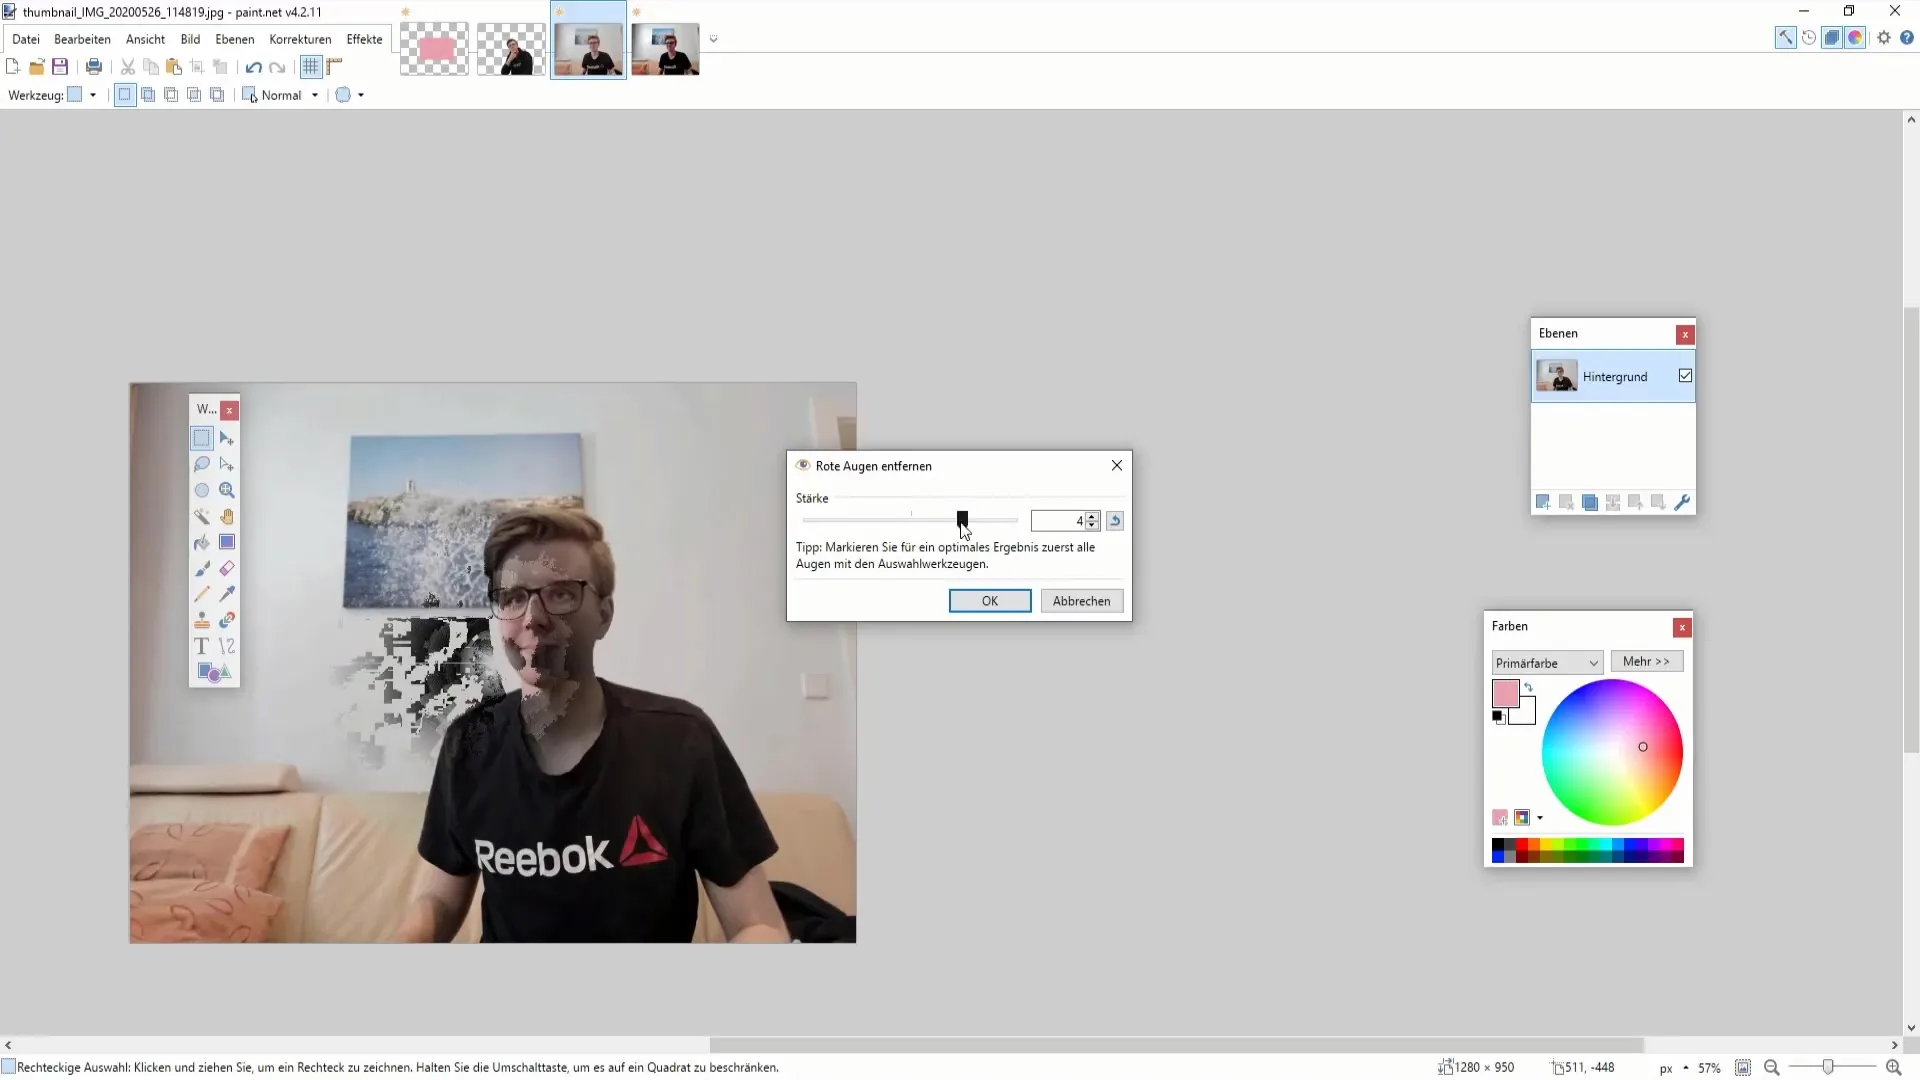
Removing red eyes is particularly useful if you have taken portraits where the eyes shine. Mark the eyes and select the "Remove Red Eyes" option. If you don't need this, you can skip this step as your image does not have red eyes.
5. Sharpen Image
To enhance blurry images, you can use the Sharpen function. Go to "Photo" and select "Sharpen." Start with a value around 10% to subtly sharpen the image. Over-sharpening can lead to an unnatural appearance.
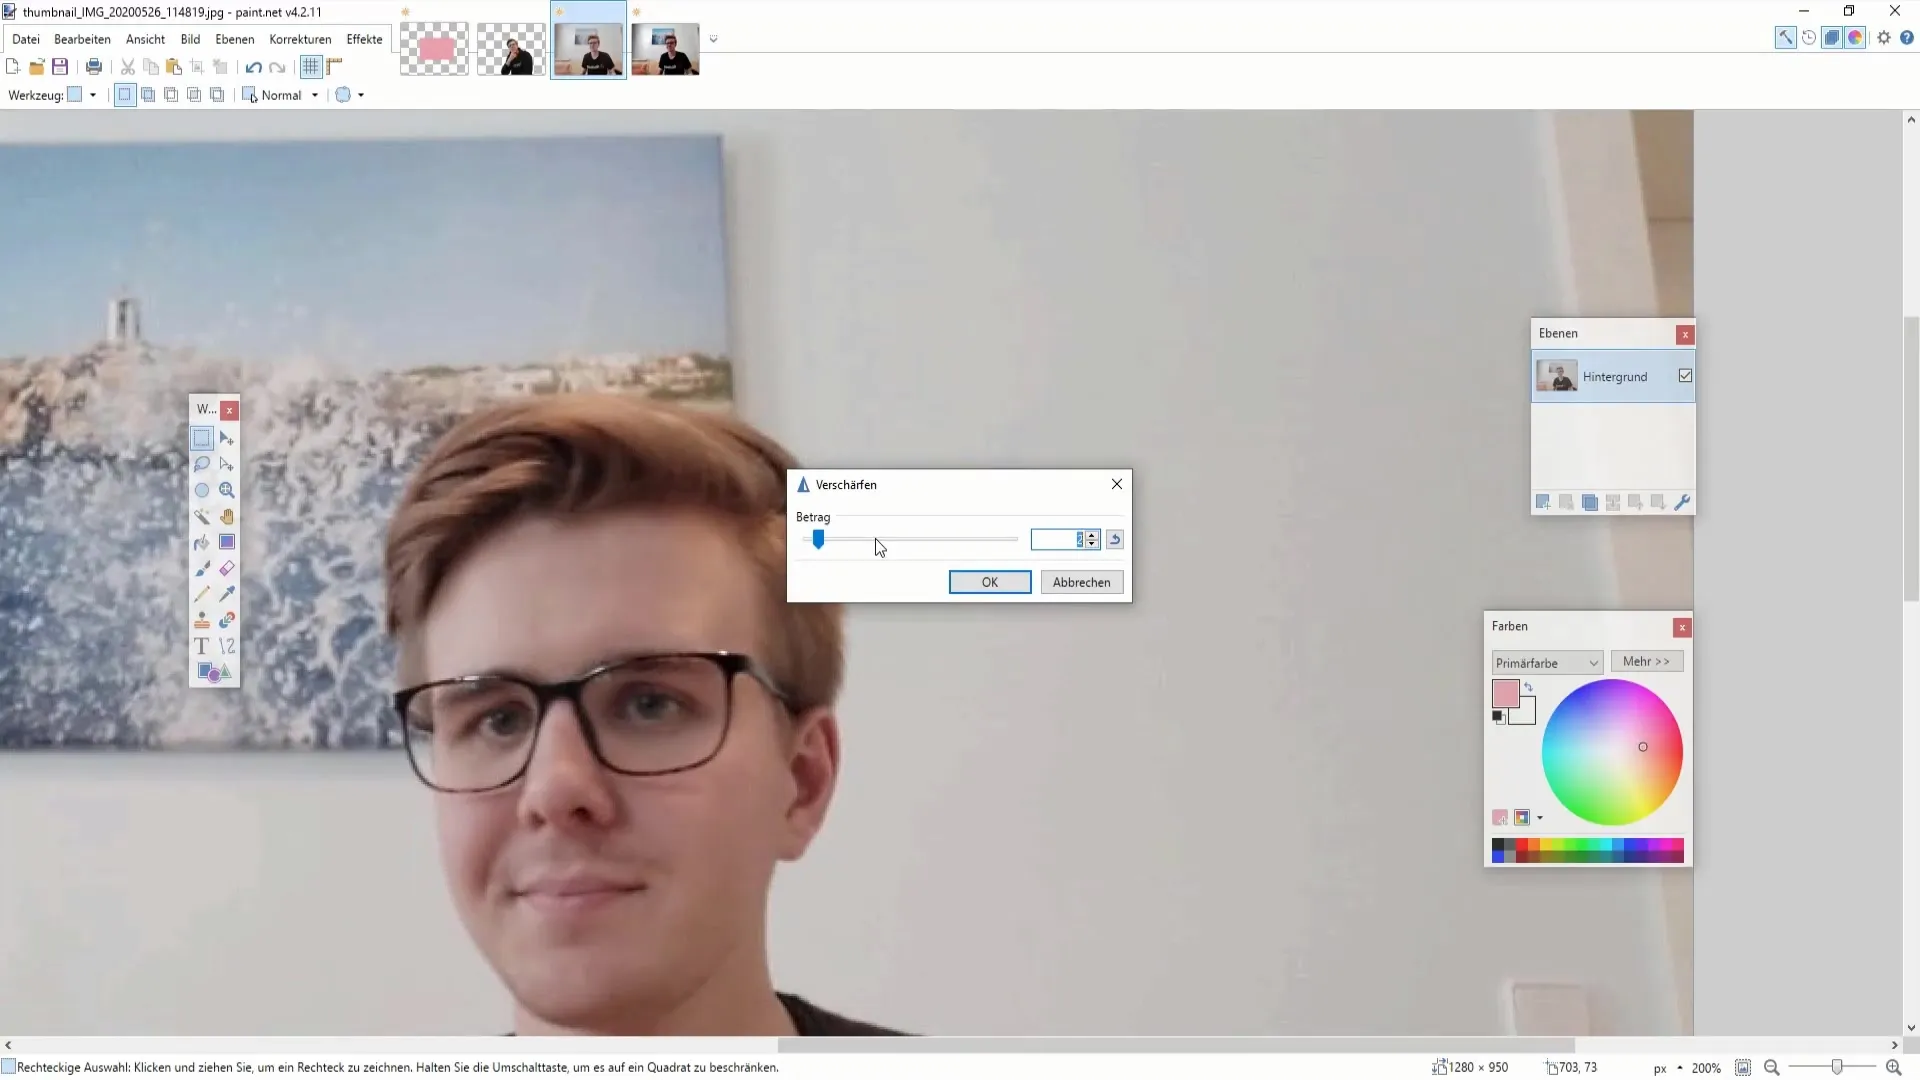
6. Add Vignette
Vignettes can achieve interesting artistic effects. Choose "Vignette" from the photo effects and adjust the radius. Vignettes often bring focus to the main subject and give the image a dramatic touch.
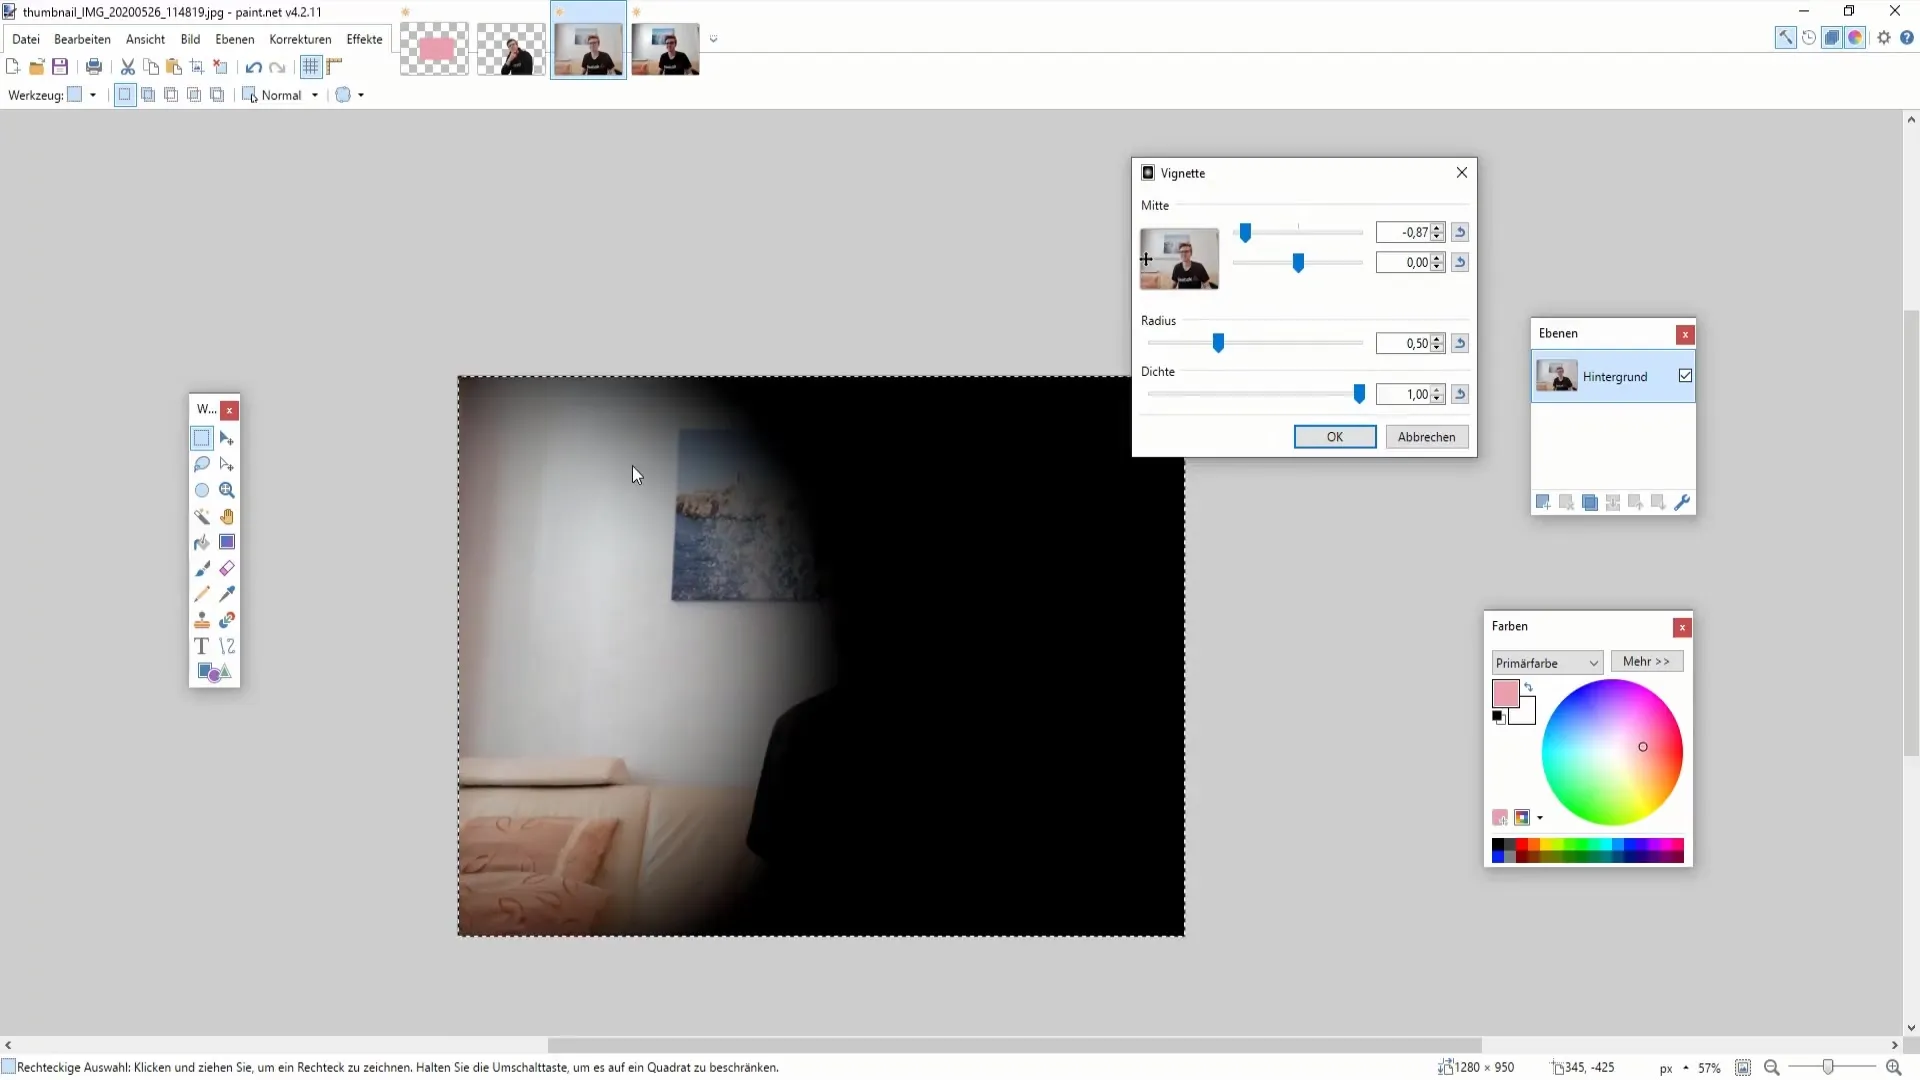
7. Create Pencil Sketch
Another creative effect is transforming a photo into a pencil sketch. In the "Draw" menu, select the "Pencil Sketch" option and play with the pencil thickness to create an appealing drawing.
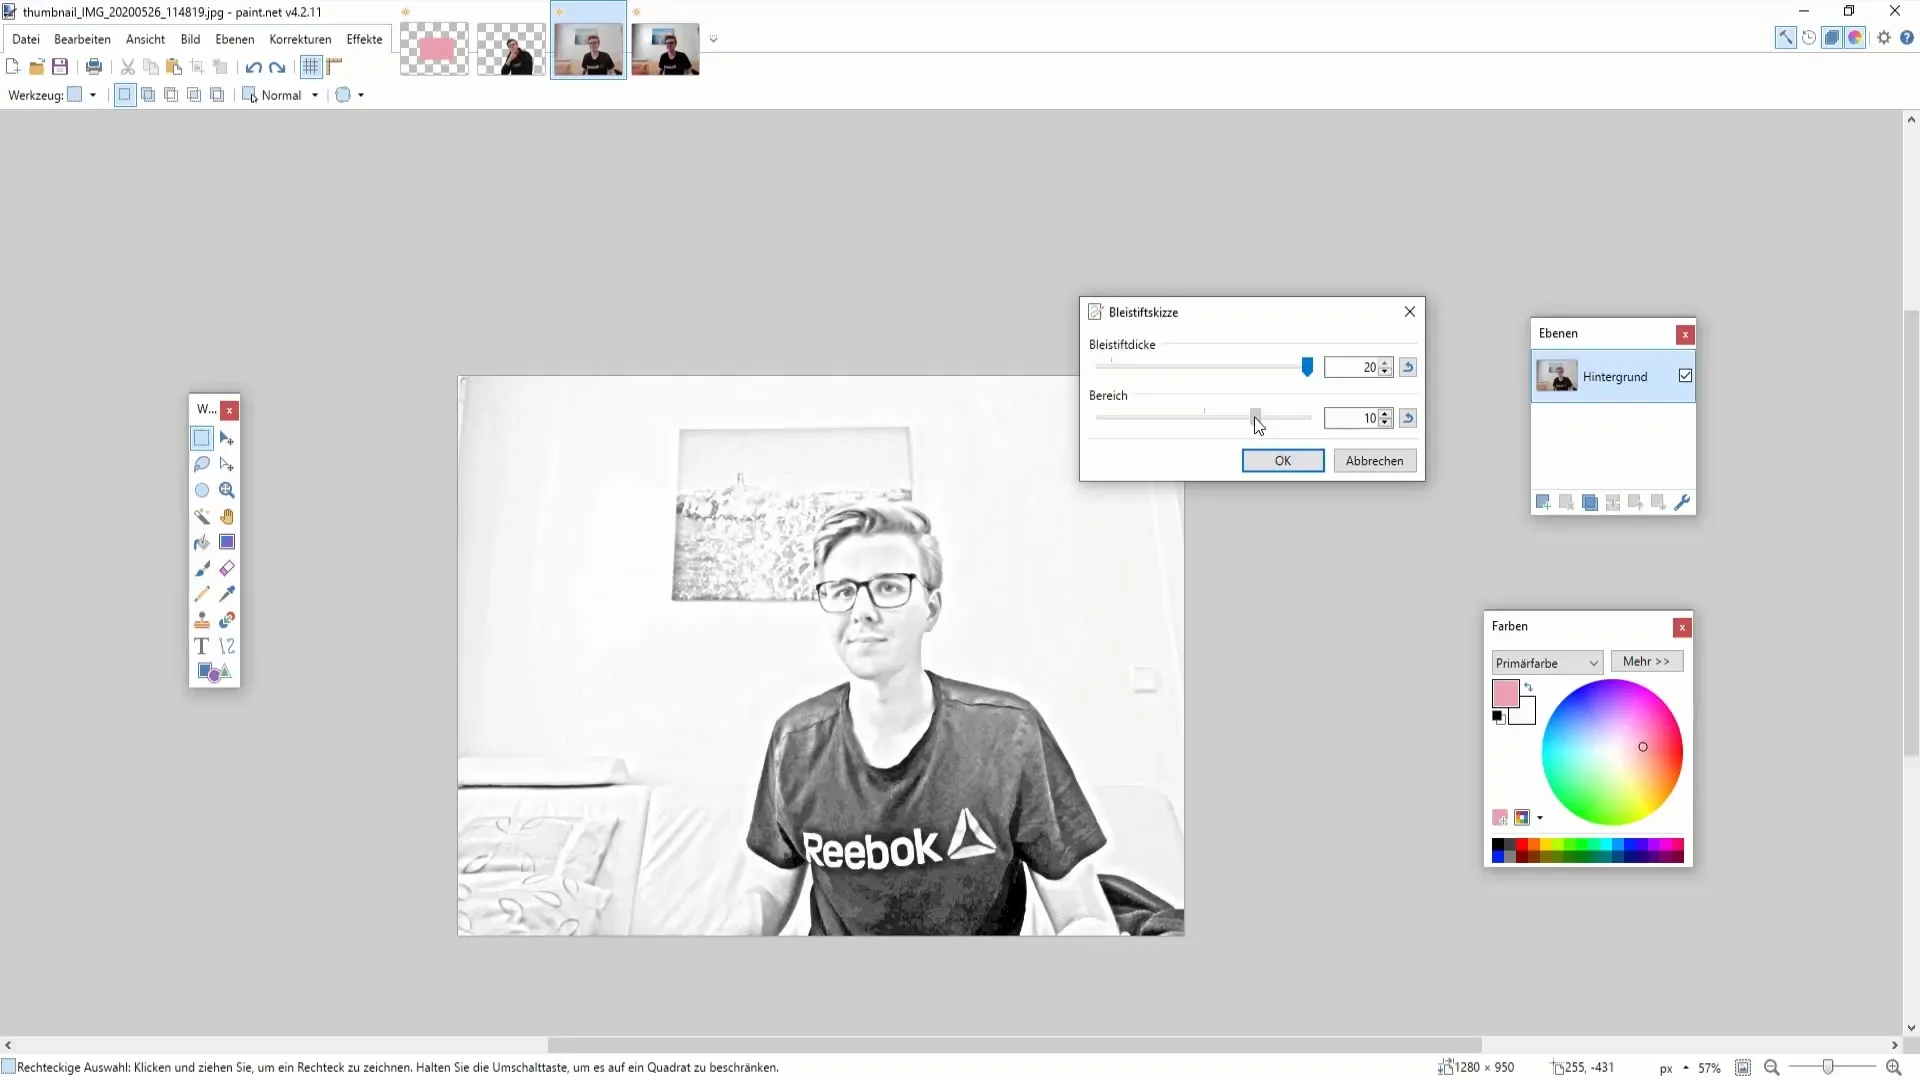
8. Implement Oil Painting Effect
To give your images an artistic touch, try the Oil Painting effect. Choose "Oil Painting" and adjust the brush size and color variations to achieve the desired result.
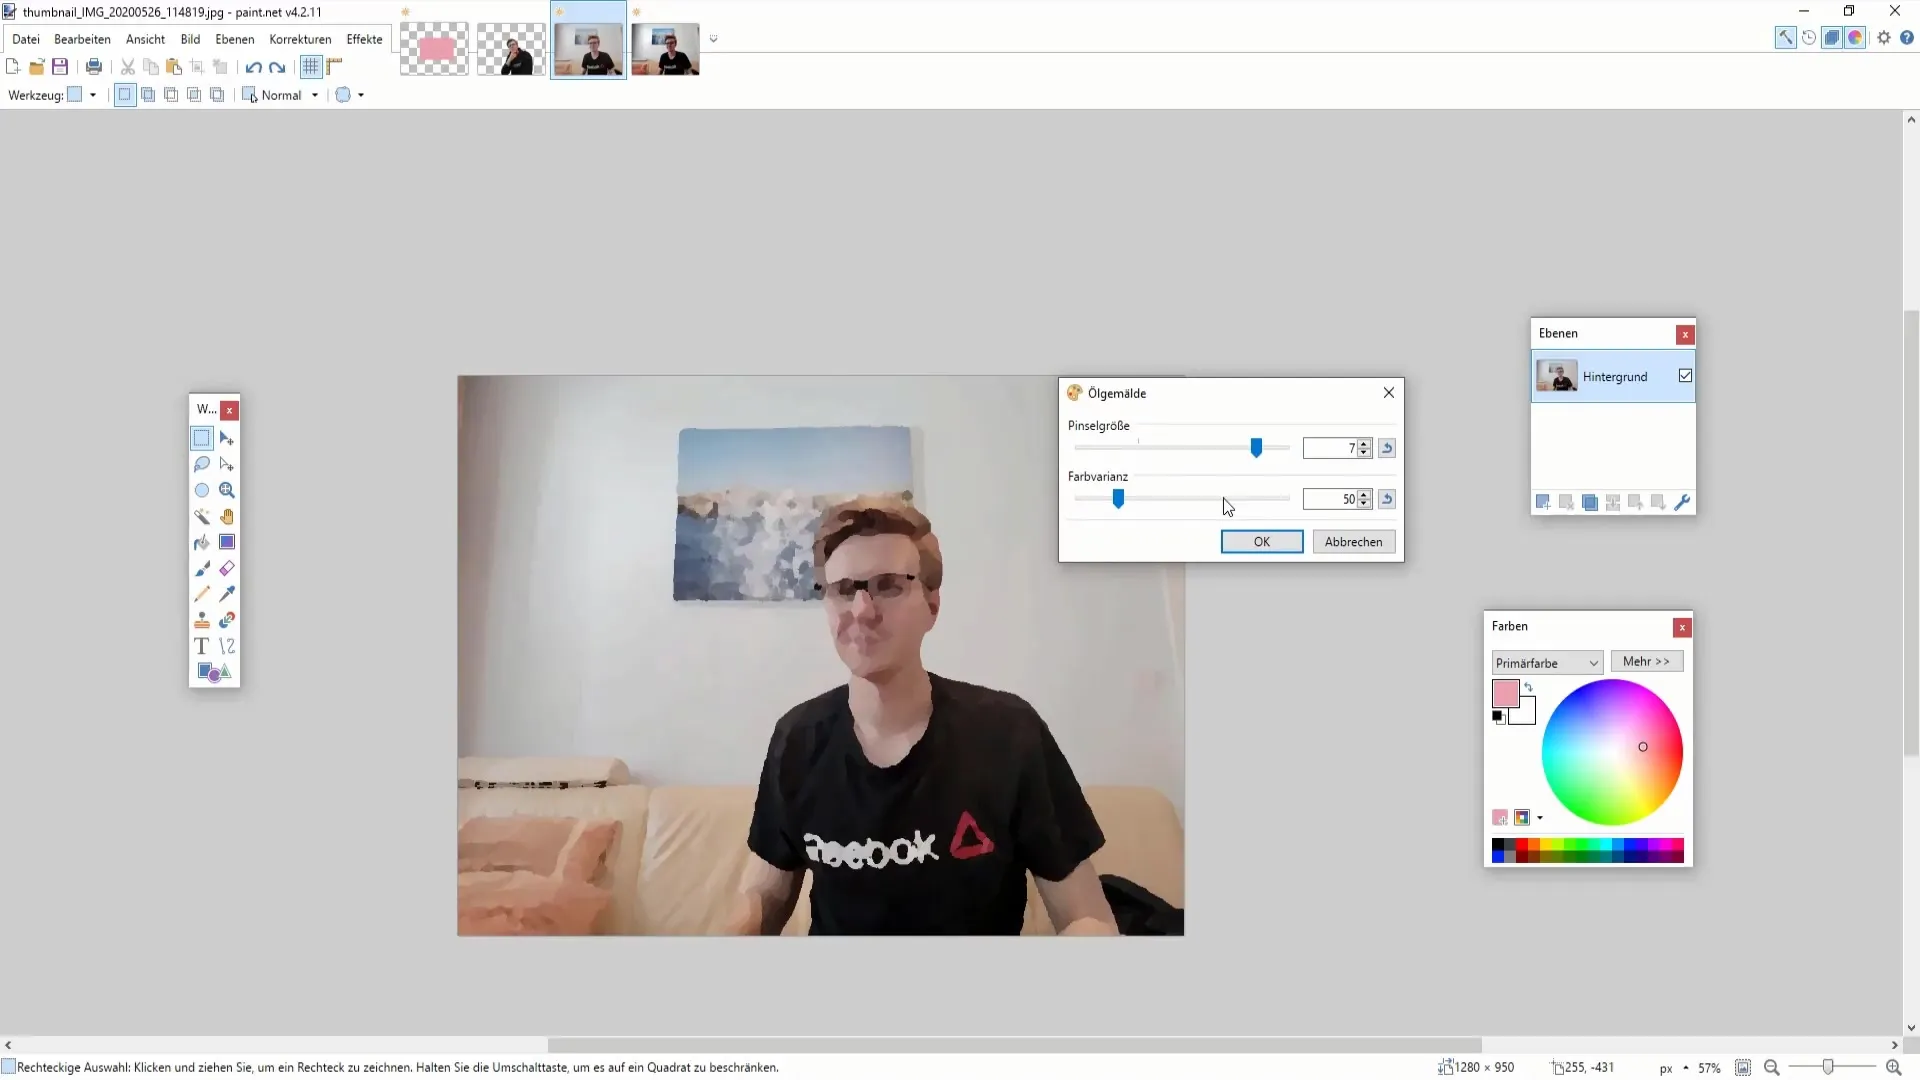
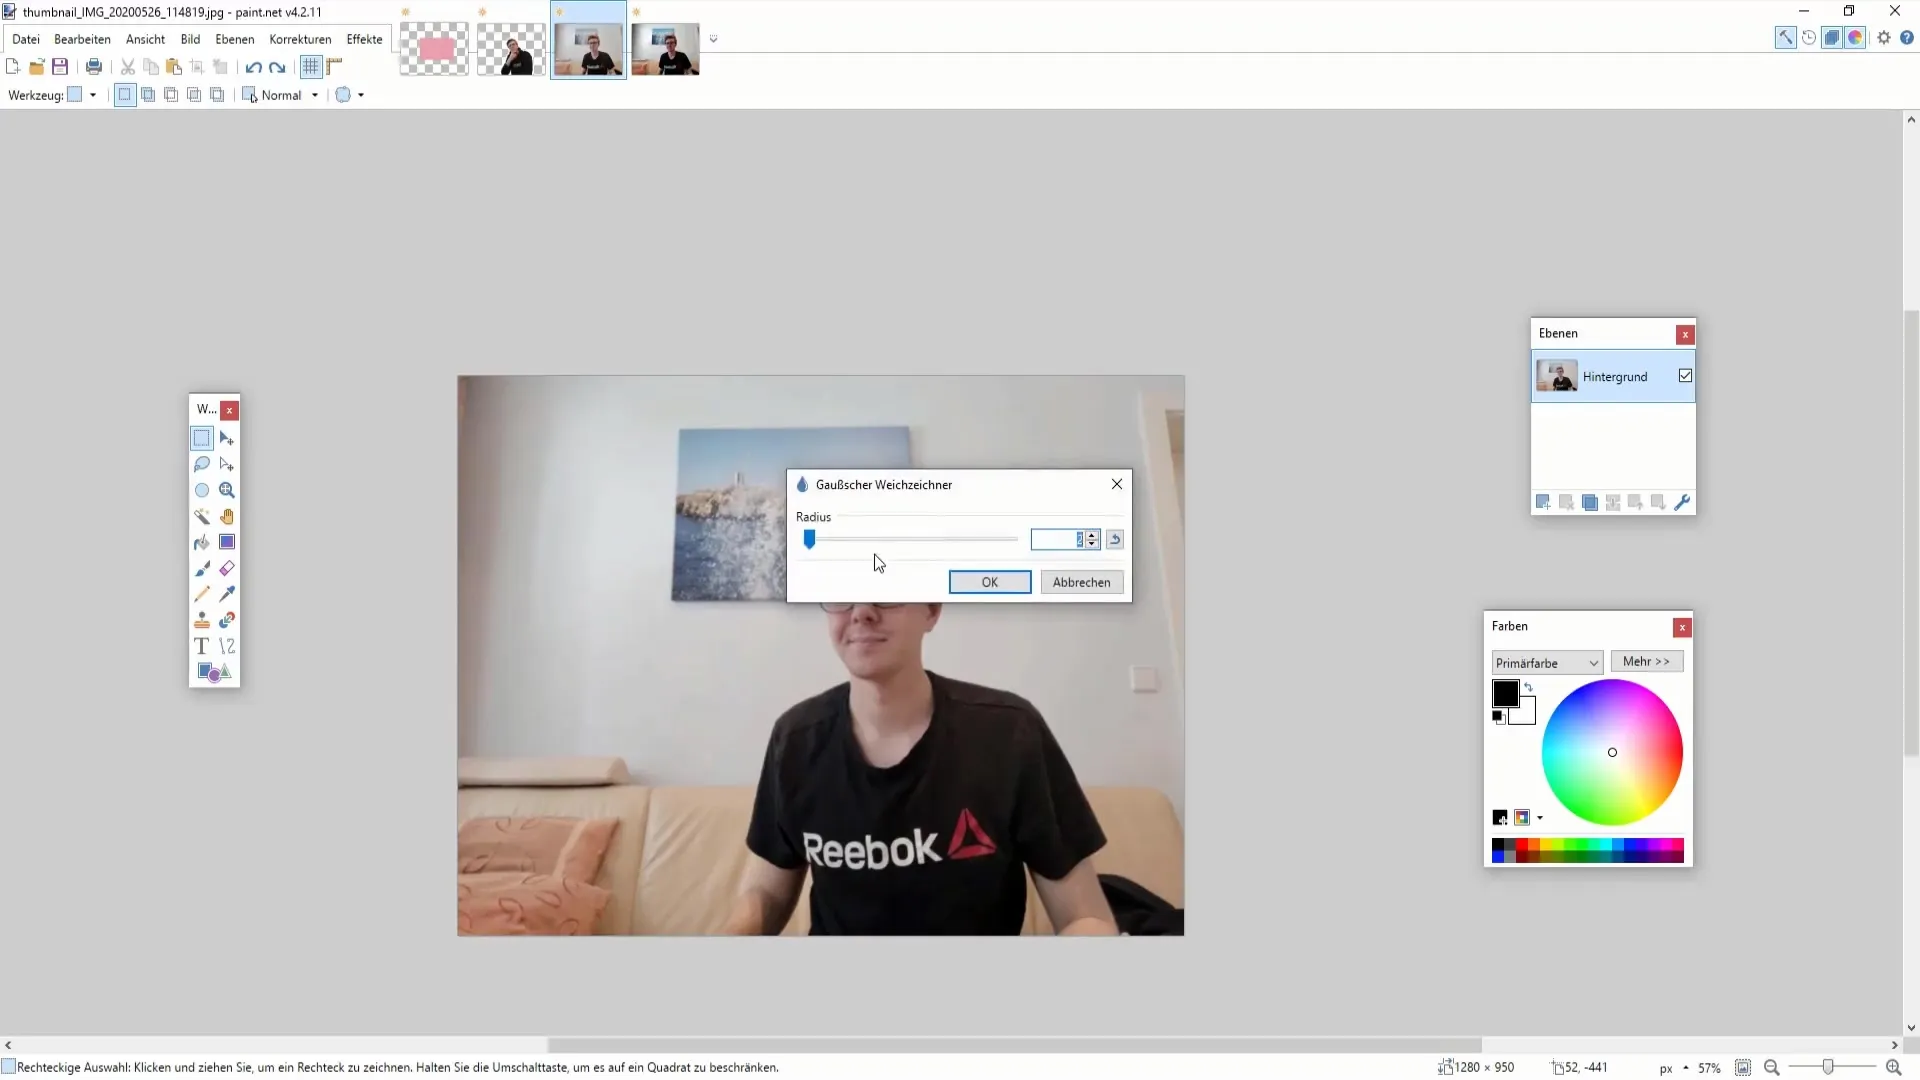
9. Use Blur Effect Strategically
Softening is another commonly used tool. Select the blur tool and determine which area you want to soften. This effect can help focus on your main subject and soften distracting details.
10. Experiment with special effects using plugins
For more specific effects, such as adding pixel noise or creating distortions, you should consider installing plugins. These often provide advanced functions for more creative freedom.
Summary
In this guide, you have learned the basic effects of Paint.NET and how to effectively apply them to your images. Experiment with the different tools and discover which techniques you like best!
Frequently Asked Questions
What are plugins in Paint.NET?Plugins are extensions that provide additional functions and effects in Paint.NET.
How do I remove red eyes in an image?Select the "Remove Red Eyes" option in the menu, mark the eyes, and confirm the action.
Can I undo effects applied?Yes, you can revert any applied effect using the "Undo" option in the menu.
Why should I use vignettes?Vignettes draw attention to the main subject and give your image an artistic touch.
How do I sharpen an image correctly?Use the "Sharpen" option and start with low values to avoid an unnatural appearance.


